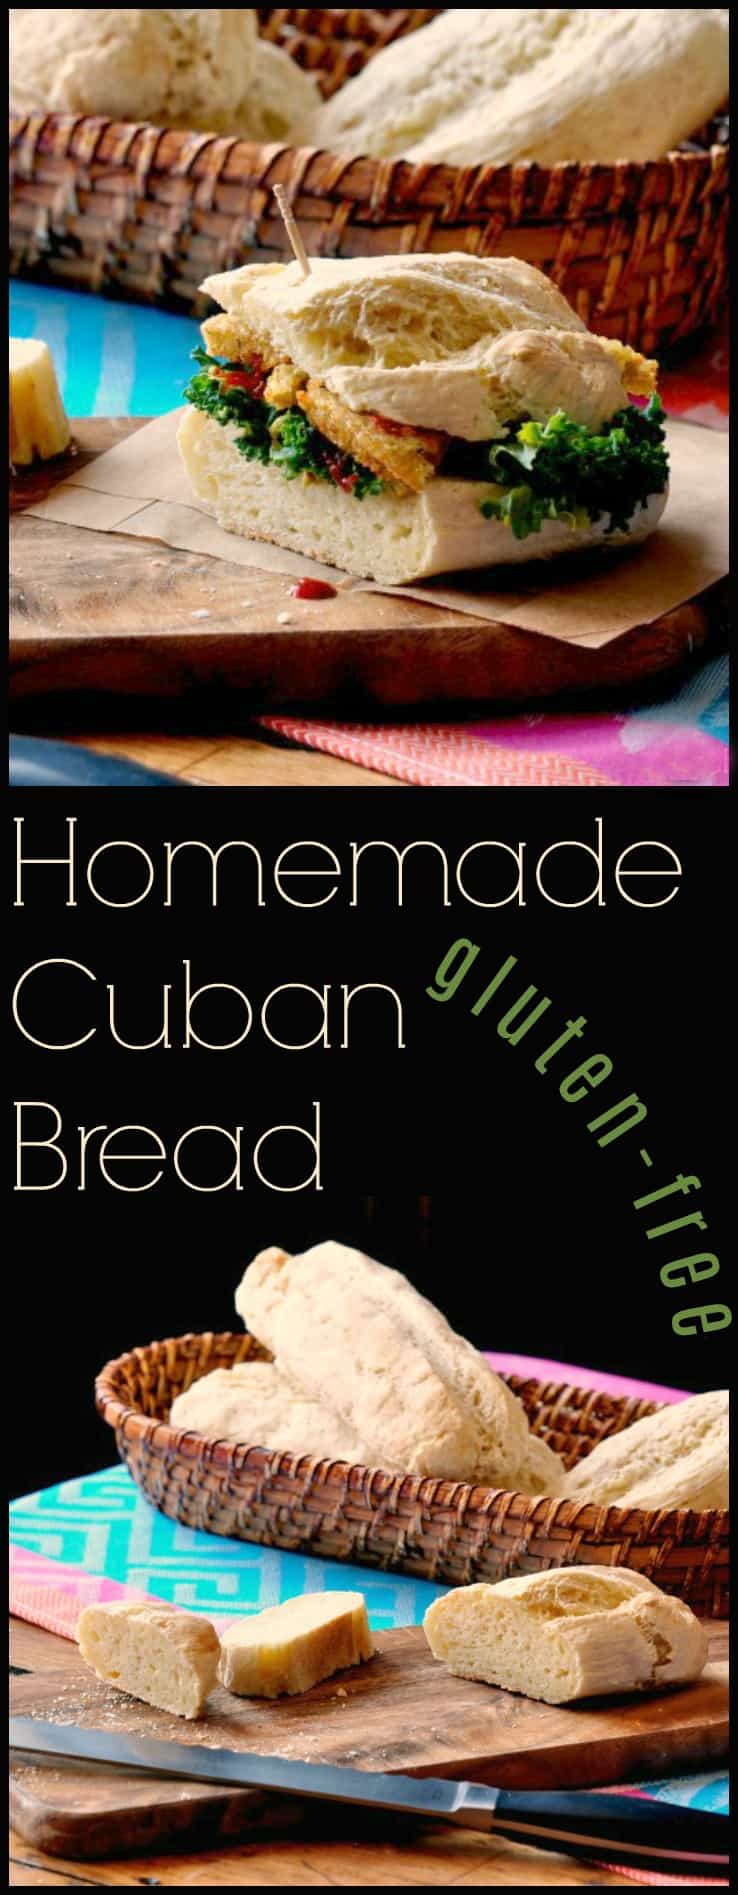
Pan Cubano, or Cuban Bread, (and I actually mean bread from Cuba or from Tampa — Ybor City, in particular) is so unique, that to have it once is to remember it forever.
It’s also so iconic that there’s a food holiday named for it (August 23 is National Cuban Sandwich Day) and Tampa, Florida has designated the Cuban Sandwich its city’s “signature sandwich” and they have a festival in this jolly good fellow’s honor. Yeah, it’s that good.
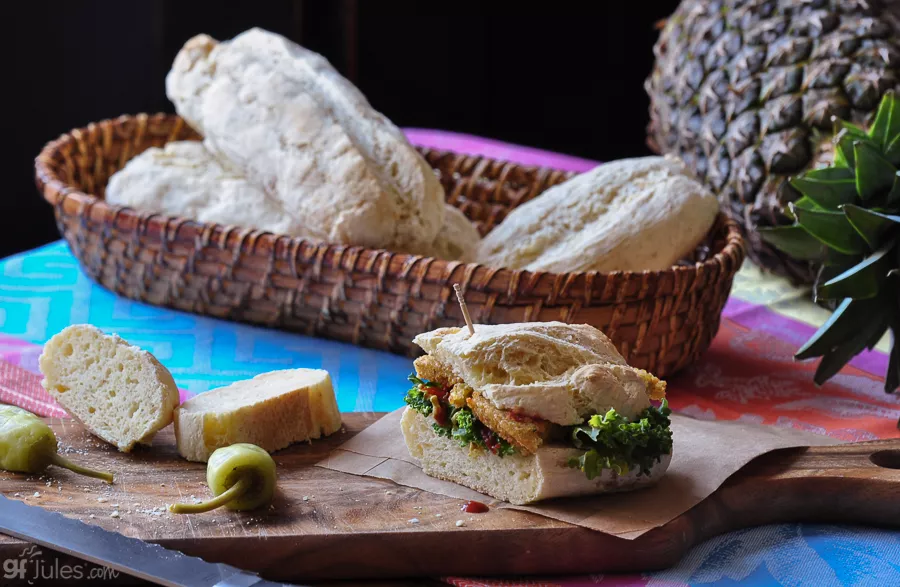
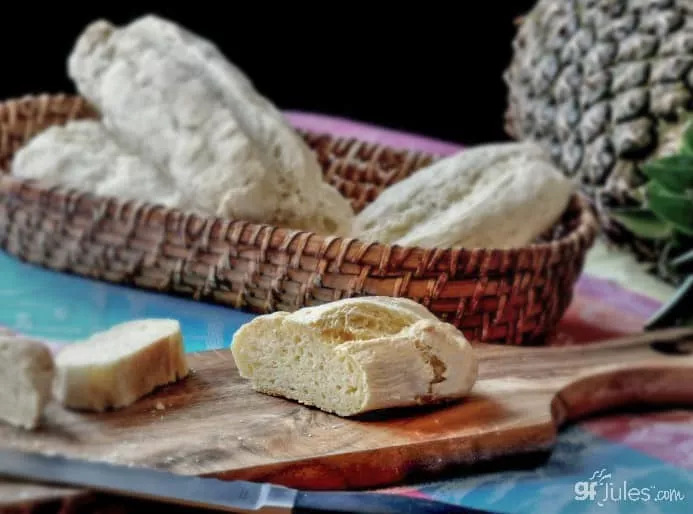
When I set out to make a gluten free Cuban Bread recipe, I knew I had to match the spongy soft texture of this aromatic yeast bread, with the same crunchy crust that so distinctively makes every sandwich that much better.
As I prepared to trek to Tampa, Florida to teach gluten free cooking classes on the demonstration stage at the Gluten Free Food Allergy Fest several years ago, I knew that if I could devise a gluten free Pan Cubano, the local crowd would be thrilled!
I used to live in the Tampa Bay area (back in my gluten-filled days), so I know of which I speak. Cuban Bread is awesome. Creating a gluten free Cuban Bread recipe would be epic.
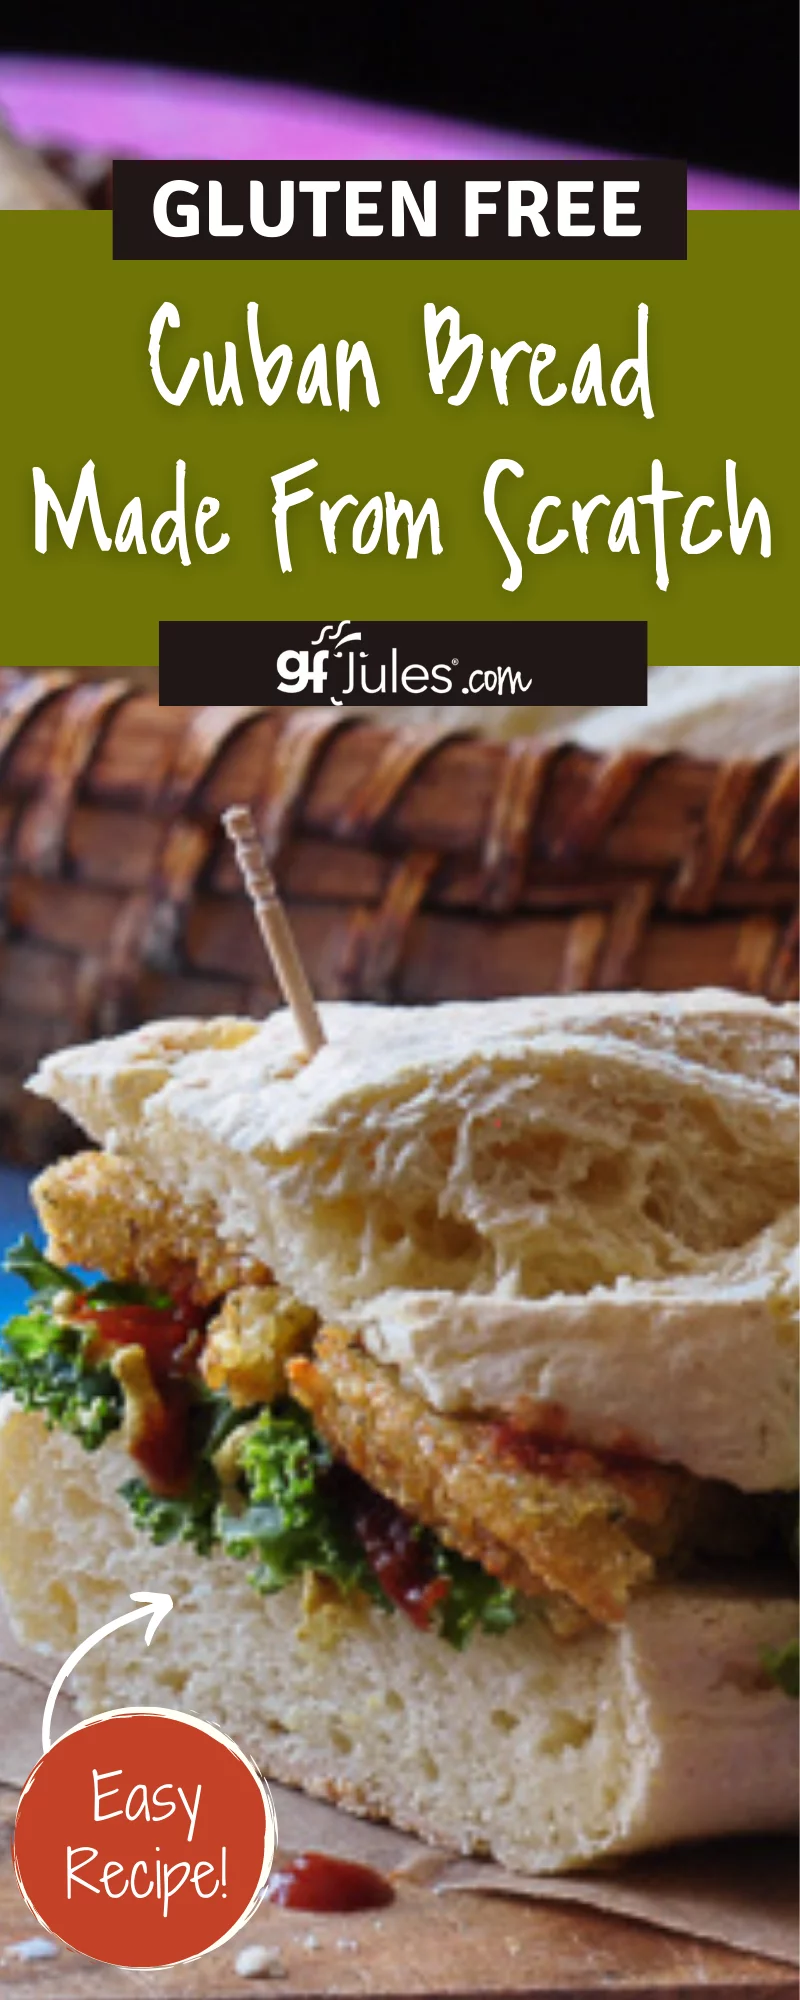
So here, I give you my gluten free version of a local favorite. A modern spin on an age-old recipe that no one, outside of a few generations-old bakeries, seems to know how to replicate.
I’ve created my recipe to be gluten free, of course, and it’s happily vegan as well, but I’ve taken care to make it something that any home baker can make, no matter where they live.
Like traditional Pan Cubano, it’s best the day it’s fresh-baked, but surprisingly good the next day, too.
The key is in the right gluten free flour and the gluten free starter — don’t skimp! Traditionalists will use lard in place of the olive oil my recipe contemplates — use what you prefer.
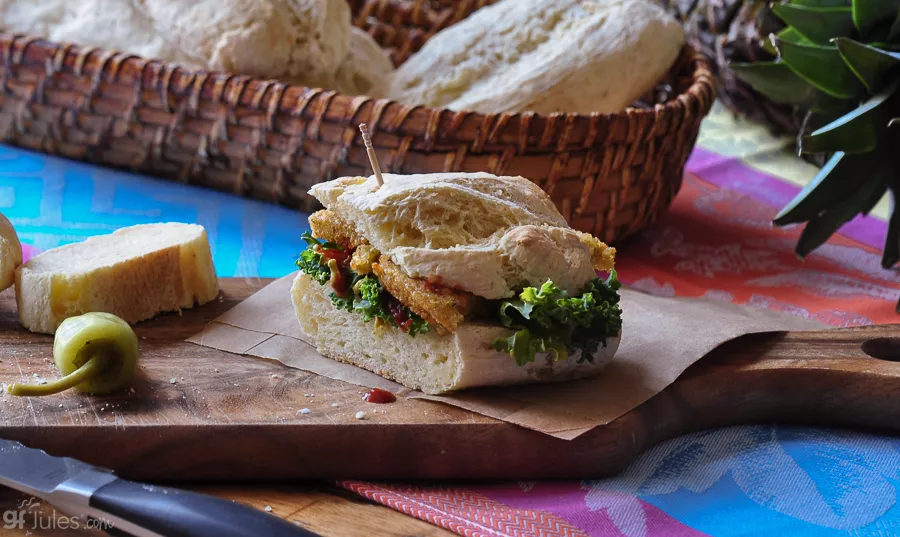
Palmetto leaves or not, I urge you to try this Gluten Free Cuban Bread on National Cuban Sandwich Day or anytime you crave a really great sandwich.
It will change your sandwich-making life. Fun tip: if you prefer your Pan Cubano to be flatter and you don’t happen to have a press — do what the bricklayer immigrants in Tampa originally did: just lay a hot brick on top of the bread for a couple minutes!

I’ll leave you with this quick video clip from a Cuban woman I met after demonstrating this recipe in Tampa at the Gluten Free Food Allergy Fest. She sums it up pretty well, I think!
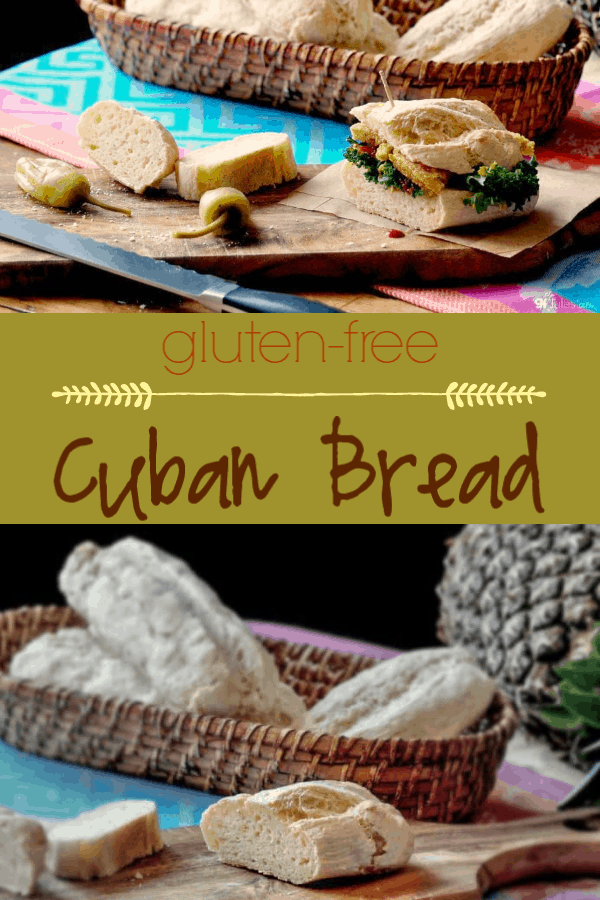
Gluten Free Cuban Bread Recipe
Pan Cubano, or Cuban Bread, (and here I mean bread from Tampa — Ybor City, in particular) is so unique, that to have it once, is to remember it forever.
Ingredients
Starter:
- 1 1/2 tsp. yeast
- 2/3 cup (90 gr) gfJules® Gluten Free All Purpose Flour
- 2/3 cup+ 4 Tbs. warm water
Bread:
- 2 cups (270 gr) gfJules® Gluten Free All Purpose Flour
- 1/4 cup certified GF millet flour (40 gr) OR almond meal (32 gr); or powdered coconut milk (23 gr); or powdered dairy-free milk (44 gr)
- 1 tsp. sea salt
- 1/2 Tbs. cane sugar
- 1/4 cup (63 gr) starter
- 2 Tbs. extra virgin olive oil
- 1 tsp. apple cider vinegar
- 3/4 cup + 1/4 cup warm water
- 1 packet (2 1/4 tsp) Quick Rise yeast (e.g. Red Star®)
Instructions
Starter:
Whisk together starter ingredients, cover tightly and refrigerate overnight. Starter will remain usable for at least 3-5 days when refrigerated.
Bread:
Whisk together the dry ingredients, then add measured starter (save the rest for another recipe later), oil, apple cider vinegar and 3/4 cup warm water, reserving 1/4 cup water to add last to help keep the dry ingredients in the bowl when the mixer is turned on. Once incorporated, add yeast and beat another 2 minutes on medium high. The mixture should be like a stiff and sticky batter, not a thick dough.
Either prepare a gallon-sized zip-top bag by cutting 1 inch out of the corner, or prepare a pastry mat or clean counter by dusting liberally with more Jules Flour. Prepare a baking sheet by lining with parchment paper.
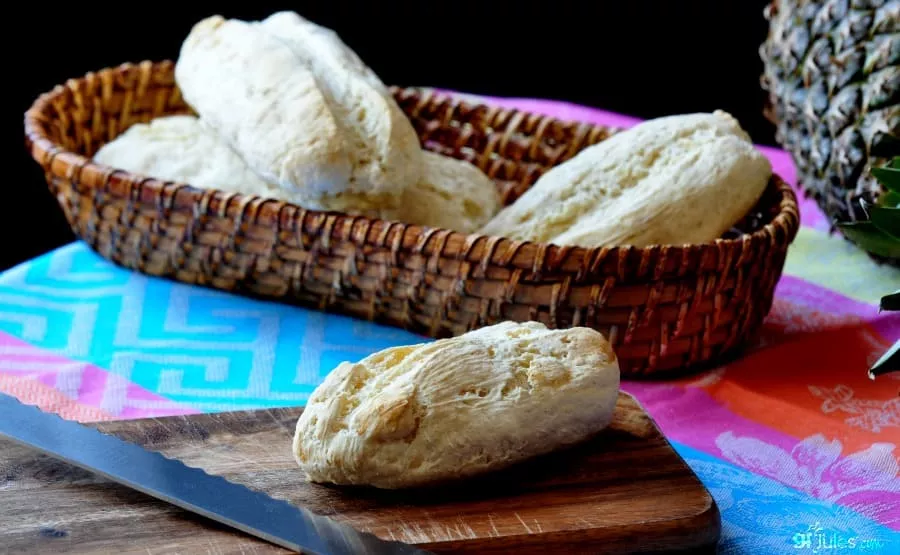
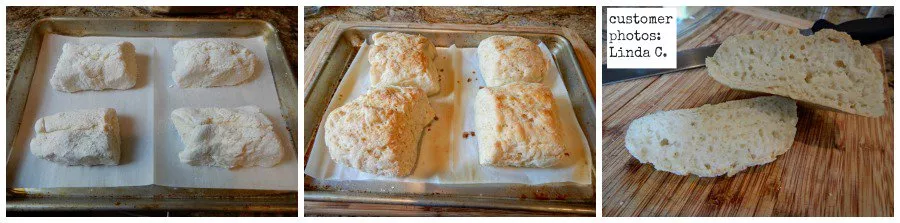
Transfer the dough to the prepared bag or the pastry mat. If using a bag, squeeze dough to the corner of the bag and pipe out 4 equal-sized rolls, approximately 1 1/2 – 2 inches in diameter, onto the prepared baking sheet. If using the pastry mat method, roll the dough in the Jules Flour until coated, then divide into four equal parts, rolling in more Jules Flour. Individually roll each segment out to a 2 inch log and transfer to the prepared baking sheet.
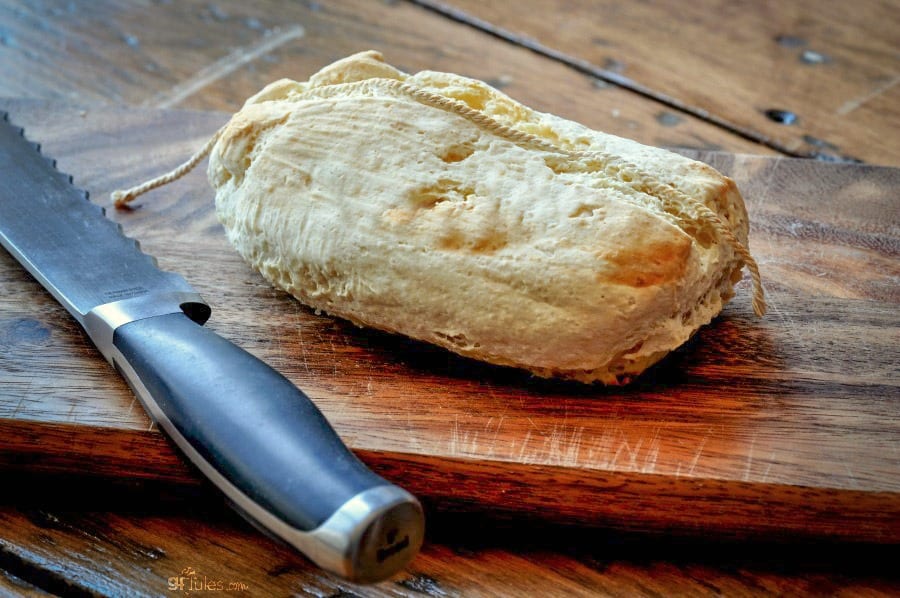
In lieu of palmetto leaves, cut segments of baking twine and soak in water. Press one segment of twine gently into the top of each roll before rising and baking.
Brush each roll with olive oil (or egg wash, if not making vegan) to help the bread brown, cover loosely and let rise in a warm spot for 30 minutes. Spritz with water before baking.
Preheat oven to 400 F (static) or 375 F (convection).
Place a pan of water on the bottom rack of your oven. Once risen, uncover bread, remove twine and place on a higher rack of the oven. Bake for approximately 15 minutes, or until a toothpick inserted into the center comes out with crumbs attached, rather than with wet dough. The bread should also sound hollow when knocked.
If the bread is not browning, brush with more oil or melted butter before the end of the bake time and/or set oven to broil briefly to add color to the loaves.
Remove to cool on wire racks before slicing.
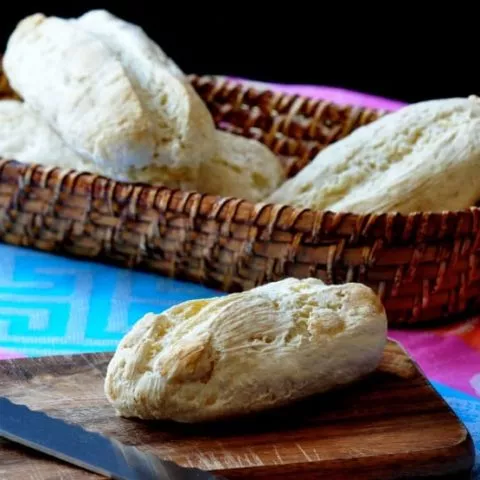
Yield: 4 sandwich rolls.
Nutrition Information
Yield 4 Serving Size 1Amount Per Serving Calories 392Total Fat 34gSaturated Fat 13gTrans Fat 0gUnsaturated Fat 19gCholesterol 5mgSodium 624mgCarbohydrates 16gFiber 4gSugar 3gProtein 11g
Pin it for later!


What kind of yeast do you use in the starter? I see you use Rapid Rise in the bread but it’s not specified in the starter.
Hi. I’m excited to try this. Both of my daughters have had to go GF and they miss Cuban bread the most! I was able to create GF croquet as that turned out amazing! I had one question regarding the fat in the bread , did you try this with lard as in traditional Cuban bread?
Hi Vicky, I didn’t personally try it with lard, as I don’t bake with it, but I have had readers tell me that they have made this recipe with lard and it worked beautifully. If you also try it with lard, come back and let me know how it works for you! Perhaps you’ll even use a plantain leaf? ENJOY!
~jules
I have a GF sourdough starter I use for breads. Could I use it for this recipe too?
Hi Laura, absolutely! The starter for this recipe is a quickie version like a shortcut. If you have a gluten free sourdough starter already going — use it!! Enjoy!
~jules
I am in the process of making this and I have to point out that 36 min prep time is not correct when the first instruction is to make a starter and refrigerate it overnight
Hi Tim, nice catch! We have a new recipe card format and the recipes were all migrated over automatically, but not all the fields transferred properly. I’ll have to go in and manually update this one. Thank you for bringing it to my attention! I hope you like the recipe, though!
~jules
Can active dry yeast be used in place of quick rise yeast?
Yes, you’ll just need to make sure to proof it before adding. Here’s more information on baking with different kinds of yeast, for reference.
~jules
Hi – questions about the starter. Should the yeast be dissolved in the hot water and then whisk in the flour? I didn’t do that, and now I’m looking at the starter I mixed up yesterday, and the yeast is settled down in the bottom the bowl. Do you think this starter will work? If no, is there a way to “fix” it? Thanks in advance for your reply
.
Hi Helen, you’ll never want to add yeast to hot water, as that will kill it — yeast is a living organism and needs “just right,” Goldilocks temp water — warm to the touch. Here’s more info on treating yeast right, and how to proof it. Hope that helps!
~jules
Thank you! I made the bread- it came out quite well. I’m going to make another batch to see if there’s a difference in crustiness by baking at conventional 400° vs. convection. My husband is born/raised in Ybor City/Tampa, and I’ve lived here most of my life. We have traditional Cuban Christmas Eve dinner and I’ve been missing Cuban bread for 10 years since my diagnosis. A HUGE THANK YOU for developing this recipe!
Oh I’m SOOOO happy, Helen!!!! You MUST have a traditional Cuban Christmas Eve dinner!!!! And to answer your question, the convection setting will DEFINITELY make the gluten free Cuban Bread crustier! If you have a convection setting, use it, girl!!! Post pictures next time! Merry Christmas!!
~jules
can you use the starter before it sets overnight?
It’s best to let the starter sit for some time, but if you try using it early and can’t get enough natural rise out of it, you can always add more dry yeast to the recipe.
~jules
Fantastic gluten free Cuban bread. I was in the crowd at Tampa and everyone who was lucky enough to get a sample was blown away by it’s authenticity!
It was great to hear from people who would know how good this Cuban bread recipe really is, John. Glad you loved it too!
~jules
I’ll make this and try it
Hello Jules, thank you for all your wonderful recipe and amazing flour.
I made the Cuban Bread recipe, I doubled the recipe. My bread looked good but the inside of the bread was gummy. I made no substitutions, I made my own blend using your instructions. I followed all the instructions. What could have caused the bread to be gummy?
Hi Mary, what blend did you use? The photos are of bread made with my pre-mixed gfJules Flour which is very different from the homemade blends, so there will be some variability there. If the bread wasn’t done on the inside, you will need to keep baking it; to prevent the outside from being over-cooked, you can always cover with foil. Do you have a bread thermometer to determine if the bread is done before removing it? The internal temp should be 205+.
~jules
Why did you divide the water measurement?
“3/4 cup + 1/4 cup warm water” Why not say 1 cup?
I feel like I am missing a step?
Hi Cynthia, sorry for any confusion. I like to add 1/4 cup of water as the last ingredient to help keep the dry ingredients in the bowl when the mixer is turned on. I hope that makes it more clear! Enjoy the recipe!
~jules