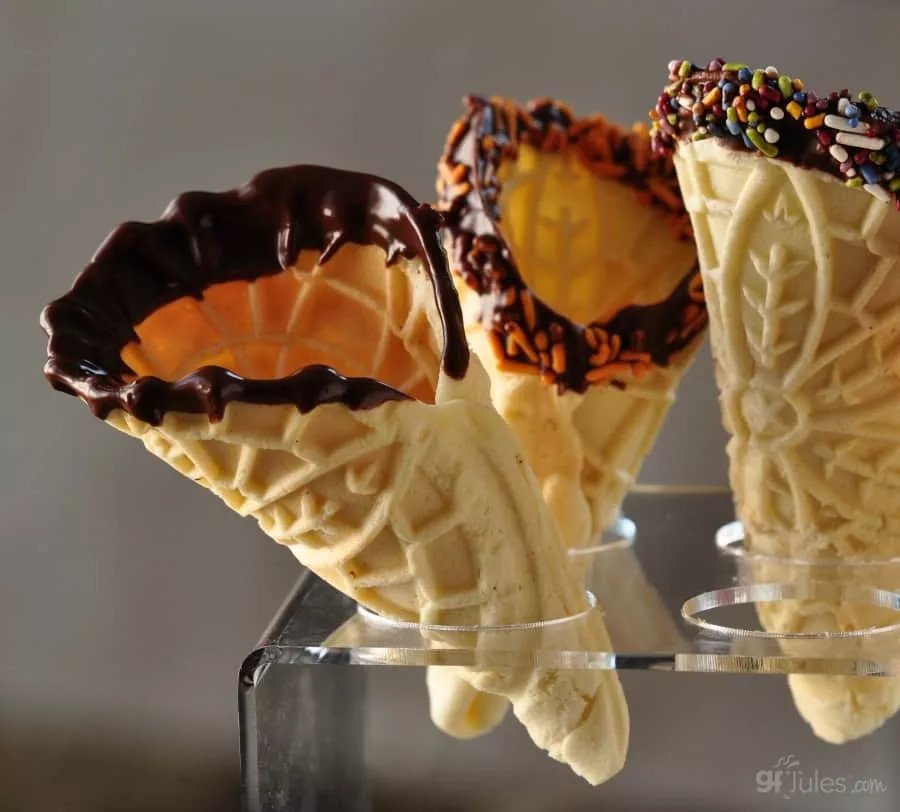
Gluten Free Waffle Cones
These gluten free waffle cones smell so amazing baking! And they crisp up as soon as they cool so you're ready for an ice cream party in just minutes!
Print
Pin
Servings: 10 large cones or 8-10 small cones
Ingredients
Gluten Free Waffle Cone
- 5 Tbs. (2.5 ounces) butter or dairy-free alternative, melted and cooled (Earth Balance® Buttery Sticks)
- 1 large egg + 1 egg white beaten (OR egg substitute like aquafaba or recipe noted below OR: 1 Tbs. flax meal, 3 Tbs. applesauce, 1 Tbs. arrowroot powder)
- 6 Tbs. granulated cane sugar
- ½ Tbs. pure vanilla extract
- ¼ tsp. pure almond extract anise extract or lemon extract (optional)
- 1 cup (135 gr.) gfJules™ All Purpose Gluten Free Flour
- 1 tsp. baking powder
Chocolate for Dipping
- ¾ cup chocolate chips (Pascha® or Enjoy Life® are vegan)
- 1 tsp. coconut oil
Instructions
- (If replacing eggs, use aquafaba OR mix 1 tablespoon flax meal with 3 tablespoons hot applesauce. Set aside and allow to cool. Next mix 1 tablespoon arrowroot powder with 1-2 tablespoons water. Whisk together the two mixtures to replace eggs and add where noted in the recipe to add eggs.)
- Melt butter and set aside to cool. In a mixing bowl, whisk together eggs and sugar until light, about 3 minutes. Stir in cooled butter and vanilla plus other flavor extract, if using.
- In a small bowl, whisk together gfJules Flour and baking powder. Stir into egg mixture in the larger bowl. The batter will be very stiff and tacky.
- If directed by your waffle or pizzelle iron instructions, brush metal plates with a small amount of cooking oil. Preheat the iron.
- Spoon 1 tablespoon batter into the middle of each preheated plate for small size cones or 2 tablespoons for a larger cone made in a waffle cone iron. (You may need slightly more or less batter depending on the size of your iron.) Close the lid. Batter should spread across the entire plate.
- Cook according to manufacturer’s directions. It took about 2 minutes for each set of 2 on my pizzelle iron - the cooked soon-to-be cone should not have browned much and should still be pliable, but hot.
- Once cooked, immediately transfer to a paper towel or tea towel to protect your fingers from the hot cookie. Gently twist together to form a point at the bottom and flared out or tighter twist at the top.
- Lay seam-side down onto a plate to fully cool. Repeat with remaining batter, working quickly so the cookies do not cool before twisting.
- When the cones are fully cooled, prepare the chocolate, if using. If the points of your cones aren't quite closed, it's a great excuse to use melted chocolate! Just dip the cone tips in melted chocolate to seal the cone bottoms and prevent leaks, plus, extra chocolate!
- Stir together chocolate chips and coconut oil in a small saucepan or microwave-safe bowl. Heat at medium temperature, stirring until chips are melted.
- If microwaving, start with 30 seconds, stirring and then adding 30 seconds and stirring, repeating until chocolate is smooth.
- Dip cones in warm melted chocolate, and sprinkle with gluten-free sprinkles, shaved almonds, coconut or other toppings. Stand upright in cups to cool at room temperature or refrigerate until set.
- Store in an air-tight container, or freeze in cups until set, then store in zip-top plastic bags in the freezer.
- Makes approximately 16 small cones or 8 larger ones.
Video
** Please keep in mind that nutrition information provided is per serving, which may vary. While we have taken care to provide you with the most accurate nutritional values possible, please note that this information may differ significantly depending on the exact ingredients and brands that you choose to use to make this recipe. Additionally, where options are given for ingredients, the resulting calculation may include all ingredient options instead of only one per line, skewing the totals significantly.