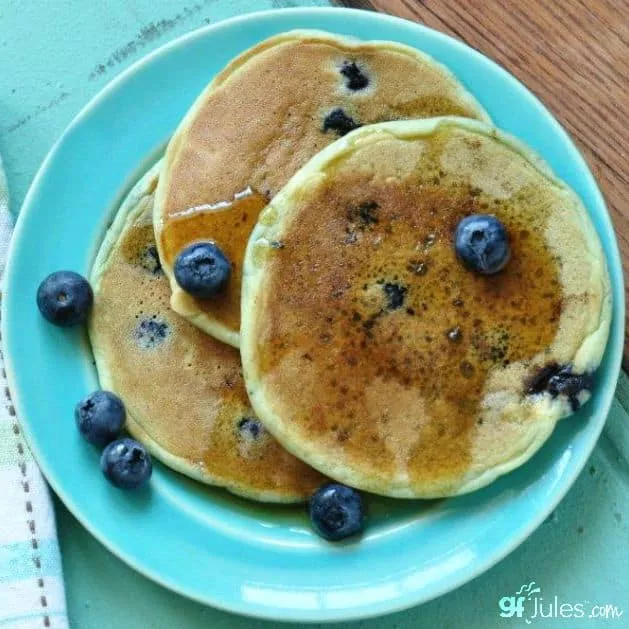
Happy Gluten Free Pancake Day!
Gluten free pancakes for breakfast, lunch or dinner are never a bad idea when you have this delicious recipe or my easy gfJules Gluten Free Pancake & Waffle Mix!
Print
Pin
Servings: 8 Serves 4 (or when using entire gfJules Pancake Mix, serves 8)
Ingredients
- gfJules® Gluten Free Pancake & Waffle Mix
OR
- 1 1/2 cups gfJules® All Purpose Gluten Free Flour
- 1 Tbs. dry dairy or or non-dairy milk powder (like Coconut Milk Powder or GF Vanilla Pudding Mix)
- 1 Tbs. granulated cane sugar
- 1 1/2 teaspoons baking powder
- 1/2 teaspoon baking soda
- 1/2 teaspoon salt
- 2 eggs (or egg substitute like mashed banana or aquafaba)
- 3 Tbs. mild cooking oil
- 1 1/2 (+/-) cups milk (dairy or non-dairy)
- high heat oil for the pan (not necessary with non-stick pans)
- berries chocolate chips, chopped nuts, etc., if desired
- food coloring (optional) – for natural food colorings, try India Tree, Seelect or Color From Nature™ by McCormick®
Instructions
- If using my gfJules Pancake and Waffle Mix, follow directions on package.
- If making from scratch, whisk together the dry ingredients in a medium sized bowl and set aside. In another larger bowl, combine all the liquid ingredients, using only 1 1/4 cups of milk at first. Gradually whisk the dry ingredients into the liquid ingredient bowl until well integrated and only a few lumps remain.
- Add more milk as needed to thin the batter to the point that it is easily spooned onto the skillet, but is not watery at all. You should be able to put a dollop of batter onto the hot oil and spread the batter out with the back of a spoon to form a circle without the batter being too thick or too runny.
- Pour enough oil into a large skillet or griddle to have a thin covering over the entire surface (no need to oil a non-stick pan). Heat the skillet or griddle to medium-high.
- Spoon batter onto skillet and spread the batter with the back of a large spoon. Leave space between each pancake so that you can use a spatula to flip each one easily. If desired, place berries, chocolate chips, etc. onto the uncooked side of the pancakes. (Or make into fun shapes like Mickey Mouse!)
- If you would like to color your pancake batter, divide mixed batter between bowls and add food colorings to each one. For best “painting” results, pour colored batters into individual squeeze bottles (I’ve used cleaned and emptied agave, honey or ketchup squeeze bottles). Squeeze batter out to form designs like flowers, fried eggs, strawberries, hearts, stars, teddy bears or even your kids’ names in cursive!
- Cook until bubbles begin to form in the batter, then gently flip, continuing to cook until light brown on the bottom with slightly crispy edges. Total cooking time can range between 5-10 minutes, depending on the thickness of the pancake, the type of pan used and the cooking temperature.
- Allow to cool slightly before serving to eliminate any gumminess. Serve with maple syrup, or layer with pieces of wax paper between the pancakes, and seal in a zip-top bag once cooled; refrigerate or freeze and reheat for later serving.
** Please keep in mind that nutrition information provided is per serving, which may vary. While we have taken care to provide you with the most accurate nutritional values possible, please note that this information may differ significantly depending on the exact ingredients and brands that you choose to use to make this recipe. Additionally, where options are given for ingredients, the resulting calculation may include all ingredient options instead of only one per line, skewing the totals significantly.