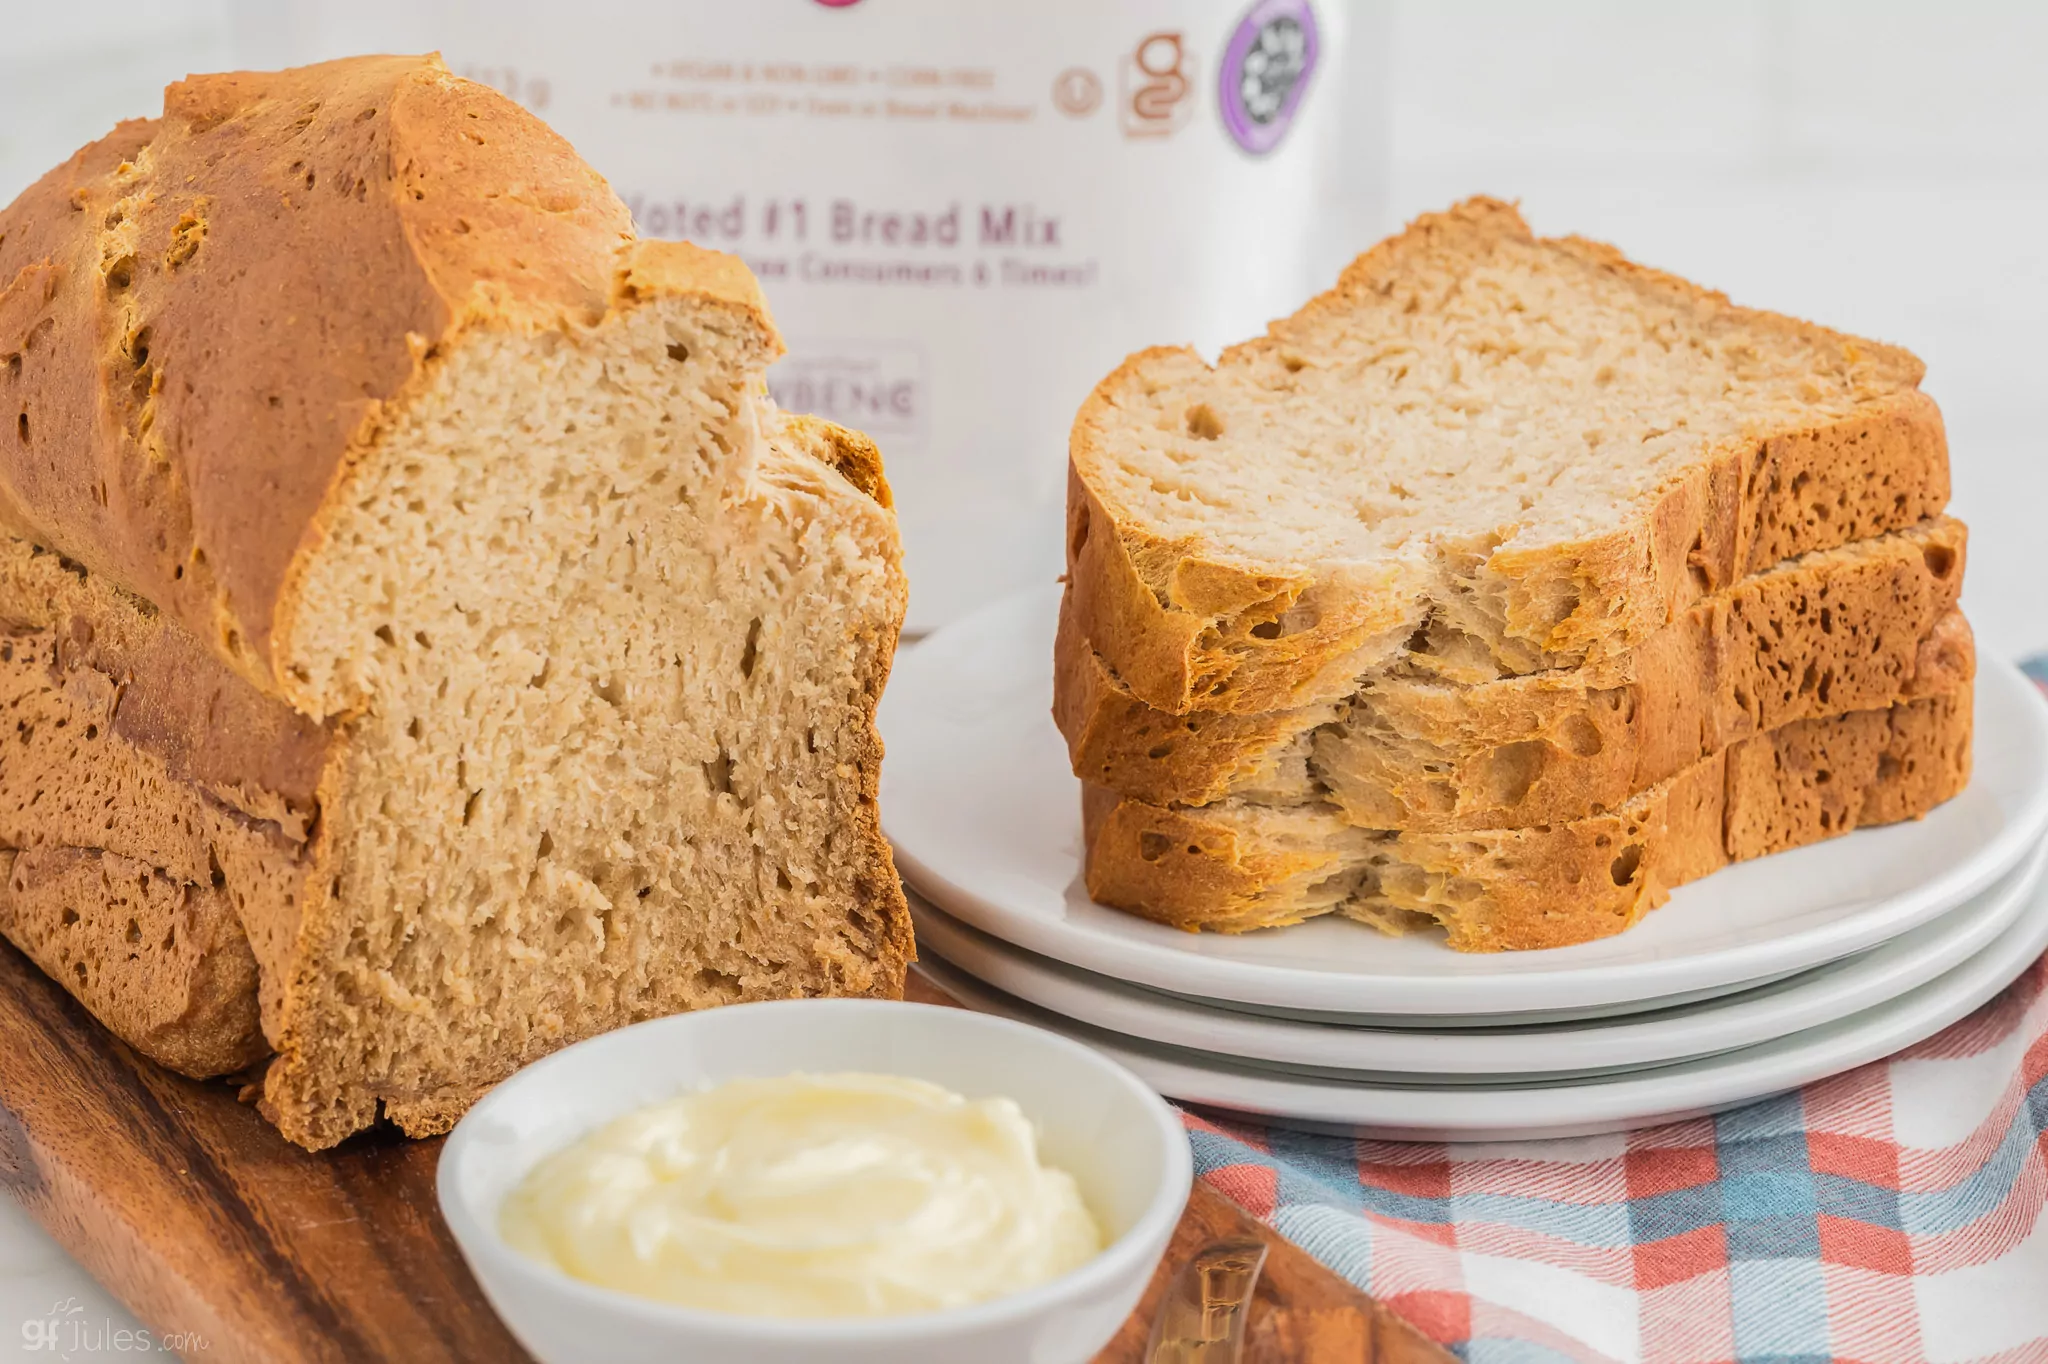
Gluten Free No Yeast Bread Recipe
The soft, yummy homemade gluten free bread you've been craving, only yeast-free, too!
Print
Pin
Ingredients
Dry Ingredients:
- 1 gfJules™ Gluten Free Bread Mix
- 4 Tbs sugar
OR
- 3 cups (405 gr) gfJules™ All-Purpose Gluten-Free Flour
- 1/4 cup flax seed meal (or GF buckwheat; millet; sorghum or brown rice flour)
- 1/4 cup dry milk powder dairy or non-dairy (e.g. Coconut Milk Powder) OR almond meal
- 1/2 tsp. baking soda
- 2 tsp. baking powder
- 1 tsp. sea salt
LIQUIDS FOR ALL:
- 2 Tbs. honey agave nectar or coconut palm nectar (optional)
- 1 1/4 cup club soda or sparkling water {with gfJules Bread Mix may use regular water}
- 1 tsp. apple cider vinegar
- 1/4 cup extra virgin olive oil
- 2 large eggs (OR 2 Tbs. flax seed meal steeped for 10 minutes in 6 Tbs. hot water)
PLUS FOR ALL:
- 2 1/2 tsp. additional baking soda
- 1 Tbs. lemon juice
Optional Toppings:
- 1 Tbs. crushed nuts flaxseeds or sesame seeds (optional)
- 1 Tbs. coarse sea salt (optional)
Instructions
- Preheat oven to 325º F (convection) or 350º F (static).
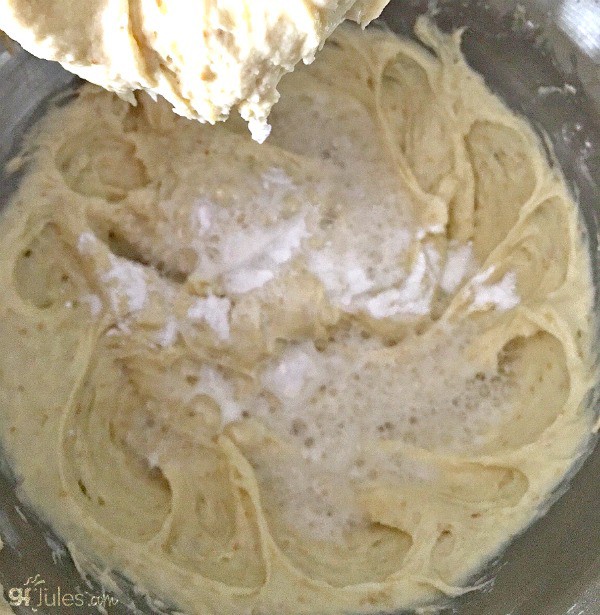
- From Scratch: whisk these dry ingredients together in a large bowl: GF flours, milk powder, 1/2 teaspoon baking soda, 2 teaspoons baking powder and 1 teaspoon salt.
- Begin mixing with a wooden spoon or paddle attachment on a stand mixer. Before fully integrated, add the final addition of lemon juice and extra baking soda to the bowl. The mixture should bubble up when added together; if not, your baking soda is not fresh enough. Once incorporated, beat well for 1 - 2 more minutes.
- Scoop the dough into an oiled 8.5 x 4 or larger bread pan (use a dark metal pan if you like a darker crust on your bread; lighter, shiny metal or glass if you like a light crust).
- Wet a large serrated knife and make 2 or 3 large cuts in the top of the bread about 1/2 inch deep, rocking the knife back and forth in the wet dough to make an impression. These cuts will give the bread easy places to rise and swell open.
- Using the baking soda and baking powder in this recipe, together with the lemon juice and club soda causes the bread to rise high and can make an odd looking, hilly top crust, but making these cuts before baking can help it look more uniform. Either way, the bread tastes delicious, so even an odd looking top crust isn't anything to worry about!
- Smooth the top, sprinkle with any toppings, and bake for approximately 60 minutes, or until the crust is browning nicely and a cake tester or skewer inserted into the center of the loaf comes out clean (internal temperature should reach 205-210º F). Start checking the temperature after 50 minutes of baking to ensure you don't over-bake the bread.
- Remove to a cooling rack. When cooled for 15 minutes, gently remove from the loaf pan to finish cooling before slicing.
- Once fully cooled, store in a zip-top bag on the counter or slice and freeze in a freezer bag with wax paper between the slices -- do not refrigerate.
Notes
*If making in a bread machine, set to quick bread setting if it cooks for 60 minutes, or manually program the machine to mix for 20 minutes then bake for 60 minutes. There is no resting time, punch-down or rise time needed for this bread. Make sure to add the liquids first, then the dry ingredients. For more on baking gluten free breads in a bread machine, click to hop to my article here.
** Please keep in mind that nutrition information provided is per serving, which may vary. While we have taken care to provide you with the most accurate nutritional values possible, please note that this information may differ significantly depending on the exact ingredients and brands that you choose to use to make this recipe. Additionally, where options are given for ingredients, the resulting calculation may include all ingredient options instead of only one per line, skewing the totals significantly.