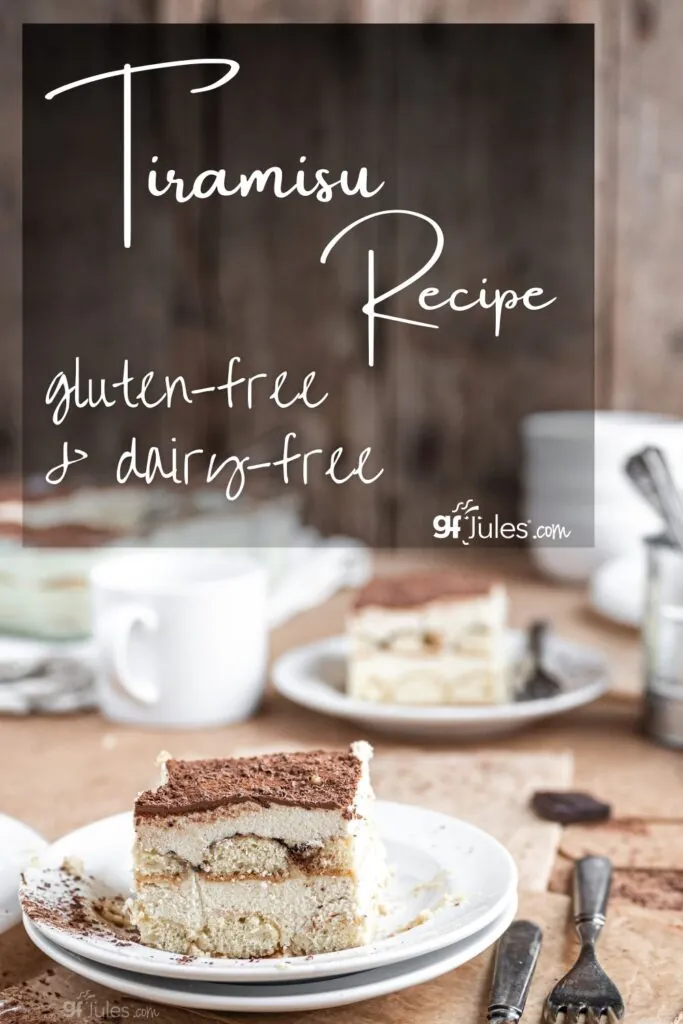
Tiramisu is a classic Italian dessert known for its rich layers of espresso-soaked ladyfingers, creamy mascarpone filling, and a light dusting of cocoa powder. Traditionally a gluten and dairy-filled dessert, tiramisu has been off-limits for those of us with dietary restrictions. But with this gluten-free and dairy-free tiramisu recipe, we won’t miss a thing—except the allergens. I think I’ll have a second slice!
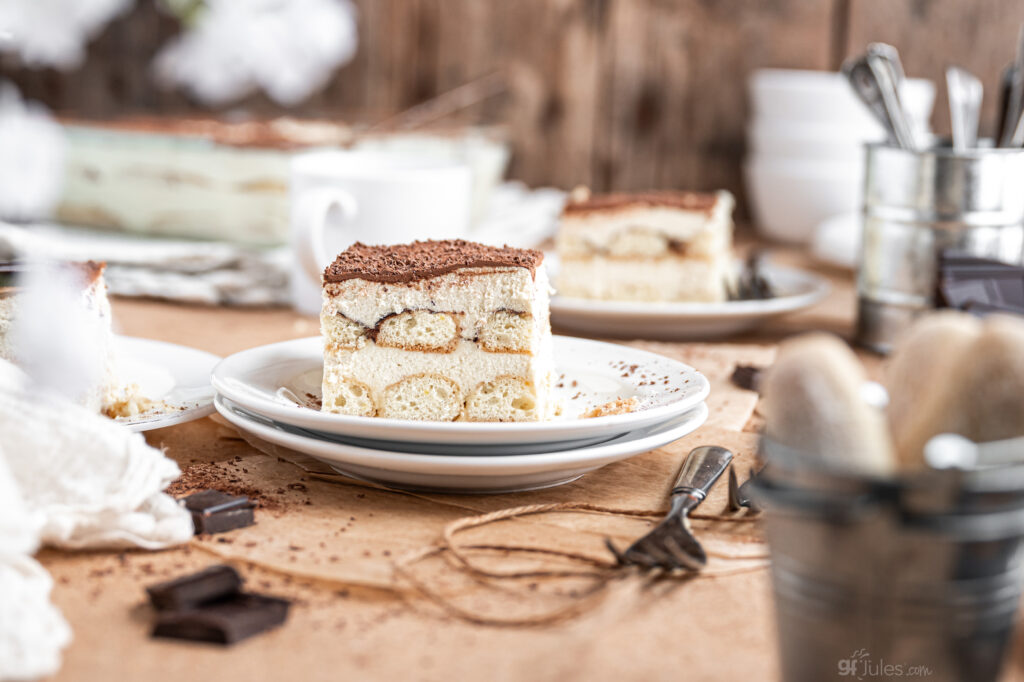
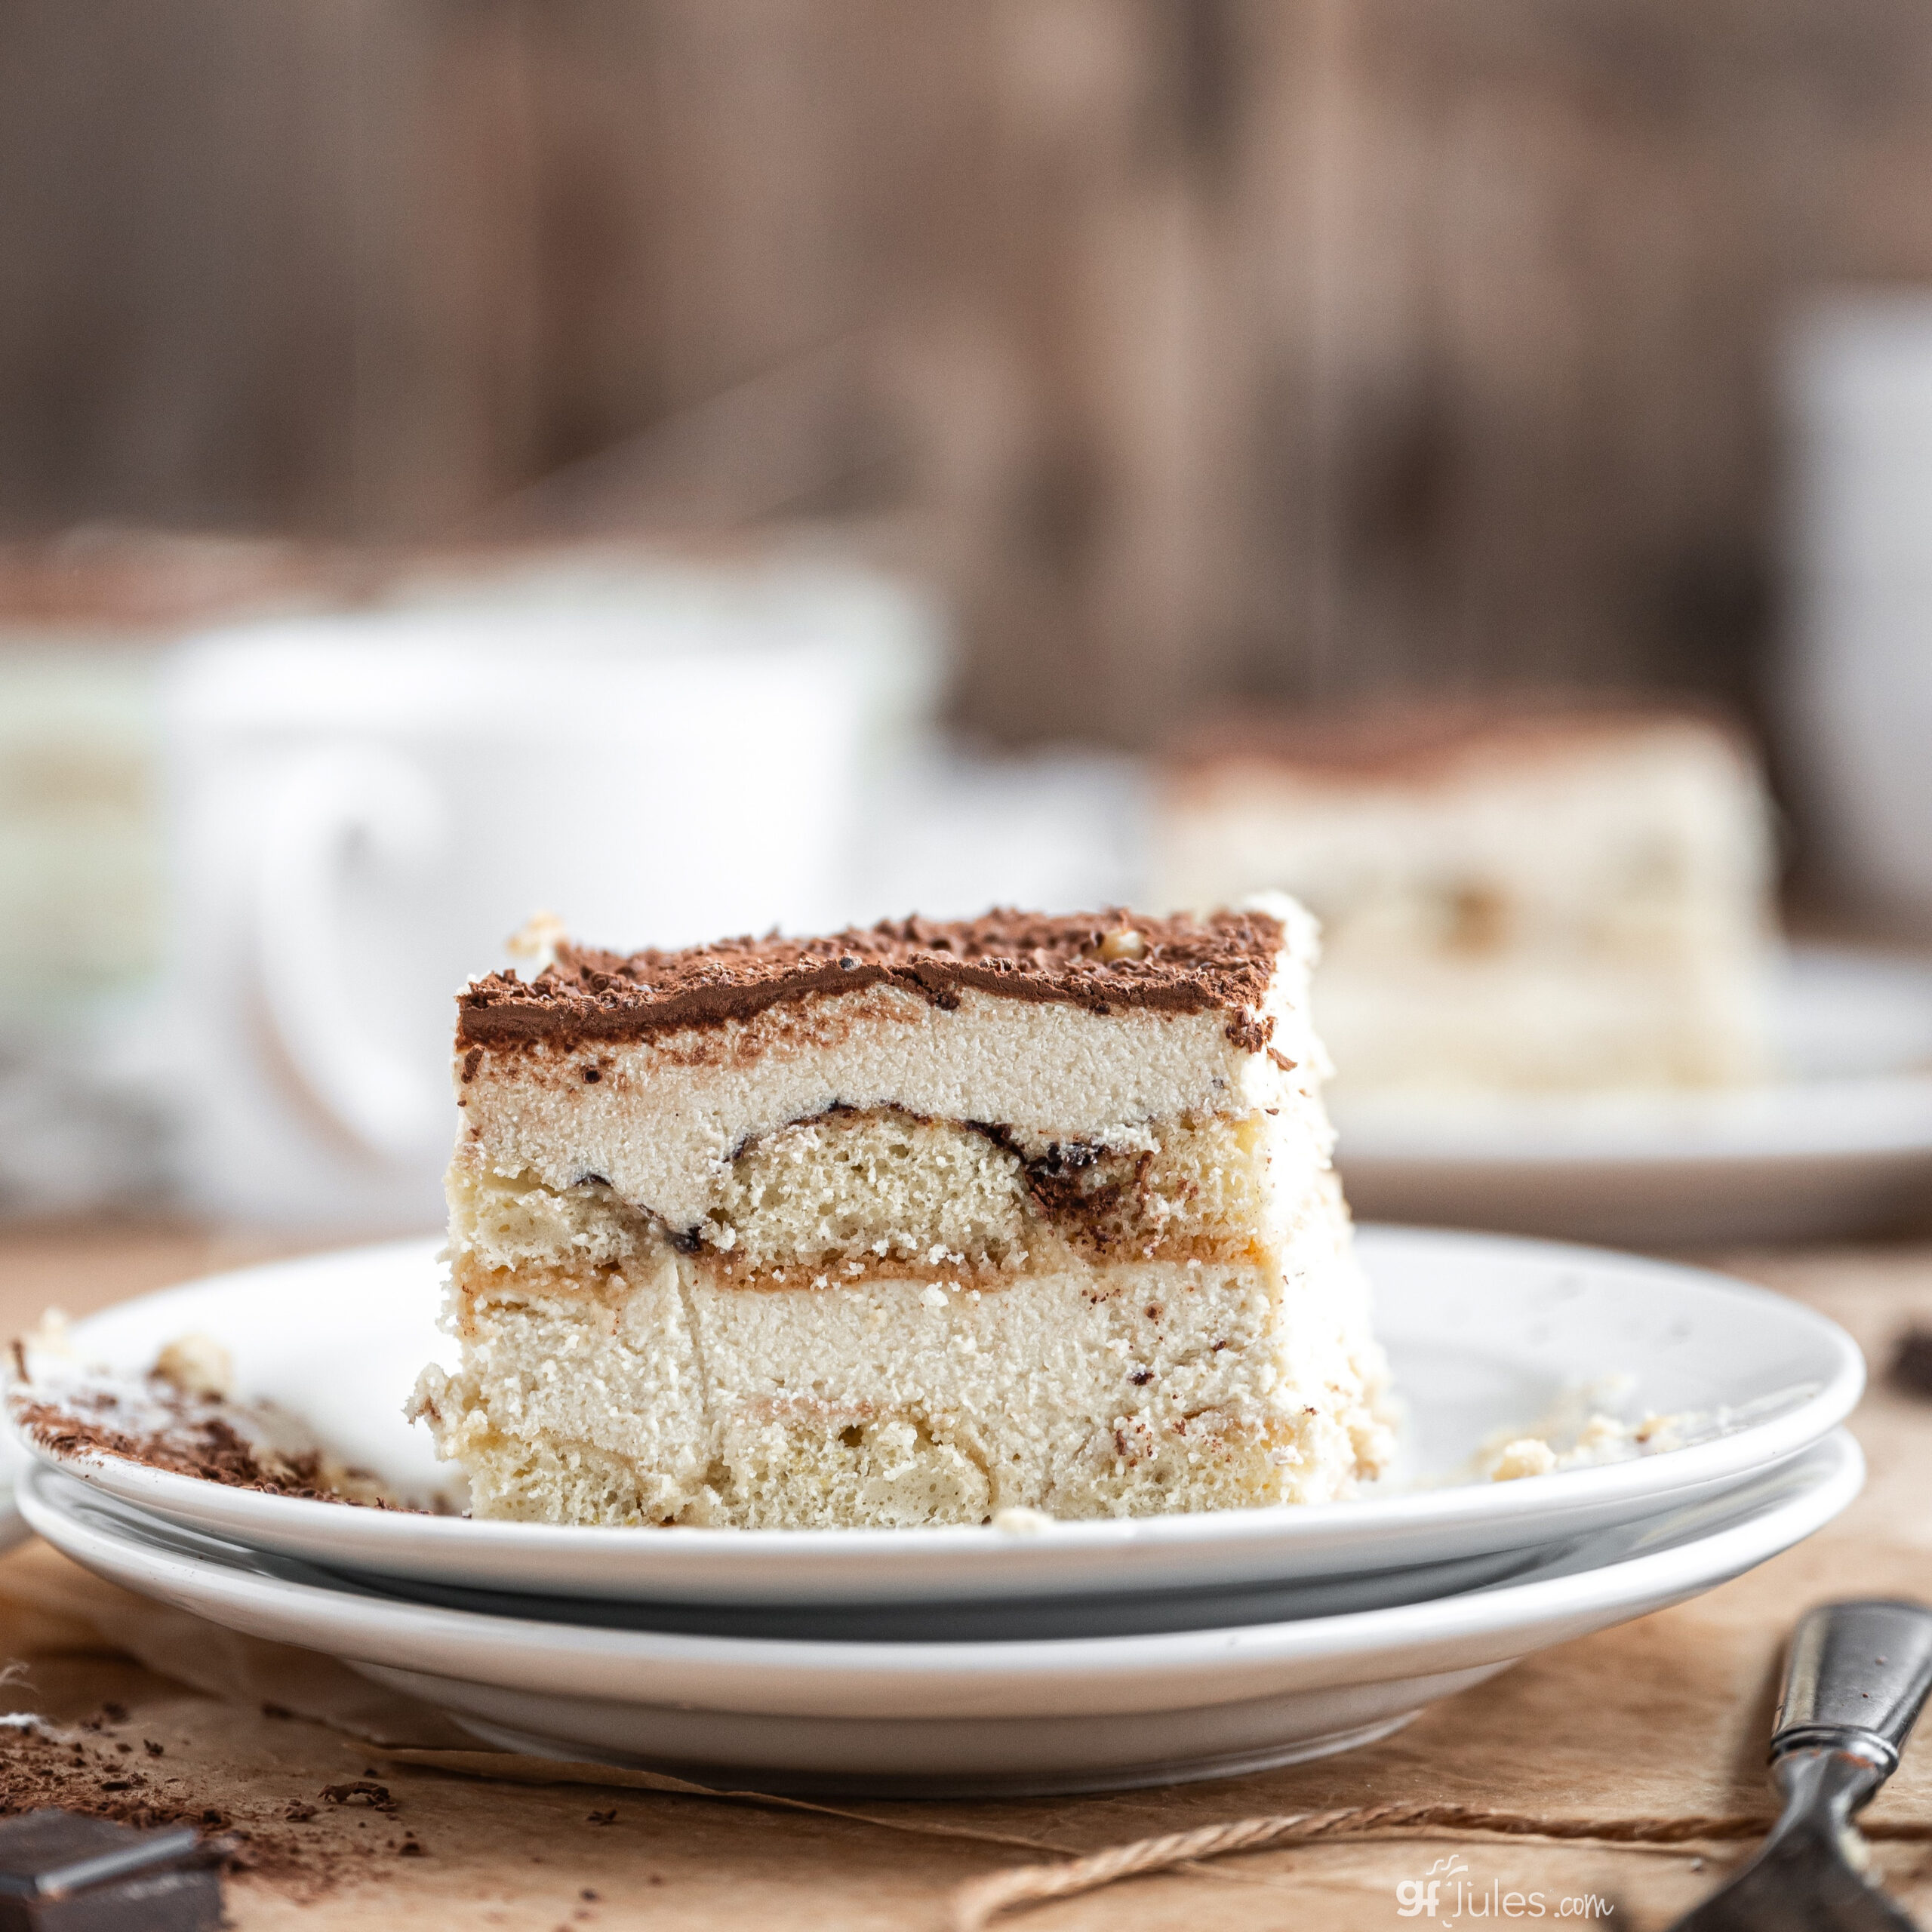
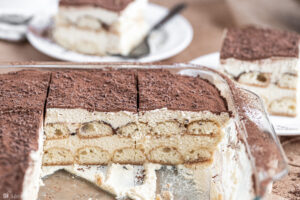
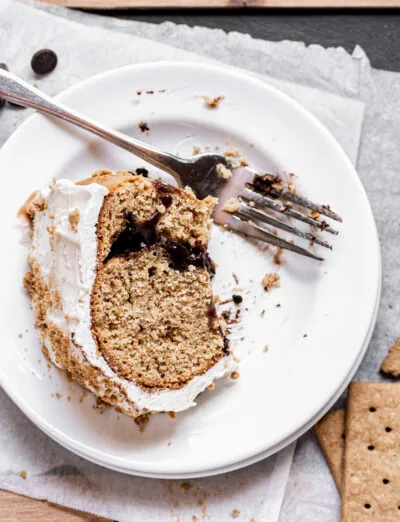
Much like my Gluten Free and Vegan Tres Leches Cake, this Gluten Free Tiramisu (also made without dairy) may seem like an impossible recipe feat. But you have to trust me that classics like these can be successfully made without allergens. Just look at that gorgeous sponge and how rich that creamy filling is. And I promise it lacks nothing in flavor, either!

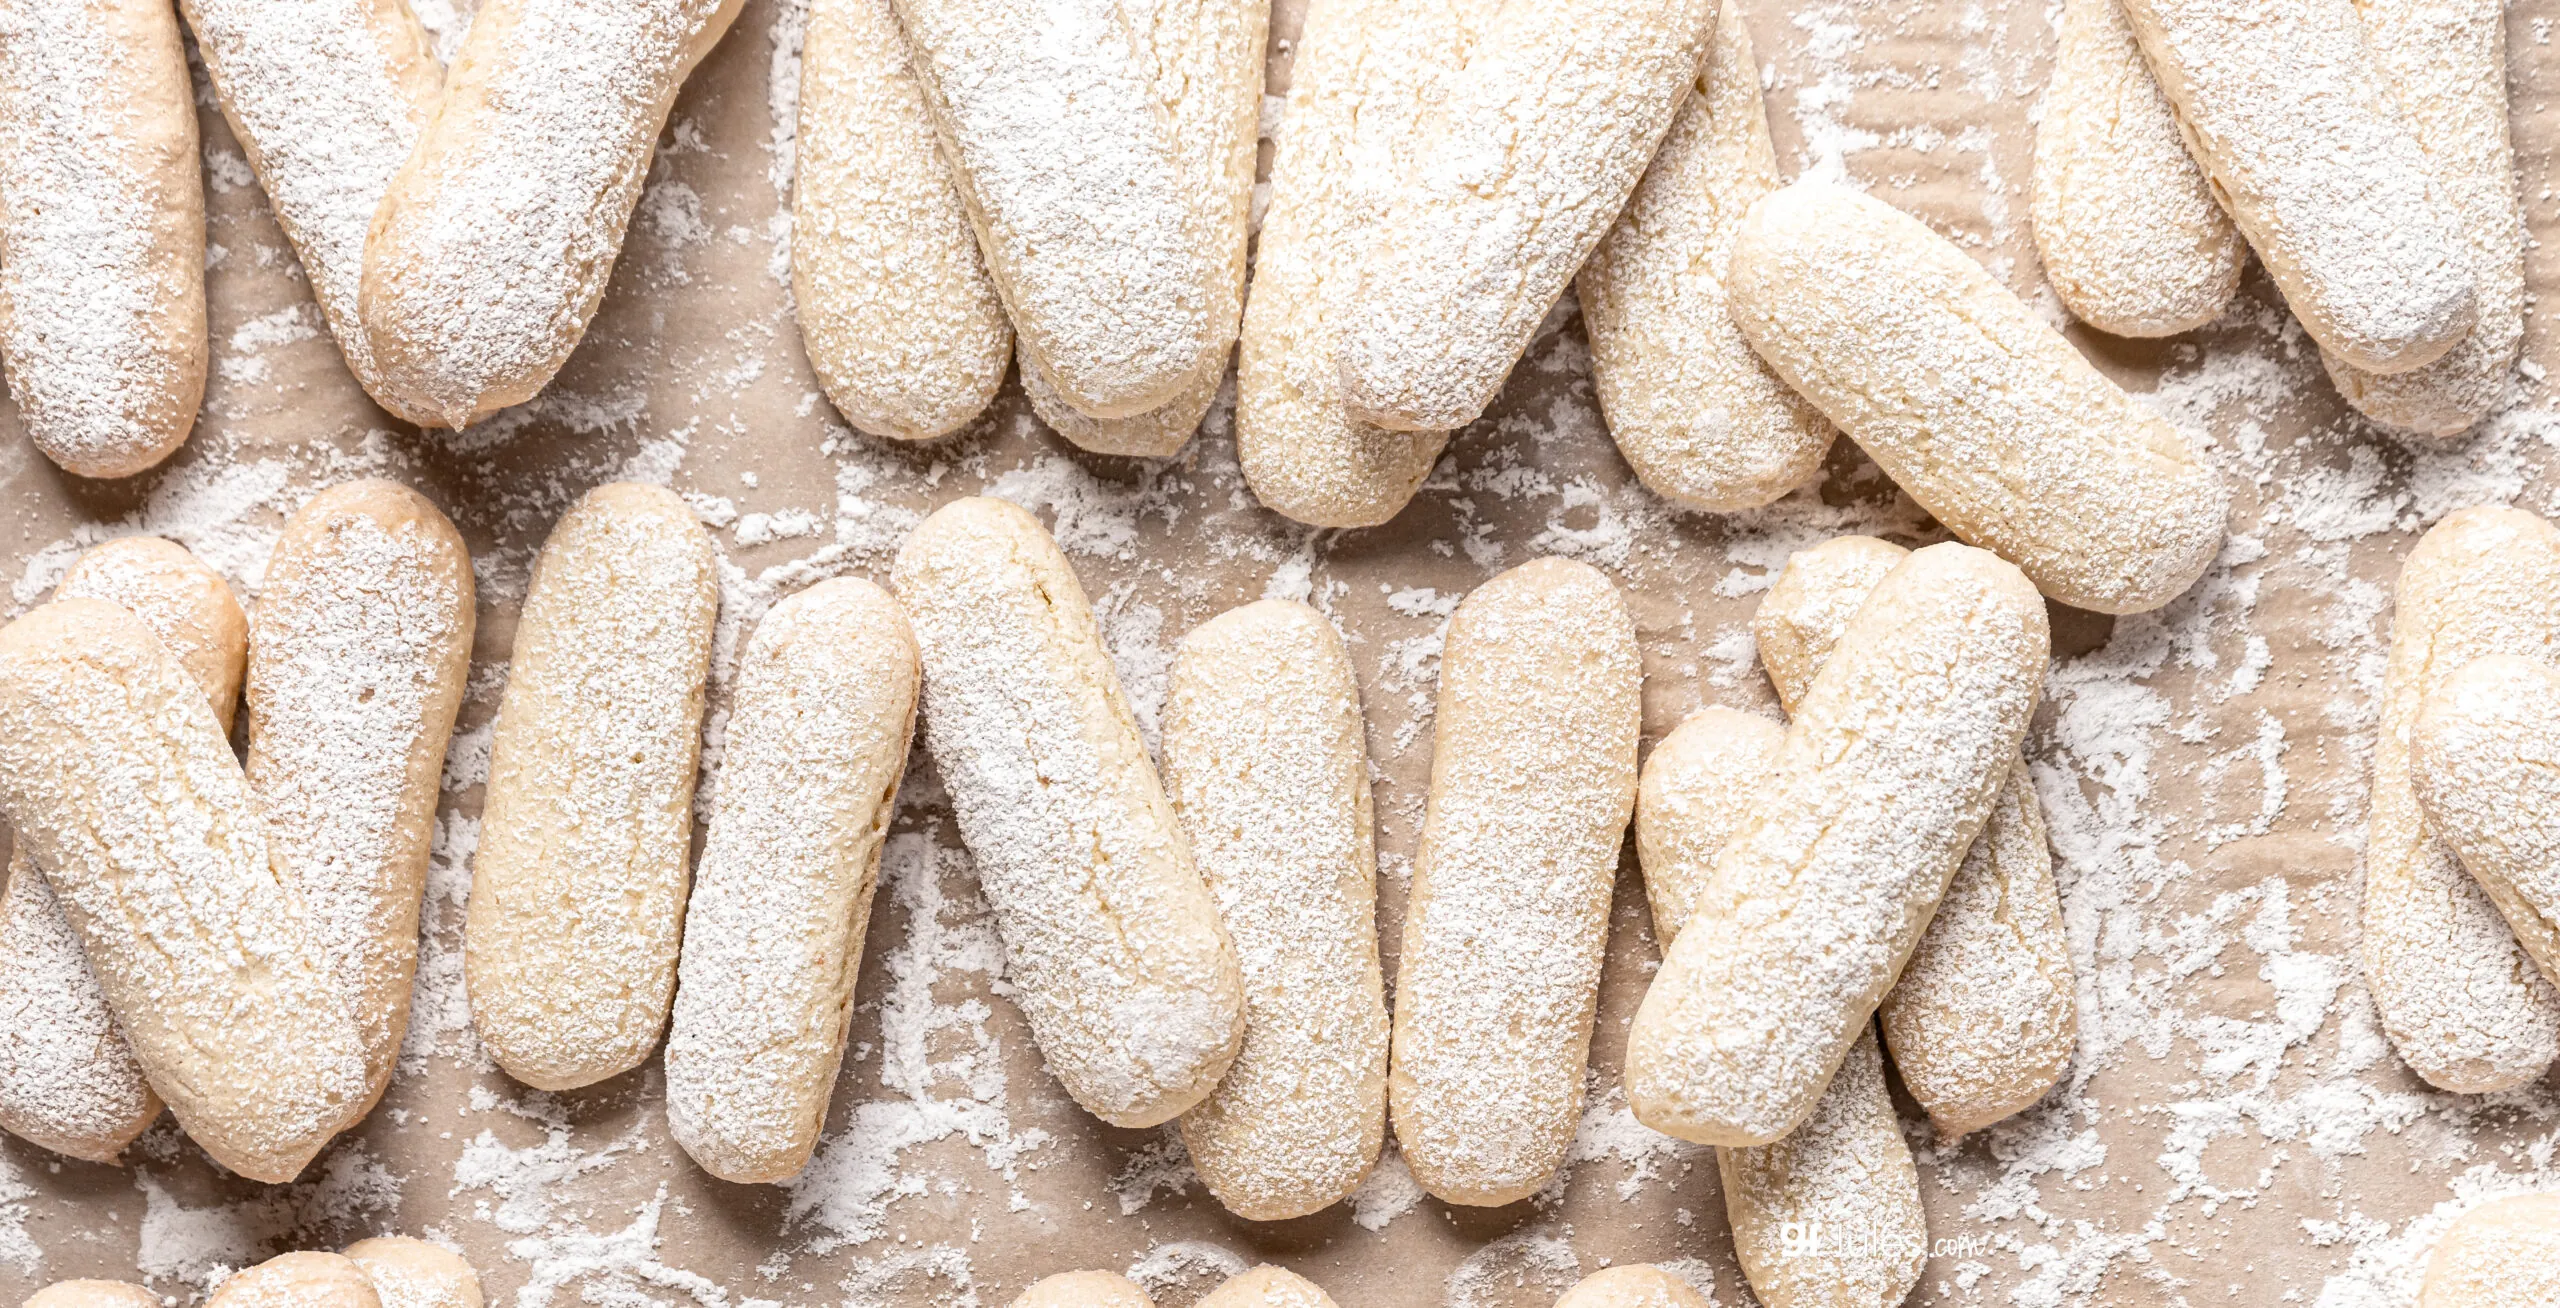
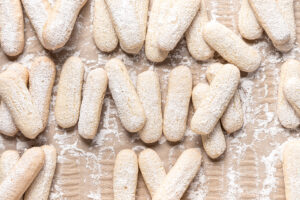
This inclusive version of tiramisu is made completely from scratch, including homemade gluten-free ladyfingers using gfJules Gluten Free All Purpose Flour. Unlike many other gluten-free baked goods that can be dense or gritty, gfJules Flour makes these ladyfingers light, airy, and tender—virtually indistinguishable from the traditional gluten version.
You may decide to just whip up a batch of gluten free ladyfingers for snacking on their own!

But if you do follow through with the whole recipe, that rich, dairy-free mascarpone-style cream pulls together the flavors magically, creating the the same beloved texture of classic tiramisu, just without the gluten or dairy.
History of Tiramisu
Rooted in Italian culinary traditions, tiramisu’s decadent flavor combination has became a worldwide favorite for good reason. Now, this allergy-friendly version allows us all to enjoy the timeless elegance of tiramisu. Whether you’re hosting a holiday dinner, celebrating a birthday, or simply craving this unique treat, this recipe is a show-stopping option.

Tiramisu literally means “pick me up” — a nod to the coffee, chocolate, and sugar that will give you an after dinner lift, but I suspect also to the fact that it’s irresistible not to want to pick up your fork and eat some more!
This gluten-free and dairy-free tiramisu recipe offers the same perfect balance of bitter coffee, sweet cream, and soft sponge that has made this dish so universally irresistible. What are you waiting for?

Best Gluten-Free Dairy-Free Tiramisu Recipe
Equipment


Ingredients
Gluten-Free Ladyfingers:
- ½ cup cane sugar
- 3 large eggs room temperature
- 1 teaspoon pure vanilla extract
- 1¼ (169) cup (grams) gfJules All-Purpose Gluten Free Flour
- ¼ teaspoon salt
- ½ teaspoon baking powder
- ¼ cup powder sugar for dusting
- ¼ cup cane sugar for dusting
Gluten-Free Tiramisu:
- 5 large egg yolks
- ½ cups cane sugar
- 16 ounces vegan cream cheese, room temperature (like Miyoko’s Creamery)
- ¼ teaspoon sea salt
- 2 teaspoons pure vanilla extract
- ¾ cup dairy-free heavy cream (like Silk)
- 1 cup strong brewed coffee, chilled
- cocoa powder for dusting
Instructions
To make Gluten Free Ladyfingers:
- Preheat the oven to 350°F and line two baking sheets with parchment paper. Prepare a piping bag with a round tip or cut one corner off of a plastic bag (about ¾” wide hole).
- Divide the three eggs by placing the three egg yolks in a mixing bowl and placing the three egg whites in another mixing bowl.
- Add a pinch of salt to the egg whites and beat them on high until stiff peaks form, about 2-3 minutes. You can use hand-held beaters or a stand mixer with the whisk. Place the whipped eggs whites in the fridge for a moment.
- Add the sugar and vanilla to the bowl of egg yolks. Beat until they are creamy and have about tripled in volume, about 1-2 minutes.
- Remove the egg whites from the fridge and scoop about a quarter of their volume into the yolk mixture. Use a spatula to fold everything together, then fold in the remaining egg whites.
- Add the gfJules Flour, salt, and baking powder. Gently fold everything together until a smooth batter forms.
- Scoop the batter into the piping bag or plastic bag. Pipe 3-4” long cookies onto the baking sheets, leaving about 2” of space between each cookie. You may need to use a knife to end each cookie as you pipe it onto the tray. You should get about 3 dozen cookies.
- Mix together the ¼ cup of powder sugar and ¼ cup of cane sugar. Sift the mixture over the cookies using a sifter or sieve.
- Bake for 15 minutes. Without opening the oven, reduce the temperature to 300°F and bake for 8-10 more minutes. The cookies should be just starting to brown and should be firm to the touch after this time.
- Remove to allow the cookies to cool completely on the baking trays before making the tiramisu (about 2 hours later). Once cooled, the cookies can also be stored in an airtight container at room temperature.

To make the Gluten Free Tiramisu:
- Fill a large saucepan with 1-2 inches of water and place another pan in the saucepan so that it sits just above the water line without touching the water (or if you have a double boiler, use it!). Heat the water over medium heat until it is steaming and just barely simmering. Do not allow the water to boil.
- Place the egg yolks and sugar into the bowl and start whisking. Whisk for 8-10 minutes. The sugar should dissolve and the mixture should be thick and creamy.
- Remove the top pan from over the saucepan and place it in another bowl filled with ice water. Whisk frequently to help the egg yolk mixture cool. Make sure the egg yolk mixture is completely cool before moving onto the next step. It will likely take about 15-20 minutes to cool completely with frequent whisking and a change of ice water. Refrigerate if necessary.
- Meanwhile, brew coffee and set out to cool.
- In a large mixing bowl, whip the heavy cream until stiff peaks form (use hand-held beaters or a stand-mixer with the whisk attachment). Add the cream cheese and beat until combined. Add the salt and vanilla and beat until mixed.
- Turn the mixer onto high speed and whip for about 2 more minutes or until thick and fluffy.
- Scoop half of the cooled egg mixture into cream cheese mixture. Mix on low speed until combined. Add the remaining egg yolk mixture and mix on low until smooth and combined. Do not over mix at this point.
- To assemble the tiramisu: Spread a thin layer of the cream cheese mixture onto the bottom of a 9x9” pan.
- Dunk ladyfingers one at a time very quickly dunk into the cooled coffee (don't let them get soggy) and arrange them in the bottom of the pan in a single layer.
- Spread half of the cream cheese mixture over the ladyfingers. Arrange another layer of dunked ladyfingers on top. Spread the remaining cream cheese mixture over the ladyfingers.
- Smooth out the top layer of cream cheese as much as possible. Cover the pan and transfer it to the fridge. Allow the tiramisu to set overnight or for at least 4 hours.
- When you are ready to serve, uncover the tiramisu and dust with a layer of cocoa powder. Use a sharp knife to cut even slices or simply scoop the tiramisu out with a spoon! Serves 9-12, depending on the size of the pieces.
- Store leftovers covered and in the fridge.
** Please keep in mind that nutrition information provided is per serving, which may vary. While we have taken care to provide you with the most accurate nutritional values possible, please note that this information may differ significantly depending on the exact ingredients and brands that you choose to use to make this recipe. Additionally, where options are given for ingredients, the resulting calculation may include all ingredient options instead of only one per line, skewing the totals significantly.
Whether you make these gluten free Ladyfingers just for snacking or whip up the whole Ladyfingers + Tiramisu recipe, this recipe is a keeper!
Pin to save or share this gluten-free Tiramisu Recipe!


I would like to make this, but it doesn’t need to be dairy free just gf. Suggestions?