Making a gluten free pie crust seems to be the thing that scares away even the most experienced bakers. These quick videos show two methods to easily transfer a gluten free pie crust, so you can bring delicious pies back into your life!
Start with the best gluten free pie crust recipe, to make that light and flaky crust we all love! This is critical, as using a gluten free pie crust recipe made with a gritty or crumbly gluten free flour will never make the process of transferring a gluten free pie crust into the pie pan a simple one.
Nevermind that the crust itself won’t taste good if you don’t use soft and non-gritty flour, either!
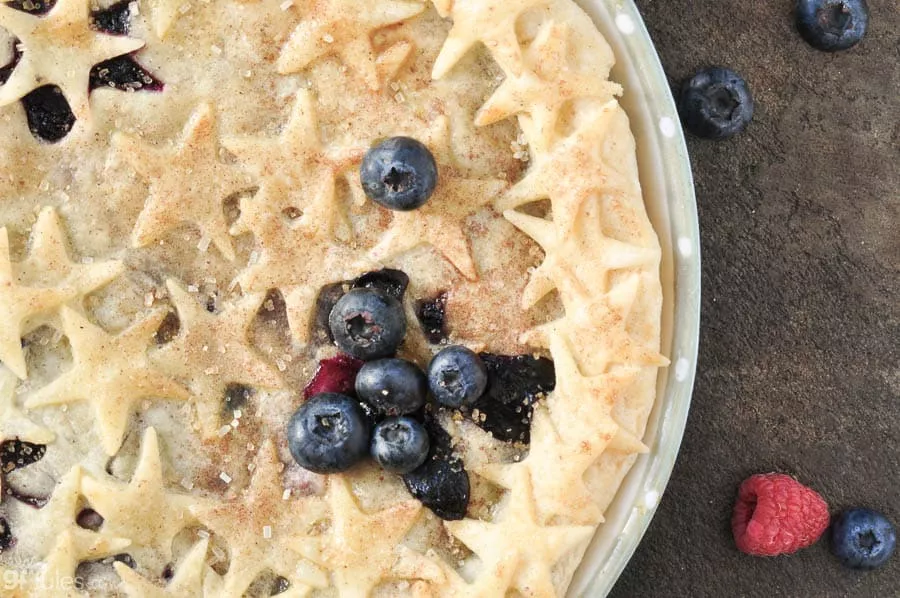
Please do yourself a favor and check out my gluten free pie crust recipe and tips before you attempt either of these methods.
Together — the recipe (made with my award-winning gfJules Flour for stretch) plus one of these two transfer methods — will have you making beautiful, flaky and delicious gluten free pies in no time!
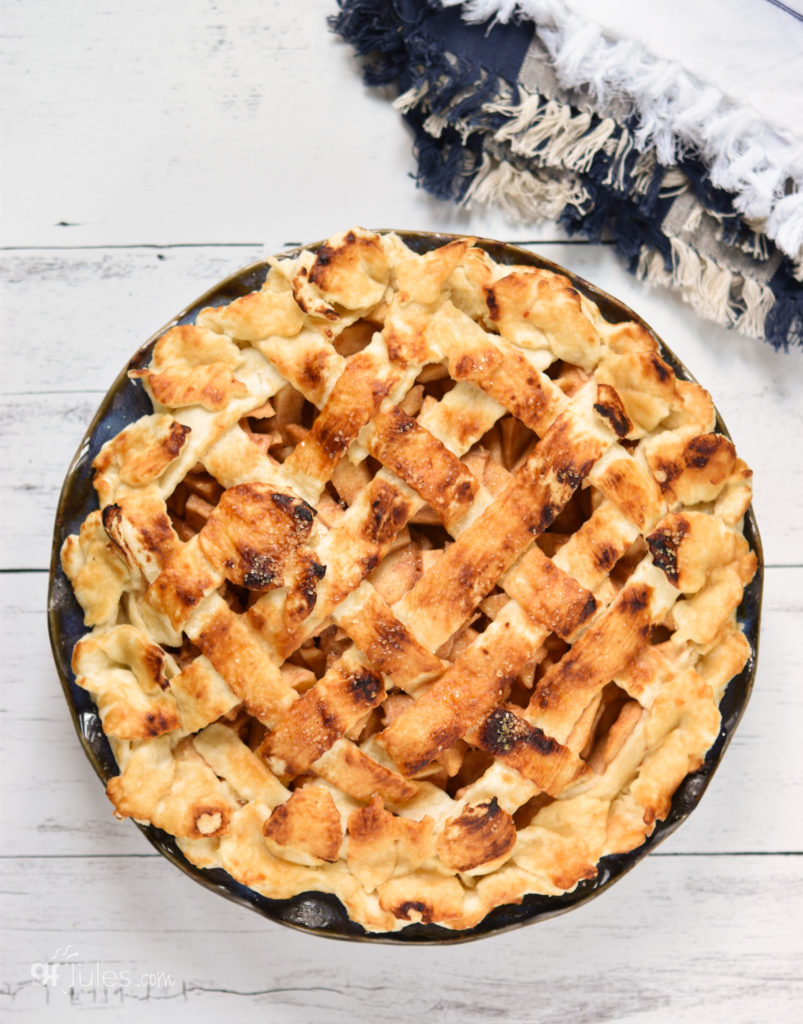
The only question is what pie will you start with? Apple, peach, blueberry, cherry, pumpkin, banana cream, chocolate cream, key lime … so many choices! I have recipes for all of them (and more!) here at gfJules.com. Just use the search bar at the top of every page!

Method One: Transfer a Gluten Free Pie Crust using a Pastry Mat and Rolling Pin
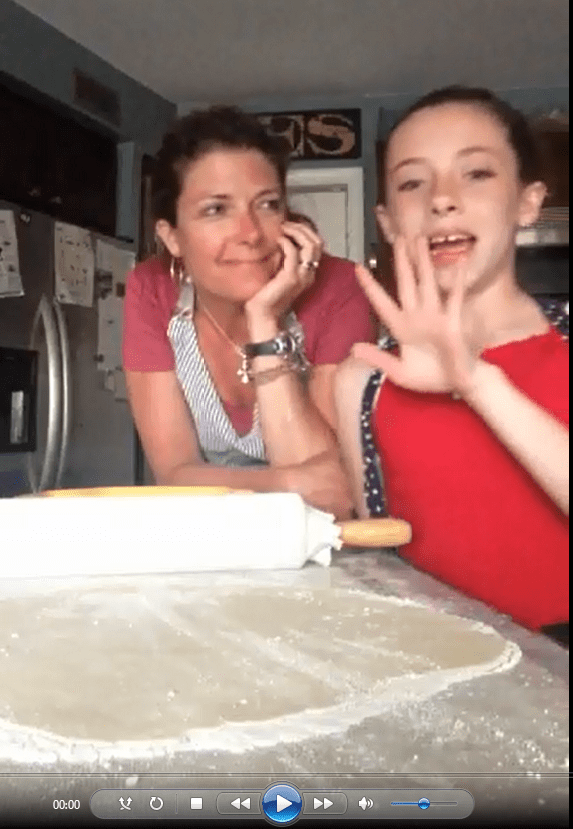
Method Two: Transfer a Gluten Free Pie Crust using a Pie Bag:
You can find pie bags in the gfJules Store here.
Recap of steps in transferring the gluten free pie pastry into the pan using either method:
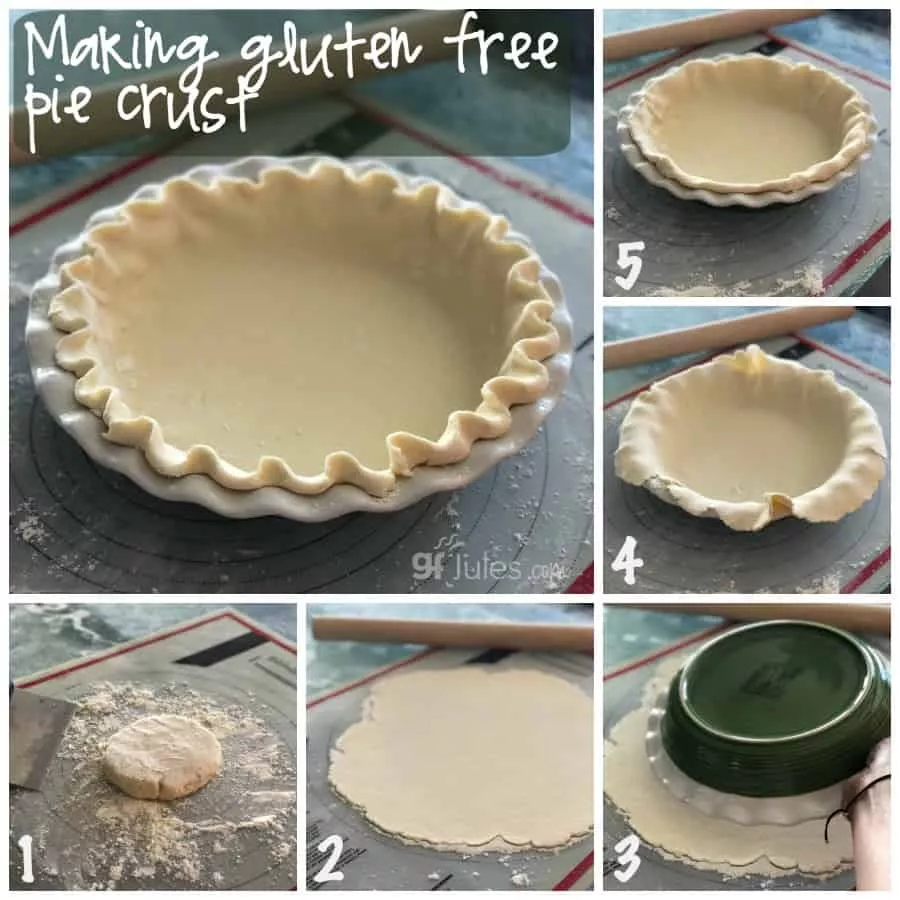
Check out my Gluten Free Pie Crust Tips and Recipe post for full details on getting that pastry just right!!!









I made a gluten free pie crust using your flour, and it was fantastic! Easy to work with, and did not fall apart!
YAY Suzanne! That’s fantastic! So glad you have homemade pie back on your menu!!!
~jules