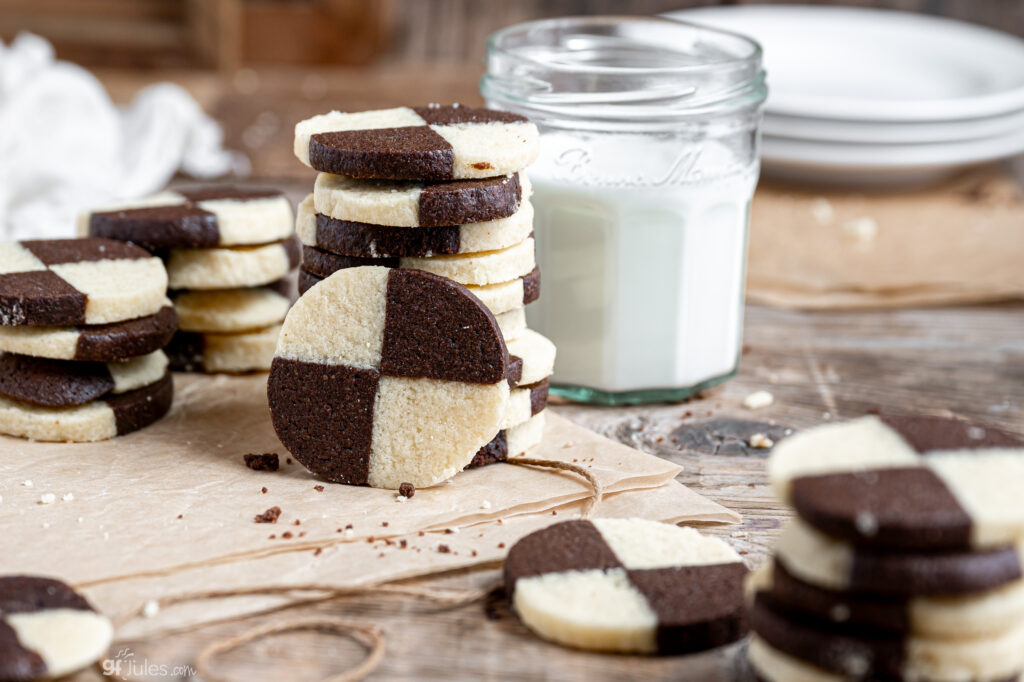
Summer temps have us all craving recipes that beat the heat. This old fashioned Icebox Cookie is a classic I remember from my grandparents, but I’m making it gluten-free, dairy-free, and a little bit fancy! These gluten-free chocolate and vanilla icebox cookies — dipped in ice cream or a cold glass of milk — just may be the perfect treat on a hot day, but they’re equally lovely on a holiday cookie tray!
Why are they called Icebox Cookies?
Icebox cookies date back to the 1900s when the home icebox — now refrigerator — became a kitchen staple. The icebox was quite literally cooled by ice, hence the name.
Icebox cookies refer to a style of dough that became popular when bakers were finally able to chill their dough using these iceboxes. The dough could be stored in the icebox where it would be ready at a moment’s notice for slice-and-bake preparation. Being chilled also enhanced the dough’s texture and buttery flavor.

Folks love to make icebox cookies in the summer months because it’s a great excuse to open the fridge!
You’re also working with cold dough, as this chocolate and vanilla dough is rolled into chilled logs that go back and forth from the refrigerator as you form them into this fancy, but surprisingly easy, checkerboard pattern.
How Do I Make a Gluten-Free Checkerboard Cookie?
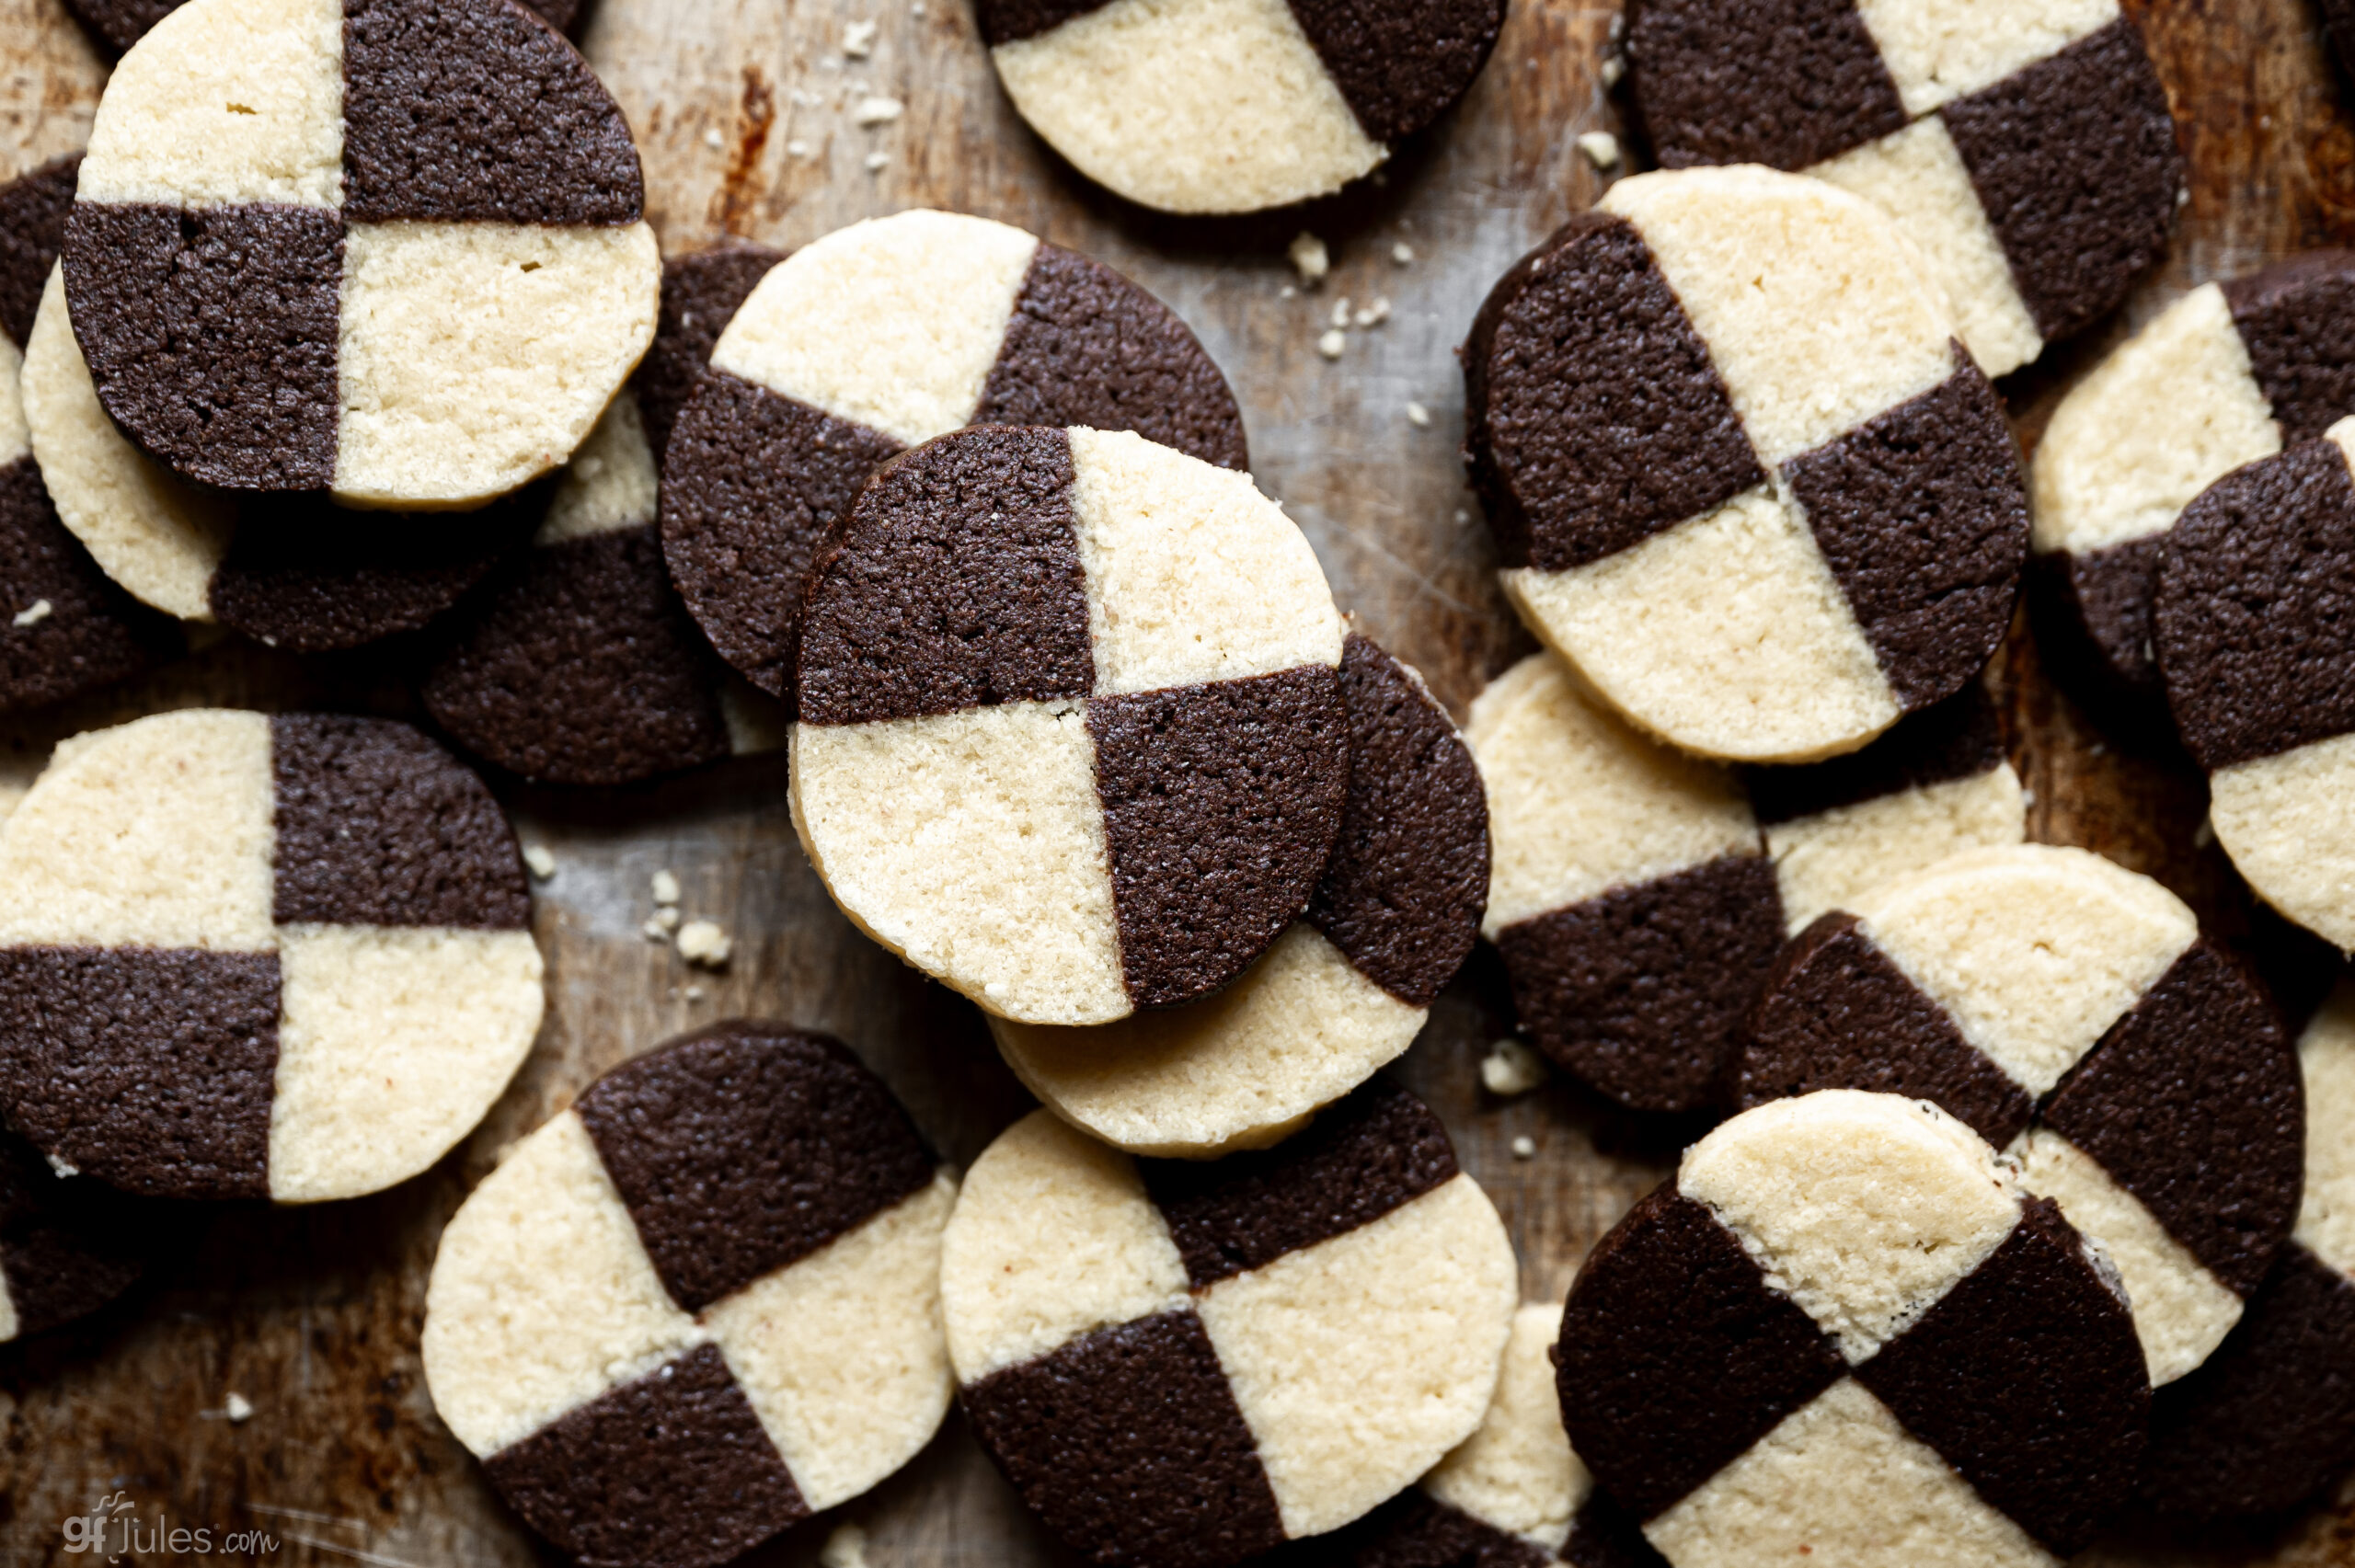
To achieve the striking quadrile color effect (the classic checkerboard pattern) without the dough tearing or blending, prepare the vanilla and chocolate doughs separately, following the recipe below.
Then shape each into a long log and wrap them separately and tightly so they won’t dry out. Refrigerate for about an hour, until cold.

At this point, you’ll cut each log lengthwise into 4-equal portions. Then pair the quarters in alternating colors to form a chessboard pattern before gently pressing together and chilling again. This technique helps the cookies maintain sharp, clean lines while baking, showcasing the beautiful contrast of the chocolate and vanilla layers.
Be sure to use gfJules Gluten-Free Flour to ensure that your checkerboard cookie dough stays soft, yet slices cleanly, free from the grittiness often found in other gluten-free flours.

For more hot weather recipes, check out my Gluten Free Ice Cream Cake, Vegan Peanut Butter Cookie freezer pie, and Gluten Free Strawberry Pie, for starters!
Gluten-Free Icebox Cookies Recipe
Equipment

Ingredients
Chocolate Cookie Dough:
- 6 Tablespoons butter or vegan butter alternative room temperature (Miyoko’s Creamery)
- ¼ cup brown sugar or coconut sugar
- 2 Tablespoons granulated sugar
- 1 egg yolk room temperature (or sub like 1 ½ Tablespoons egg-free mayo)
- 1 teaspoon vanilla extract
- ½ cup gfJules All-Purpose Gluten Free Flour
- 2 Tablespoons gfJules All-Purpose Gluten Free Flour
- ¼ cup cocoa powder
- ¼ teaspoon sea salt
- ¼ teaspoon baking powder
Vanilla Cookie Dough:
- 6 Tablespoons butter or vegan butter alternative room temperature (Miyoko’s Creamery)
- ¼ cup granulated sugar
- 2 Tablespoons granulated sugar
- 1 egg yolk room temperature (or sub like 1 ½ Tablespoons egg-free mayo)
- 1 teaspoon vanilla extract
- ¾ cup gfJules All-Purpose Gluten Free Flour
- 2 Tablespoons gfJules All-Purpose Gluten Free Flour
- ¼ teaspoon sea salt
- ¼ teaspoon baking powder
Instructions
- Prepare the vanilla cookie dough first. Start by putting the room temperature butter into a mixing bowl. Add sugar.
- Using the paddle attachment or a hand mixer, mix on medium-low until the butter is smooth, creamy, fluffier and light colored, about 2-3 minutes.
- Add the egg yolk and vanilla, mixing until combined. Add the flour, salt, and baking powder. Mix on low just until large sticky clumps start to form. The batter will look dry and crumbly at first but as it gets mixed it will soften into a dough. Stop mixing just as the dough gets sticky, don’t overmix, otherwise the butter will soften too much and the dough will become very sticky.
- Use a spatula to scrape the dough into a ball. Pick up the dough and shape it into a log/cylinder that is about 2” in diameter. Wrap the log in plastic wrap, twisting the ends of the plastic wrap to help keep a uniform cylinder shape. Place the log in the refrigerator.
- Repeat the process for the chocolate cookie dough using the same mixing bowl.
- Once both cookie logs have been made and wrapped tightly, allow them to chill in the refrigerator for at least 1 hour.
- Once chilled, remove both logs from the refrigerator and cut each log lengthwise into quarters. If the dough seems brittle when cutting, it is too cold. Allow the dough to rest at room temperature for 15-20 minutes before cutting.
- Pair one of the chocolate quarters with one of the vanilla quarters. Before sticking together, brush the cut side of one of the quarters with cold water to help the two pieces bond together. Repeat until you have 4 vanilla/chocolate matched log halves of cookie dough.
- Pair 2 of the log halves together with the chocolate and vanilla sides alternating. Again, brush the cut sides of the halves with cold water to help them bond together.
- After pairing those halves, you will have two cookie dough logs again. Gently press and roll each log to help the pieces bond together. Re-wrap each log in plastic wrap and place them back in the fridge.
- Allow them to chill for 1 hour or for up to 2 days. You may also wrap foil over top of the plastic and place the logs into the freezer for baking later. You will need to bring the cookie dough closer to room temperature to be able to slice and bake when you are ready to make your cookies from frozen.
- Preheat the oven to 350°F and line two baking sheets with parchment paper.
- Remove the cookie dough logs from the refrigerator, unwrap, and slice ¼” thick cookies. If the cookie dough seems brittle when you start to cut it, allow it to rest at room temperature for 10-15 minutes.
- Slice off as many cookies as you want, or slice both logs. Place the cookies on the baking sheets, leaving about 1” of space between each cookie.
- Bake for 14-16 minutes. The cookies will seem soft when they come out of the oven, but they will firm up as they cool. Allow them to cool on the rack before transferring so they will not be as fragile.
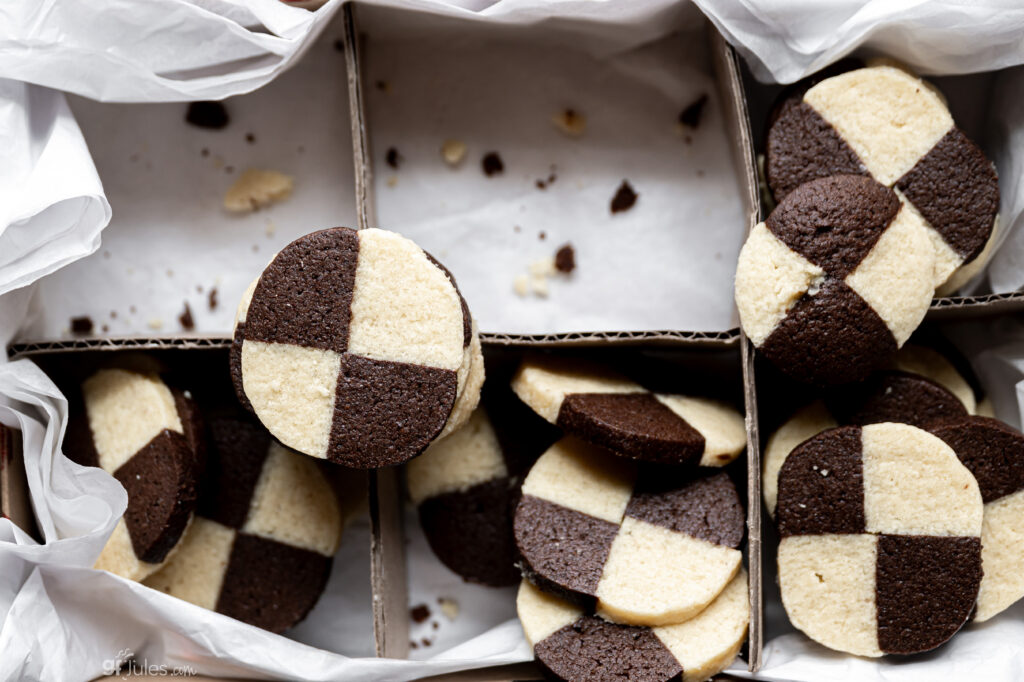
- Store cooled cookies in an airtight container at room temperature.
** Please keep in mind that nutrition information provided is per serving, which may vary. While we have taken care to provide you with the most accurate nutritional values possible, please note that this information may differ significantly depending on the exact ingredients and brands that you choose to use to make this recipe. Additionally, where options are given for ingredients, the resulting calculation may include all ingredient options instead of only one per line, skewing the totals significantly.
I know you’ll love these classic cookies!
Pin to save or share!