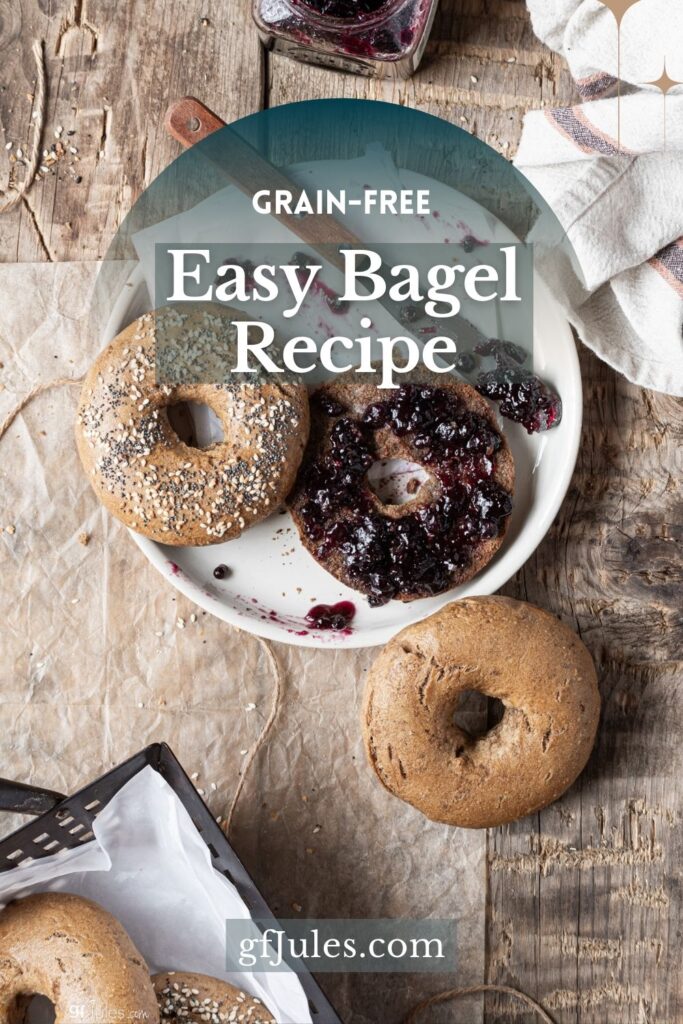
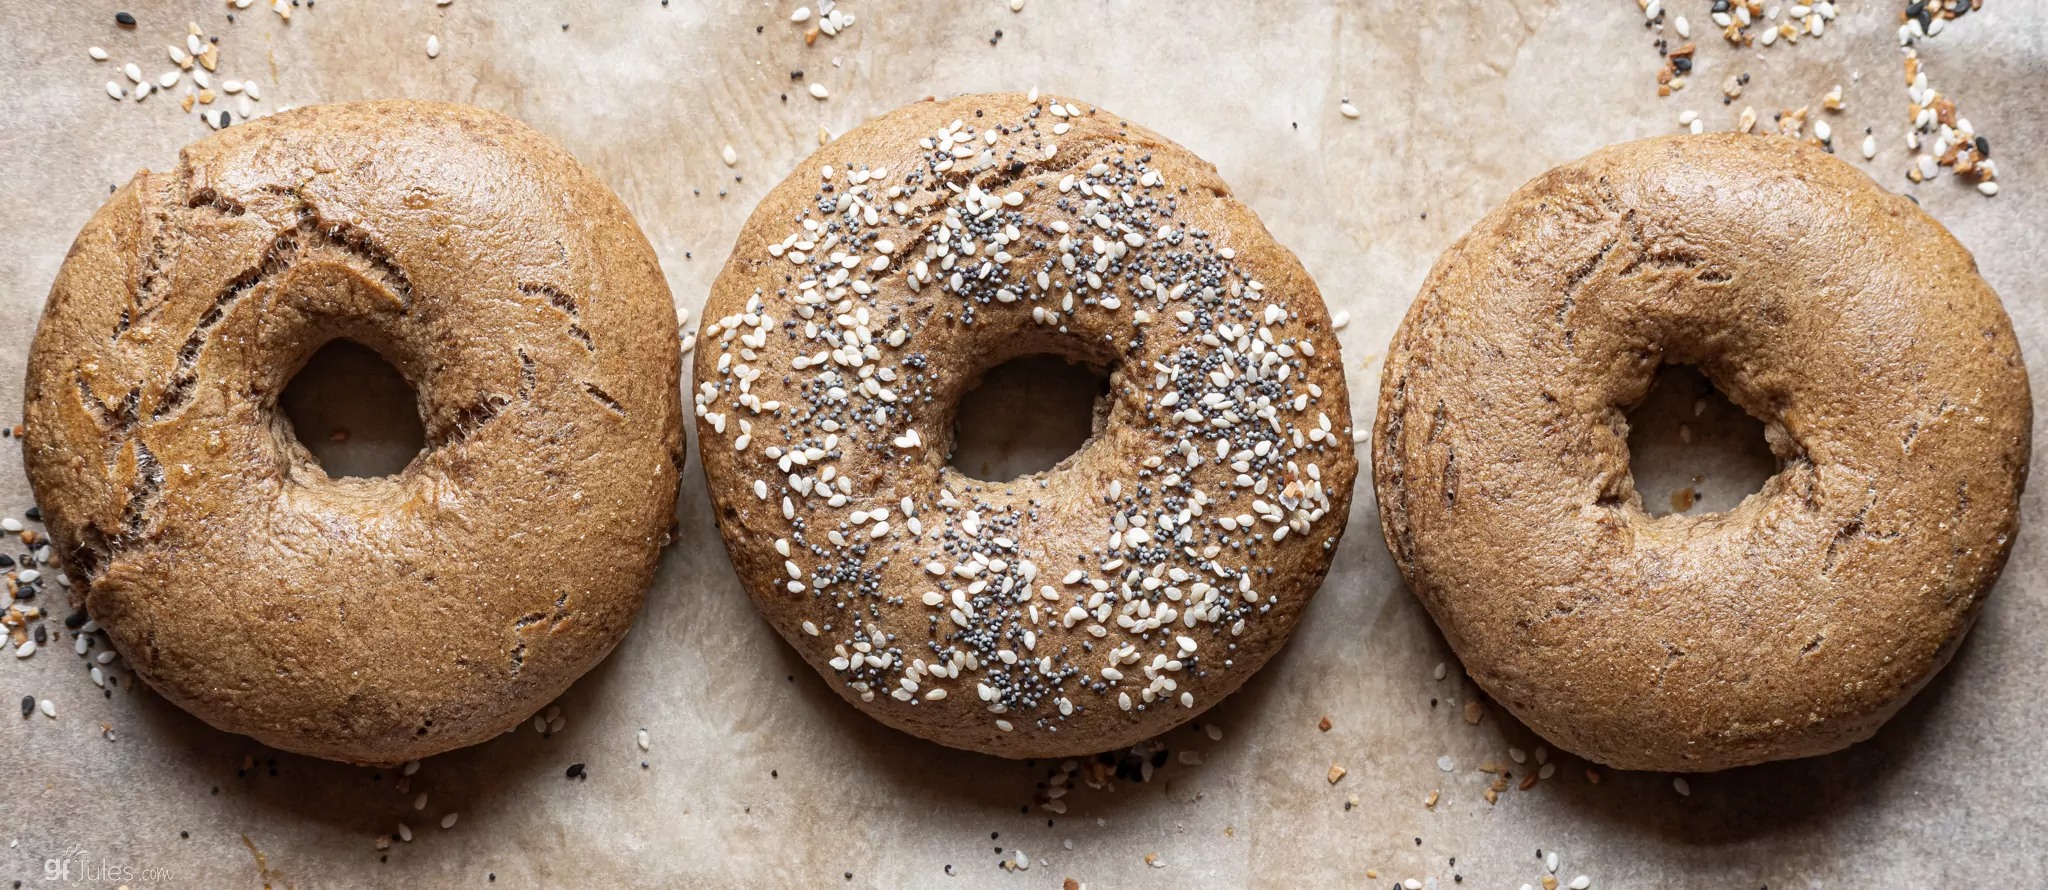
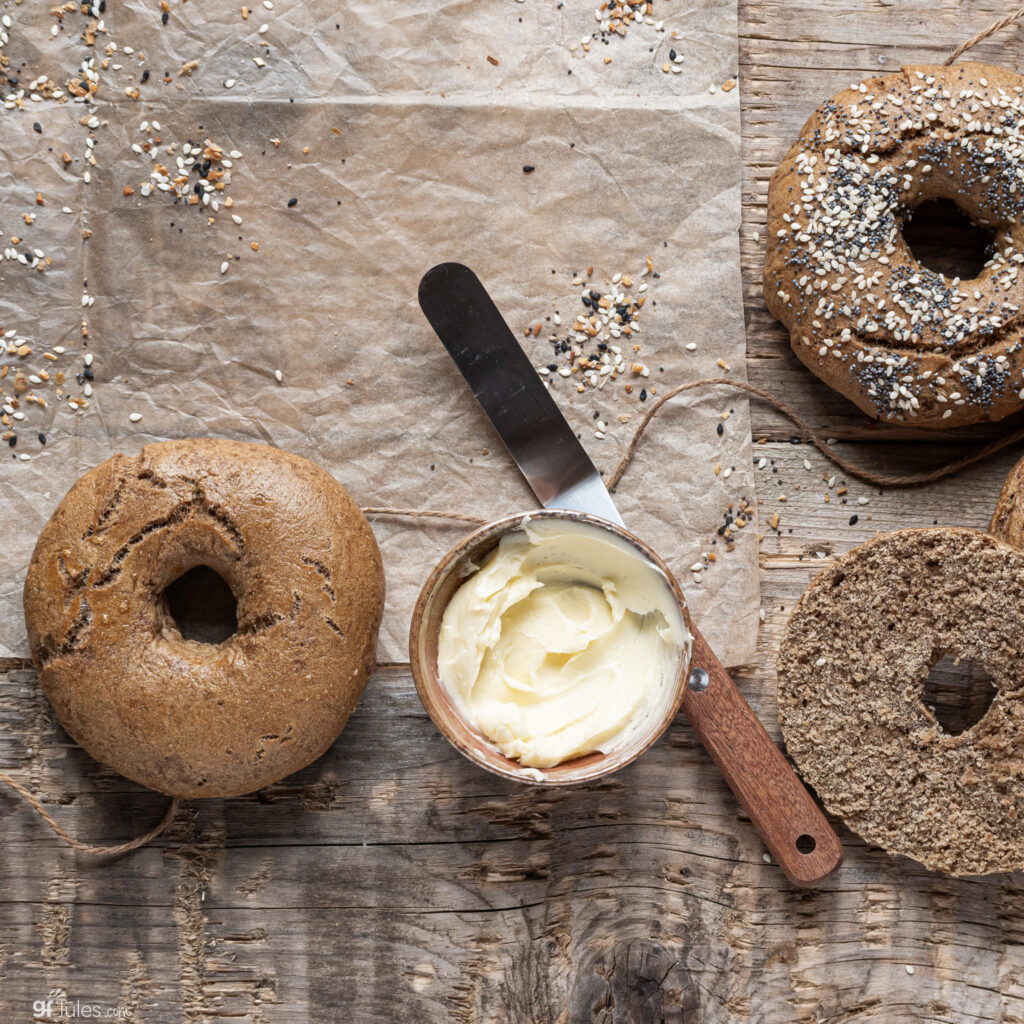
How good do these Grain Free Bagels look? I mean, how is that possible, right?? No gluten, no grains, no nuts, no dairy … what magic is this?
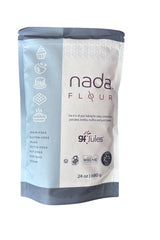
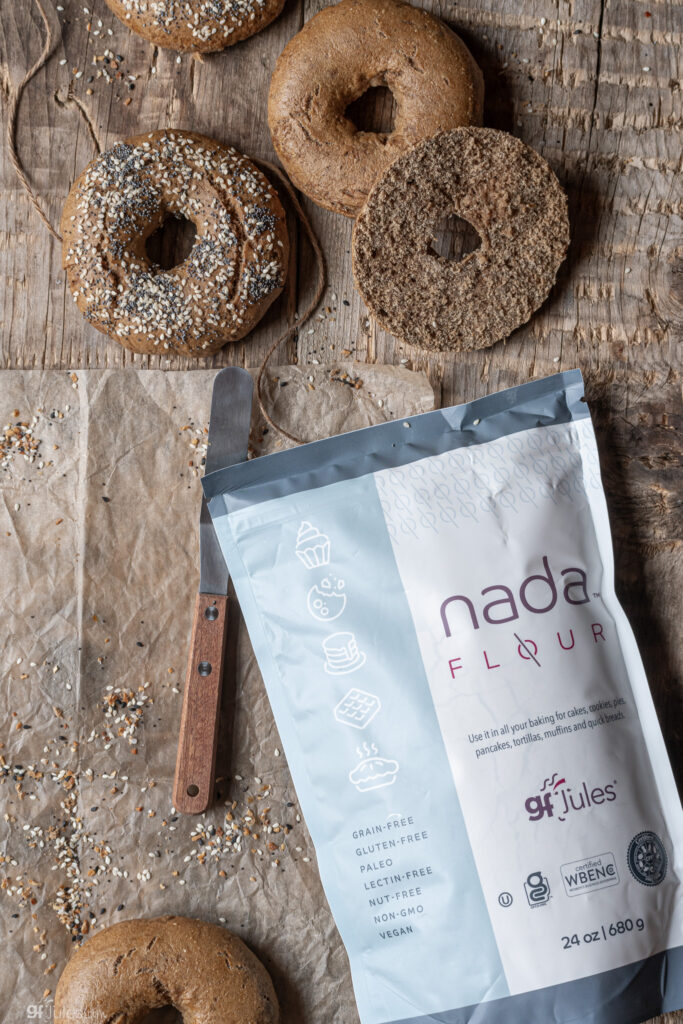
When I developed my gfJules Nada Flour, I wanted it to be the go-to option for anyone who needed or wanted to eat grain-free and maybe even had other food allergies or dietary restrictions as well.
Nada Flour is allergen-free and is a 1:1 for regular all purpose flour in most recipes, so it is a real baking miracle for many!
The trickiest recipes in the gluten free and grain free world though, are always those for breads. And we all want great bread!
So I’m going to be sharing a few great bread recipes using Nada Flour in the coming weeks, starting with this delicious Grain Free Bagels Recipe!
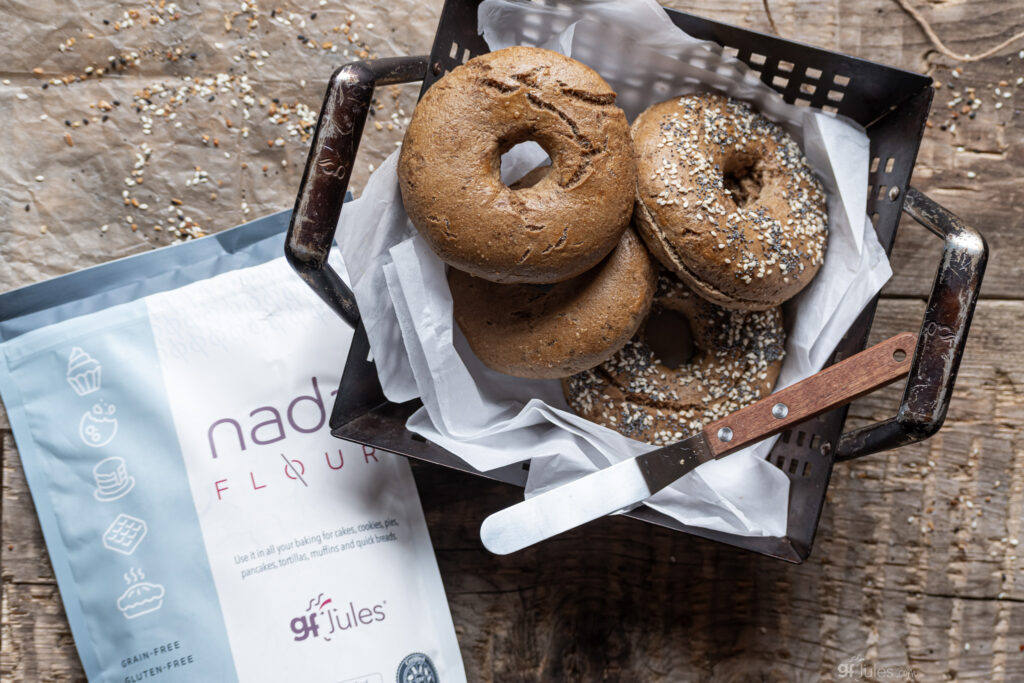
For loads of other great grain free, allergen free recipe ideas using Nada Flour, just hop to the product page and scroll down below the ingredients.
You’ll find links to all kinds of yummy recipes for everything from grain free brownies to grain free pancakes, pound cake, pie crust and so much more! You can also just use the search bar at the top of every page and search “Nada”.
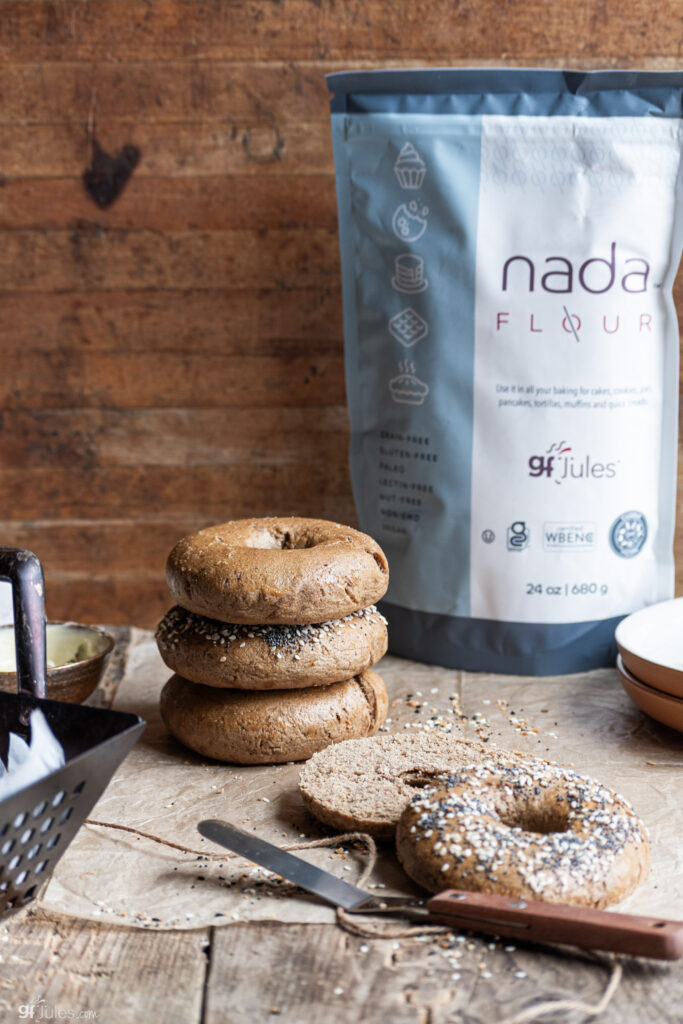
But more on these lovely gluten free, grain free bagels!
The recipe is super easy, requiring only a few simple ingredients in addition to Nada Flour. No need to add other binders or thickeners when using Nada Flour, by the way.
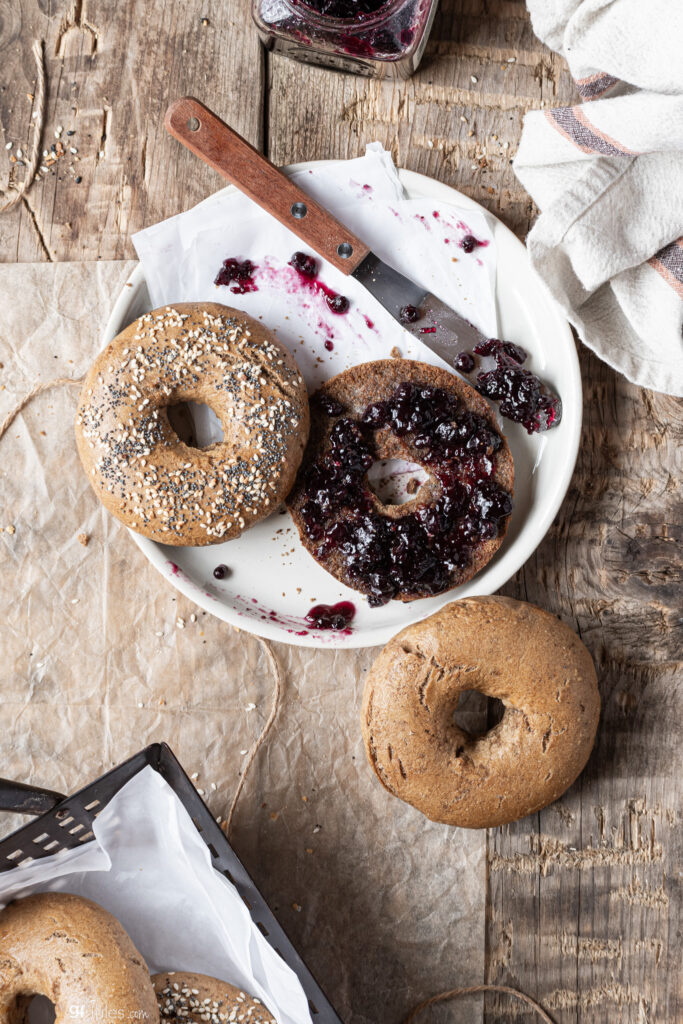
Feel free to add raisins or herbs or other seasonings to the dough to change up the flavor of these bagels, or just sprinkle your favorite toppings on.
Don’t skip the boiling step as we all know that’s what makes a bagel a bagel!
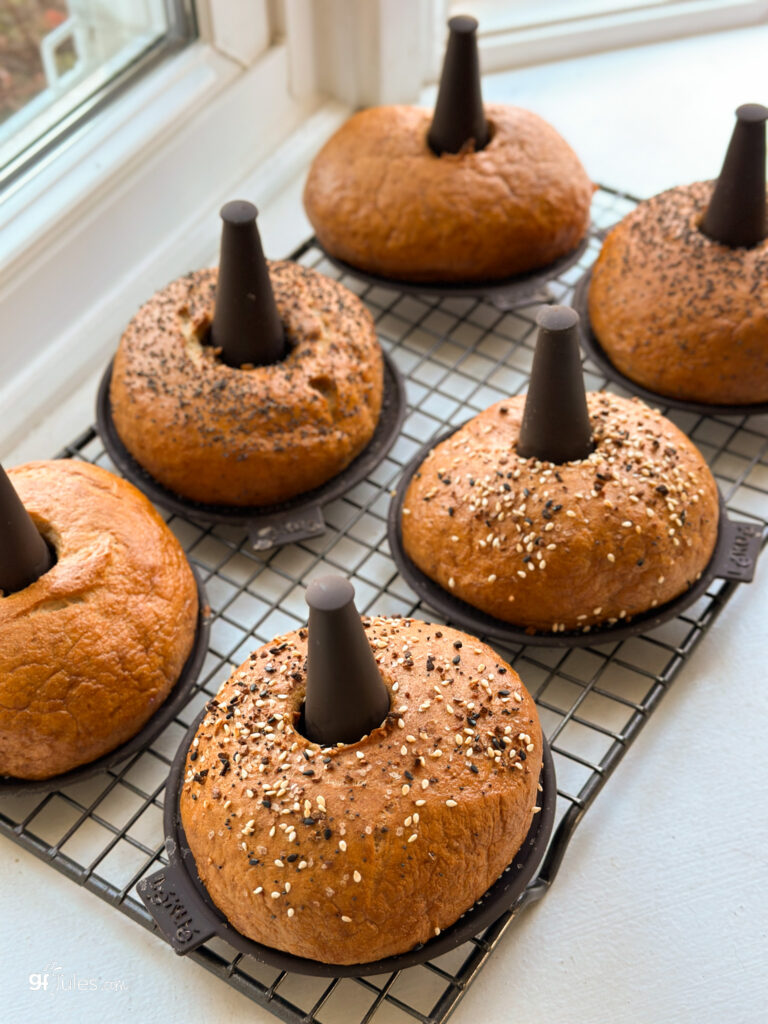
I’m providing directions for hand shaping these bagels (so easy), or you could use these super handy bagel makers from Lekue which I highlighted in this year’s Gluten Free Gift Guide.
I’m loving these as a baking tool in my kitchen!
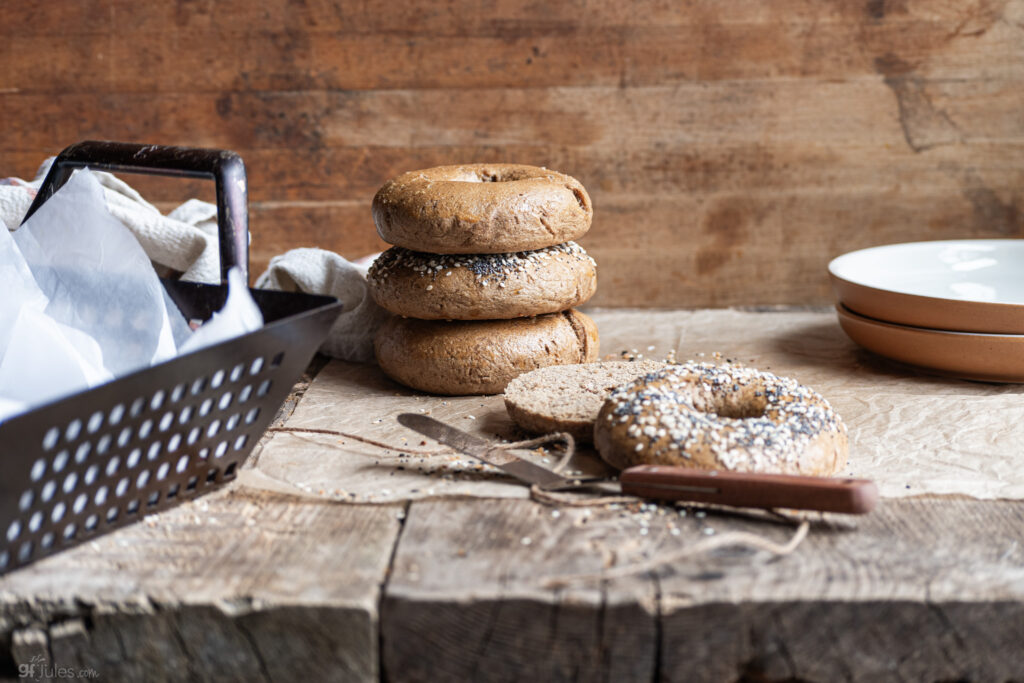
No matter how you decide to make these grain free bagels, you just need to do it! They’re going to be great for packed lunches, snacking and of course anytime you’d love a sandwich.
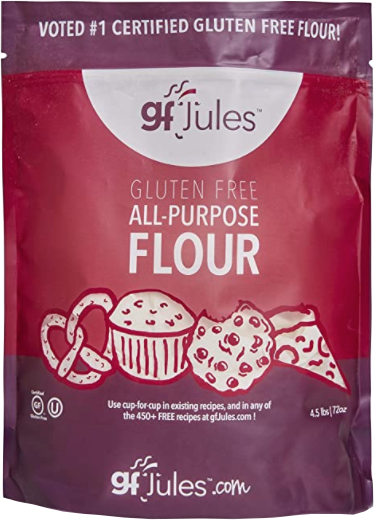
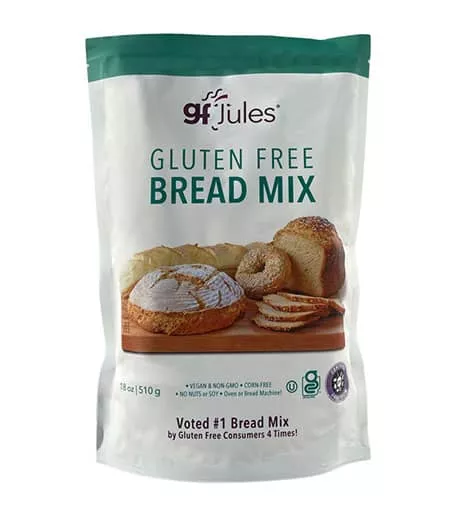
If you’d like to make homemade gluten free bagels with my gfJules Gluten Free All Purpose Flour or gfJules Gluten Free Bread Mix, just hop to that bagel recipe instead. It’s a yeasted dough that makes an authentic NY Style bagel which will blow away any store-bought or frozen gluten free bagel, I promise you!
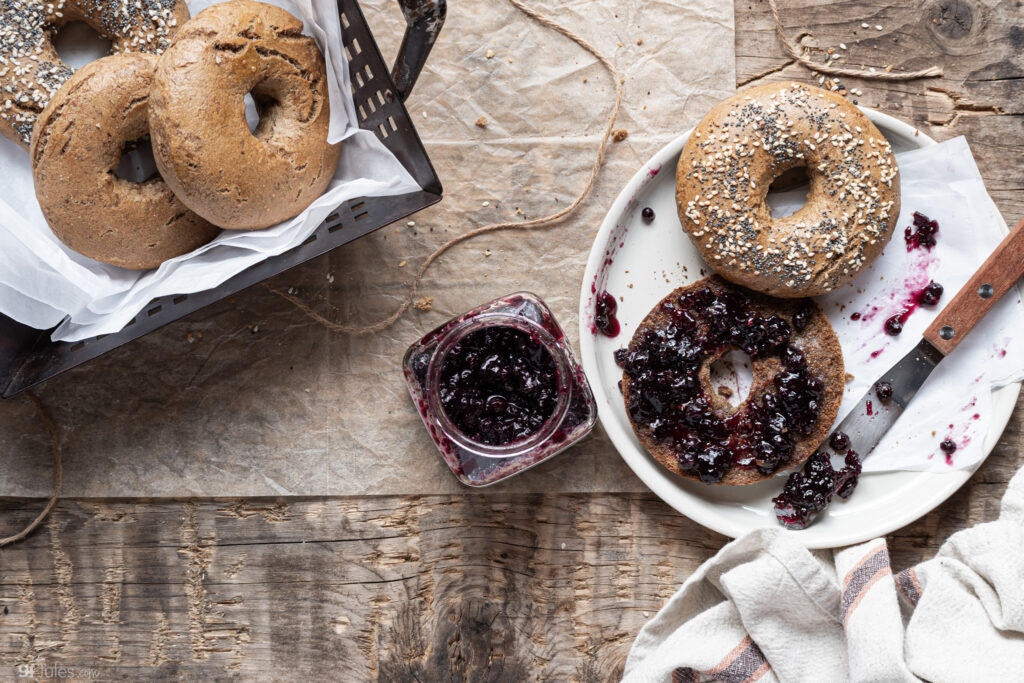
Grain Free Bagels Recipe
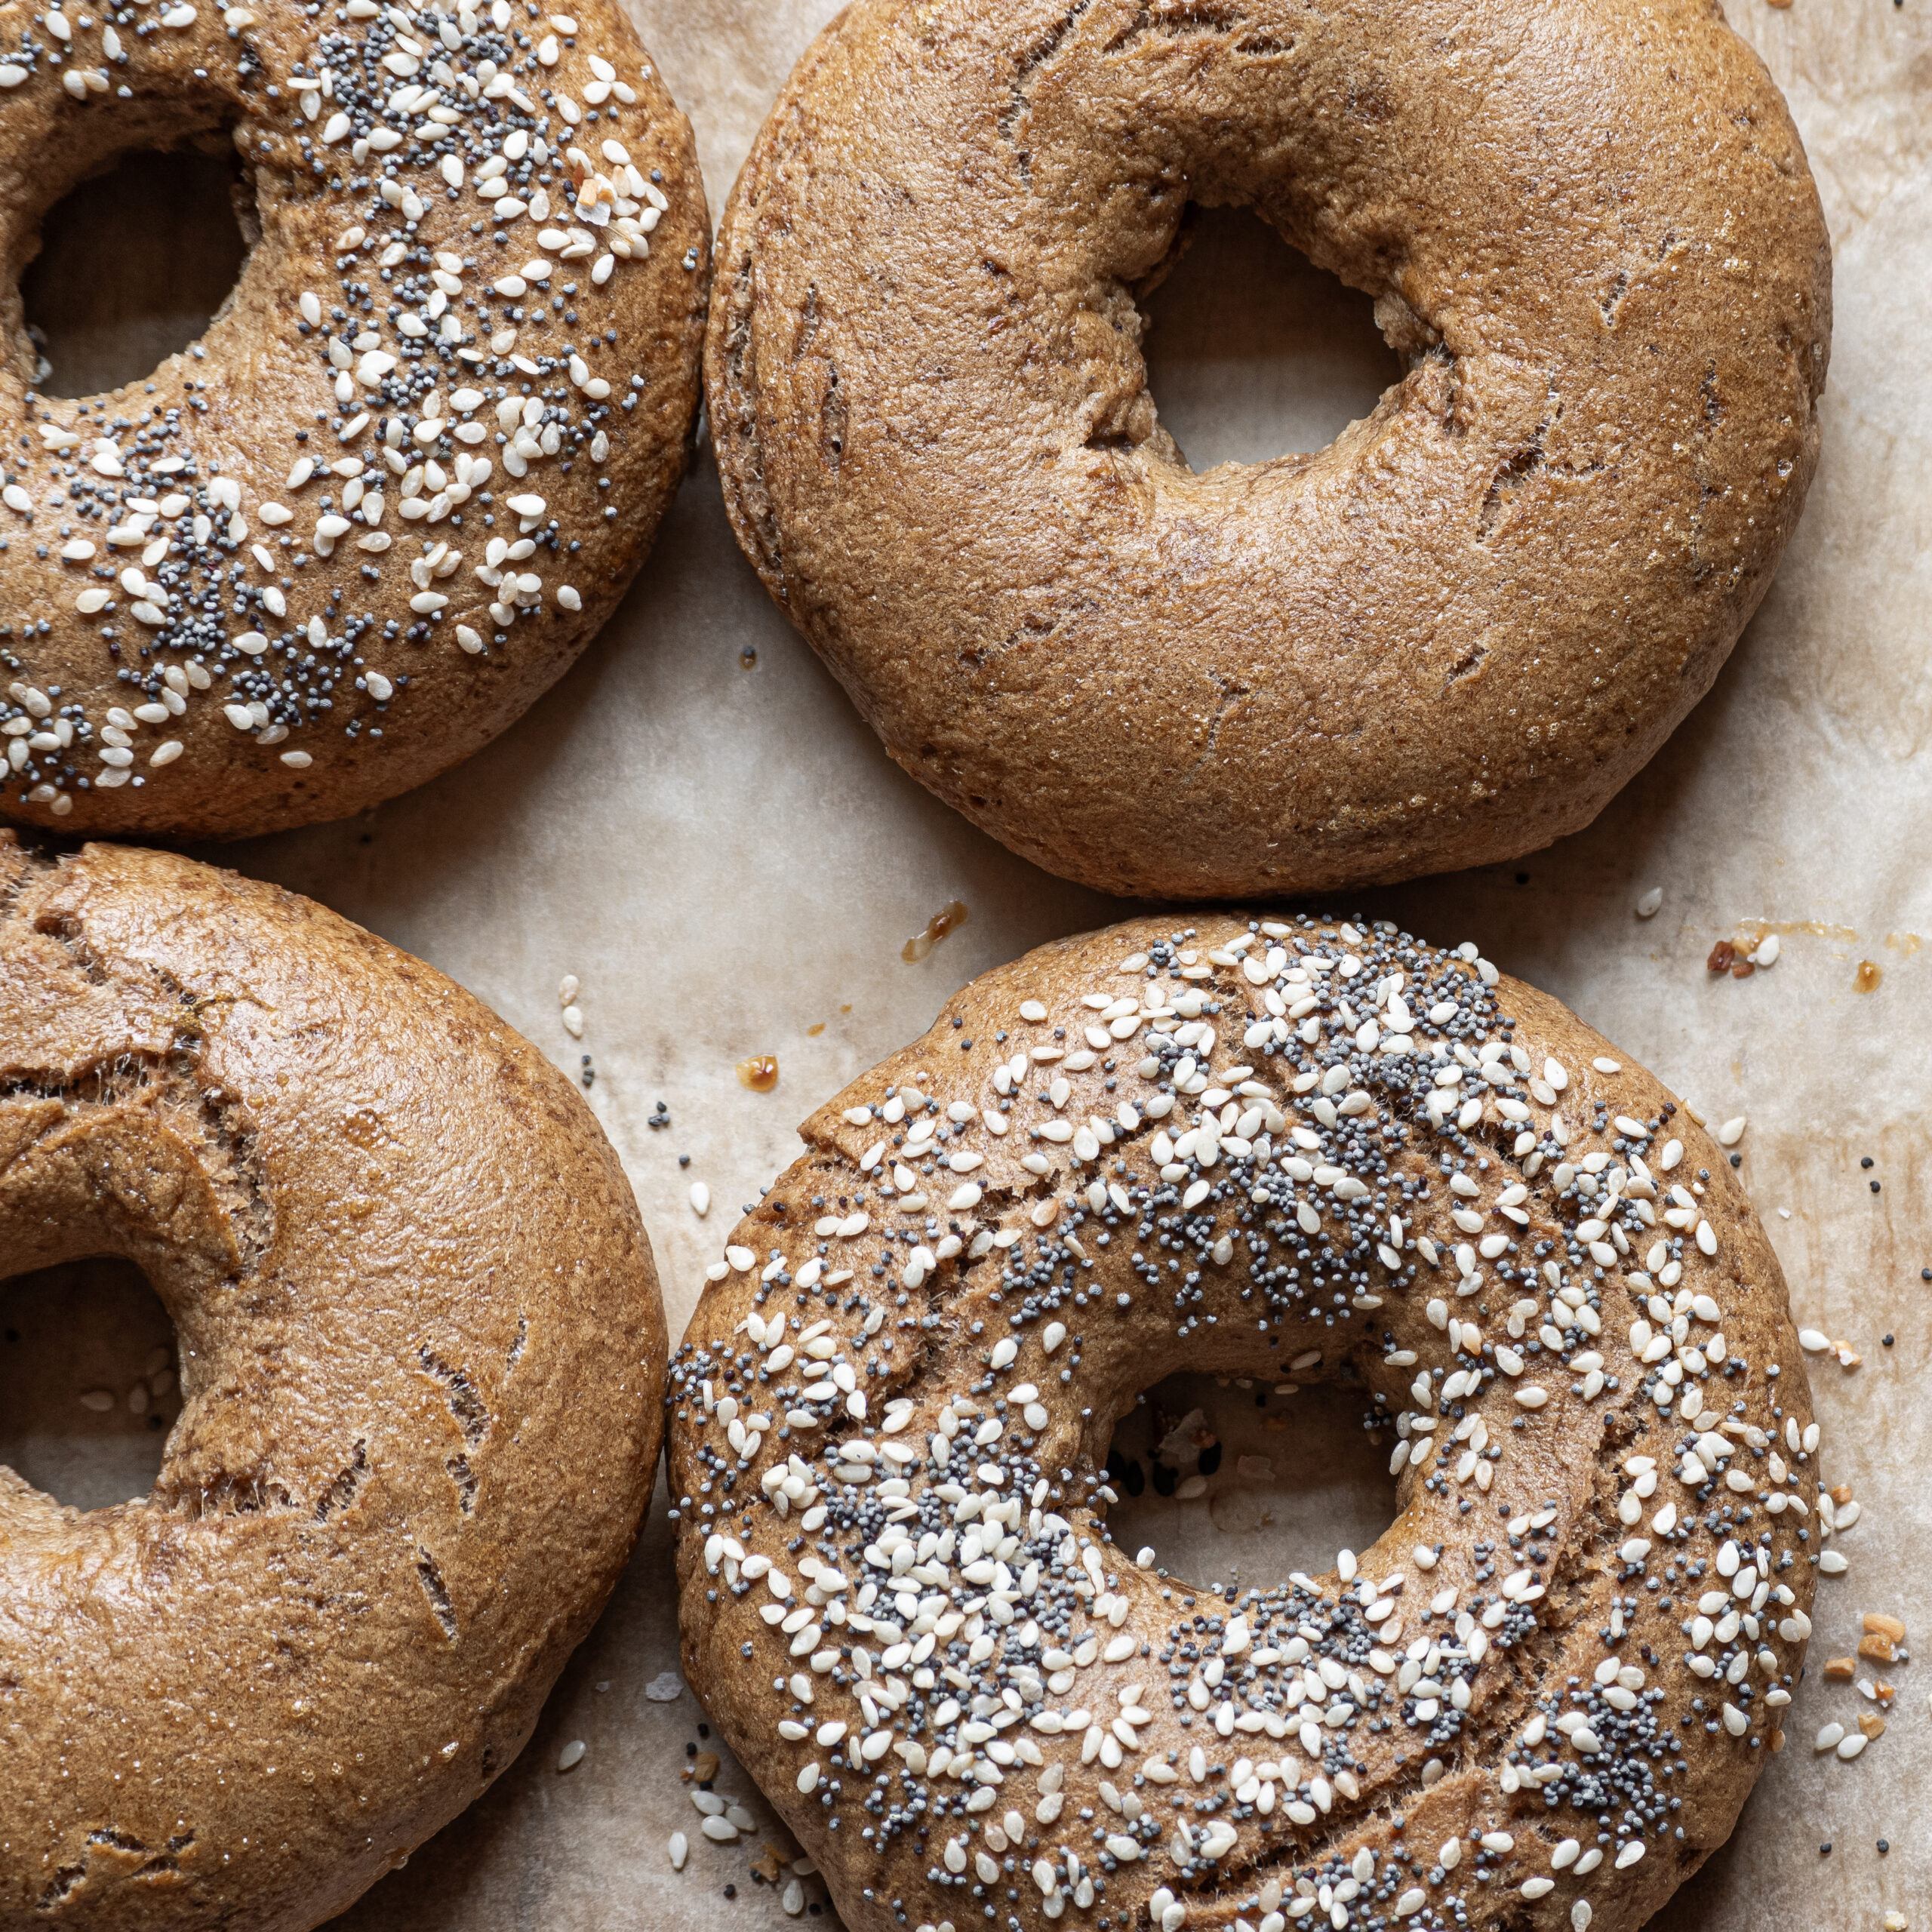
Grain Free Bagels Recipe
Equipment
Ingredients
Bagel Ingredients:
- 2 cups (220 grams) gfJules NADA Flour
- 1 teaspoon baking powder
- ½ teaspoon baking soda
- 4 large eggs room temperature (for egg substitutes see choices here)
- ¼ cup avocado oil or other mild cooking oil
- 2 Tablespoons maple syrup or honey
- 2-3 Tablespoons water
Boil and Toppings
- 1 Tablespoon baking soda for the boil
- 2 Tablespoons sesame seeds poppy seeds, or everything seasoning (optional)
- 1 egg + 1-2 teaspoons water for egg wash (optional)
Instructions
- Preheat the oven to 350°F and line a baking sheet with parchment paper.
- In a large mixing bowl, whisk Nada Flour, baking powder, and baking soda. Stir in eggs, oil, and maple syrup, then gradually add the water, 1 tablespoon at a time until a smooth dough forms. You should be able to handle the dough without it sticking, but the dough should still be moist, not crumbly.
- Separate the dough into 4 equal parts.
- Fill a deep pan with 2 quarts of water or halfway full. Bring the water to a boil, add baking soda, and then turn it slightly down but keep the water boiling.
- Roll each segment of dough into a ball and then shape it into a bagel. Poke your thumb or a spoon handle through the center of the dough ball to make the hole.
- Drop one bagel at a time into the boiling water and boil for 1 minute or until it rises to the top of the water. Remove with a slotted spoon or sieve to lay on the baking tray.
- To make the egg wash, combine the egg and water in a small bowl and whisk to combine. If not using egg wash, use your favorite milk instead. Brush the egg wash or milk over the bagels and sprinkle on any seasonings.
- Bake the bagels for 25 minutes, or until they are golden brown and the bottoms are lightly browned. Cool completely before slicing or storing.
** Please keep in mind that nutrition information provided is per serving, which may vary. While we have taken care to provide you with the most accurate nutritional values possible, please note that this information may differ significantly depending on the exact ingredients and brands that you choose to use to make this recipe. Additionally, where options are given for ingredients, the resulting calculation may include all ingredient options instead of only one per line, skewing the totals significantly.
Recommended Products
Any links to Amazon may earn me a small amount from qualifying affiliate purchases; this amount goes to fund this blog and does not cost you anything additional.
Pin for later!
