Finally, a worthy gluten free twist on the beloved Italian classic! Ciabatta, renowned for its airy crumb and rustic crust, originated in Italy in the 1980s as another iteration in the country’s historic love affair with hearty, crusty bread. This vegan and gluten free ciabatta recipe preserves the essence of classic ciabatta, answering the call of everyone who’s missed out on this delightful bread due to gluten, dairy or egg restrictions.
A Little Food History of Ciabatta
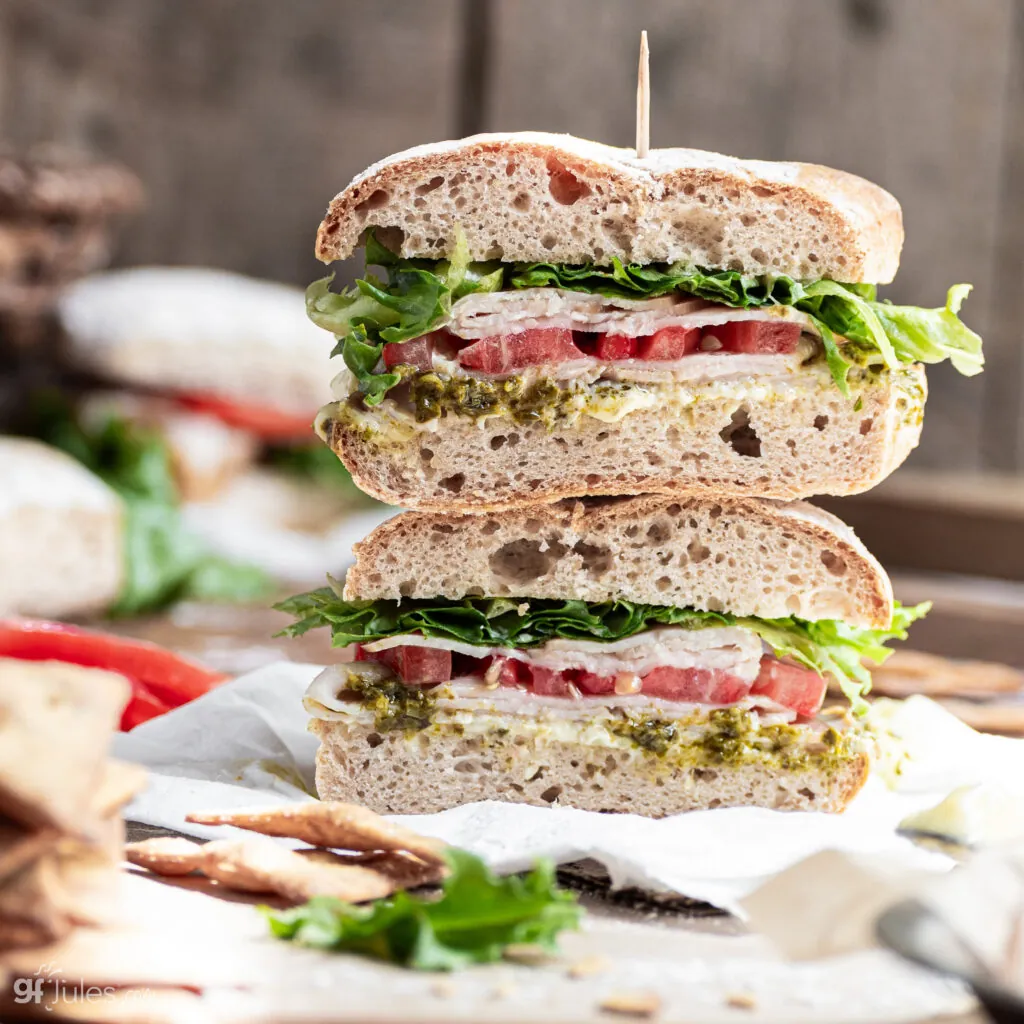
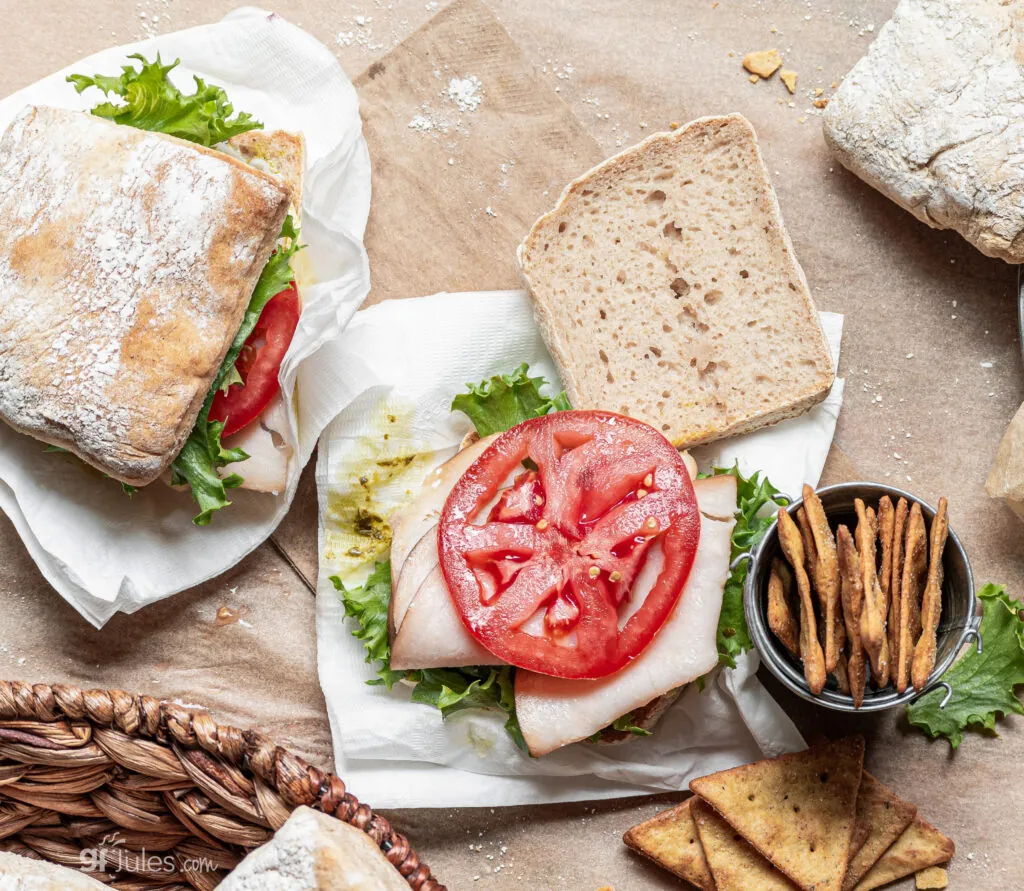
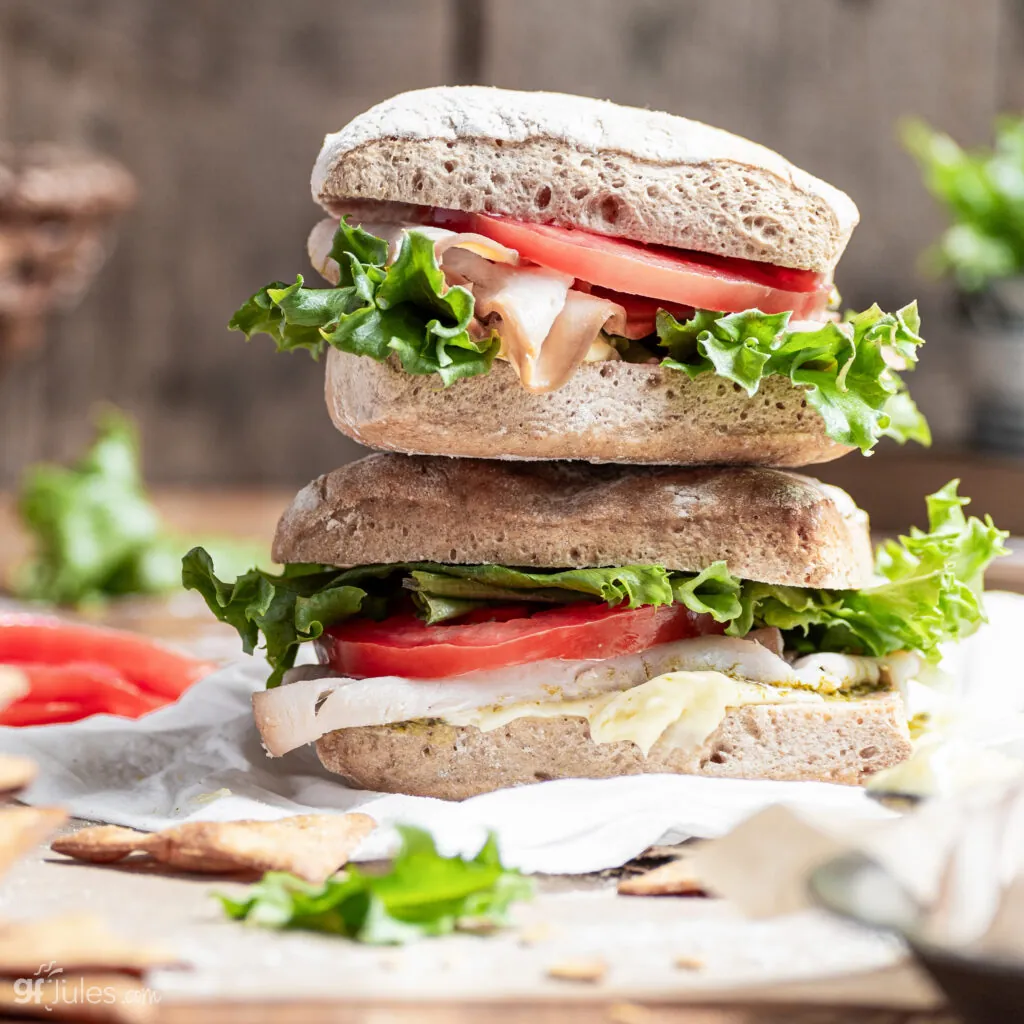
Ciabatta, meaning “slipper” in Italian due to its flat, elongated shape, was created by Italian bakers in response to the ever-increasing popularity of French baguettes (and yes, I have amazing gluten free baguette recipes, too!). Its hallmark open crumb, yet chewy texture quickly made it a staple in Italian cuisine, perfect for soaking up olive oil or pairing with prosciutto and cheese … or other sandwich fixin’s.
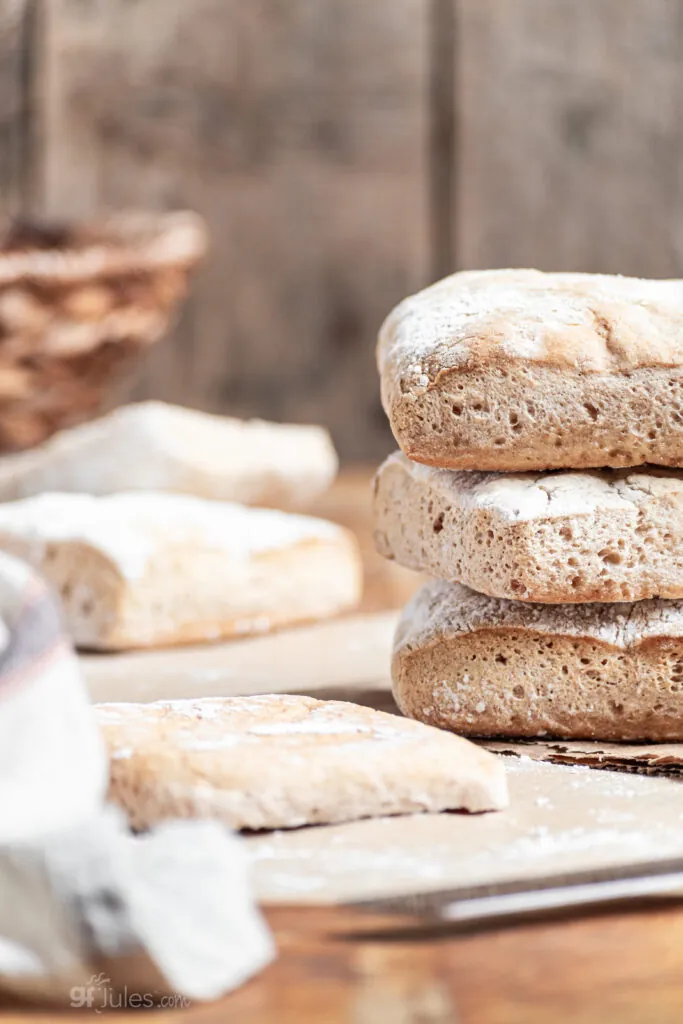
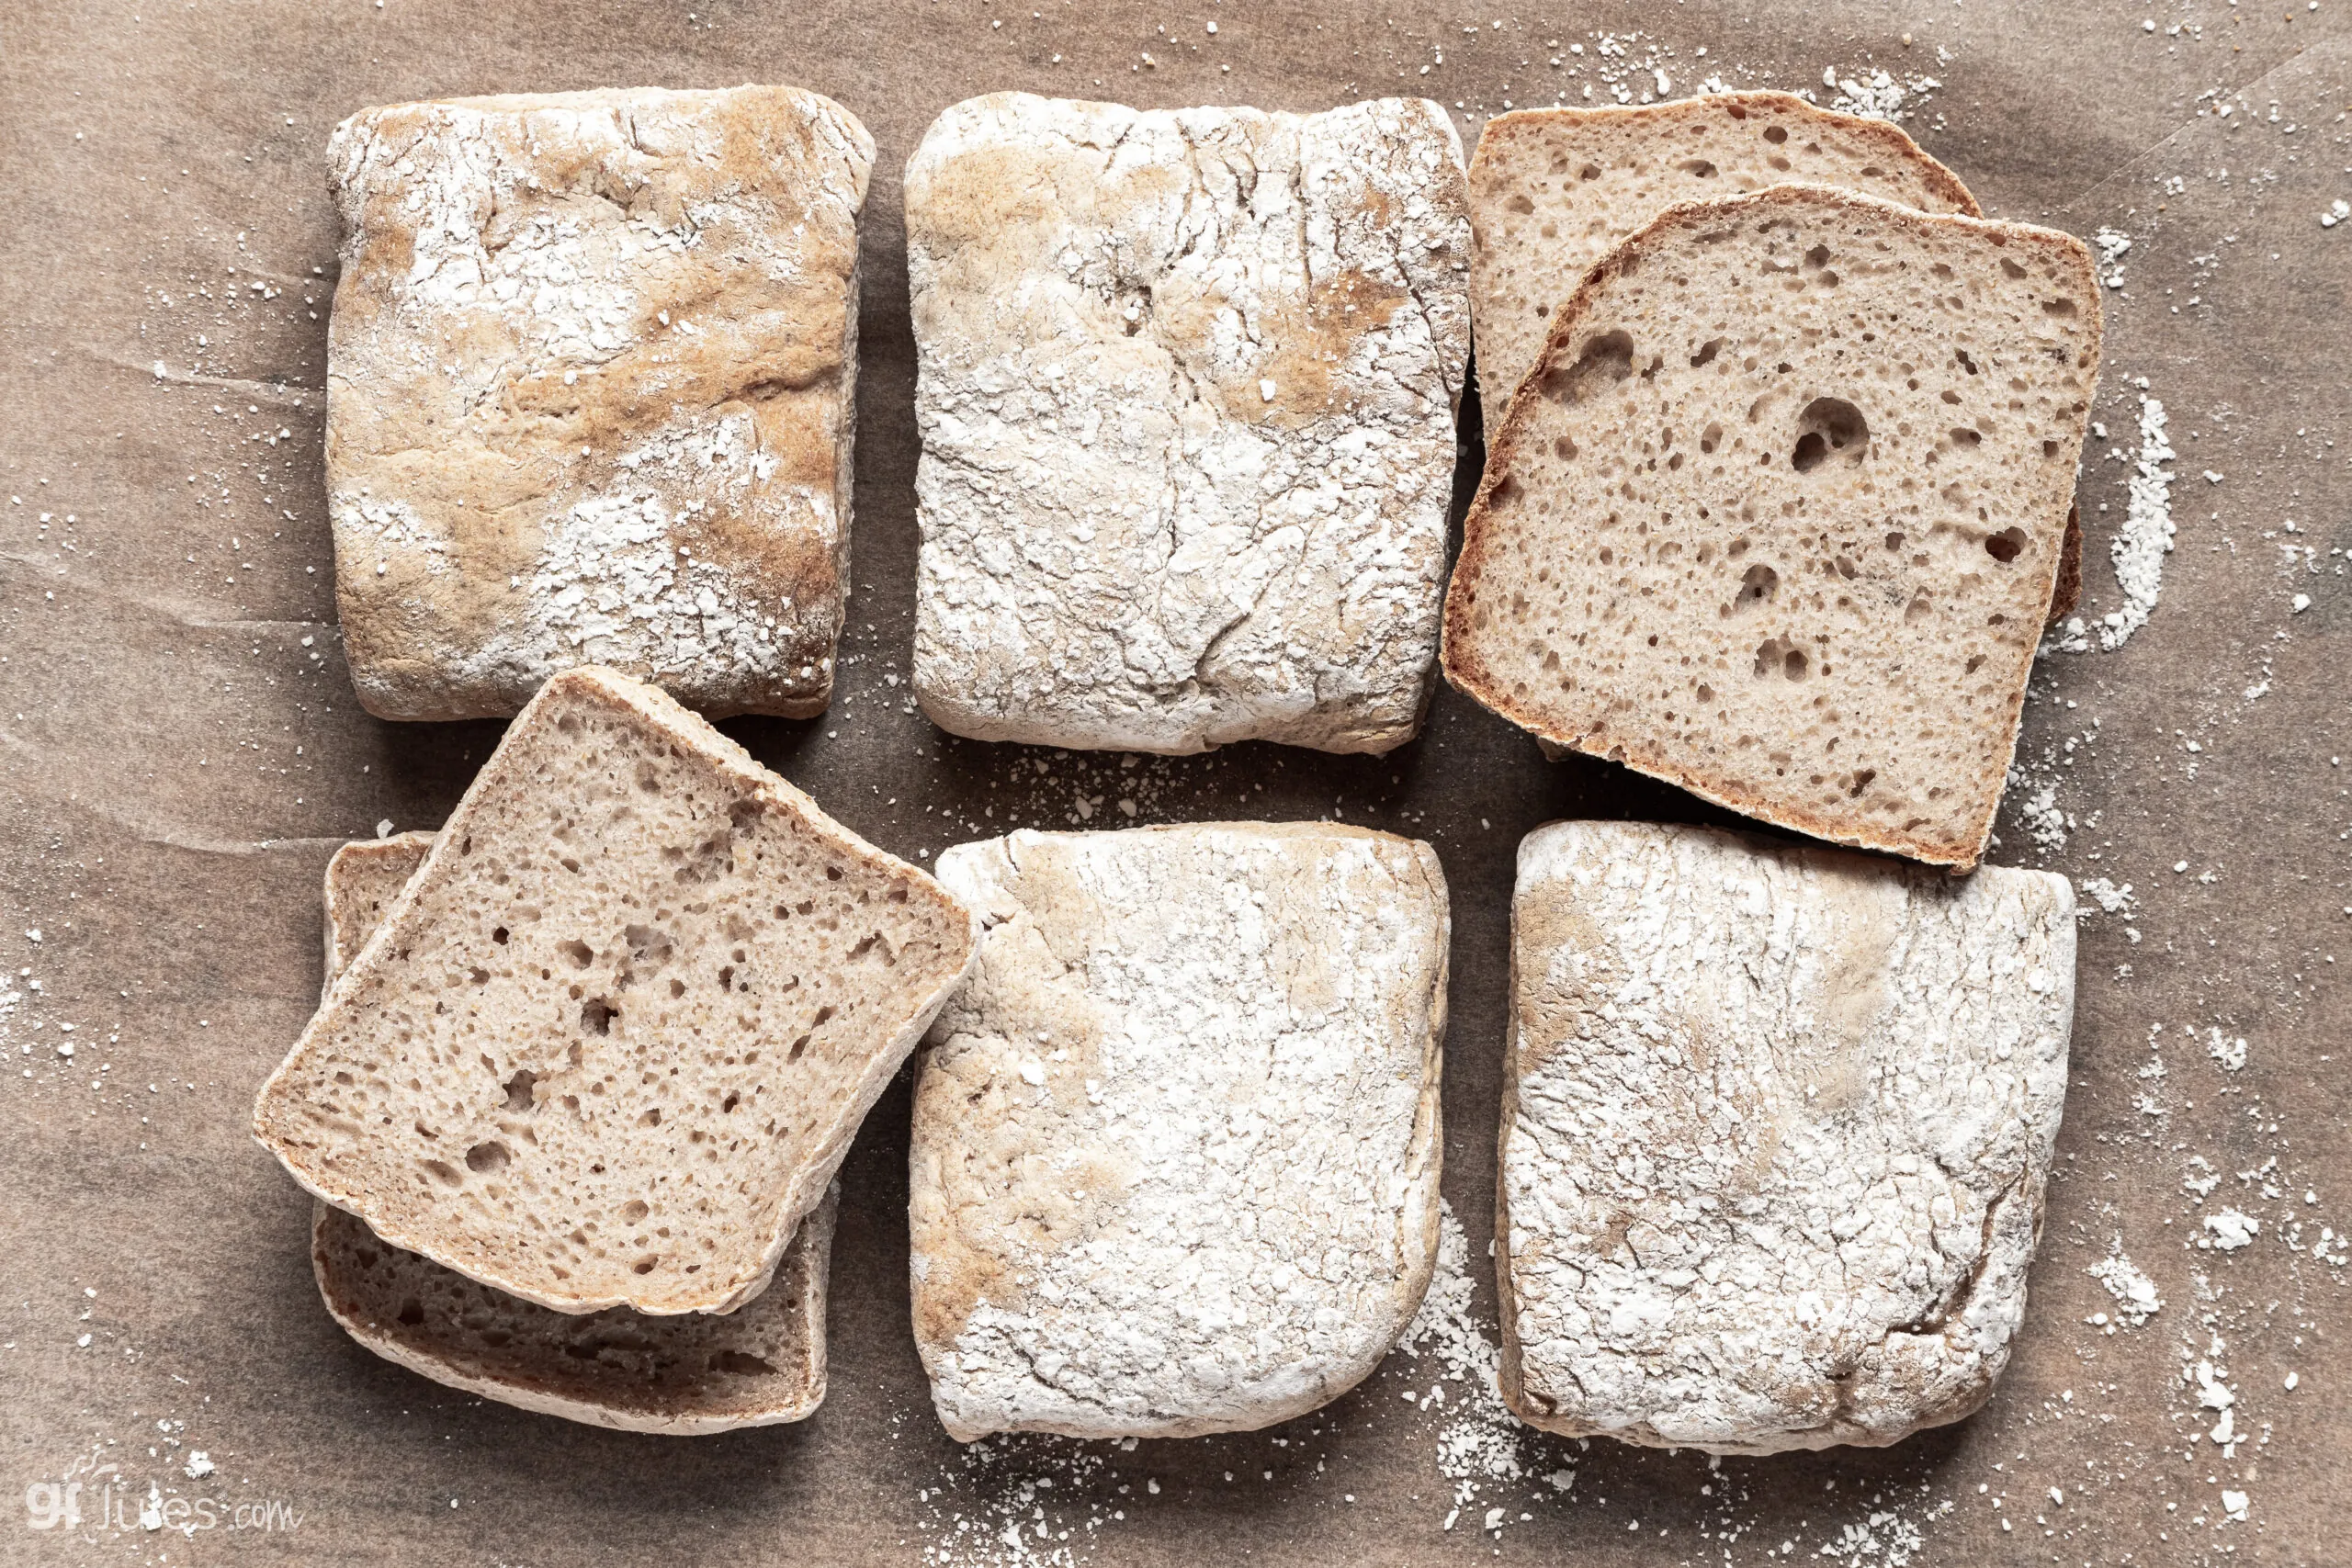
Another feature of ciabatta that sets it apart from other breads is that the outside of the bread is coated with flour before baking, and retains that dusty flour-covered look even after its baked. Be sure to follow the instructions in the recipe card for how to achieve this look even with our gluten free ciabatta.
Making Gluten Free Ciabatta
Originally, ciabatta was made with a higher hydration dough and a long fermentation process, giving it these distinctive holes and chewiness. You know I’ve found a work-around for that speedbump though, and it’s my easy gfJules Gluten Free Bread Mix.
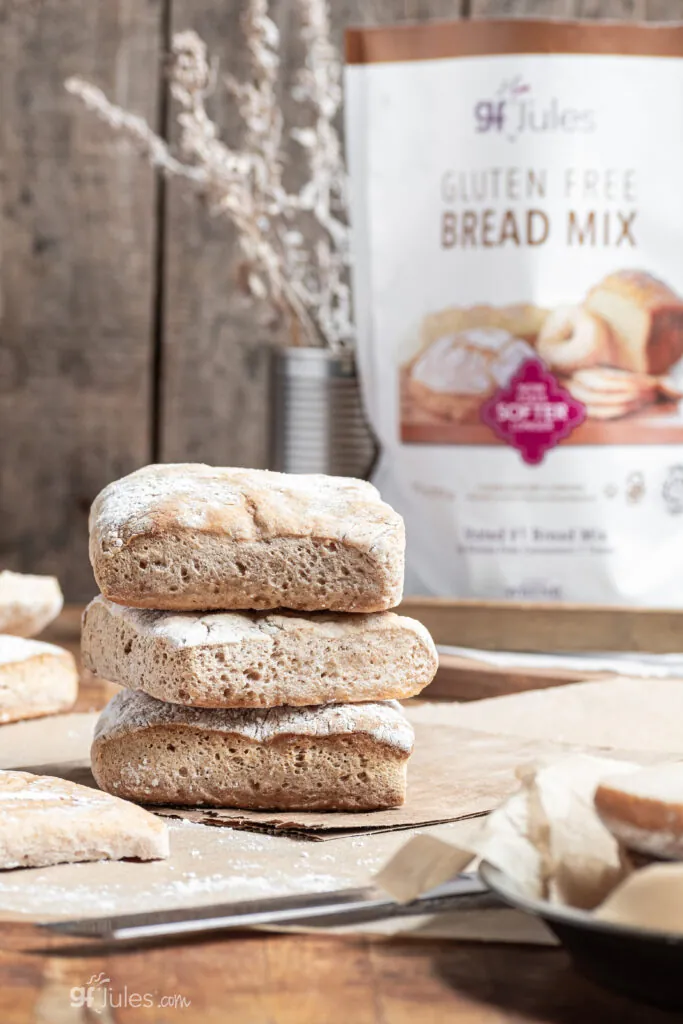
Using this fool-proof mix, we can skip so many things: gathering random gluten free flours; measuring dry ingredients; painstakingly kneading the dough and punching it down; and of course, that pesky long fermentation. All this is to say that our delicious gluten free ciabatta rolls will be ready in under 2 hours!
If you want to make this recipe from scratch, simply hop to this homemade gluten free bread recipe to gather the dry ingredients needed to make your own “gluten free bread mix” to use for our gluten free ciabatta. It won’t be the same, but it will work well enough. Just be sure you’re still using my gfJules Gluten Free All Purpose Flour for the base so the bread will be light, won’t have grit, and will hold together.
I can’t wait for you to make this recipe, and to enjoy a taste of Italy with these homemade gluten free ciabatta rolls.
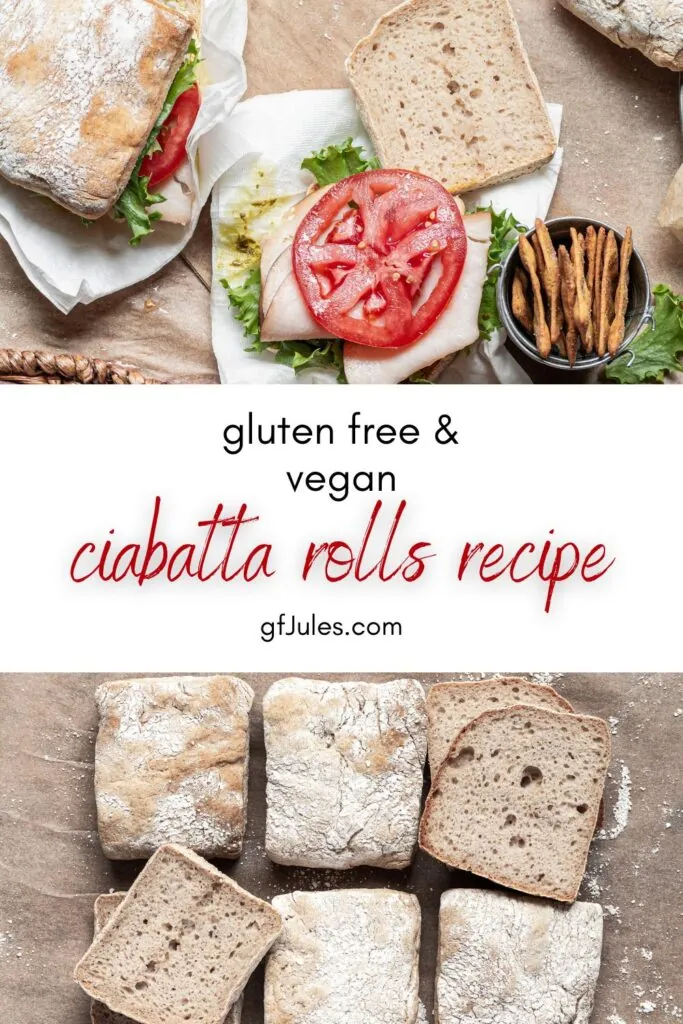
Gluten Free Ciabatta Rolls Recipe
Gluten Free Ciabatta Rolls Recipe
Ingredients
- 1 gfJules Gluten Free Bread Mix
- 1 Tbs. (15 g) granulated sugar
- 1 packet (2 ¼ tsp. / 7 g.) quick rise yeast
- 2 Tbs. extra virgin olive oil
- 2 tsp. apple cider vinegar
- 1 ¾ cups warm water
Instructions
Making the ciabatta bread dough:
- 1. Using a stand mixer with the flat paddle attachment or a large bowl with wooden spoon, add gfJules Gluten Free Bread Mix, sugar, plus yeast packet and whisk together briefly. (If making a gluten free bread mix from scratch, gather the dry ingredients from this recipe instead and add those. The results will not be the same, but they it will work. You may also wish to add 1 Tbs. Psyllium Husk Fiber to the dry ingredients if you find that your homemade dough doesn't have the texture of the breads photographed here).
- 2. Add oil, vinegar, and water, mixing slowly until the dough comes together and is smooth and pulling away from the sides of the mixing bowl. The dough will be sticky but not wet.
Forming the ciabatta rolls:
- Note that you'll need a pizza stone or baking stone or baking steel for this recipe for best results. Otherwise, use a heavy duty baking sheet.
- Turn out the dough onto a well-floured surface (use gfJules Flour or a gluten free starch – do not use a gritty gluten free flour) and shape it into a flattened ball.
- 2. Roll out the dough into a rough rectangle about ½ inch thick. The size of the rectangle isn't important, it's most important not to rolled the dough too thin.
- 3. Use a bench scraper or a sharp knife to cut down the middle of the rectangle and again twice across horizontally to divide the dough into six rectangle-ish shapes. You can cut all the edges so they are even rectangles or leave some of the sides rough and rustic – it’s your choice.
- 4. Prepare a baking sheet the same size as your baking stone by lining with parchment paper. Flip each ciabatta roll over so the floured side is facing up and lay each on the parchment with at least 2 inches between each roll.
- 5. Spray a sheet of plastic wrap with oil and lay over top of the rolls. Set the rolls aside to proof until doubled in size. A good spot for this is in an oven that’s been warmed to 200ºF then turned off, or an oven with the light on.
Baking Ciabatta Rolls:
- 1. While the rolls are rising, place a pizza stone, baking steel, or a thick, heavy-duty baking sheet turned upside-down on the lower middle oven rack. Preheat the oven to 475ºF. The stone will need this full time to preheat.
- 2. After about an hour, or once your rolls have doubled in size, slide them (along with the parchment/baking paper) onto the hot stone or baking steel/sheet and reduce the oven temperature to 425ºF. {The parchment will have become moist from the rolls rising and may be
difficult to “slide” off of the baking sheet onto the stone, so you’ll need to do this carefully so as not to tear the parchment or burn yourself! I found that transferring the parchment to a pizza peel and then to the baking stone was helpful, but you may find an alternate method that suits you better.}* - 3. Bake at 425ºF for 20-30 minutes, or until the rolls are browning, have reached an internal temperature of 205 ºF or higher and/or a toothpick inserted into the centers comes out clean and dry.
- 4. Remove the ciabatta rolls from the oven and cool them on a wire rack.
- 5. Allow the ciabatta rolls to cool completely before slicing so that they will not be gummy inside. Slice lengthwise for sandwiches or open-faced serving or slice like loaves for dips and appetizers.
Notes
** Please keep in mind that nutrition information provided is per serving, which may vary. While we have taken care to provide you with the most accurate nutritional values possible, please note that this information may differ significantly depending on the exact ingredients and brands that you choose to use to make this recipe. Additionally, where options are given for ingredients, the resulting calculation may include all ingredient options instead of only one per line, skewing the totals significantly.
I can’t wait to see pictures of your homemade gluten free ciabatta rolls! What will you serve them with first?
Pin for later!


You used to have an option. One of your mixes, OR the flour and add-ins equivalent if not using a mix specific to that recipe. Can you give me the OR ingredients for his recipe so I could make these delicious rolls? Thank you!
Hi! You’ll notice in the first paragraph of the instructions for this recipe there is information + a link to make a gluten free bread mix from scratch in order to make this recipe. The results won’t be exactly the same, but you should be able to still make this recipe.
~jules
If I don’t have apple cider vinegar on hand, will white vinegar be an okay substitution? Or rice vinegar? I have red wine vinegar too but I think that might be too strong of a flavor? Thanks!
Yes, white vinegar will be fine!
~jules
I have these proofing. Excited to taste the result. Assuming the sugar goes in with the other dough ingredients…
Hi Katy, yes! The sugar goes in with the mix! Excited for you to have delicious gluten free ciabatta rolls!!!
~jules