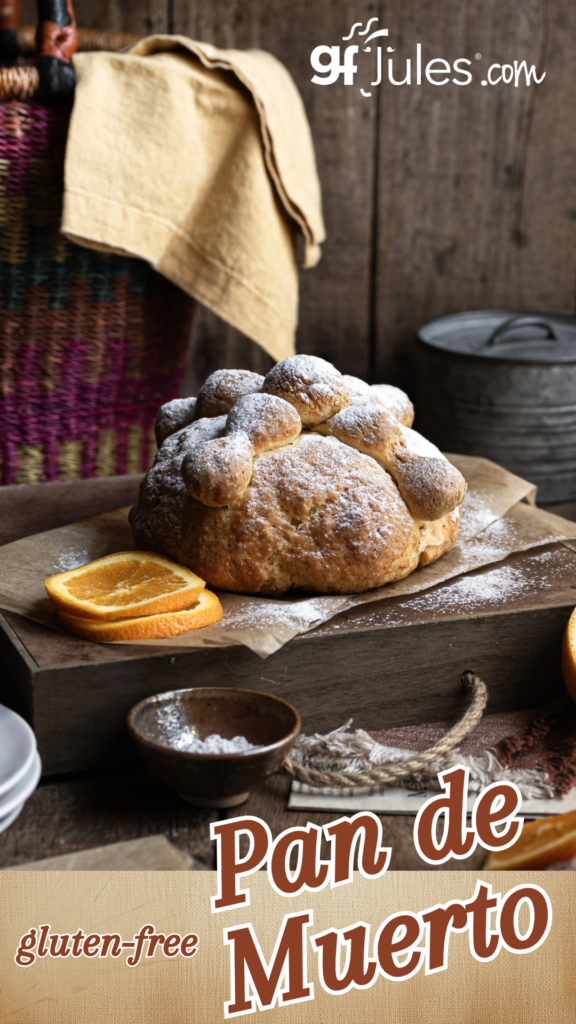
Gluten Free Pan de Muerto Recipe for Día de los Muertos
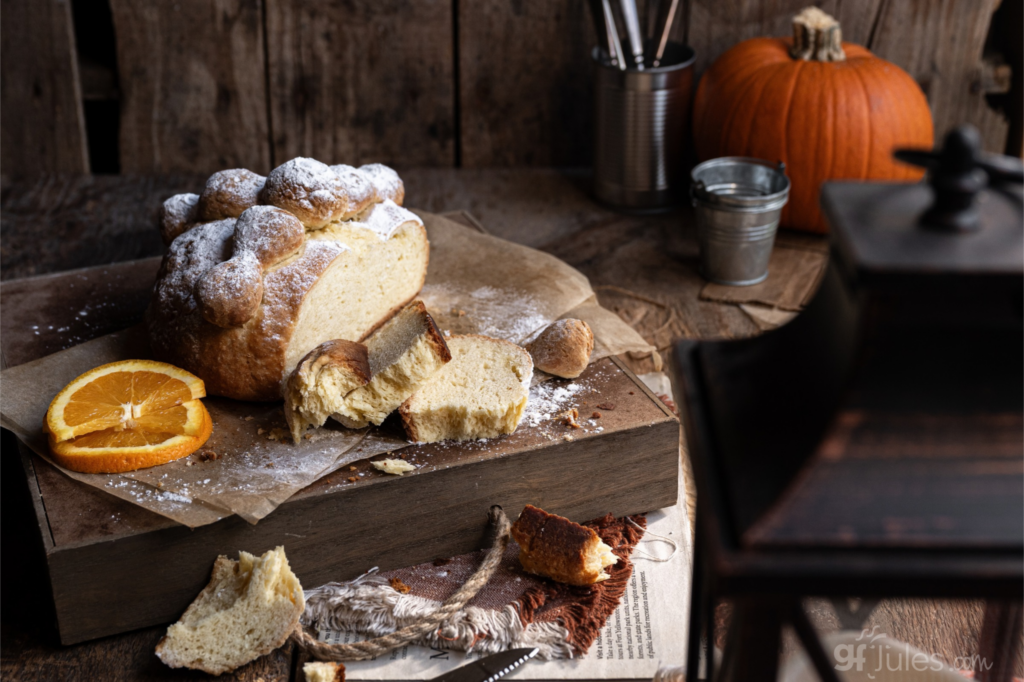
Celebrate Día de los Muertos with this beautiful, traditional gluten free Pan de Muerto recipe! This beloved Mexican sweet bread is soft, tender, lightly sweet, and traditionally flavored with orange zest or orange blossom water — for our purposes, it’s a lot easier to get your hand on an orange and make your own zest!
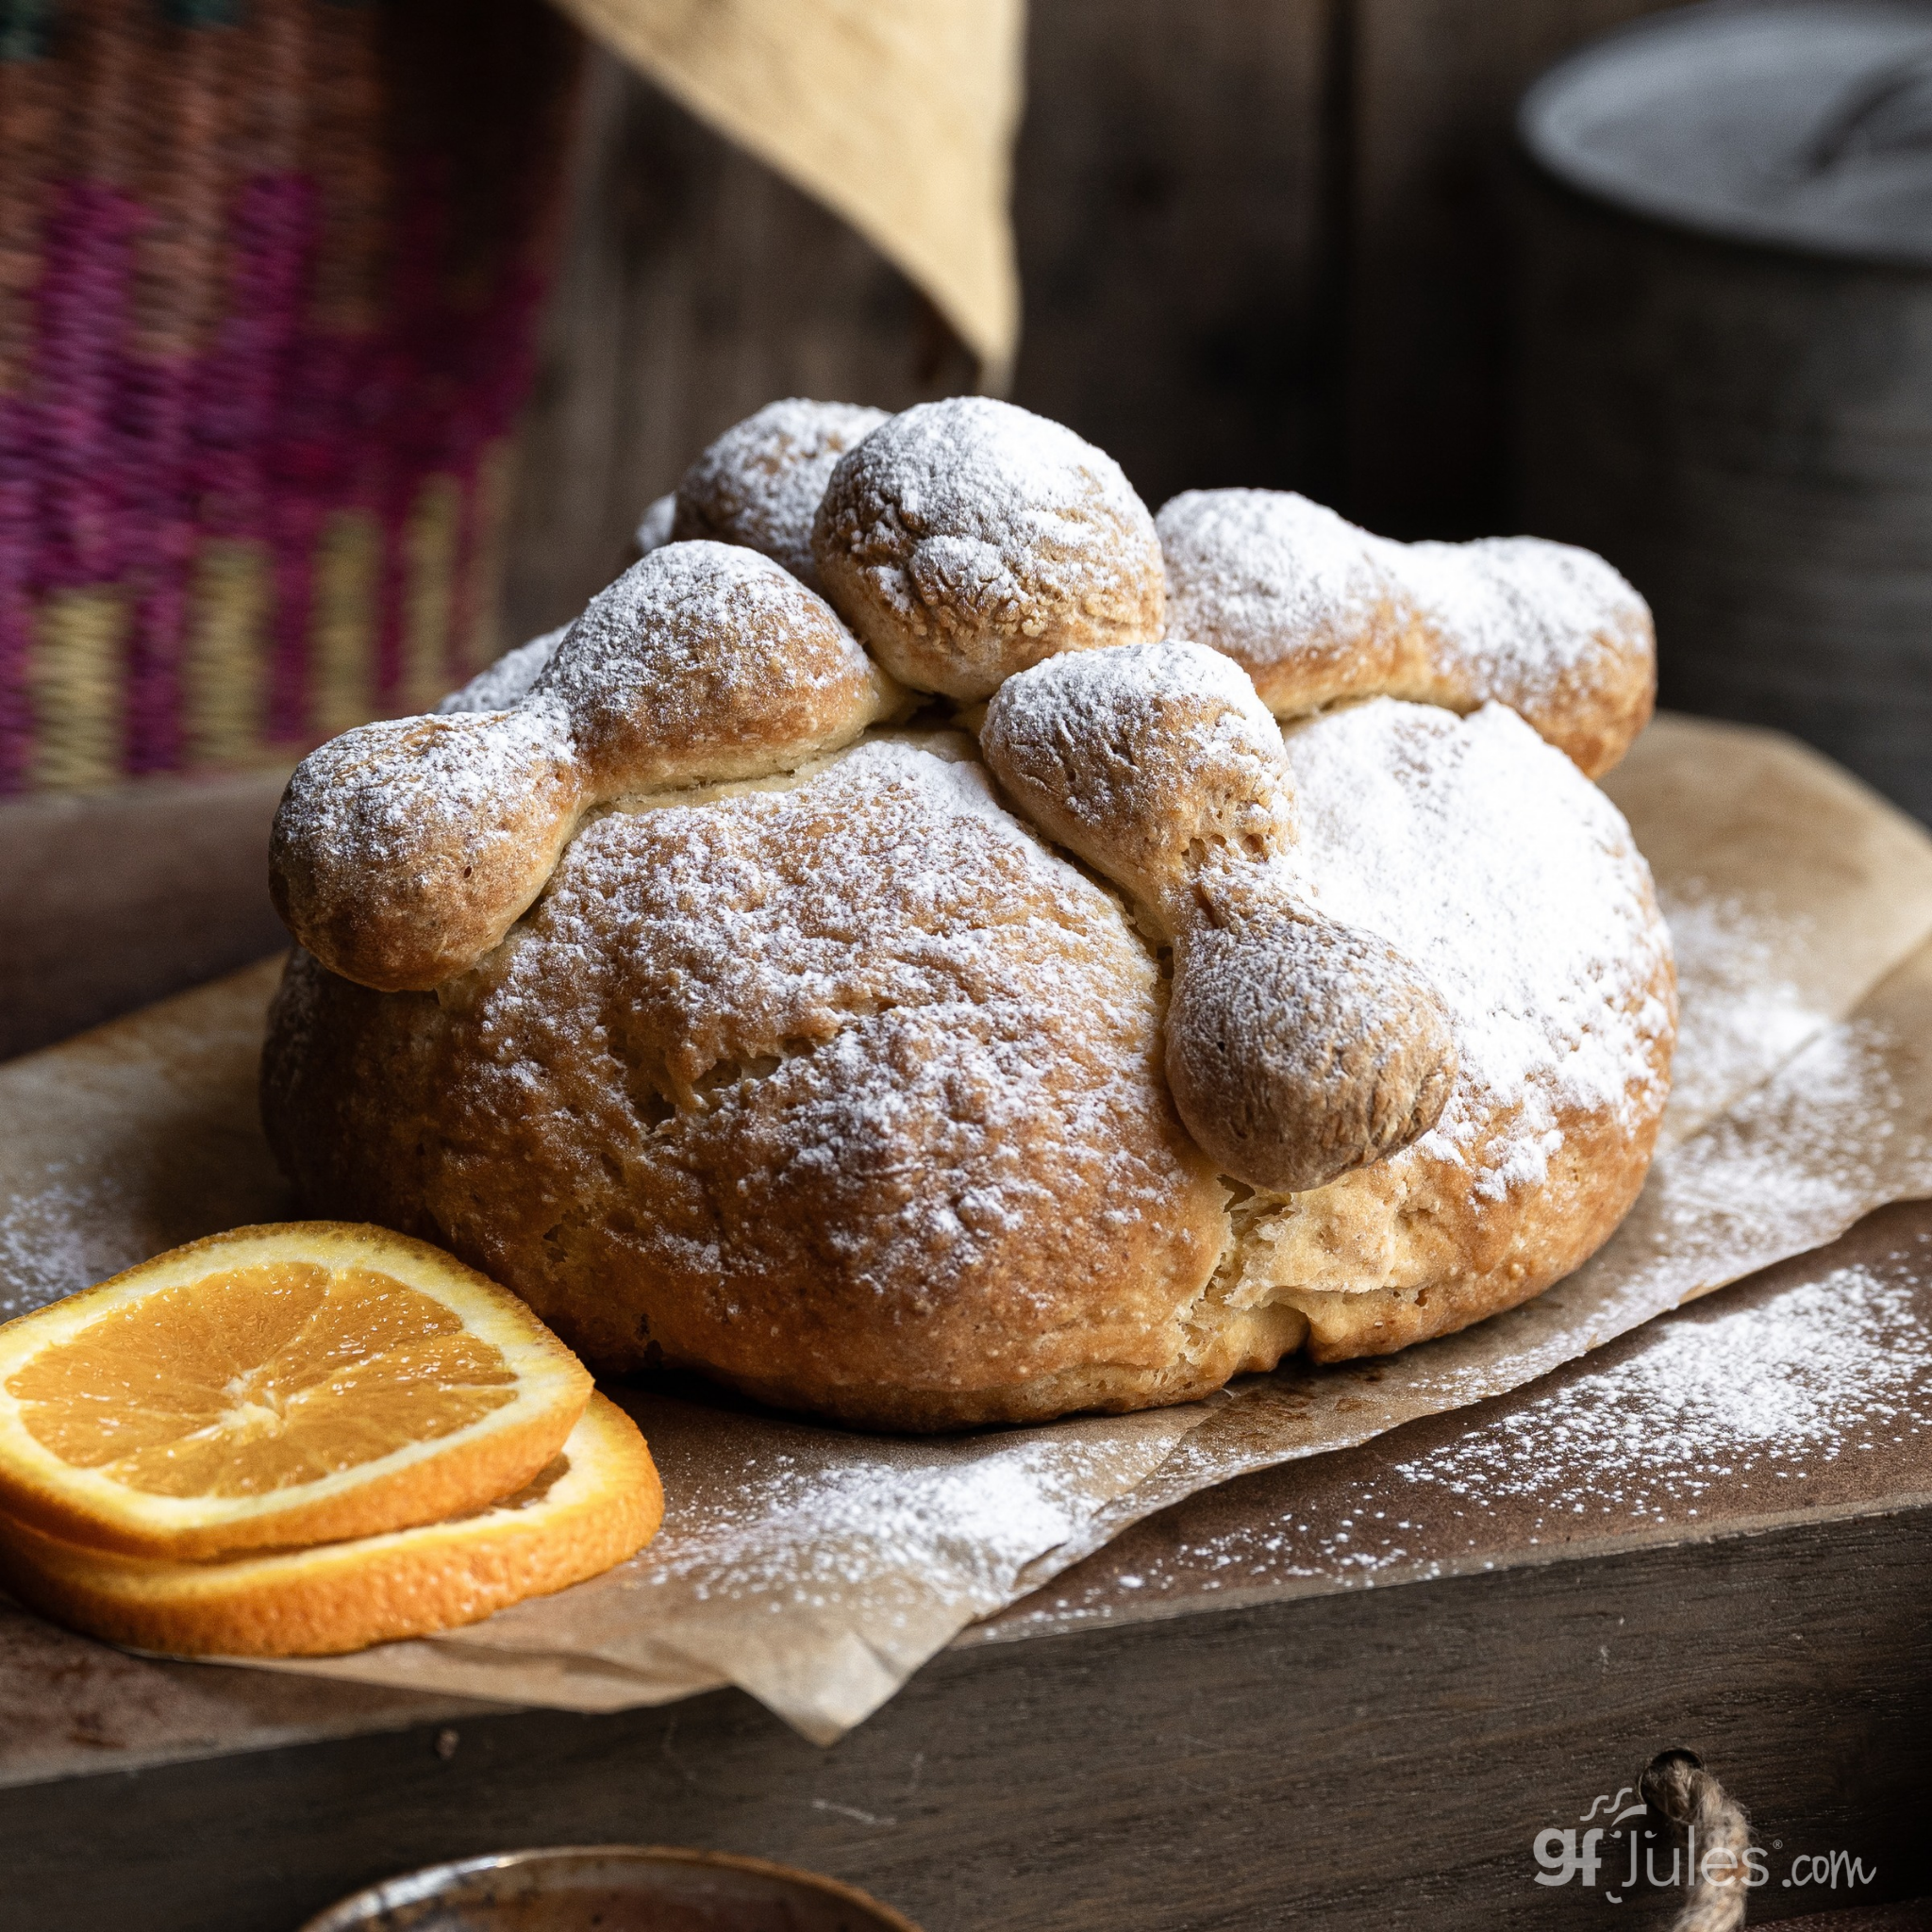
Its distinctive round shape, crossed strips of dough, and small dough ball on top make it instantly recognizable — and its rich cultural significance makes it so much more than just another holiday bread, and it’s a recipe worth making throughout the year without the “bones.”
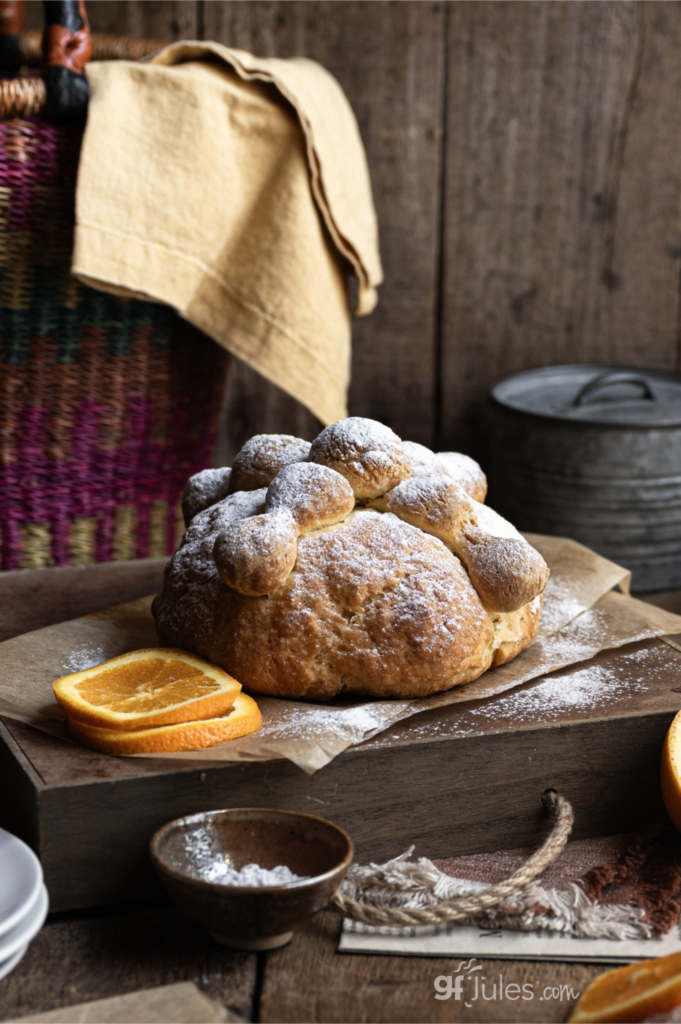
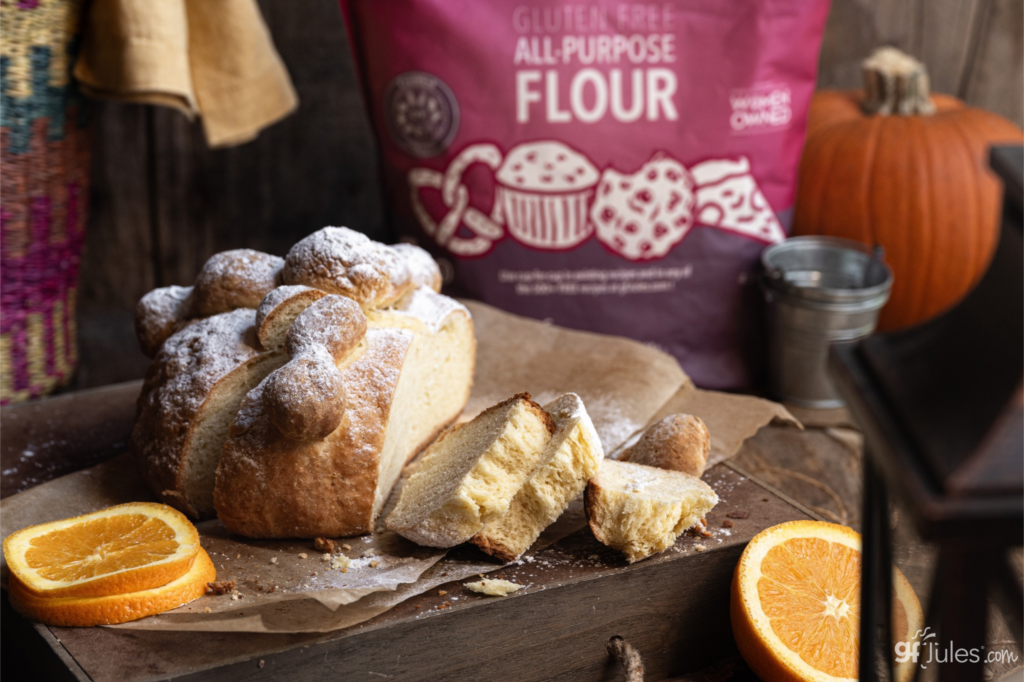
If you’ve been looking for an authentic-tasting Pan de Muerto sin gluten, you’ll love how easily you can recreate this special bread with gfJules Gluten Free All Purpose Flour. Unlike many off-the-shelf gluten free flour blends that can leave yeast breads dense, gritty, crumbly, or difficult to shape, gfJules Flour is designed to produce soft, pliable dough that holds together beautifully. That means you can form the traditional round loaf and decorative “bones” on to without fighting a dry, fragile dough.
Whether you’re making Pan de Muerto for your own Día de los Muertos celebration, honoring loved ones, or just looking for a delicious bread, this gluten free version lets everyone share in the experience without compromising on texture or flavor.
What Is Pan de Muerto? The History and Cultural Significance
Pan de Muerto, which translates to “bread of the dead,” is a traditional Mexican sweet bread prepared for Día de los Muertos, or Day of the Dead, celebrated primarily on November 1 and 2. The holiday is a time to remember and honor loved ones who have died, bringing families and communities together through remembrance, food, flowers, music, and cherished traditions.
Día de los Muertos has roots in Indigenous Mexican traditions and evolved through centuries of cultural exchange following Spanish colonization. While modern customs vary across Mexico Mexican communities worldwide, food plays an important role in many celebrations. Pan de Muerto is one of the holiday’s most recognizable offerings, and I’m so happy to be able to bring a gluten free recipe version to you.
The bread’s distinctive round shape symbolizing the circle of life, criss-crossed by bones, make it a powerful symbol of the holiday. Although recipes and designs differ somewhat, all Pan de Muerto is made from a soft, enriched yeast dough, and most are scented with orange and finished with butter and sugar.
What Do the Bones and Round Shape of Pan de Muerto Represent?
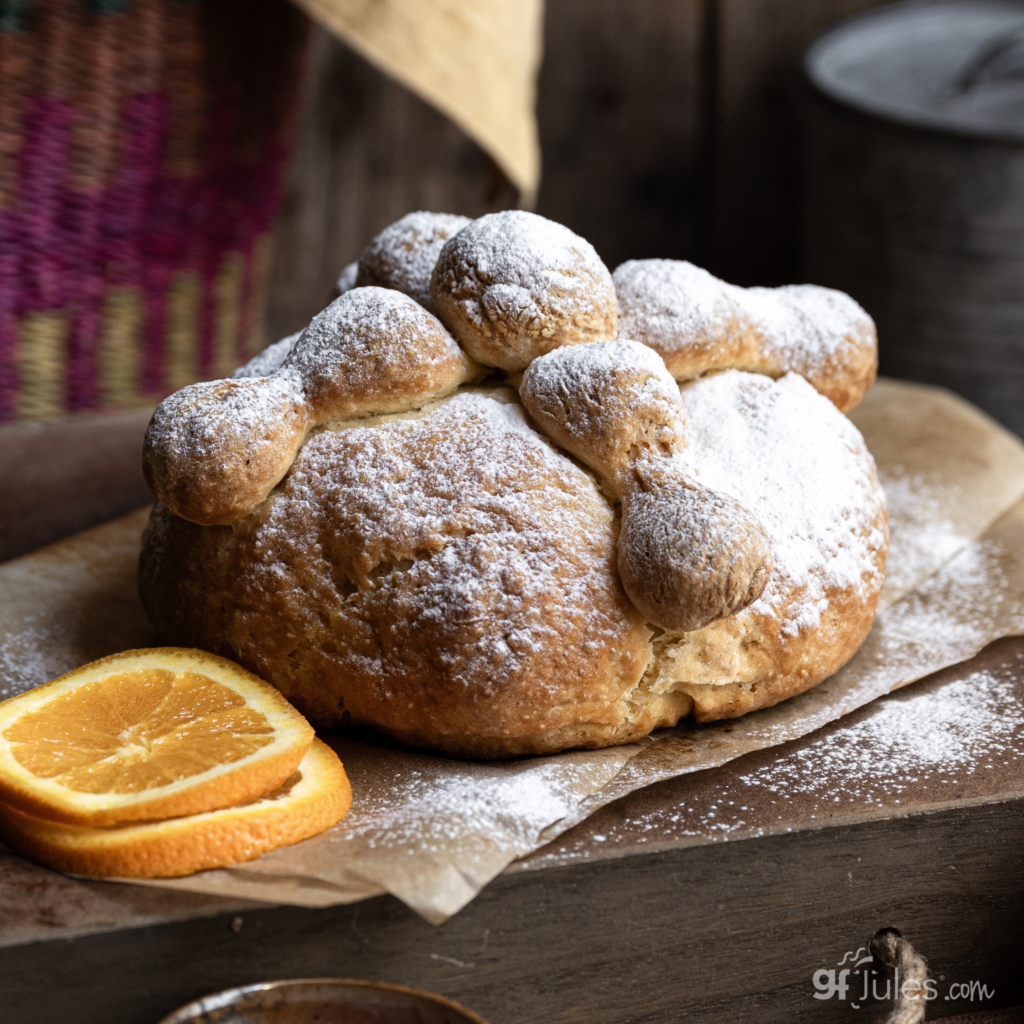
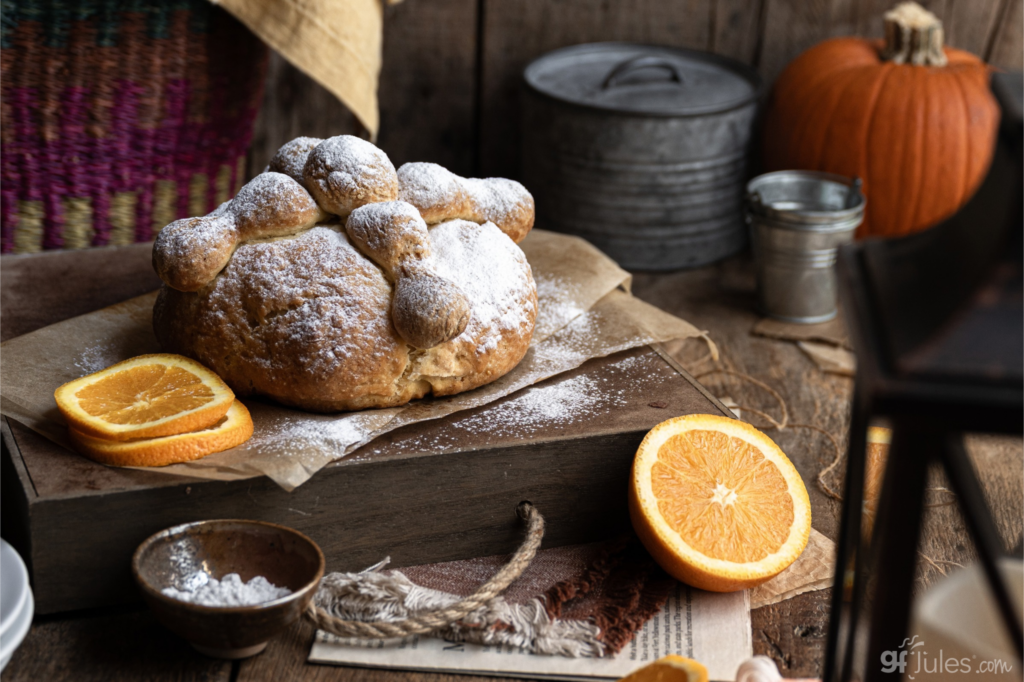
The classic Pan de Muerto has a rounded loaf topped with strips of dough arranged in a cross, along with a small ball of dough in the center. These decorations are often interpreted symbolically:
- The round loaf: Often understood as representing the cycle of life and death, or the continuity of life.
- The crossed strips of dough: Commonly called huesitos, or little bones, they represent bones and serve as a reminder of mortality.
- The small dough ball in the center: Often interpreted as a skull or the heart of the bread.
- The citrus or floral aroma: Orange blossom water, orange zest, or anise are common flavorings that contribute to the bread’s distinctive fragrance.
Why gfJules Flour Makes Better Gluten Free Pan de Muerto
Traditional Pan de Muerto relies on a yeast-raised dough that must be soft enough to shape, strong enough to hold its structure, and tender enough to enjoy once baked. That’s a challenge for many gluten free flour blends.
Many standard gluten free blends can produce dough that is gritty, crumbly, overly sticky, or difficult to shape into the decorative bones that make this bread so special. Others may bake up dense or dry instead of soft and tender.
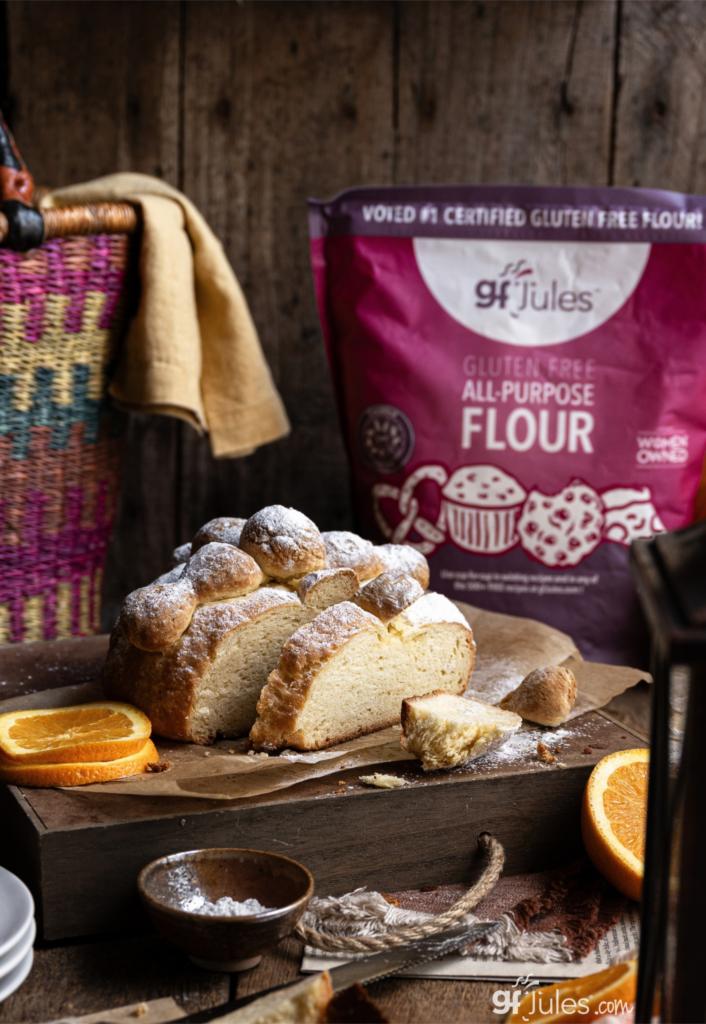
gfJules Gluten Free All Purpose Flour is formulated to help solve those problems. If you’ve used it to make Gluten Free Challah, you know what I mean. Its fine texture and dough flexibility help you make a smooth, cohesive dough that can be shaped into a round loaf and decorative strips without falling apart. The finished bread is soft and tender, with a texture much closer to traditional yeast bread.
For the best results:
- Use gfJules Gluten Free All Purpose Flour rather than substituting an untested gluten free flour blend, many of which are not recommended for yeast recipes, others of which may contain “gluten free” wheat starch.
- Handle the dough gently. Knead only until smooth, using lightly floured hands if needed.
- Shape the loaf before proofing. The dough will rise during proofing and baking, so start with a slightly flattened, thick disk.
- Use a little warm water to attach the decorations. This helps the dough strips adhere to the loaf.
- Allow enough time for the dough to rise, but not too long. Gluten free yeast doughs need proper proofing to develop a light, tender texture, but over-proofing can be detrimental to the cell structure.
With the right flour and a few straightforward shaping techniques, gluten free Pan de Muerto can be a beautiful, delicious centerpiece for your Día de los Muertos table.
How to Shape Gluten Free Pan de Muerto
The signature decoration may look intricate, but shaping Pan de Muerto is easier than it seems. Once your dough is prepared, follow these steps to create the traditional round loaf and crossed huesitos.
- Reserve dough for the decorations. Pinch off about one tablespoon of dough and set it aside. Then pinch off two more pieces of dough, each roughly the size of a golf ball, and set those aside as well.
- Shape the main loaf. Gently knead the remaining dough just until smooth. Lightly flour your hands if the dough is sticky. Pull the edges of the dough down and underneath, working around the loaf until you have a smooth, uniform ball.
- Flatten the loaf slightly. Place the dough ball on a parchment-lined baking sheet. Gently press it into a thick disk. Don’t flatten it too much — the dough will rise during proofing and baking.
- Make the center ball. Roll the tablespoon of reserved dough into a smooth, round ball.
- Form the bones. Roll the two golf-ball-sized pieces of dough into logs long enough to span the diameter of the loaf. Pinch, roll, and press three indentations into each log to create the traditional bone-like shape.
- Attach the first bone. Dab a line of warm water across the top of the loaf. Lay one decorated dough log over the line and gently press it into place.
- Add the second bone. Dab another line of warm water across the loaf, crossing the first log. Place the second log on top so the two strips form a large X.
- Finish the traditional shape. Position the small dough ball in the center where the two bones cross. Gently press it onto the loaf so it adheres.
- Proof and bake. Allow the shaped loaf to rise as directed in the recipe, then bake according to the recipe instructions until done. If your recipe calls for a butter or sugar finish, apply it as directed once the bread has baked.
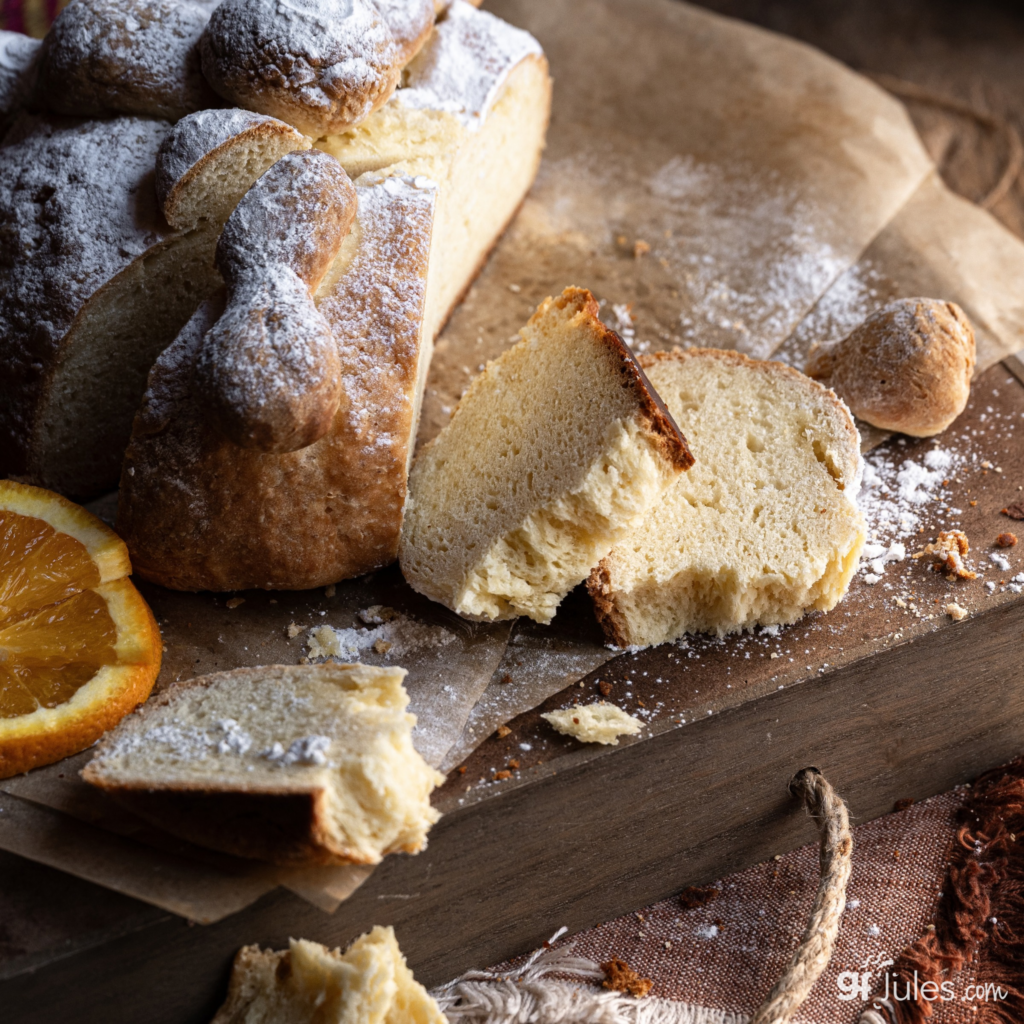
The result is a beautiful gluten free Pan de Muerto with the familiar round shape, crossed bones, and central ball — ready to share as part of your Día de los Muertos celebration.
Celebrate Día de los Muertos with Gluten Free Bread
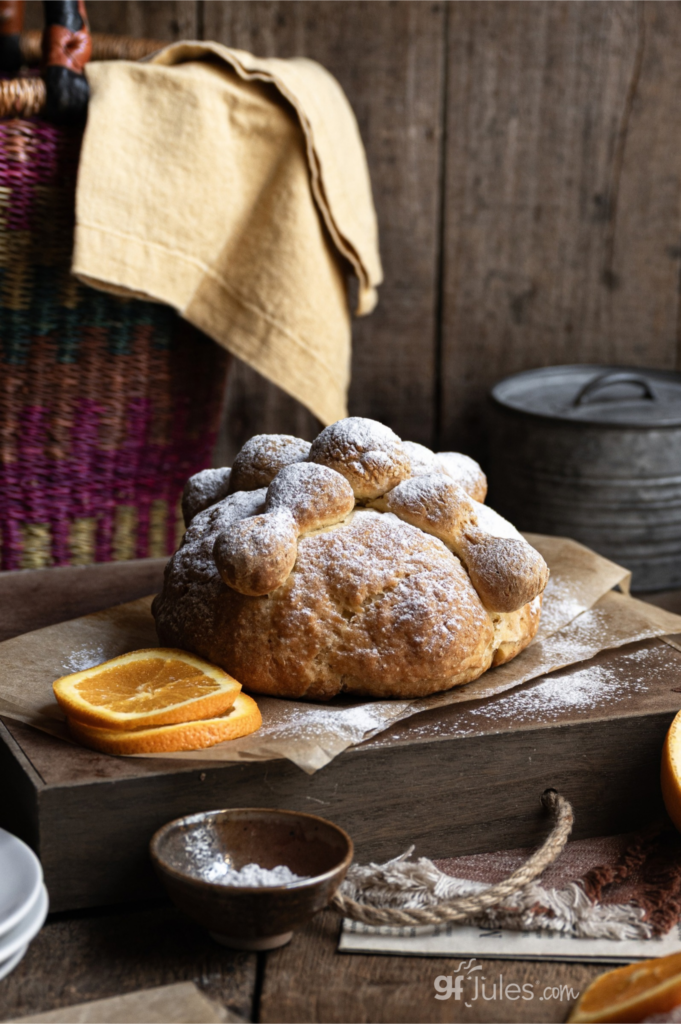
Food is one of the many ways families keep traditions alive, and making Pan de Muerto from scratch can be a meaningful way to participate in Día de los Muertos. This gluten free version makes the bread accessible to those who need to avoid gluten while preserving the distinctive shape, tender texture, and festive spirit of the original.
Looking for another traditional recipe with a bone-inspired name? Try Gluten Free Ossa da Mordere, the Italian “bones to bite” cookies traditionally associated with All Souls’ Day. They offer another delicious way to explore the food traditions connected to remembrance and the autumn season. Also check out my Mole recipe!
With gfJules Gluten Free All Purpose Flour, you can bake a soft, beautifully shaped Pan de Muerto that looks special on an ofrenda or holiday table — and tastes every bit as good as it looks.
Gluten Free Pan de Muerto
Equipment
Ingredients
- ¼ cup milk dairy or non-dairy
- ¼ cup butter dairy or vegan cut into cubes (like Miyoko’s Creamery)
- ¼ cup cane sugar
- ¼ cup warm water
- 3 (405) cups (grams) gfJules™ All Purpose Gluten-Free Flour
- ½ tsp. salt
- 1 package of quick rise or active dry yeast 2 ¼ tsp.
- ½ tsp. anise seed
- 3 large eggs or see my recommended vegan egg substitutes here
- 2 Tbs. fresh orange juice
- Zest from 1 orange
- 2 Tbs. melted butter dairy or vegan -- for brushing the loaf
Instructions
- In a small saucepan, combine the milk, butter, sugar, and water. Heat until the butter is just melted and stir occasionally to ensure the sugar dissolves evenly. Set the mixture aside to cool.
- In a large mixing bowl, whisk together the gfJules Flour, salt, yeast, and anise seed.
- Once the milk mixture is cool (no warmer than 115°F), pour it slowly into the flour mixture then stir in the eggs, orange juice, and orange zest.
- Start mixing slowly until the ingredients are combined. If the dough seems very tight or stiff, add 1-2 more tablespoons of warm water. Mix for 1-2 minutes on medium speed.
- Lightly flour a clean counter or pastry mat with more gfJules Flour, and turn the dough out onto the work surface.
- Pinch off about a tablespoon of the dough and set it aside. Then pinch off two more balls of dough roughly the size of golf balls and set those aside.
- Gently knead the remaining dough just until it is smooth. You may need to lightly flour your hands to work with the dough. Once the dough is smooth start forming it into a ball by pulling the side down and under until you have a uniform, smooth loaf.
- Place the loaf on a parchment lined baking sheet. Gently press the round loaf to flatten it slightly into more of a thick disk, the loaf will rise when proofing and baking.
- Take the tablespoon of dough you set aside and roll it into a smooth ball. Then roll the two golf ball size dough balls into logs that are long enough to span the diameter of the loaf. Pinch, roll, and press 3 indents into each log to create the ‘bones’ for the Pan de Muerto.
- To secure the ‘bones’ to the loaf, dab some warm water in a line across the loaf and lay one of the dough logs across. Dab some more water on the loaf in a line that crosses over the first dough log and secure the second dough log so that you have a big X on the loaf.
- Place the small dough ball you made in the middle where the ‘bones’ cross and gently press it onto the loaf.
- If you feel that your loaf has too many small cracks or too much texture, gently brush the entire loaf with warm water to seal any cracks.
- Cover the loaf with oiled plastic wrap or a clean towel and set the loaf in a warm area to rise for 40 minutes. (An oven preheated to 200°F then turned off works well for this purpose.)
- When the loaf has finished rising, preheat the oven to 350°F.
- Brush the loaf with the 2 tablespoons of melted butter ensuring that the entire loaf gets coated. You can also sprinkle on some cinnamon sugar on top if you like.
- Bake for 35-45 minutes depending on the thickness of your loaf. The loaf should be gently browned and the internal temperature should read 195-200°F.
- Let the loaf cool on a wire rack. You can enjoy it warm or room temperature. Dust with confectioner’s sugar before serving, if you like that look.
- Store leftovers in an airtight container.
** Please keep in mind that nutrition information provided is per serving, which may vary. While we have taken care to provide you with the most accurate nutritional values possible, please note that this information may differ significantly depending on the exact ingredients and brands that you choose to use to make this recipe. Additionally, where options are given for ingredients, the resulting calculation may include all ingredient options instead of only one per line, skewing the totals significantly.
Wishing you a delicious holiday!
Pin to save or share!