Pan Cubano, or Cuban Bread, (and I actually mean bread from Cuba or from Tampa — Ybor City, in particular) is so unique, that to have it once is to remember it forever.
It’s also so iconic that there’s a food holiday named for it (August 23 is National Cuban Sandwich Day) and Tampa, Florida has designated the Cuban Sandwich its city’s “signature sandwich” and they have a festival in this jolly good fellow’s honor. Yeah, it’s that good.
When I set out to make a gluten free Cuban Bread recipe, I knew I had to match the spongy soft texture of this aromatic yeast bread, with the same crunchy crust that so distinctively makes every sandwich that much better.
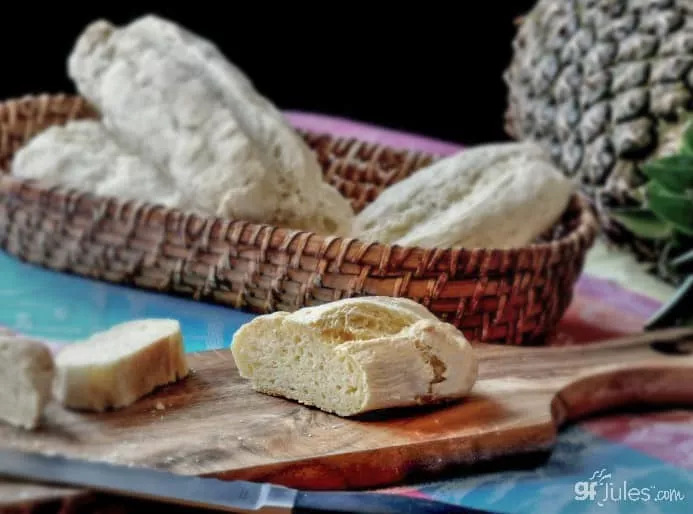
As I prepared to trek to Tampa, Florida to teach gluten free cooking classes on the demonstration stage at the Gluten Free Food Allergy Fest several years ago, I knew that if I could devise a gluten free Pan Cubano, the local crowd would be thrilled!
I used to live in the Tampa Bay area (back in my gluten-filled days), so I know of which I speak. Cuban Bread is awesome. Creating a gluten free Cuban Bread recipe would be epic.
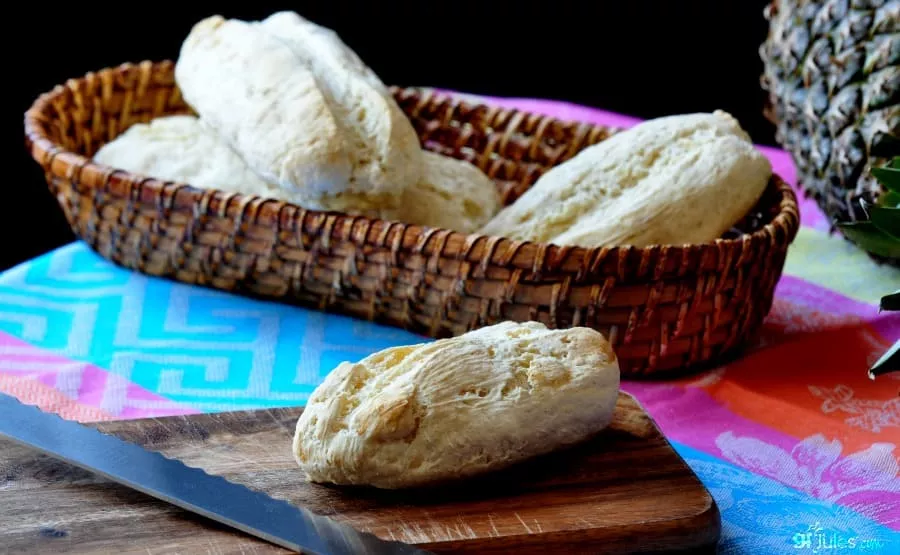
So here, I give you my gluten free version of a local favorite. A modern spin on an age-old recipe that no one, outside of a few generations-old bakeries, seems to know how to replicate.
I’ve created my recipe to be gluten free, of course, and it’s happily vegan as well, but I’ve taken care to make it something that any home baker can make, no matter where they live.

Like traditional Pan Cubano, it’s best the day it’s fresh-baked, but surprisingly good the next day, too.
The key is in the right gluten free flour and the gluten free starter — don’t skimp! Traditionalists will use lard in place of the olive oil my recipe contemplates — use what you prefer.
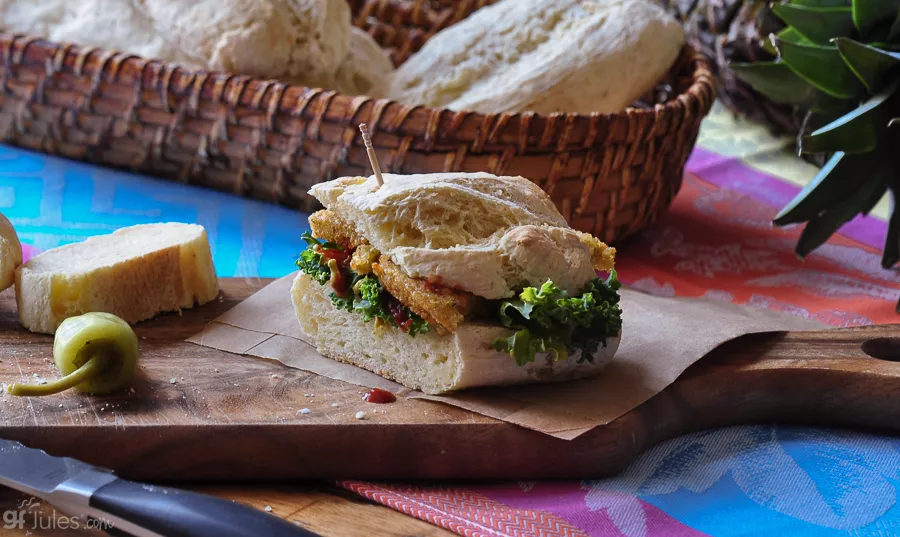
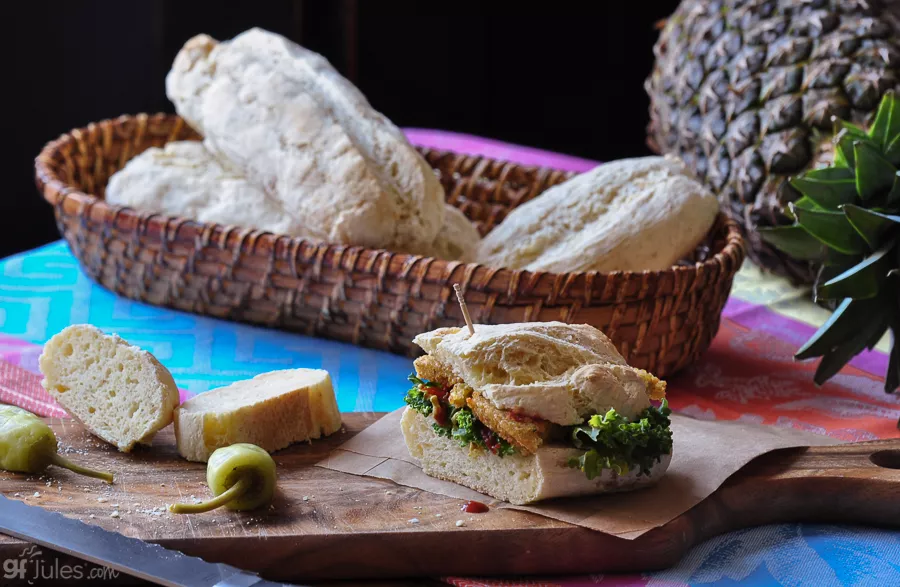
Palmetto leaves or not, I urge you to try this Gluten Free Cuban Bread on National Cuban Sandwich Day or anytime you crave a really great sandwich.
It will change your sandwich-making life. Fun tip: if you prefer your Pan Cubano to be flatter and you don’t happen to have a press — do what the bricklayer immigrants in Tampa originally did: just lay a hot brick on top of the bread for a couple minutes!
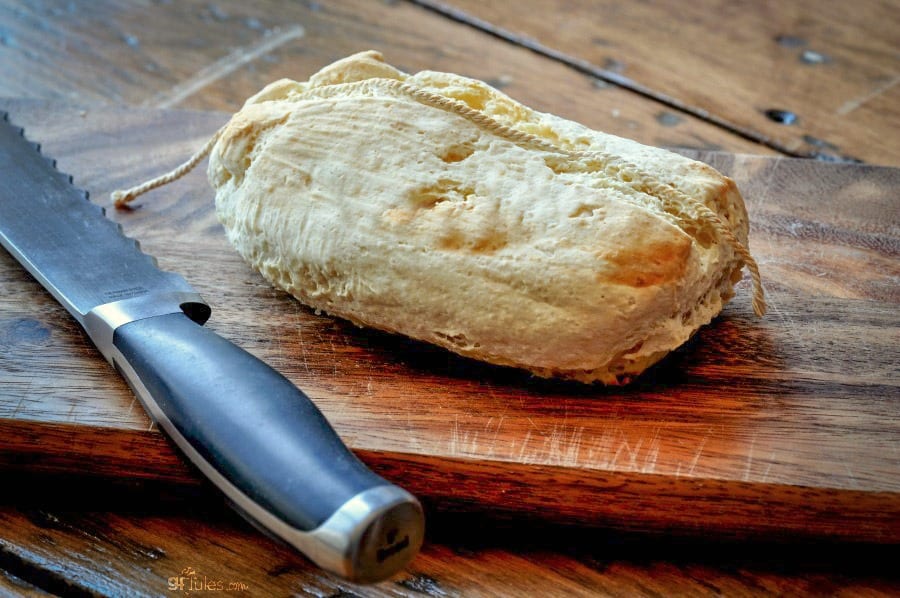
I’ll leave you with this quick video clip from a Cuban woman I met after demonstrating this recipe in Tampa at the Gluten Free Food Allergy Fest. She sums it up pretty well, I think!

Gluten Free Cuban Bread Recipe
Ingredients
Starter:
- 1 1/2 tsp. yeast
- 2/3 cup (90 gr) gfJules® Gluten Free All Purpose Flour
- 2/3 cup+ 4 Tbs. warm water
Bread:
- 2 cups (270 gr) gfJules® Gluten Free All Purpose Flour
- 1/4 cup certified GF millet flour (40 gr) OR almond meal (32 gr); or powdered coconut milk (23 gr); or powdered dairy-free milk (44 gr)
- 1 tsp. sea salt
- 1/2 Tbs. cane sugar
- 1/4 cup (63 gr) starter
- 2 Tbs. extra virgin olive oil
- 1 tsp. apple cider vinegar
- 3/4 cup + 1/4 cup warm water
- 1 packet (2 1/4 tsp) Quick Rise yeast (e.g. Red Star®)
Instructions
Starter:
- Whisk together starter ingredients, cover tightly and refrigerate overnight. Starter will remain usable for at least 3-5 days when refrigerated.
Bread:
- Whisk together the dry ingredients, then add measured starter (save the rest for another recipe later), oil, apple cider vinegar and 3/4 cup warm water, reserving 1/4 cup water to add last to help keep the dry ingredients in the bowl when the mixer is turned on. Once incorporated, add yeast and beat another 2 minutes on medium high. The mixture should be like a stiff and sticky batter, not a thick dough.
- Either prepare a gallon-sized zip-top bag by cutting 1 inch out of the corner, or prepare a pastry mat or clean counter by dusting liberally with more Jules Flour. Prepare a baking sheet by lining with parchment paper.
- Transfer the dough to the prepared bag or the pastry mat. If using a bag, squeeze dough to the corner of the bag and pipe out 4 equal-sized rolls, approximately 1 1/2 – 2 inches in diameter, onto the prepared baking sheet. If using the pastry mat method, roll the dough in the Jules Flour until coated, then divide into four equal parts, rolling in more Jules Flour. Individually roll each segment out to a 2 inch log and transfer to the prepared baking sheet.
- In lieu of palmetto leaves, cut segments of baking twine and soak in water. Press one segment of twine gently into the top of each roll before rising and baking.
- Brush each roll with olive oil (or egg wash, if not making vegan) to help the bread brown, cover loosely and let rise in a warm spot for 30 minutes. Spritz with water before baking.
- Preheat oven to 400 F (static) or 375 F (convection).
- Place a pan of water on the bottom rack of your oven. Once risen, uncover bread, remove twine and place on a higher rack of the oven. Bake for approximately 15 minutes, or until a toothpick inserted into the center comes out with crumbs attached, rather than with wet dough. The bread should also sound hollow when knocked.
- If the bread is not browning, brush with more oil or melted butter before the end of the bake time and/or set oven to broil briefly to add color to the loaves.
- Remove to cool on wire racks before slicing.
- Yield: 4 sandwich rolls.
** Please keep in mind that nutrition information provided is per serving, which may vary. While we have taken care to provide you with the most accurate nutritional values possible, please note that this information may differ significantly depending on the exact ingredients and brands that you choose to use to make this recipe. Additionally, where options are given for ingredients, the resulting calculation may include all ingredient options instead of only one per line, skewing the totals significantly.
I hope you love this recipe as much as we do!
Pin it for later!













My first time was more like a flat bread Cuban bread flavor.. I totally gave up… well today 2 yrs later got the corage to try one more time.. guess what? IT WAS AWSOME! I would love to get more recipes for my starter.. thanks so much! Not been able to have Spanish bread is hard… and I can make my own???????? priceless!
Oh Johanna, I’m SO happy you didn’t give up and you tried again — your persistence was rewarded! I’ll be publishing a gluten-free sourdough recipe soon, so stay tuned. In the meantime, enjoy that bread!
~jules
Hi Jules,
I am about two years in – to the GF scene and have been disappointed with the results I have had, so far… to the point of almost giving up baking, completely! That alone is sad, because baking has always been my passion. (I have been a multiple blue-ribbon winning baker, in the past.)
I stumbled onto your website (literally) while looking for a GF Cuban bread recipe. I lived in Tampa for 32 years and (other than my grandsons) I miss good Cuban bread more than anything, since having to go GF.
I can hardly wait to try your flour blend and have ordered your Starter Pack.
I’ll keep you posted on the results!
I’m so excited to hear from you on your baking tests! I understand well the frustrations with most GF flours on the market. I hope my products bring joy back into your baking life — having shared your love for baking all my life, I truly understand how devastating it is to have that snatched from you when going GF. That’s why I’ve been so passionate about sharing my products and recipes with others, since it took me so long to develop them and they’ve allowed me to get back into the kitchen with confidence. Happy experimenting!
~jules
This recipe calls for:
1/4 cup certified GF millet flour (40 gr) OR almond meal (32 gr); or powdered coconut milk (23 gr); or powdered dairy-free milk (44 gr)
I don’t understand (gr) so I need to understand what the cups measurement would be if using Almond Meal instead of Millet flour. Still 1/4 cup??
Thanks!! I Love your bread….. and the leftovers always go with my grand daughter to her work the next day. Everyone loves our leftovers and cannot believe they are GF!!!! Jules, you are an artist!
Ah, Leighann you are too kind! 🙂
So glad you’re loving my bread and even the leftovers!!! Quite a compliment!
About the (gr) that’s grams measurements, so if you’re baking by weight you could measure out the ingredients that way. If you’re measuring by volume, it’s still 1/4 cup for any of the options given. I hope that makes sense! Different flours weigh different amounts, hence the variation in weights.
Enjoy the recipe!
~jules
Looks beautiful and sounds delicious! Thanks so much for sharing with us at Savoring Saturdays, Jules! 🙂 I’ve pinned this to our group board. 🙂 Hope you’ll come share with us again!
Thanks, Raia!
Hi Jules,
I really want to try to make this bread!! It looks amazing!
I have been purchasing your flour since you were Jules Gluten Free. I had a question, is the flour that you sell now, with gfJules, the same flour, the same recipe you originally created? Was it always, gluten free, dairy free, vegan…all of that? Or is that a new update to the all purpose flour recipe?
thanks in advance for your response!!
Hi Chris,
I’m glad the recipe is calling to you — it’s a winner! Thanks for your long-term loyalty as a flour supporter. To answer your question, nearly everything changed when I had to start my company over again, including where and how I source my raw ingredients for my blends. My products have always been gluten-free, dairy-free and vegan, but now I am able to source non-GMO ingredients as well. I think you’ll be as pleased with the changes as I am!
All the best,
~jules
Jules, this looks delicious- I need to try it out!
Fantastic! I hope you get to try it soon, Arman!
~jules
Hey Jules. I finally got a moment to check out this gorgeous recipe of yours. I’ve been admiring it everywhere lately 🙂 and for a good reason too — your breads always look so wonderful.
Ah, you’re the sweetest! Thank you, Audrey!!
~jules
My bread is in process but my starter is not bubbily. Is it supposed to be like sour dough is?
Hi Carol, this starter isn’t bubbly. You should be good!
~jules
Oh I need to make this! I have a love for sandwiches like this, but have SOOO missed these types of roles. Thanks so much for sharing!
Yes! So glad it will be a useful recipe to you, Alyssa. Enjoy!
~jules
This bread looks AMAZING Jules! I need to try this asap!
Thanks, Sharon! I hope you love it!
~jules
Delish!! Just pulled mine out of the oven and they are super! I used the traditional lard in hopes of getting as close to that delightful bread as possible. Turned out great – thanks Jules!!
Oh that is WONDERFUL to hear, Holly!!! I was curious how it would turn out with lard — thanks for letting me know! woot woot! Success is Sweet!
~jules
I also used the traditional lard and palmetto leaf, but it barely rises.???? My starter is nearly as bubbly as for regular flour bread but I wonder about the cider vinegar in the dough. Won’t that make it too acidic for the yeast? After mixing it was a rather sticky dough but much thicker and heavier than a “stiff batter”. The final product has a nice flavor but definitely NOT the texture or lightness of Cuban. Should I try again with the vinegar? I feel like I’m wasting all this expensive flour.
*I meant WITHOUT the vinegar. I have never seen a bread recipe include vinegar.
Hi Sommer, I’m so sorry for my delayed response – we’ve been moving and it’s pure chaos here … no computer or wifi has just been one of my many challenges! 🙂
Regarding the dough – can you tell me first if you used my gfJules flour to make it? It shouldn’t be heavy, so perhaps adding a bit more liquid would help the dough to be less tight and rise more. I haven’t had any troubles with using the vinegar in this recipe with the yeast, so I don’t think that is the issue, but I love that you’re thinking like a chemist! You can certainly try that next time, but it should work as written, but perhaps with a bit more liquid. Since I didn’t use lard to make mine, that difference may have led to a tighter, dryer dough. My first suggestion would just to be add more liquid so the dough is looser and it will allow the rise. I’m glad to hear that the taste was good – please keep me posted and let me know what you work out. I’ll be interested to hear how the experimenting goes! I have starter in my fridge I brought over from my old house, but I have no oven yet, so I’m I’ll have to live vicariously through your baking reports!
~jules
You always have the BEST breads Jules! I wish I could have joined you in Tampa at the convention and so I could grab a warm slice of this bread!
Oh Laura, how fun that would have been! Well, at least now you have the recipe! 🙂
~jules
That looks super good! I love the flavor millet gives gluten-free bread. Yum!
Thanks Elise! I tried with a bunch of different grains and I liked the millet the best. I hope you get to try it!
~jules
I love this bread! It looks so good and easy! Perfect for sandwiches!!!! Pinned!
Yay! Thanks, Rebecca!
~jules
Made these today. I think I have to work with the recipe some more because I found the center to be quite doughy. The flavor was good and when I toasted the split roll, the texture improved. Thanks for the recipe.
Hi Gail,
Thanks for taking the time to report back on the recipe. Assuming no changes were made to the ingredients, the two suggestions I’d make are to adjust your bake time (depending on whether you’re using convection setting or not, which may reduce the bake time a bit) I would add a couple more minutes to the bake, and based on the number of times I made this recipe at the Gluten Free Food Allergy Fest in Tampa this weekend, I found that if the bread was cut into too soon after removed from the oven, it was a bit doughy. I had folks lining up to try the bread as soon as it came out of the oven, and I couldn’t wait until they cooled to cut them all. The ones I cut into right from the oven were doughy; once left to cool a bit and then cut into, they were delicious and the texture was just right. I hope that helps for next time!
~jules
Since only 1/4 cup of the starter is used, what can you make with the rest of it if you don’t want to make several batches of Pan Cubano? And, how many batches of Pan Cubano does the starter make? Thx!
Hi Patti,
You can halve the starter recipe and measure out 1/4 cup then toss the rest, or you can get about 2 recipes out of the starter, as it’s written. I’ve made so much Pan Cubano in the last week, that once my starter is reduced to less than 1/4 cup, I just add another recipe to it and put it back in the fridge so I have a constant supply. But it’s easy to halve the starter and just toss any extra, as well. Hope that answers your question!
~jules
Awesome, thank you so much! Trying this recipe out tonight…can’t wait to taste them! 🙂
Wonderful, Patti! Enjoy!
~jules
Yumm. Classic. ..Thank you.
Wonderful! Hope you enjoy the recipe, Doris!
~jules
Are you going to pin this on your board after the conference?
YES!
~jules
I am always looking for a good sub sandwich bread. My husband makes the best hoagie style sandwiches and I miss having them because all the ones I have found are really dense. I hope this is the one, the recipe sounds easy enough and looks right. I always use your flour and no one else s! Thanks!!!
That’s wonderful to hear, Sharon! I hope this is the one, too!!!
~jules
This recipe doesn’t seem different from other bread recipes I’ve read. What makes it Cuban?
Hi Ahna,
Not having seen the recipes you’re talking about, I’m commenting a bit blindly here, but the things that really distinguish Cuban bread are the palmetto leaf (or in this case, baker’s twine) down the center of the bread, lard (or in this case, olive oil!), and the starter. Of course, mine is also gluten-free and I made mine vegan, so those could be differences as well.
~jules
Cuban bred made in Tampa consists of 5 ingredients. flour, lard, yeast, salt and water. I have a gluten intolerant daughter I have promised to make Cuban sandwiches for come Thanksgiving. I already know you are a life savior