If there’s any way to make cinnamon rolls better, it’s to make them gluten free and to make them easier to make, am I right? I mean, overnight gluten free cinnamon rolls are pretty much the pinnacle of cinnamon roll nirvana IMHO, and judging by the questions and comments I get on my other cinnamon roll recipes, I think you’d probably agree with me.
Add a flair of Earl Grey Tea and now we’re even getting fancy!
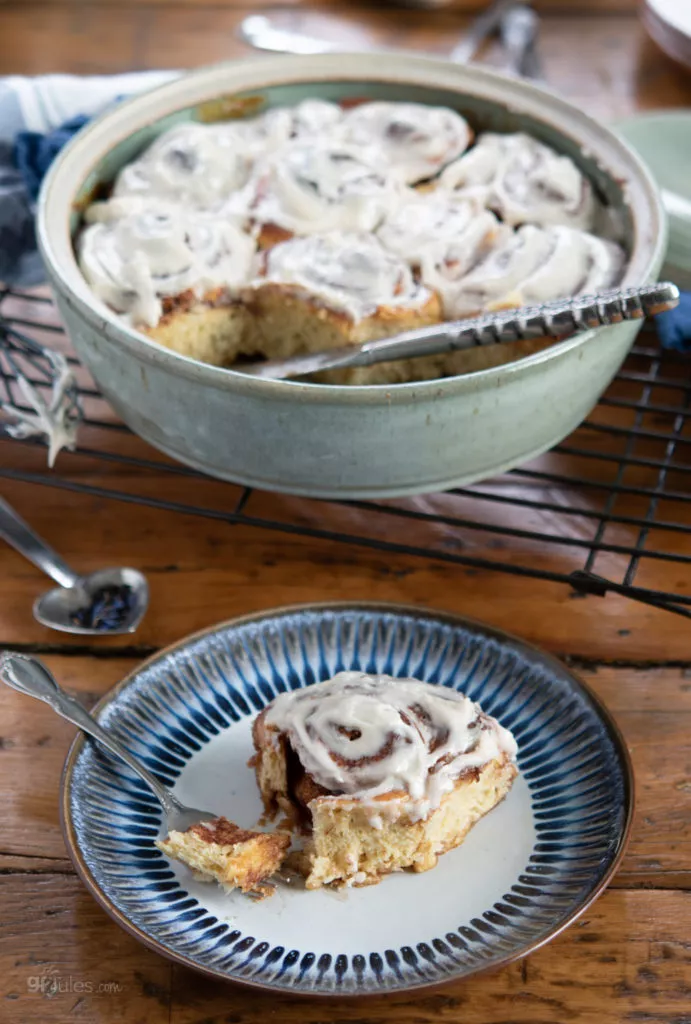
Speaking of my other gluten free cinnamon roll recipes, I could have actually called this my sixth gluten free cinnamon roll recipe instead. I kind of have a problem, er fixation, with them. Sticky buns, yeast-free, in the form of cookies … you name it, I’ve found a way to make cinnamon rolls gluten free.
But loyal readers know that aside from my 52 Minute Gluten Free Cinnamon Rolls (the aforementioned yeast-free vegan cinnamon roll recipe), there is generally some time involved in making the heavenly deliciousness that is the perfect cinnamon roll. And cinnamon rolls being what they are, they are typically breakfast fare … but who wants to get up extra early to make them? Not me!
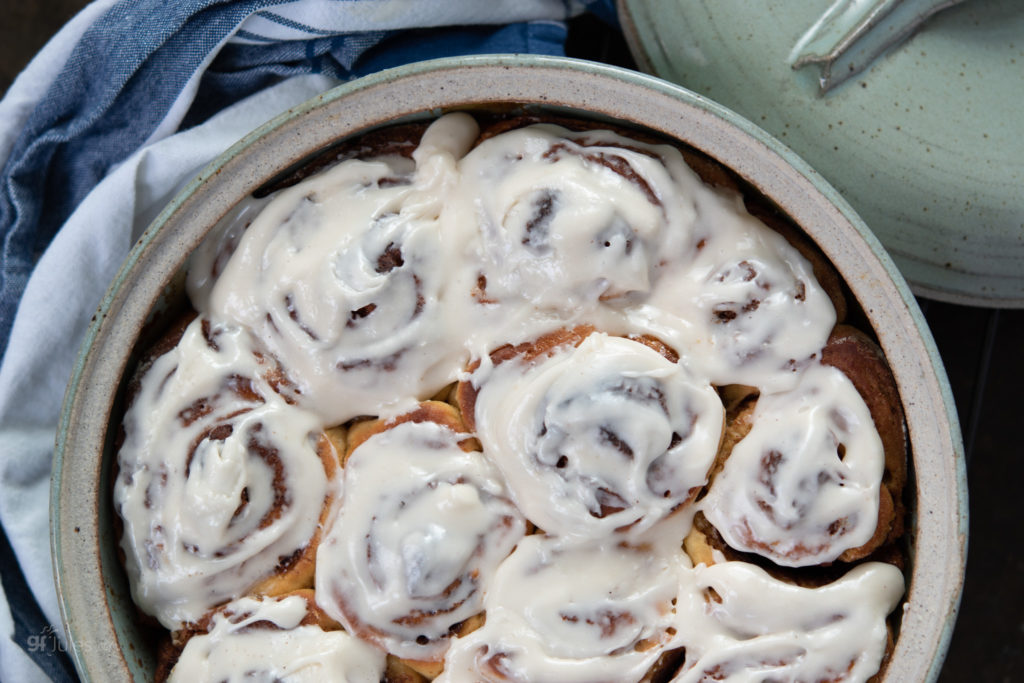
So I decided to develop a recipe dedicated to the late night bakers among us who would really love to just roll out of bed and stick the already-made cinnamon rolls in the oven. This is the recipe for us!
Gluten Free Earl Grey Cinnamon Rolls Recipe Notes
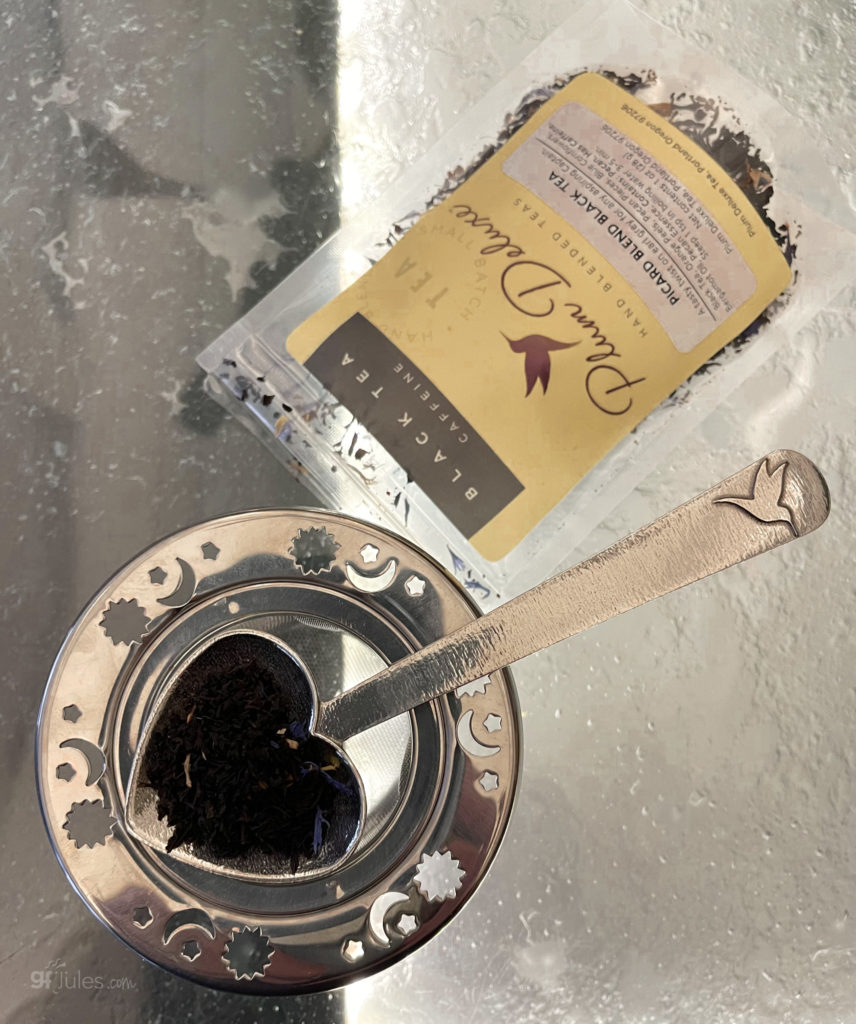
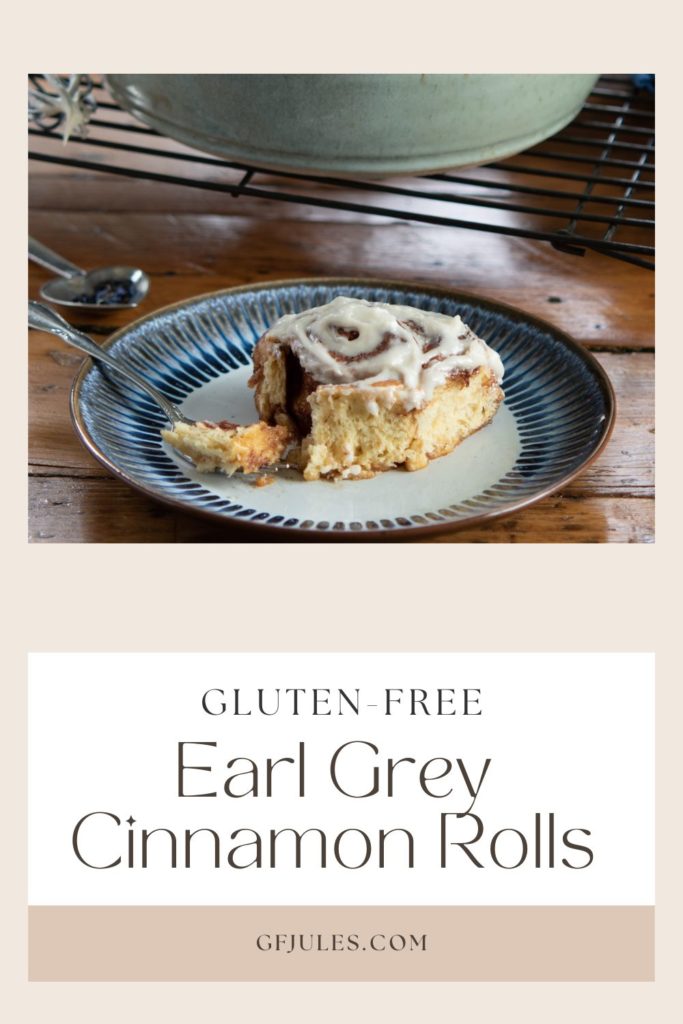
I also decided to play with using tea leaves in this recipe to mix it up a bit, as I’ve been getting into tea a bit lately, so I infused the milk ingredients in this dough and in the icing with Earl Grey tea for something super breakfast-y! Feel free to skip this altogether if Gluten Free Earl Grey Cinnamon Rolls doesn’t strike your fancy.
It’s totally unnecessary and yet … totally fun! Oh, and since black tea has several notable and proven health benefits, adding it to a decadent cinnamon roll feels a little like we’re getting away with something.
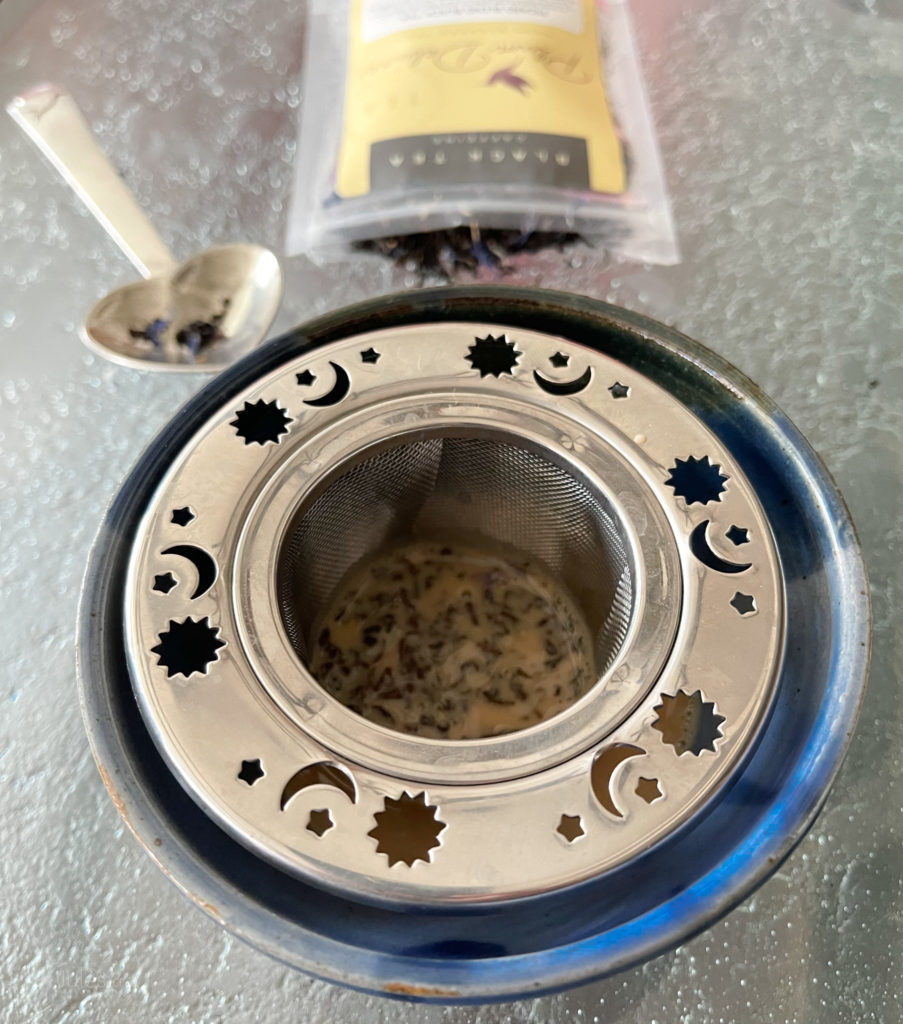
If you do decide to go the tea route, I highly recommend using high quality tea leaves from a company like Plum Deluxe.* They shared a number of super unique blends with me and I couldn’t resist the one called Picard Black Tea Blend (described on their site as Black Tea, Orange Peels, Pecan Pieces, Blue Cornflowers, Bergamot Oil, Pecan Essence, Love, Gratitude). See, I told you their blends were unique.
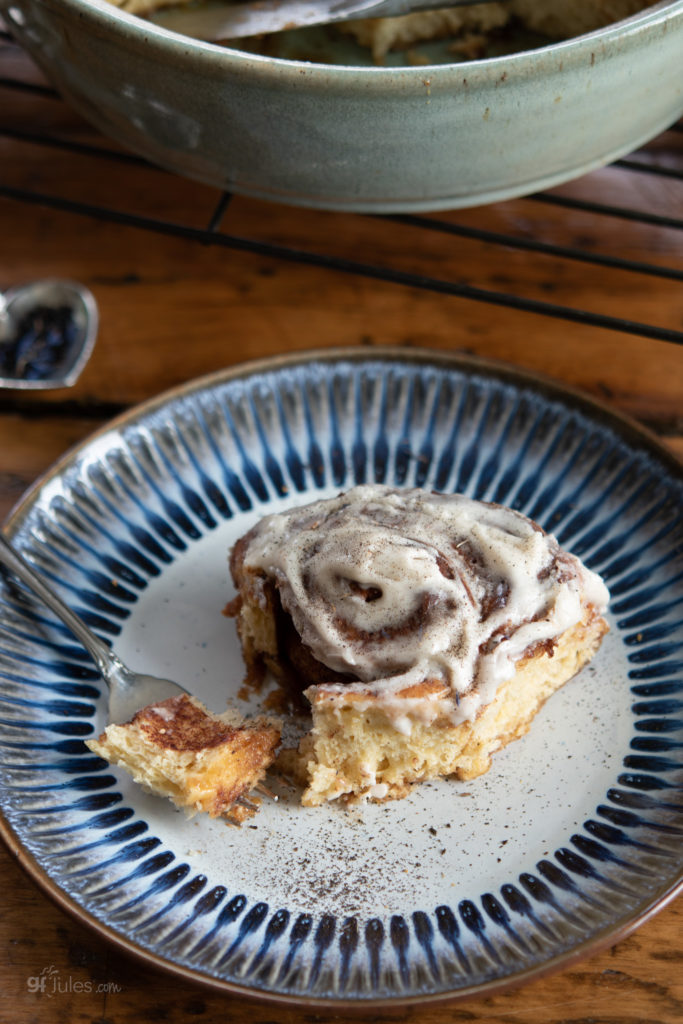
With such a pretty tea, you could even sprinkle the leaves on top as a garnish because they’re safe to eat, not just to infuse!
Overnight Gluten Free Cinnamon Rolls Recipe Notes
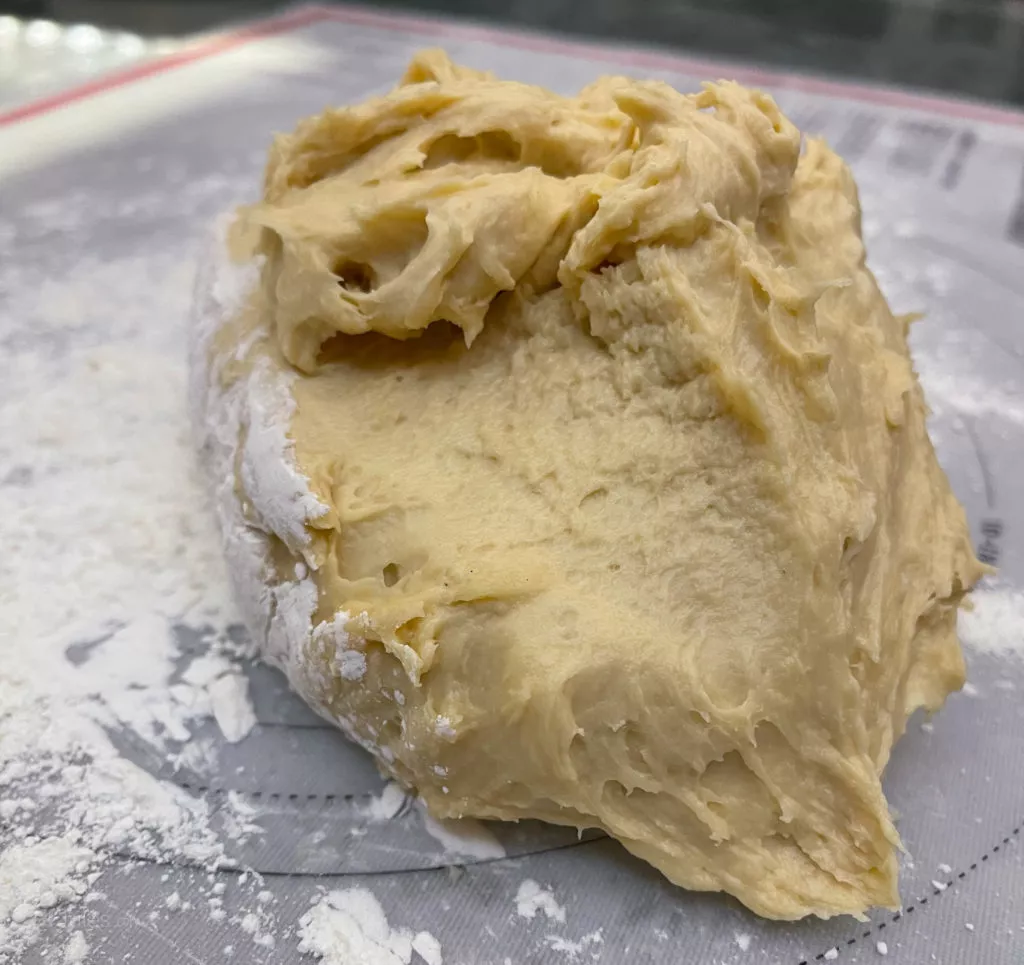
Do I Need a Stand Mixer? I get this question a lot with yeast bread recipes. While a stand mixer is super handy for all kinds of recipes, if you don’t have one, you can mix the dough by hand using a large wooden spoon or rubber spatula. I don’t recommend a hand mixer because this kind of dough is sticky and it just seems to get stuck in the beaters.
Do I Have to Wait Overnight to Bake these Cinnamon Rolls? No! Just cover the pan as directed and allow them to rise until roughly doubled in size. This can be done in a warm place, at room temperature or in the refrigerator, depending on how long you want to wait before baking.
How Long Can I Leave the Rolls in the Refrigerator? I’d recommend only about 12-14 hours. I haven’t left the dough much longer than that myself.
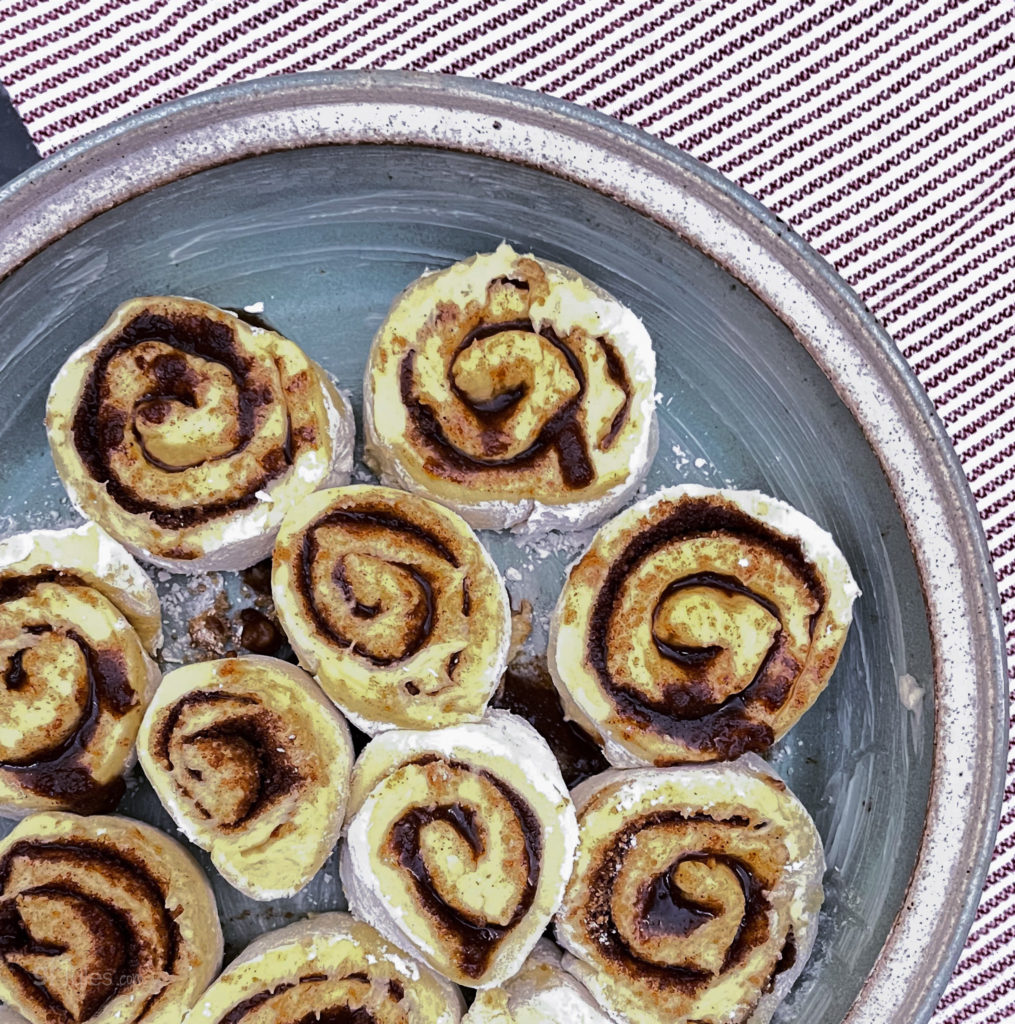
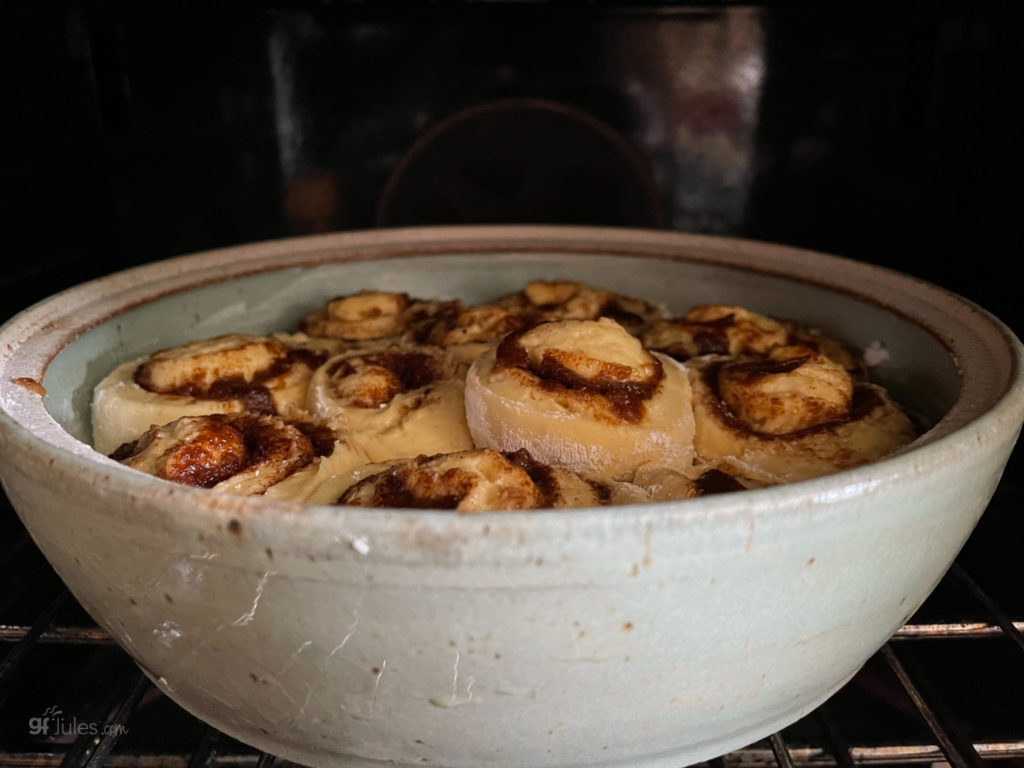
When you place the rolls in the pan to go into the refrigerator (or if you are just setting them aside to rise and then bake), be sure to leave room for them to grow and spread out in the pan … like this …
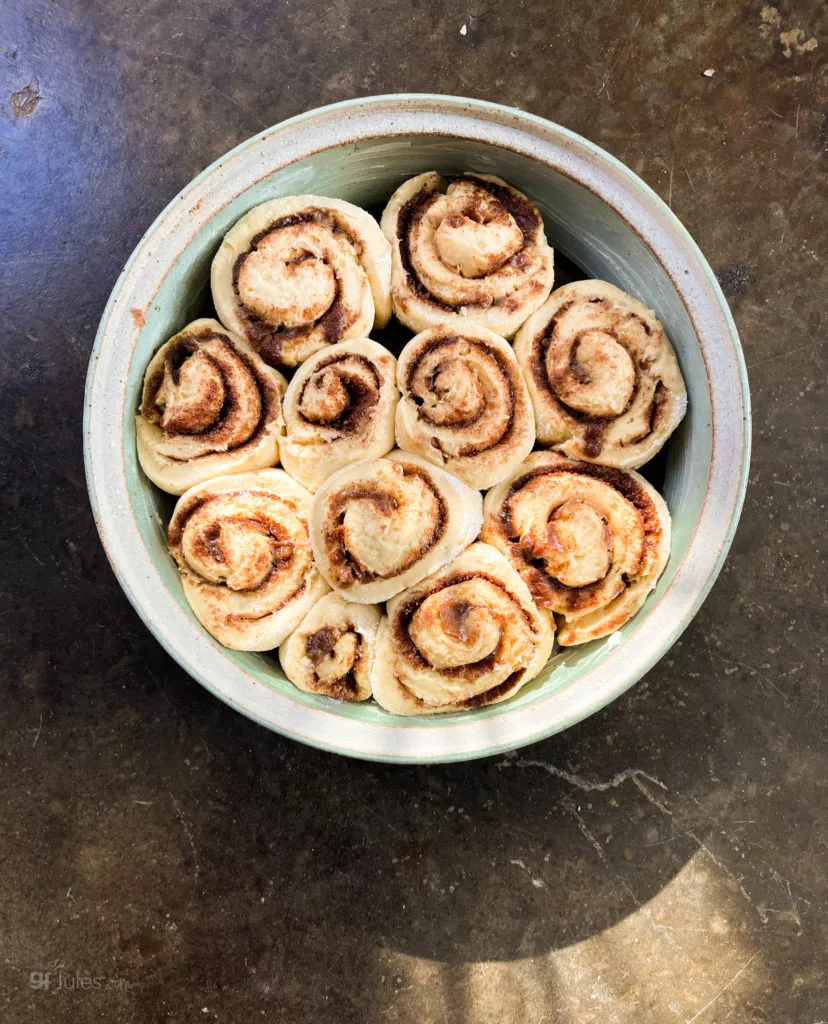
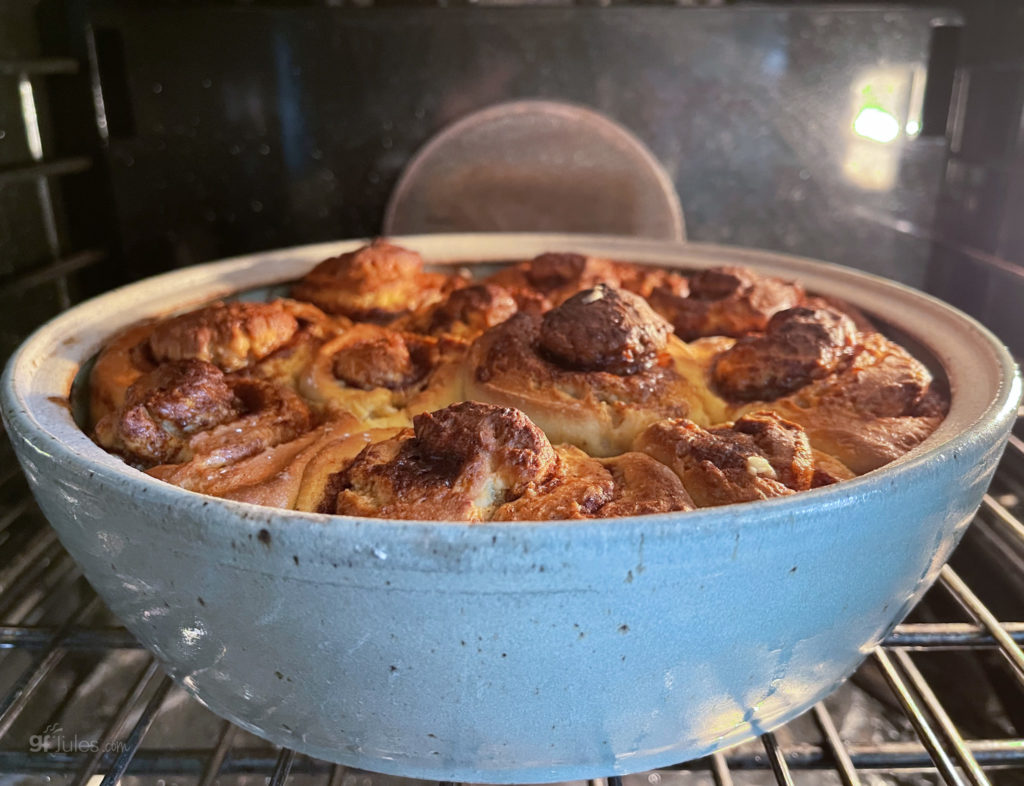
After a night in the fridge or rising in a warm place, they’ll have swelled to look like this …
Can I Bake the Rolls Straight from the Refrigerator? Probably?! I haven’t tried it yet, but I think you probably could. If you plan to do this, I would definitely tent the pan with foil from the beginning of the bake and you may need to add more bake time, as the dough will take longer to cook from cold and you don’t want the tops to get too dark while you wait for the middles to cook through.
What Kind of Yeast is Best to Use? Check my article all about yeast and gluten free bread baking if you’re a geek like me and you’d love to know more, but for this recipe, suffice to say I recommend standard active dry yeast, proofed the old fashioned way, as described in the recipe directions.
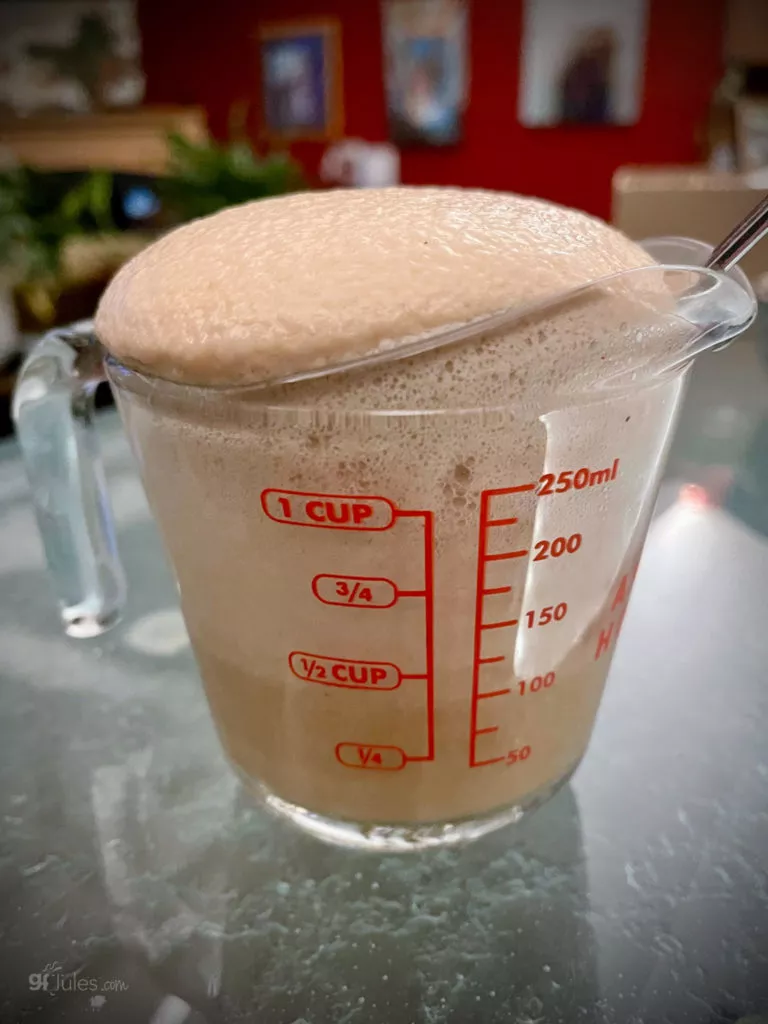
Most active dry yeast is gluten free and will say so on the package, but Red Star Platinum Yeast is NOT gluten-free. Avoid! If you need yeast-free gluten free cinnamon rolls, I have a recipe for that!
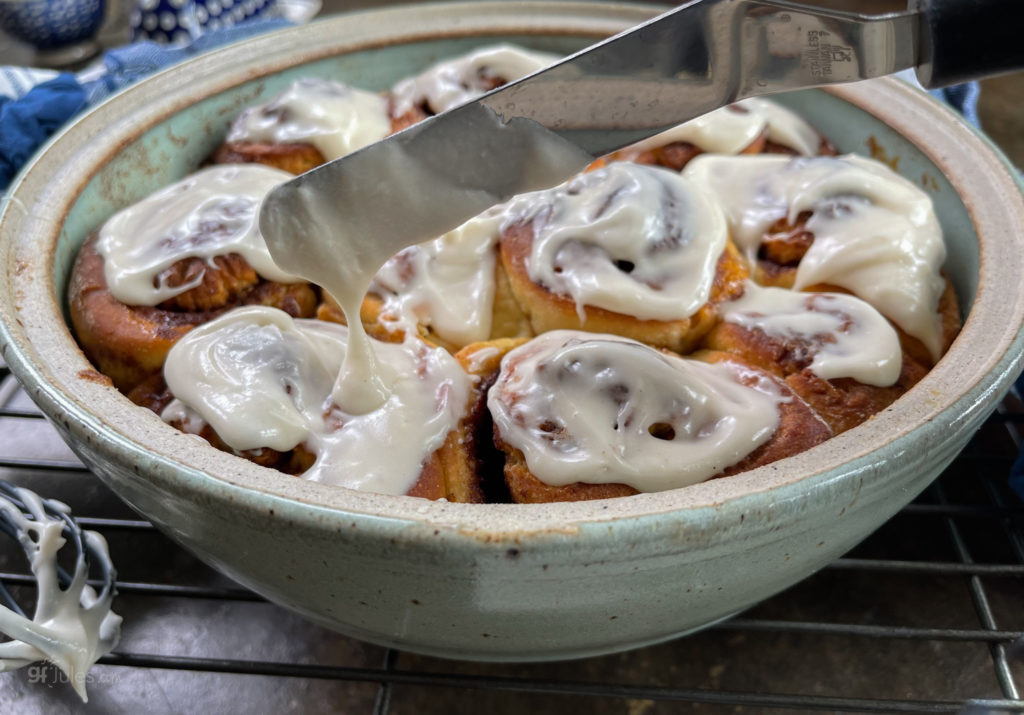
Is the Cream Cheese Icing Still Delicious Made Dairy-Free? YES! All my recipes are made and tested with dairy-free ingredients and this scrumptious icing is no exception.
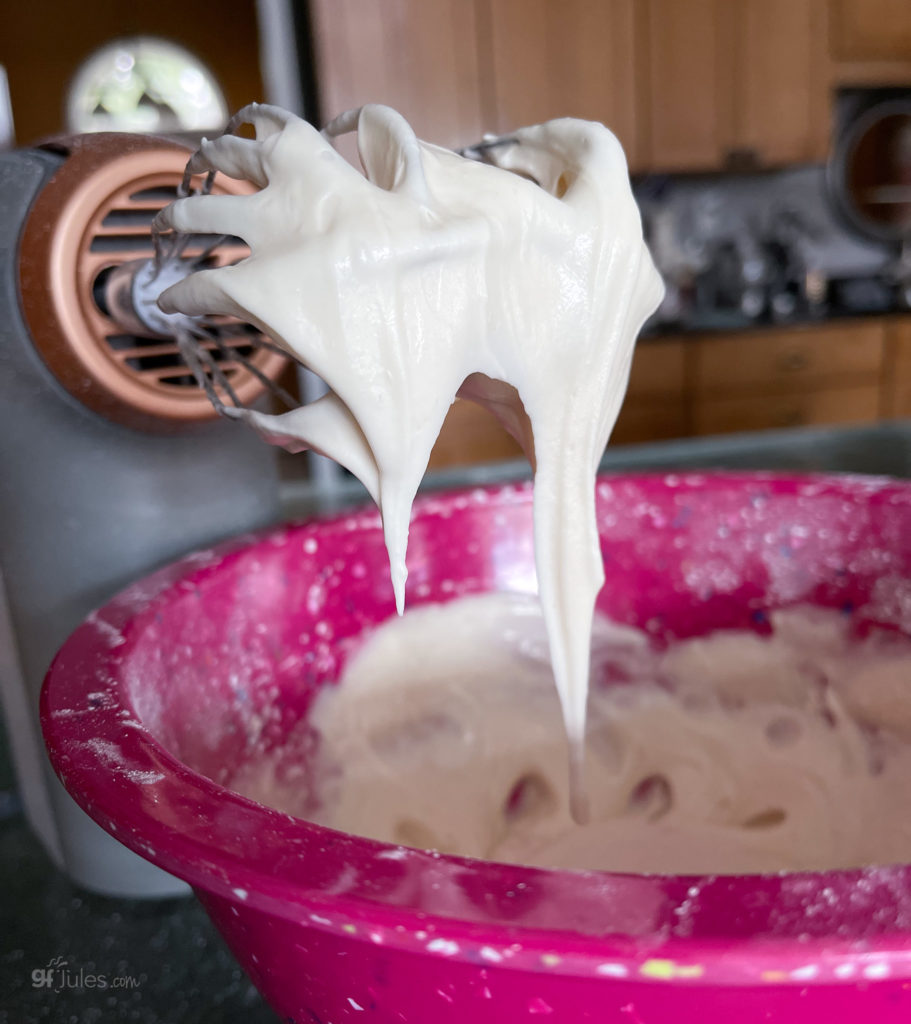
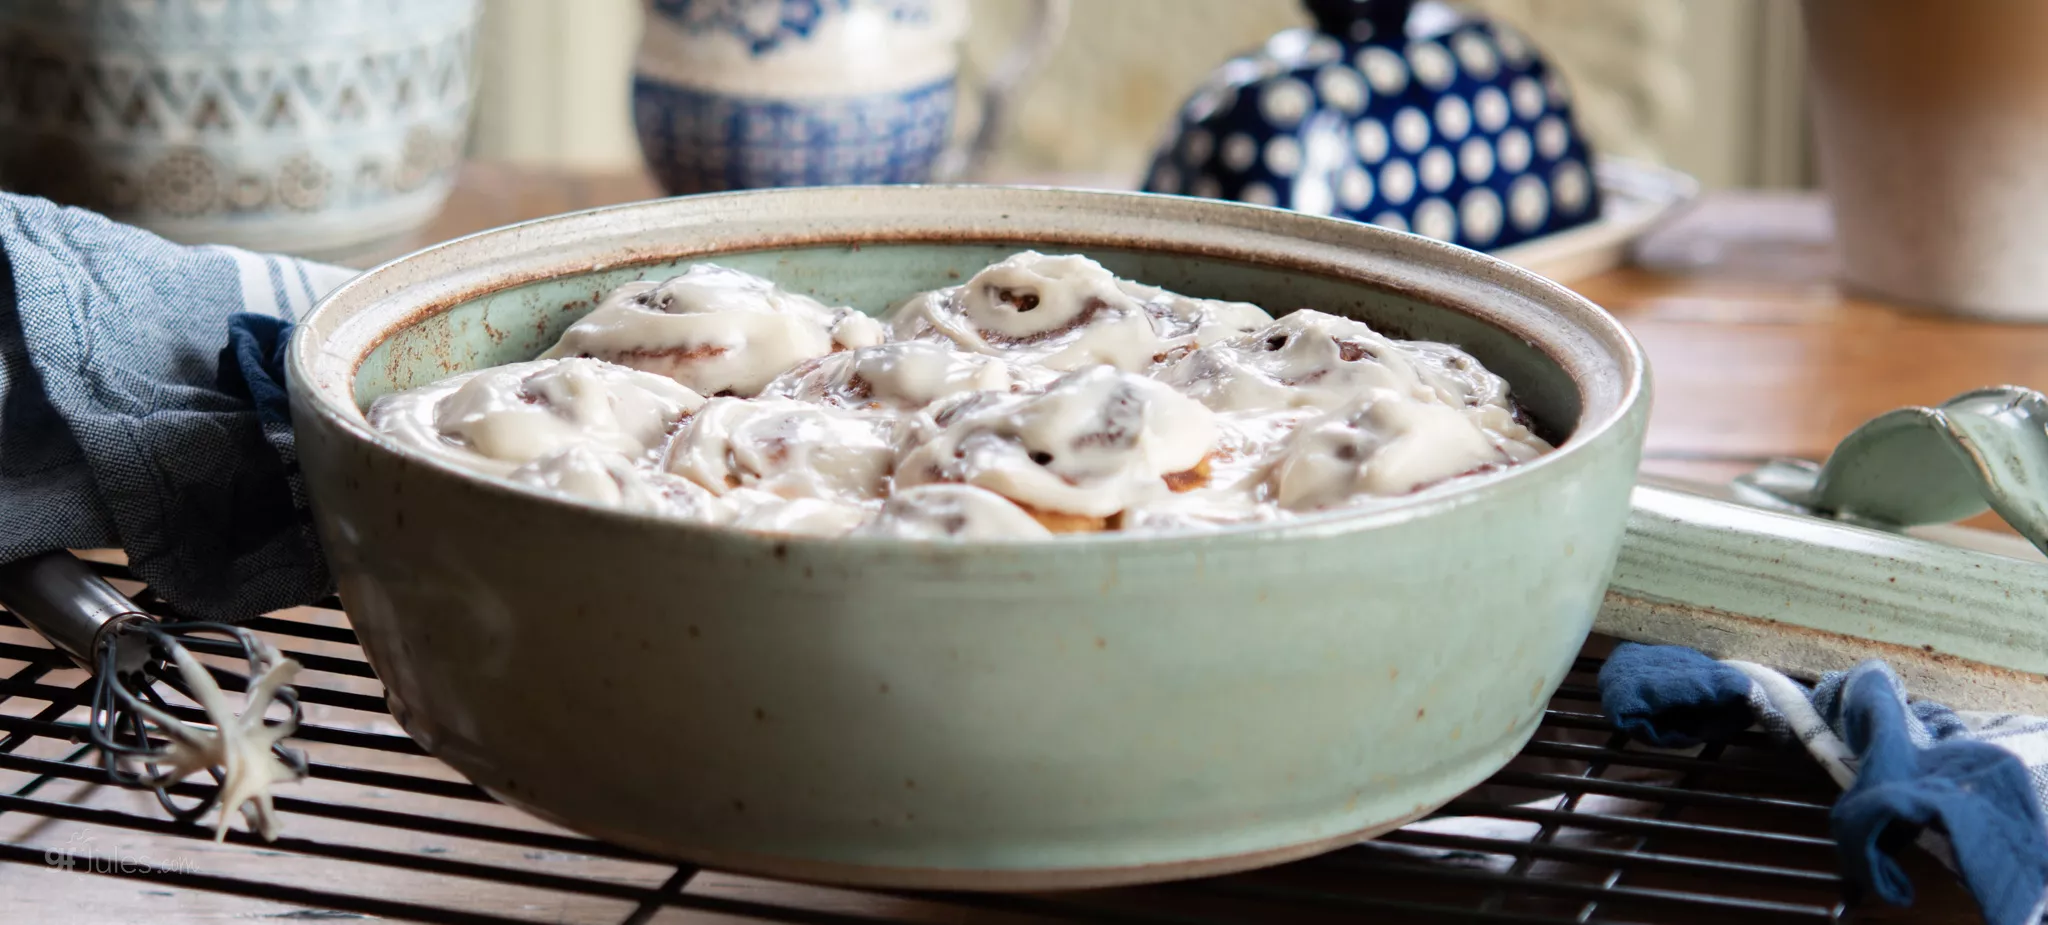
You can check my recommended dairy-free products article for more choices, but you’ll see the brands I used in the recipe card and you can also see from the photos that this icing held up beautifully. It was truly quite tasty!
A few more notes on making this easy dough: you’ll love how soft and stretchy the dough is to roll up when you’re using my gfJules Flour. It makes doughs like these FUN to work with!
No more crying over cracked and crumbly gluten free doughs (or maybe that was just me who used to cry over crumbly gluten free pie crusts?!); with my gfJules Flour, doughs are a dream to roll out and roll up!
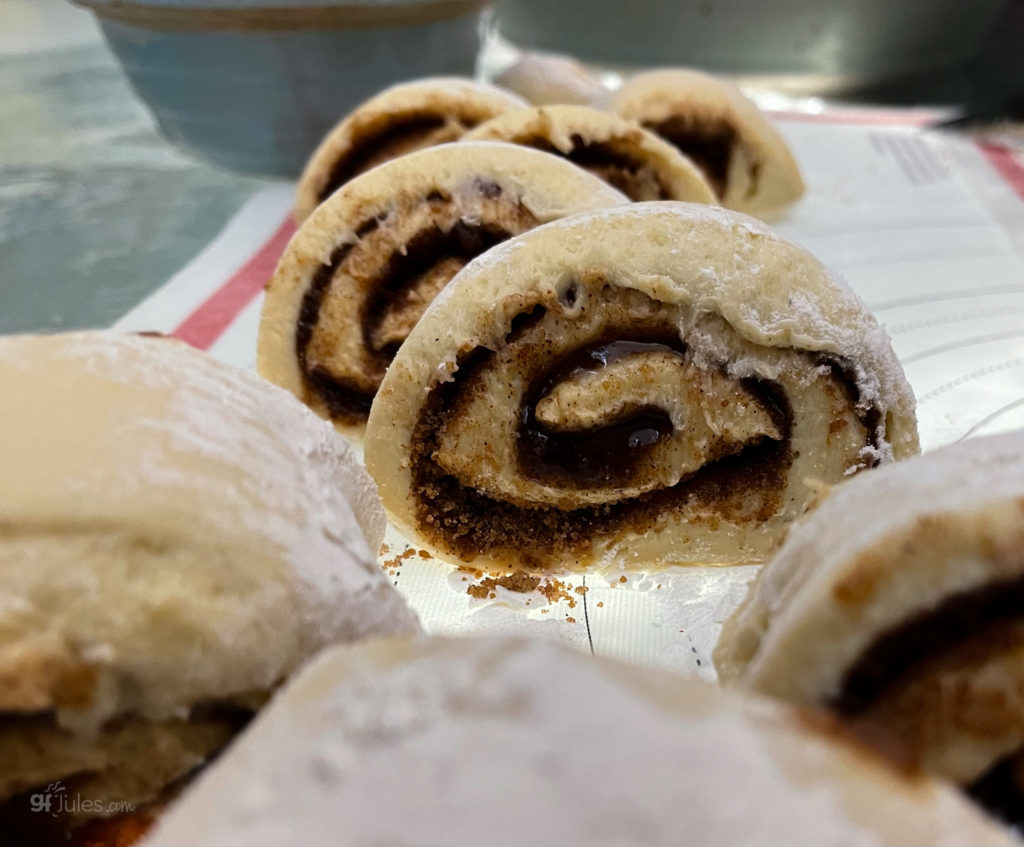
If you having problems with the dough being dry or cracking, you’re either using another gluten free flour or there’s not enough moisture in the dough and you need to revisit your measurements. Check out this article on the proper way to measure ingredients and go from there.
Here’s a look at how the rolls will look after rising and when you put them into the oven — they already look so fluffy!
And coming out … you don’t even need to ice these if you can’t wait. They’re THAT good!
But then again, that icing gets me every time!
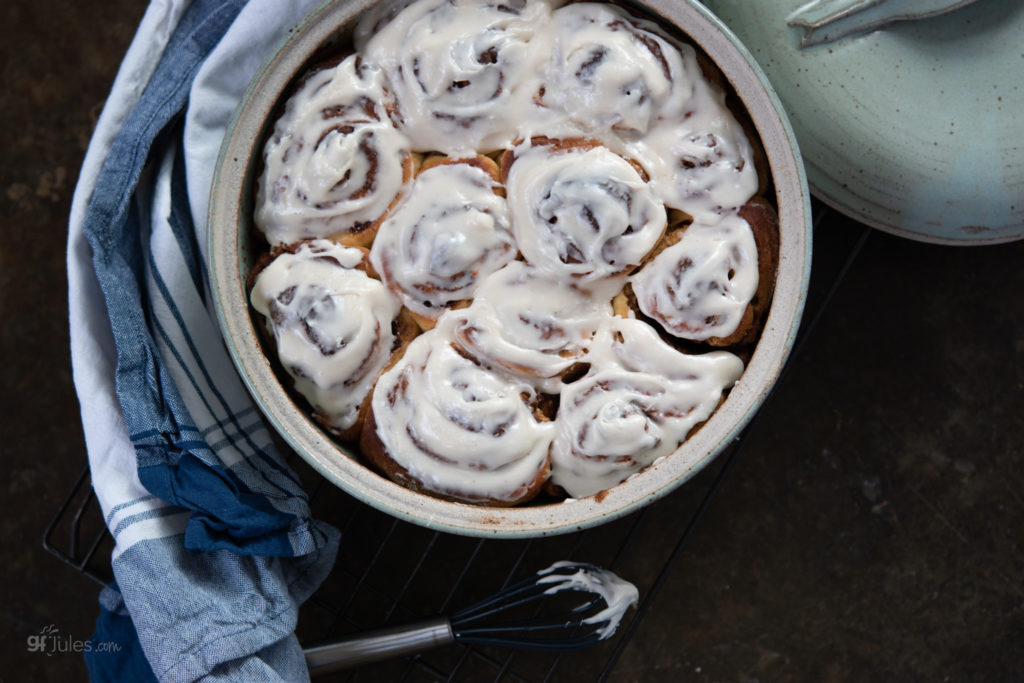

Gluten Free Earl Grey Overnight Cinnamon Rolls
Ingredients
Cinnamon Roll Ingredients
- 2/3 cup (5.3 ounces) milk, dairy or non-dairy (not non-fat or skim)
- 2 tsp. loose Earl Grey tea (Plum Deluxe Picard Black Tea Blend), optional
- 1 Tbs. active dry yeast (or 1 yeast packet)
- 2 eggs (or substitute like 6 Tbs. aquafaba or commercial egg sub)
- 3 Tbs. honey OR agave nectar
- 1/4 cup (4 Tbs. / 2 ounces) melted butter or vegan butter (e.g. Earth Balance® Buttery Sticks)
- 2 1/4 cups (304 gr) gfJules® Gluten Free All Purpose Flour
- 1/4 cup (55 gr) dry vanilla pudding mix, gluten free (like Jell-o® brand)
- 1/2 tsp. salt
Topping Ingredients
- 1/4 cup (4 Tbs.) softened butter or vegan butter (e.g. Earth Balance® Buttery Sticks)
- 2/3 cup brown sugar
- 2 Tbs. ground cinnamon
Icing Ingredients
- 1/4 cup (2 ounces) milk, dairy or non-dairy (not non-fat or skim)
- 1 tsp. loose Earl Grey tea (Plum Deluxe Picard Black Tea Blend), optional
- 1/2 cup (4 ounces) cream cheese, dairy or non-dairy (I used Tofutti® Cream Cheese)
- 2 Tbs. (1 ounce) butter or vegan butter (e.g. Earth Balance® Buttery Sticks)
- 2 cups confectioner's sugar sifted
Instructions
- If using tea, boil milk and steep tea in milk for 5 minutes; otherwise, simply bring milk to room temperature.
- Remove tea infuser, if using, then add honey and yeast to milk once cooled to warm. Allow yeast to proof for 5 minutes.
- Melt butter in a small bowl. In a separate large mixing bowl, whisk dry ingredients together.
- Add melted butter, milk/yeast mixture and mixed eggs or sub to dry ingredients and beat together using stand mixer or large wooden spoon. Once the dough has come together, continue mixing for another 2 minutes on medium-high. The dough should be firm but not tight or dry.
- Prepare the topping by mixing together brown sugar and cinnamon and melting butter to have ready to brush on the dough.
- Roll the dough out into a rectangle on a clean surface floured like a pastry mat or clean counter dusted well with gfJules® Flour to keep it from sticking. Knowing that the dough will rise, roll the dough thinner if you prefer less bun and more filling, but no thinner than 1/4 inch.
- Mix together softened butter, brown sugar + cinnamon and spread evenly across the rolled out dough.
- Roll the dough up into a spiraled log by rolling up evenly from the long end. A bench scraper makes this easier. Cut into 10-12 rolls.
- Place rolls in buttered or oiled baking dish, cut side down, leaving room between them for the rolls to rise. Cover with oiled plastic wrap and place into the refrigerator for up to 14 hours. The rolls will rise slowly this way. If not rising overnight, set rolls aside to rise in a warm location for 30 minutes to one hour, or until nearly doubled in size.
- When you are ready to bake the rolls, remove from the refrigerator and leave at room temperature at least as long as it takes to preheat your oven to 325°F. If the rolls have not risen to nearly double in size, allow to rise at room temperature for 1-2 hours; this step will not hurt the dough, but this step should not be necessary if your yeast was very active.
- Remove the plastic wrap and recover the rolls with a tent of aluminum foil to prevent the rolls from burning. Once the oven has come to temperature, place the rolls in the oven to bake for 15 minutes, then remove the foil and bake for another 5-8 minutes, testing with a toothpick for done-ness. The toothpick should not have wet dough on it when removed. Add more time if necessary for the dough to cook through, particularly if the rolls are coming straight from the refrigerator without spending much time at room temperature.
- Once cooked, remove to cool while preparing icing.
- Boil milk and steep tea for 5 minutes, if making Earl Grey Cinnamon Rolls; if not, skip this step. Once tea is steeped, allow milk to cool.
- Add milk to room temperature cream cheese and butter plus sifted confectioner's sugar. Beat together slowly at first to mix, then increase speed to smooth the icing. Add more cream cheese, if necessary to thicken; add more milk if necessary to thin.
- Spread icing over warm cinnamon rolls before serving.
Video
** Please keep in mind that nutrition information provided is per serving, which may vary. While we have taken care to provide you with the most accurate nutritional values possible, please note that this information may differ significantly depending on the exact ingredients and brands that you choose to use to make this recipe. Additionally, where options are given for ingredients, the resulting calculation may include all ingredient options instead of only one per line, skewing the totals significantly.
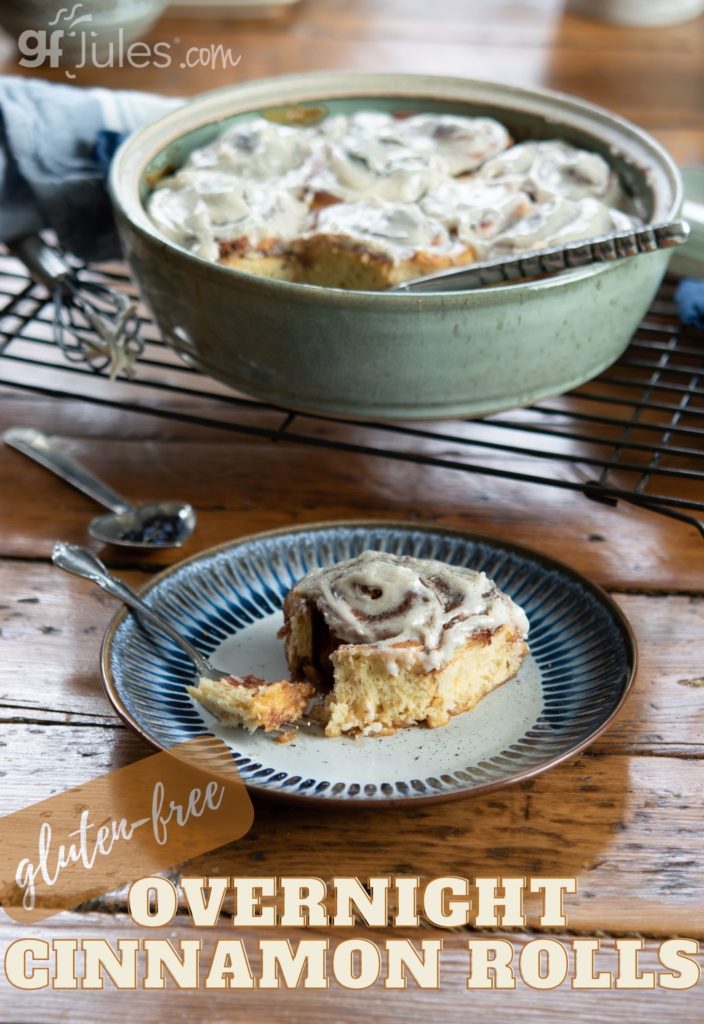
Pin for later!














These are fantastic! My non gluten free son said they are the best cinnamon rolls he’s ever had!
High cinnamon roll praise! How fantastic, Debbie! Congrats to you for making such delicious rolls!!!!!
~jules
After refrigerating overnight for 11 hours, I took them (shaped rolls in glass baking dish) out and the the filling leaked. The dough has risen but also became unexpected somewhat soft, wet and with liquified filling runny at the bottom all over. Is this normal? What do you think it was – 1) perhaps the refrigeration needs to be shortened? 2) What’s the remedy when the filling liquified and leaked to make the dough bottoms soggy? What should I before baking it in the oven?
I followed the recipe to the T, using gfJules GF all purpose flour and all exact ingredients. Thank you so much if you have any advice or suggestions-
Hi Grace, the butter/vegan butter in the filling should re-solidify in the refrigerator overnight, but if yours stayed very liquid-y, then you can always just not melt it to begin with when you spread it across the dough for the filling. So instead of melting the butter and then crumbling the sugar and cinnamon on top, just brush softened butter gently on top first. This should help the filling not leak out for you. I hope that helps for next time!!!
~jules
Thank you very much for the suggestion, Jules 🙂 I will use softened butter for filling next time. By the way last time it still turned out soft and fluffy – my partner did not expect it to be gluten free and this good, even though the filling leaked and I was worried how it might affect the end result. Only a bit crispier than expected at the bottom and sides but still overall very delicious. We are very thankful to have found and tried your all purpose flour and recipe! Thank you again :)))
Hi Grace, isn’t it nice when you can surprise loved ones with soft and fluffy gluten free baked goods?! That’s the best surprise!! I’ve modified the recipe a bit, based upon your feedback, as I think most people will have the same experience if they are refrigerating for a longer period of time. It won’t affect the dough, but more of the yummy filling will stay at the top if the butter isn’t melted. So … thank you for taking the time to write in and ask the questions! I appreciate your time and your review! So happy you’re enjoying my gfJules Gluten Free Flour and recipes!
~jules
Is there a substitute for the pudding? I can’t have processed sugar.
Hi Valerie, yes! Simply use dried milk powder of any kind — coconut milk powder or regular dairy milk powder, that kind of thing — or you could even use plain mashed potato flakes instead.
~jules
In the Earl Grey Overnight Cinnamon Rolls recipe you say pudding mix. You don’t specify instant or cooked. Just want to get it right. Thank you, Jules!
Hi Susan, you can use either, but I typically use instant so I would recommend that if you can find it. Enjoy this recipe — it’s so good!!
~jules
Can the dough rolls be frozen until ready to bake? Or, can the baked rolls be frozen (without the icing)?
Hi Lillian, I haven’t tried this dough frozen before baking, but there’s no reason why it wouldn’t work. As for baking, then freezing without the icing, that would definitely work. As with my gluten-free pull apart rolls, allow time for the cinnamon rolls to FULLY cool first. Wrap in two layers of aluminum foil then in two layers of plastic wrap, then place the wrapped rolls in a freezer bag in the freezer.
There are a couple options to reheat. Either set the rolls out from the freezer the night before to let them thaw, then warm them for a few minutes in the oven before serving (follow my instructions below). OR, reheat the rolls straight from the freezer.
Either way, when reheating in the oven, remove the plastic wrap and loosen the foil enough to spritz or dampen the top of the rolls with water (this will create steam when heated). Re-close the foil around the rolls and place them in an oven preheated to 350F for 10-15 minutes, or until they are fully warmed and heated through.
Jules, does it make a difference if the pudding mix is the cooked variety or quick set?
Hi Karen, I typically use the instant kind of pudding mix, so I would stick to that if you have a choice, but I have used the cooked variety in some of my other recipes in the past and didn’t really notice a difference, so I honestly think you’d be ok either way. Just know that the recipe was written and tested with the instant kind. I hope that helps!
~jules
Thank you