Pocket sandwiches seem to have been on a lot of peoples’ minds lately; one reader even posted her breakfast version on my Facebook page last week, which inspired me to make my own Gluten Free Hot Pocket Sandwiches! This recipe is really quite simple, and fun to double so you’ll have extras in the freezer for a quick breakfast another time.
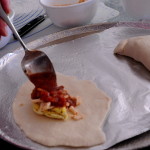
I used scrambled eggs with cheese and salsa in mine, but don’t let that limit your creativity! Perhaps you’d like to add meat or grilled veggies? Anything you like will taste even better in these hot pocket sandwiches! You may notice that this recipe looks a lot like my gluten free calzones recipe — it is! Hop to that recipe if you want an Italian spin on this scrumptious meal!
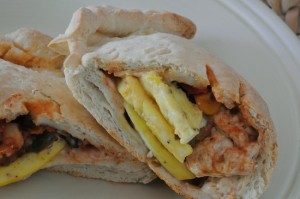
Gluten Free Hot Pocket Sandwiches
Ingredients
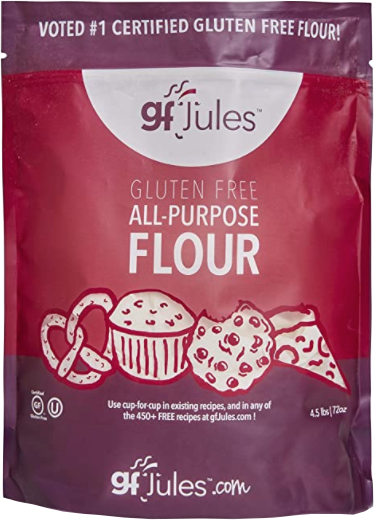
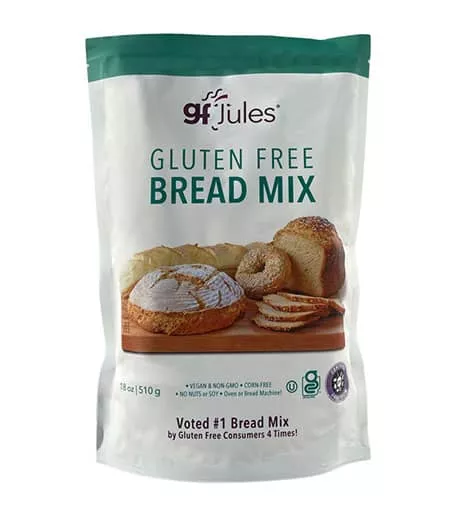
1 1/2 cups of gfJules™ All-Purpose Gluten Free Flour
- 3 Tbs. milk powder (dairy or non-dairy like Coconut Milk Powder) OR almond meal
- 1/2 tsp. salt
- 2 egg whites (or 1 whole egg substitute)
- 2 Tbs. olive oil
- 1/2 tsp. apple cider vinegar
- 4 Tbs. warm water
- 2 1/4 tsp. rapid rise/bread machine yeast (Red Star® Quick Rise)
Instructions
- Whisk together all dry ingredients except yeast. Combine wet ingredients and add to the dry mix, reserving some of the water. Slowly mix while adding the dry ingredients. Add more water as needed to achieve a firm dough that can still be spread. Add the yeast and beat on high (with paddle attachment if using a stand mixer) for 2 minutes.
- Prepare a clean counter or pastry mat by dusting with gfJules™ All Purpose Flour. Divide the dough into 4 separate portions. Scoop one portion onto the counter or mat, rolling in flour to prevent it from being sticky. Pat the dough out into an elongated disc, using the palm of your hand. The dough should be approximately 1/4 inch thick.
- Wet the edges of the dough by dipping your finger in water and rubbing it across the dough edges. Press the edges together to seal, then roll edges up slightly to form a crust; transfer to the baking sheet. Brush off the top to remove any excess flour; brush olive oil over the top of the dough to help it crisp and brown. Cut two small slits in the top of each pocket to allow steam to escape.
- Repeat with remaining dough. Cover with a damp towel and let rise for 15 minutes in a warming drawer or oven preheated to 200º F then turned off.
- Preheat oven to 425º F (convection) or 450º F (static).
- Uncover pocket sandwiches and bake for 20 minutes. Cooking time may vary depending on the size of your sandwiches, but cook only until the dough is lightly browned and crunchy when you knock on it with your finger.
- Makes 4 sandwiches.
** Please keep in mind that nutrition information provided is per serving, which may vary. While we have taken care to provide you with the most accurate nutritional values possible, please note that this information may differ significantly depending on the exact ingredients and brands that you choose to use to make this recipe. Additionally, where options are given for ingredients, the resulting calculation may include all ingredient options instead of only one per line, skewing the totals significantly.















Hey Jules,
Not sure how I’ve missed this recipe in the past year but I am grateful to have found it! Tested it with breakfast ingredients (bacon, egg, cheese, and turkey sausage). Kids devoured them and I couldn’t believe how great the dough was yo work with so I spent the rest of the day making all sorts of different kinds and stocking up the freezer. A few days later I hate to admit….the freezer stash is gone! Kids can’t get enough!
Karen
That’s fantastic to hear, Karen! I’m so glad you found the recipe and are apparently putting it to great use! It’s so handy to have that freezer stash! But such a bummer when it’s gone! LOL!
What is the nutritional info on these and can they be prepared ahead of time? Frozen and reheated for quick breakfasts?
I don’t have the nutritional breakdown of this recipe, and of course it would differ markedly depending on what and how much you stuffed inside. These can easily be prepared ahead of time and refrigerated or frozen once cooled. Reheat in the microwave or oven. Easy!
Can you freeze these? And if so, would you do it before you bake or bake first and then just warm up?
Hi Joy – yes, you can freeze these. I would bake first and then freeze; reheat in the microwave or toaster oven. Enjoy!
YUM! These came out with the crispy texture of a fresh baguette. I would have sent a photo, but we were too busy eating them! Next, I’m going to use the entire recipe to make a stromboli. I made ham and 3 cheese and they were a wee bit empty as the cheese melted, so next time I will maybe add some sauteed veggies (wrung out in paper towel to reduce sogginess). This is a super KEEPER!!!
Oh, makes sure your fillings are made before you start with the dough, or else it may dry out… and keep a moist cloth over the remaining dough as you roll each out. We filled them with scrambled eggs with spinach and steak this morning. Yup, we’re hooked.
Wonderful tip, Berni! So glad you’ve already made them and are enjoying the recipe! Your fillings sound wonderful!
I make these using cooked chopped beef, onions, cabbage(shredded) and some kind of
sauce. Yummy! Bake at 375 degrees for 20 minutes until bread is done.
Thanks for the fillings inspiration, Jeanne!!!
Thanks for perfecting this. I’m making these today and will try these directions as opposed to just the pizza recipe. Thanks, I knew when I posted on fb that you would perfect it!
Kris – thanks for the inspiration! It’s such a great idea and I so appreciate you sharing! Maybe these directions will make it even easier to make these more often for you!
these look aaaaaawesome
They aaaaaaare, Amy!