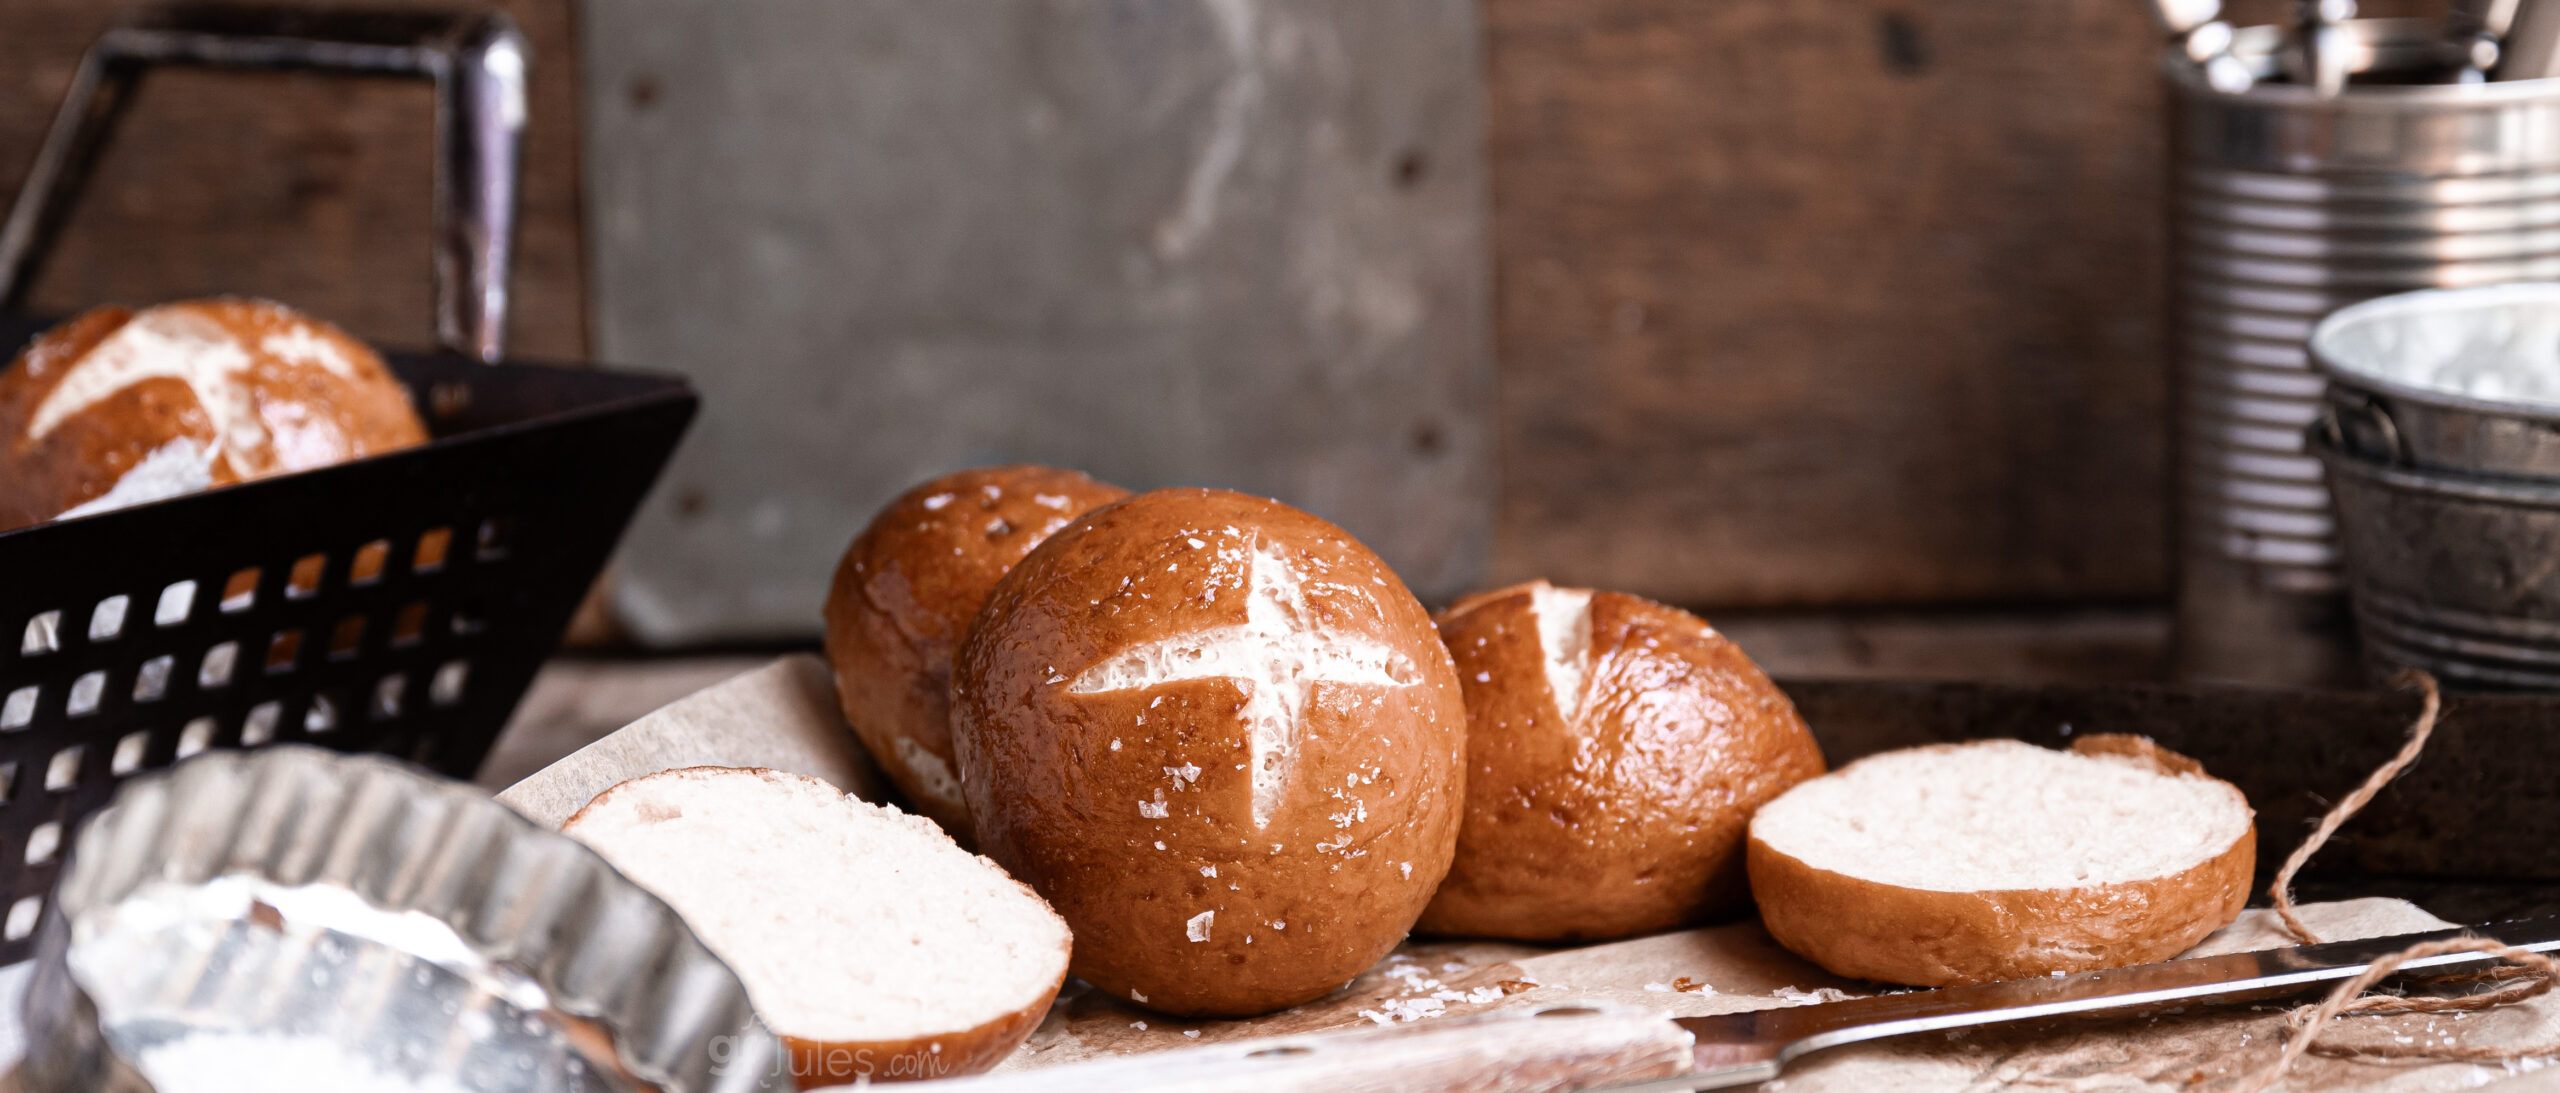
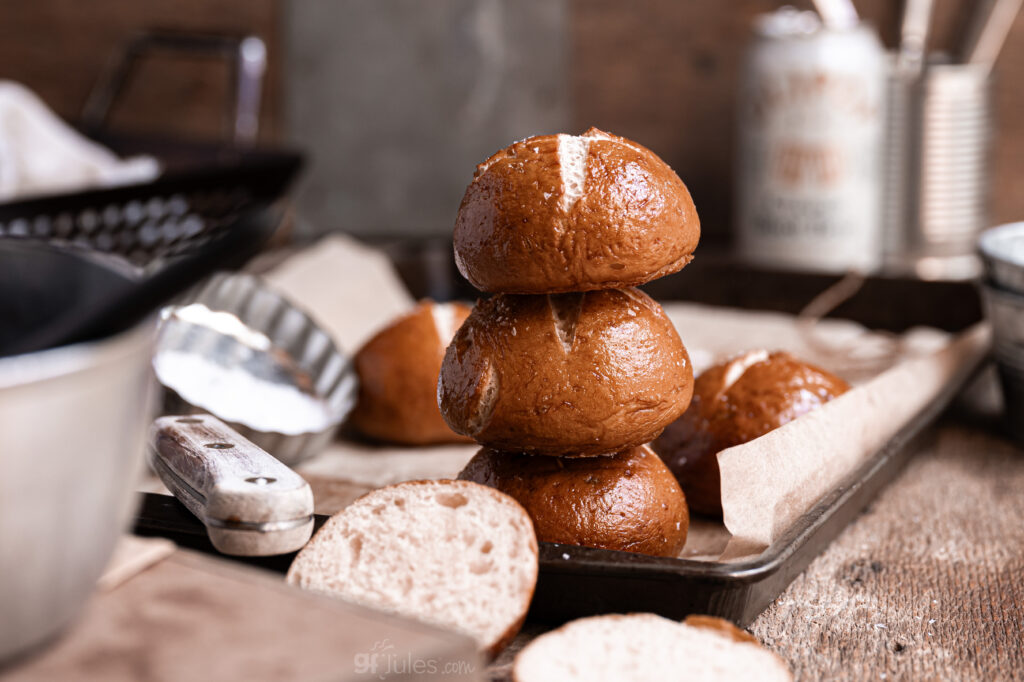
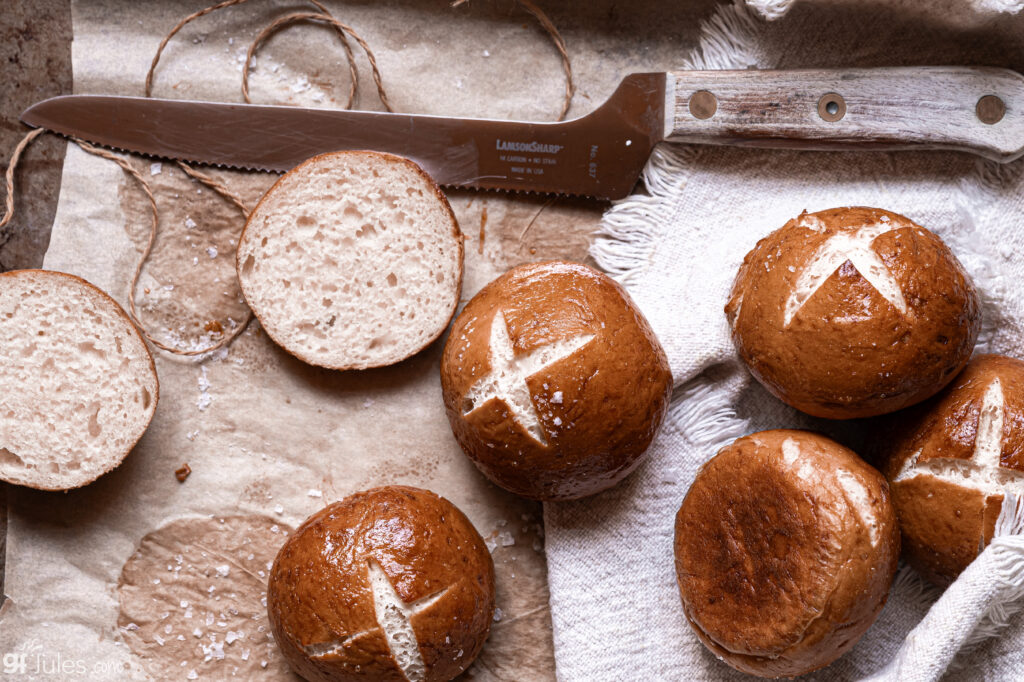
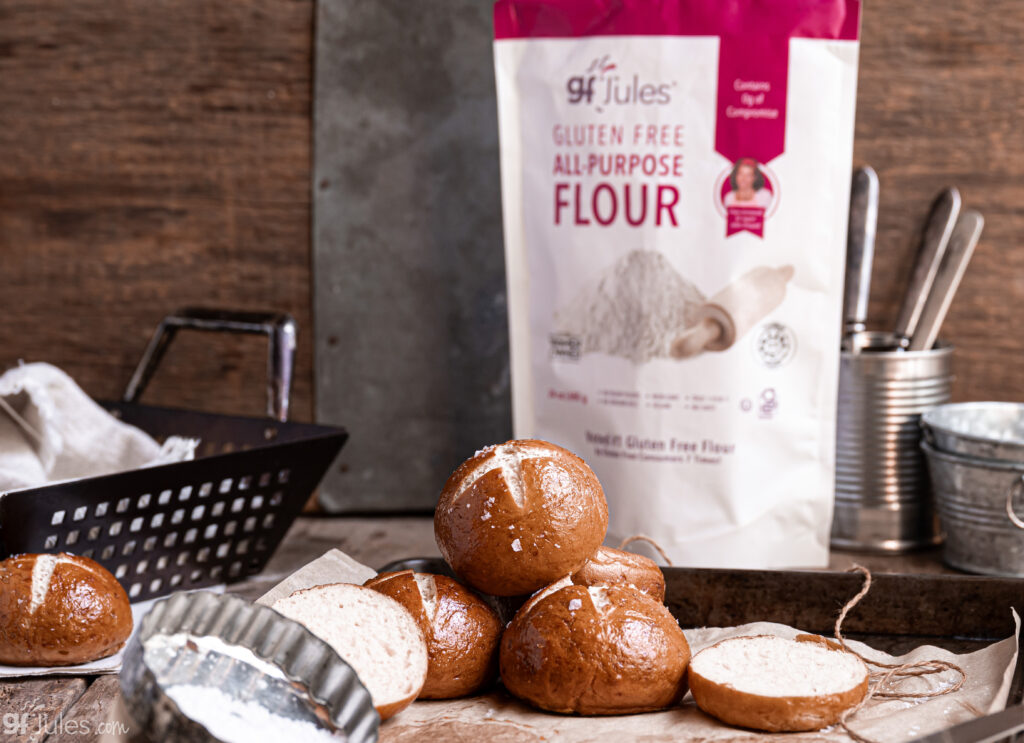
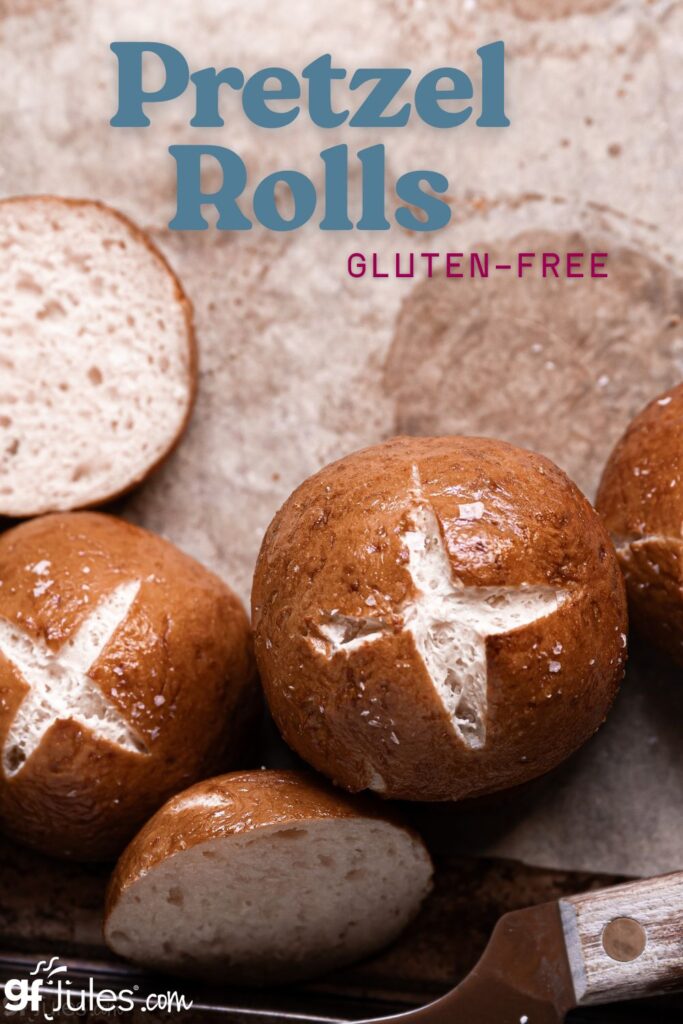
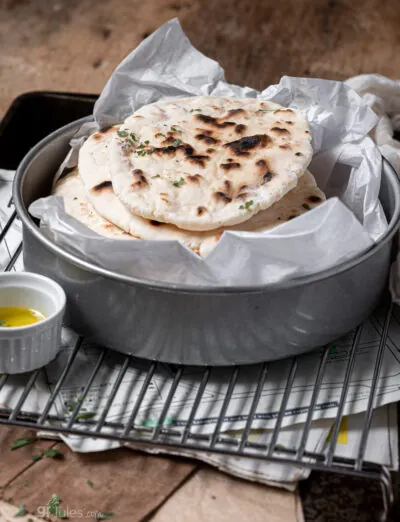
These soft and chewy Gluten Free Pretzel Rolls are easy to make at home with gfJules Gluten Free All Purpose Flour, creating beautifully golden rolls with a classic pretzel crust and soft, airy interior. Unlike other gluten free flours, gfJules Flour rises perfectly in all kinds of recipes — including yeast recipes — giving you authentic pretzel rolls that are chewy, flavorful, and 100% gluten free.
Why You’ll Love These Gluten Free Pretzel Rolls
If you’ve been drooling over those shiny, chewy pretzel rolls showing up in trendy restaurants and bakeries lately, you’re not alone. These deeply golden rolls with their distinctive pretzel flavor and soft, pillowy interiors have become wildly popular for sandwiches, burgers, and dinner rolls alike. But if you eat gluten free, you’ve probably noticed — there are still no gluten free pretzel rolls on the menu.
And if you’ve tried making them yourself with other gluten free flours, you may have ended up disappointed by dense, dry, or gritty results.
Don’t give up! This easy gluten free pretzel bun recipe is different. Made with gfJules Gluten Free All Purpose Flour, your rolls will rise beautifully, bake up soft and light, and develop that signature chewy pretzel crust you’ve been craving.
All gluten free flour blends are not created equal — and there’s a reason gfJules Flour has been voted #1 gluten free flour year after year in the consumer choice awards. Most blends don’t even work in yeast recipes, but gfJules Flour does — in all kinds of recipes, even gluten free pretzel rolls!
How Do I Make Gluten Free Pretzel Rolls?
What sets pretzel rolls apart from other rolls is the unique step of boiling the dough before baking, just like with traditional soft pretzels (you can find my gluten free soft pretzel recipe here). This is an easy, but essential step in the process of making these rolls — don’t skip it! Adding baking soda to the water is the secret ingredient to browning your rolls, too.
This quick boil is what will give your gluten free pretzel rolls their unmistakable flavor, shine, brown color, and chewy crust. Follow my instructions for boiling the rolls between the rise step and the bake step and you and your rolls will be golden!

So whether you’ve been missing those warm, salty, chewy pretzel rolls from your favorite restaurant or are looking for a new favorite gluten free bread, this is the recipe to try. With gfJules Flour, your gluten free pretzel rolls will turn out as gorgeous and delicious as the pictures — and you’ll finally have the perfect roll for your sandwiches, burgers, or holiday table.

Soft & Chewy Gluten Free Pretzel Rolls (Easy Recipe with gfJules Flour)

Ingredients
- ¾ cup whole milk or dairy-free milk alternative like SoDelicious coconut milk
- 3 Tablespoons whole milk or dairy-free milk alternative like SoDelicious coconut milk
- 1 teaspoon cane sugar
- 2 (270) cups (grams) gfJules All-Purpose Gluten Free Flour + more for dusting work surface
- 1 teaspoon sea salt
- 2¼ teaspoons active dry yeast 1 packet
- 2 Tablespoons melted butter or dairy-free butter alternative like Miyoko’s Creamery Plant Milk Butter
- 7 (56) cups (ounces) water
- 4 Tablespoons baking soda
- 1 egg yolk OR use apricot preserves thinned with water, or just vegan milk for vegan
- 1 teaspoon water
- Flakey sea salt
Instructions
- In a small saucepan, heat the milk (total of both milk amounts) and 1 teaspoon cane sugar until it reaches 95-110°F (it should feel warm to your finger, not hot.)
- While the milk is warming, place the gfJules Flour and salt in the bowl of a stand mixer. Whisk on low to combine.
- Once the milk is warm, add the yeast and gently stir. Allow the yeast to rest 5-10 minutes until it is bubbly and frothy.
- Meanwhile, line a baking sheet with parchment paper. The baking sheet should be small enough to fit into your freezer.
- Once frothy, add the yeast/milk mixture to the mixing bowl along with the melted butter. Mix the batter on low for 1-2 minutes. Scrape down the sides of the bowl and continue to mix the dough on medium-low for 2-3 more minutes.
- Form the dough into a ball in the middle of the bowl. Cover and allow the dough to rest for 10 minutes while you gather the tools for the boil and work surface.
- Lightly flour a work surface with more gfJules Flour. You don’t want too much flour, just enough to prevent the dough from sticking. Use a bench scraper or knife to divide the dough into 6 equal portions (for a single recipe). Lightly flour your hands and roll each portion into a smooth, tight ball. Place each bun on the baking sheet.
- Oil a piece of plastic wrap and cover the buns. Allow them to proof in a warm location for about 45 minutes or until they are about double in size.
- Once the buns have proofed, transfer them to the freezer for 10 minutes.
- Meanwhile, preheat the oven to 395°F (convection -- preferred) or 425°F (static – buns will not get as dark). In a deep saucepan, bring 7 cups of water to a boil then add baking soda, 1 tablespoon at a time.
- Remove the buns from the freezer. Working one at a time, place each bun into the boiling water and allow it to boil for 25-30 seconds, flipping the bun about halfway through. Using a slotted spoon, transfer the bun back to the lined baking sheet. Repeat until all the buns have been boiled.
- Whisk together the egg yolk and 1 teaspoon water, then brush over each bun. Use a sharp knife to make an X score on top of each bun. Sprinkle with flakey sea salt, if desired.
- Bake for 18-20 minutes on the top rack of your oven (not too close to the heating element, though). The internal temperature of the buns should be 205°F and they should be deeply browned on the tops. If baking on a static (not convection setting) the buns may take slightly longer to bake.
- Allow the buns to cool completely before storing in an airtight container.
** Please keep in mind that nutrition information provided is per serving, which may vary. While we have taken care to provide you with the most accurate nutritional values possible, please note that this information may differ significantly depending on the exact ingredients and brands that you choose to use to make this recipe. Additionally, where options are given for ingredients, the resulting calculation may include all ingredient options instead of only one per line, skewing the totals significantly.
Enjoy this amazing gluten free buns recipe!
Pin to save or share!


Hi Jules, I cannot wait to make these, but wondered about the separate milk ingredients – do they get added together for the yeast bloom? Thanks!
So glad you’re eager to try this yummy gluten free pretzel rolls recipe, Jen! As for the milk ingredients, it all gets added together yes. It looks odd to be listed separately, but for the recipe card the different amounts have to be listed separately in order to be doubled or tripled properly if someone wanted to use that functionality.
~jules