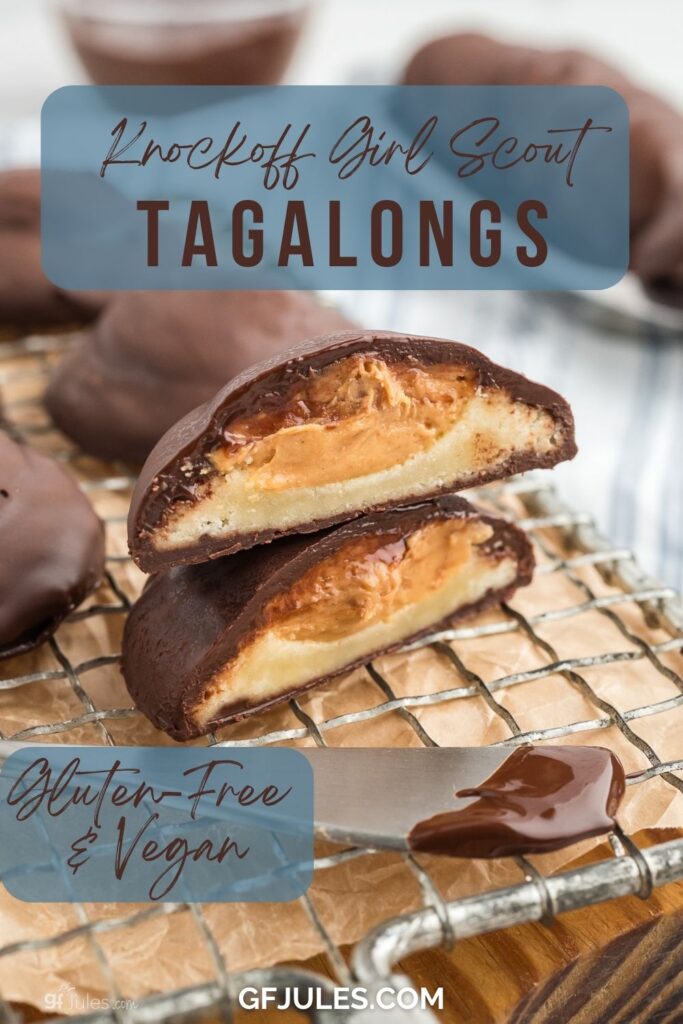
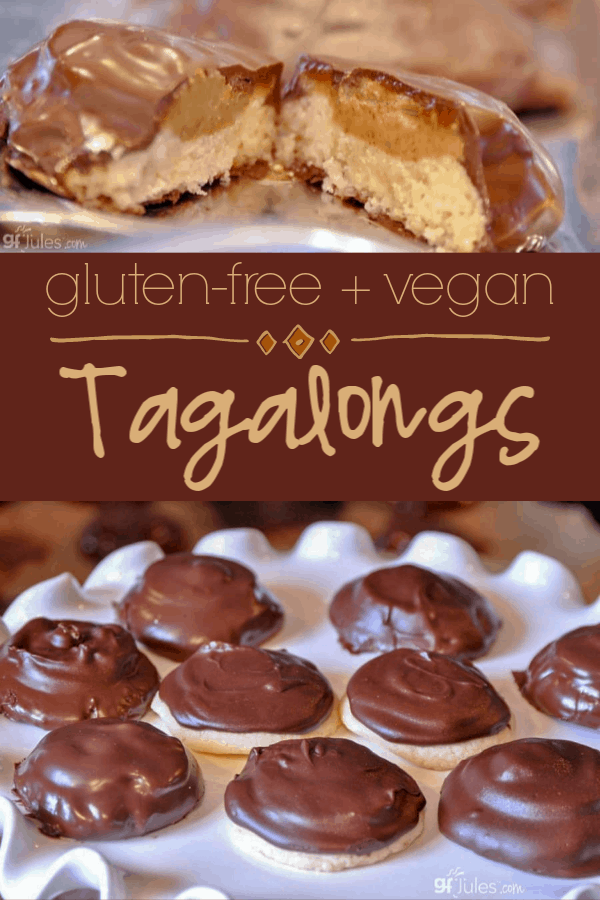
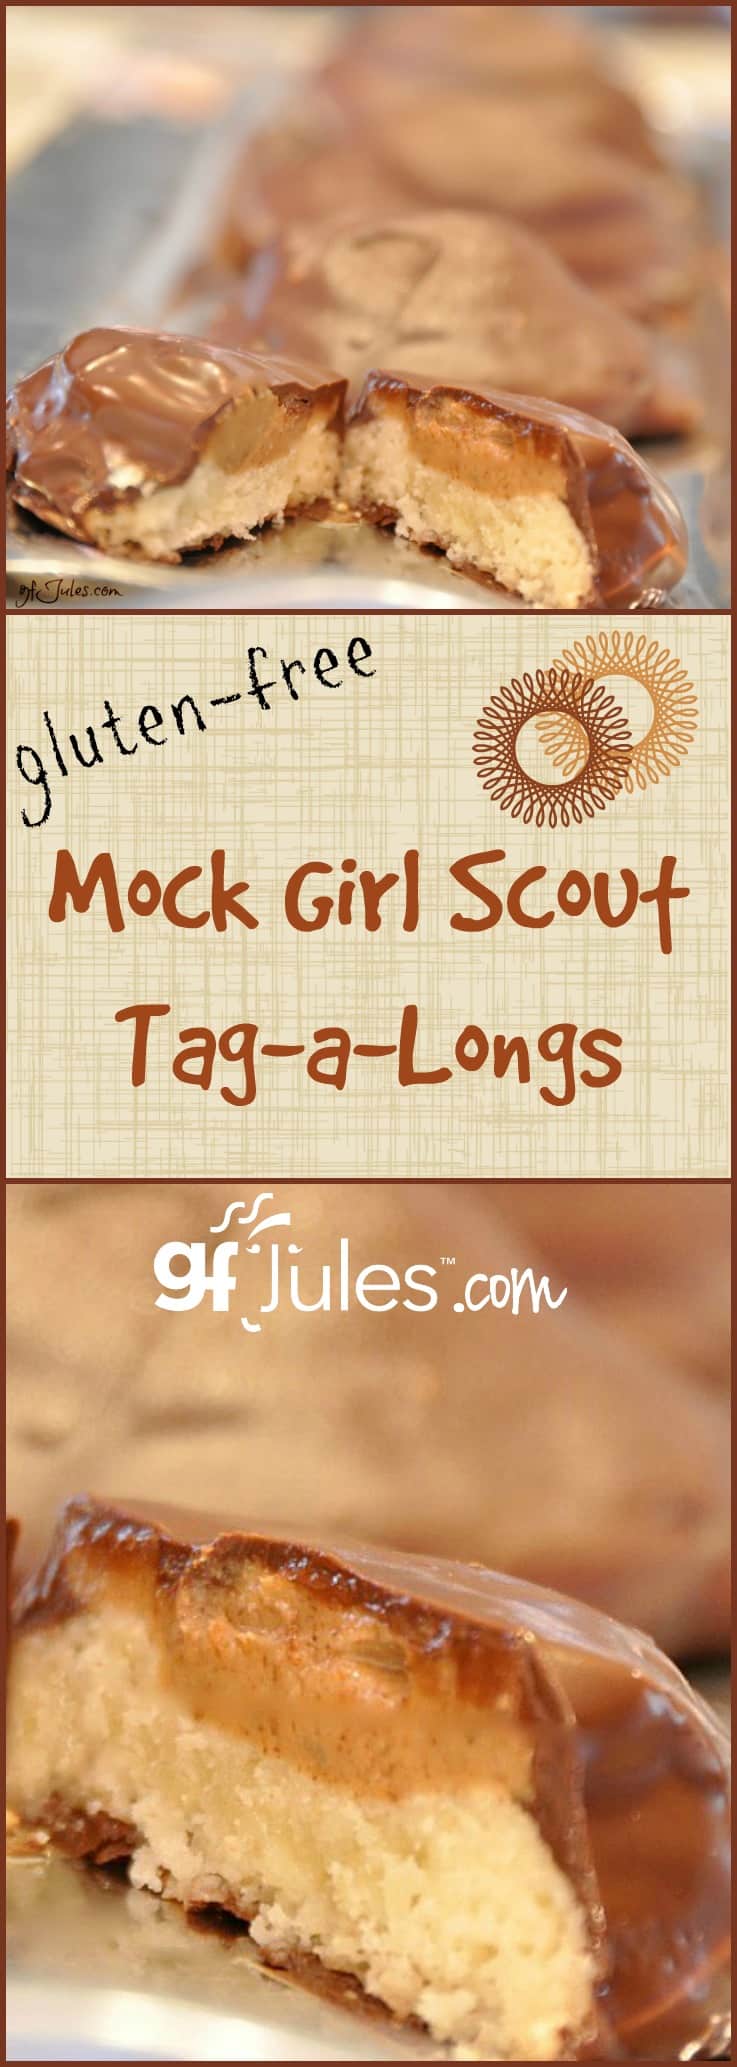
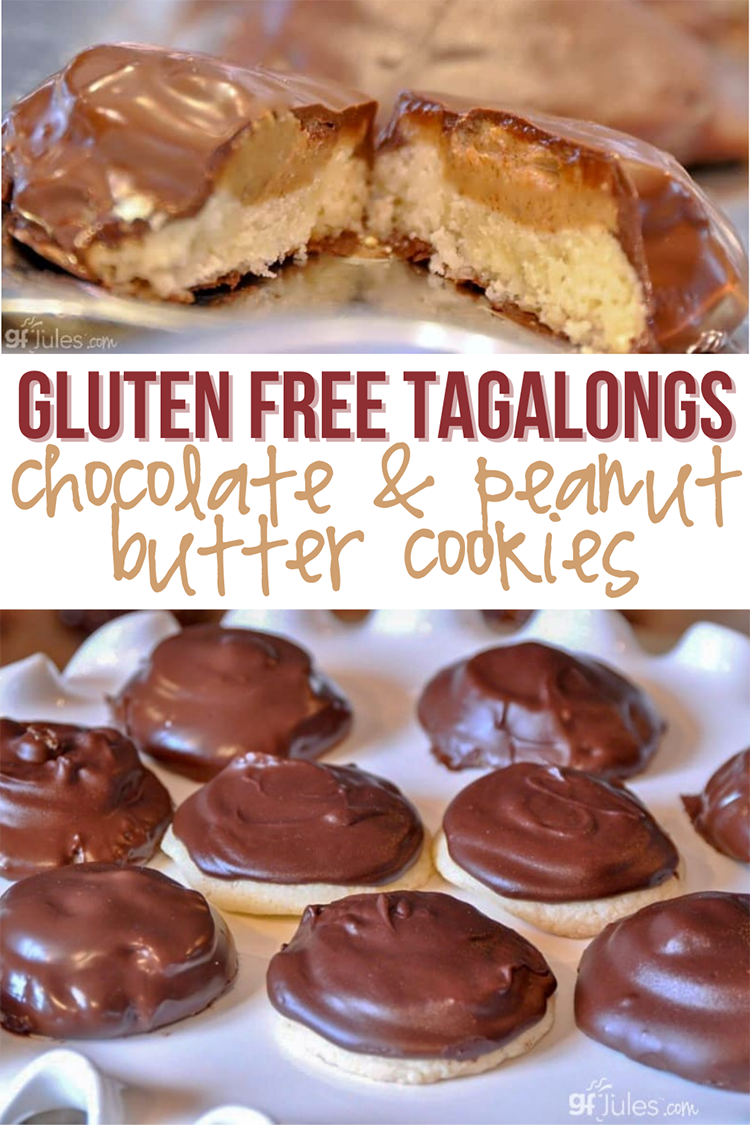
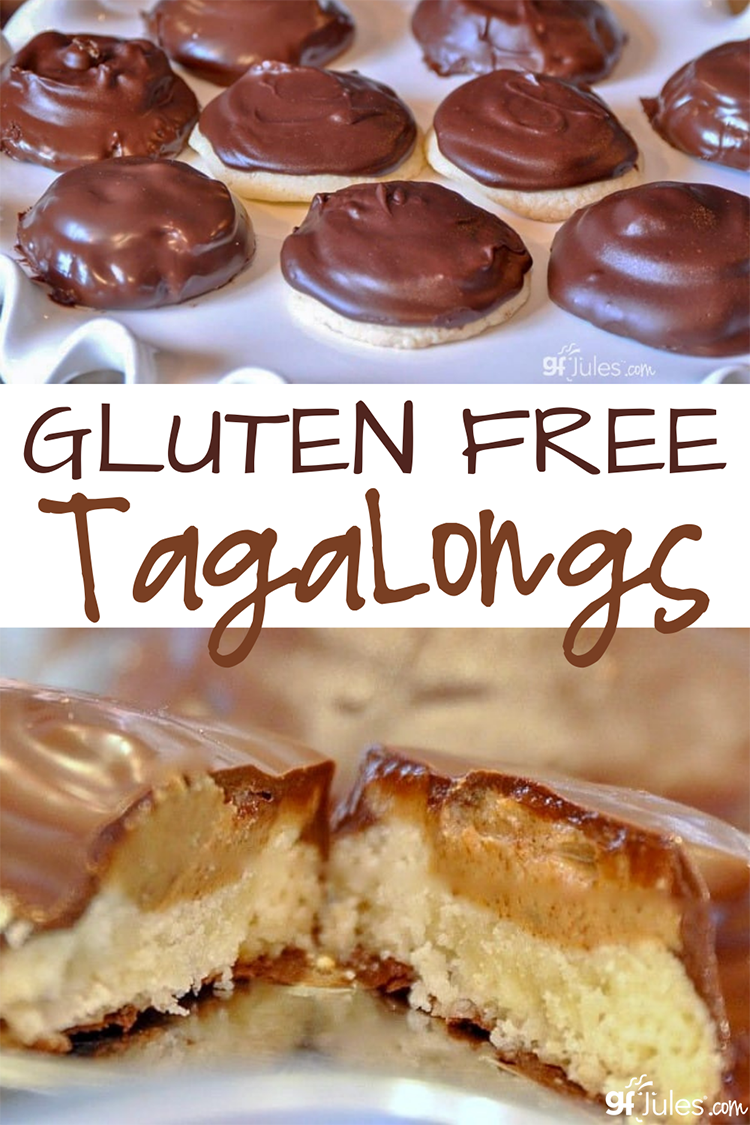
Girl Scout Cookie “season” doesn’t have to mean deprivation for those of us living gluten free, just make your own gluten free Girl Scout Cookies! My Gluten Free Tagalongs recipe is a great place to start … or to finish.
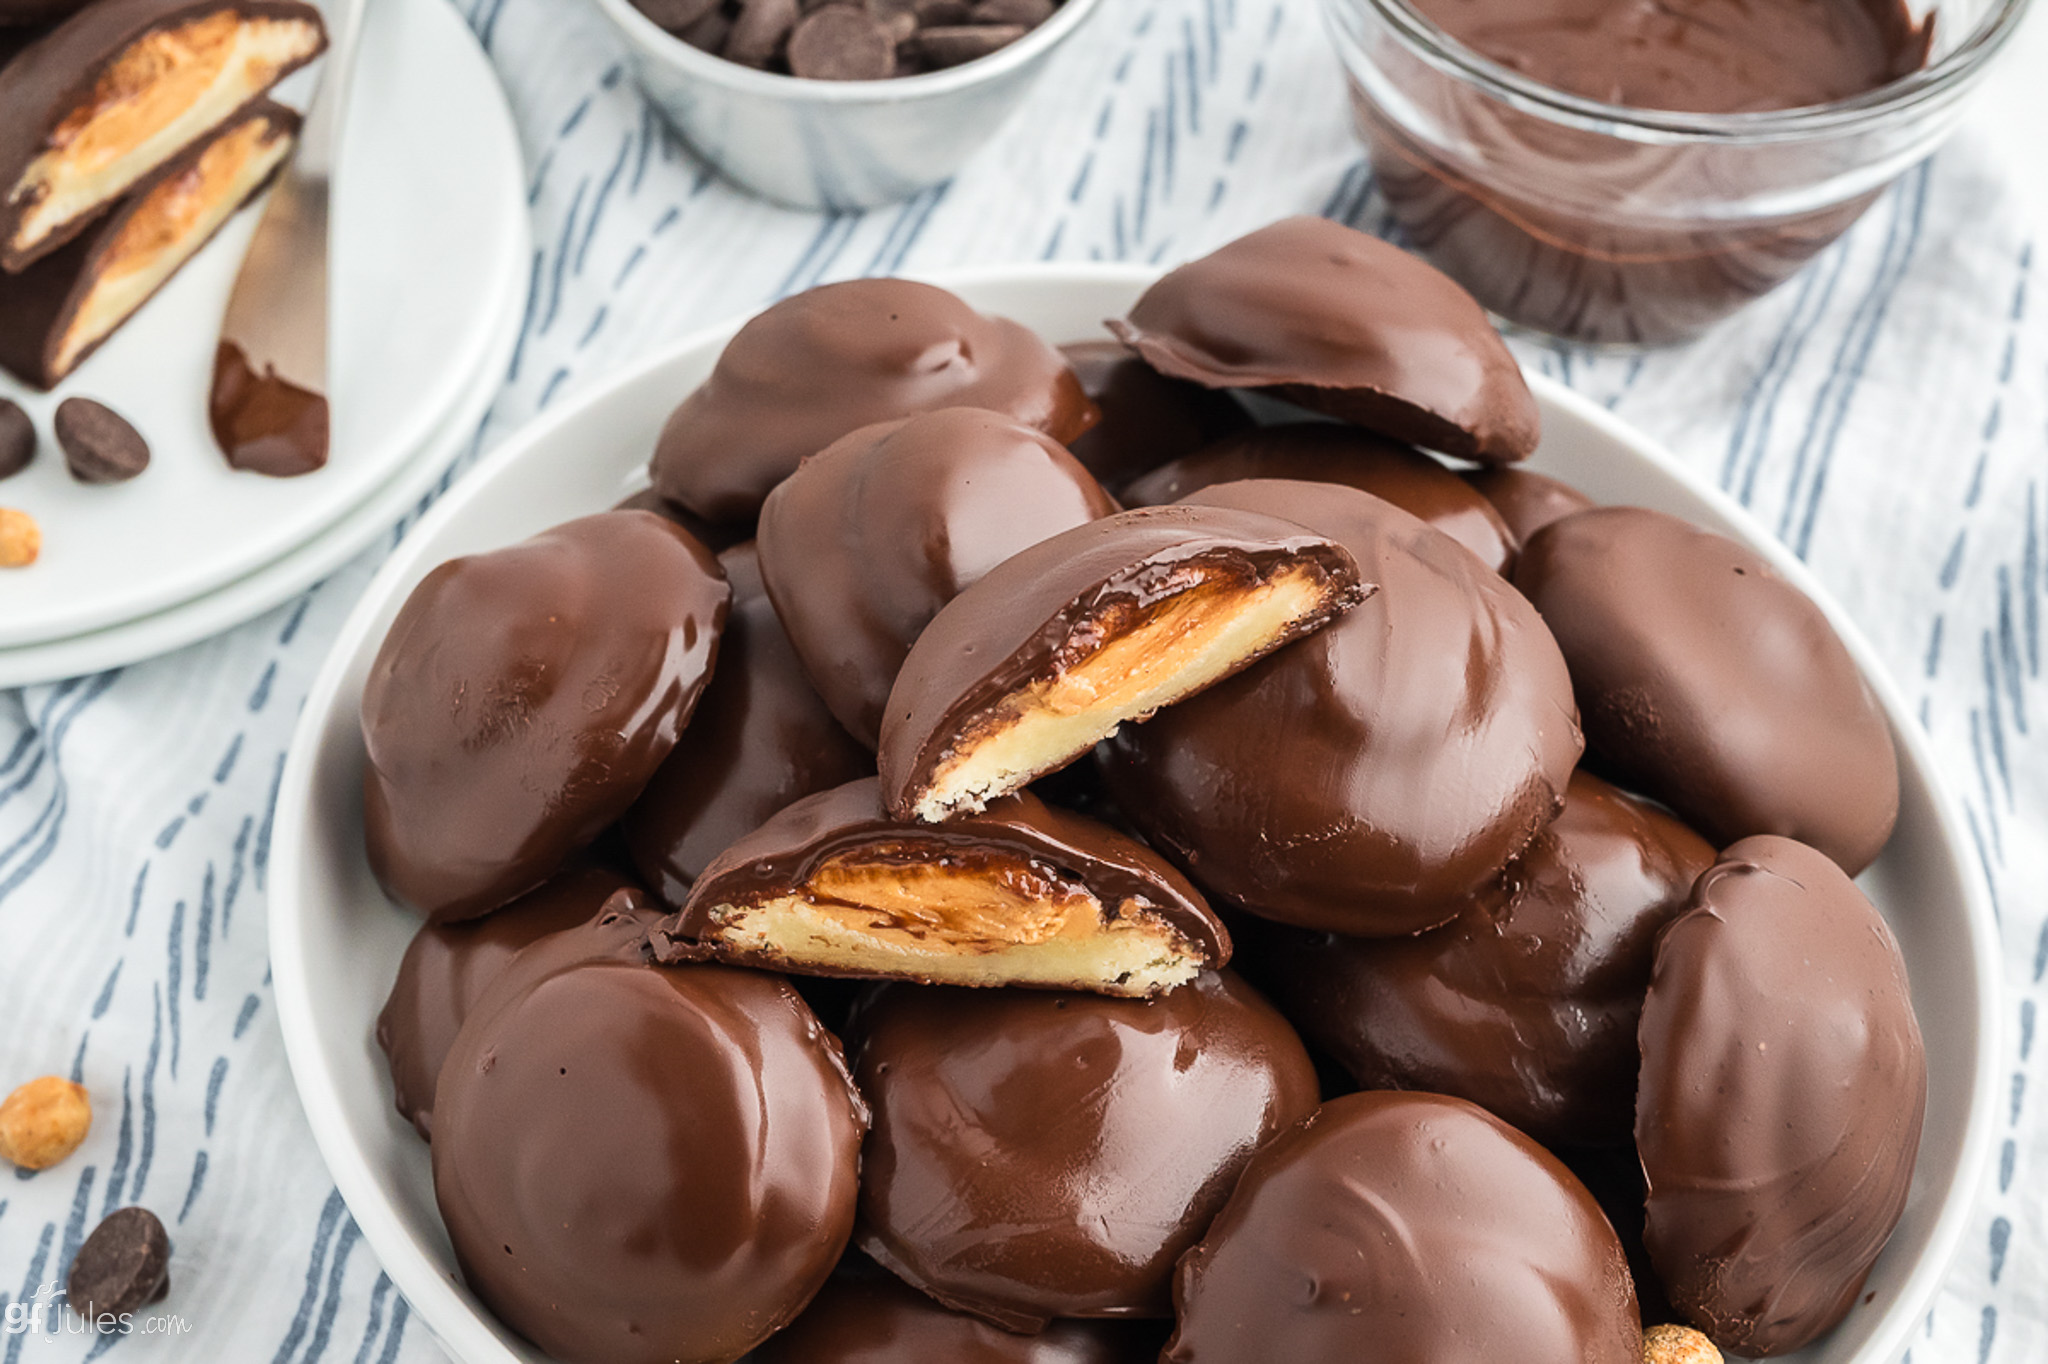
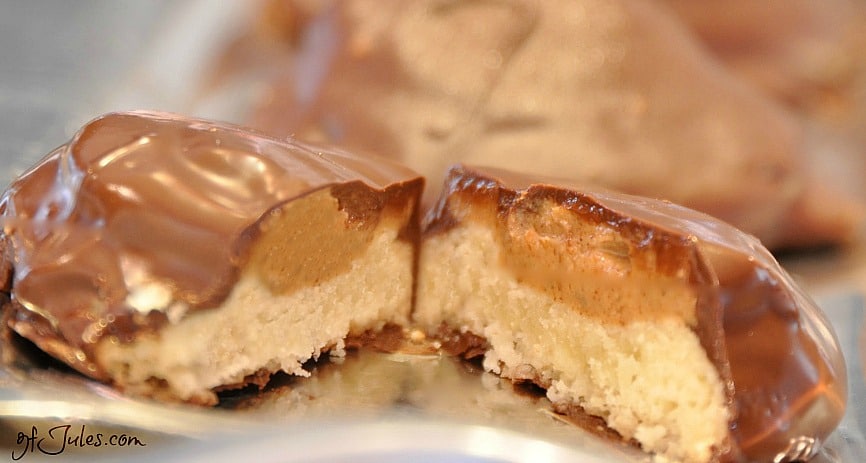
I mean, what could be better than chocolate and peanut butter layered together overtop of a delicious gluten free cookie base? Not much!

So whip up a batch of these scrumptious gluten free Tagalongs and enjoy this heavenly combination any time of year!
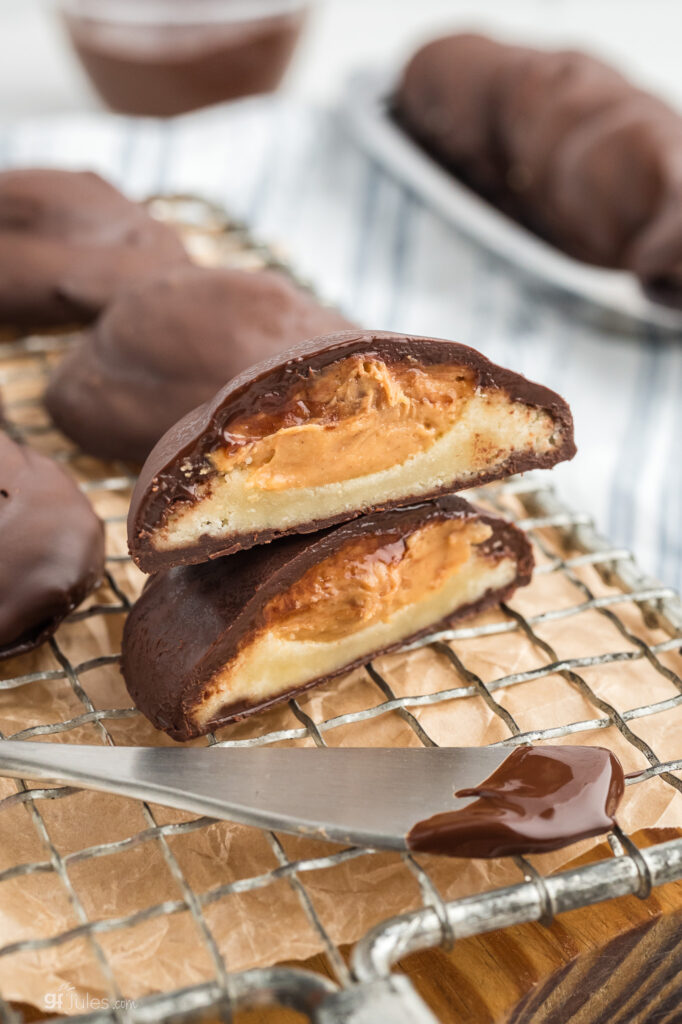
IMHO, these layers of peanut butter and crispy cookie deliciousness dipped in chocolate really are about the best thing to ever happen to a cookie. And the fact that we can make them ourselves — anytime — means that they are even better!
I’ve given ingredient suggestions below so that these gluten free Tagalongs can even be dairy-free and vegan (that’s the way we make them and I promise you, they’re delish!). You can also make the recipe with seed butters, if you’d prefer.
Sunflower seed butter or soy nut butter would be equally delish here, as would almond butter or other nut butters. Just as long as they’re not super thin or extra oily.
If you’d like even more gluten free Girl Scout Cookie recipes, hop on over to my Gluten Free Girl Scout Cookie Recipe Round-Up!
These mock Girl Scout gluten free Tagalongs won’t last long, so I can’t say I understand their name, exactly. Maybe let’s call them something more descriptive … like, “Double Chocolate-Nut Butter Cookie Yumminess?” Too long? Ok, gluten free Tagalongs it is.
How to Make Gluten Free Tagalongs
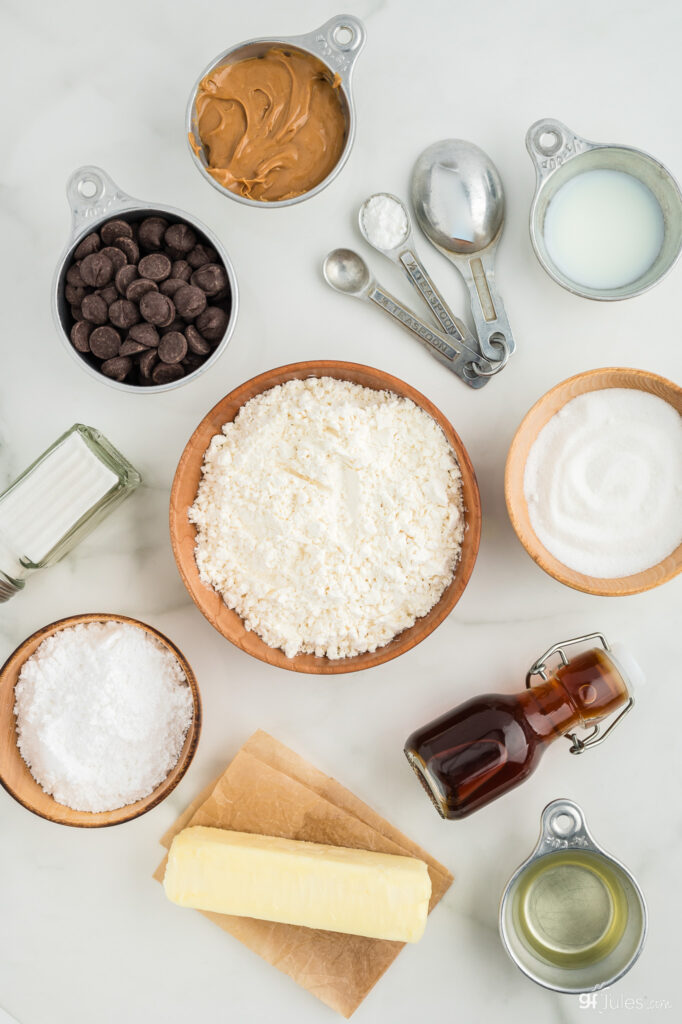
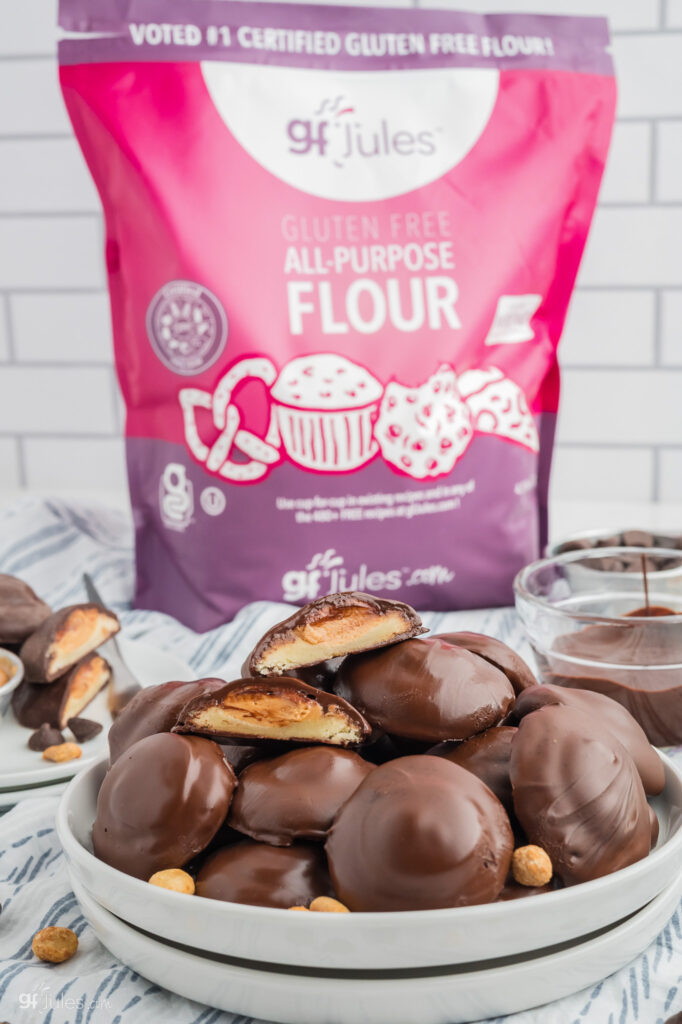
Gluten free Tagalongs ingredients are unfussy, just like the cookies themselves. Make sure you’re using my gfJules Flour for best results — nobody wants a gritty Tagalong!
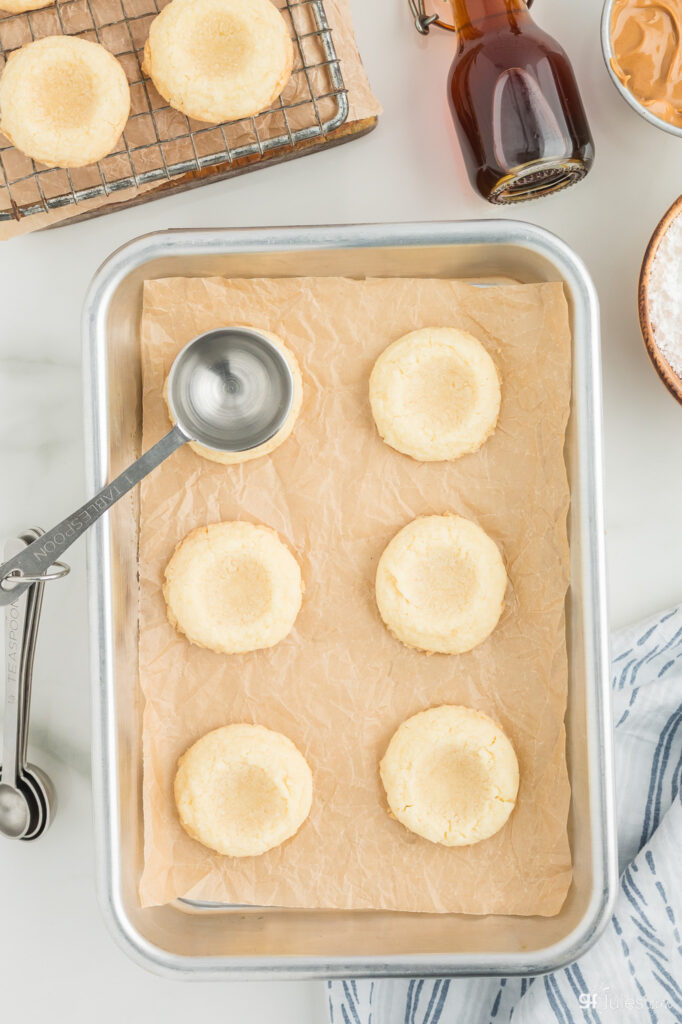
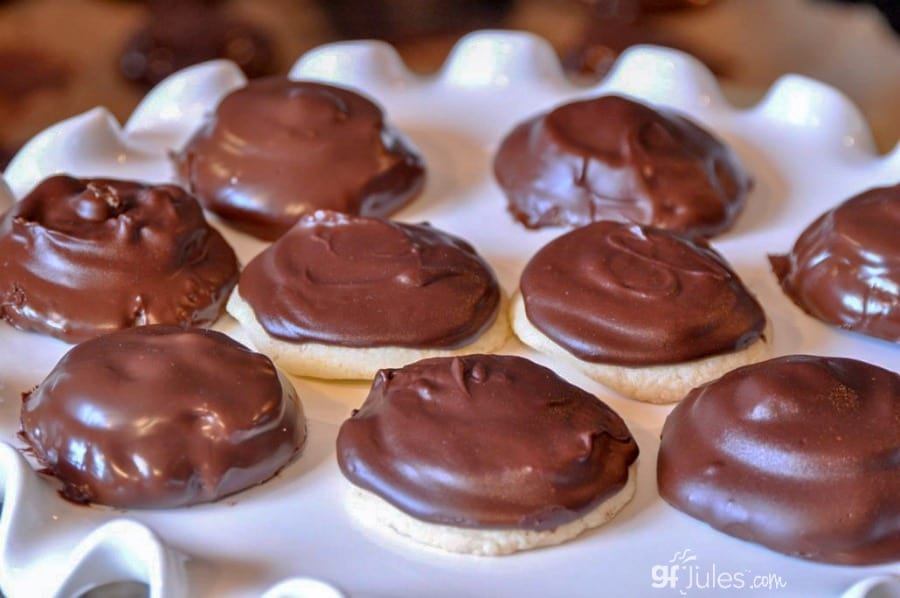
The cookies are 3 layers, starting with a crunchy gluten free base cookie. Make a small depression in each cookie when they’re warm from the oven; this is where the nut butter filling will go.
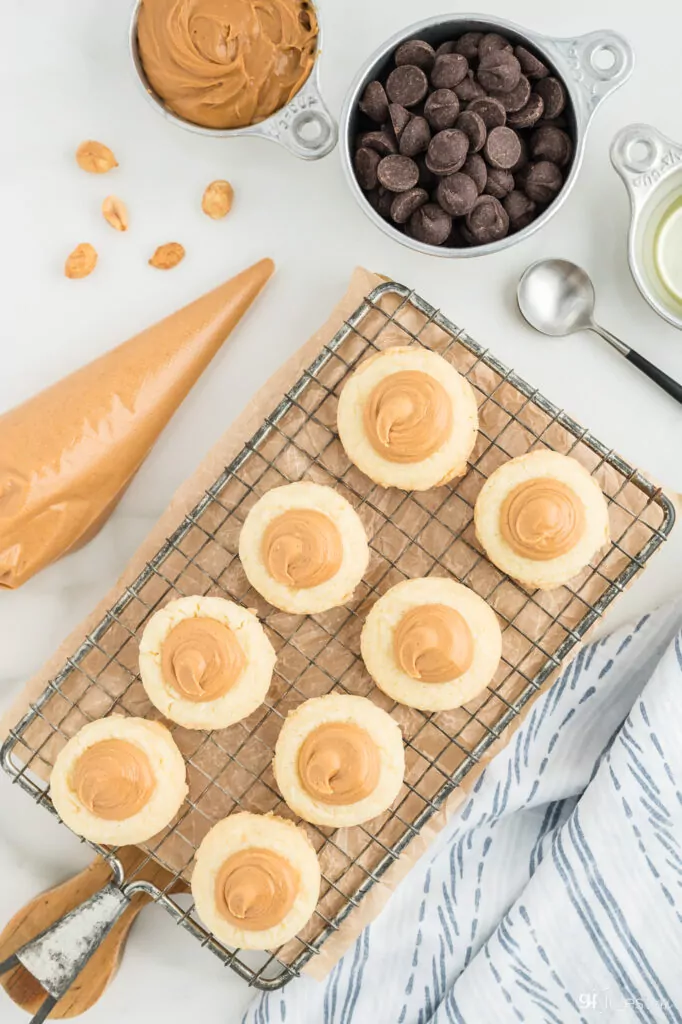
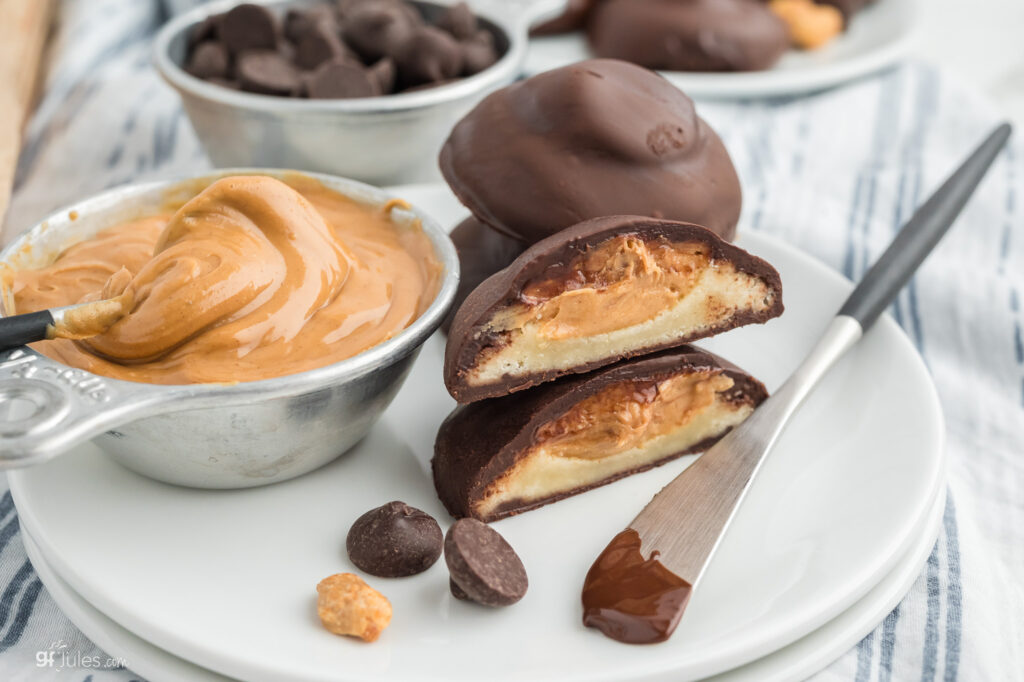
While the cookies are cooling, make the peanut butter (or other nut butter) filling. Follow my instructions below to get the consistency just right so it’s pipe-able and not too thin. Pipe out a generous helping of filling onto each cookie, then chill the cookies for 30 minutes, or until the filling is set.

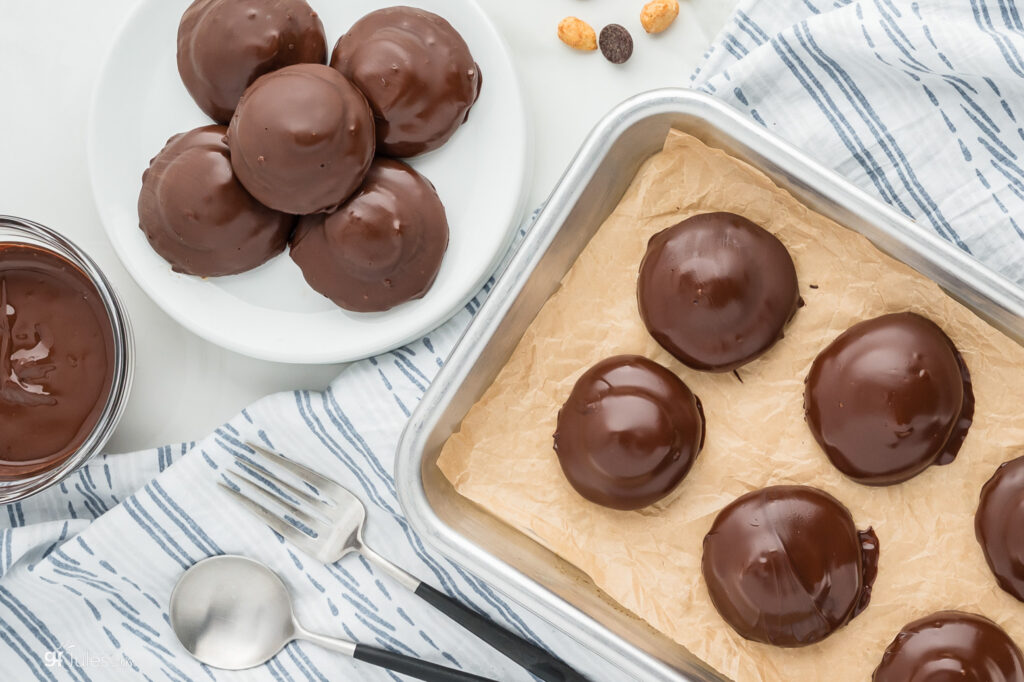
Melt chocolate and dip each chilled cookie into the chocolate or simply drizzle on top, then return the cookies to the fridge or freezer to set.
Gluten Free Tagalongs Recipe
Gluten Free TagaLongs Recipe
Ingredients
For Cookie
- 1 cup butter or non-dairy alternative room temperature (Earth Balance Buttery Sticks® or soy-free sticks)
- ½ cup granulated cane sugar
- 2 cups 270 grams gfJules™All Purpose Gluten Free Flour
- 1 tsp baking powder
- ½ tsp salt
- ½ tsp pure vanilla extract
- 1 to 2 Tbs. dairy or non-dairy milk of choice only if dough is too thick
For Filling
- 1½ cups creamy nut butter or sunflower nut butter
- 3/4-1 cup confectioner’s sugar
- ½ tsp pure vanilla extract
For Chocolate Coating
- 16 oz. semi-sweet chocolate chips Enjoy Life® dairy& soy-free chocolate chips or Pascha® organic chocolate chips
- 2 tsp. non-GMO canola or vegetable oil
Instructions
- Cookie BaseAs with most cookie recipes, first cream together butter and sugar in a large mixing bowl until light and fluffy.
- Stir in the dry ingredients gradually: gfJules™ Gluten Free All Purpose Flour, baking powder and salt (if using) at a low speed. Lastly, beat in the vanilla extract and milk (if, and as necessary), until a soft dough is formed that is not crumbly. For best results, refrigerate for 2-3 hours or overnight.
- Preheat oven to 350° F (static) or 325 (convection). Either scoop dough, one tablespoon at a time, in your hands and roll between your palms into a ball, flattening slightly to a thickness of ¼ inch. Repeat with another cookie sheet to make approximately 30 cookies.
- Place each cookie on a parchment-lined cookie sheet and bake for 15 minutes, or until the bottoms are lightly browned and cookies are set. Do not overcook, as you do not want the cookies to become dry and to crumble.
- Once cooked, remove the pan from the oven to a cooling rack and gently use the point of a teaspoon or your thumb (careful not to burn yourself!) and press in the center of each cookie to make a dimple for the nut butter filling.
- While the cookies are cooling on the baking sheets, make the nut butter filling.
- Nut Butter FillingIn a small bowl, beat or whisk together nut butter, ¾ cup powdered sugar and vanilla extract. If the nut butter you use has no salt added, you may want to add ½ teaspoon of salt at this stage as well.
- Taste the mixture to see if it needs additional powdered sugar. If you don’t like the taste of the mixture now, you won’t like it in the cookie, so add more salt or sugar if you need.
- Note: if using “natural” nut butters, they tend to be wetter than conventional nut butters, so additional sugar may be necessary to achieve the proper filling consistency. At this point, the filling should be creamy, but not runny. If it is very stiff, microwave in a microwave-safe bowl for 10-20 seconds, stir and microwave again until the consistency is such that it can be piped out of a plastic zip-top bag without being too stiff or runny.
- Transfer the filling to a pastry bag or a plastic bag with the tip cut off, and pipe a generous dome of filling into each cookie’s hollowed out center and a thinner layer across the top of most of the rest of the cookie, leaving a narrow, uncovered/exposed edge.
- Chill cookies on their cookie sheets in the freezer for about 20-30 minutes, or until the nut butter filling is firm.
- Chocolate CoatingMelt the chocolate in a double boiler or a small, microwave-safe bowl, stirring frequently and not overheating so as not to burn the chocolate. Add oil in with the melted chocolate and stir to combine once totally melted and smooth.
- Using tongs or a fork, dip each cookie in the heated chocolate, flipping to coat both sides and gently replacing on the parchment-lined cookie sheet to set. If you prefer, simply drizzle melted chocolate on top of each cookie to coat instead of dipping.
- Return the cookie sheets to the freezer or refrigerator to set.
** Please keep in mind that nutrition information provided is per serving, which may vary. While we have taken care to provide you with the most accurate nutritional values possible, please note that this information may differ significantly depending on the exact ingredients and brands that you choose to use to make this recipe. Additionally, where options are given for ingredients, the resulting calculation may include all ingredient options instead of only one per line, skewing the totals significantly.
Pin for later!

 Based on 5 Review(s)


does gfjules flour have to be used in all of your receipes or can another gf flour be uses?
Hi Connie, that’s a harder question to answer than it might seem! Check out this article comparing gluten free flours to see what you have on hand and if it will perform in recipes calling for my gfJules Flour. All gluten free flours are SO different that making a switch isn’t always advised.
~jules
I made these cookies once. They are absolutely out of this world delicious. I love peanut butter & chocolate combination. Only thing is, the cookie part crumbles. I think the cookie base is used in some other recipes & they also crumble. I made sure I followed the recipe to a tee. I would like to try them again some time but don’t want them to crumble.
Hi Caroly, so happy to hear you love this gluten free Tagalongs recipe so much!! Regarding the crumbling issue, sounds like (assuming no ingredients were substituted) there just wasn’t enough moisture. That could be a measuring problem (check out this blog post on measuring dry ingredients) or even just the humidity of the day. At any rate, it’s easily fixed just by adding a bit more milk to the dough to get it to hold together — if it’s crumbly in the bowl, it’ll be crumbly as a cookie! Hopefully that solves the problem for you. ENJOY!
~jules
Thanks, I’ll try this when I make them again.
These are fabulous when finished: but a lot more labor intensive then might be described here.
Bake time is a bit low: 350 convection is best. Definitely let them on the tray to cool.
This flour is amazing: works so far in everything I have ever done: taking a standard recipe and swapping out 1:1.
Hi Cydney, so glad you tried the recipe and thanks so much for taking the time to add your notes. It’s always helpful for folks to hear others’ experiences with a recipe. I’m glad you’re also enjoying my gfJules Flour – I make it so that people like you can enjoy baking again!!! Happy baking!
~jules
Oh man, I used to tromp through snow banks to sell these babies for 50 cents a (big) box!
Thank you for a GF, dairy-free chance to indulge…can’t wait 🙂
(Not sharing mine with anyone)
Unfortunately the price of a box of G.S. cookies are now $4 a box. And I used to devour these as well. Thank you for posting recipe Jules.
And these taste SO much better, too!!! Enjoy the recipe Doris!
~jules
Sadly know they’re 5 🙁
Yes, please! These were always my favorite, can’t wait to try these 🙂
So glad they’re calling to you, Amanda! 😉 And you’ve got my gfJules flour so you can make them anytime you have a craving!
~jules
Girl Scout Cookies are the bomb. I love that you’ve recreated my most favorite cookie on the planet! Can’t wait to try this one 🙂
Glad the recipe will be useful to you, Celeste!!!
~jules
Way to make an American classic allergy-friendly!
Decadent! Now no one has to miss out on the fun!
EXACTLY, Rebecca!
~jules
TOTALLY trying this with Sunflower seed spread. YUM!
Keeley I have no reason to think it wouldn’t be equally delicious! Please let me know if you do try it one day soon!!!
~jules
From a Jules Gluten Free Customer:
I made these last year when my newly diagnosed celiac teen was grieving the loss of girl scout cookies. These are fabulous and did the trick! Thank you for all the great recipes!! Kristin W.
I have a recipe (can’t remember where it’s from though) for Samoas. I haven’t tried it yet, but I’m happy to post it if anyone wants it. Thanks for the Thin Mint and Tag-A-Long recipes!
Ashley – the more recipes, the merrier! Thanks!
I know a bunch of kids who are going to love when I put these on a plate this weekend!
Awesome
Good informative blog on baking cookies and cookie recipe information. Thanks for sharing great information with us.
Found this on the internet.
Check after the jump for two recipes. If we didn’t make them we’d swear they were real.
Thin Mints
This recipe came from our friends at Seattle Weekly. All we did was substitute the gluten-full ingredients like the flour for gluten-free options. This recipe shows the gluten-free ingredients we used.
1/2 cup of butter (softened)
1/4 tsp of salt
1 cup of white sugar
1 egg
1 1/4 cups Bob’s Red Mill All Purpose Gluten-Free Flour
1/2 tsp of mint extract
1/2 cup of unsweetened cocoa powder
3 squares of semisweet chocolate (chopped)
1/4 cup of butter
Preheat the oven to 350 degrees.
Stir together the sugar and softened butter until combined, beat in the egg, and add the mint extract. In a separate bowl mix together the gluten-free flour, cocoa, and salt. Add the flour mixture to the butter mixture.
This is when it becomes difficult if you don’t have a automatic mixer. The dough will be very dense (like the cookies themselves). We took the easy route to mix the flour and liquid ingredients and just used our hands.
Put the dough in the fridge – how long is really up to you. Seattle Weekly’s recipe recommended refrigerating the dough for four hours, they did 40 minutes. Us? We left it to sit in the cold for 2 hours.
Roll the dough out onto wax paper and use a shot glass to form the cookies. Once done they’ll be the perfect thin mint size. Put them in the oven for 12 minutes and let them cool once they’re done.
While cooling melt the 1/4 cup of butter together with the chocolate in the microwave or on the stove. To make the cookie more legit add another splash of mint extra to the chocolate mixture.
Dip the cookies into the chocolate mixture and set them on a fresh sheet of wax paper to dry. This recipe makes between two and four dozen cookies.
Do-Si-Dos (Peanut Butter Sandwich cookies)
Cookies
2 1/4 cups Bob’s Red Mill Gluten-Free All Purpose Flour
2 teaspoons baking soda
1 teaspoon baking powder
1/2 teaspoon salt
1/2 cup unsalted butter softened (Note: the original recipe calls for 1 1/2 cups of butter but we’re watching our figure.)
3/4 cups chunky peanut butter
1 cup brown sugar
1 cup sugar
3 large eggs
2 teaspoons vanilla extract
1 2/3 cups gluten-free oats (the oatmeal kind)
Filling
1 1/2 cups creamy peanut butter
1/2 cup butter softened
1/2 cup confectioner’s sugar
Preheat oven to 350 degrees.
Combine chunky peanut butter and butter in a large mixing bowl. Add brown and white sugars and mix until light and fluffy. Add the eggs one at a time and completely mix them in then add in the vanilla.
In a separate bowl sift together the gluten-free flour, baking powder, baking soda, and salt. Add to the batter and mix. Add the oats and mix just until their combined.
In yet another bowl combine the ingredients for the filling and mix well.
Take a small spoon and spoon a small amount of dough onto the cookie sheet for each cookie (when cooked they’ll be way bigger than you want.) Bake for 10-12 minutes. Once done let them cool for 5 minutes.
After they’ve cooled a bit take a small water glass and use the opening of the glass as a cookie cutter. This ensures all the cookies are the same size. Finally take the peanut butter icing you make and spoon a little bit onto the center of a cookie and place another on top to form a sandwich.
Yum!
This recipe made about 24 sandwich cookies.