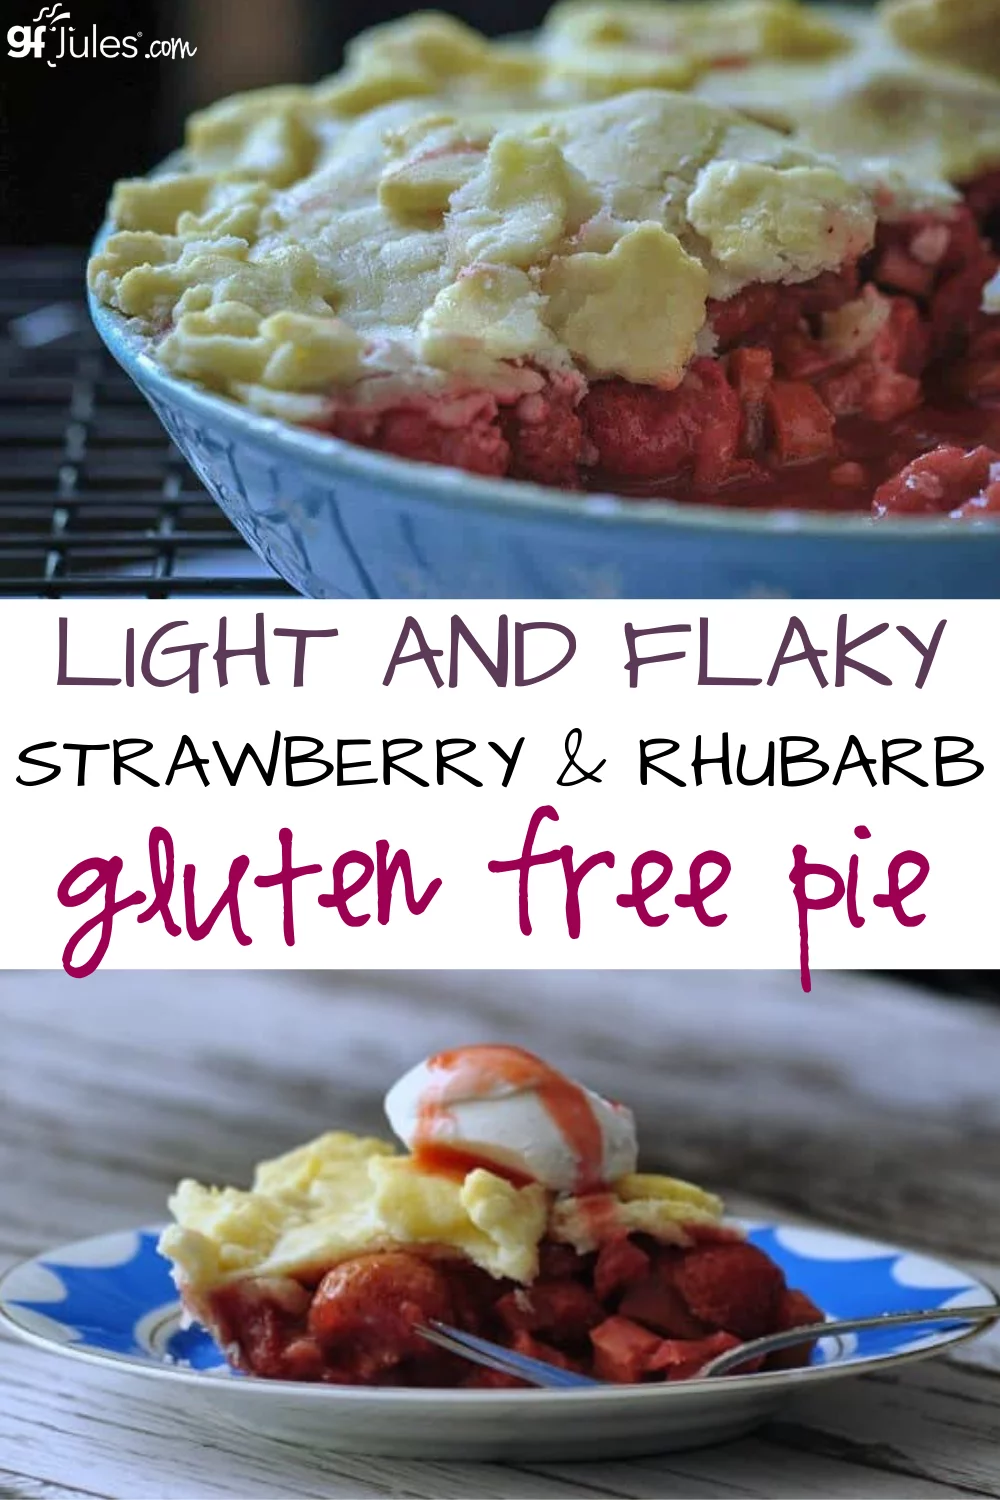
To celebrate summer, I decided to make a Gluten Free Strawberry Rhubarb Pie with fresh berries, farm-stand rhubarb and the best, light and flaky gluten free pie crust!
It’s ideal to find fresh strawberries to make this delightful pie, but even fresh raspberries do nicely. While you make never have heard of a gluten free raspberry Rhubarb Pie, I bet you’ve heard of a Strawberry Rhubarb Pie! Have you tried it, though? The combination is seemingly odd, but marries perfectly!
Strawberry and rhubarb is the traditional combination for pie, but don’t stop there: try my Gluten Free Strawberry Rhubarb Muffins! Or even this delicious gluten free Rhubarb Coffee Cake! Whatever you do, grab rhubarb while it’s in season in late spring or early summer, or you’ll miss these treats altogether!
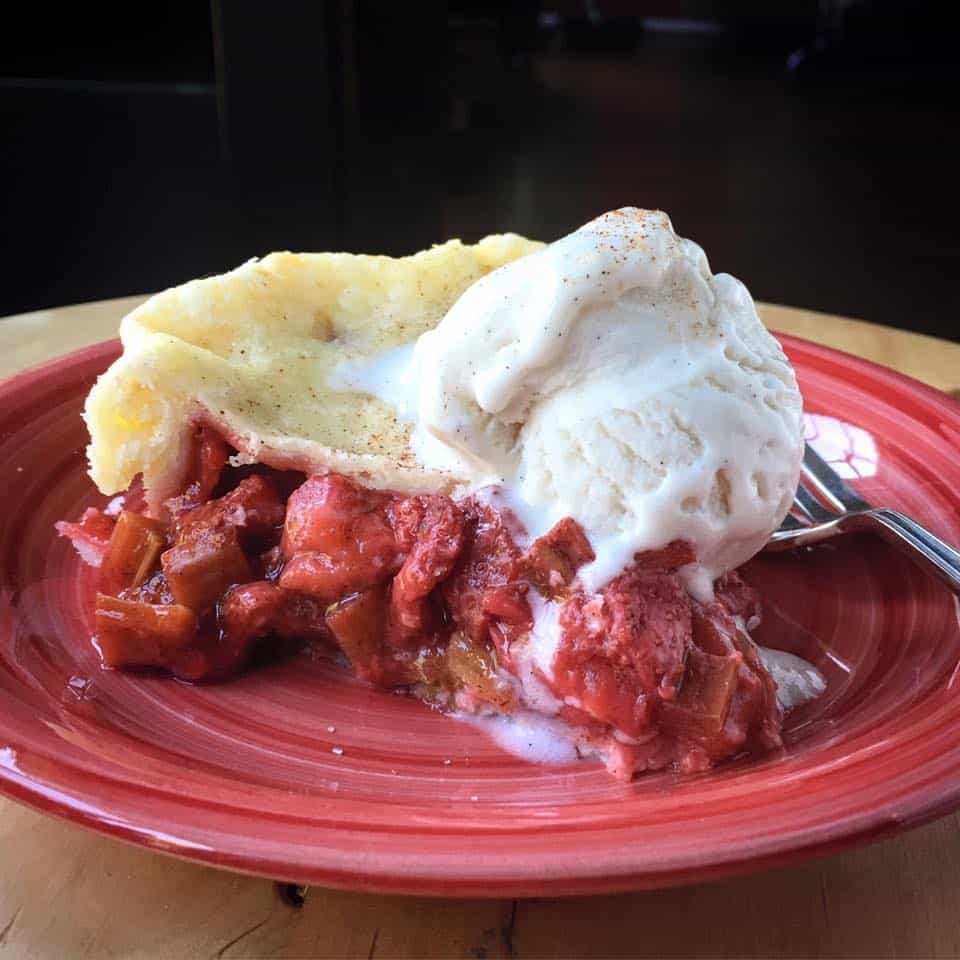
While strawberry and rhubarb is the most traditional combination, why limit yourself?
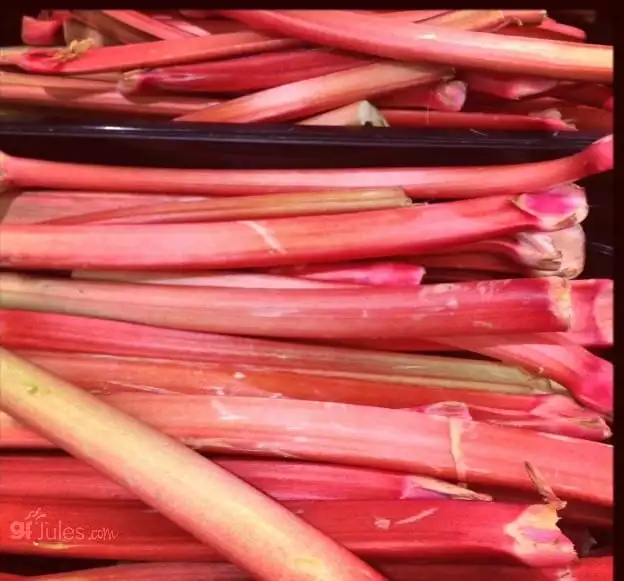
This gluten free ANY-berry pie is delicious with raspberries, blueberries, blackberries or strawberries, with or without rhubarb. And don’t be daunted by the crust – it’s not as hard as it looks and I even have videos to help you through the process!

The first step in any gluten free pie recipe is to prepare the pastry for the crust. This recipe makes two 9-10 inch crusts, and is wonderful for fruit pies like this one.
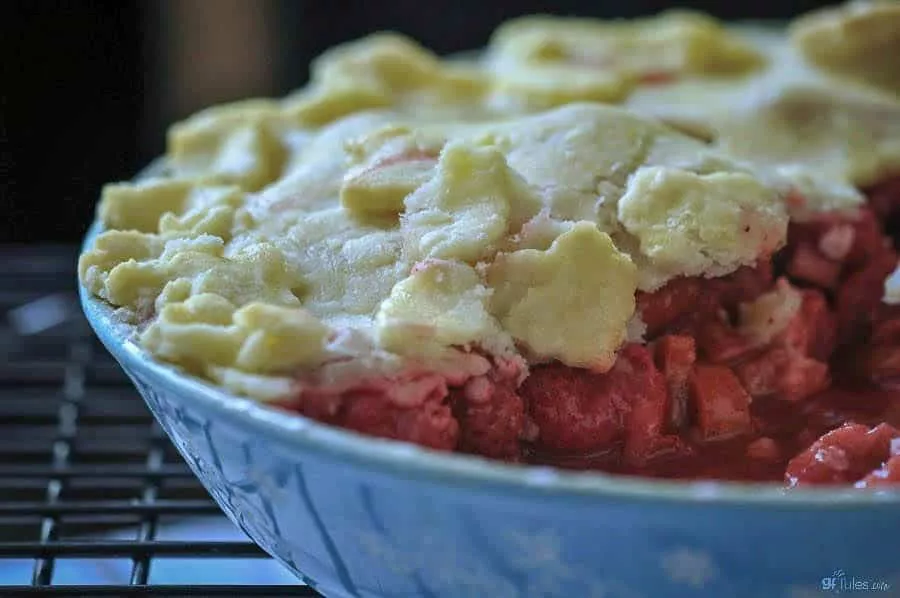
I rely on a combination of butter and shortening for my pastries to help them hold together and be super flaky. The key with pie crusts is to let the dough rest at room temperature for about 30 minutes before rolling out (some folks refrigerate the dough, but I find it makes the gluten free dough more fragile).
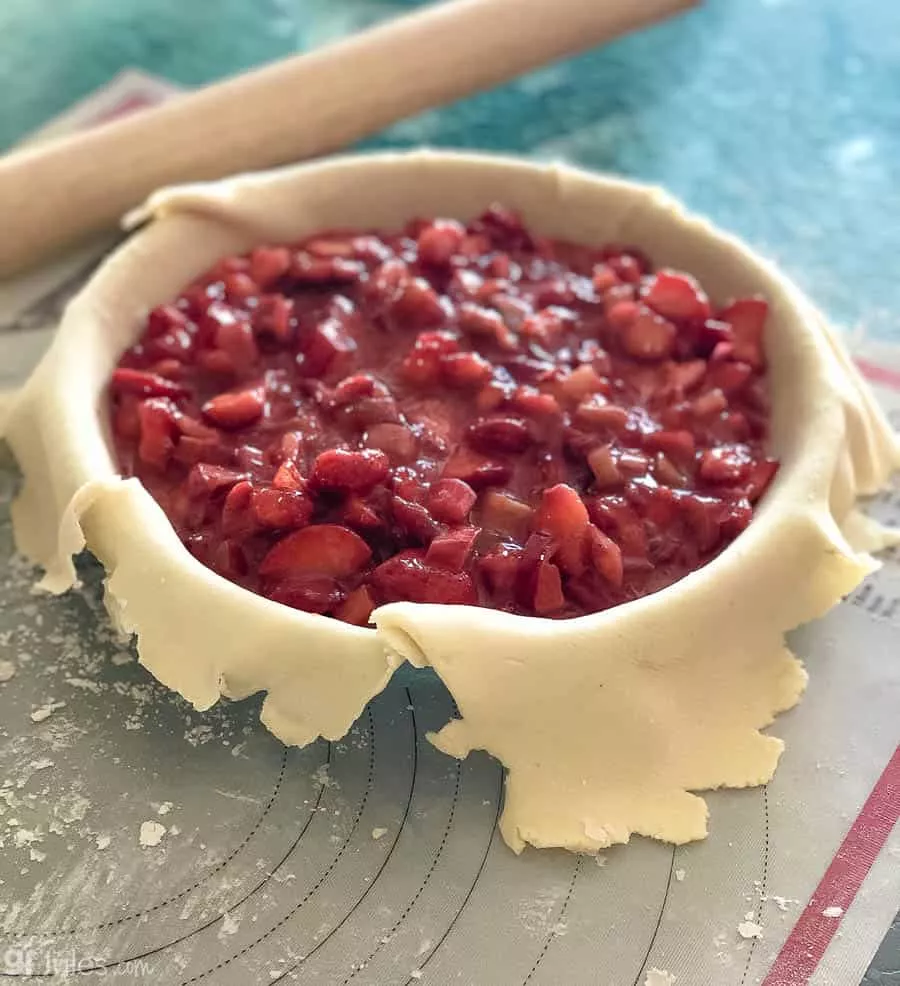
I use a pastry mat and dust it and my rolling pin with my gfJules™ gluten free flour so there is no gritty residue on my yummy crust!

For loads more gluten free pie crust tips, photos and how-tos, hop over to my pie crust tutorial post!
Even if you think you can’t be neat about transferring your pie crusts, no worries! Simply patch any holes or tears with cut-outs for decoration.
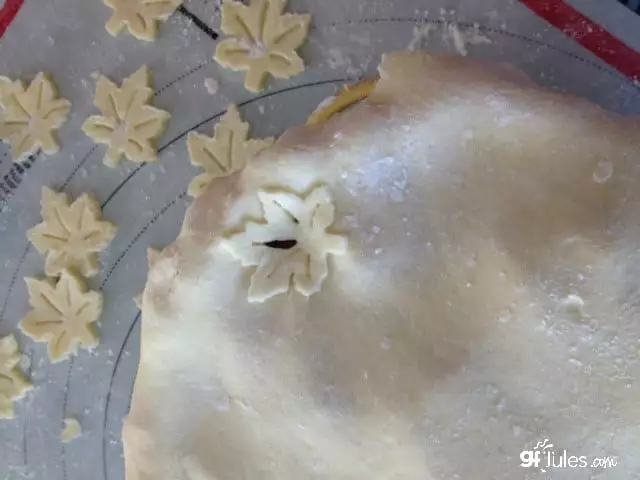
For an even easier pie method, have a look at my Rustic gluten free Pie Crust – a one-crust fruit pie that takes all the fuss out of homemade pie making, or my gluten free Pie Pops!
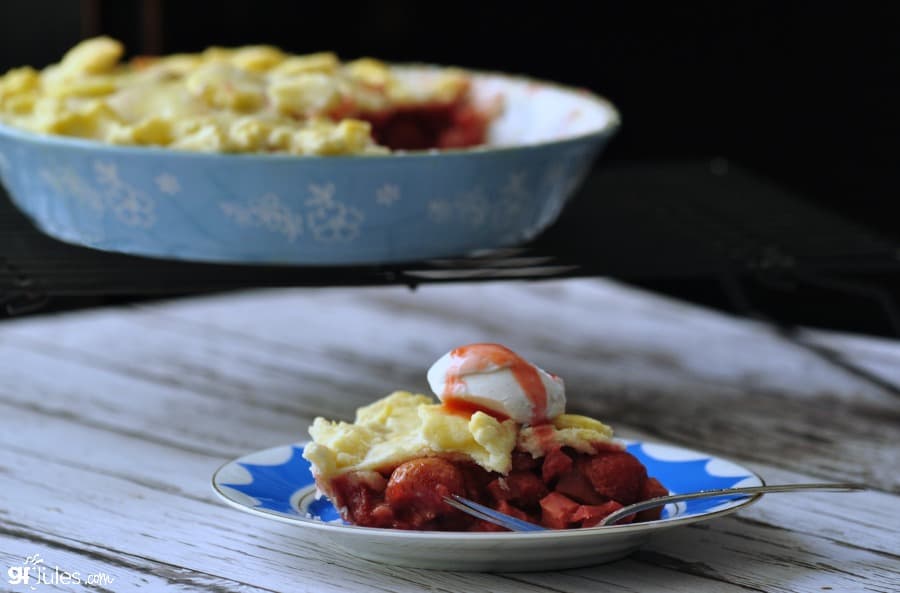
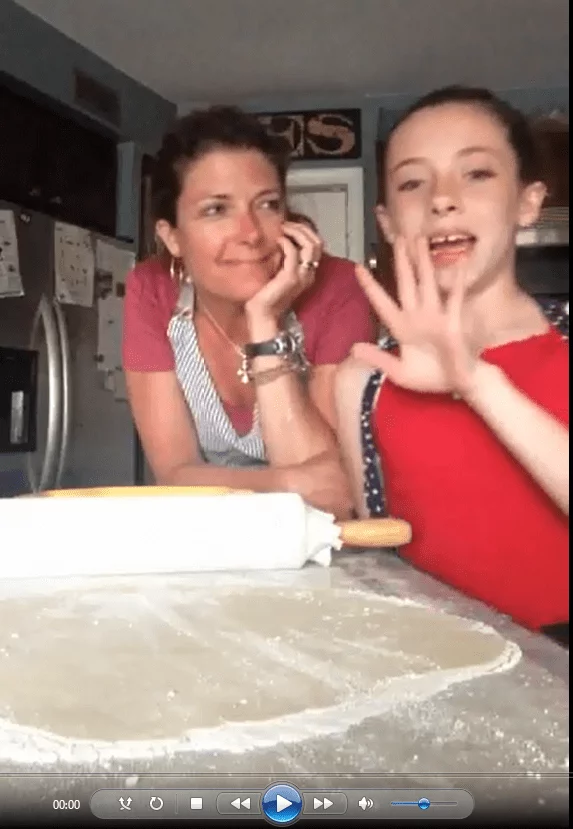
Still worried you can’t transfer that gluten free pie dough? Watch this quick video to see my easy technique!
Don’t let this time of year pass you by without a taste of rhubarb. It’s truly the first taste of summer!
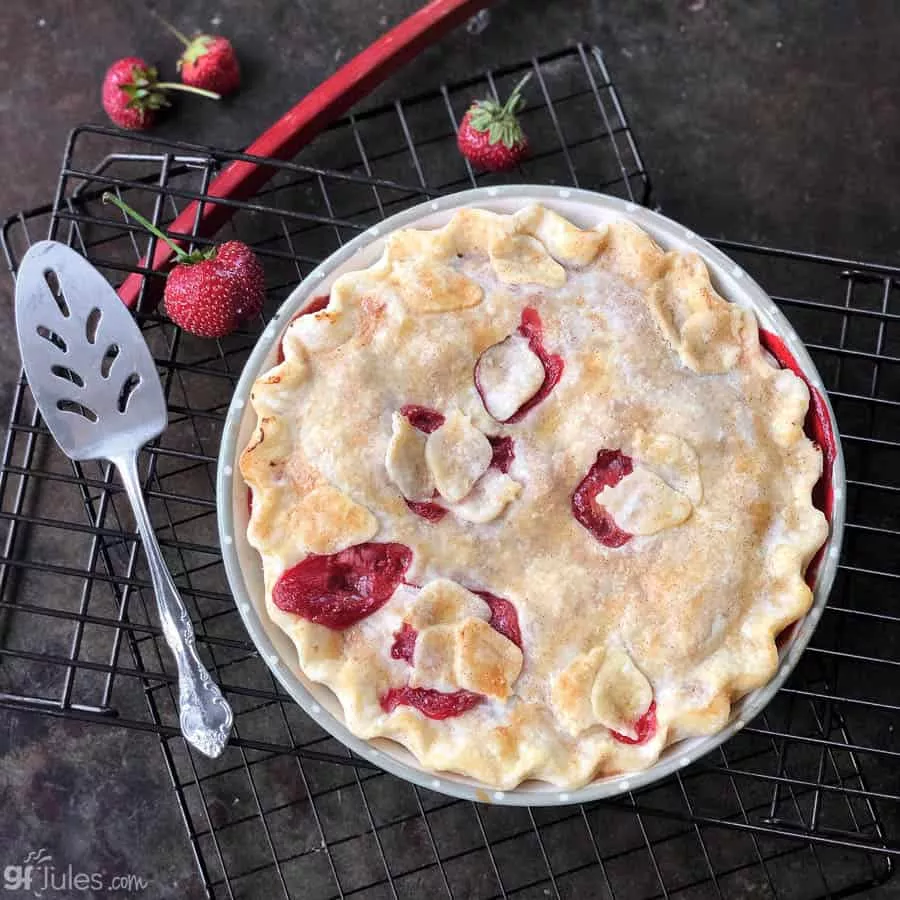

Gluten Free Strawberry Rhubarb Pie Recipe
Ingredients
crust ingredients:
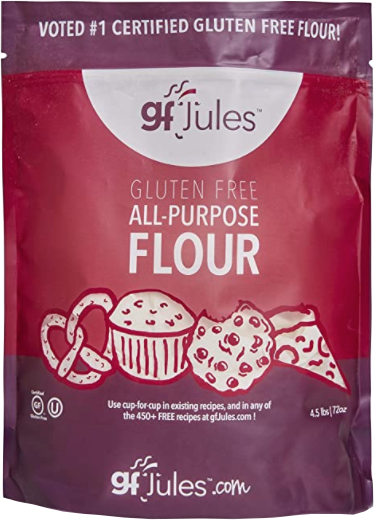
- 2 cups (270 grams) gfJules™ All Purpose Gluten Free Flour
- 1 teaspoon sea salt
- 1/3 cup butter or non-dairy alternative (e.g. Earth Balance® Buttery Sticks)
- 1/3 cup shortening (vegetable or sustainably harvested palm oil; I don't recommend coconut oil)
- 3 Tablespoons vodka (vodka makes dough easier to work with --the alcohol bakes off, in case you're worried!)
- 2-3 Tablespoons cold water (OR 5-6 Tbs cold water total, no vodka)
- 1 egg beaten + 1 Tbs. water (or milk of choice)
filling ingredients:
- 2 cups rhubarb trimmed and cut into 1/2 inch pieces (or substitute an equal amount of berries)
- 2 cups fresh berries (strawberries, halved or other berries like raspberries)
- 1/4 cup gfJules™ All Purpose Gluten Free Flour
- 1/4 cup granulated cane sugar (or coconut palm sugar)
- 1/4 cup light brown sugar (or coconut palm sugar)
- 1 teaspoon cinnamon
- 1/2 teaspoon nutmeg
- demerara sugar or granulated sugar to sprinkle on top (optional)
- ice cream or whipped topping optional - I use So Delicious® CocoWhip or Vanilla Almond or Coconut Ice Cream
Instructions
dough preparation:
- In a large bowl, whisk together the dry ingredients. Cut in the butter and shortening using two knives or a pastry cutter until it resembles a fine meal.
- Add the vodka and water gradually to make the consistency you need to form a ball – err on the side of it being wetter rather than crumbly, but only add enough to hold the dough together in a firm ball. Divide the dough in half and form two flattened disc shapes; wrap in plastic wrap and set aside on the counter for 30 minutes while you make your filling.
filling preparation:
- In a large bowl, stir to combine all filling ingredients. Set aside while rolling out crust pastries.
crust preparation:
- Preheat oven to 400° F.
- After allowing the dough to rest, roll the pastry out onto a surface dusted with gfJules™ Flour. A flexible pastry sheet (e.g. Silpat) for that purpose works well. Roll one of the discs of dough to a diameter at least 1 inch larger than the diameter of your pie pan.
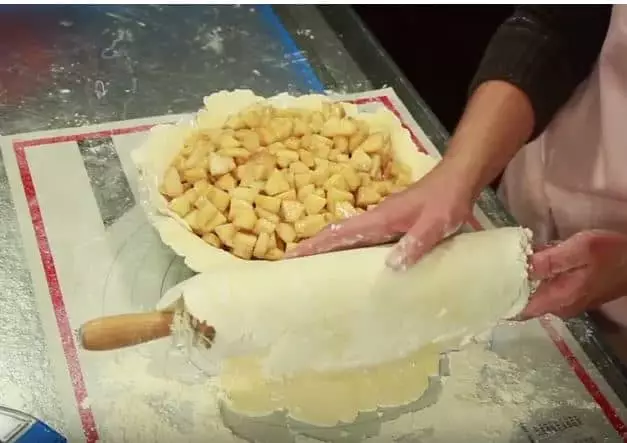
- Gently lift an edge of the rolled out crust using a butter knife or bench scraper. Lay the edge over your rolling pin so that it is supported by the rolling pin as you lift the crust onto your pie plate. Gently pat into shape and allow the excess crust to lay over the edge of the pie plate until the top crust is finished.
- To cover with a whole top crust, roll out the other disc of dough in the same fashion, then lift the crust and lay on top of the filled pie plate, sealing the edges with the bottom crust, then fluting with your fingers or the blunt end of a knife handle. Be sure to cut several slits in the top crust to vent it during baking – the fruit will bubble up and steam as it cooks and needs some places to escape!

- If the crust cracks or if you want to add more decoration, cut small shapes like hearts or stars out of the extra pie dough and lay them on top of the crust -- seal by dabbing water or milk onto the back of the cut out shapes before laying on the crust.
- To make a lattice crust, cut the second rolled dough into 8-10 strips. Lay 4-5 strips, evenly spaced, across the top of the pie in one direction, then lay the remaining strips in the opposite direction on top. Where possible, lift every other strip and layer the opposite strip underneath, forming a woven design (this step is not essential). Trim ends and fold all crust edges over, pressing to seal. Flute or crimp edges for a decorative finish.
- Line the oven shelf below the pie with aluminum foil to prevent dripping into the oven. Cover crust edges with foil or pie crust saver to shield crust. Brush the crust with beaten egg or milk of choice to help brown the crust as it bakes.
- Before baking, brush the crust with mixed egg + water or milk. Bake at 400° F for 10 minutes; brush top with egg wash again. Reduce the oven temperature to 350° F and bake for another 30-40 minutes, until filling is thickened and bubbly and the crust is lightly browned (if crust is browning too much, replace the foil or pie crust saver). Turn off oven, open oven door, sprinkle pie with sugar, then allow the pie to cool slowly in the cooling oven.
- Serve warm with or without ice cream.
Notes
** Please keep in mind that nutrition information provided is per serving, which may vary. While we have taken care to provide you with the most accurate nutritional values possible, please note that this information may differ significantly depending on the exact ingredients and brands that you choose to use to make this recipe. Additionally, where options are given for ingredients, the resulting calculation may include all ingredient options instead of only one per line, skewing the totals significantly.
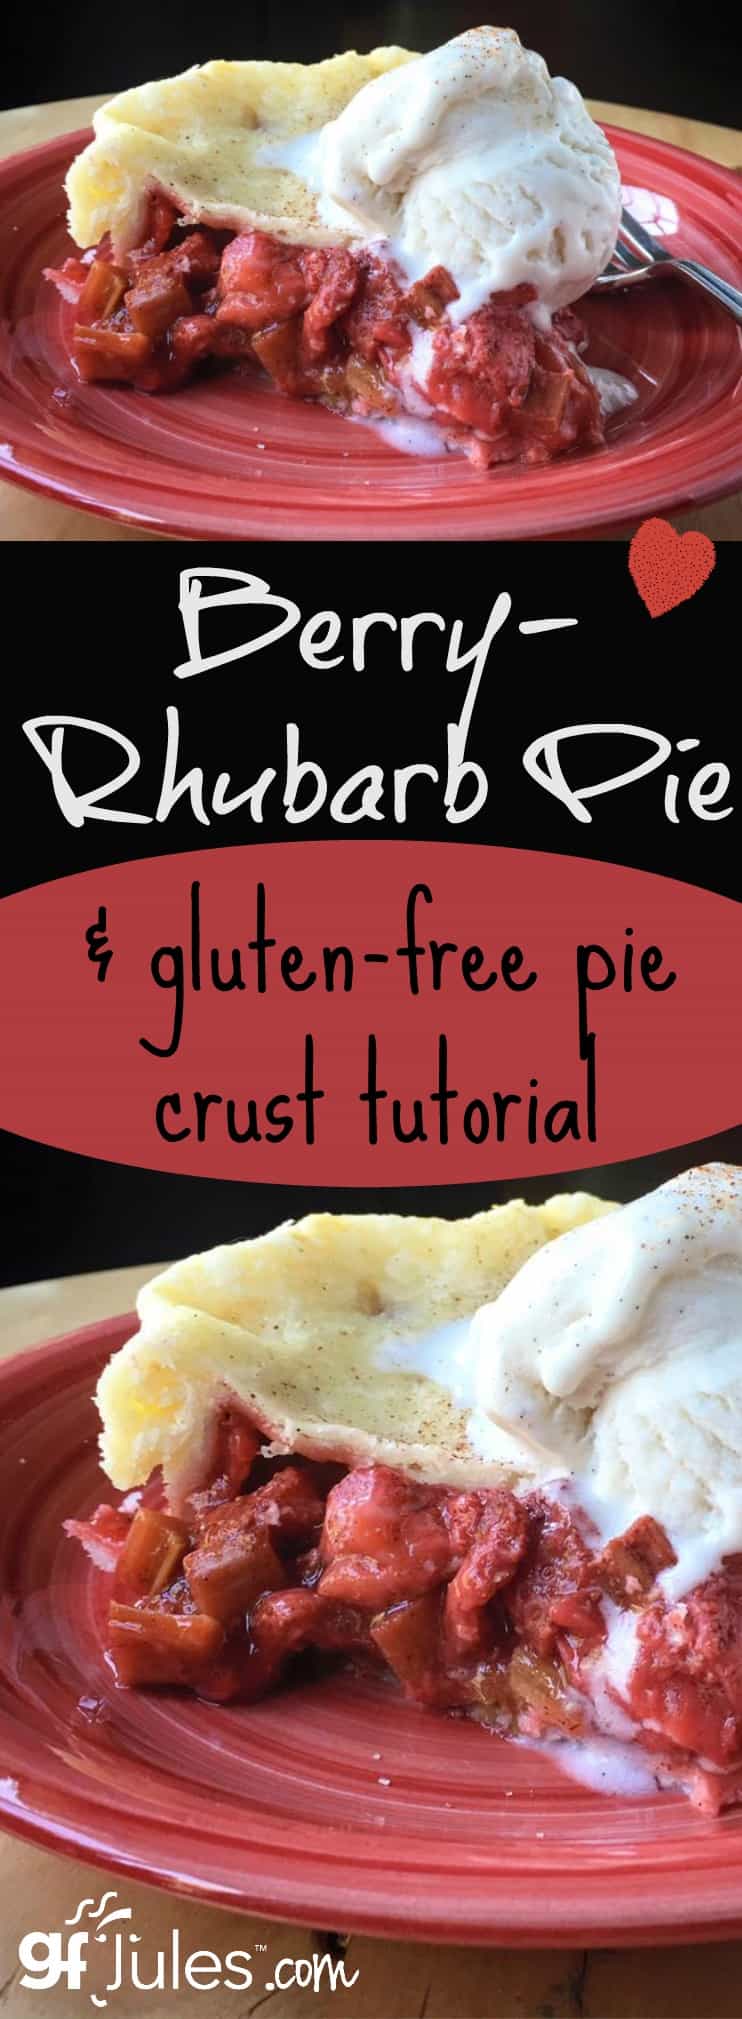
Don’t be daunted by the gluten free pie crust – it’s easy with the right recipe and gfJules Flour. These berries and rhubarb tucked inside make the perfect combination!
Pin for later!












Loved the pastry crust. It is flakey and delicious with the mixture of the butter and vegetable shortening. The filling is a good combo and not too sweet.
fantastic to hear! Thanks so much for taking the time to let me know how much you enjoyed the pastry crust recipe!
~jules
You don’t mention in the directions when to add the shortening and egg. Can you update the directions to include those ingredients?
Hi Camilla, sorry for any confusion. The shortening was in the directions, but the egg may have been unclear. It’s an egg wash that goes on top of the crust before baking. I did go ahead and edit the directions to make sure that was clear. Thank you for pointing that out!
~jules
Perfectly delicious pie, thank you so much! One question: the directions for the crust differ slightly from those for your “Grandma’s Pie Crust” (which is my go-to crust recipe!), particularly regarding the oven temp (400 for 15 vs 10 mins, then 375 vs 350 for 30 minutes). I realized this after the pie was already in the oven and turned down the temp to 350 for the last 10 -15 minutes. Is the lower temp specific to the strawberry rhubarb filling?
GORGEOUS gluten free strawberry rhubarb pie, Suzen!!!! Thanks so much for sharing the picture! Different pie recipes require slightly different temps, yes. The Grandma’s Pie Crust recipe has more generic directions in case the recipe you’re using doesn’t specify. Looks like this one turned out great!
~jules