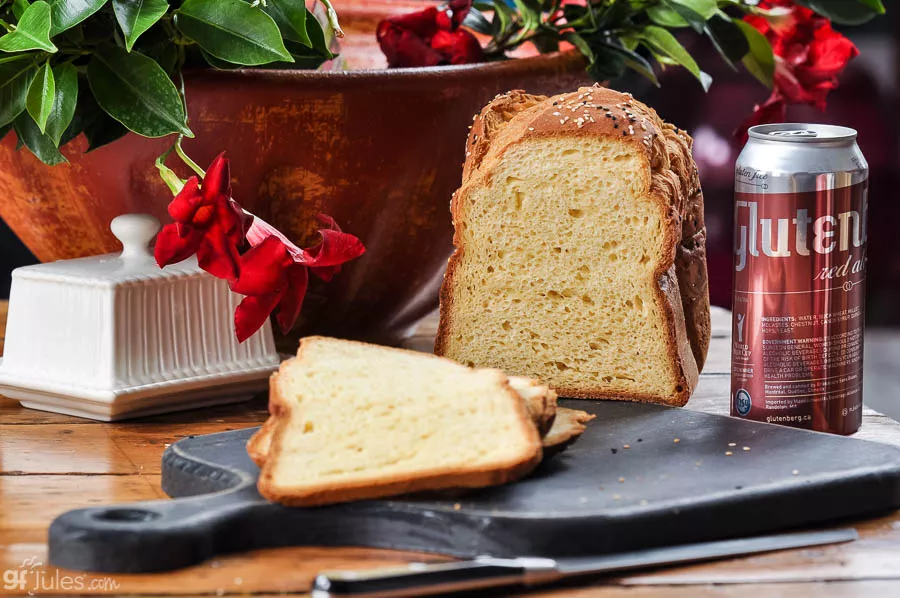
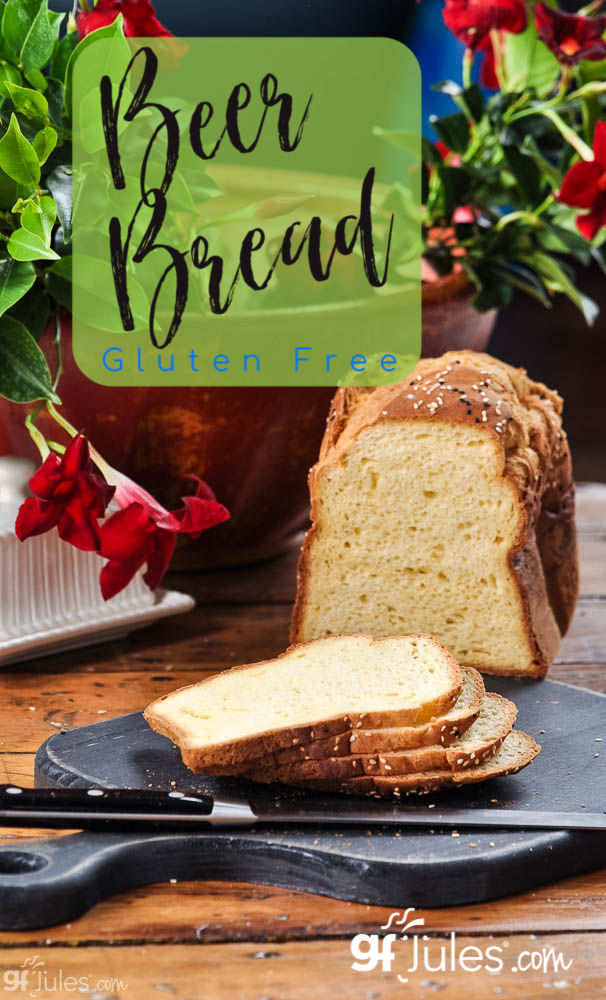
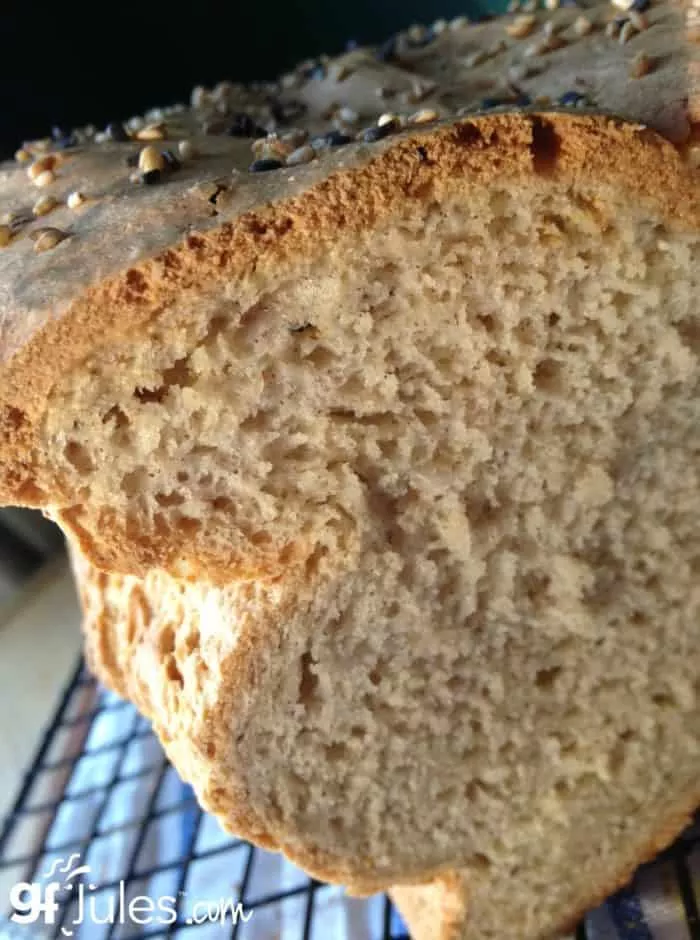
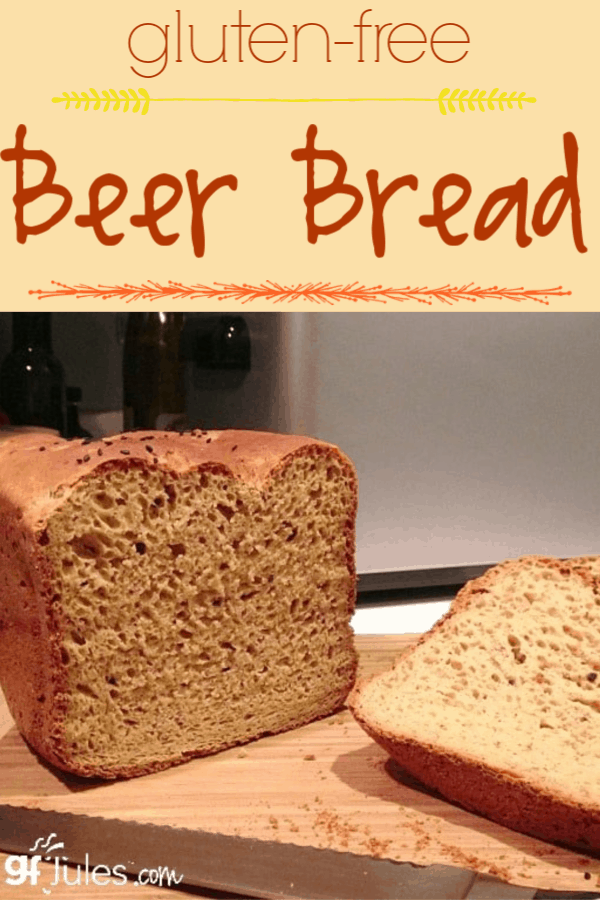
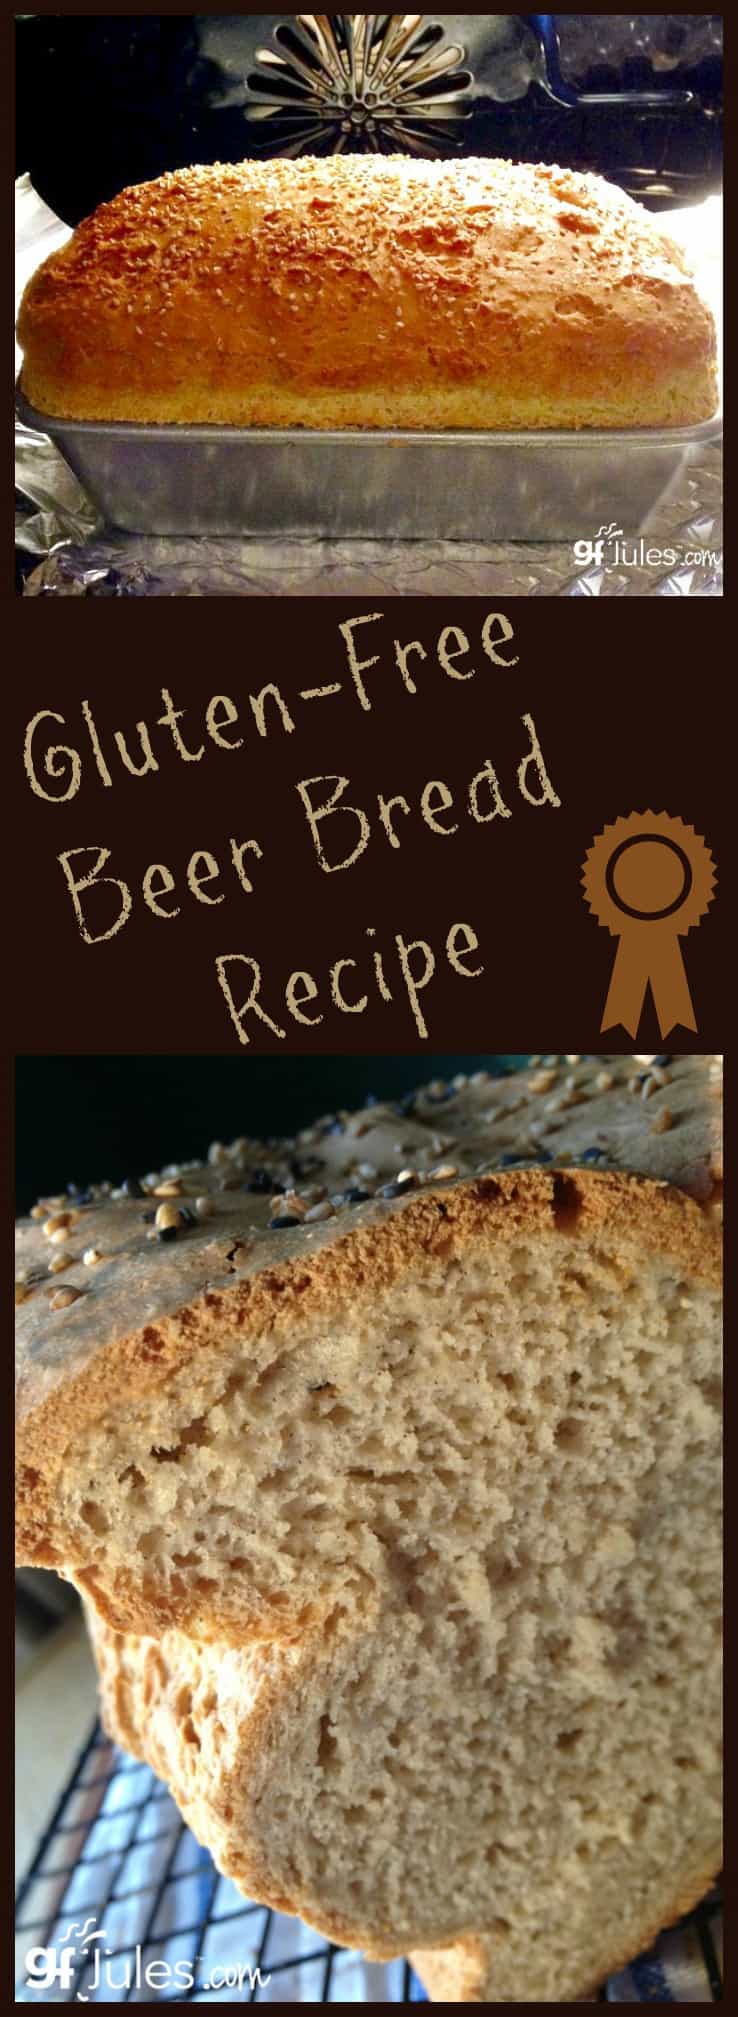
Gluten free beer bread is easy and ahhhmazingly delicious! There is something about the aroma of yeast and beer, baking together in a bread machine or in your oven, into a super-soft loaf of gluten free bread. It’ll just make you crave a good sandwich: peanut butter & jelly, potato salad, BLT … it doesn’t matter. Truth be told, I eat it plain. It’s that good.
Baking this gluten free beer bread will get all kinds of delicious sandwich-making juices flowing!

You may be surprised to learn that there is such as thing as safe, naturally gluten free beer. There is a whole category of it now, made from gluten free grains like sorghum, millet, rice, buckwheat and even chestnuts! Stay away from gluten removed or gluten reduced beers though. Find out more on how to tell the difference and why one is safe and one’s safety is unclear at best and unsafe at worse in my article on gluten free alcohols.
Choosing the right gluten free beer for this bread is the fun part (consult my gluten free beer tasting notes to find one that suits your taste!) since it lends a flavor to this white bread that makes it unique every time. The effervescence of the beer also helps give this bread beautiful lift, and creates a light, airy structure that is truly wonderful.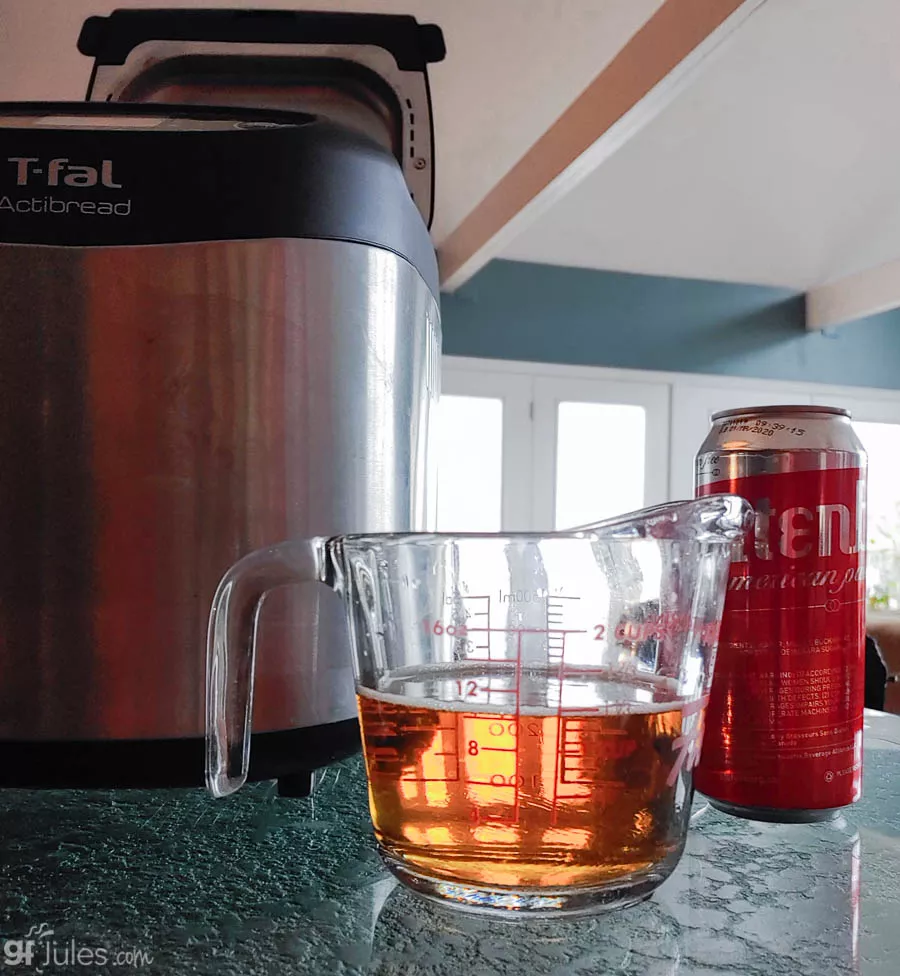
Of course if you’d prefer to skip the beer, you always have the option of using club soda or sparkling water or even ginger ale in place of the bubbly brew. Whatever liquid you choose will alter the taste of the baked bread, so experiment and find the one that suits you.
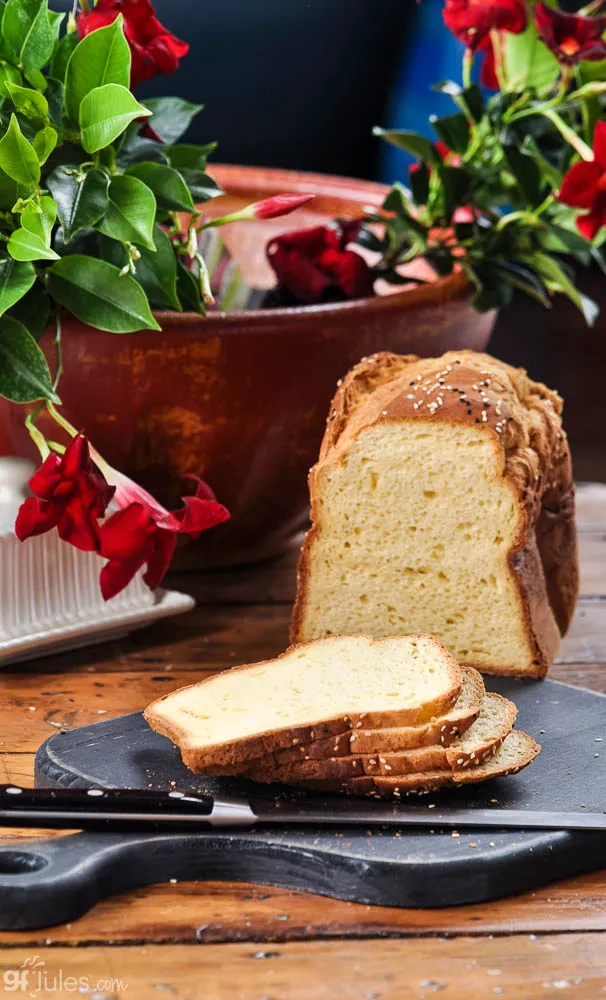
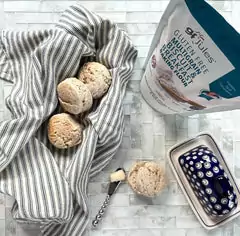
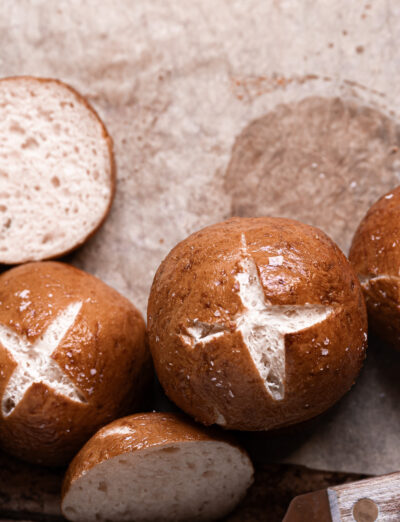
This gluten free beer bread recipe is so versatile that it can also be baked into gluten free dinner rolls or even hamburger buns! Bake in the oven or in a bread machine. Yes, you can bake this recipe in a bread machine (but you don’t have to)!
Find out my favorite machines in my bread machine reviews article!
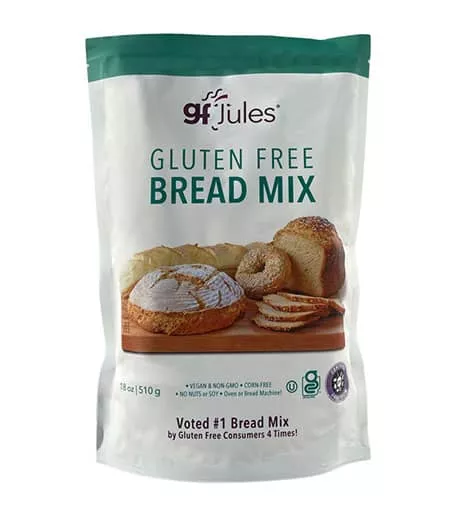
Try my easy and reliable (voted #1 gluten free bread mix several years in a row) gfJules Sandwich Bread Mix in this recipe to get to bread baking nirvana even faster, or choose to just use my award-winning gfJules Gluten Free All Purpose Flour — so many options!
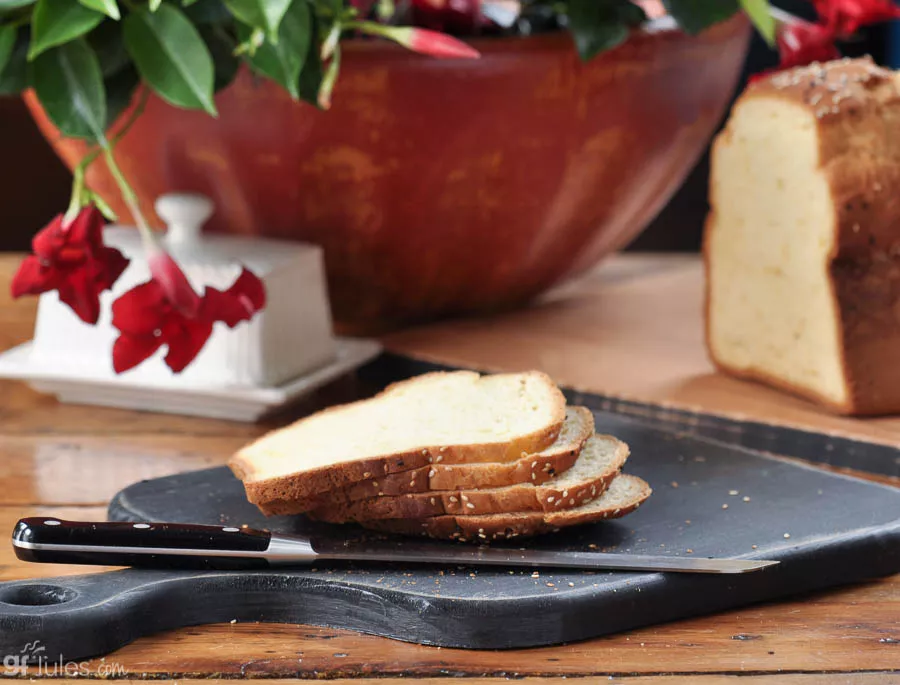
One reviewer on Pinterest even converted this gluten free Beer Bread Recipe into a “whole grain gluten free sandwich bread recipe”. Here’s how she did it:

What’s not an option is using any old other gluten free flour blend as the base flour. They’re simply not interchangeable. Find out all about gluten free flours — individual and blends — and why using another flour or blend will lead to different results.
You do want a light and fluffy, not gritty, not funky tasting and not brick-like loaf of bread, right? (That’s a rhetorical question. If you don’t, you’re already in the wrong place.) So follow the recipe as written and enjoy amazing gluten free bread in 2 hours’ time. See, now that’s easy.
 Gluten Free Beer Bread Recipe

Gluten Free Beer Bread Recipe
Equipment
Ingredients
Dry Ingredients:
OR
- 3 cups gfJules™ All Purpose Flour (405 grams)
- 1/4 cup dry milk powder/non-dairy milk powder (e.g. coconut milk powder 27 grams) OR almond meal (44 grams) OR plain GF potato flakes (16 grams)
- 1 tsp. sea salt (5 grams)
- 1 Tbs. granulated cane sugar (16 grams)
PLUS
- 10 oz. gluten free beer (I especially like Green’s OR Glutenberg in this recipe) OR sparkling water, club soda OR ginger ale – room temperature
- 3 large eggs — room temperature or substitute
- 3 Tbs. olive oil
- 1 tsp. apple cider vinegar
- 2 Tbs. honey or agave nectar
- 2 1/4 tsp. one packet rapid rise or bread machine yeast (Red Star® Quick Rise)
- sesame seeds poppy seeds or other topping of choice (optional)
Instructions
- Prepare a regular loaf pan (at least 9×5) by oiling it well. Set aside.
- In a large mixing bowl, whisk together the eggs, oil, apple cider vinegar and honey.
- In another large bowl, whisk all dry ingredients except yeast (flour, salt, milk powder and sugar). With mixer on low speed, slowly pour the dry ingredients into the liquids to combine.
- Continue beating while slowly pouring in the beer to mix. Once incorporated, add the yeast. Beat until the batter is smooth, then increase mixing speed and beat for 4 minutes.
- Pour batter into oiled pan, filling no more than half-way up.
- Cover with oiled wax paper or parchment and let rise in a warm, moist place for at least 30 minutes (an oven preheated to 200 F, then turned off, with a bowl of water in the oven to add moisture, is a good option). Do not let the bread rise over the side of the pan, or it will rise too much to support itself and may collapse when cooling.
- Once the bread has risen, lightly brush with oil to help it brown, then sprinkle any toppings on at this point.
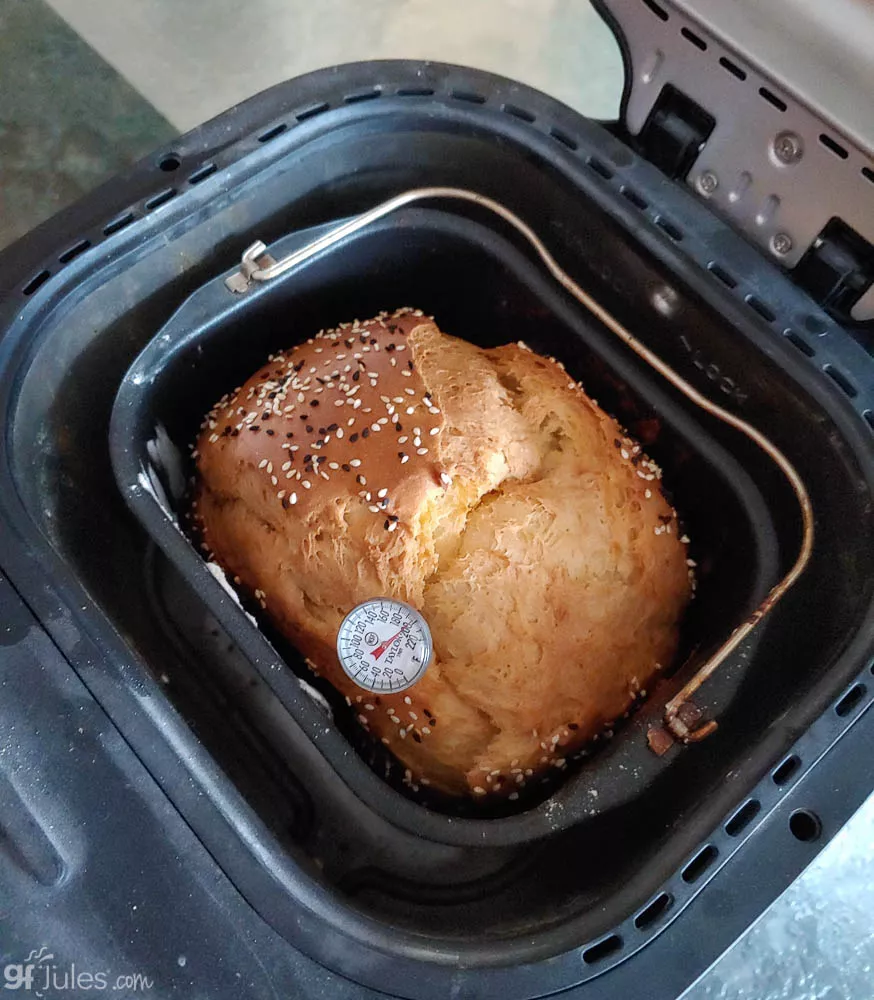
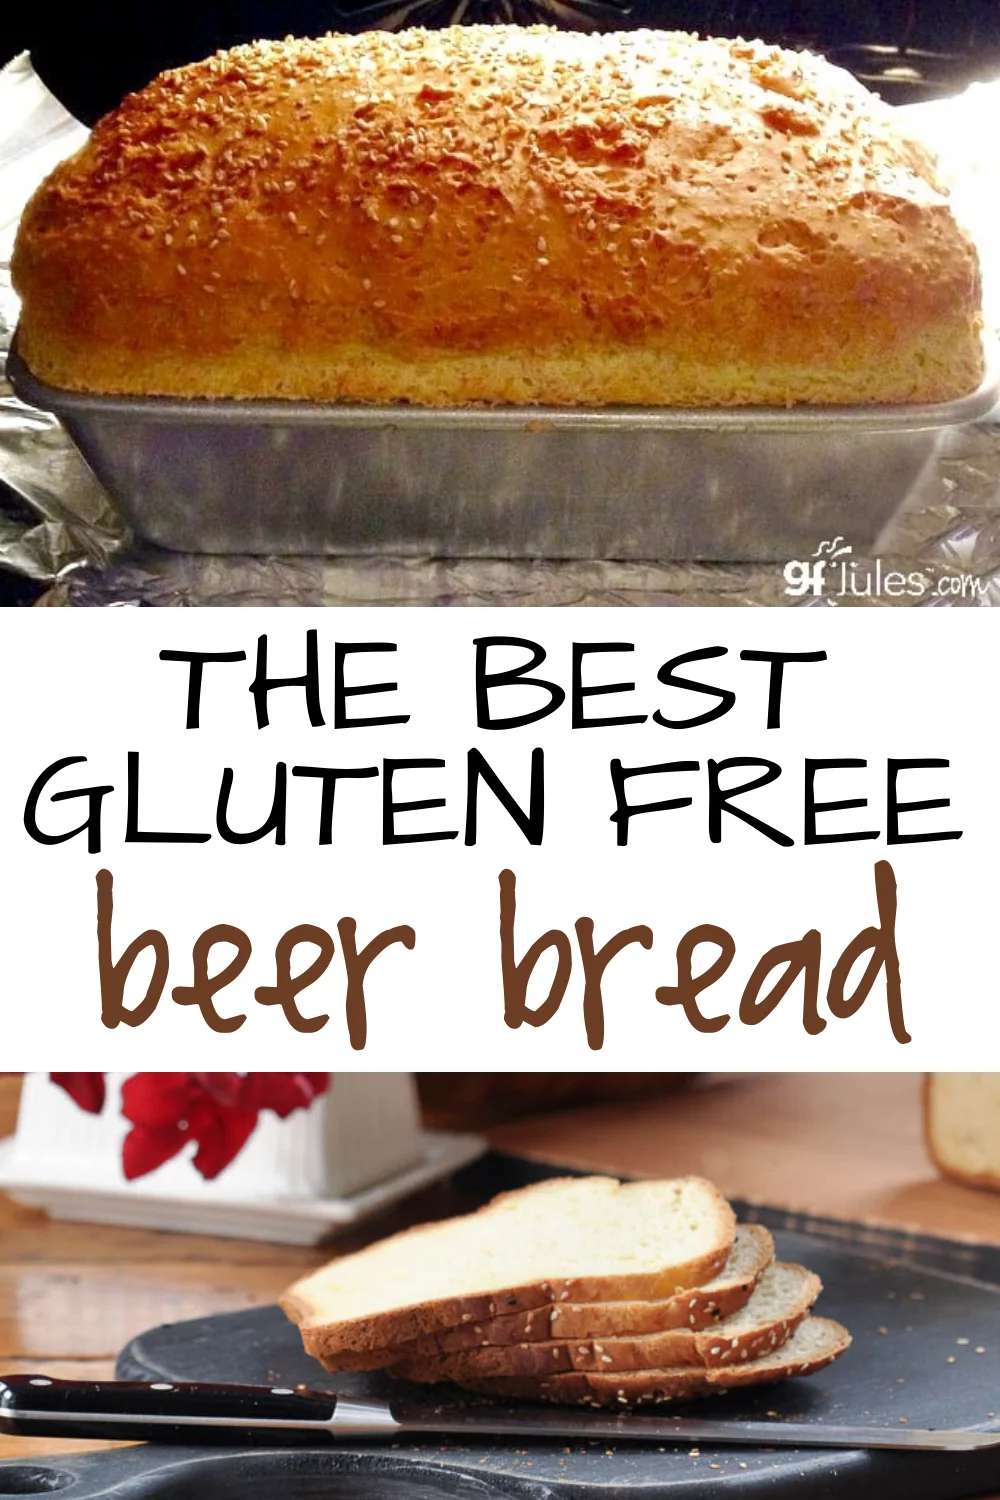
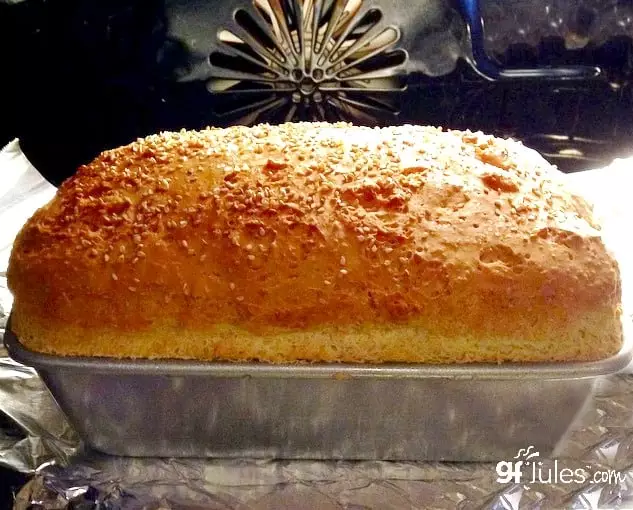
- Preheat the oven to 375º F (static) or 350º F (convection). Bake for approximately 35 minutes. The internal temperature of the bread should be approximately 205 – 210º F. The loaf should have risen above the top of the pan, and will be golden brown with a nice crust.
- Remove to cool in the pan for 15 minutes, laying it on one side, then the other to help support it as it cools. Then gently remove the loaf from the pan to finish cooling on a wire rack.
- Cut only when fully cooled. Store in a sealed ziptop bag on the counter – do not refrigerate, or it will dry the bread out.
- *If using a bread machine, bring all ingredients to room temperature. Add liquids to the pan first, then the dry ingredients, followed by the yeast, pouring into a small well made in the middle with your finger. Use the gluten-free 2lb loaf setting. For more information on baking in a bread maker, see my article on gluten free breads in bread machines..
** Please keep in mind that nutrition information provided is per serving, which may vary. While we have taken care to provide you with the most accurate nutritional values possible, please note that this information may differ significantly depending on the exact ingredients and brands that you choose to use to make this recipe. Additionally, where options are given for ingredients, the resulting calculation may include all ingredient options instead of only one per line, skewing the totals significantly.
Recommended Products
Any links to Amazon may earn me a small amount from qualifying affiliate purchases; this amount goes to fund this blog and does not cost you anything additional.
I hope you love this recipe as much as we do!
Pin it for later!


 Based on 39 Review(s)














Could you use homemade kombucha instead of beer?
Yes Kris, that would be great!
~jules
I really miss bread that you don’t have to toast before you have to make a sandwich and that is so dense or thick that it’s really bad and hard to eat. Just wanted to know if your bread mix is different.
Hi Monika, that’s what we all miss when going gluten free, and you’ll be pleasantly surprised when you bake with my gfJules Bread Mix, as it’s light and fluffy and there’s no need for toasting or thick slices. I actually like to see just how thinly I can slice my breads for fun! I know you’ll love it, just as thousands of others have been converted and will never go back!
~jules
I just got a Cuisineart 110 with a gluten-free setting and then read your reviews and comments about how the Cuisineart is not great for GF baking. 🙁 I can change the baking time but not the size of the loaf for GF, and the default is 1.5lb and not a 2lb loaf. It is strange because I can change the size of the loaf for other settings, just not GF! I have your GF bread flour mix, and am wondering about the ratio and how to adapt it for a 1.5lb loaf? Should I just increase the baking time? Since other settings have a 2lb option, I would think that the capacity is large enough to keep the recipe as is, but maybe I could either just increase the baking time or finish the baking in a preheated oven, as you suggest, OR reduce the entire recipe by 1/4, which seems trickier to me! Any advice would be appreciated!
Hi Julie, do you have an internal thermometer? If so, that’s the easiest way to determine if the loaf is really done (sometimes it can look and smell done but it’s not really done inside!). The internal temp should be at least 205F. If it’s not fully cooked, then the only real way to finish with the Cuisinart is to have your oven preheated to 350F and just move the pan to the preheated oven. While inconvenient, it does the job! Way easier than trying to reduce the volume of a recipe or mix. I hope this helps!
~jules
This recipe sounds great – can’t wait to try it because I do miss making my regular gluten beer bread since being Celiac. So question, if I make this in a bread machine would I still use the Quick Rise yeast or would I use Dry Active yeast instead (it’s the yeast most bread machine recipes call for)? Also, silly question, but you say here about using a different bubbly liquid instead of beer – you mention it creates a light, airy structure for the bread. So can club soda, for instance, be used in place of water/milk in any gluten free bread recipe? Thanks!
Hi Sharon – so glad you’re going to be excited to made beer bread, gluten free! To make in a bread machine, use the quick rise yeast with my instructions. If you want to use regular active dry, you’re going to need to proof it first for best results.
Regarding the bubbly liquid, yes, for most gluten free bread recipes calling for milk or water you could sub with a bubbly liquid for more height. You’ll sacrifice a little in moisture retention by subbing from milk to water in those recipes, but otherwise the bubbles tend to yield a more lofty loaf.
~jules
I am so grateful for this recipe! It was fun to adapt it to make a “rye” bread. I used the Green’s Endeavour Dubbel ale and substituted half of the honey with molasses to give it a darker flavor. I also added caraway seeds. It turned out great!. Thanks Jules
OOOh I love this! What a fantastic modification to make a gluten-free rye! Do you have any pics, Kathleen?
~jules
This beer bread recipe calls for a packet of yeast— so I used active dry yeast, which is the only packet available to me. I reckon I was supposed to use the quick rise instant yeast out of the jar in my fridge, which is why the hamburger buns and the bread did not rise… Everything was at room temperature but I suppose it wasn’t warm enough to feed the yeasties. So sad to waste the last of my GFJules flour …🥺 but lesson learned.I’m leaving them in the warm oven to see if they will actually rise, anyway.
Hi Sue, yes the instant/quick rise yeast is developed so that it won’t have to be proofed before adding to the dough. The regular active dry must be proofed before adding. Check out this article on yeast and how to use each kind properly in a recipe; I think it will help going forward so you can use what you have in any recipe!
~jules