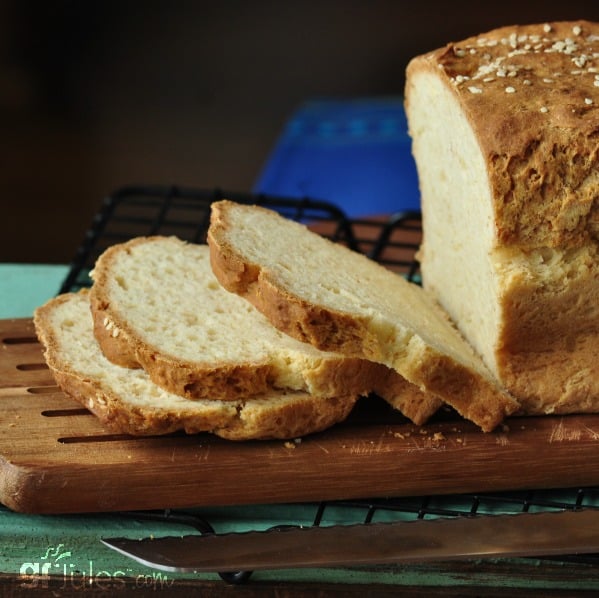
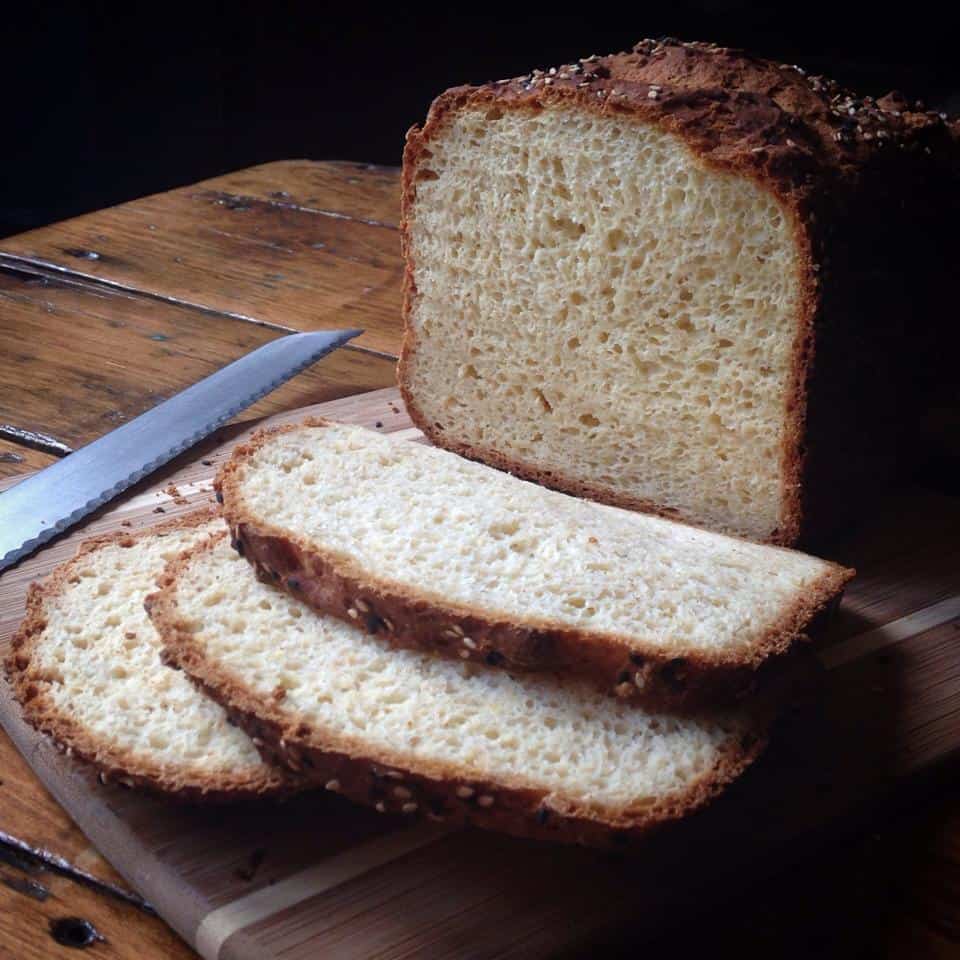
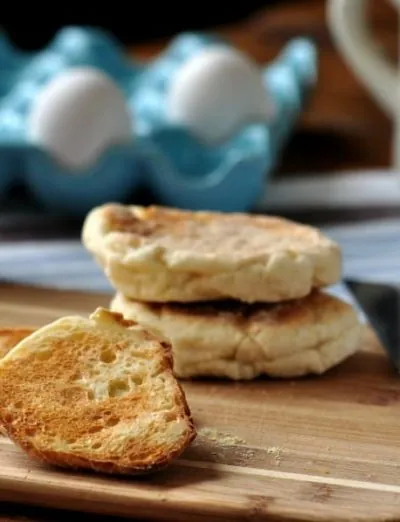
Everyone wants great bread … sometime. So don’t let being gluten free stop you from enjoying a sandwich because you bought dry, hard gluten-free bread at the store and think that’s your only option. Soft, fresh, scrumptious gluten-free sandwich bread is not a pipe-dream. It’s easy when you make it yourself with this recipe.
That’s because this crowd-favorite recipe for gluten-free Sandwich Bread has been making people happy for years. I’m happy to share it with you, too, because everyone deserves great bread.
With the right gluten free ingredients and this simple gluten-free Sandwich Bread recipe OR my even easier, award-winning gfJules® Gluten Free Bread Mix, anyone can whip up a loaf of great gluten free bread or dinner rolls in under 2 hours. I’ll show you how!
What are the Options for Making Gluten-Free Sandwich Bread?
With this recipe, you can use a bread maker OR bake in the oven. It’s best not to use a hand mixer, but instead to use a stand mixer or a large food processor with a dough blade, as this dough when made with yogurt is very thick (if using another liquid, the dough is more batter-like); alternatively, you could stir the recipe with a wooden spoon in a large bowl.
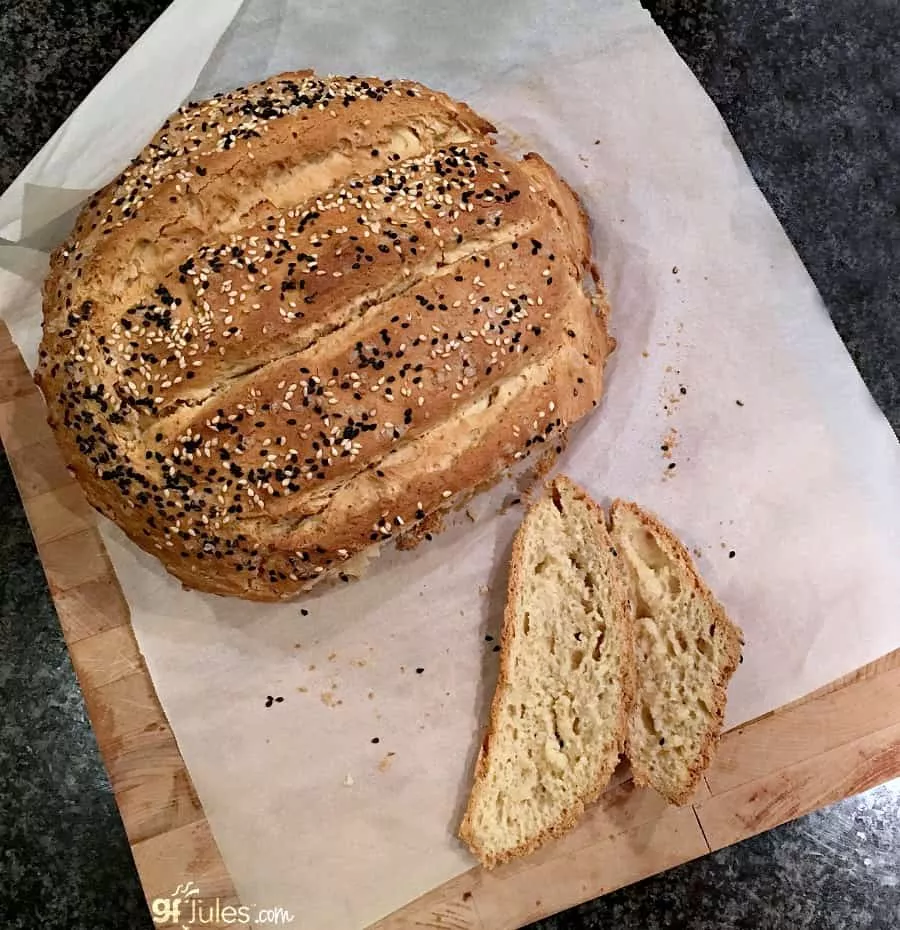
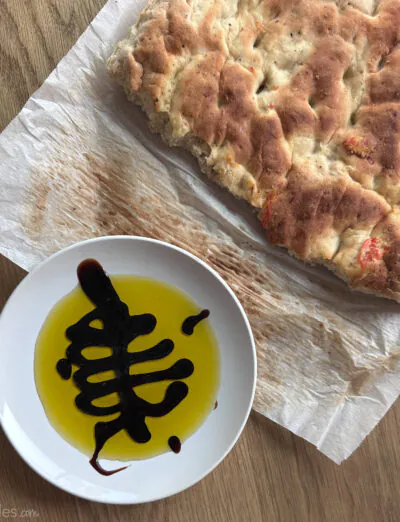
No pan is even necessary; if you don’t have a loaf pan, simply follow the directions to make a gluten free artisan loaf on a baking sheet!
If you’d like to add more fiber to this bread recipe, remove 1/2 cup of my gfJules Flour and substitute with 1/2 cup of a higher fiber certified gluten free flour (try millet, sorghum, almond, buckwheat or teff). My gfJules Flour should provide enough support and structure without making the bread too heavy. The loaf will take on the flavor of whatever other grain you’ve added.
Want higher protein? Use a high protein milk/mylk as the liquid you add.

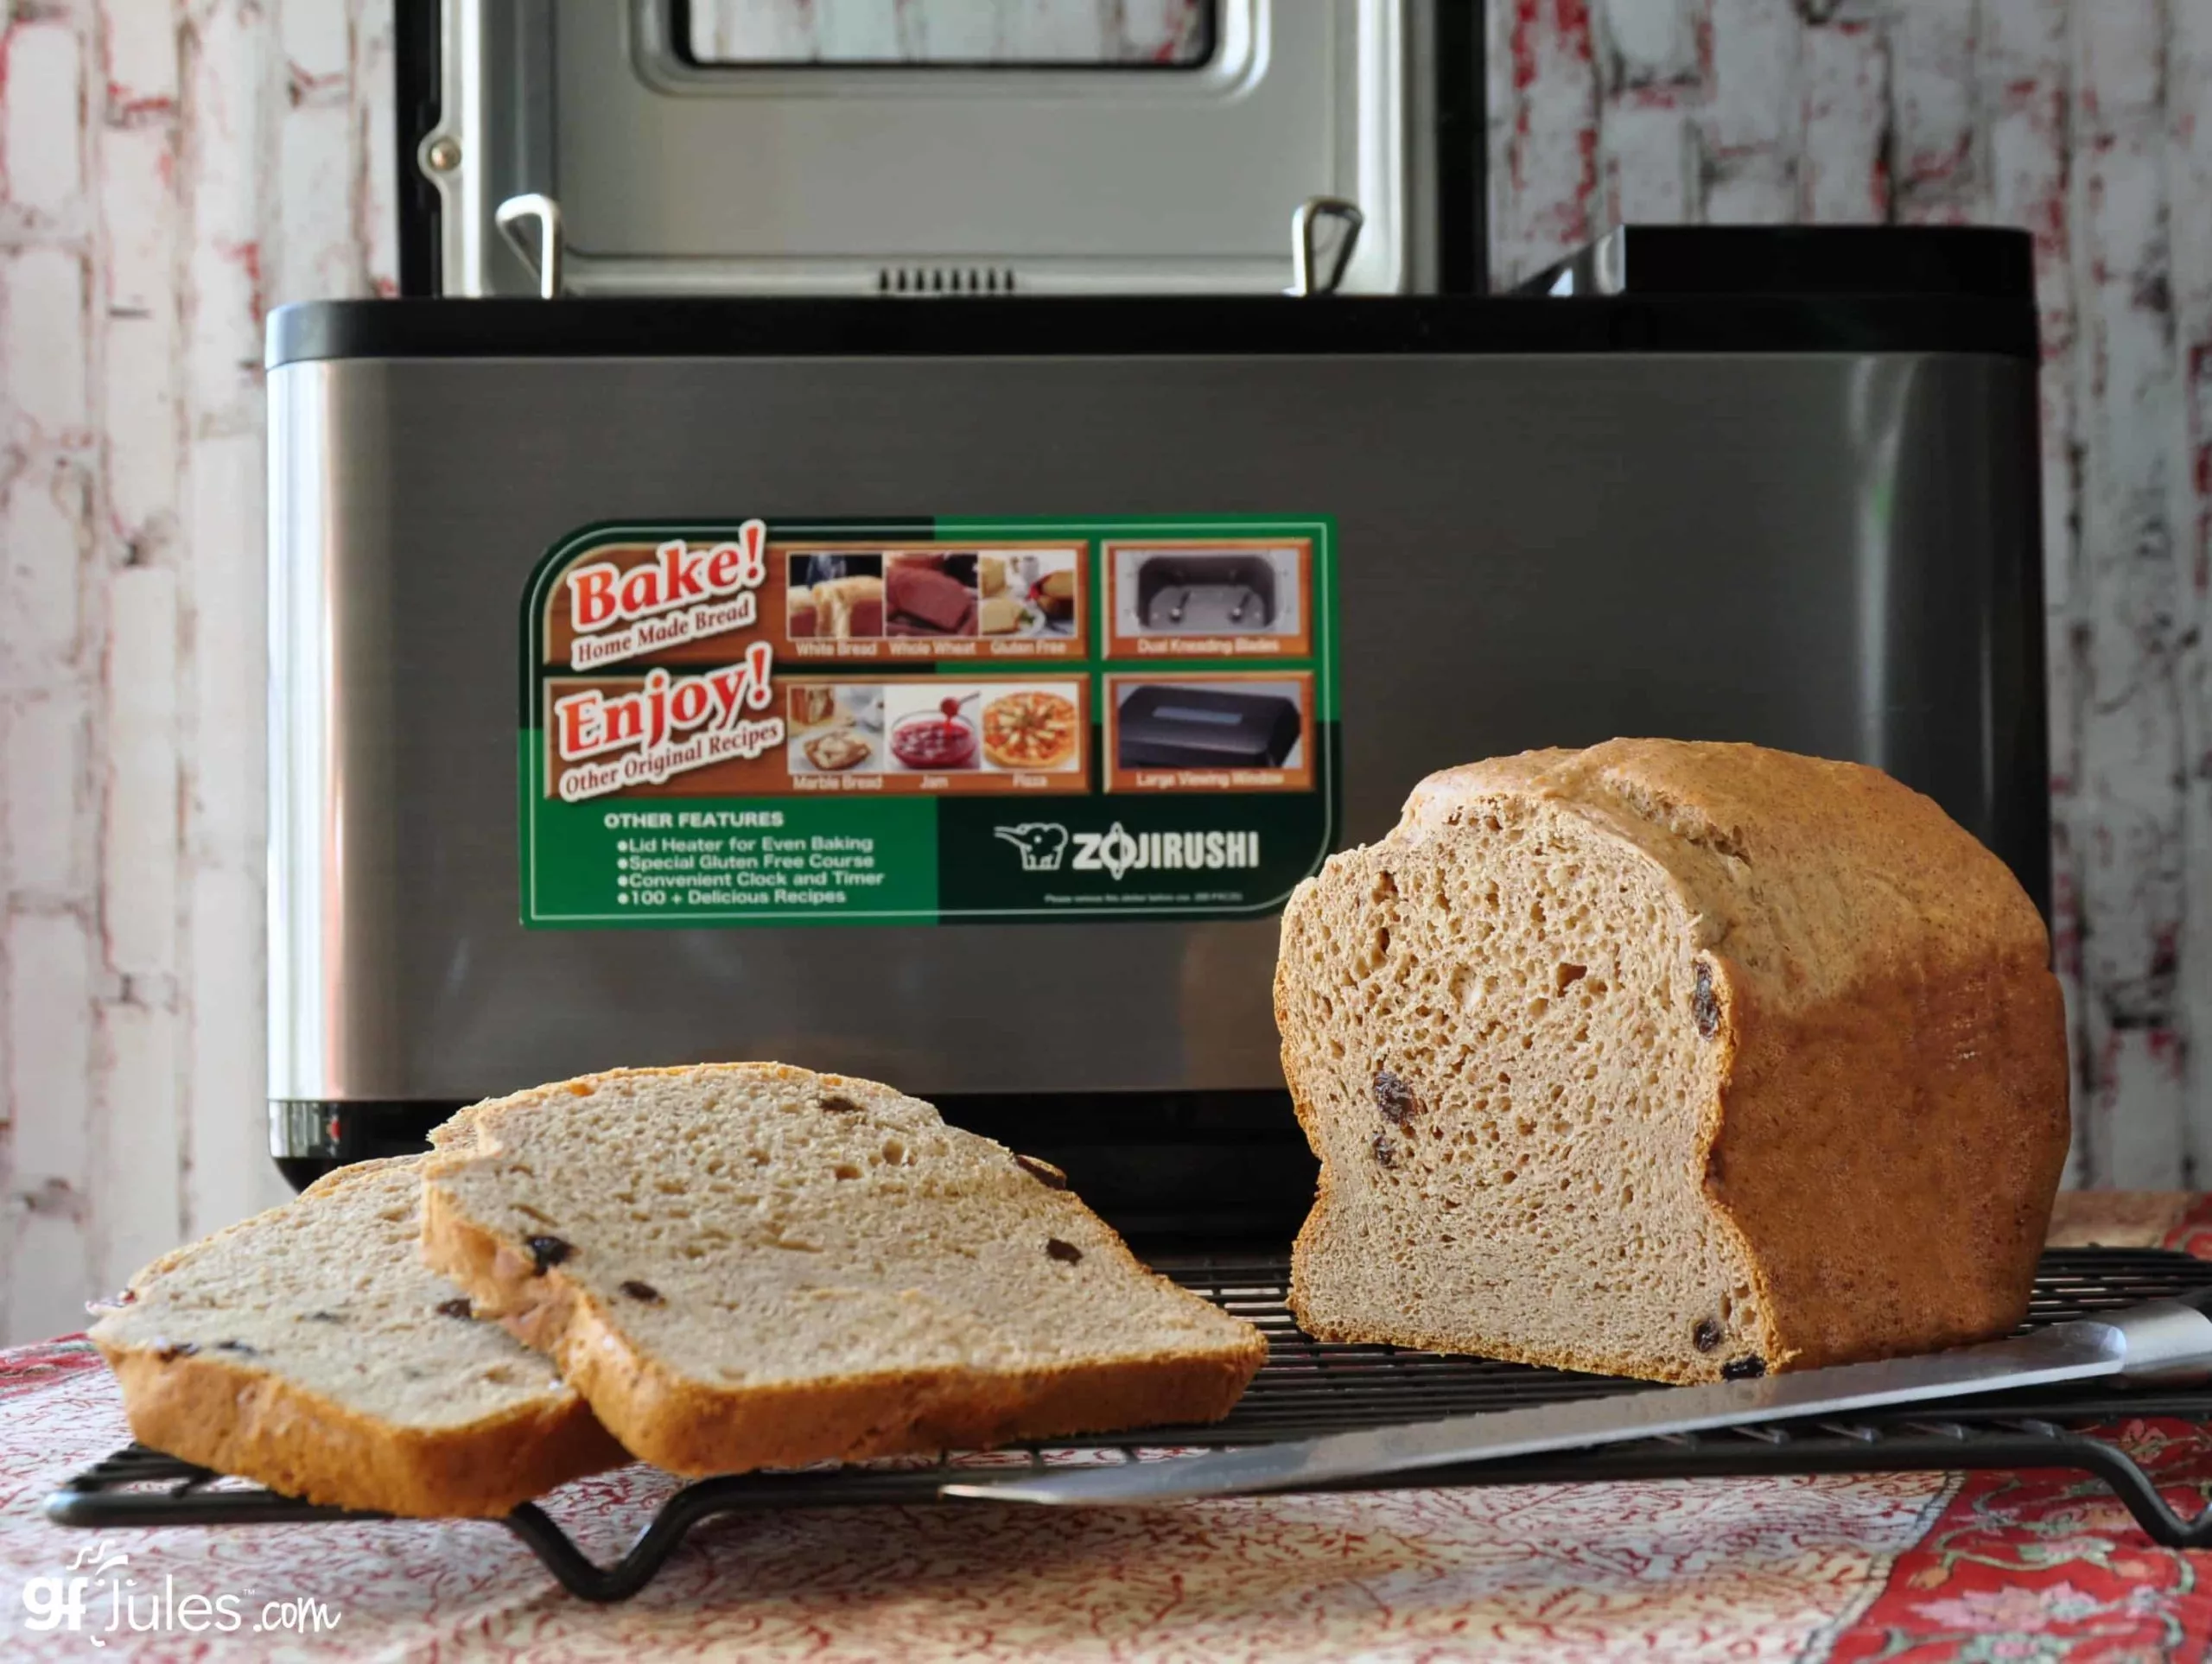
If you want to make homemade Gluten Free Cinnamon-Raisin Bread – hop to my recipe here.
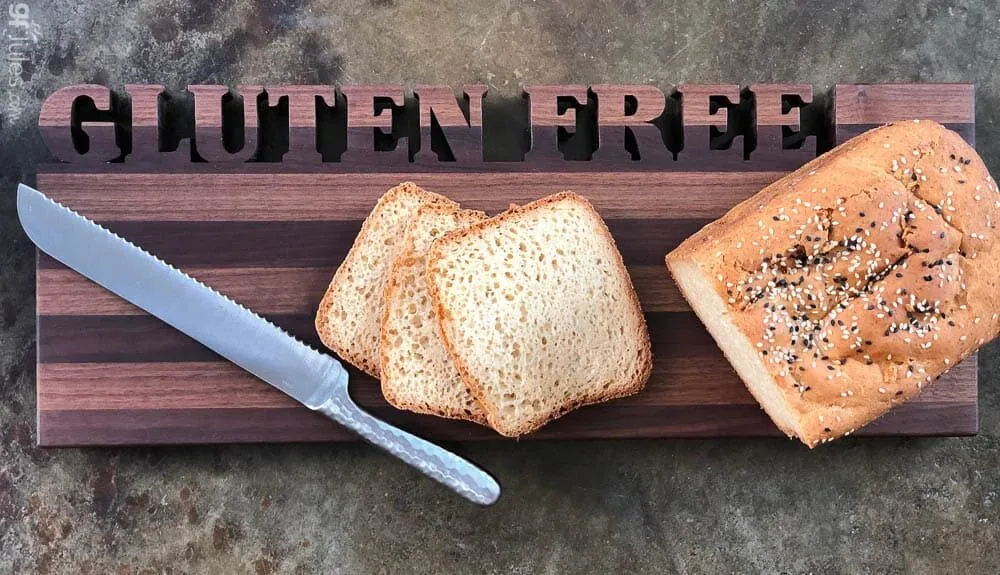
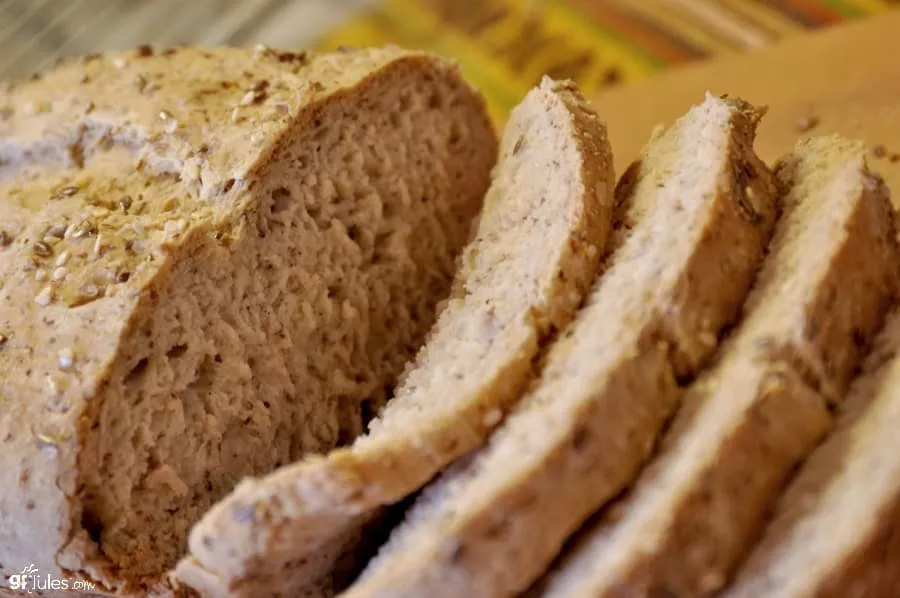
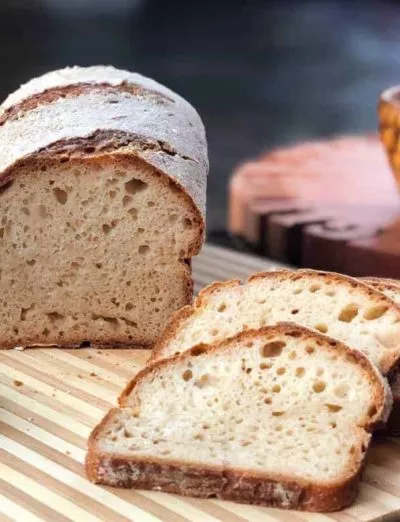
This awesome recipe produces a loaf you can slice as thick or as thin as you like, and it may be made nearly allergy-free! I’ve given you tons of ingredient options to make this bread just the way you like it and your whole family can enjoy it safely. Gluten-free, dairy-free, soy-free, nut-free … and it will stay moist for days (if it lasts in your house that long!). Pass the recipe along to anyone you know with other food restrictions and share the wealth!
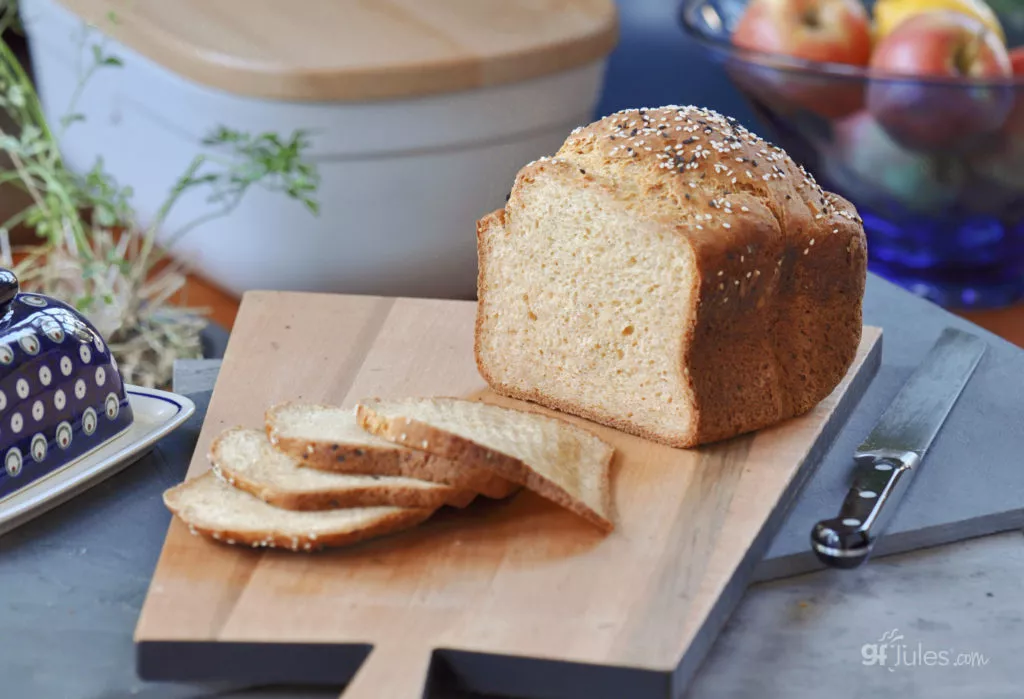
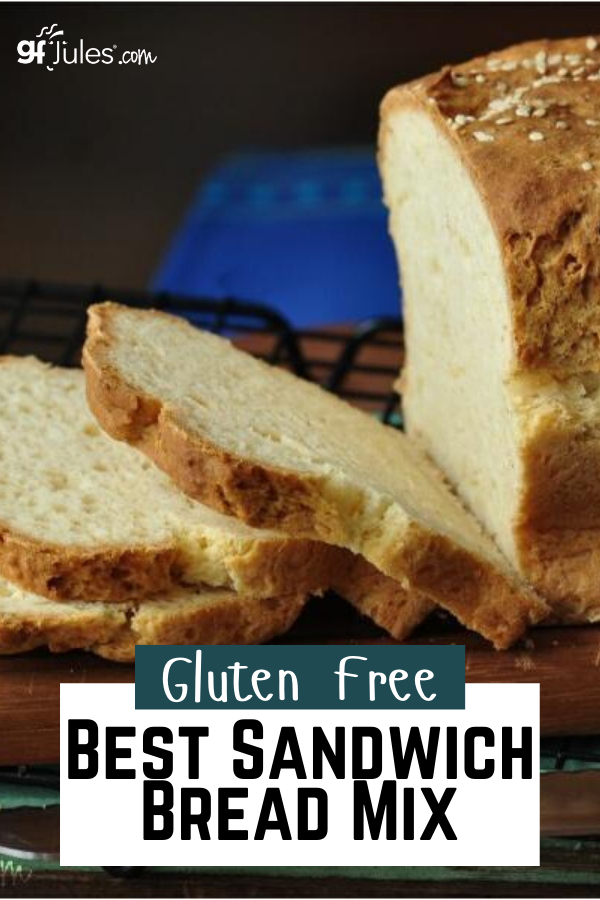
If you want to bake fresh bread with even fewer steps, use my easy, #1 voted gfJules® Gluten-Free Bread Mix, and you won’t be disappointed! It turns out a beautiful artisan loaf with a nice crunchy crust, from the oven or bread machine!
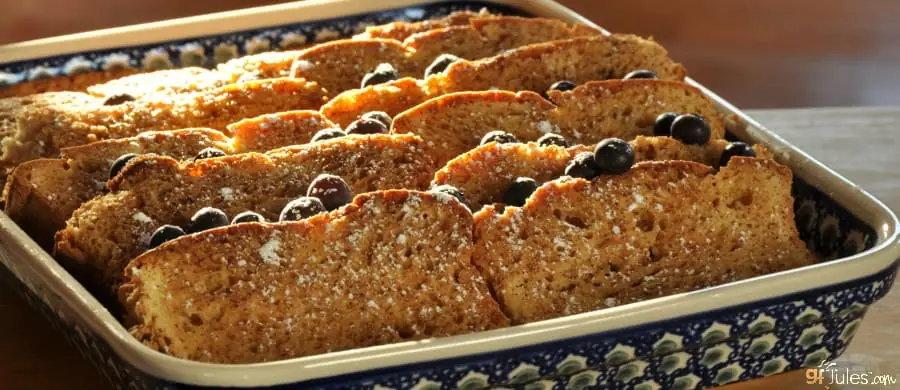
And if you somehow have any slices left over after a few days, make the most delicious gluten free French Toast around! Slice them thick or thin, dredge in egg, milk, and a dash of cinnamon, then fry in a little butter … mmmmmm. It’s the best breakfast around! (and so easy!). It also makes a great gluten-free French Toast Casserole!
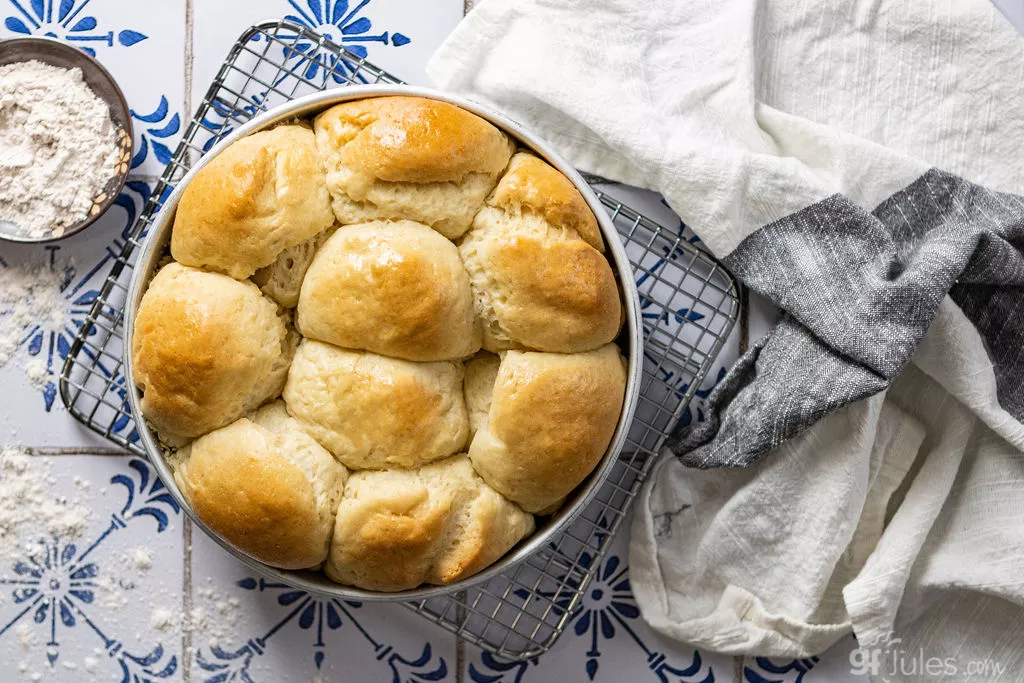
And lastly, if you’re searching for a different style of gluten free dinner rolls, you simply MUST try my gluten free Pull-Apart Dinner Rolls! They’re pillowy soft and never fail to please even the pickiest bread eaters!
Search my Homemade Gluten Free Breads tab for all kinds of gluten free bread recipes — from yeast-free to artisan, brown bread to boules … they’re all there!
Gluten Free Sandwich Bread and Dinner Rolls Recipe

Ingredients
- 1 gfJules Gluten Free Bread Mix
OR
Dry Ingredients:**
- 3 (405) cups (grams) gfJules® All-Purpose Gluten-Free Flour
- 1/4 (26) cup (grams) flax seed meal (or gfJules Gluten Free Multigrain Baking Flour)
- 1/4 cup dry milk powder dairy or non-dairy (e.g. Coconut Milk Powder) {OR gluten free vanilla pudding mix OR protein powder}
- 1/2 tsp. baking soda
- 2 tsp. baking powder
- 1 tsp. sea salt
PLUS these Liquid Ingredients:
- 2 Tbs. honey OR agave nectar date syrup OR coconut palm nectar
- 1 1/4 cup room temperature liquid: EITHER sparkling water club soda, ginger ale or gluten free beer, milk of choice (not skim), OR plain yogurt*
- 1 tsp. apple cider vinegar
- 1/4 cup extra virgin olive oil
- 2 large eggs (or 2 Tbs. flax seed meal steeped for 10 minutes in 6 Tbs. hot water) or other egg substitute like aquafaba
PLUS
- 1 Tbs. rapid rise or bread machine yeast gluten-free (Red Star Quick Rise®)
Toppings (optional):
- 1 Tbs. flaxseeds or sesame seeds, herbs, certified GF purity protocol oats, etc. (optional)
- 1 Tbs. coarse sea salt (optional)
Instructions
- Oven Directions:**(See notes if using gfJules Gluten Free Bread Mix)
- Whisk these dry ingredients together in a large bowl: GF flours, milk powder, baking soda, baking powder and salt.
- In the large mixing bowl of a stand mixer, stir together the wet ingredients: honey, liquid of choice (sparkling water/club soda/gingerale/milk/yogurt etc.), apple cider vinegar, oil and egg/flax seed and water mixture. Gradually add the dry ingredient mix in with the wet by pouring slowly into the wet bowl while mixing with the paddle attachment. Once incorporated, add the yeast granules and beat well for 1 - 2 more minutes.
- If using yogurt, the dough will be very thick (much more like regular wheat flour bread dough than you may be used to with gluten free); however, if the dough seems too thick to spread into a loaf pan, gradually mix in milk, one tablespoon at a time, until the dough is still thick, but able to be smoothed with a spatula. If using another liquid, the dough will be more batter-like and easier to pour into the pan.
- Scoop the dough into an oiled bread pan (use a dark metal pan if you like a darker crust on your bread; lighter, shiny metal or glass if you like a light crust). The pan should be at least 8.5 x 4.5 inches; 9 x 5 or Pullman pans work well.
- Smooth the top, sprinkle with any toppings, then cover with a damp towel or a sheet of wax paper sprayed with cooking oil. Sit the covered dough for at least 30 minutes in a warm place like an oven warming drawer or an oven preheated to 200º F then turned off.
- Remove the cover from the raised dough and transfer to a preheated convection oven set to 325º F or a preheated static oven set to 350º F. Cook for approximately 60 minutes, or until the crust is browning nicely and a cake tester or skewer inserted into the center of the loaf comes out clean (internal temperature should reach 205-210º F). Remove to a cooling rack. When cooled for 15 minutes, gently remove from the loaf pan to finish cooling before slicing

Gluten Free Dinner Roll Directions:
- Prepare muffin tins or popover trays by oiling. Scoop equal amounts into each tray and smooth the tops. Sprinkle desired toppings. Cover and rise as directed above.
- Bake at 350º F convection or 375º F static for 15 minutes, or until the crust is browning nicely and a toothpick inserted into the center of the rolls comes out clean (internal temperature should reach 205-210º F). Depending on how big the rolls are (muffin tin versus popover size), they may take a bit longer to cook, but test often to be sure they don't over-cook. Remove to a cooling rack.

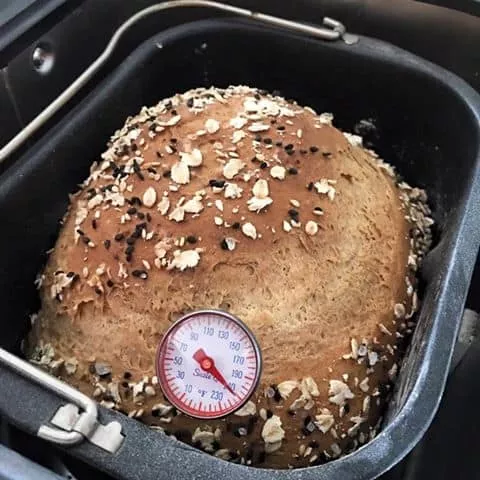
Gluten Free Bread Machine Directions:
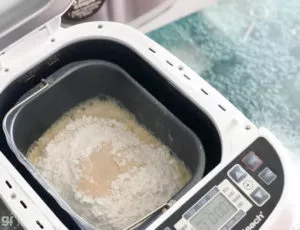
- Baking bread in a breadmaker is simple. There are 3 steps: liquids first; then dry ingredients; then yeast. Read more tips on bread machines and gluten free breads in my article on using bread machines.
- Bring all liquids to room temperature before adding to the machine, if possible. Whisk together the yolks and whites before adding to the bread machine with the other liquids; alternatively, allow the flax seed meal to steep in water for 10 minutes before adding. Whisk together dry ingredients and add on top of liquids in the pan. Make a small well with your finger in the center of the dry ingredients and pour in the yeast.
- Select either the gluten-free bread setting on your machine, or the setting with only one rise cycle and no punch-down (2 lb loaf setting). Close the lid to the bread machine and let it do the rest!
- When the machine is done mixing, smooth the top with a rubber spatula and sprinkle any desired toppings on top of the loaf. Close lid again to bake.
- Once the bake cycle is complete, test the temperature of the interior of the loaf before removing from the pan with a bread baking thermometer – it should have reached at least 205º F. If it hasn’t yet reached that temperature, either add time to your bread machine as another bake cycle of 5-10 minutes, or simply put the pan into a regular oven at 350º F (static), testing the temperature again at five minute intervals.
Notes
** Please keep in mind that nutrition information provided is per serving, which may vary. While we have taken care to provide you with the most accurate nutritional values possible, please note that this information may differ significantly depending on the exact ingredients and brands that you choose to use to make this recipe. Additionally, where options are given for ingredients, the resulting calculation may include all ingredient options instead of only one per line, skewing the totals significantly.
I hope you love this easy gluten free sandwich bread recipe!
Pin for later!


I just watched Jack make this bread and I LOVED it! He’s great! Thanks, Jules, for the awesome clip.
Fantastic, Mary! If Jack doesn’t inspire you … who on earth could?!?
If you are subbing the eggs, watch the video for the consistency. Some flours soak up more liquid than others. Brown rice soaks up a lot.
It ends up thinner than pizza dough. It is spoonable, you shouldn’t have a lump of dough like regular bread. It won’t rise if it is too tough. Maybe everyone else knows that but I am not an expert baker.
My first batch of this was a disappointment. I had to do the flax steep for eggs and used soy plain yogurt. I also used brown rice and buckwheat flours. The liquid ratio was not right. Of course I figured this out afterwards. If you get dough that is too thick for the paddle attachment to go through you need more liquid.
Trying again right now, using more liquids. Using the recipe from your book, which is very close to this one. Will post results.
Jules, I have tried your bread recipe twice and both times it has raised and browned and fallen after I have taken it out of the oven. With the second loaf, I did use a thermometer and it read 210, but the bottom of the thermometer appeared to have a little bread on it. The one thing I have done differently than the recipe is to use quick cooking oats instead of the oat flour. I really want a little more texture in the bread. Could this be the cause of it not getting properly baked through? I have baked bread for years – just not gluten free so I’m trying not to do what I have in the past. Thanks!
Hi Carol – I would definitely say that using oats instead of oat flour is making a difference in this bread. Instead, I would use the oat flour and to add texture, add sunflower seeds and/or flax or chia seeds. Sound like a good compromise?
Thanks. I will give it a try.
This is such a great recipe! We love making things at home and this bread recipe sounds delightful! Thanks for sharing
I bought a package of your bread mix so I could use it in my bread machine, but was surprised when there were no instructions on the package on how to use it that way; instead there were directions to look for them on this web site. But I have hunted and hunted and can’t find them. Have I just overlooked them?
LaDora – sorry you had trouble finding the bread machine directions. There is a link on our home page for the store, but it’s easy to overlook. The directions are super simple. Here’s the link: http://www.julesglutenfree.com/Articles.asp?ID=151
Hi Jules,
I have been receiving your newsletters for some time but so far have been unable to try your products as they are not available in Canada. Will they become available anytime soon? I’d love to try some.
Pat
Pat – we’re working on a plan to be able to ship products to Canada – we definitely want to do it, but the paperwork and shipping costs are so high that we’re still in process. Hang in there – we hope to make it a reality soon! In the meantime, do you know anyone in the States who could receive shipment for you?
Hi Jules, wanted to try out your dinner rolls but have a question on the dry milk powder. Do you have to use milk powder or could you milk instead. I have no powdered milk in my kitchen.
Thanks
Lyn, when dry milk powder is called for in a recipe, it has to be accounted for/subbed for with another dry ingredient. It absolutely won’t work to add liquid milk in its place unless a recipe says to reconstitute the dry milk powder as milk. In this recipe, as a second choice you could sub in almond meal in place of the dry milk powder; third choice would be to add the same amount of flour. Hope that helps!
I haven’t had any luck in finding the darifree milk powder in VT. Is there a substitution you’d recommend for the milk powder?
Hi Beth – I believe you can order it online, but otherwise, if you can tolerate almond meal, I would recommend that as a good dairy-free alternative. You can follow my recipe to make your own for much less money, too!
Hi Jules! I’ve made this bread 3 times now. The last time I made it I ran out of yogurt. I substitued the yogurt with milk with a bit of vinegar added to make a buttermilk substitute and it turned out great! I too added some whole flax seeds to the batter as well. I’m thinking about adding some sunflower seeds next time and see how that works I’m getting more brave to try to variations to this recipe. Regardless, it is SO yummy and doesn’t last long in our house.
Oh Katie, that’s wonderful! That’s exactly the way I am – I just substitute with whatever I have on hand and see how it works. Sometimes I like the experiment better! So glad to hear about your successes!
I going to make the dinner roll version soon! I want to sprinkle a little fresh garlic and oregano on top.
Hi Jules,
I used this recipe in my new Oster Bread Maker and it came out wonderfully. I didn’t have Millet flour so I used Oat flour. I also added a TBS of whole flax seed to batter. My husband said it didn’t even taste gluten free. If I hadn’t told him he would’ve have known.
Thanks for all your hard work on behalf of all of us!
What setting did you use on the Oster Bread Machine? I have the same brand and have NOT been able to figure out the best setting to use? Thanks!!
Hi Michelle, the Oster machine I have has a GF setting and I just used it as programmed. I always recommend having an instant read thermometer on hand though, so you can take its temperature and be sure it’s really done before taking it out!
I made this recipe with out good results . Im not sure what went wrong.The only thing i did differant is added milk instead of milk powder.I made it in my bread maker and it turned out really heavy with a after taste. What the heck am I doing wrong??
Hi Pam, unfortunately, milk powder and actual milk are not interchangeable. In this recipe, the milk powder (not reconstituted) adds structure, helping to make this moist bread still able to be very thinly sliced. By adding milk instead, that structural addition was lost, and there was too much moisture in the recipe which made the bread so heavy. If you prefer to try the recipe again without the milk powder, definitely do that rather than adding additional moisture by adding milk. Don’t give up! It’s a great recipe!
Thanks you so much for the reply! I really wondered about the milk. I will try the bread again only with the milk powder Thanks again. I loved the bread mix i got from you and your flour is great. Pam
Pam
My mom has your all-purpose flour and really wants to be able to use it to make bread in her bread machine. Do you have a recipe somewhere for a 1 1/2 lb. bread machine loaf?
This recipe is great in the bread machine. Look above for specific bread machine directions (in the recipe). Enjoy!
My son was diagnosed with gluten intolerance in November. Since then I have been cooking and baking up a storm. I have always been in the kitchen making my own creations so this has been a challenge. I was excited when I came across Jules bread mix. I ordered 2 5# bags of all purpose flour, 2 bread mixes, and 1 gingersnap cookie mix with recipe books too. I’m stressed that my bread does not rise well. It takes forever to rise even a small amount. I haven’t had this issue with wheat flour and presume it is the yeast. What is the best way to proof the yeast packets that come with the bread mix that will not harm the bread recipe? Thanks.
Hi Becky, your son is very lucky to have such a dedicated baker for a mom! I like rapid rise yeast for my gluten-free breads, so that’s what’s in my bread mix – that might make a difference for you. In many recipes, I feel like the majority of the rising occurs during the bake time for GF breads, but different recipes behave differently. If you’ve been using a lot of heavier GF flours, that could tamp down the rise as well. See how you like my bread mix and if the rapid rise yeast works better for you. If you still find the bread not rising enough for your liking, try some of my homemade bread recipes with my flour instead of the mix, since I added more whole grains to my bread mix for their nutritional value, but they are heavier than my regular flour is. Using just my flour, you’ll get a good rise for any loaf, since my flour is very light.
Made an even more healthful treat with the addition of oat bran. This bread makes a good snack, dessert or even breakfast. INGREDIENTS: * 1½ cups white sugar * ½ cup butter, softened * 3 really ripe bananas, mashed * 2 eggs * 1 ½ cups all-purpose flour * ½ cup oat bran * 1 tsp baking soda * ⅓ cup sour milk or buttermilk * ¼ tsp. salt * 1 tsp vanilla extract DIRECTIONS: 1. Preheat oven to 350°F (175°C). Lightly grease an 8″ x 4″ loaf pan. 2. Combine all ingredients into a large mixing bowl. Beat well. Pour batter into pan. Bake on middle shelf of oven for 60 minutes, or until a toothpick inserted into the center of the loaf comes out clean…Banana Nut Bread
One word of caution: be sure to buy certified gluten-free oat bran for a recipe like that one! Thanks for sharing the recipe though!
I made this bread last night and it’s amazing. It’s absolutely delicious!
Thank you so much for sharing this recipe with us!
Finally I found a bread recipe that I love and is healthy. Will definitely make it again and again and again!
Thank you again!
Hi Jules,
I tried making this bread and had disappointing results. It came out very dense and soft in the middle. I used the flax seed meal for the eggs and used coconut flour instead of millet flour. I’m wondering if I did something wrong with the yeast. I used the rapid rise yeast, but not sure if I activated it correctly. I just added in the yeast granules into the mixture. Should I have mixed them with the sugar first?
Hi Angelina,
If you aren’t sure about your yeast, always proof it first. I just made a loaf a couple days ago with the bottle of rapid rise yeast from my fridge which should have been fresh … something told me (after I added the yeast, of course!) to double check that it was still good, so I proofed a little in a bowl with warm water and sugar while I finished prepping the pan. Nothing happened at all! So, I had to add a packet of fresh yeast to the bread, luckily before it went into the oven, and it turned out just fine.
It’s hard when using packets of yeast to do a separate proofing, so you can proof before you add to the bread, but it’s not typically necessary with gluten-free bread to do so. Adding it into the mixture and mixing it very well before baking is really all that is needed; of course, the yeast needs to be fresh though! As well, any other chemical leaveners like baking soda and baking powder should also be checked for freshness.
Aside from that, the coconut flour is the one variable I can’t account because I haven’t tried it in this particular recipe. It could be that its higher fat content and differing moisture retention qualities affected your outcome. Try this recipe again with buckwheat, brown rice or gluten-free oat flour if you prefer not to use millet. It should work nicely for you. You could also just try my new bread mix which has all the dry ingredients you’d need, premixed with a fresh yeast packet.
To respond to Angel…My experience with coconut flour is that you use less and get more out of it. It’s super absorbent as well as having a higher fat content from the MCFA’s. I haven’t had good luck with coconut flour so far, which I guess is alright since it’s so expensive!
I made this recipe three times and very disappointed in the results. It is too dense for sandwich bread. It comes out under cooked after more than an hour in the oven. It was a disaster in the bread machine. I didn’t use yeast and the recipe didn’t bubble up with new baking powder, club soda, new baking soda, and apple cider vinegar. I will try one more time.
Hi Linda, that doesn’t sound at all right! Are you using my gfJules Gluten Free All Purpose Flour? Have you made any other substitutions? Did you follow the modifications I prescribe for yeast-free breads? Give me some more information and I’ll be glad to try to help!
~jules
is there any substitution for yeast?
cari
Hi Cari, in my newest book, Free for All Cooking, I published a great yeast-free bread recipe which you could easily make into dinner rolls as well. You can see this recipe as one of my postings as the gluten-free cooking expert on Celiac.com as well. Hope you enjoy!
This sounds so yummy – I’m GF, Soy, Flax, dairy free – can you use Chia seeds as a substitute for egg – if so, what proportions?
Hi Lori,
Funny you should ask that question about chia! I just discussed that with the chia seed growers I met at the Healthy Baking Seminar in Anaheim and I also asked the Salba folks I met at Natural Products Expo East in Boston about using their product for an egg substitute.
I would first try it in the same proportion that you read about for flax-egg substitute: typically 1 tablespoon seeds to 3 tablespoons very warm/hot water. Allow it to steep until viscous, then add as the equivalent of 1 egg. I discuss this more in depth in my newest book, Free for All Cooking, which just came out in October!
This bread recipe sounds and looks fantastic! Thank you so much for giving vegan equivalents, too. I bake everything with So Delicious coconut milk yogurt and beverages now and get truly delicious results.