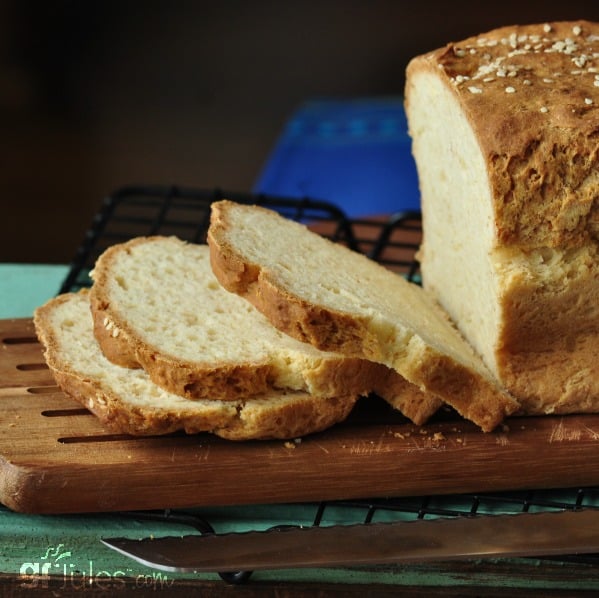
Everyone wants great bread … sometime. So don’t let being gluten free stop you from enjoying a sandwich because you bought dry, hard gluten-free bread at the store and think that’s your only option. Soft, fresh, scrumptious gluten-free sandwich bread is not a pipe-dream. It’s easy when you make it yourself with this recipe.
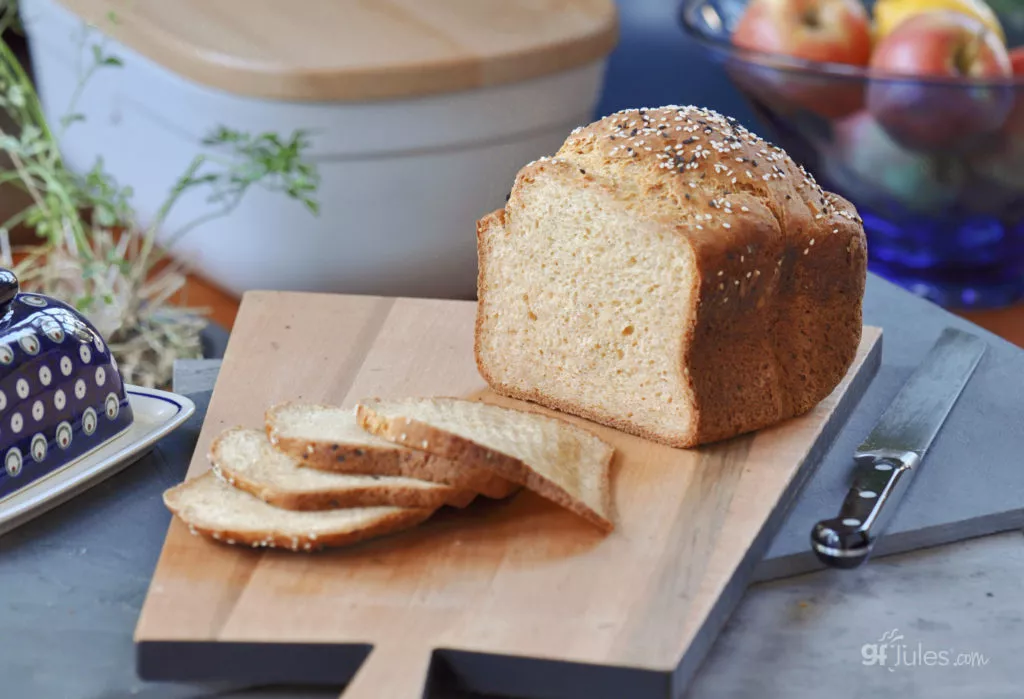
That’s because this crowd-favorite recipe for gluten-free Sandwich Bread has been making people happy for years. I’m happy to share it with you, too, because everyone deserves great bread.
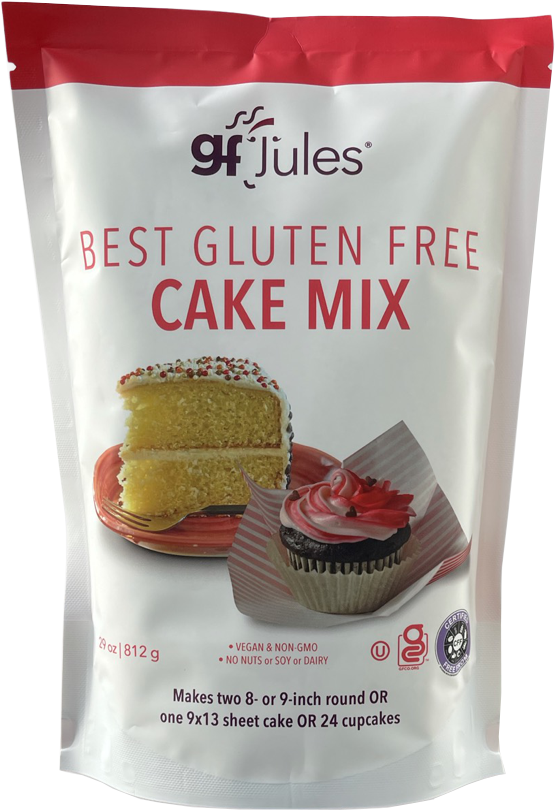
With the right gluten free ingredients and this simple gluten-free Sandwich Bread recipe OR my even easier, award-winning gfJules® Gluten Free Bread Mix, anyone can whip up a loaf of great gluten free bread or dinner rolls in under 2 hours. I’ll show you how!
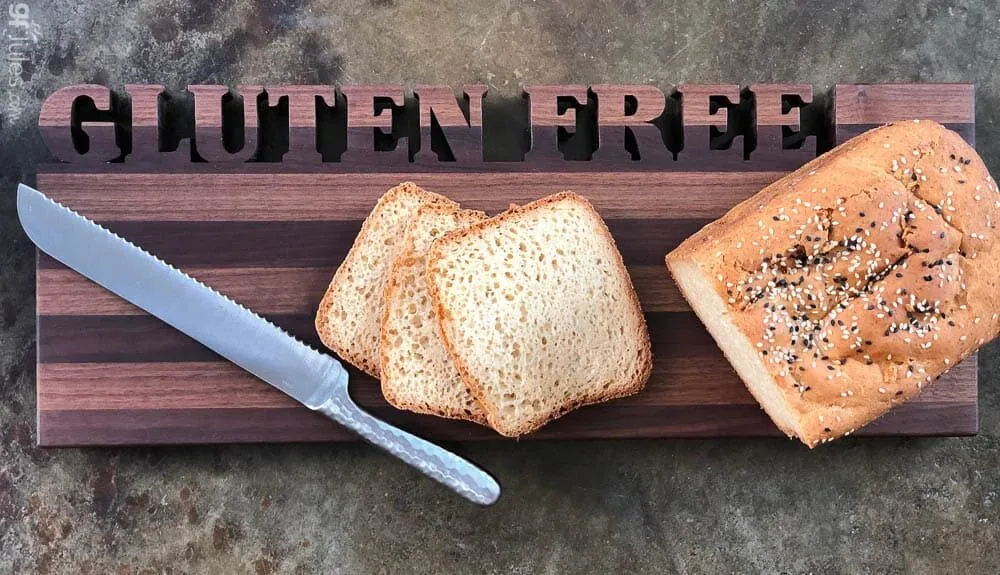
What are the Options for Making Gluten-Free Sandwich Bread?
With this recipe, you can use a bread maker OR bake in the oven. It’s best not to use a hand mixer, but instead to use a stand mixer or a large food processor with a dough blade, as this dough when made with yogurt is very thick (if using another liquid, the dough is more batter-like); alternatively, you could stir the recipe with a wooden spoon in a large bowl.
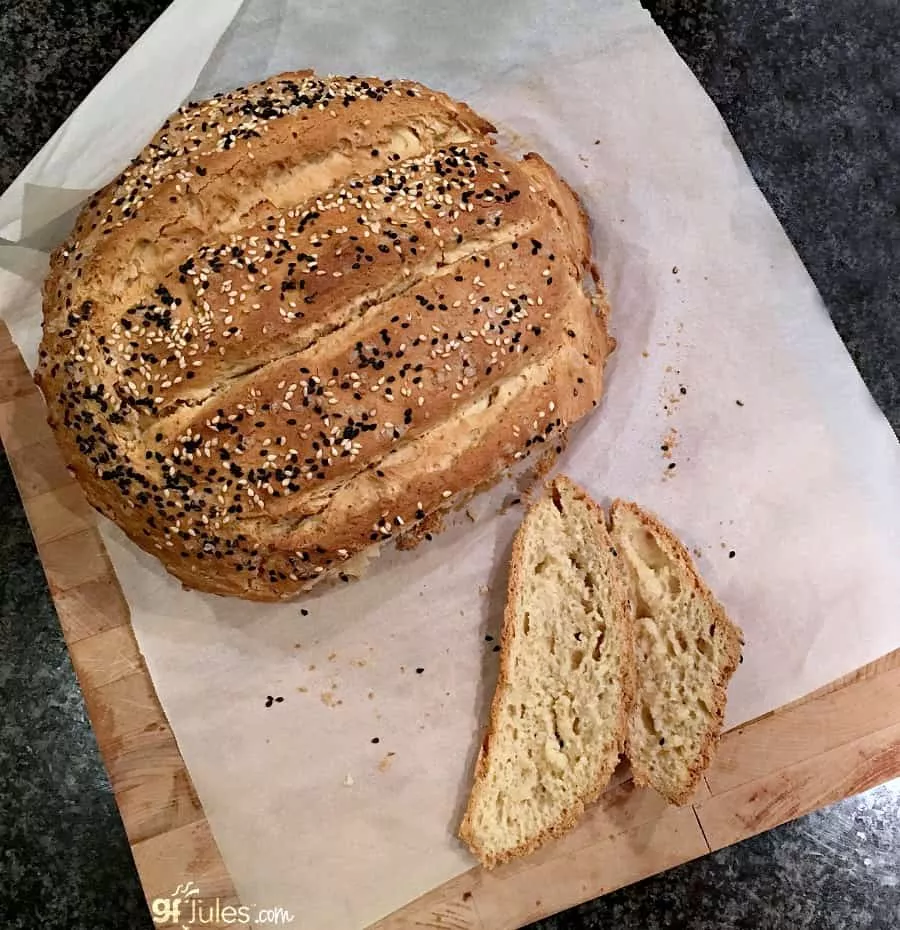
No pan is even necessary; if you don’t have a loaf pan, simply follow the directions to make a gluten free artisan loaf on a baking sheet!
If you’d like to add more fiber to this bread recipe, remove 1/2 cup of my gfJules Flour and substitute with 1/2 cup of a higher fiber certified gluten free flour (try millet, sorghum, almond, buckwheat or teff). My gfJules Flour should provide enough support and structure without making the bread too heavy. The loaf will take on the flavor of whatever other grain you’ve added.
Want higher protein? Use a high protein milk/mylk as the liquid you add.
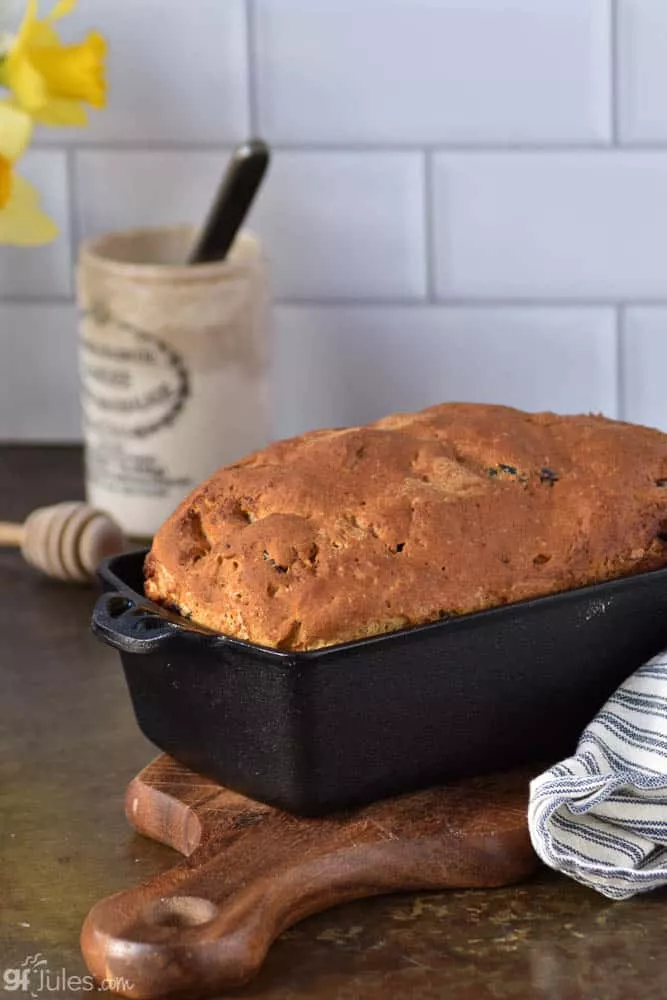
If you want to make homemade Gluten Free Cinnamon-Raisin Bread – hop to my recipe here.
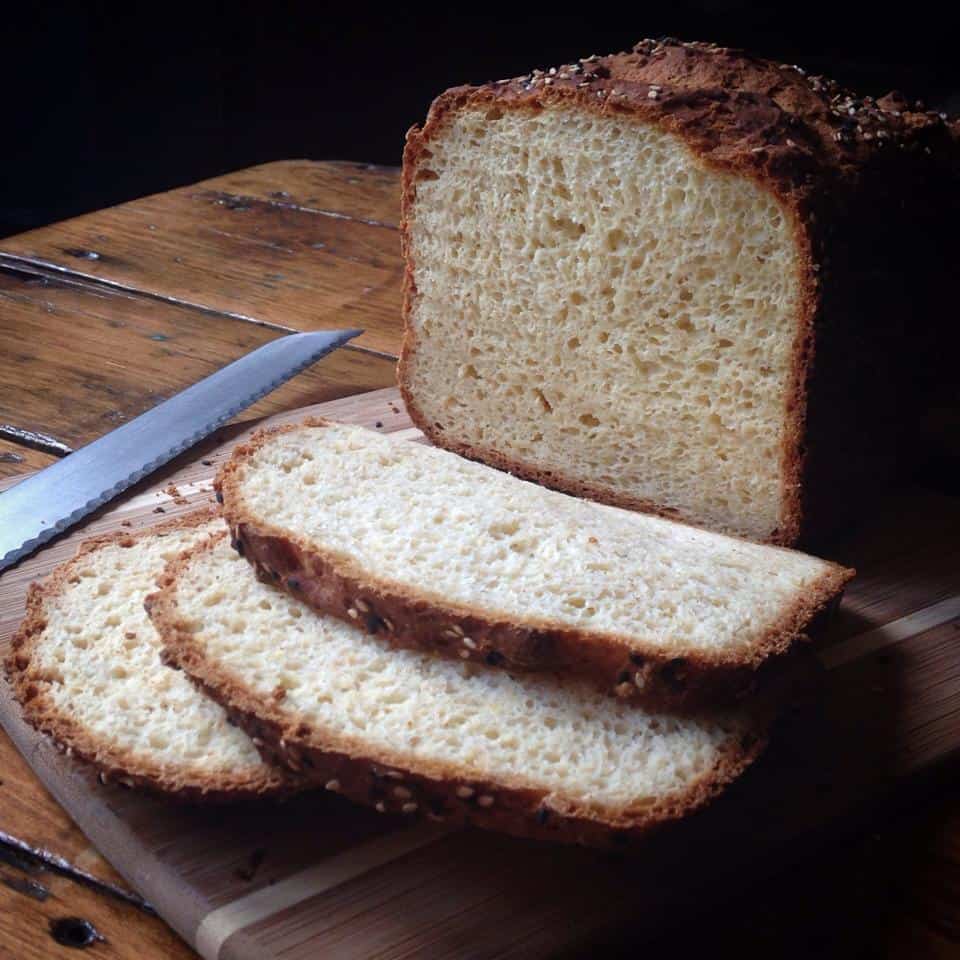
This awesome recipe produces a loaf you can slice as thick or as thin as you like, and it may be made nearly allergy-free! I’ve given you tons of ingredient options to make this bread just the way you like it and your whole family can enjoy it safely. Gluten-free, dairy-free, soy-free, nut-free … and it will stay moist for days (if it lasts in your house that long!). Pass the recipe along to anyone you know with other food restrictions and share the wealth!
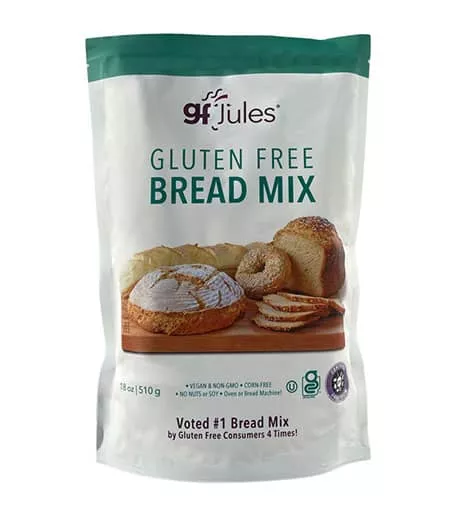
If you want to bake fresh bread with even fewer steps, use my easy, #1 voted gfJules® Gluten-Free Bread Mix, and you won’t be disappointed! It turns out a beautiful artisan loaf with a nice crunchy crust, from the oven or bread machine!
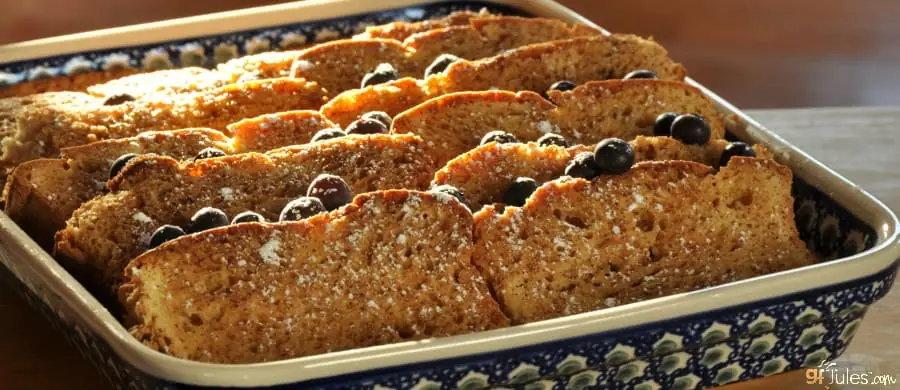
And if you somehow have any slices left over after a few days, make the most delicious gluten free French Toast around! Slice them thick or thin, dredge in egg, milk, and a dash of cinnamon, then fry in a little butter … mmmmmm. It’s the best breakfast around! (and so easy!). It also makes a great gluten-free French Toast Casserole!
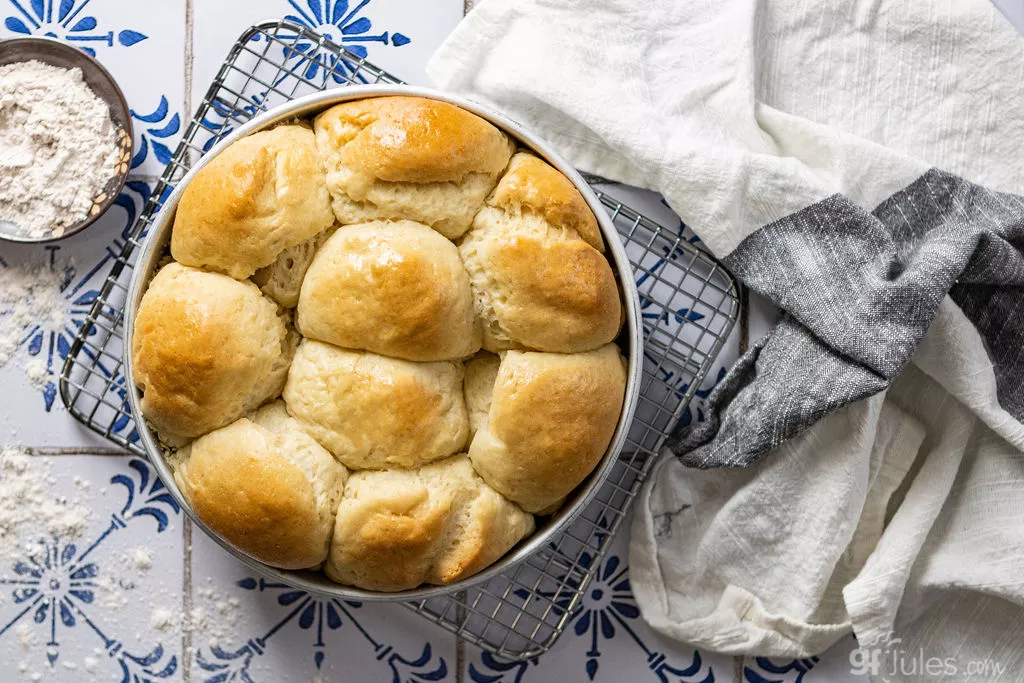
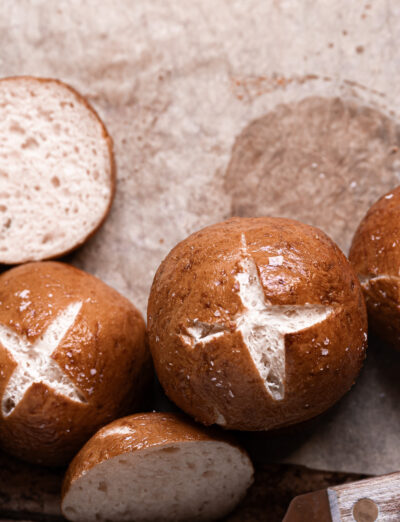
And lastly, if you’re searching for a different style of gluten free dinner rolls, you simply MUST try my gluten free Pull-Apart Dinner Rolls! They’re pillowy soft and never fail to please even the pickiest bread eaters!
Search my Homemade Gluten Free Breads tab for all kinds of gluten free bread recipes — from yeast-free to artisan, brown bread to boules … they’re all there!
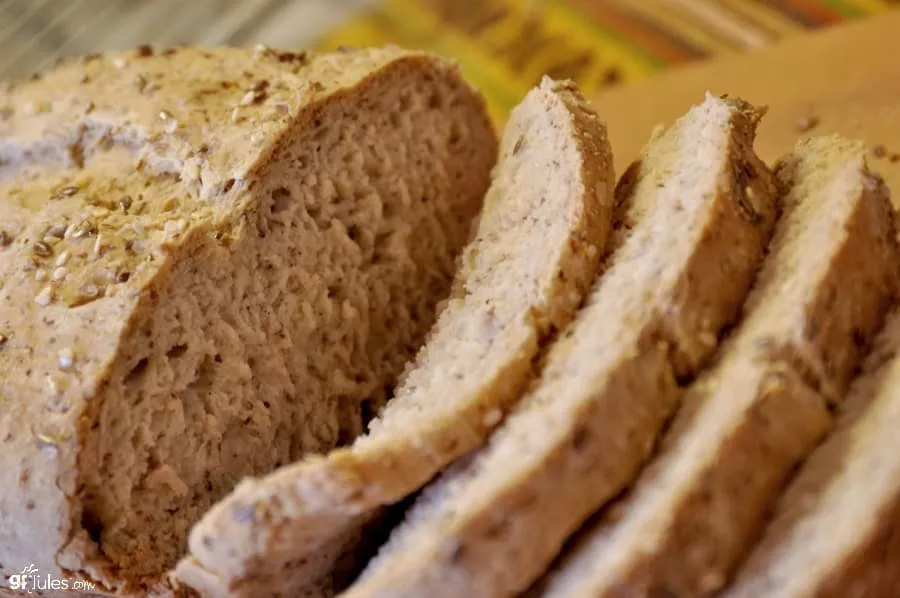
Gluten Free Sandwich Bread and Dinner Rolls Recipe
Ingredients
- 1 gfJules Gluten Free Bread Mix
OR
Dry Ingredients:**
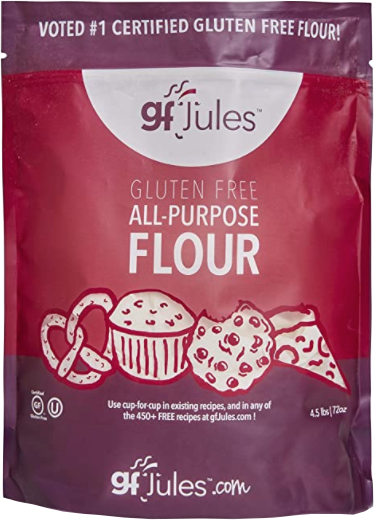
- 3 (405) cups (grams) gfJules® All-Purpose Gluten-Free Flour
- 1/4 (26) cup (grams) flax seed meal (or gfJules Gluten Free Multigrain Baking Flour)
- 1/4 cup dry milk powder dairy or non-dairy (e.g. Coconut Milk Powder) {OR gluten free vanilla pudding mix OR protein powder}
- 1/2 tsp. baking soda
- 2 tsp. baking powder
- 1 tsp. sea salt
PLUS these Liquid Ingredients:
- 2 Tbs. honey OR agave nectar date syrup OR coconut palm nectar
- 1 1/4 cup room temperature liquid: EITHER sparkling water club soda, ginger ale or gluten free beer, milk of choice (not skim), OR plain yogurt*
- 1 tsp. apple cider vinegar
- 1/4 cup extra virgin olive oil
- 2 large eggs (or 2 Tbs. flax seed meal steeped for 10 minutes in 6 Tbs. hot water) or other egg substitute like aquafaba
PLUS
- 1 Tbs. rapid rise or bread machine yeast gluten-free (Red Star Quick Rise®)
Toppings (optional):
- 1 Tbs. flaxseeds or sesame seeds, herbs, certified GF purity protocol oats, etc. (optional)
- 1 Tbs. coarse sea salt (optional)
Instructions
- Oven Directions:**(See notes if using gfJules Gluten Free Bread Mix)
- Whisk these dry ingredients together in a large bowl: GF flours, milk powder, baking soda, baking powder and salt.
- In the large mixing bowl of a stand mixer, stir together the wet ingredients: honey, liquid of choice (sparkling water/club soda/gingerale/milk/yogurt etc.), apple cider vinegar, oil and egg/flax seed and water mixture. Gradually add the dry ingredient mix in with the wet by pouring slowly into the wet bowl while mixing with the paddle attachment. Once incorporated, add the yeast granules and beat well for 1 - 2 more minutes.
- If using yogurt, the dough will be very thick (much more like regular wheat flour bread dough than you may be used to with gluten free); however, if the dough seems too thick to spread into a loaf pan, gradually mix in milk, one tablespoon at a time, until the dough is still thick, but able to be smoothed with a spatula. If using another liquid, the dough will be more batter-like and easier to pour into the pan.
- Scoop the dough into an oiled bread pan (use a dark metal pan if you like a darker crust on your bread; lighter, shiny metal or glass if you like a light crust). The pan should be at least 8.5 x 4.5 inches; 9 x 5 or Pullman pans work well.
- Smooth the top, sprinkle with any toppings, then cover with a damp towel or a sheet of wax paper sprayed with cooking oil. Sit the covered dough for at least 30 minutes in a warm place like an oven warming drawer or an oven preheated to 200º F then turned off.
- Remove the cover from the raised dough and transfer to a preheated convection oven set to 325º F or a preheated static oven set to 350º F. Cook for approximately 60 minutes, or until the crust is browning nicely and a cake tester or skewer inserted into the center of the loaf comes out clean (internal temperature should reach 205-210º F). Remove to a cooling rack. When cooled for 15 minutes, gently remove from the loaf pan to finish cooling before slicing

Gluten Free Dinner Roll Directions:
- Prepare muffin tins or popover trays by oiling. Scoop equal amounts into each tray and smooth the tops. Sprinkle desired toppings. Cover and rise as directed above.
- Bake at 350º F convection or 375º F static for 15 minutes, or until the crust is browning nicely and a toothpick inserted into the center of the rolls comes out clean (internal temperature should reach 205-210º F). Depending on how big the rolls are (muffin tin versus popover size), they may take a bit longer to cook, but test often to be sure they don't over-cook. Remove to a cooling rack.

Gluten Free Bread Machine Directions:
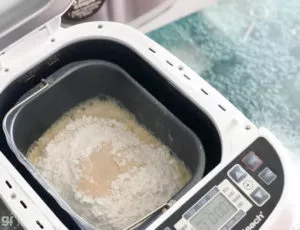
- Baking bread in a breadmaker is simple. There are 3 steps: liquids first; then dry ingredients; then yeast. Read more tips on bread machines and gluten free breads in my article on using bread machines.
- Bring all liquids to room temperature before adding to the machine, if possible. Whisk together the yolks and whites before adding to the bread machine with the other liquids; alternatively, allow the flax seed meal to steep in water for 10 minutes before adding. Whisk together dry ingredients and add on top of liquids in the pan. Make a small well with your finger in the center of the dry ingredients and pour in the yeast.

- Select either the gluten-free bread setting on your machine, or the setting with only one rise cycle and no punch-down (2 lb loaf setting). Close the lid to the bread machine and let it do the rest!
- When the machine is done mixing, smooth the top with a rubber spatula and sprinkle any desired toppings on top of the loaf. Close lid again to bake.
- Once the bake cycle is complete, test the temperature of the interior of the loaf before removing from the pan with a bread baking thermometer – it should have reached at least 205º F. If it hasn’t yet reached that temperature, either add time to your bread machine as another bake cycle of 5-10 minutes, or simply put the pan into a regular oven at 350º F (static), testing the temperature again at five minute intervals.

Notes
** Please keep in mind that nutrition information provided is per serving, which may vary. While we have taken care to provide you with the most accurate nutritional values possible, please note that this information may differ significantly depending on the exact ingredients and brands that you choose to use to make this recipe. Additionally, where options are given for ingredients, the resulting calculation may include all ingredient options instead of only one per line, skewing the totals significantly.
I hope you love this easy gluten free sandwich bread recipe!
Pin for later!















What size bread pan do you use?
Hi Beth, I’ve used lots of different size pans to make this bread, but I wouldn’t suggest using one smaller than 9 inches. It makes a large loaf!
~jules
I have made this bread numerous times, using my bread machine on gf setting. I use chia seed and water instead of eggs, and almond meal instead of the powdered milk. Last I made a loaf using eggs and while it is a tad lighter, we actually prefer the vegan version. I have made this using water, hard cider, ginger ale, and beer as the liquid. All worked fine,but the beer is the hands down winner. I notice the ginger ale contains some ingredients I prefer not to have in my bread. I have had a local store order a case of gf beer for me.
I am now a true blue fan of your gf flour.
Thank you, Rose, for sharing all your variations and successes with each – it’s so helpful to hear what folks have used and how they’ve turned out. Thank you!! And I agree, making this recipe with gluten free beer is truly oh so tasty! The gingerale to me works well, but is a bit sweet, but some prefer that too. Isn’t it nice to have delicious options?!
Happy baking, Rose!
~jules
Made my first loaf of GF sandwich bread using your recipe with the All purpose flour. This bread actually smelled, looked and tasted like real bread! No cardboard taste – no holes in the middle of the bread – not a “mini” sized loaf – delicious fresh baked bread! Thank you Jules for your great recipe – as usual it was easy to follow and delivered the essence of fresh baked bread!
Oh Cheryl that’s fantastic to hear! I’m thrilled for you to have REAL bread back again!!! Happy baking!
~jules
For rolls do I have to put in a muffin tin or can I just make rolls any shape or way I want? Wondering if there was a reason for the shape you make.
Thanks.
Hi Dee, no need to put them into a muffin tin or popover tray, I just liked the size they made. If you want to make free-form shaped rolls, I suggest using the yogurt option for the recipe, instead of something thinner like club soda. It will help them to stay in their shape better. Happy baking!
~jules
Bless you Jules!!!!!
I made bread twice now with my T-Fal and I am in bread heaven! No tongue coating aftertaste! No falling apart when I cut it. I have done without for years because the bread, no matter if I make it or buy it was dry, had a terrible flavor or simply didn’t work. The only bread I have used before I made from glutinos package for stuffing at Thanksgiving. I can’t wait to use this bread for stuffing at Christmas!
This is awesome!!!!
Oh Jenni that makes me so happy to hear!!! I’m thrilled that you don’t have to go without or compromise on taste or texture anymore! Happy Dance!!!!!!
When you get a moment, would you mind leaving a review on my flour page so others will know that real, soft bread really is possible again? Thank you!!!!
~jules
We’re doing homemade tomato soup and grilled cheese sandwiches tonight! I can’t believe I am typing that! Doing the happy dance with you LOL
YES! Happy dancing all around. It’s amazing how the little things can mean so much. Enjoy the heck out of soup & sandwich night tonight, Jenni!
~jules
I made this for the first time yesterday. The yogurt version. I have a dark pan and it browned quite dark. Maybe I should reduce the baking temp to 325? For the rise, I did as you suggested, placing it in a 200 oven, turned off, for 30 minutes and it made it almost to the top of the loaf pan. Is this normal, or should it rise above the pan before baking? I left it to rise for an extra hour on the counter top, and it barely made it above the top of the pan. It didn’t rise any more in the oven. It’s totally delicious, though, in spite of it’s short stature. 🙂
hahaha – short stature. Love it!
Thanks for including all the details in your comment, Beth. It really helps. First off, the yogurt version will not rise as high. You should expect it to be around the height of the pan, hopefully a little taller. The yogurt version also stays moist longer and tastes wonderful, so short stature or not, it’s a great loaf of bread. That being said, darker pans will cause a loaf to brown more and your oven may be baking a bit hot – most ovens seem to be off a bit on temp. If you would like a higher rising loaf, try one of the efferevescent options I give like club soda – it should rise nice and high for you. Let me know how it goes and happy baking!
~jules
A few more Q’s. Could I substitute coconut milk for the yogurt? Might that impart the moisture of yogurt for dairy-free folks. Should I “sour” it first with vinegar? Also, when should I put the bread in the oven? Does it need to rise a certain amount (the recipe doesn’t specify)? Or do I just stick with the 30 minutes in the 200 oven (shut off) and then go for it? Thanks so much for your prompt and enthusiastic help. I am loving your recipes! Made your lemon bars today. They look awesome… currently cooling and waiting to be cut. I also, made my grandmother’s gingerbread cut-out cookies and your flour worked great cup-for-cup. Let me know if you’d like the recipe.
Hi Beth, great questions and yes, you could absolutely use coconut milk for the yogurt. There’s no need to sour it first, but you certainly can if you’d rather have more of a buttermilk flavor. I like to let my bread rise at least 30 minutes, usually more like 1 hour. It’s a good rule of thumb to let it come to the top of the pan but not rise over the pan before baking so that the bread doesn’t collapse in baking.
I am so pleased that you’re loving my recipes and can’t wait to hear how the lemon bars turned out! And YES! to your offer of your grandmother’s gingerbread cut-out cookies — why don’t you post them on The Gluten Free Cookie Swap so everyone can see? You might even win a prize!!!
Happy baking, Beth!
~jules
The lemon bars totally rock! They will be a hit with my newly gluten-free 10 year old granddaughter who LOVES lemon bars.
And thank you so much for all your help!
You are so very quick to reply, which is AMAZING, so I hope I get the same results! 🙂 I’m excited to make some rolls for Thanksgiving. Reading the recipe, it mentioned cooking the rolls for 15 minutes or until set. Is that really it?? Is there another stage of baking after that? It seems like such a short period of time, but if it’s right, I’ll do it!
-Aimee
Hi CrunchyMama – the rolls definitely take less time to cook than the loaf, but I do recommend setting them aside to rise before baking, as with the loaf. Depending on whether you bake the rolls in smaller muffin pans or larger popover trays, the time to bake will vary, so I’ve added a note about checking them to ensure they’re not over-baked. I also highly recommend using a bread thermometer to test the internal temperature of all your breads before removing them from the oven, so you’re sure they’re really done. But yes, to answer your question, it’s pretty quick to bake them as rolls! Have a wonderful and tasty Thanksgiving!
~jules
Thank you, thank you, thank you! 🙂
Hi!
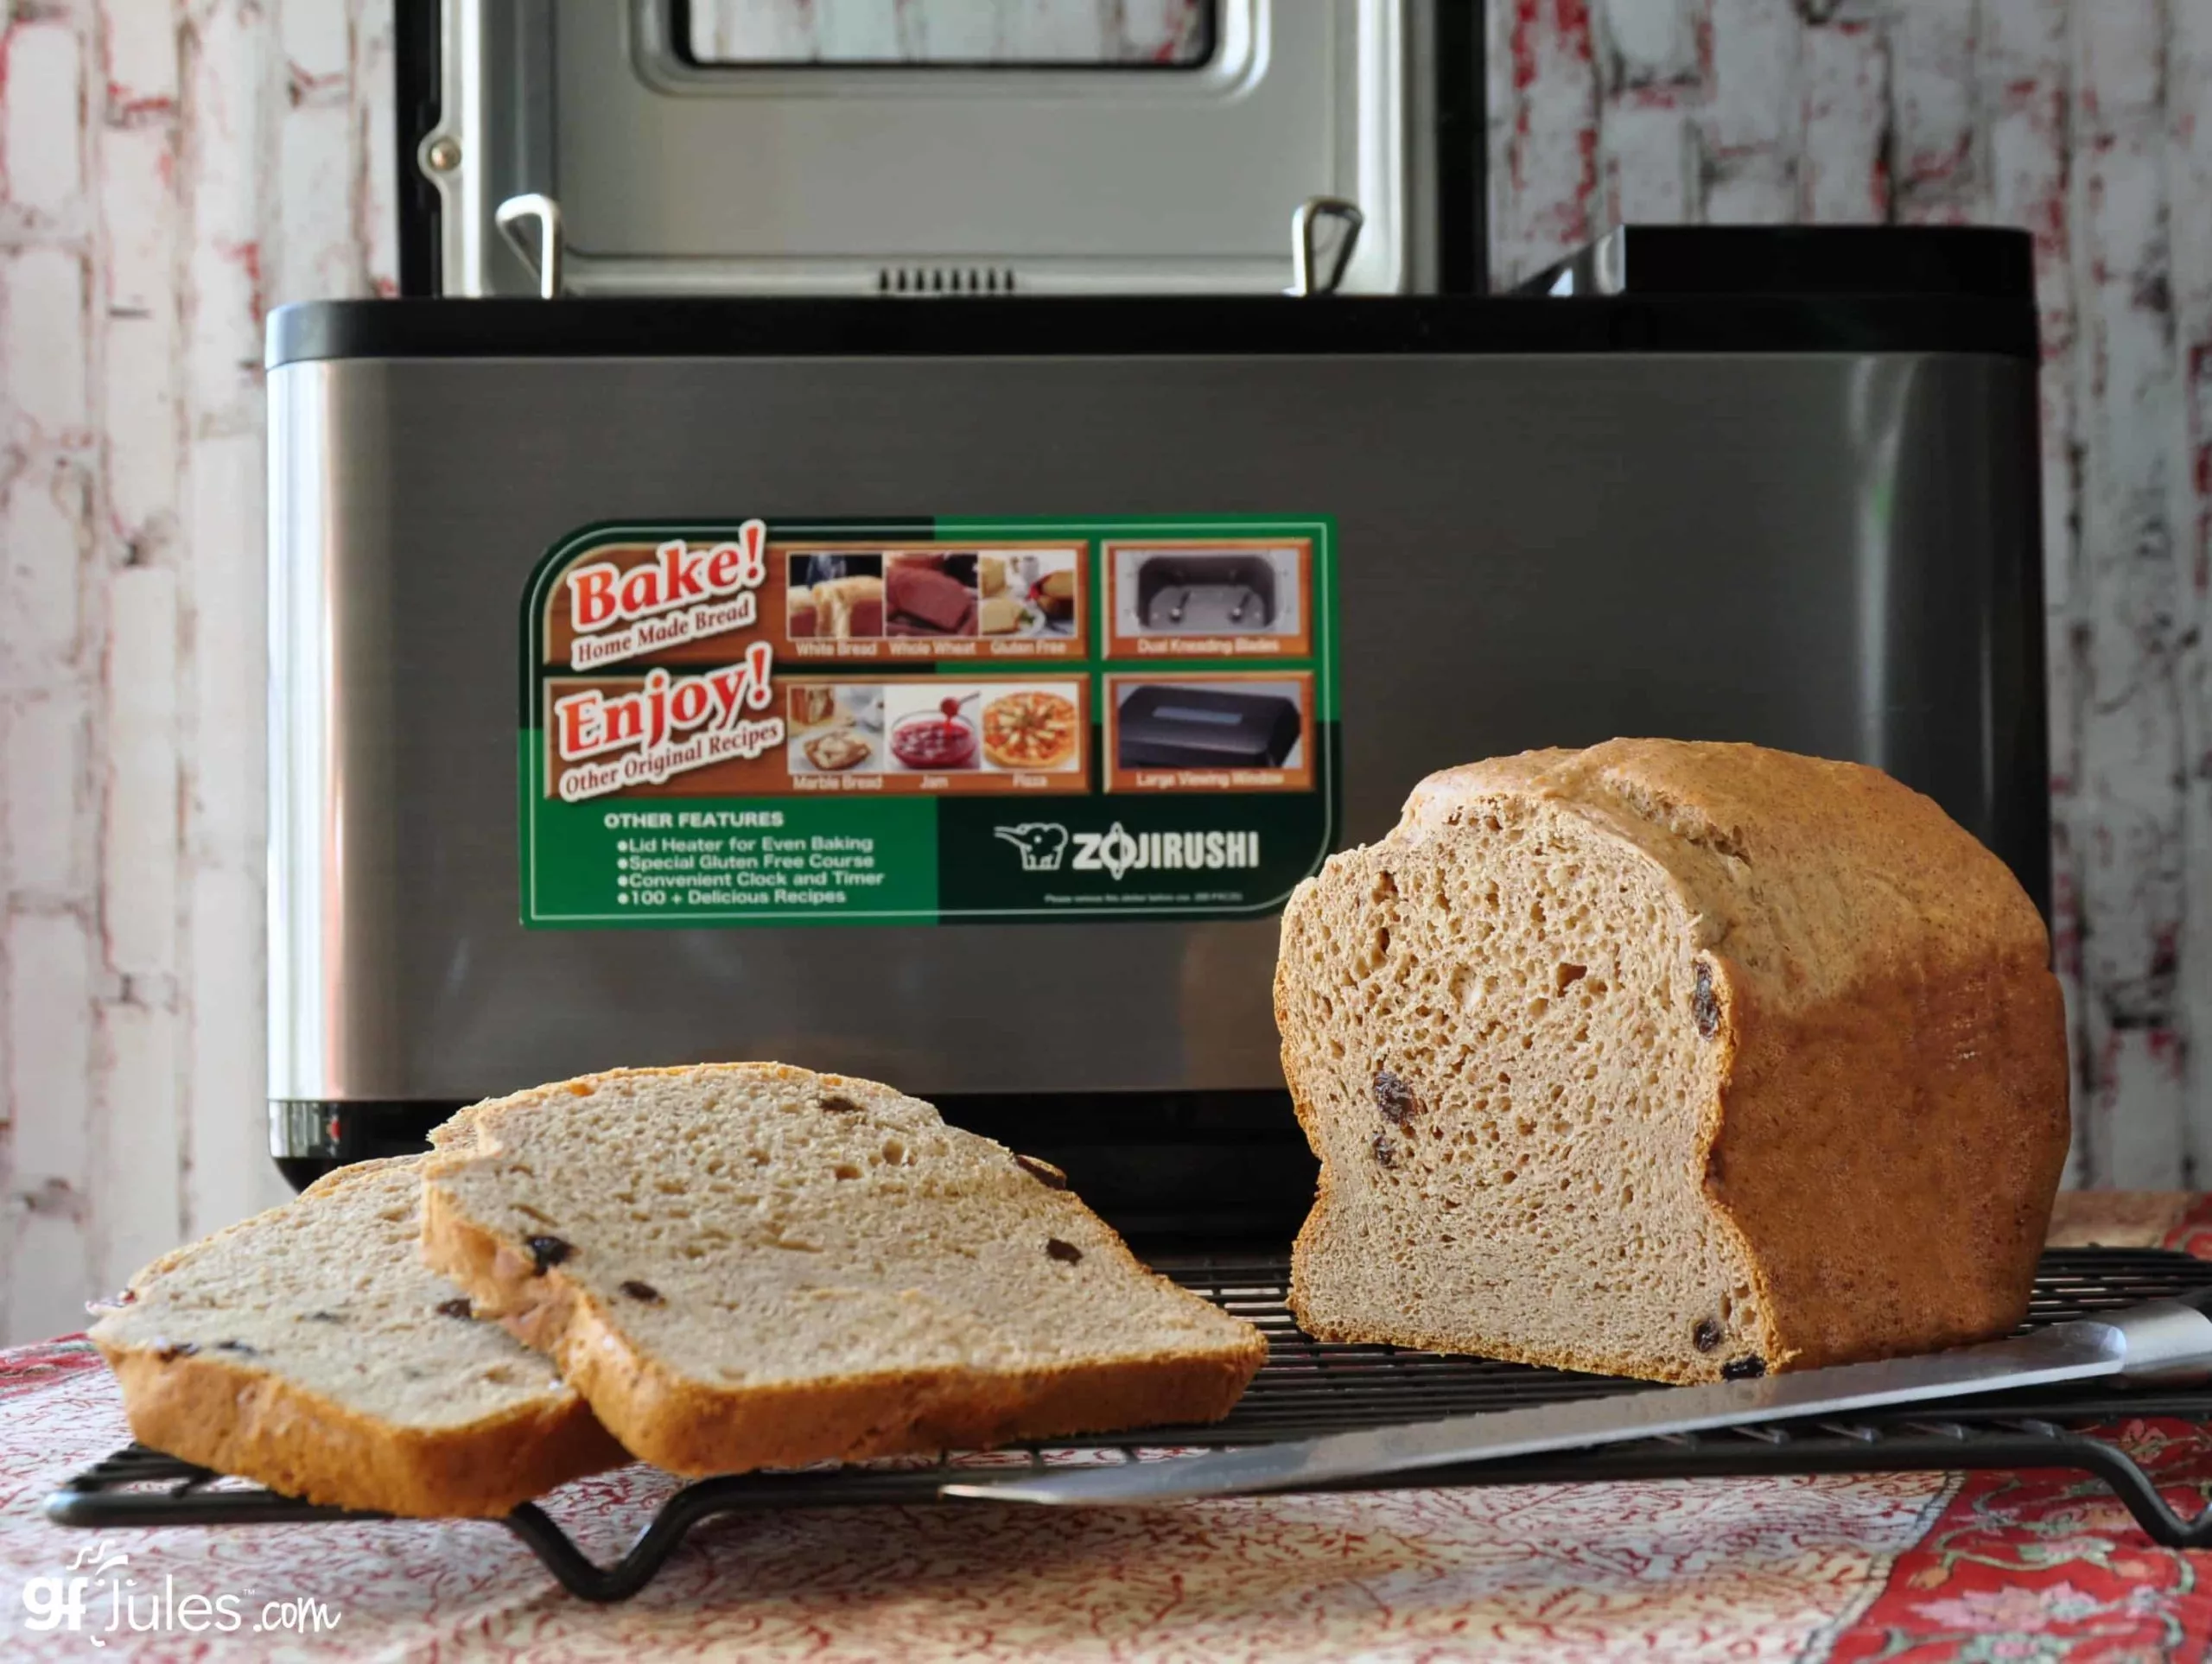
I’ve been using your flour and mixes for a couple years now and I’ve had huge success with this bread recipe in the oven. I recently purchased a Zojirusihi Virtuoso (BB-PAC20) breadmaker to help me save time (and my cooling bill in the summer). My first attempt at making the same successful recipes in the breadmaker failed (using the same ingredients I always use, following the breadmaker instructions posted here, and the default gluten free setting on the maker) so I have a few questions before I give it a second try:
1. The default gluten free setting on this machine has 2 punch downs. Your breadmaker guide page says to make sure there are no punchdowns, but it also says it’s okay to use the gluten free setting if the maker has one. The rise time is also only 30 minutes. My bread didn’t rise nearly as much as it does when I make it in the oven and let it rise for an hour. Should I make a custom course that has one longer rise with no punchdowns instead?
2. My bread measured 196 degrees at the end of the course, and because the machine was hot it wouldn’t let me restart it for another bake cycle. My oven wasn’t preheated, so I just took the bread out and let it cool. Big mistake! It deflated and turned into a dense — but still tasty brick of bread. Very disappointing! Is there a way to restart this machine when it’s hot – or am I stuck with using the oven to finish?
3. I’m at high altitude – 6000 feet – so when I make the bread in the oven I add a little extra liquid so the dough is very sticky and almost like a thick batter. It’s moist enough that I can’t really shape the dough, but I find this gives me a lot more rise and fluffiness when I bake in the oven and make sure the internal temps reach 205 degrees. I did the same adjustments and moisture level in the bread machine. Was this a mistake for breadmaker baking or just a problem with the bread not reaching proper internal temps?
Thanks!!!!!!
Hi Jennn – I’m so glad you’be been enjoying success with my flour and mixes, even at high altitude! You should have good luck with the Zojirushi, as well, but with some modifications. I would highly recommend programming your own cycle with the Zo. I’m not sure why their GF setting has two punchdowns and it seems to have a very long “resting” period which is unnecessary if your ingredients are already at room temp. Also, I do like giving it more time to rise. So, I would program no rest, mix for 20 minutes, rise for 1 hour, bake for 1 hour. I don’t think there’s a way to add bake time to the end of the cycle on a Zo, so after your first time, take it’s temp and make sure it’s 205-210F. If not, next time program for a longer bake cycle. Which liquid are you using for this recipe or my mix? You may want to bake the mix or the recipe exactly as written the first time, and see if you really need to add more liquid, even at altitude. Or you could make the adjustments to the program and bake the same as you always do in the oven and see if that one (albeit, large!) variable was the issue. Let me know how it goes! I hope you have success the first time, but if not, at least you have tasty bread that you could cube for croutons, process for breadcrumbs, or save and freeze for Thanksgiving stuffing!
~jules
Thanks!!! I have a loaf baking right now and it’s looking MUCH better! It has risen to the size I would expect (It’s huge – maybe an inch less than the height of the pan!).
I created a custom cycle with 20 minutes knead, 1 hour rise and 1.5 hours bake. I’m positive the bake time is going to be too much so I have a second timer set for one hour in so I can start taking temps and stop it when it’s done.
I use a whole 11.2oz bottle of GF beer for my liquid. Additionally I sub ground Chia seed instead of egg and maple syrup instead of honey. I didn’t change the amount of liquid I typically use this time. I figure I should only change one thing at a time, so I started with the custom cycle. I have 30 mins to go before I check temp the first time, but I’m feeling pretty good that this one will turn out great!!
Great, Jennn! I can’t wait to hear how it turned out!
~jules
Well, after an hour and a half in the breadmaker and an additional half hour in the oven at 350 it still only reached 200 degrees in the middle!!! The bread did deflate slightly but it turned out MUCH better than the first loaf, and it’s great for sandwiches!
Next time I’ll reduce the liquid and see how it goes! 🙂
Sounds like a plan, Jennn! So glad you’re onto something with your new breadmaker!
~jules
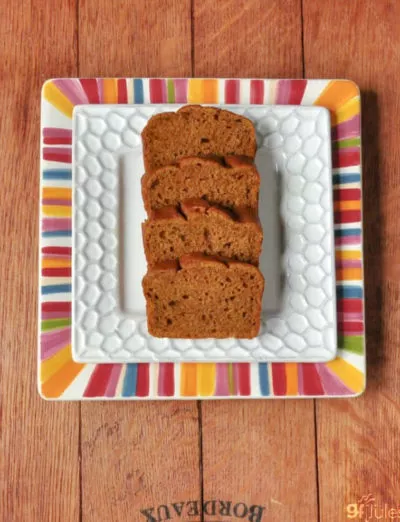
Hi:) I bought a Gf bread machine and tried your sandwich loaf recipe and it didn’t rise like your picture….? I bought all new ingredients and (hopefully) I followed your directions correctly. I used ginger ale instead of yogurt. Both loafs came out the same. Not very high or soft, but edible. The flavor was nice and sweet too. Now, I tried the sandwich recipe in your bread book, and the loaf sank (I’m assuming too much liquid?). I see the dry ingredients are different (not by much) but I’m wondering if that’s another reason why? I really want my loaf to look like yours! It doesn’t even come up to the top of the bread pan:( Any suggestions please?
Thanks Jules!
Hi Missy,
Assuming you didn’t substitute any ingredients listed in my recipe, I would next ask if you have you checked out my gluten-free bread maker tips yet? Maybe some of those will make sense when compared against your technique and ingredients.
Make sure all the ingredients are room temperature and make sure it’s totally done before removing it – those are the two biggies. I was just talking with another reader today about her Cuisinart Bread Maker which she loves, but says it never cooks the loaf quite long enough and she has to put the pan back into a hot oven for 10 more minutes after the bread maker is done. Oddly enough, I had the same problem with my Cuisinart when I had it! There are strange quirks like that you may learn from using your particular bread maker, which is why I always recommend using an instant read thermometer to make sure your bread is all the way done (that can make it not rise as high and can make it sink after baking). Hopefully some of these tips will help, but you can always email me at Jules@gfJules.com and we can talk by email in more “real time” to help you get it just right! I’m so glad that your loaves still tasted good, but I understand about you wanting them to rise higher! 😉
~jules
Thank you so much for your quick reply!:) It is still baking now in the machine. I’ll check it when it’s done for temp. I also have a Cuisinart!:-D Thanks again:)
Can’t wait to hear how it went, Missy!
Hi – I would love to make this bread but as I live in the UK I cannot get your flour. What is the difference between corn starch and corn flour? I can only get what is called cornflour here. It is a very fine white powder that is used as thickenings etc. Is this the same as your cornflour? If so what could I use instead of corn starch?
Also is it possible that you could give me the measurements for your mix please so I can make a suitable blend to use for your bread until you mix is available in the UK. Thanks
Hi Rosemary,
You ask some great questions! Our cornstarch in the US is your cornflour. Our corn flour is a finer version of corn meal, which is the whole grain of corn. Here are some recipes I wrote for a magazine here called Gluten Free & More. At the end of the recipes I give a recipe for a homemade blend with options for different flours. This should help you be able to blend your own there. All the best to you!
Jules, what is the purpose of the Apple Cider Vinegar. I see it’s listed here and in your book but not on the recipe in the new mix. I’ve always put it in but wondered what its purpose is. Thanks!!
Hi Beth, the apple cider vinegar helps to activate the yeast. In my new mix, I’ve used some other ingredients to do that for you so that you don’t have to add that extra ingredient anymore. Hope that helps!
~jules
Another easier (lazier?) option for really excellent GF stuffing is to use crumbled GF crackers or non-potato chips as a base. They are often quite salty and have various seasonings added so you have to adjust other seasoning and salt accordingly, but otherwise just moisten with broth and a bit of olive oil, add onions and raisins, apples, citrus, etc. to taste and you have a quick option for everyday use?
Thanks for the ideas, Josh!
Jules,
My husband and sons have Celiac Disease, so being introduced to your flours this past week has been a HUGE blessing to us! i made your pizza dough from scratch today and it was amazing, I’ve also used your all-purpose flour for cake and muffin recipes that I love with no issues at all! I have a question for you: I don’t have any of the other flours mentioned here or almond meal at the moment, but I’d really like to make a basic sandwich bread with your all-purpose flour. Can I sub your flour for all the other flours and the dry milk or is there another recipe I should try instead? Thanks!!
Kaely, that is so wonderful to hear! I’m so glad you found me and my products!! As for a bread recipe, I’d actually recommend using my GF beer bread recipe, believe it or not! It makes yummy buns, too, but if you scroll to the bottom of the recipe, you’ll find the directions for making a loaf … yum!!!! And no other flours are required! Enjoy!!!
Hi Jules,
me again:-)
one quick question, I was watching some of the your youtube videos…(love them) do you suggest using “coarse” sea salt in all of the recipes? I used Himalayan “fine” salt with minerals…. could that have been part of the problem?
Thanks bunches,
Doreen
Hi Doreen – glad the videos are useful to you! I need to find time to make more! About the salt, I often use a combination of both coarse and fine sea salt in applications like pastries and biscuits and some breads because it helps give layers to the dough in rising. I don’t think the difference in the salts would have caused the differences you experienced between my bread mix and making a bread recipe from scratch. What other flours besides mine did you use when you baked the loaf from scratch? That’s probably the source of most of the differences you noticed.
Hi Jules,
I used Arrowhead Mills Organic Millet flour & Bob’s Organic Golden flax-seed meal.
Hi Doreen, yes, I think you will like it better if you use the buckwheat flour instead of millet. That will more closely match the taste you like of my sandwich bread mix.
Thanks Jules,
I will give it a try this weekend…..
Hi Jules Please Help,
I used your bread mix yesterday & it turned out perfect (loved it)….I followed this recipe today & it is nothing like the mix…..I weighed the flour in grams as suggested, but the taste & texture is totally different.
Could you please tell me what is different?
Thanks bunches, Very new to this:-)
Doreen
Hi Doreen – so glad you love my bread mix! It’s not the same as this recipe, so don’t expect the results to be exactly alike. Was there something wrong with the results, or they were just different than you expected since you’d used my mix before?
Hi Jules,
Just totally different, it was whiter, and not as moist or dense, it didn’t taste bad, just not like your bread mix that is awesome…..since I am on SS I was trying to save a little by making mine from scratch with the same results:-)
I did notice that there was buckwheat in your mix, I do have some on order thru VitaCost. Maybe that will help.
Thanks bunches for your input,
Doreen
No problem, Doreen! Have you tried this recipe yet? The buckwheat will make the color and taste change, so give it a shot!
I am so thankful I found your recipes and your flour! My daughter has recently been diagnosed as having celiac disease, and my goal was to find a good bread for her. This was wonderful!! I followed the recipe using eggs with the only exception being sorghum instead of millet. The only think I had a problem with was that it did not rise very much. I let it rise for 30 minutes. Should I let it rise longer? I’m wondering if the 200 degree oven (turned off) was too hot??
Thank you so much for your blog!
Hi Julie – so glad you found me! I always recommend letting bread rise longer, if you have the time. The only worry is if it starts to rise above the pan, then it may collapse when baking. Keep checking on it, and when it has reached the top of the pan, then you can go ahead and bake it. I’ve experimented with all different bread loaf pans and sizes – it really depends on what you want your ultimate loaf to look like – if you want square slices, go with a square baking pan; wider slices, wider pan; taller slices, shorter pan with tall sides. It’s fun to experiment when you get to do all the taste-testing!!! Enjoy!
Trying to plan ahead for the holidays.
What size loaf pan did you use for the oven method? And how many rolls would I get from this recipe?
Thanks!
My bread is raising in the oven as I type this – I am so excited by your mix and recipes and have tried several already with great success. My only problem is that I’m Canadian and you can”t ship to me – so until I get to the states to shop I am using an old make-your-own Jules mix from your earlier days. That being said where in Syracuse or Rochester can I buy many pounds of flour to bring home? Or should I just have a big order shipped to my hotel?
Hi Sandra – I’m so glad you have been enjoying my recipes and flour! It does get to be a bit of a drag to have to make a flour mixture from scratch, so I totally understand about wanting to get the pre-mixed blend! I am so sorry that we are not yet able to ship to Canada … we do have a retailer in Rochester though! Call first to be sure they have plenty in stock before you go! Lori’s Natural Food: 900 Jefferson Rd., Rochester, NY 14623 585-424-2323. Hope that helps!!
Thanks so much Jules – I will call ahead!