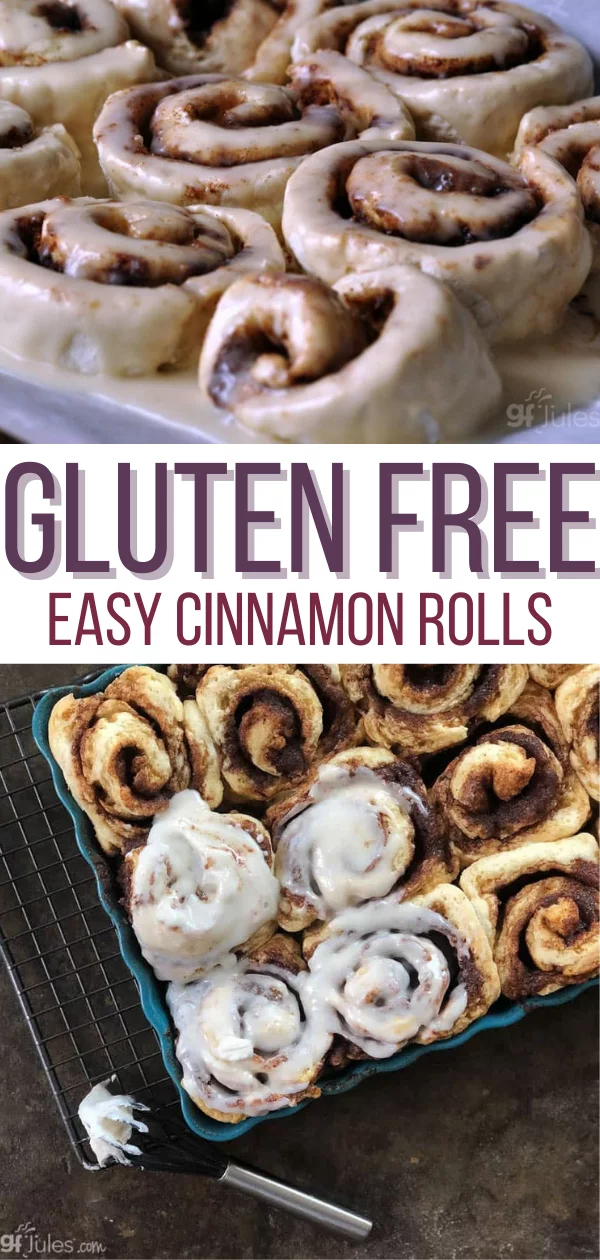
Mmmm – gluten free cinnamon rolls. Just the name makes me drool a little — how about you?
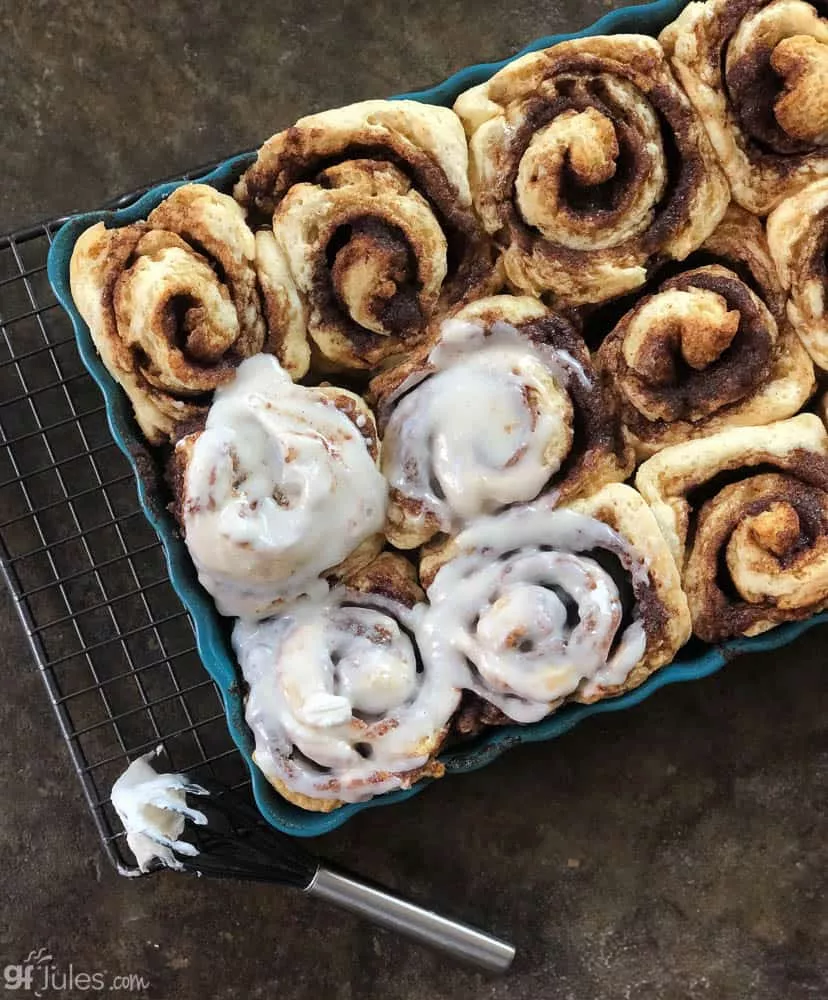
We hear every day from readers who have used my gfJules® Gluten Free All Purpose Flour in their favorite family recipes, and how overjoyed they are to be able to enjoy these special recipes again with their families.
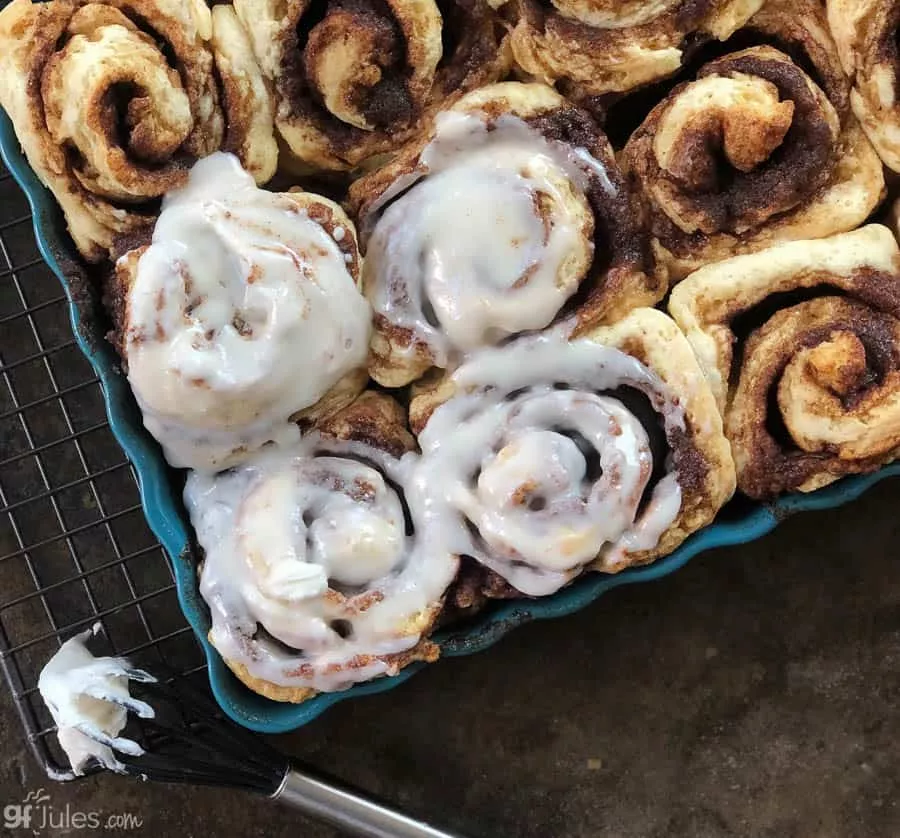
When Mindy G. wrote in to share these drool-worthy pictures of her gluten free cinnamon roll recipe though, I knew other readers would definitely want to try the recipe too! (What’s the difference between cinnamon rolls and cinnamon buns, by the way? I think these could safely be called either one ….)
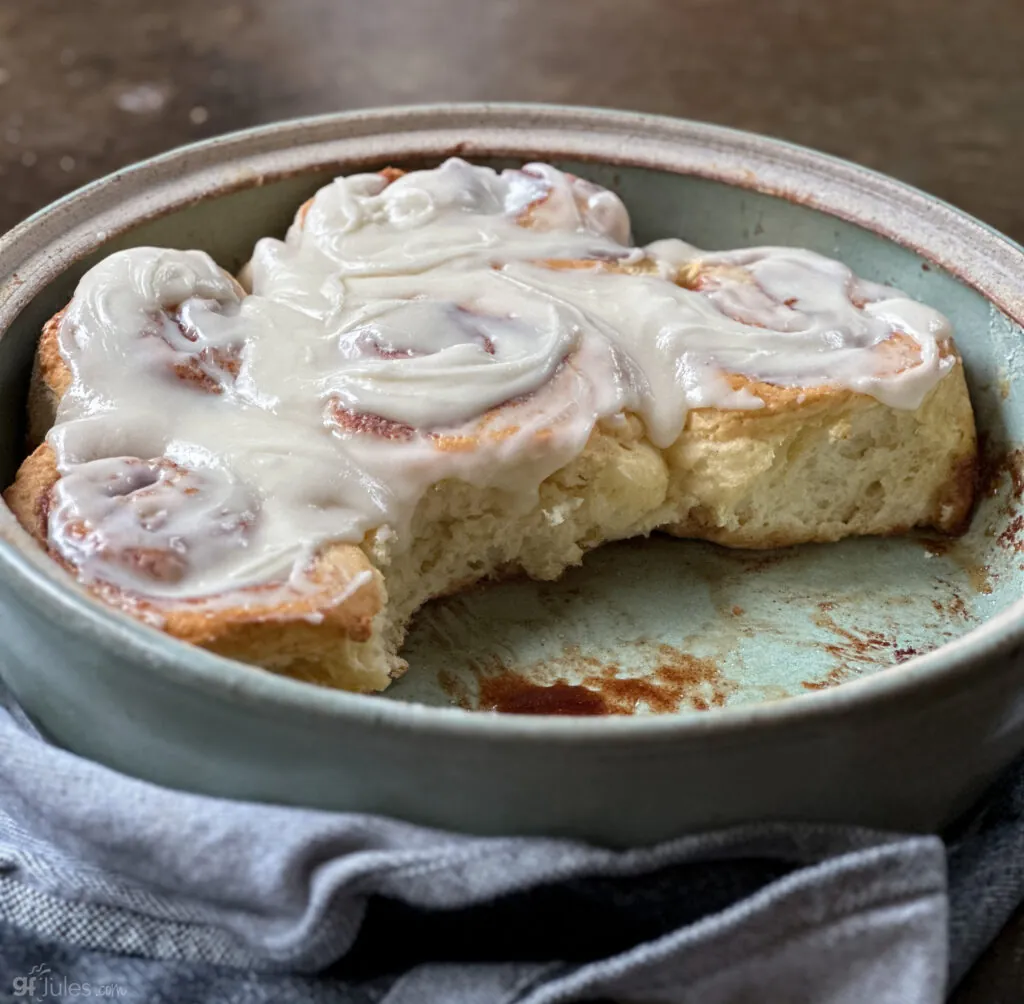
What I didn’t know was just how many other readers would be clamoring for the recipe to make these gluten free cinnamon rolls when we shared her yummy pictures!
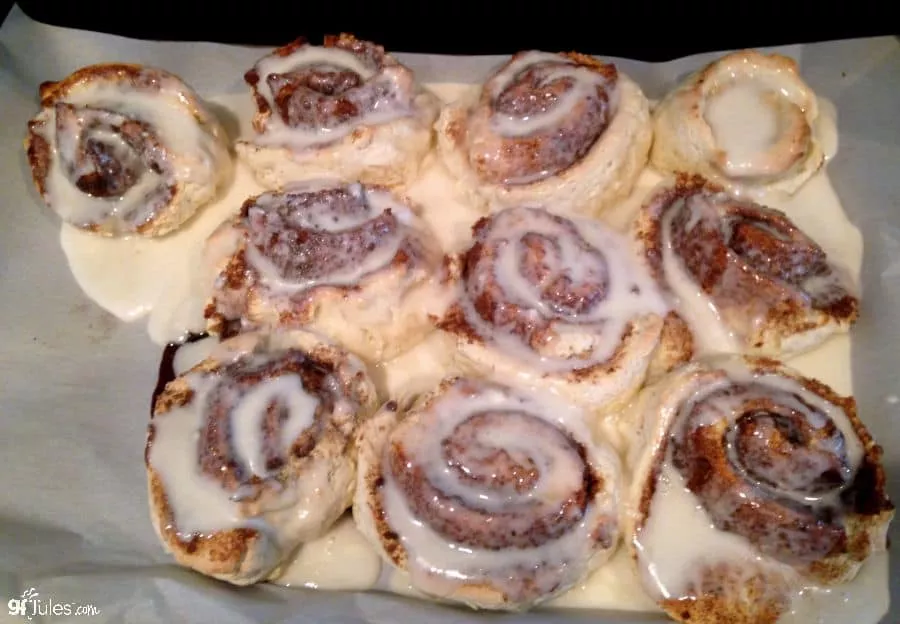
Lucky for all of us, Mindy was happy to share her family cinnamon rolls recipe. Mindy says she used her tried and true recipe “with only your gfJules Flour subbed in :)”
She also reports, “My gluten free friends I shared them with when I made them are begging for more! I told them to order your flour and they can make their own ;)”
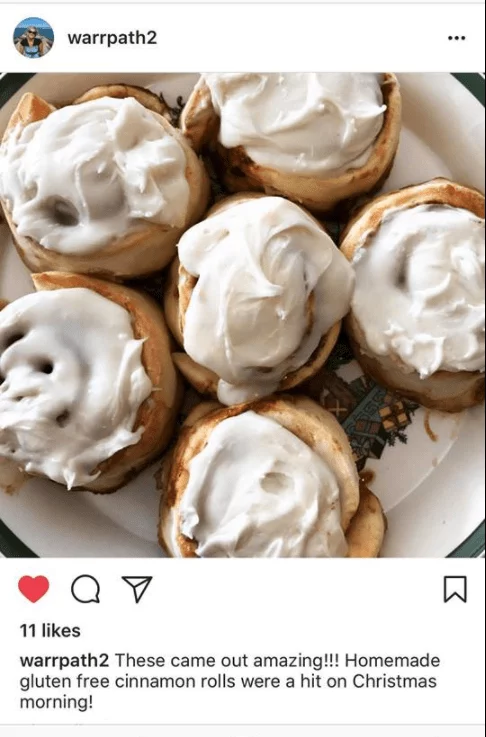
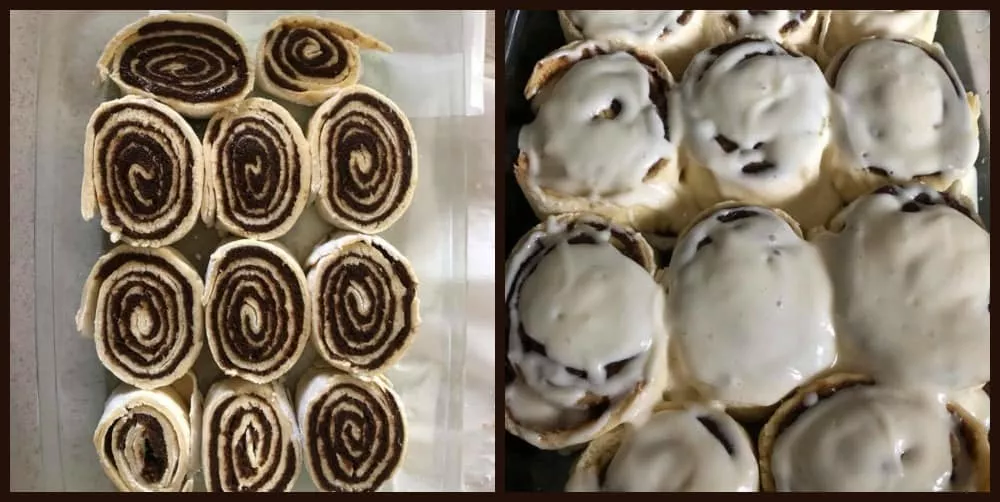
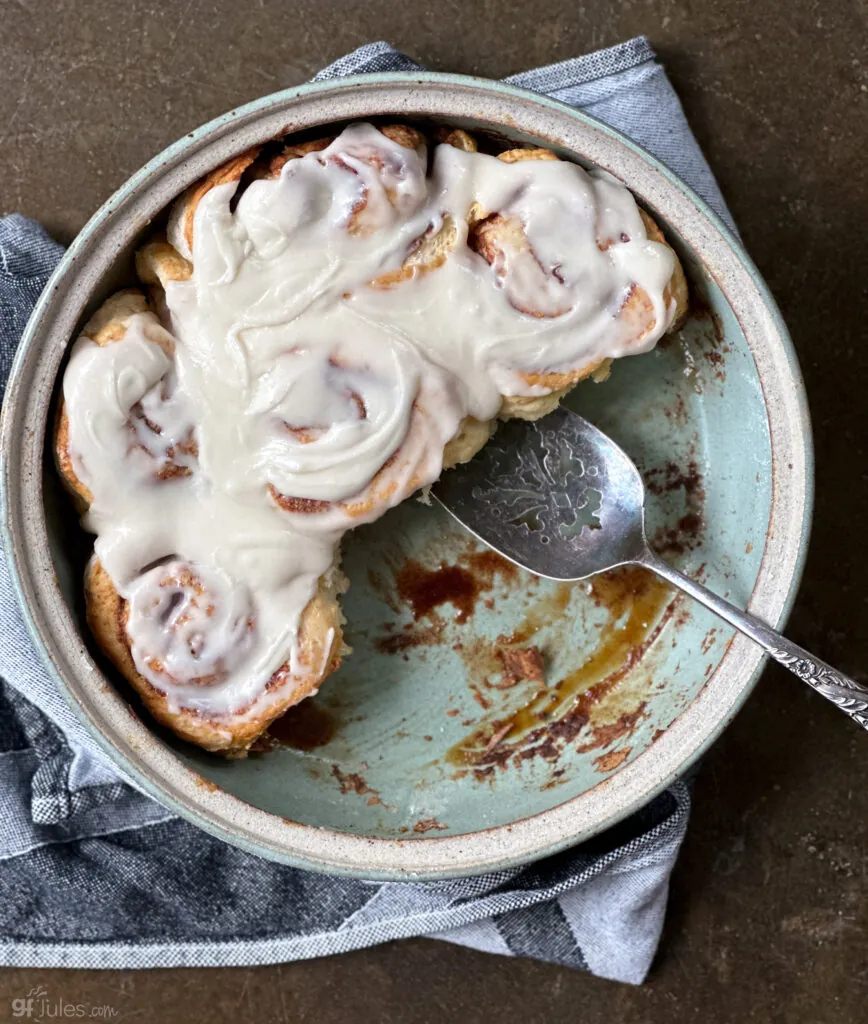
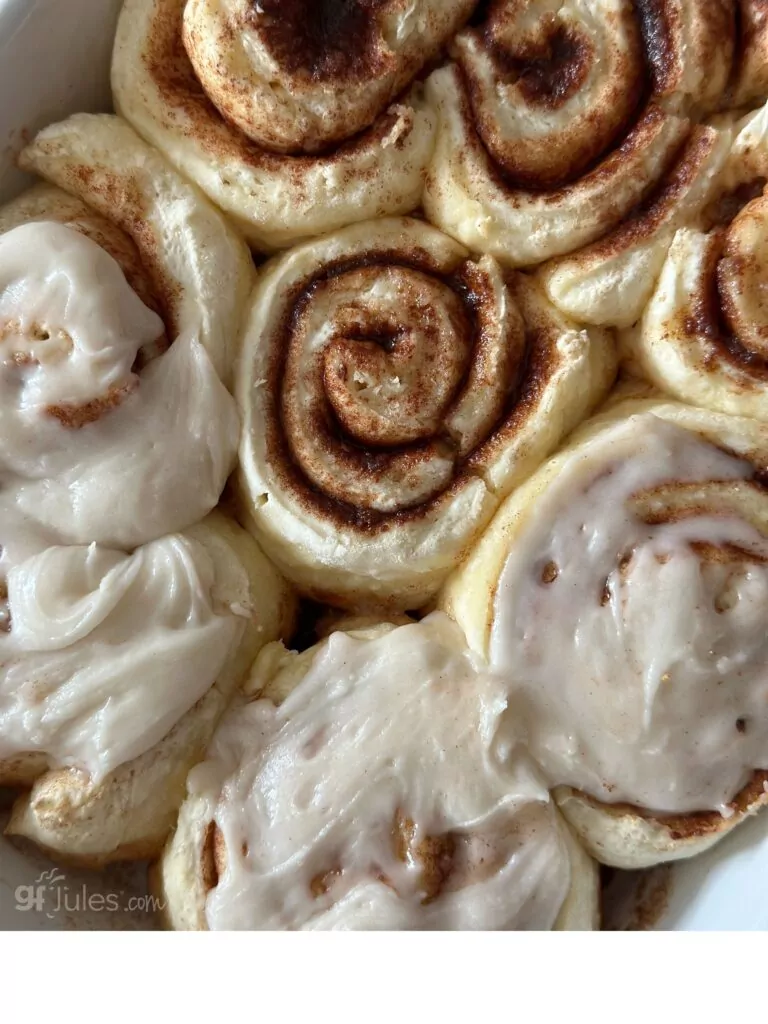
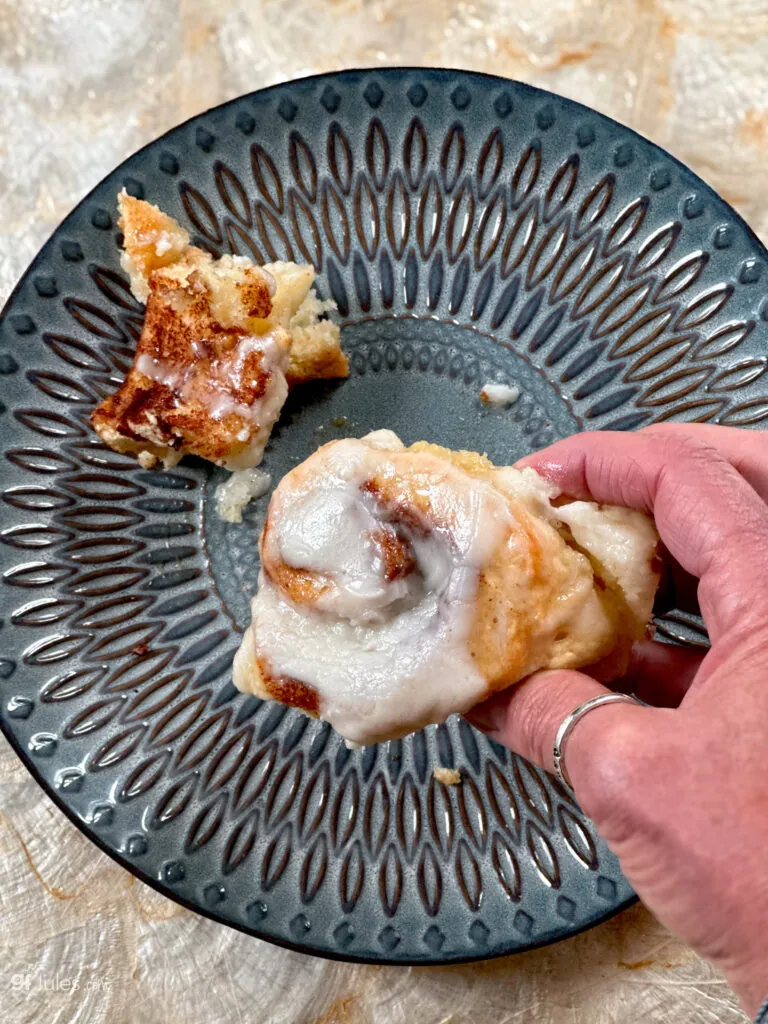
Another reader shared her photo on Instagram (above) and reader Laura O., shared these photos of her before and after cinnamon rolls made from this recipe.
She rolled hers even thinner and loved the results!
I’ve now made this recipe many, many times myself, and have added my notes and some process photos for your reference.
If you’re put off by the large amount of flour required to make this recipe, or you and your thighs don’t want that many cinnamon rolls sitting around begging to be eaten, simply halve the ingredients — it works great!
I’ve added the half recipe amounts I used in (parenthesis) next to each ingredient for your reference….Although, then again, why halve this recipe? You’re just going to wish you’d made more!
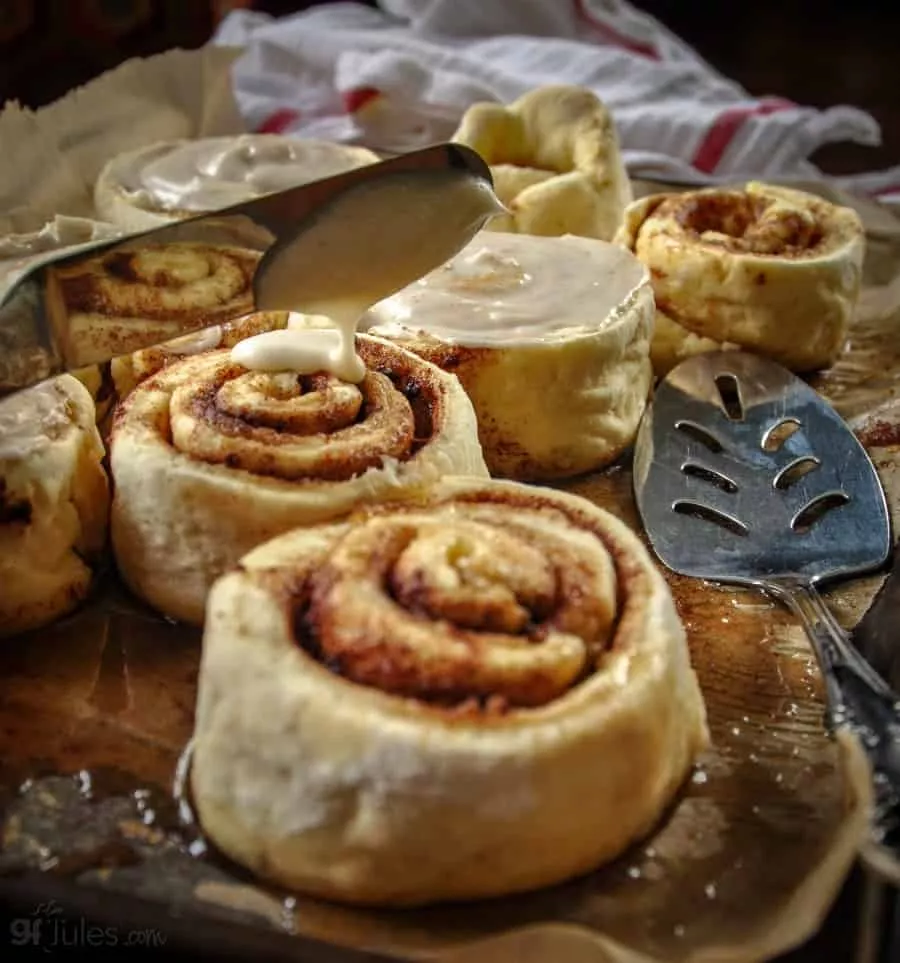
How to Make Homemade Gluten Free Cinnamon Rolls
Check out my videos to watch me walk you through making these yummy gluten free cinnamon rolls, step-by-step (so there’s no excuses not to make them yourself!)If you need or prefer a yeast-free gluten free cinnamon rolls recipe, I also have a 52-Minute Yeast Free Cinnamon Buns Recipe that will blow your mind! Totally different texture from these yeasty ones, but equally sweet and yummy and the method is very similar.
The steps (as you saw in the video are really simple when you’re using my gfJules Flour because it stretches and makes it easy to roll out and up! (Don’t try this recipe with store-bought rice-based blends or bean-based blends or the rolls won’t taste good and it won’t be easy to roll out and roll up.)
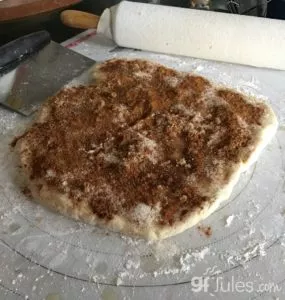
Simply roll out the dough and sprinkle on the fillings. Then roll it up on itself ….
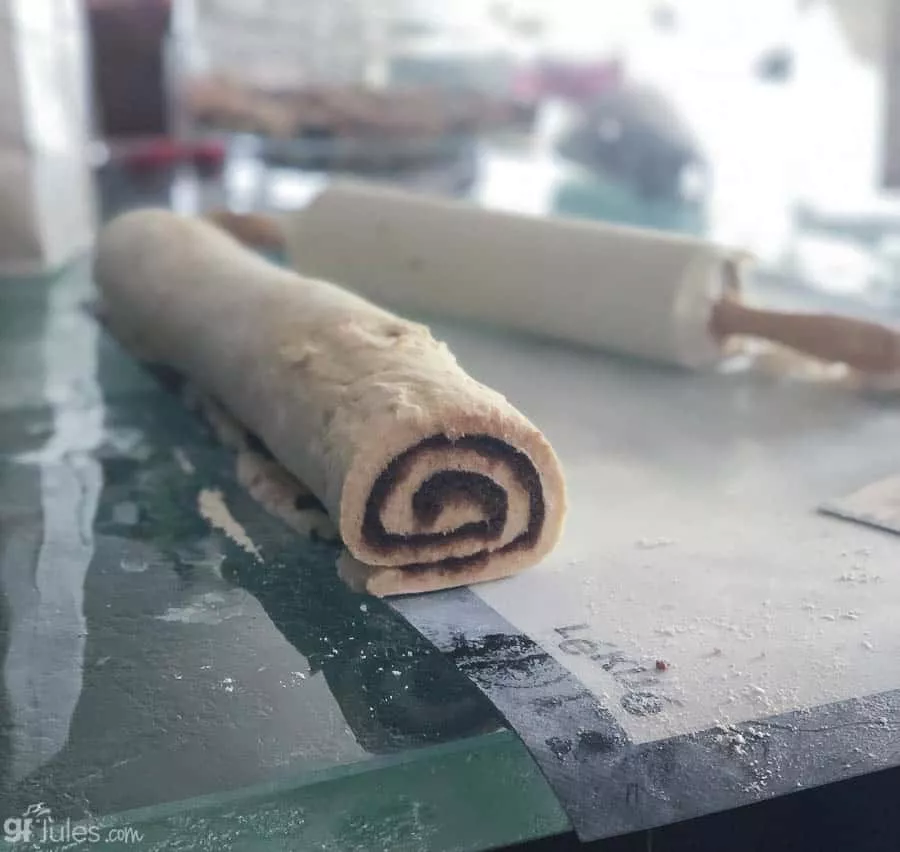
Then you just cut them into the size rolls you prefer ….
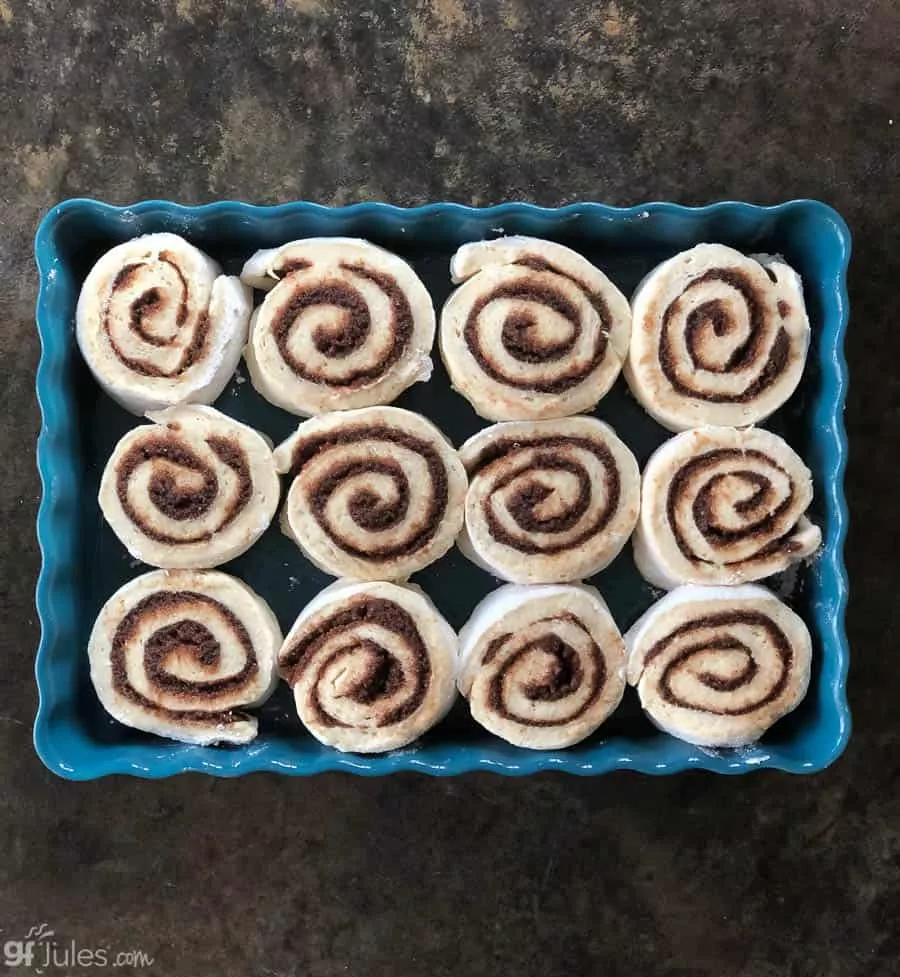
Then set them aside to rise ….
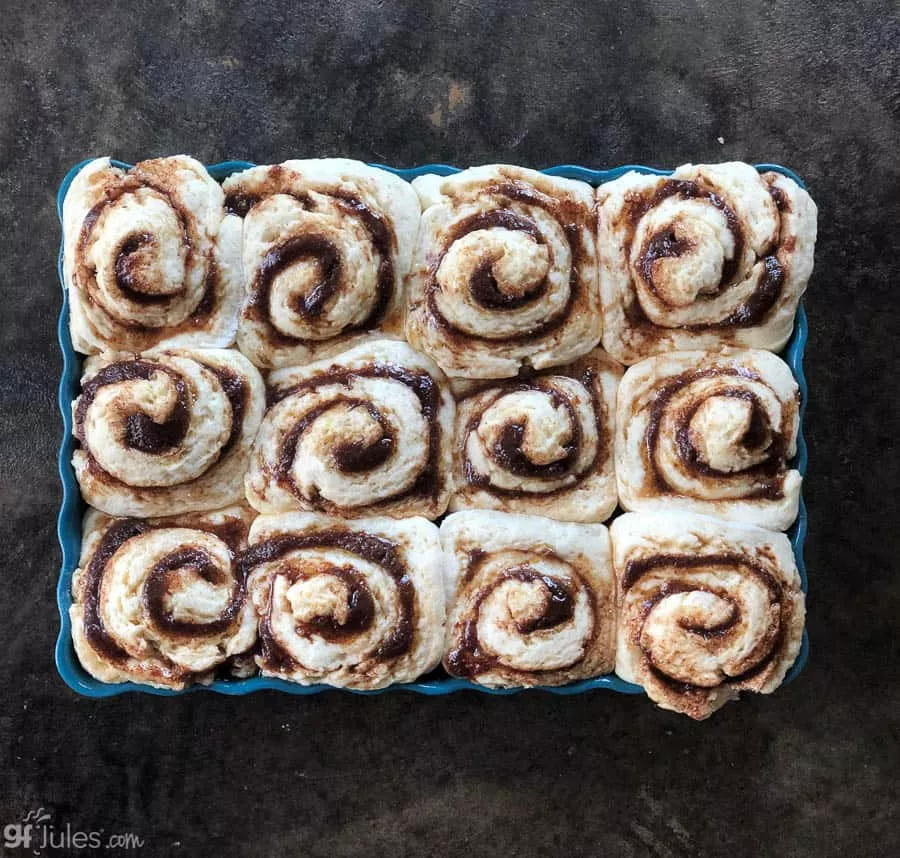
Then bake them ….
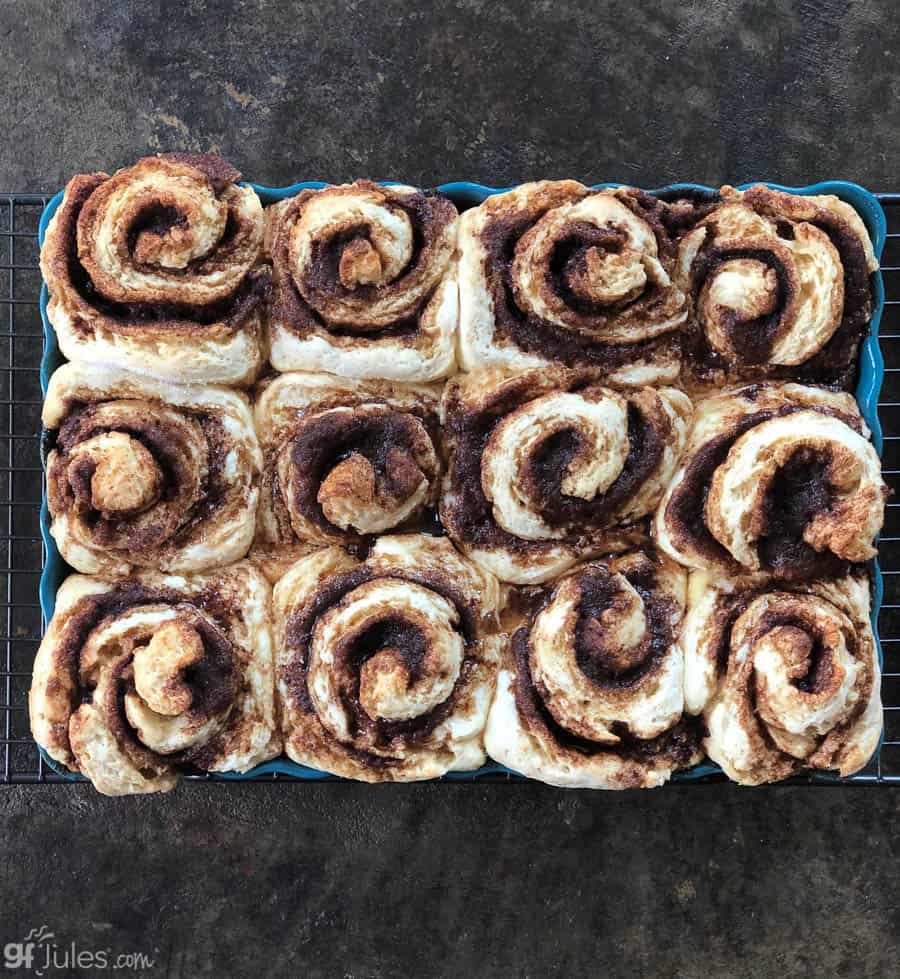
Then ice them!
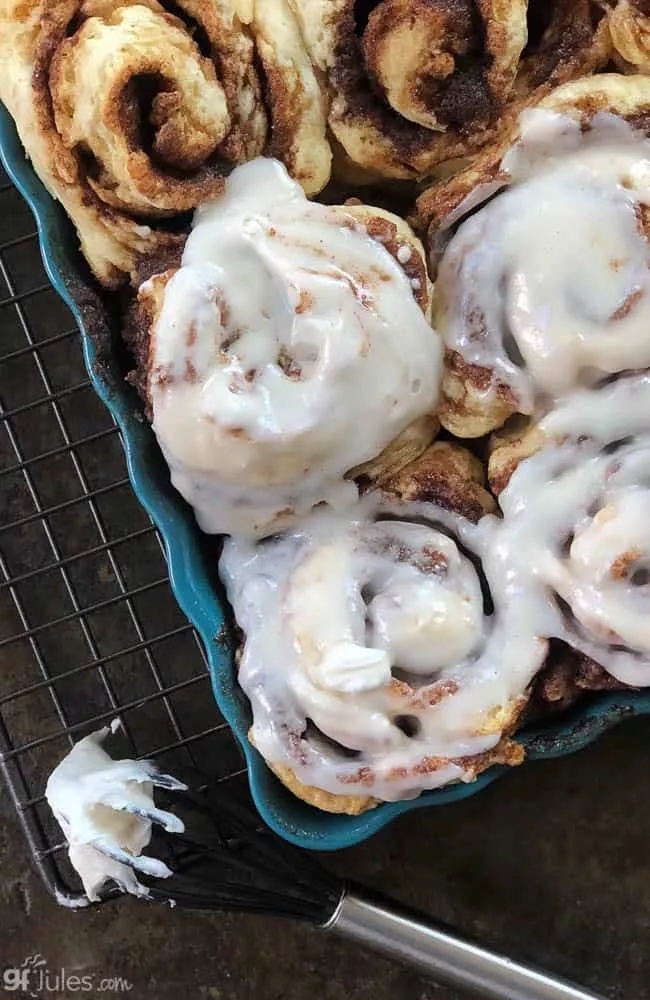
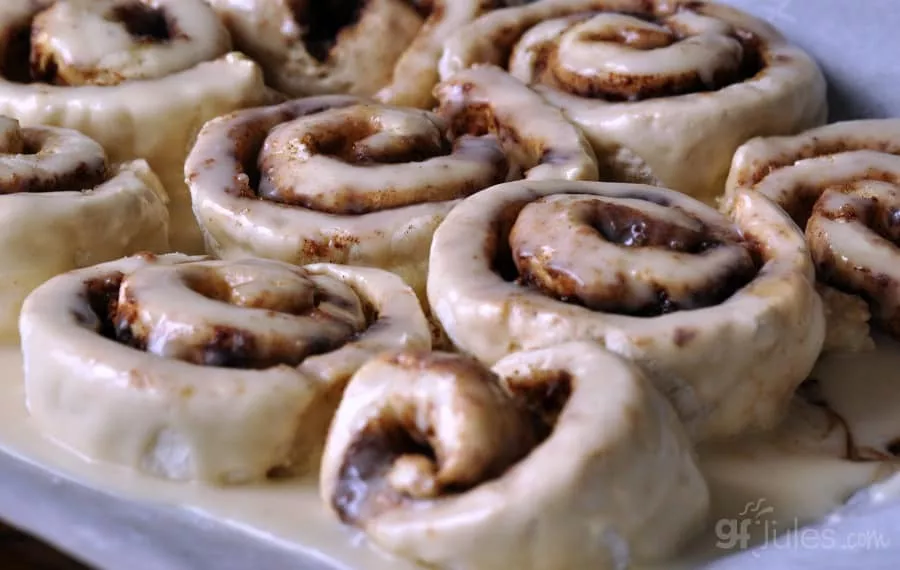
Then just look at this gorgeous result!
Many thanks to Mindy for sharing her now famous Gluten Free Cinnamon Rolls recipe! I can’t wait to see YOUR gluten free cinnamon rolls! And speaking of sharing, what recipes do you wish you could make again, gluten free? What are you waiting for? With my gfJules Flour, anything is possible!
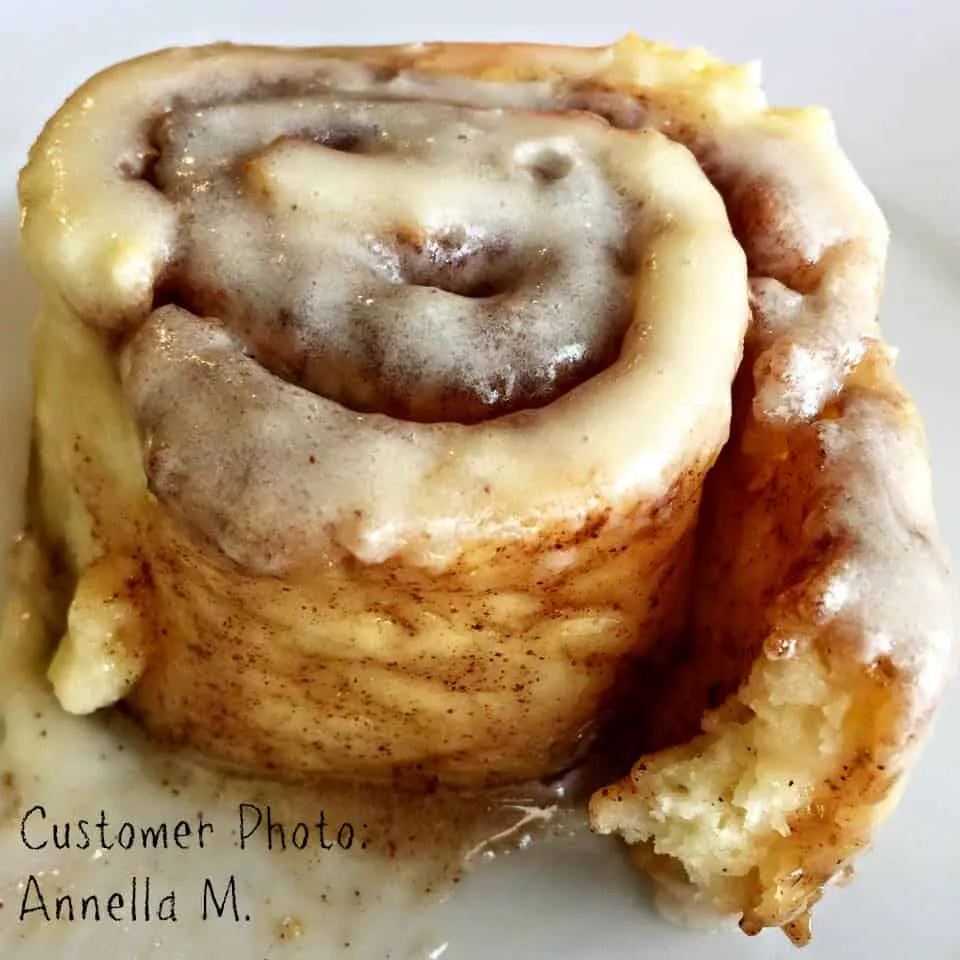
Do you have a family favorite that you’ve already converted to gluten free just by using my gfJules® Flour? I’d love to hear all about it, or better yet, share a picture in the comments below!
Here’s one more look at these drool-worthy gluten free cinnamon rolls. I whipped these up in no time on Easter morning. They really are just TOO EASY. You’ll see when you make them and wonder where they’ve been all your life!
Two Make Ahead Options for Gluten Free Cinnamon Rolls
Refrigerate Unbaked Gluten Free Cinnamon Rolls Overnight
For this make ahead option, rise the gluten free cinnamon rolls as the recipe specifies, then cover with oiled cling wrap then foil. Make sure the pan is sealed well to keep moisture in, but don’t smash the rolls! Refrigerate for up to 24 hours.
When ready to bake, remove the pan to come to room temperature for 30 minutes while preheating the oven, then remove the foil and wrap before baking. The rolls may require extra bake time if the dough is still cold, so test with a toothpick before removing from the oven and cover with foil, if necessary, to prevent the tops from over-cooking.
Also Try my Overnight Earl Grey Gluten Free Cinnamon Rolls Recipe! The Earl Grey Tea is optional, the overnight part is brilliant!
Freeze Unbaked Gluten Free Cinnamon Rolls
For this make ahead option, roll and cut the rolls as the recipe specifies and rise them, then wrap loosely with oiled cling wrap until they come to room temperature (unless you rose them at room temperature). Then wrap on top with foil, sealing well.
Freeze them in the pan (make sure there’s room in your freezer!). They can stay in the freezer for up to 2 weeks. The night before you want to bake them, place the pan in the refrigerator overnight.
The morning you intend to bake the rolls, take the pan out of the refrigerator, remove the foil and loosen the cling wrap so it’s just laying gently on top of the rolls. Set out while you preheat the oven, then bake according to the directions.
The rolls may require extra bake time if the dough is still cold, so test with a toothpick before removing from the oven and cover with foil, if necessary, to prevent the tops from over-cooking.
Mindy’s Famous Gluten Free Cinnamon Rolls Recipe
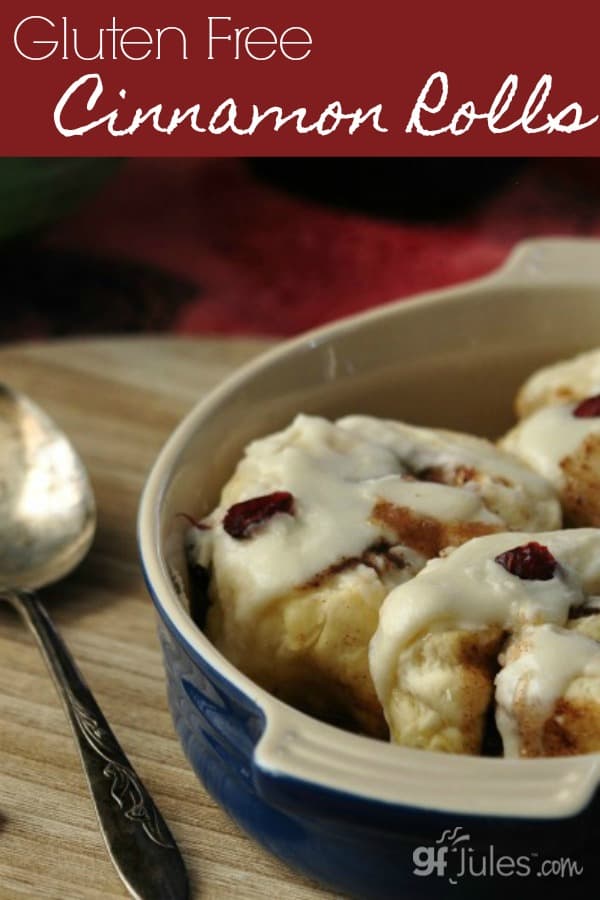
Mindy's Famous Gluten Free Cinnamon Rolls Recipe
Equipment
Ingredients
DOUGH
- 1/2 cup room temp buttermilk or non-dairy milk with 1/2 Tbs. lemon juice or white vinegar added
- 2 Tablespoons butter or vegan butter, melted like Earth Balance® Buttery Sticks
- 2 1/4 teaspoons quick rise OR regular yeast like Red Star® or Fleischmann’s® Jules’ note: do NOT use Red Star® Platinum yeast, as it is not gluten-free
- 2 3/4 (371) cups (grams) gfJules® Gluten Free All Purpose Flour
- 1/4 cup granulated sugar
- 1 teaspoon salt
- 1 egg OR 1 Tbs. flaxseed meal steeped in 3 Tbs. warm water = 1 egg
- 1/2 cup warm water
- 3 Tablespoons warm water
FILLING
- 2 Tablespoons butter or vegan butter, melted like Earth Balance® Buttery Sticks
- 1/4 cup brown sugar + extra, if needed
- 1/4 cup granulated sugar + extra, if needed
- 1 Tablespoon cinnamon + extra, if needed
ICING
- 2 Tablespoons butter or vegan butter, softened like Earth Balance® Buttery Sticks
- 1 1/2 cups sifted powdered sugar
- 1/2 teaspoon pure vanilla extract
- enough milk to make spreading consistency
- dried cranberries or raisins totally optional
Instructions
- Pro tip: Open a separate window and watch my how-to video to follow along with this recipe!
- Preheat oven to 200 ℉ to rise the rolls.
- To make vegan buttermilk, add lemon juice to vegan milk and set aside.
- If using regular yeastMix together buttermilk, 1 Tablespoon sugar, melted butter and yeast in a bowl. Allow to sit for 15 minutes. The mixture should be frothy at this point, if not, discard and start over because the yeast is not active. Then whisk these dry ingredients in a separate bowl: gfJules® Flour; remaining sugar ingredient; salt.
- If using quick rise yeast: Whisk yeast in with these dry ingredients: gfJules® Flour; sugar; salt. In a separate bowl, mix together buttermilk and melted butter.
- Whisk egg in a small bowl OR prepare flaxseed meal and water egg replacement.
- Slowly stir dry ingredients into liquid ingredients, adding egg or flax egg together with water last in order to keep the flour from flying out of the bowl. If needed, add extra tablespoons of water in order to get the dough to be soft and pliable as shown in the video.
- Mix just until ingredients are integrated and the dough is soft, then mix 2 minutes more if using a stand mixer and paddle attachment. If mixing by hand, mix well until the dough is soft and smooth. Do not allow the dough to rest after mixing, but begin the rolling out process immediately afterwards so that the dough can rise in the shape of the rolls.
- Prepare your filling by mixing together brown sugar, sugar, and cinnamon and melt butter to brush on the dough.
- Roll the dough out into a rectangle between 10x14" - 12x16" on a clean surface floured with gfJules® Flour to keep it from sticking. Knowing that the dough will rise, roll the dough thinner if you prefer less bun and more filling.
- Brush on melted butter then sprinkle sugar + cinnamon across the rolled out dough.
- Roll the dough up into a spiraled log by rolling up from the long end. A bench scraper makes this easier. Cut into 6 -9 rolls (more if doubling or tripling the recipe).

- Place rolls into a well-oiled or buttered baking pan or onto a cookie sheet covered with parchment paper. Cover rolls loosely and place in preheated 200°F oven TURNED OFF; allow to rise for 30 minutes.

- (If there is any extra melted butter left from the filling, brush it on the rolls before baking to help them brown!} Uncover and bake at 325°F for 12-15 minutes or until a toothpick inserted into the rolls comes out with only some dry crumbs.

- Remove to cool for a few minutes before icing.
To prepare these gluten free cinnamon rolls in advance, make the dough and rise it according to the recipe. Cover with well-oiled plastic wrap and cover again with foil and place in the refrigerator overnight. Bring to room temperature by removing from the refrigerator for 30 minutes, then remove the plastic wrap and foil and place in preheated oven, baking according to the recipe directions. (It may be necessary to bake longer to fully cook the rolls after they've been in the refrigerator overnight, so be sure the toothpick has dry crumbs on it and/or the rolls are not squishy on the bottom before removing from the oven.)
- To prepare icing, sift powdered sugar and bring butter to room temperature or soften gently in a microwave. Mix together with vanilla and 1-2 Tablespoons milk, adding more milk as needed to create icing consistency. Spread on rolls just before serving.

Video
Notes
** Please keep in mind that nutrition information provided is per serving, which may vary. While we have taken care to provide you with the most accurate nutritional values possible, please note that this information may differ significantly depending on the exact ingredients and brands that you choose to use to make this recipe. Additionally, where options are given for ingredients, the resulting calculation may include all ingredient options instead of only one per line, skewing the totals significantly.
I KNOW you’re going to love this recipe! Please leave a 5-star review if you do!
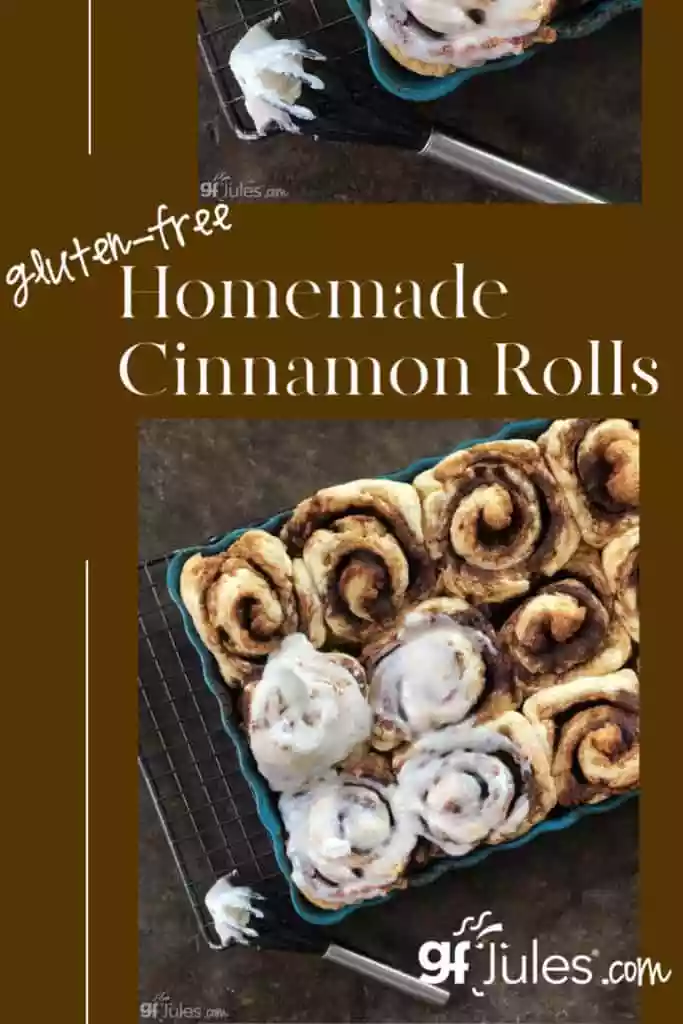
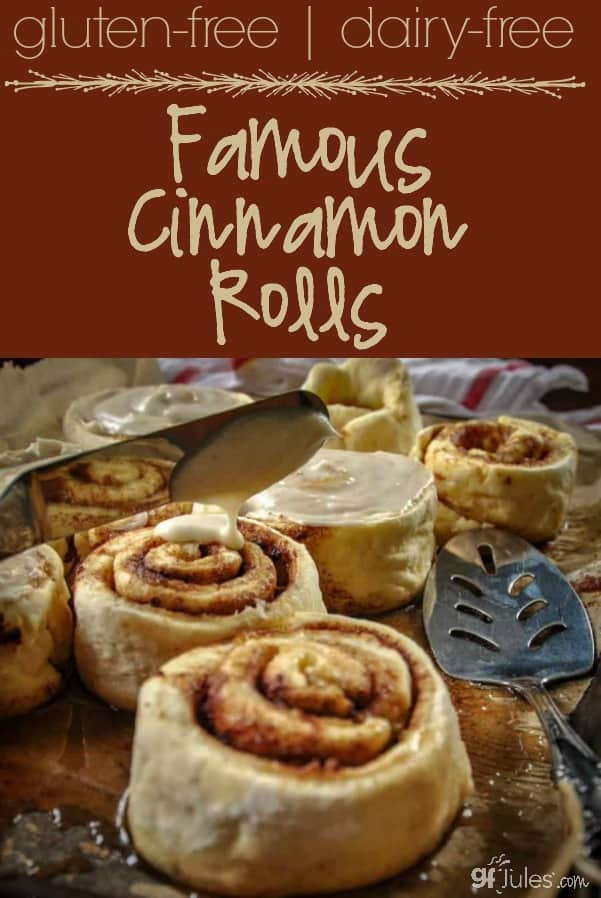
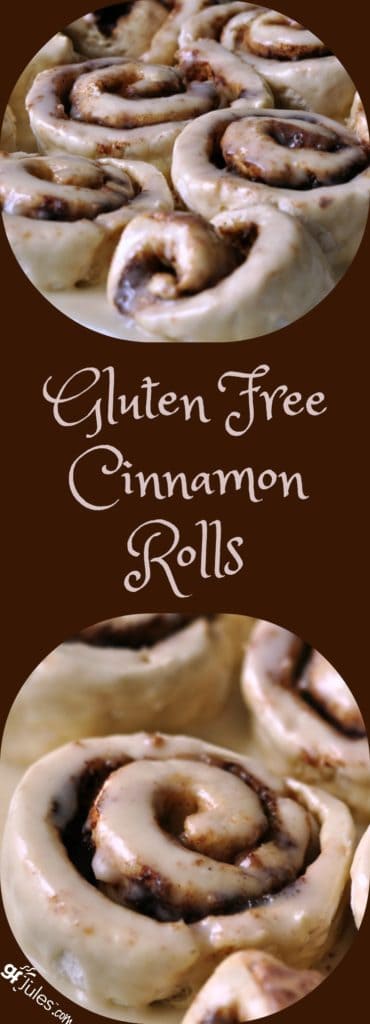
and I KNOW you’re gonna want to pin this for later!












Rolls turned out great but my dough was stickier than it should have been. What should I do differently next time?
Absolutely delicious! I made these GF cinnamon rolls for the third time. So far, this was the easiest since I am getting more comfortable with the steps and rolling them. The gfJules flour is so easy to work with! I highly suggest watching her recipe video once or twice. One tip is generously flouring the surface you will be rolling on. I rolled on a pastry mat and used a bench scraper which makes it easy. I make the full recipe (12 rolls) and bake in a greased 9×13 glass dish for about 22 minutes in my oven. I use 2 packets of quick rise yeast (instead of 3) because the very first time I made the recipe I read it wrong and it worked fine, so now I just use 2 :).
The icing recipe I use is: 2 cups powdered sugar, 2 tablespoons melted butter, 2 teaspoons vanilla, 4 tablespoons milk (or heavy cream or half&half). This is more of a thin glaze versus a frosting which is what my family prefers.
So excited that you’ve nailed this recipe, Bethany! And sounds like with practice, you’ve found a couple methods that work super well for you and even a glaze that is preferred for your family! That’s exactly the way it ought to be! Thanks so much for taking the time to let me know that these gluten free cinnamon rolls have become a favorite and that you’re loving making them with my gfJules Flour! It’s so nice to be able to roll out gluten free doughs without them breaking and tearing, isn’t it?! Makes cinnamon rolls, pie crusts, rolled cookie doughs — all kinds of things such a joy to make again!
Happy baking!
~jules
I made these cinnamon rolls tonight. After baking them for 15 minutes, the centers and bottoms were still VERY raw. I tried baking them an additional 20 minutes after having a few removed, and centers and bottoms were still very gooey. Help! I want to love this recipe, but I can’t eat (texture) gooey rolls.
Hi Michelle, that’s really odd! Have you checked that your oven temperature is accurate? I know that seems like a silly question, but sometimes starting with the simple things is the best place to start. Assuming that your oven is actually baking at the right temperature, if there is something that I can’t get to bake all the way through, I will move it to another location in the oven — perhaps on a rack closer to the heating element in this case because the bottoms of the rolls are what’s not cooking sufficiently — or cover the pan with foil to allow it to cook even longer without drying the tops of the rolls. It does look like there’s a lot of liquid in the bottom of your pan, so that could be the issue, just that there was too much melted butter from the filling and it’s keeping the bottom of the rolls soggy. Next time you could trying baking on a lined cookie sheet with sides so that the filling won’t spill over the sides, but won’t be soupy, either. I’ve shown in the recipe how to bake the rolls both ways, so you could try that as an alternative next time and see if it just works out better for you.
I hope one of those things helps, Michelle!
~jules
Mine turn out like this too! So raw and I try turning up the oven temp or doubling the bake time. My oven is a brand new high end brand so I don’t think that’s the problem. It did help to mixed the melted butter with the filling and put it on like a paste and roll it tightly
Good that you found a way to help with mixing the fillings and melted butter, Rochelle. Did you also try baking on a cookie sheet instead of a pan, where the butter would pool an could prevent the bottoms from fully cooking for you?
~jules
I made these for the family for Christmas morning. I prepared and rose them the night before and followed all instructions for preparing ahead and watched the video. They were delicious and the gluten-lovers said they couldn’t tell a difference. My only complaint is that I believe that 12 minutes is too short. After sitting in fridge overnight and then baking for 12 minutes, a toothpick came out clean but the bottoms ended up still be raw. I baked them 5 mins more at 350. I was trying to trust the recipe and not doubt it. But even after the extra baking they were still a bit raw. Different from the gooeyiness you want in a cinnamon roll – more raw dough. I guess I just expected perfection after all the raving. And had high hopes for Christmas morning. Oh well. Lesson learned. I will try again but definitely will bake longer to accommodate the sitting in the fridge and getting extra moist prior to baking.
Hi Jenny – I’m so happy that everyone loved these gluten free cinnamon rolls!!! Good to know about the timing on the bake after being in the fridge overnight though; definitely make a note for next time, and I’m glad you left the comment for others to see, as well. The size of the rolls, the type of pan, and how long they sat before baking can all have an impact on that bake time. The toothpick test can be deceiving, as “clean” isn’t “done” if it’s still a bit shiny, as that means it’s wet. It can be a bit hard to tell. That’s why with this recipe, I look for some dry crumbs on the toothpick before I know they’re done. Good that you baked them longer, but note that for next time, even longer in your oven after having been refrigerated. I’ll also add a note to the instructions to try to make it even more clear. Hope you had a lovely Christmas!
~jules
Wondering if there is a mistake in the recipe for the amount of yeast?? 3 tablespoons is 9 teaspoons of yeast yet the 1/2 amount is 2 1/4 tsp.?? Should it be 2 tablespoons of yeast???
These look wonderful but want to be sure of the measurements.
Thank you
Hi Judy, it’s good to be sure before baking!! I know this recipe can get confusing, and for that, I apologize. It’s not my recipe originally and I’ve noted half recipe amounts due to readers asking for that, plus I’ve made my own modifications, so it gets tricky to follow. But if you see the asterisk next to the yeast, you’ll note that in my testing I have found that the full amount of yeast that Mindy used isn’t necessary. I actually use 3 packets (~7 tsp) for a full recipe but only 1 packet (2 1/4 tsp) for a half recipe. Mindy’s full recipe of course calls for 3 TBS of yeast. Obviously Mindy’s recipe works and I’m telling you from my testing that my amounts work as well, so feel confident using either (or I suppose, anything in between!).
~jules
Do you think this dough could be used for making Slovenian nutroll (or potica)?
Hi Marilyn, yes, I think you could use this dough or the dough from this gluten free cinnamon sticky buns recipe, either one, and just make sure to roll it out nice and thin before applying your traditional Potica fillings. I can’t wait to hear how it turns out!!!
~jules
Have been trying gf cinnamon roll recipes for 35 years. None merited a second try. Made Mindy’s Fabulous Cinnamon Rolls using gfjules flour today. Will definitely be made again and again.
Wonderful to hear, Karen!!! And it looks fantastic!!! So thrilled you didn’t give up! Onward to more delicious gluten free recipes!
~jules
I’m confused about how much yeast to add. I’m measuring the yeast, not using packets. It says 3 Tablespoons in the whole (original) recipe. So half of that is 1.5 Tbsp, which should equal 4.5 teaspoons. But in one of your comments you said you use 2.5 teaspoons. How much should I measure out?
Hi Rochelle, sorry for the confusion. Because this was Mindy’s recipe originally, I try to stay true to her recipe and add my notes for where I deviate, and it can get a little convoluted. The good news is that there’s a lot of leeway when it comes to the yeast, as Mindy uses 3 Tbs. for the whole recipe, so half the recipe would indeed be 1.5Tbs. … BUT I have had success with this recipe using only 1 packet of yeast for a half recipe and 1 packet = 2 1/4 tsp yeast, for those who measure. So … you could safely use anything between 2 1/4 tsp – 1 1/2 TBS and it would work! 🙂 How’s that for a forgiving recipe?! So you know, when I make a half recipe, I do only use 2 1/4 tsp., but you can always hedge and add more the first time if you’re concerned about rise.
Hope that helps!
~jules
Hi there!
I’ve tried endless cinnamon roll recipes and even tried gf bakery cinnamon rolls. None are very good, so I always wasted money, as I’d end up throwing them away…
Ok, these cinnamon rolls are the bomb, SO good, soft, gooey deliciousness and cream cheese icing to top off 🤤
I know that this recipe is somewhat daunting, but I used a permanent marker and simply crossed out the 1/2 recipe ingredients as I have a huge family and only make the full recipe. The other ingredient that is scary, the first time you bake it, is the yeast. I hesitated as it seemed like way too much. I took a chance and followed the recipe. The cinnamon rolls were perfect! The dough was so nice and soft and pliable, SO easy to roll out and slice up. So don’t be intimidated by the large amount of yeast, go for it!
Hope this helps ♥️
I think we’ve all had those bad experiences with gluten free cinnamon rolls, but I’m SO glad you didn’t give up and tried again with this recipe. It’s SO WORTH IT!!! You do exactly what I do when I make this recipe: depending on whether I’m making a full or half recipe, I print the recipe and highlight or strike out the other recipe portion sizes so I don’t make a mistake and it works like a charm! Thanks so much for taking the time to leave a note about your experience with this recipe and to encourage others to try it! I hope it does!!!
~jules
I only have regular yeast in the house and totally confused as to whether the proofing ingredients are part of this recipe or not. Is the warm water that is listed the same as the warm water I should be using to proof? What about the sugar in the proofing? This is really unclear.
Update- went to the store and purchased the Rapid Rise packets of Fleischman’s yeast (3) and used those as instructed. However I too ended up with a giant gommy, sticky mess. The only thing I can figure is that 3 packets of the yeast was not enough? It’s been awhile since I’ve been burned by a recipe this badly, but it’s so disheartening to have to throw away a bowl of such expensive flour, which I did weigh. Also note sugar is listed with the wet ingredients again instead of eggs, but by watching the figure this became clear. I really have no idea what could have gone so wrong that the dough never formed and just stayed so sticky.
Hi – I’m so sorry for the troubles you had with this recipe. The only thing that I can think is that because this recipe is written in whole and half ingredients in parenthesis, it can get confusing.
I don’t do this with my recipes typically, but Mindy’s original recipe is so large and I had heard from so many readers asking for a half recipe that I offered the half measurements as an option. Having made this many, many times myself though, I agree that it can be confusing sometimes to look at both amounts, so I wonder if maybe you got a whole measurement for one of the ingredients and a half for another? Do you think that could have been it?
Perhaps next time print the recipe and highlight the whole or half recipe amount so you’re sure to get it right — I just know you’ll love this recipe!!!
~jules
Hi Liz, sorry for any confusion! The first part of the recipe has notes for using regular yeast; the water is not used to proof the yeast, it is added later in the recipe with the dry ingredients. Here are those directions again:
I hope that helps!
~jules
HI, this recipe needs help! The eggs are not included in the instructions, so we added to wet. The double set of instructions (M/J) are meant to be helpful, but ended up confusing us. And we had a big sticky messy. We folded it up, and baked as a large lumpy log, since the idea of cutting it was laughable. I bet it will taste delicious, but if you would be able to tweak the recipe so us novice bakers would be able to complete it, that would be fantastic!!
HI Lisa, thanks so much for the feedback on the half recipe amounts — I totally understand. I have tried to make those amounts set off as much as possible. I hope maybe with my re-working it’s easier. Short of me writing the recipe out twice, I’m not sure how else to do it (and then folks complain that the printed recipe is too long!).
I hope maybe with my latest attempt to set off the half amounts, it is easier to read. I’ll tell you what I do when I make this recipe and maybe it will help: I print the recipe and use a highlighter to highlight the full or half amounts, depending on which I’m making, then I go back and check off each ingredient as I add it. That way I’m sure to have added both the ingredient and the right amount.
I hope that helps for next time, as it truly is an amazing recipe!!!!
~jules
These are amazing. Just made for the second time. The smell alone was well worth the effort but really there is little effort other than rolling and cutting. I patted/rolled it out on a piece of parchment sprayed with very little cooking spray. The 1/2 frosting recipe is plenty for my liking. As these are going with us to visit grandkids I put a small sprinkling of sprinkles on them. They look so cute. I never have much luck uploading photos but I’ll just tell you it looks like the photo. Thanks Jules for sharing this recipe.
So happy you loved this recipe, Christina!! And the idea of cute sprinkles on top is adorable — I can just picture it! And I agree about the (lack of) effort. Every time I make these, I ask myself why I don’t make them more often, because there really isn’t much to the recipe at all! I think the IDEA of making homemade cinnamon rolls is off-putting to most people, but once you make them and see how easy it actually is, there’s no reason not to make them every time a cinnamon roll craving hits! Thanks so much for taking the time to share your experience with this recipe — I’m sure your grandkids loved these cinnamon rolls, too!
~jules
Okay – disregard post of a few minutes ago
and just remind me to read EVERYTHING!!
Sorry about that!
No worries, Judith! This recipe is a little more confusing than most because it’s written with that 1/2 option. Sorry for the initial confusion but I’m glad you figured it out!
~jules
Hi Jules – would love to make the cinnamon rolls but am
confused about just how much flour to use??!! I know
that 2 3/4 x 2 equals the 5 1/2 but why are they listed
that way??!! Many thanks!
Baking is one of my joys in life, and when my daughter discovered she had a gluten intolerance about a year ago, I have to admit that I was not thrilled. A friend turned me on to your flour and it has been a great help. I am baking again! Tried Mindy’s cinnamon roll recipe today and we both loved, loved, loved the result. I am used to a two stage rising process with cinnamon rolls, but only having to wait for one rising is genius. I did have to cook a bit longer than suggested, but I am writing it off to the differences in ovens. Might bake at 350 degrees next time, the temperature I used to use for my favorite cinnamon roll recipe. Thanks a bunch, Jules. I look forward to the emails I receive from you for inspiration.
I hear you, Jane. The transition from baking for pleasure to figuring out how on earth to bake gluten free can be a difficult journey, but I’m so glad you found my gfJules Flour (thank your friend for me!) and that you are back to baking! Thrilled that you all loved this gluten free cinnamon rolls recipe, too!!!! What fun to be able to enjoy delicious homemade cinnamon rolls in even less time!!! 🙂
Thanks so much for letting me know, Jane! Happy baking!
~jules
I haven’t had a cinnamon roll in over 7 years and I ordered Jules’ flour just to make them. They were DELECTABLE! Only change I made was that I found a “copycat” Cinnabon icing recipe and I made that instead because it has cream cheese and lemon juice which I love. I’m going to use this dough recipe to make sticky buns next time! 🙂
YAY! So happy you were thrilled with the results, Sarah! Your gluten free cinnamon rolls certainly look perfect — those SWIRLS!! WOW!!!!!!!!!
I’m over the moon that you went for it and now you know how great gluten free cinnamon rolls (and so many other recipes) CAN be!! Can’t wait to hear what you make next!!!!
~jules
My much anticipated cinnamon rolls did not brown at all. I noted another baker indicated the same. Any idea? I followed the recipe and not substitutions. They are done and take ok, but they are a little freakyas they look uncooked!
Hi Sheryl, so glad that the cinnamon rolls turned out to taste good! Regarding the color, if you would like for the dough to brown more (and gluten free dough, actually), simply brush the tops of the rolls with egg wash, oil or high protein/fat milk — those things will brown and make the dough itself look more brown. You could also just sprinkle on a cinnamon-sugar mixture before baking which will do the same thing. Gluten free doughs often don’t brown the same way that wheat doughs brown because of the lower protein content. Using the convection setting on your oven (if you have one) will also brown the dough though. I hope that helps for next time!
~jules
Thank you for sharing your cinnamon roll recipe. You inspired me to make them this morning in honor of football Sunday!
I haven’t had a cinnamon roll for over 5 years due to being gluten-free. They were worth the wait!
What a perfect way to celebrate! So happy you went for it and made the recipe and were rewarded with sweet cinnamon rolls! Thanks for letting me know how much you enjoyed them!
~jules
I made these for Christmas Breakfast. I made the rolls the night before and baked them in the morning. They were delicious! Thank you so much for posting.
YAY! So wonderful to hear, Stephanie!! Did you decide to let them rise in the morning before baking or did you rise them and then refrigerate?
SO happy to you had a delicious Christmas breakfast with these gluten free cinnamon rolls!!!
~jules