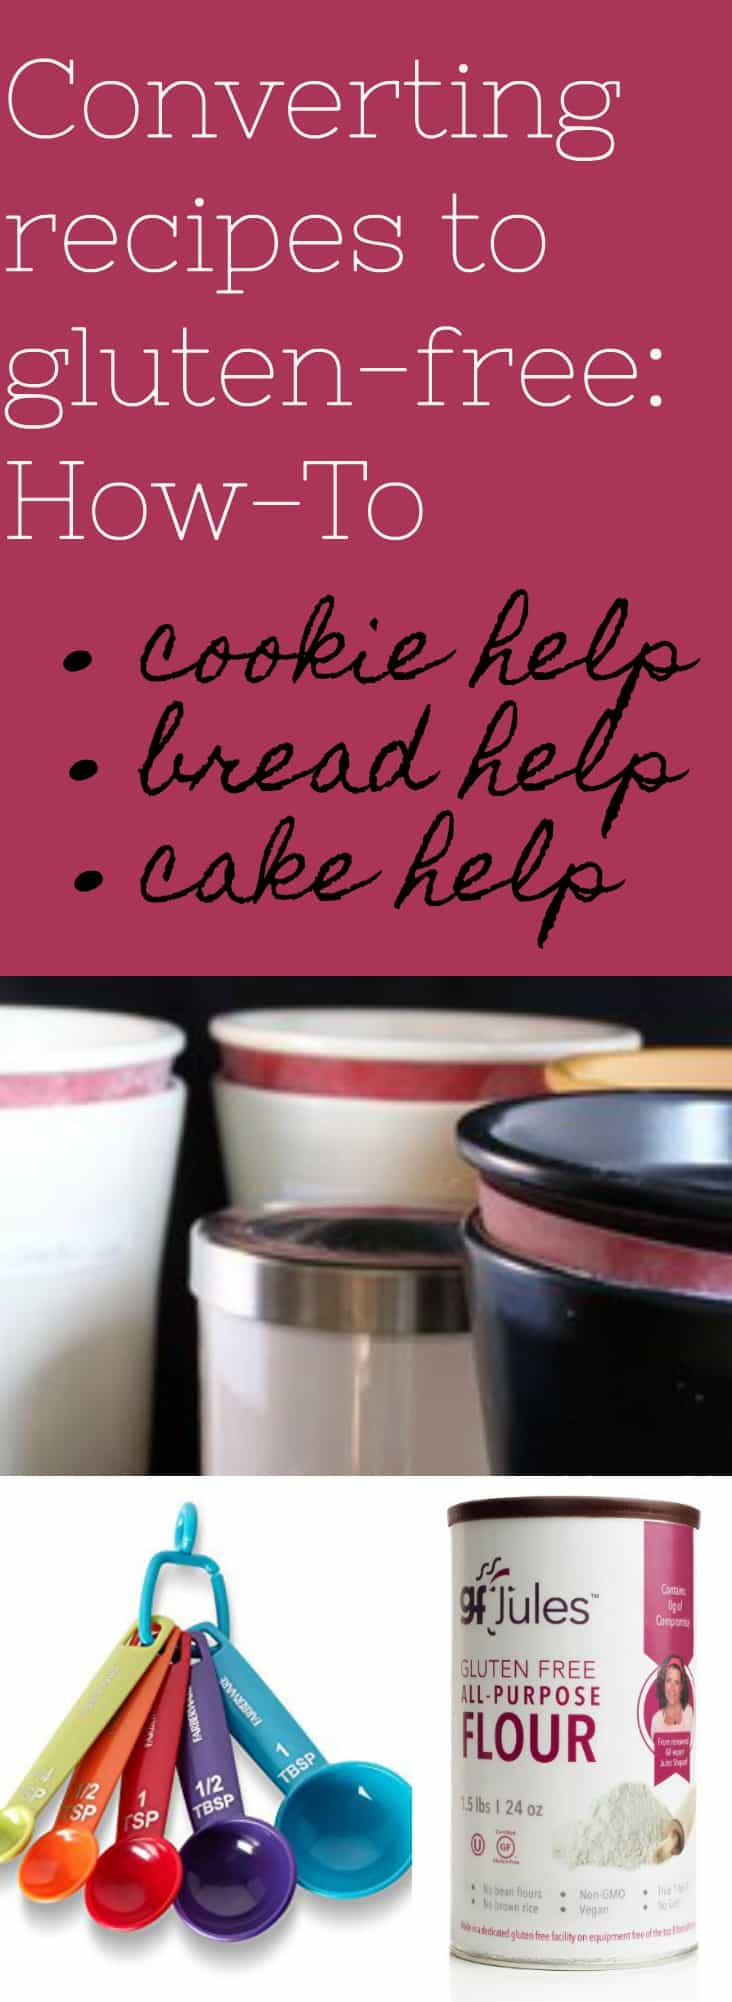
Converting recipes to gluten free can sometimes be challenging, but not when you have help! Scroll down to find the gluten free baking topic where you need advice, and maybe some where you didn’t know you could be baking better!
In this Comprehensive Guide to Converting Recipes to Gluten Free, I cover:
- Converting Recipes to Gluten Free;
- All About Gluten Free Flour;
- Gluten Free All Purpose Flour;
- Converting Recipes Calling for Cake Flour;
- Converting Yeast Recipes;
- Making a Gluten Free Self-Rising Flour;
- Measuring Gluten Free Flour Correctly;
- Why to Bake with Gums in Gluten Free Recipes;
- Use Extra Leavening in Gluten Free Recipes
Can you just replace regular flour with gluten free flour?
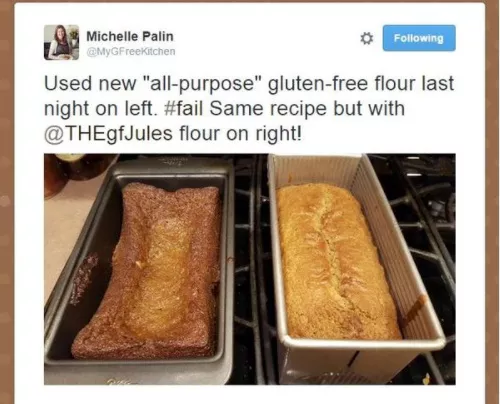
Replacing flour with gluten free flour isn’t difficult, but your success will depend almost entirely on which gluten free flours you choose. Unlike your wheat flour baking days, not all gluten free flours are created (even remotely) equally, and the right mixture of several gluten free flours is the best way to ensure the best results.
Although you cannot simply take one gluten free flour and use it in place of wheat flour and expect successful results, you came to the right place because the art and a science to replacing wheat flour has already been done for you!
One of the questions I get most is “How do I convert my grandma’s (fill-in-the-blank) recipe to gluten free?” The second most popular question: “How do I convert a gluten free recipe calling for (fill-in-the-blank) number of different gluten free flours so that I can use just one all-purpose gluten free flour?”
While the questions seem quite different, their answers are really the same. There are several crucial facts about gluten free baking you must understand in order to have success, and most revolve around the gluten free flours you use.
The world of gluten free baking can seem quite mysterious and certainly frustrating. It’s the reason that I didn’t bake at all for a year after my diagnosis with celiac disease. Everything was too hard, to cumbersome and too terrible-tasting to share.
 When I finally created (after two years of work!) a truly All Purpose gluten free flour that I could use just like I had my all purpose wheat flour before, I was back to baking delicious foods again, for everyone!
I was so excited to share delicious treats with friends and family — and to lick the bowl — that I ultimately started sharing my “Jules Flour” with tens of thousands of others living gluten free because it was too good to keep just for myself!
Using my flour blend is the easiest way to convert recipes to gluten free, but there are some other gluten free flour tips you should know.
How To Convert a Wheat Flour Recipe to Gluten Free:
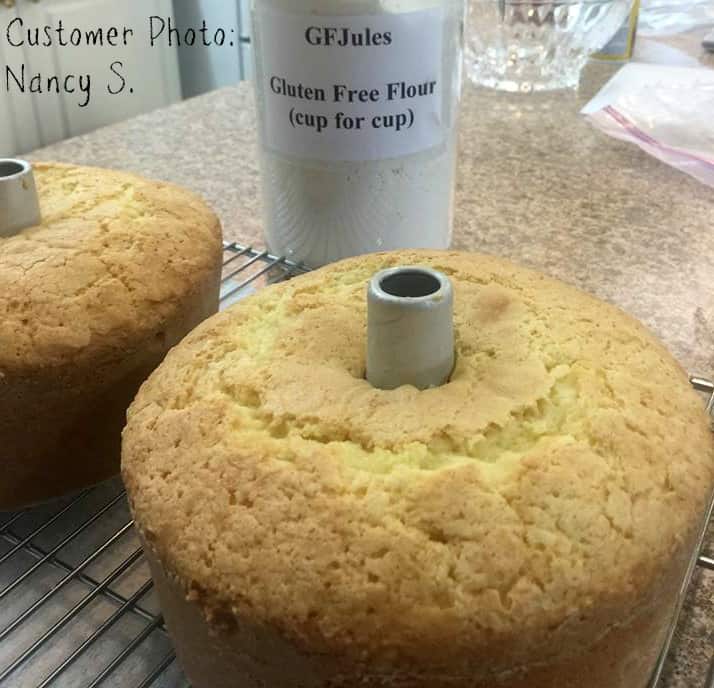
When you want to convert a favorite family recipe, or a gluten free recipe calling for several different kinds of flour, all you need to do is to use a truly all purpose gluten free flour. They’re all different, but most who try my gfJules™ All Purpose Gluten Free Flour prefer it over all others (including gluten free bakeries around the country) — it’s won #1 Gluten Free All Purpose Flour 6 times in the consumer choice awards!
3 Top Tips for Converting Recipes Using Gluten Free All Purpose Flour:
-
Simply total up the amount of flour called for in the recipe and use that amount of the all purpose gluten free flour instead. Do NOT add more xanthan gum or guar gum if a recipe calls for it and you’re using my Jules Flour or another blend that contains gums — it’s already in the flour and adding more will just make the recipe gummy.
-
I do not suggest using a WHOLE WHEAT or Stone Ground Wheat recipe and trying to convert it to gluten free — the baking properties are so different that the recipe structure will be thrown off. Stick to converting recipes calling for “all purpose flour” instead for better results.
-
I also recommend against using gluten free recipes calling for other gluten free flours and then subbing in gluten free all purpose flour. As I said, ALL GLUTEN FREE FLOURS ARE DIFFERENT. Recipes are developed specifically for those flours. With my gfJules Flour, I recommend using either regular wheat flour recipes or recipes already calling for gfJules Flour. Do not use gluten free recipes calling for other gluten free flours, as they have different ratios and may even require more fat or sugar to cover up for funky tasting gluten free flours (not necessary with my gfJules Flour!).

Choosing the Right Gluten Free Flours:
-
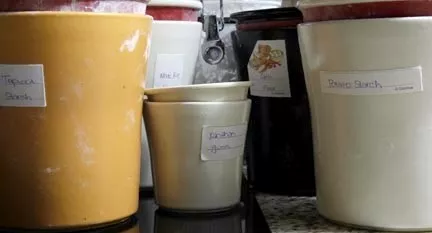
- If you decide to make your own gluten free flour blend or you are choosing another pre-mixed blend, please do yourself a favor and don’t use any bean flours! They smell funny, they leave an odd aftertaste, and using them in your recipes means you’ll often need to add more sugar to mask those unpleasant characteristics! Choose clean flours that don’t have any taste and the flavors of your recipes will shine through!
- Stay away from flour blends that are gritty (contain lots of rice flour), and make sure that the flour blend has enough starches in it (corn starch, potato starch, tapioca starch, arrowroot powder …) to keep the end product light (the opposite of those “bricks” we all know, posing as gluten free bread!).
- Remember you can never just take a regular wheat flour recipe and use just one gluten free flour like almond flour or coconut flour in place of wheat flour. It’s not going to work. Let me repeat that. It’s NOT going to work. You must use a blend of gluten free flours to work in place of wheat flour in a wheat flour recipe. The alternative is to stick with the gluten free recipe EXACTLY as it’s written using the gluten free flours EXACTLY as they’re specified.
- Many gluten free flours use more or less moisture than others; they are not interchangeable for one another. So in a gluten free recipe when one gluten free flour is specified, it’s likely that the recipe author means that flour is the one that is best suited for that recipe.
- Gluten free flours often do not “brown” like wheat flours do, which means that we might have a tendency to wait too long for a recipe to cook before removing it from the oven or fryer. Unfortunately, that’s just going to overcook your recipe and likely still not brown your recipe. Follow the recipe guidelines for how long to cook your recipe, don’t wait for your recipe to brown.
All About All Purpose Gluten Free Flour:
Recipes for all purpose flours are easy to find, and there are several pre-mixed blends available as well (my gfJules™ Flour is the one I recommend for my recipes on this site and for converting any of your favorite family recipes to gluten free). If you try one that doesn’t work for you, try another — they are all created differently! Here’s my homemade flour ratio recipe if you can’t use my pre-made blend for some reason.
Don’t get discouraged or feel too overwhelmed to bake now that you’ve gone gluten free. It can be quite easy and delicious when you have the right ingredients to take the guess-work out of it for you!
Pre-made blends make it even easier, so skip right to “Pre-Made All Purpose Gluten Free Flour” below, if you just want to know how to get the best gluten free results every time without making your own blend.
More on Picking Gluten Free Flours:
Did you know that there are more gluten free flours than there are flours which contain gluten? While that opens up so many more possibilities for us gluten free eaters, it also means that recipes calling for certain gluten-free flours may not be successful if other gluten free flours are used in their place.
If you really want to know more about gluten free flours, I’ve given you the nitty gritty (emphasis on gritty, for many of these flours!). If you’d rather just start baking, scroll down to “Pre-Made All Purpose Gluten Free Flour”.
The Nitty Gritty on Gluten Free Flour:
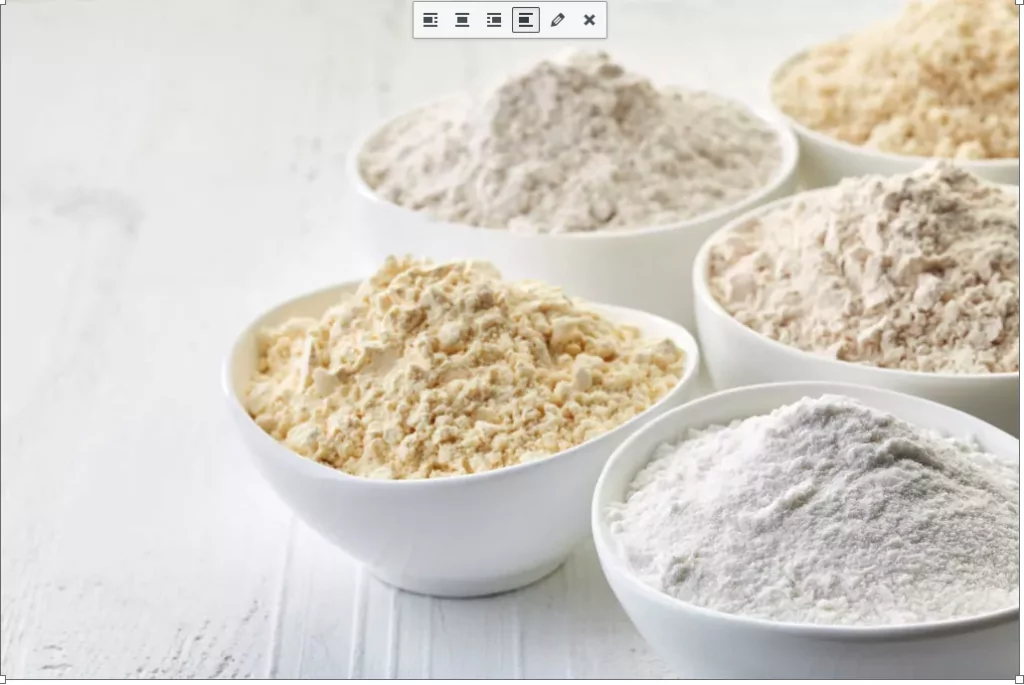
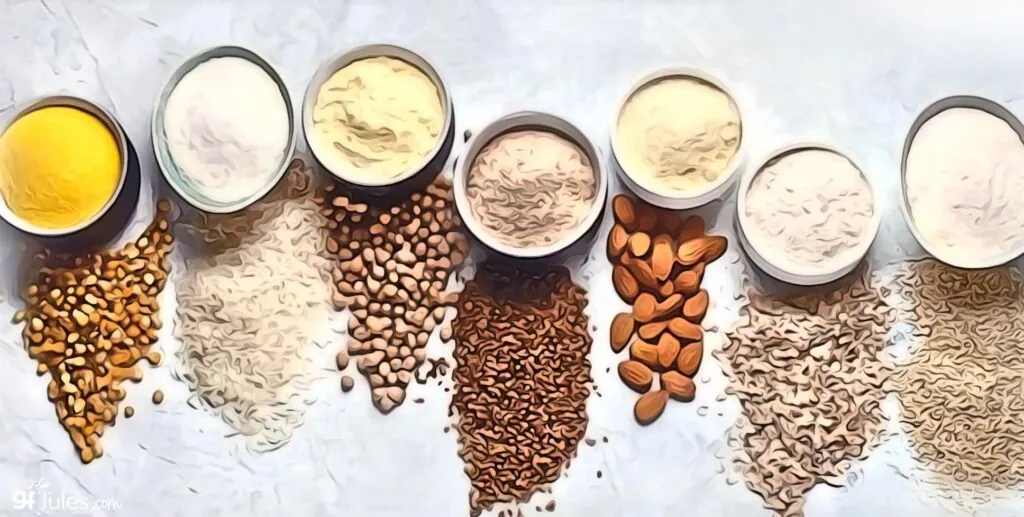
Some gluten free flours fall into the category we call “whole grain” and pseudo-grain flours that tend to be rather heavy and dense, both in resulting texture and in nutrition (good and bad, right?).
These include gluten free flours like brown rice, teff, amaranth, quinoa, corn, buckwheat (yes, buckwheat is gluten free; it’s actually a cousin to rhubarb, not wheat) as well as non-grains which can include seeds, beans and nuts. Almond flour, chickpea flour, garbanzo bean flour, gar-fava bean flour, navy bean flour, hazelnut flour, soy flour, flaxseed meal, chia seeds, salba, coconut flour, chestnut flour and more, are generally counted in this group.
Another category includes lighter gluten free starches, like potato starch, corn starch, tapioca starch, arrowroot, sweet rice flour, and even white rice flour.
Still another category is a mid-range type of gluten free flour that is neither particularly heavy nor light, and offers some nutritional benefits; sorghum, millet, and certified gluten free oat flour are part of this mix.
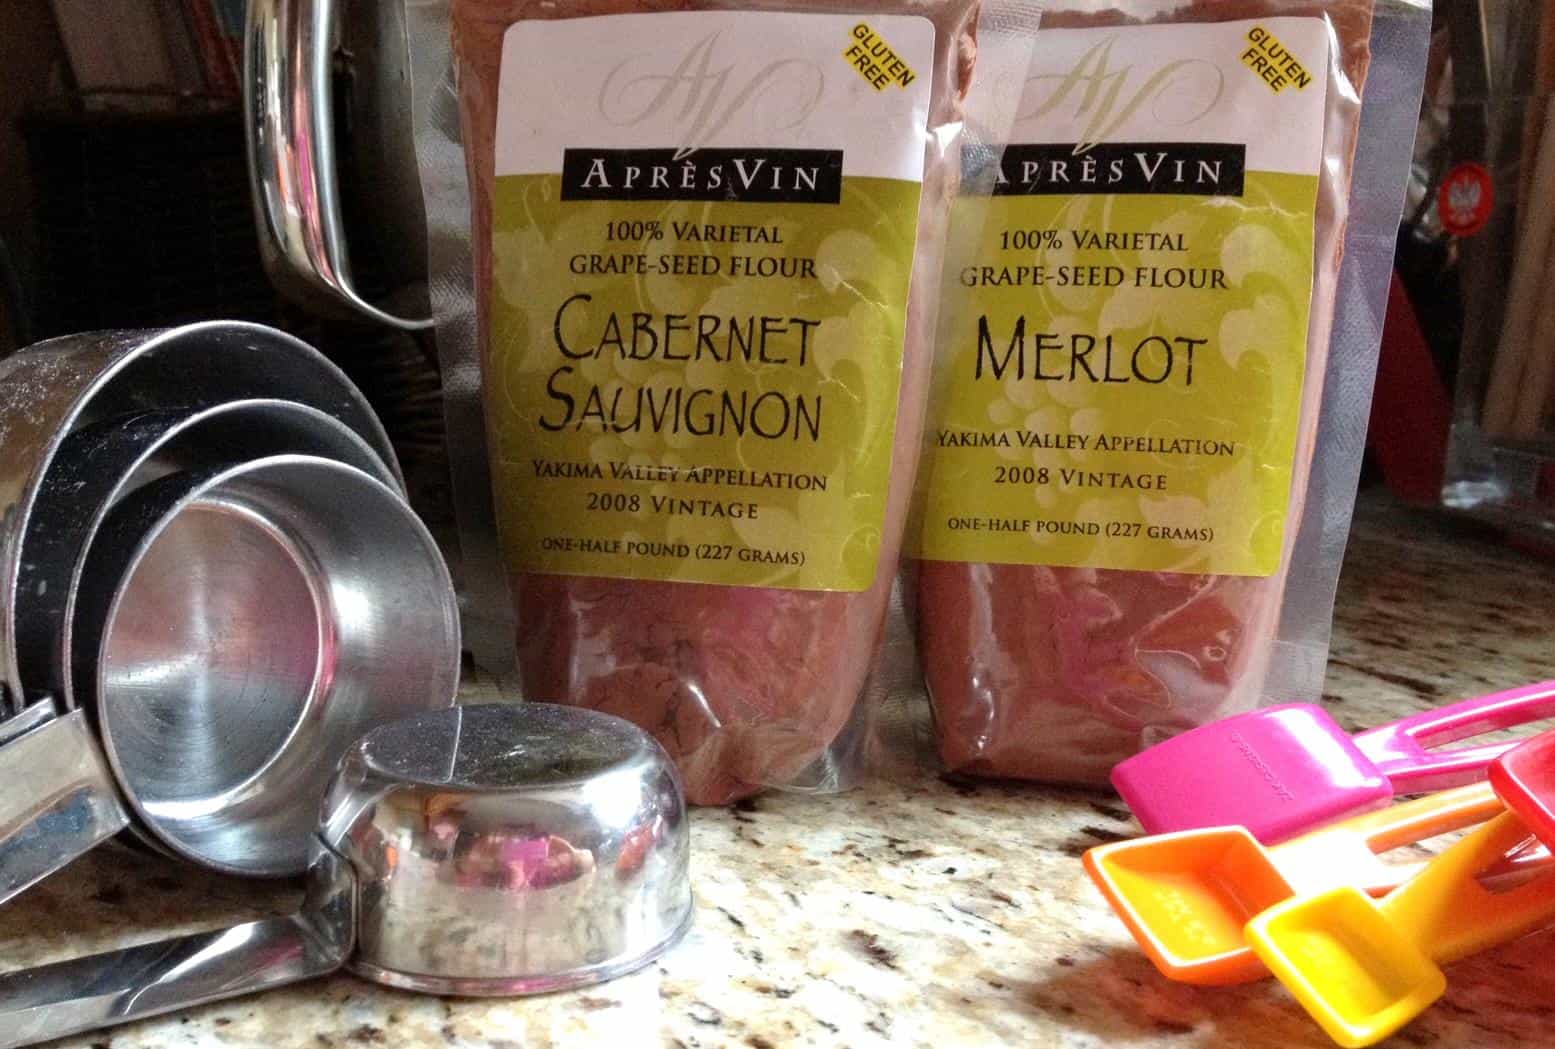
In addition, obscure flours like cabernet, merlot and chardonnay are by-products of wine-making, and mesquite flour is made from the dried pods of the mesquite tree.
When a recipe calls for one or more of these individual flours, you need to either use the exact flours contemplated, or choose substitutes from the same group: whole grain to whole grain; starch to starch. When a recipe calls for an all purpose wheat flour or even an all purpose gluten free flour, the best bet is to use an all purpose gluten free flour containing a gum like xanthan gum or guar gum, so that a good balance is achieved in the blend, and structure is also maintained.

If you are experimenting and find that your baked goods are too heavy or dense, re-examine what flours you are using. Perhaps you need more starches to lighten the end result. If your breads are collapsing, you might not have enough whole grain or pseudo-grains to give the cell structure the support it needs (there could be other reasons for the problem, but this is one to consider — for more on this issue, see my article 18 Tips for Gluten Free Bread Baking).
Also, certain flours like whole grain potato flour (not potato starch) and coconut flour suck the moisture right out of a recipe, so additional liquids are needed to make those recipes work. When rice flours are the predominant ingredient, often a dry and gritty result is inevitable. If bean flours are used, there may be a strange aroma and aftertaste that could be eliminated just by changing the gluten-free flours you are using.

Pre-Made All Purpose Gluten Free Flour
Don’t want to mess with making your own gluten free flour blend for every recipe? I don’t blame you! (And neither do I, by the way!) That’s why I made my award-winning gfJules Gluten Free All Purpose Flour! With this trusted blend, all things are possible, and it’s so much faster to get down to baking without having to gather all the individual flour ingredients.
 One more note on my gfJules Gluten Free All Purpose Flour: it’s not the same as any other flour blend on the market, and you can’t make it at home. That’s right. You may see people say they make my gfJules Flour, but they’re making a recipe for the next best thing: I give lots of ratios and suggested recipes to make your own blend at home if you need, but you can’t buy the specialized ingredients I use in my flour and baking mixes on any store shelf.
I have chosen each individual ingredient in my gfJules Flour for specific baking properties and advantages, and though the names may sound ordinary, they are anything but!
Did you know that I don’t use tapioca starch? I use TWO different modified tapioca starches! I also don’t use ordinary potato starch — I use a special potato starch that’s been dried to a rate that works best for all purpose baking.
These are just a couple examples of why my pre-made gfJules Flour is so different, and why it helps keep your baked goods fresh longer, and keep even the gluten lovers coming back for seconds!
Measuring Flour Correctly:
Did you know that you could throw off an otherwise wonderful recipe just by measuring your gluten free flour the wrong way? Especially if you’re not baking with an all purpose flour that’s already mixed for you, this can be a tricky business.
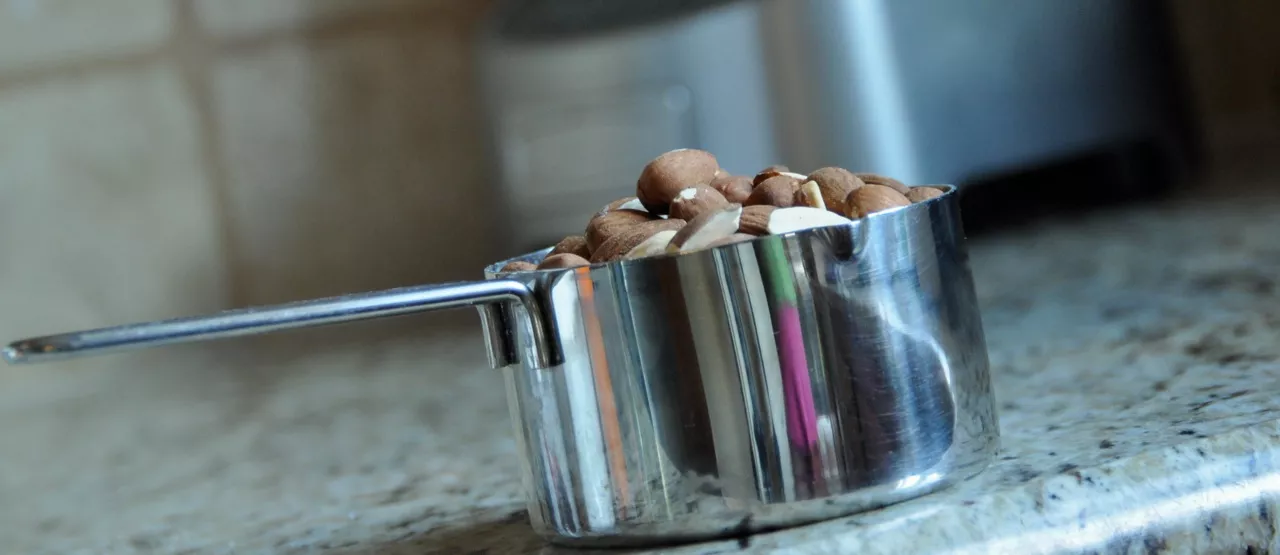
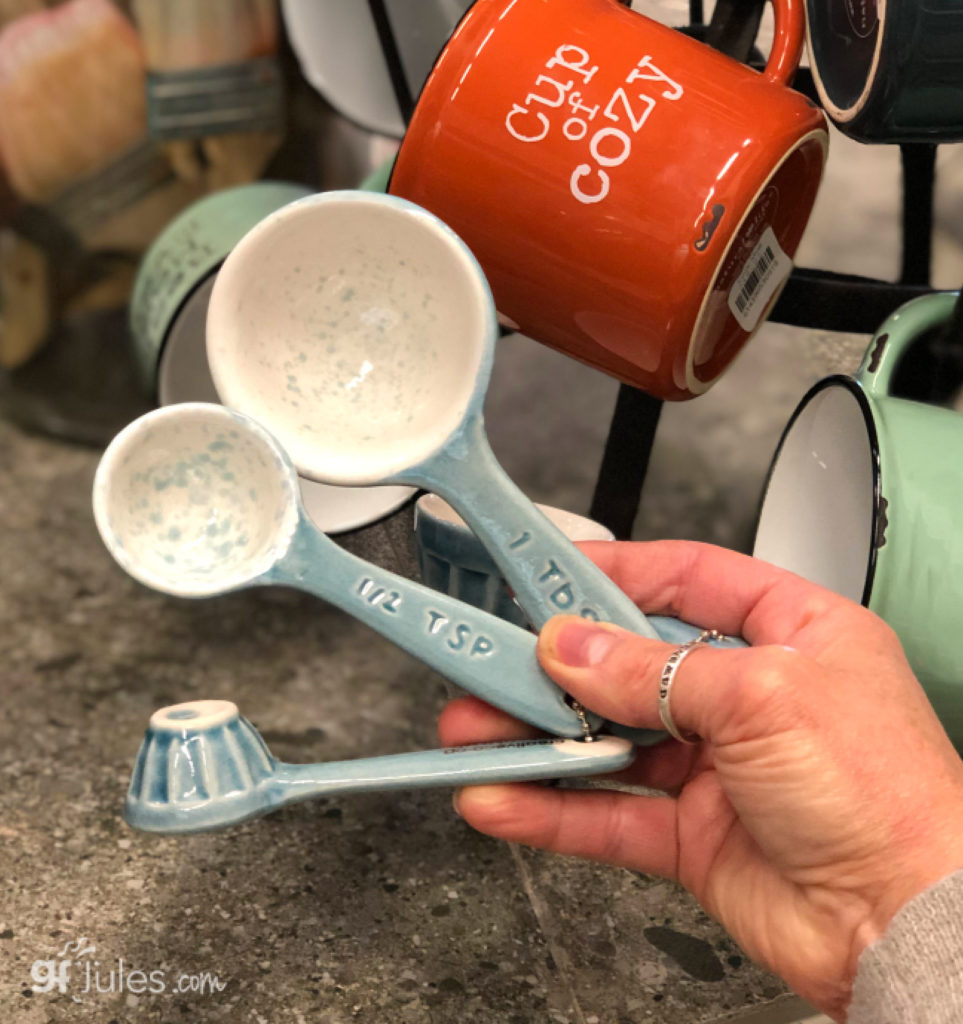
First off, use the right tools. Using cute measuring cups and spoons might seem fun, but when they ruin your recipe, it’s not so fun. Use real, accurate measuring spoons and measuring cups, not novelty ones.
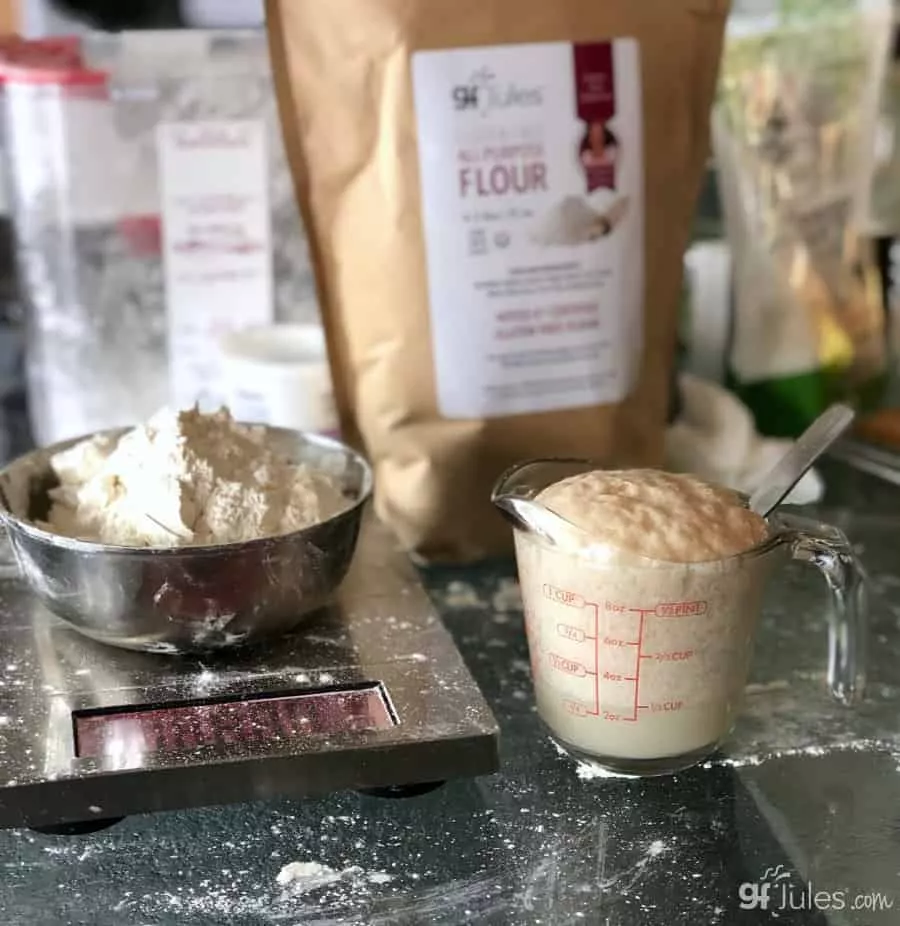
While we’re on the subject of cups, be sure you’re using cups for dry ingredients and clear, glass or plastic versions (sometimes called “Pyrex”) with handles for measuring for liquids. Below you can see one I use for proving my yeast.
It’s almost impossible to measure dry ingredients in a liquid measuring cup accurately, and almost impossible to measure liquid in a dry measuring cup accurately. Do yourself a favor and invest in the proper measuring tools and you’ll have much better results!
Back to measuring dry ingredients, DON’T scoop WITH the measuring cup itself. Doing so can compact the flour and can add up to 25% more flour than you intended. Talk about a dry recipe!
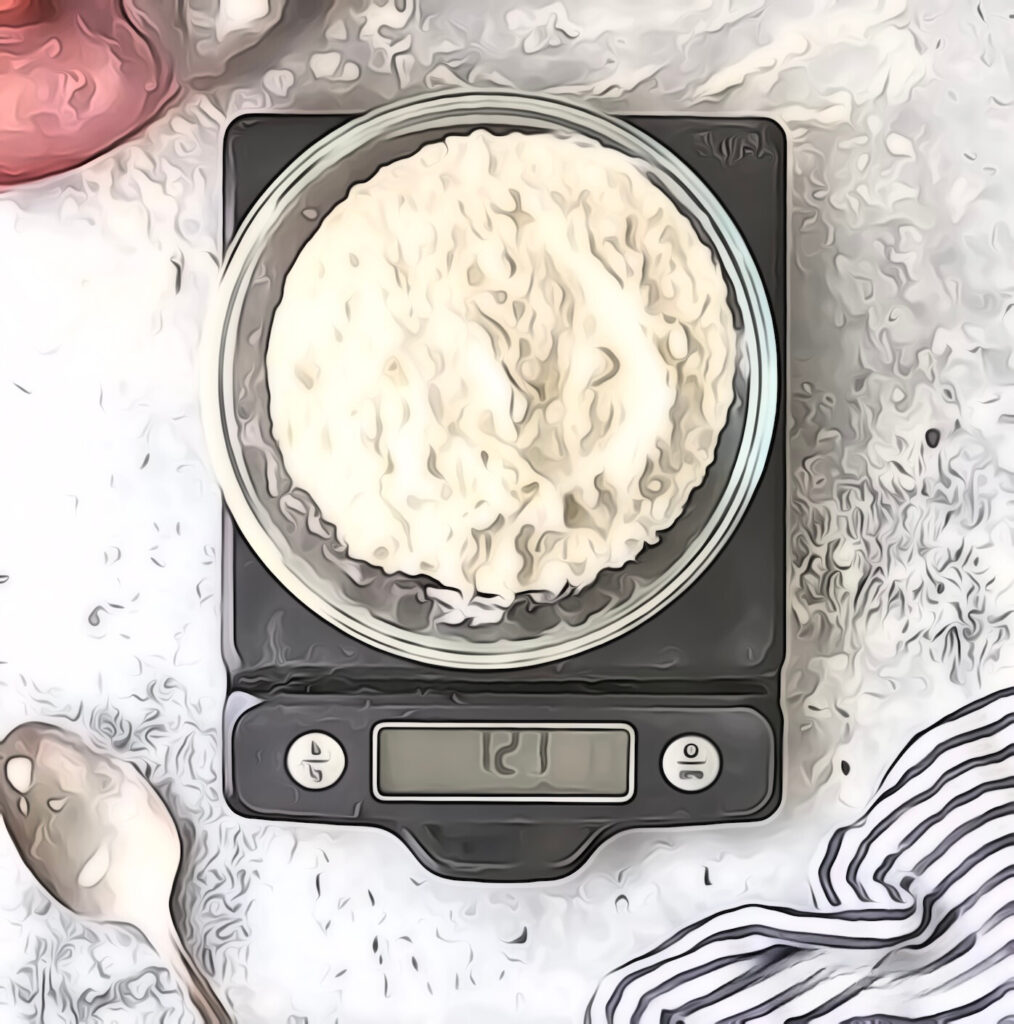
Spoon the gluten free flour into the measuring cup and level off with a knife, or better yet, WEIGH your flour. Seems silly for the home baker, but makes a huge difference. Kitchen scales don’t have to be pricey, but they will become your new best friend (along with your all purpose gluten free flour)!
1 cup of my gfJules Gluten Free All Purpose Flour weighs 135grams.
Not all gluten free flours have the same weight, to consult your brand if you’re not using my gfJules Flour.
For more tips on measuring gluten free ingredients hop to my blog post.
How to Make Gluten Free Cake Flour:
Wheat based cake flour is a low protein, high starch flour that helps cakes and confections bake up light and airy. If you are trying to convert a recipe to gluten free that calls for using wheat based cake flour, simply use my gfJules™ All Purpose Gluten Free Flour, which already has a protein and starch structure similar to cake flour, or follow the recipe below:
Homemade gluten free cake flour:
- Use a gluten free flour blend that is higher in starches and doesn’t contain any heavy or strong flavored flours like bean flours. For every 1 cup of flour you need in the recipe, remove 2 tablespoons of the gluten free blend and substitute with 2 tablespoons gluten free cornstarch.
How to Make Gluten Free Self Rising Flour:
If a recipe calls for self rising flour, you can easily make your own gluten free version. Simply whisk together my gfJules Gluten Free Flour plus a leavening agent (baking powder) and a touch of salt. Here are the proportions to use:
- 1 cup gfJules Gluten Free All Purpose Flour
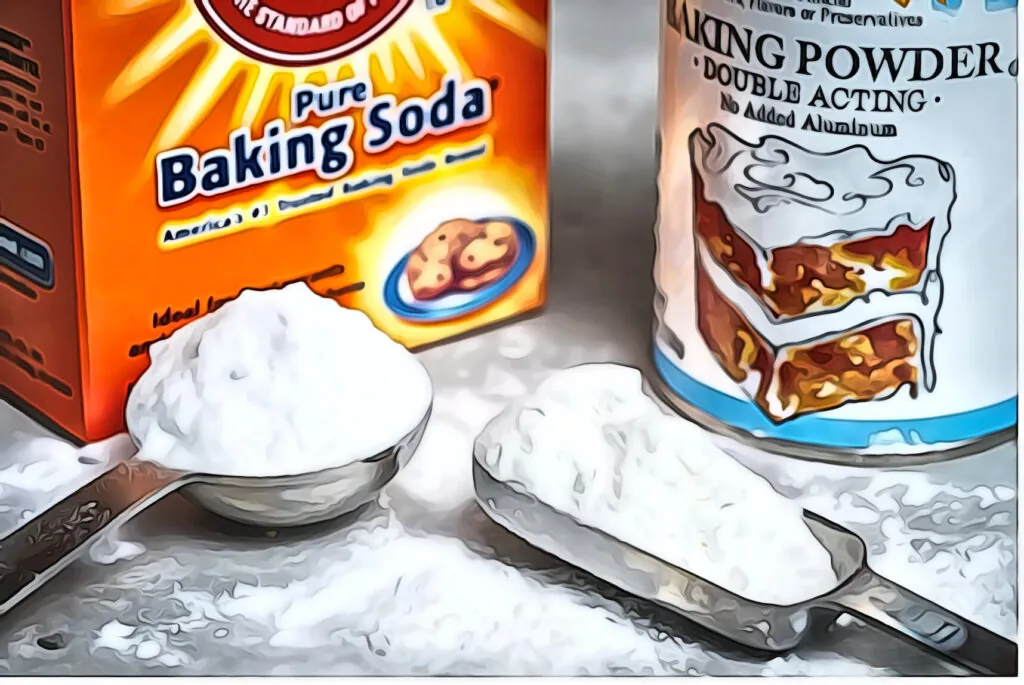
- 1 1/2 teaspoons baking powder (not baking soda)
- 1/4 teaspoon salt
Whisk together and store in a sealed container.
How to Make Homemade Gluten Free Bisquick-like Baking Mix:
Here’s a recipe for a baking mix like Bisquick using gfJules All Purpose Gluten Free Flour:
- 1 ½ cups gfJules Flour
- 4 Tbs. Coconut Milk Powder (or dry dairy milk powder or soy or rice milk powder)
- 1 ½ tsp. baking powder
- ½ tsp. baking soda
- ½ tsp. salt
Bisquick has shortening in it, so add 1/3 cup shortening, cubed, and pulse in a food processor or add with a pastry blender until its texture is like tiny pebbles or gravel. Use it in Bisquick recipes or store in a sealed container in the refrigerator. You could use butter instead of shortening, but use immediately.
Extra Leavening:
- Sometimes you may find that adding a bit more baking powder will help, when converting a recipe to gluten free. So, if a muffin recipe calls for 1 teaspoon baking powder, for example, I’d go ahead and add 1/2 – 1 teaspoon extra. Take good notes so you know what did when you go to make the recipe again!
- in yeast bread recipes, try adding 2 teaspoons apple cider vinegar to help activate the yeast.
- check that your baking soda and baking powder are active! Check expiration dates; opened cans of baking powder should be used within 3-6 months; opened containers of baking soda should be used within 6 months.
For even more FAQs, hop to this page