Gluten Free Baking Troubleshooting
We’ve all had trouble now and then when baking gluten free. I’m here to help!
This quick gluten free baking troubleshooting guide will help with rising issues, gluten free cookie baking, gluten free cake baking, gluten free bread baking, and even with baking for other dietary restrictions.
Why Aren’t My Gluten Free Recipes Rising?
- Check the dates on the bottom of your baking powder and baking soda containers. Use before those dates pass, but if they have been opened and have clumps, they may have absorbed moisture and will be less effective in helping your baked goods rise. I don’t keep my baking powder longer than 6 months without replacing it.
-
- These ingredients are inexpensive, so also I err on the side of replacing them if there are lots of clumps. Don’t store them in the refrigerator either, as they will absorb moisture and other smells that could affect your baking.
-
- To test your baking soda and baking powder to determine if they’re still active, spoon 1/2 teaspoon of either one into a bowl and pour 1/4 cup of boiling water over it. If it doesn’t start to bubble lots, toss it; repeat with the other product.
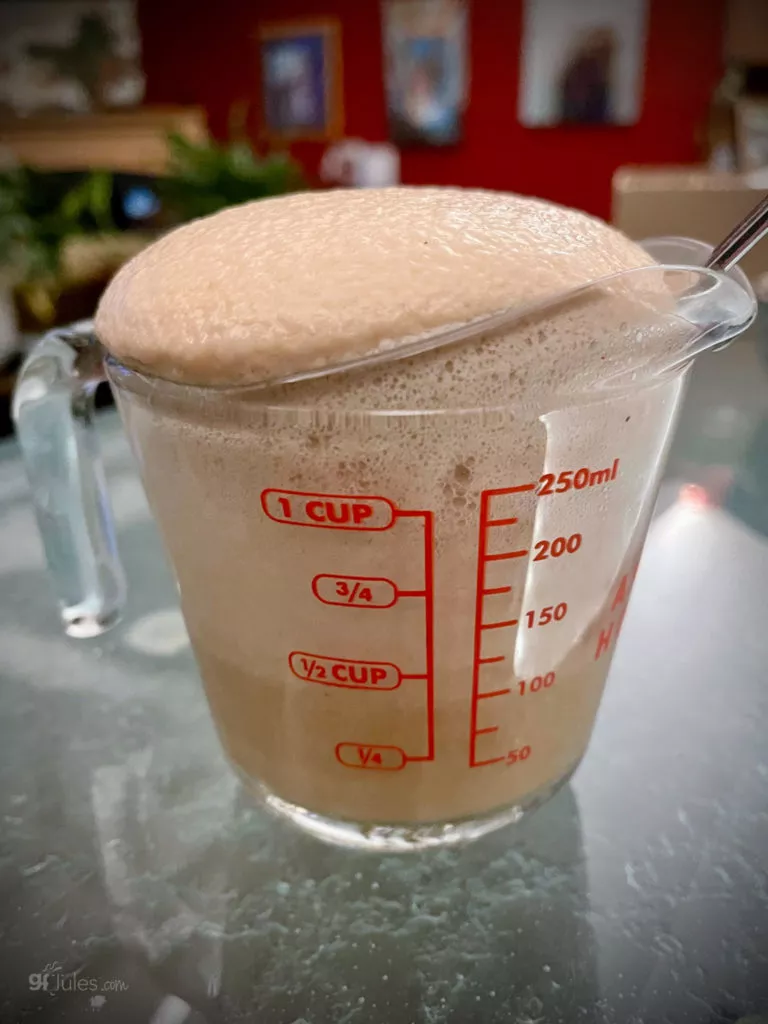
- Check whether your yeast is still active by “proofing” it — find out how here.

yeast after proofing – if your yeast doesn’t look like this, throw it out and try again with fresh yeast. - Baking at high altitude? Check my tips for gluten free baking at high altitude here.
- For yeast breads, try adding an extra egg (or egg substitute equivalent) to the mix or recipe.

What are Guar Gum and Xanthan Gum and Why Do You Need Them in Gluten-Free Baking?
If the recipe calls for xanthan gum or guar gum (binding agents used to replace the sticky qualities of gluten) check if your flour blend already includes one of them (my Jules Flour does). If so, don’t rush out and buy or add more. Using too much of these gums in your baking will make your baked goods rubbery (more on this in another post!)
However, if the gluten free all-purpose flour for some reason does not already include gums, you will need to add that ingredient on your own. To find out how much to add and why, hop to my article on baking with gums!
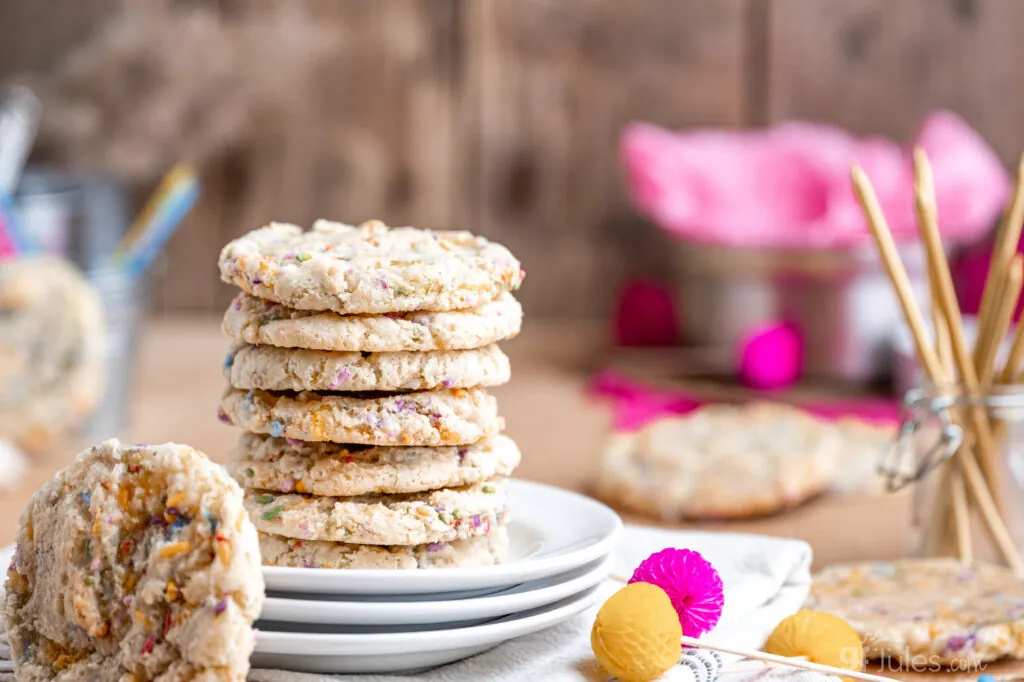
Gluten-Free Cookie Baking Help:
Cookie recipes can be persnickety when you’re baking gluten free. If your gluten free cookies are spreading or they aren’t turning out just how you like them, follow these baking tips:
- Bake on parchment-lined cookie sheets … always!
- Gluten-free cookies are more fragile right out of the oven. Allow the cookies to cool on the cookie sheet before removing.
- Refrigerate the dough before baking (make the dough the night before, cover well and refrigerate, when possible)
- Make sure your gluten-free flour blend has xanthan gum or another binder in it — in the right proportion! My gfJules All Purpose Flour already has the binders you need blended in to prevent gluten-free cookie spread, don’t add more!
- Add an extra 1/8-1/4 cup of gluten free flour if your dough is spreading too much in the oven. Make sure you’re measuring your flour properly for best results in all your baking.
- If the dough is too cakey, add an extra 2 – 4 Tbs. of your favorite milk or an extra egg to the dough and/or press the dough balls down gently to flatten before baking
- Check your oven temperature to be sure it’s not baking too hot if your cookies are spreading more than you like. Try reducing your oven temperature by 25 degrees and baking a bit longer if needed.
- Don’t bake on the bottom rack — bake in the middle of the oven, or better yet, bake on the convection setting if you have it. Reduce the temperature by 25 degrees and reduce bake time by a couple minutes as well.
- Don’t add too many chips and nuts etc. to the dough — there needs to be enough dough in between all your add-ins to hold the cookies together
- Always take cookies out just before you think they are done to avoid over-baking them. They’ll continue to cook a bit right out of the oven. If the middles are just under-done, you’ll have the perfect crisp-on-the-outside cookie with the right chewiness in the middle!

For my Top 11 Gluten Free Cookie Baking Tips, hop to my everything-you-need-to-know-about-gluten-free-cookies article!

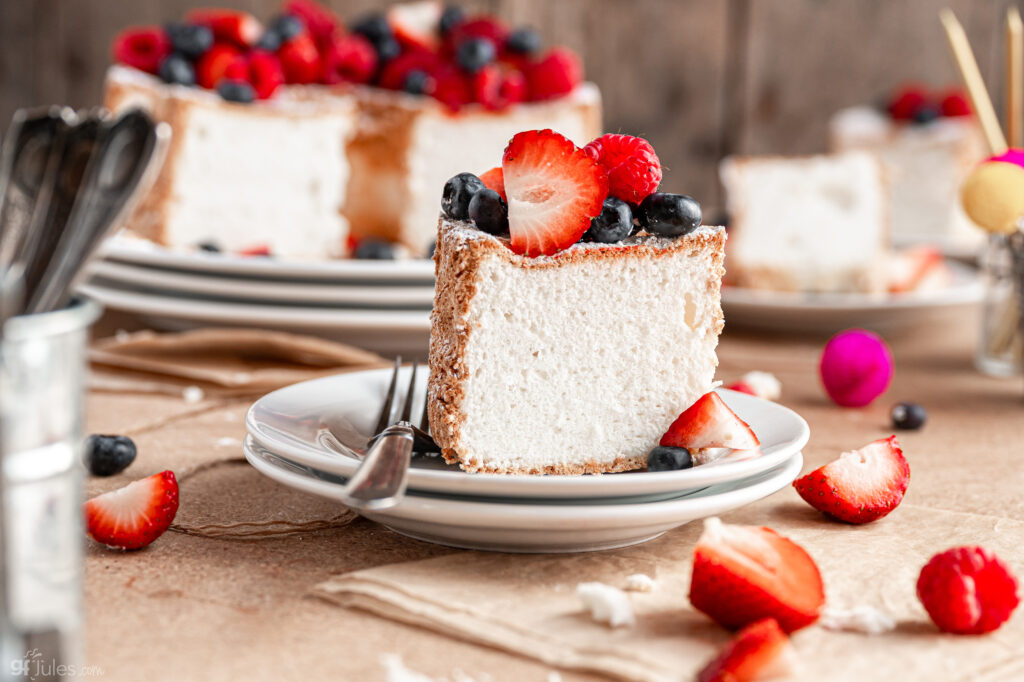
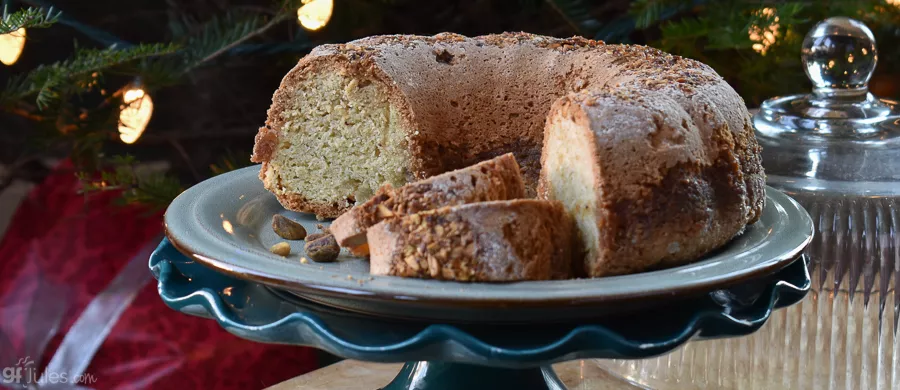
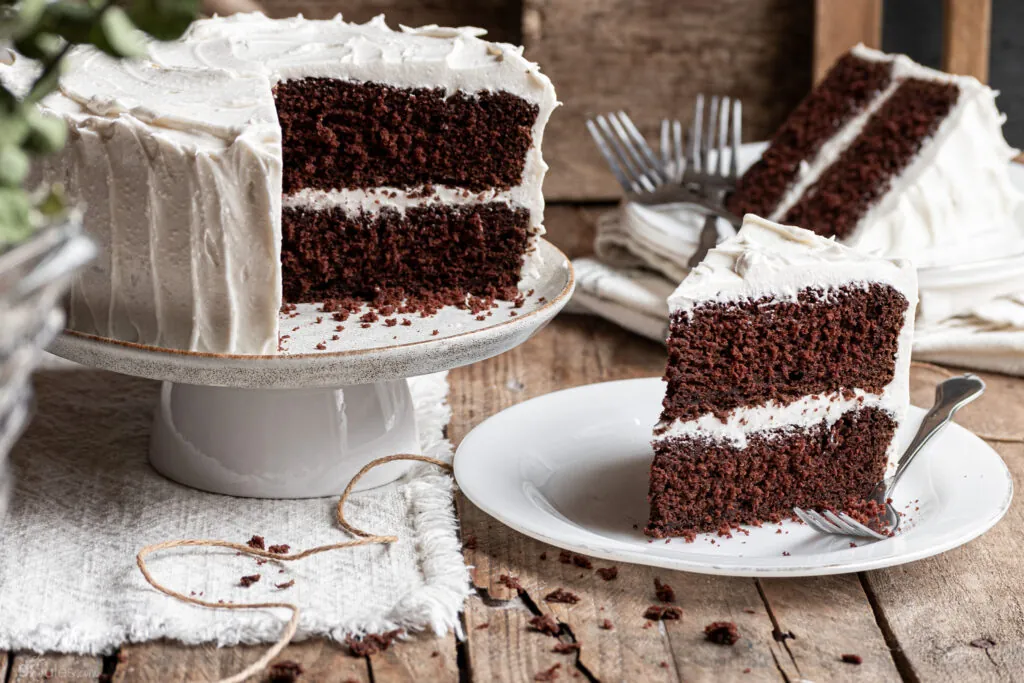
Gluten-Free Cake Baking Help:
Baking gluten free cakes and quick breads is sometimes super easy, and sometimes super disappointing. There are lots of places you could go wrong in these baking applications. Rubbery bottoms? Undercooked centers? Take a look at these tips to help get you to better gluten free cakes and quick breads:
- Make sure eggs and butter are at or near room temperature (but not melted unless directed by the recipe), otherwise they won’t integrate as well into the batter and may leave lumps or areas where ingredients are not dispersed evenly.
- For vegan cakes, try Just Egg or aquafaba.
- Instead of milk, try warm water to lighten up your cakes.
- Don’t over-beat the batter; in recipes that require “creaming” fats and sugars, beat the sugar and butter (or other fat) together well, then add eggs one at a time. Fold the whisked dry ingredients into the wet only just until combined at medium blender speed. Over-mixing can beat too much air into the batter and cause it to collapse. Less is more with mixing a gluten free cake batter — try to blend the batters for less than one minute.
- If making fruit or puree quick breads (like banana or pumpkin), follow the recipe exactly as to the amount to add; including extra banana in a banana bread recipe, for example, is just going to make the bread dense and undercooked in the middles.
- Allow batter to rest in the cake pan for 10 minutes before baking (although not necessary with my gfJules All Purpose Flour, if you’re having trouble with your cakes, give this a try).
- Bake 3-4 minutes longer after it springs back when touched lightly in the center and the cake tester or toothpick comes out clean (internal temp should be 210°F for cakes)
- If you have an oven thermometer and you’re certain the oven temperature is accurate, lower by 25 degrees and bake longer if you’re experiencing rubbery bottoms or dense middles to your cakes.
- If you still get a too-dense cake or one which sinks or has a rubbery layer at the bottom, adjust the flour or liquid in your recipe so you have slightly less liquid or slightly more flour.
- If you have a very high crown in the center of your cake as it’s baking but then it sinks afterwards, reduce the baking powder used in the recipe, and be sure not to over-beat the batter! Also try baking your cake at 325F instead of 350F.
- If your cake is crumbly or not as moist as you’d like, add an egg to the batter next time.
- If the outside layer of the cake is crispy or thick, reduce the sugar in the recipe next time.
- Allow cooked cake or bread cool in the pan for 5 minutes before inverting and removing gently from the pan. Allow to fully cool at least 20 minutes before slicing. Slicing too early can smash the structure of the bread or cake and cause it to become dense.
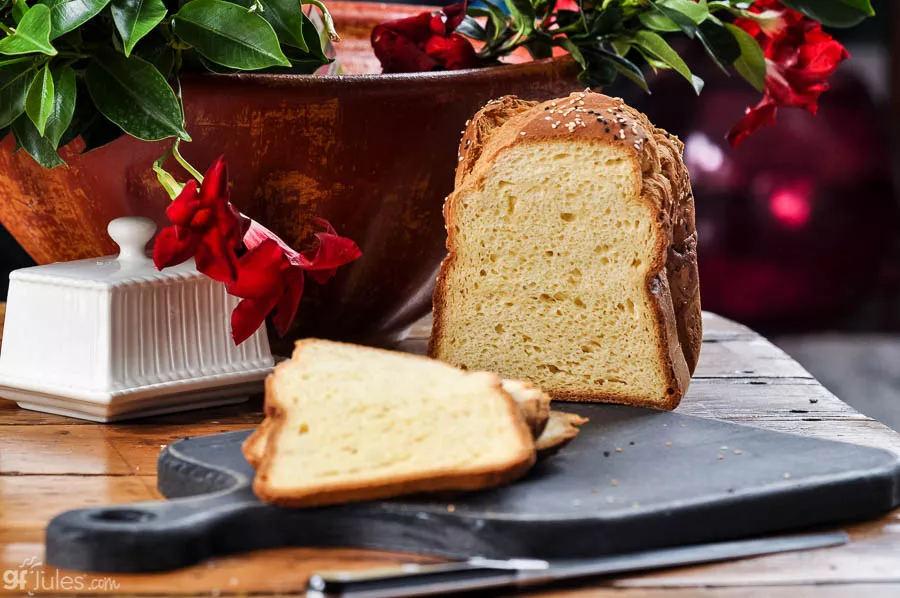
Gluten-Free Yeast Bread Baking Help:
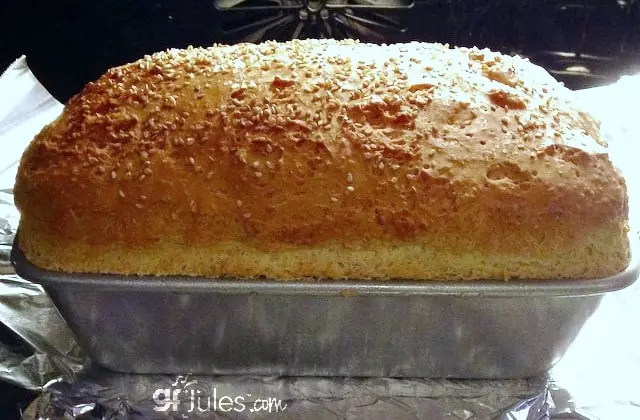
One important caveat when converting recipes from wheat to gluten free: while the transition can be seamless in many types of recipes, the directions for yeast breads are quite different.
For example, gluten-y yeast breads require extensive kneading, a rise, a punch down and another rise before shaping and baking. Not so, for gluten free yeast breads! In fact, if you do all those things to gluten free yeast bread, you’ll punch the life (and rise) right out of it!
For gluten free yeast doughs, you 1) mix 2) shape 3) rise and 4) bake. That’s it. That’s also why there is a gluten free setting on many bread machines — the steps are very different for gluten free yeast bread. (For more Bread Machine Tips – check out my article)
So my recommendation is to either stick with gluten free yeast bread recipes rather than trying to convert from wheat recipes, or at least to start out with gluten free yeast bread recipes until you get the hang of it and know what to expect the dough consistency to be like and how it should behave.
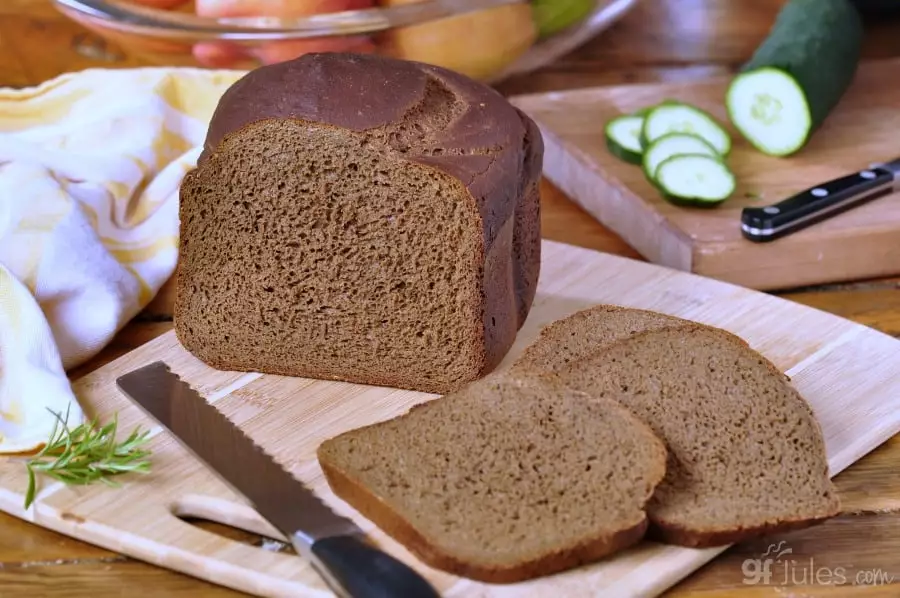
I have many yeast bread recipes here on my site, so search for anything from hamburger buns to pumpernickel, baguettes to sandwich bread, bread sticks to beer bread … you’ll find those recipes here, tried and tested! (use the search bar at the top of every page).
If you’re still having trouble getting your yeast breads to rise, try adding 2 teaspoons (or up to 2 tablespoons for sourdough) apple cider vinegar to help activate the yeast. You can also try adding an additional egg (or equivalent egg substitute) to your mix or recipe.
If you cannot tolerate yeast, I have many yeast-free bread recipes and also versions of pizza and sandwich bread that are yeast-free in my recipe section. Simply search the recipe tab for “no yeast” or “yeast free.”
I’m Gluten-Free and Also Have Other Dietary Restrictions – HELP!
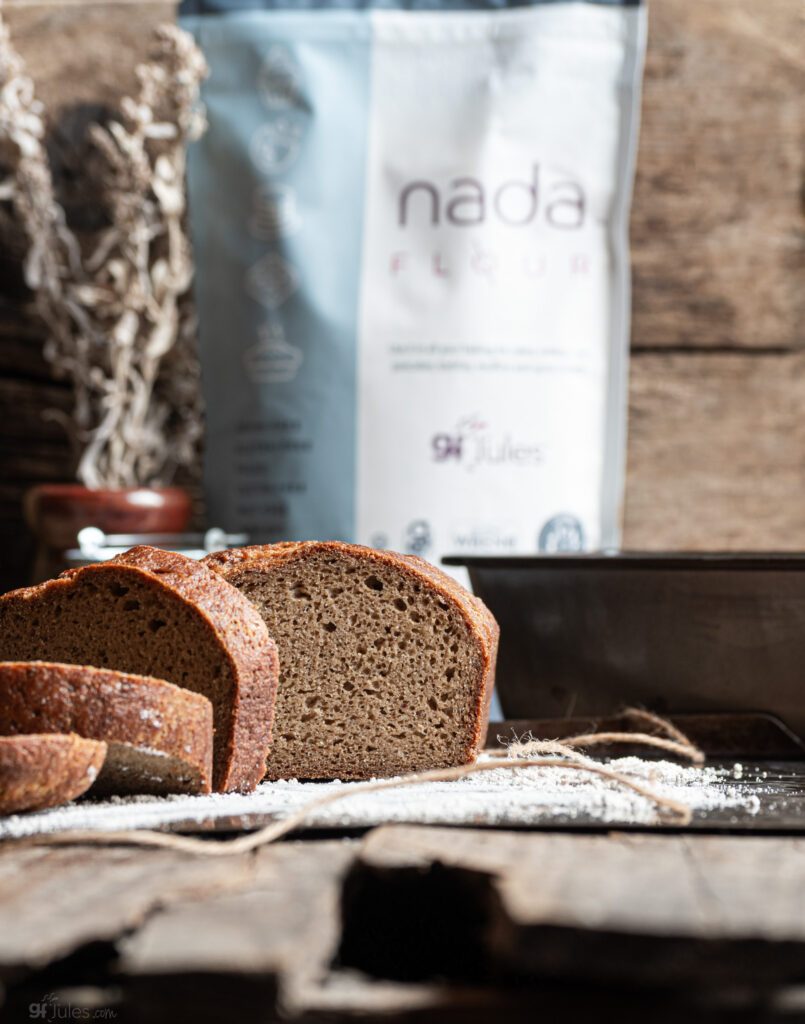
If you have other dietary restrictions (corn allergy? can’t tolerate potato? …) check out my article on gluten free flours. I give recipes and ratios to make your own gluten free flour blend so you can still use all my yummy recipes! Also see my gfJules Corn-Free Multigrain Biscuit & Breakfast Baking Flour and my gfJules Nada Grain-Free Flour!
If you’re avoiding dairy, take heart! All of my recipes can be made without dairy with substitutions given. Here are some of my favorite dairy-free ingredients I bake with myself. If you need to be egg-free, check my recommendations for baking without eggs.
If you have other dietary restrictions or food allergies, and are looking for more ingredients, products and recipe substitutions for nearly every other conceivable food allergen,I highly recommend you take a look at my cookbook, Free for All Cooking: 150 Easy Gluten-Free, Allergy-Friendly Recipes the Whole Family Can Enjoy.
Help for Gluten Free Baking Mistakes
Don’t give up on a recipe if it doesn’t work the first time, either. Some of the most creative results I’ve had come from what seemed to be a mistake. Check out what became a lava cupcake recipe (although it wasn’t intended!).
See more ways to retrofit baking rejects in my article, Making the Yummy Best of Gluten Free Mistakes! The next time you try the recipe, change up the gluten free flours and see if that doesn’t make a huge difference. Remember, you have so many gluten free flours to choose from!
So, dust off that recipe box and find your apron! Your family favorites are back on the menu!


Great tips! I almost gave up baking gluten free cakes altogether because the ones I bake really need to be eaten that day only…then I went to gluten free bakeries and discovered even though theirs tasted better than mine(pobably due to more experience baking gluten free) the baked goods still got rock hard the next day,especially the paczki donuts. Can rock hard cake /pastry be revived?
Hi Linda – have you tried baking with my gfJules Flour? My baked goods always stay fresh for many days! I just baked cupcakes yesterday and they’re just as soft and fresh today (and will be for several days) as they were yesterday! It’s one reason many bakeries are switching to using my flours and mixes!!! As for storage of baked goodies, I never refrigerate them, as that just dries them out, so find an air-tight container or zip-lock bags and store at room temp for best results.
~jules