I get lots of questions from folks asking how to adjust gluten free recipes for high altitude and my first answer is that you might not have to make an adjustment at all. My gfJules Flour compensates for a lot of baking woes that plague high altitude bakers, but there are a few tips that will help you achieve gluten free baking nirvana, even at higher elevation.
High Altitude Gluten Free Baking Tips
Why Does Altitude Affect Baking?
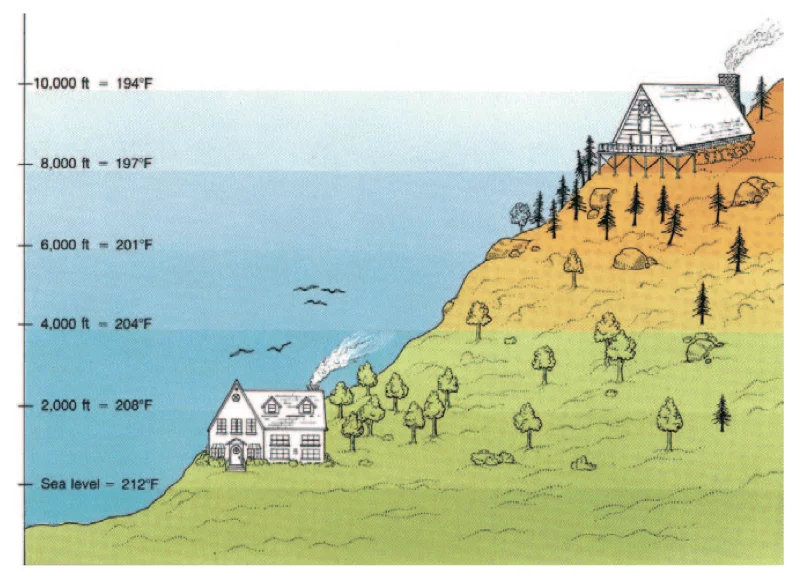
Those of us unaccustomed to high altitudes often experience shortness of breath, headaches and quick sunburns when we visit higher locations. The air is thinner and the pressure is lower at 5,000 feet above sea level and beyond, but people aren’t the only things affected.
The same conditions that create these physical problems for living creatures can also affect baking.

First let’s look at what happens when there is low atmospheric pressure, low humidity and thinner air. The first things you’ll notice in the kitchen are a lower boiling point, more rapid rising and drier baked goods from the reduced humidity.
What does Altitude Do to My Gluten Free Recipes?
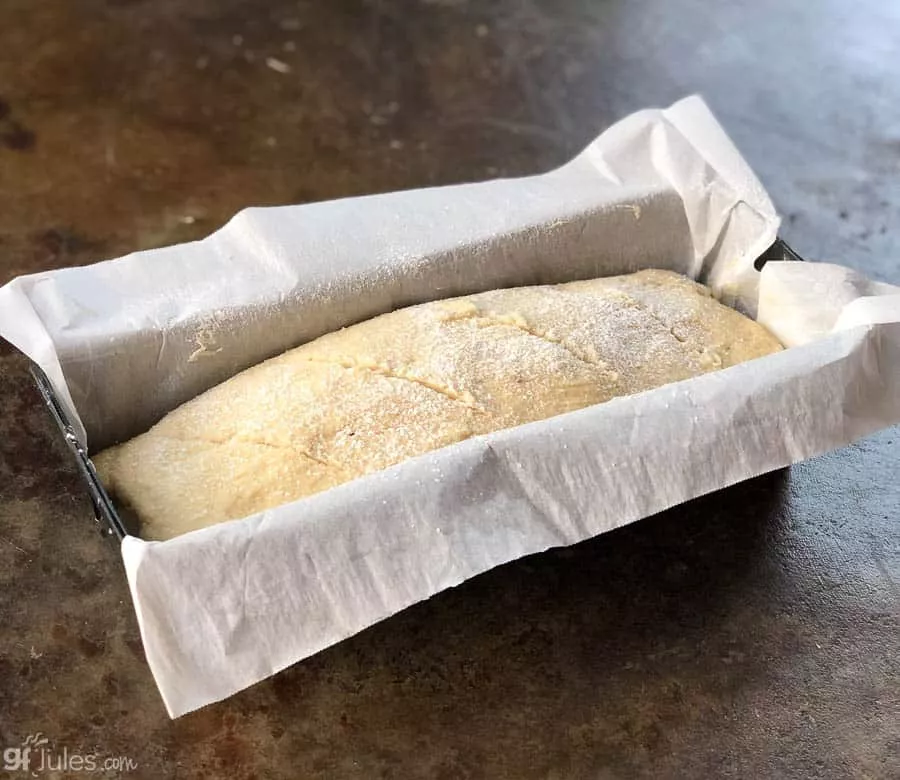
Where we really see altitude really affecting gluten-free baked goods is in the leavening. Particularly with large gluten-free loaves, yeast breads may rise faster due to lower atmospheric pressure, which can lead to potential cave-ins. The loaf’s cell structure may not be set well enough to hold the bread’s shape.
Other leavening agents like baking powder and baking soda will also cause the gases in breads and cakes to expand/rise faster. (One teaspoon of baking powder at 5,000 feet yields 20% more volume than at sea level!)
If you have the time and the luxury to do so, my recommendation is to try your gluten-free recipe without adjustment first. Keep good notes so that you remember any problems that developed with each recipe, and what solutions you devised that worked. If you encounter problems, reference these tips to help.
♦ What do I do if my gluten free bread or cakes rise too fast and then collapse?
- Adjust the leavening agents: reduce baking powder by 1/4 teaspoon for each teaspoon called for in the recipe if you are baking above 6,000 feet. If you are baking at 8,000 feet or higher, reduce by 1/2 teaspoon for each teaspoon in the recipe.
- For yeast breads, you may want to reduce the amount of the yeast you are using. Standard yeast packs contain 2 1/4 teaspoons of yeast, but you may find you only need 1/2 that amount, depending on your elevation. Experiment with yeast amounts to see how much is the right amount for your recipes and your elevation.
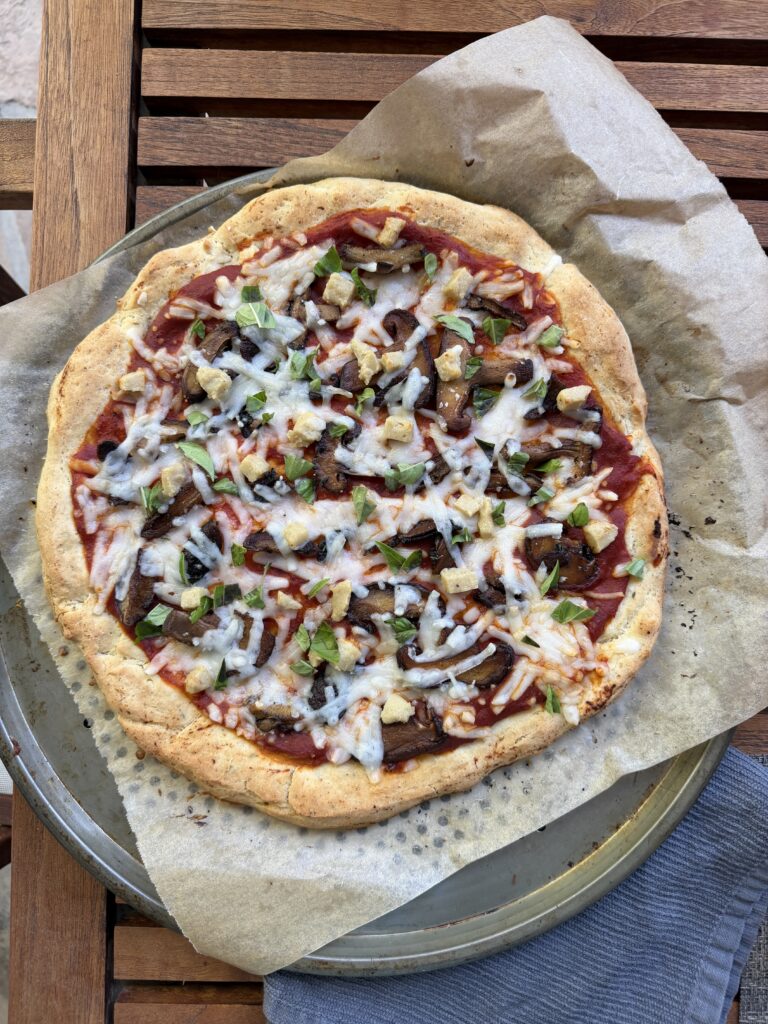
- Even recipes like gluten-free pizza could benefit from less yeast. If you prefer your gluten-free pizza to be less bready, reduce the yeast at higher altitudes.
- Reduce the rise time of yeast breads. Never let the dough rise higher than the side of the pan. Check frequently to ensure bread is not rising more than double its size before baking. Shoot for rising 1 1/2 times the size of the dough, not doubling.
- Do not fill muffins or cake pans more than 1/2 full.
- Do not omit salt in yeast bread recipes because salt will help to contain the rise.
- Try increasing the baking temperature by 25 degrees to help heat set the cell structure faster so that it is better supported after cooling. (“oven spring”)
- Use extra large eggs instead of large eggs (eggs contain protein which helps to provide structure)
- Do not over-beat eggs, as this will enhance the rising of batters, which is not advised at high altitudes.
- For more gluten free bread baking tips, check out this article with my Top 18 Gluten Free Bread Baking Tips.
♦ What if my baked goods aren’t rising well?
- Reduce salt and try switching to using unsalted butter if that is in the recipe, as salt can kill yeast.
- Increase the oven temperature by 25°F for breads, 15°F for cakes and reduce the bake time (bake time with have to be adjusted according to the recipe)
- Decrease the sugar in your recipe by 1 tablespoon per cup (due to increased evaporation, sugar will be concentrated and may weaken the recipe’s structure)
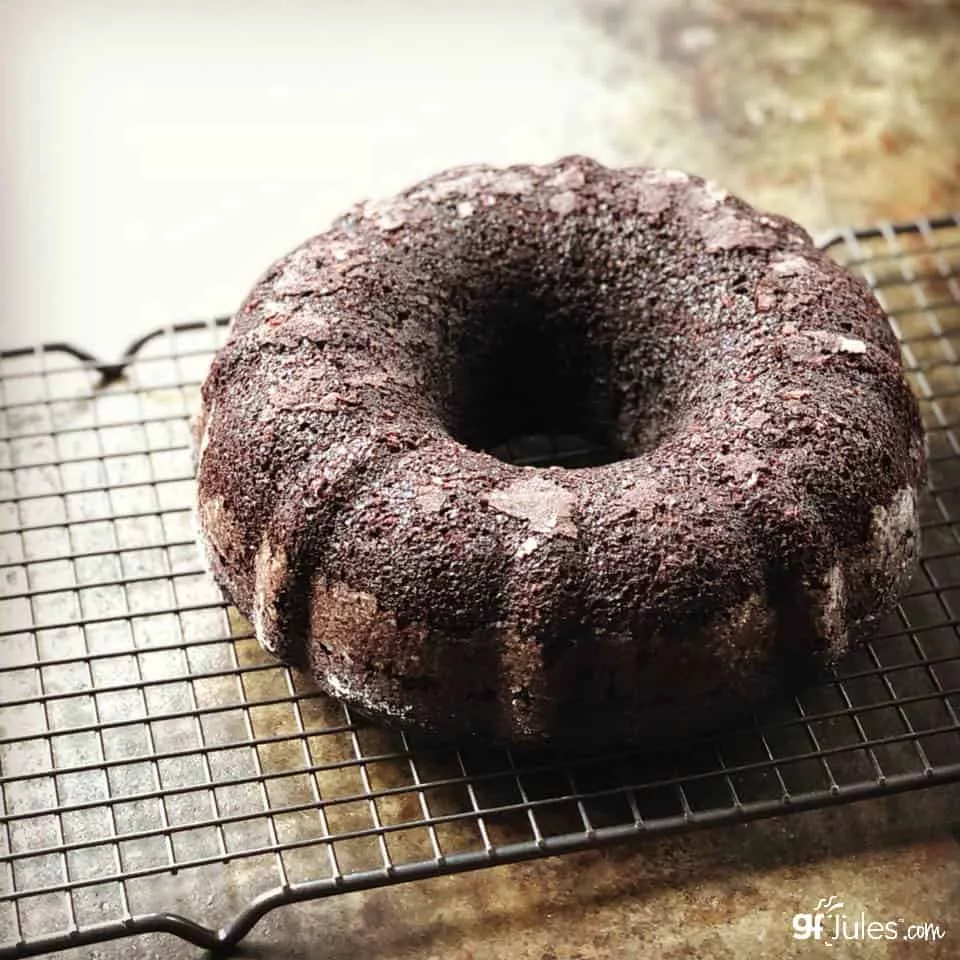
♦ What if my baked goods aren’t fully cooked (wet inside or dense)?
- Bake longer! Some cakes and breads which bake in under an hour at sea level can take up to 1 hour and 20 or 30 minutes to bake at altitude.
- Reduce the oven temperature to 325F and bake for longer, checking frequently with a toothpick or internal thermometer to be sure it’s fully cooked before removing to cool.
♦ What if my baked goods are drier and more crumbly than they ought to be?
- Most recipes at higher altitudes will be drier due to decreased humidity. Increase liquids by 1-2 tablespoons if baking at 3,000 feet; 3-4 tablespoons if baking at 6,000 feet; 4-5 tablespoons if baking at 7,000 feet or higher. A good rule of thumb is to increase liquids by 1/2 Tablespoon for every 1,000 feet over 3,000 feet. These amounts are obviously proportionate to the recipe, so for larger recipes, this amount will need to be increased.
- OR decrease gluten-free flour by 1 tablespoon per cup of flour.
- Add 1-2 Tablespoons of honey, agave, coconut nectar OR pure maple syrup to help hold moisture. These liquids are humectants and work to hold moisture in doughs.
- Try substituting shortening for butter – it holds more liquid.
- Cover bread dough with damp towel to add humidity and/or put a pan of ice cubes on the bottom shelf of your oven while your bread is baking.
- Be sure you’re using gfJules Gluten Free All Purpose Flour to keep your baked goods light and soft, and to replace of other flours like bean or brown rice blends which already produce dry and crumbly foods.

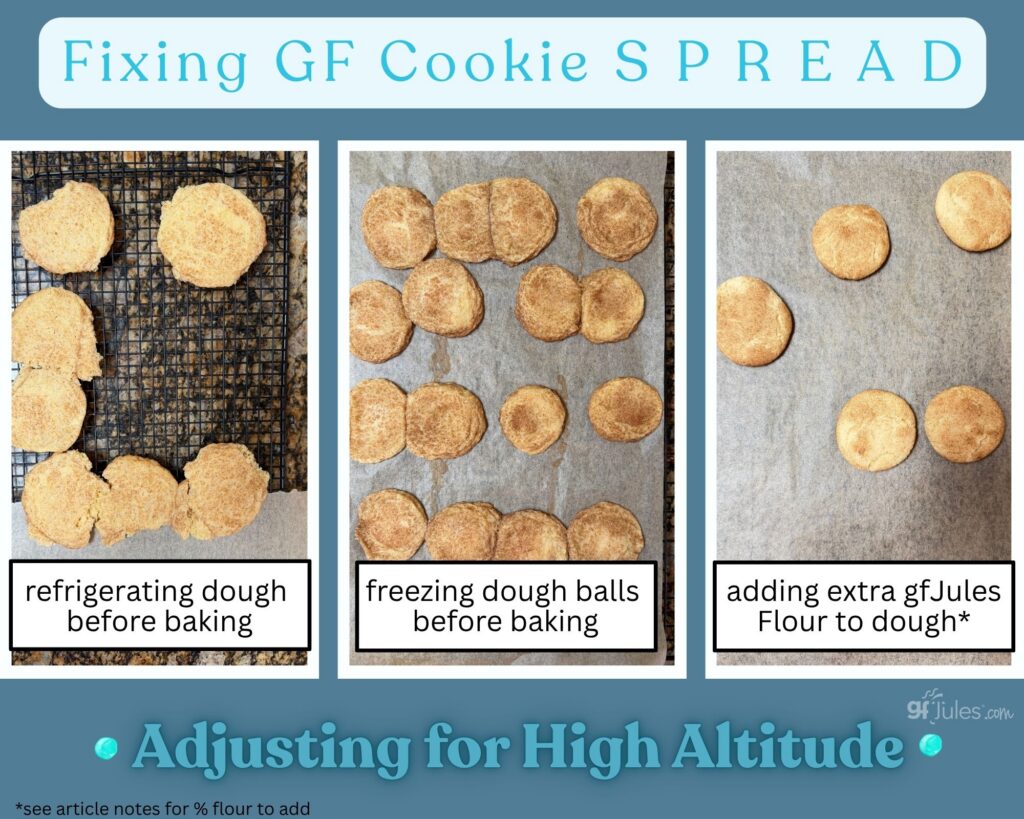
♦ What do I do if my gluten-free cookies flatten?
- Make sure your fats (i.e. butter) are very cold. Do not use tub butter!
- Refrigerate your cookie dough before baking. One step better is to form dough balls and freeze them (sealed well) before baking.
- Always bake on parchment, and it can even help to refrigerate or freeze the cookie sheet before baking.
- Reduce the shortening or butter by 1-2 tablespoons.
- Substitute shortening for butter.
- *Add up to 9% more gfJules Gluten Free All Purpose Flour in the recipe. Example: for a gluten-free Snickerdoodles cookie recipe calling for 2 3/4 cup flour (371 grams), add up to 1/4 cup (34 grams) more gfJules Flour. Pay attention to the dough and add any extra flour slowly so you don’t make the dough too cakey with extra flour.
- Reduce the amount of additions like chocolate chips so there is more dough:chips in the recipe.
- Add a tablespoon or so of powdered milk or non-dairy powdered milk (not reconstituted).
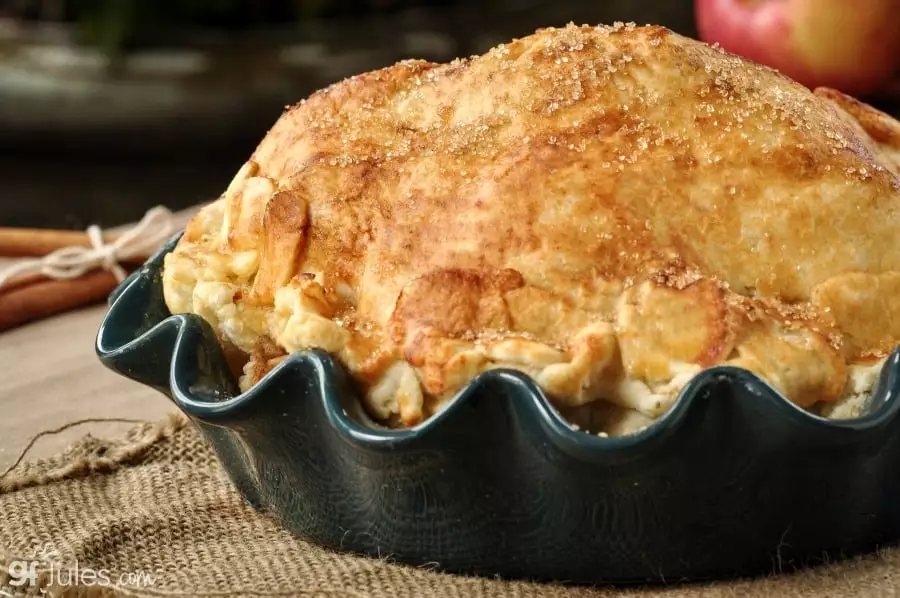
♦ What if my gluten free pie crusts or pastries are dry or tough?
- Reduce gfJules Gluten Free All Purpose Flour or use less flour to dust with and handle the crust as little as possible.
- Ensure the fats (butter, oil, shortening) and liquids are very cold when mixing.
- Increase liquid by up to 25% (I add 2-3 tablespoons of vodka to the liquids in my pie crusts with great success!)
- Never, never over-work your pastry doughs!
- For more gluten free pie crust tips and recipe, check out my top-rated Tips!
-

Your gluten free pie crusts should be gorgeous and tender, not tough.
I hope these tips help you to perfect your high altitude gluten-free baking!
Pin to save or share!


 (10 votes, average: 4.30 out of 5)


I’m moving from sea level to 4300 ft.
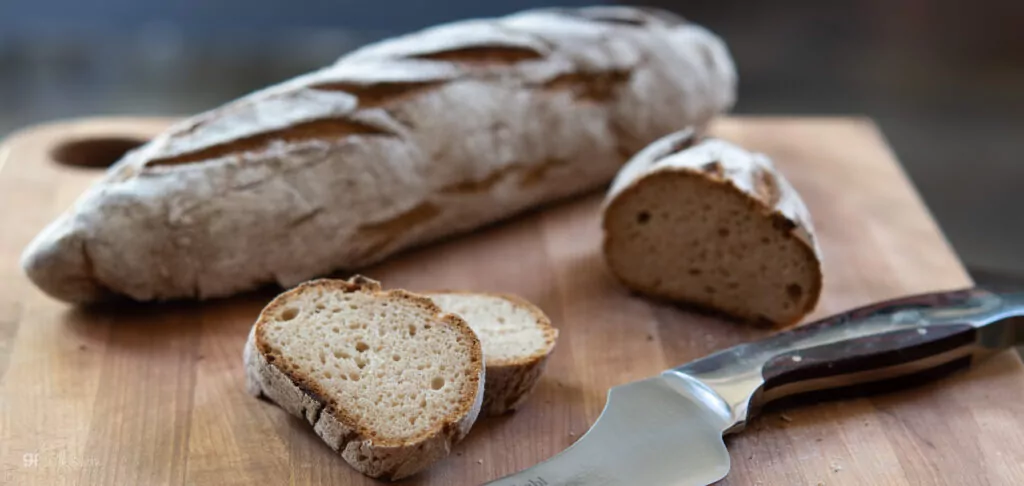
I will say after quite a while using Jules bread flour the only consistent problem is how dry and crumbly the loaves are after a couple days. I wait till they’re cool and put them in a bread bag and put them in the fridge.
Please tell me if I’m doing that wrong. Also, I started backing down on time by 5 up to 10 min and now I’ve put an extra egg yolk in and I see a denser consistency with a little less crumbles. I may try using butter with the oil to see if that holds more moisture.
Hi Sherry, thanks so much for sharing your experiences — I’m happy to help!!
First of all, I never recommend refrigerating baked goods of any kind, as that definitely dries them out! The bread bag (I assume you’re talking about a sealed one?) is great, or a tupperware type container. With my gfJules Gluten Free Bread Mix, in particular, the loaves stay soft and sliceable without crumbling for many days if you don’t refrigerate. That being said, the addition of an egg or even an egg yolk doesn’t hurt a thing. We found during the Pandemic that egg sizes started to be variable and many customers were adding an extra egg with success. You can either opt for extra large eggs or add an extra egg and you’ll be fine, especially at altitude. I’ve noted that on the bread mix product page (under ingredients tab). I would stop refrigerating and see if that helps before you make any other switches with butter, just so you’re keeping it to one variable at a time — all in the name of science!!
I hope that helps!
~jules
Any suggestions to keto high altitude baking? What different suggestions if any when using almond and coconut flour but mainly coconut?
It’s mostly about moisture when it comes to those flours, so pay attention to the high altitude tips pertaining to less or more moisture.
~jules