As we edge ever closer to Thanksgiving, many of our thoughts are turning to bread. All kinds of breads like dinner rolls and sandwich loaves for those Turkey Day leftovers, and of course, stuffing. None of us should feel deprived on Thanksgiving, no matter the dietary restriction, but invariably folks living gluten free begin to panic when considering how to tackle Thanksgiving stuffing.
Well I have some great, easy answers for you! They all involve starting now to think about your bread baking though.
Stuffing’s primary ingredient is what — bread, right? And more specifically, stale bread. So consider all those dry, crumbly store-bought frozen loaves you probably have shoved behind the frozen broccoli and veggie burgers (ok, that’s in my freezer, you think about whatever is in yours!). Those are perfect for making stuffing because they’re already stale! Use those up on your stuffing and make room in your freezer for good food!
Another option is to use this opportunity to perfect your homemade gluten free bread baking. Anything you make between now and Thanksgiving could make its way into your stuffing dish, no matter whether you consider it to be a failure or a success.
If you bake bread with that in mind, you won’t be so hard on yourself if your bread sinks or is too dry, doesn’t rise much or has a hard crust … any bread can make a decent stuffing. Really! Once you bake a few loaves, you’ll be an expert and will have worked out any kinks so you’ll be ready for those Thanksgiving dinner rolls too!

A still easier option is just to use my award-winning gfJules Bread Mix, which contains all the flours, dry ingredients and yeast you’ll need to make a great, fresh loaf.
So get in there and start baking, slice up any leftovers or “failures” and freeze them for your Thanksgiving stuffing, or at least dig through your freezer now to make sure you still have that door-stop (aka frozen bread) from the store that you can repurpose.
 Give this recipe a try for from-scratch baking or try my gfJules Bread Mix if you want to save yourself a bit of shopping, measuring and mixing. Your home will be filled with the wonderful smells of yeast bread and your heart will be relieved to know you’ll be ready for Thanksgiving with much less stress!
(PS- Need a good stuffing recipe, try mine!)
Want to try another yeast bread variation? Read this article from the Patriot-News, reviewing another of my easy and delicious bread recipes!
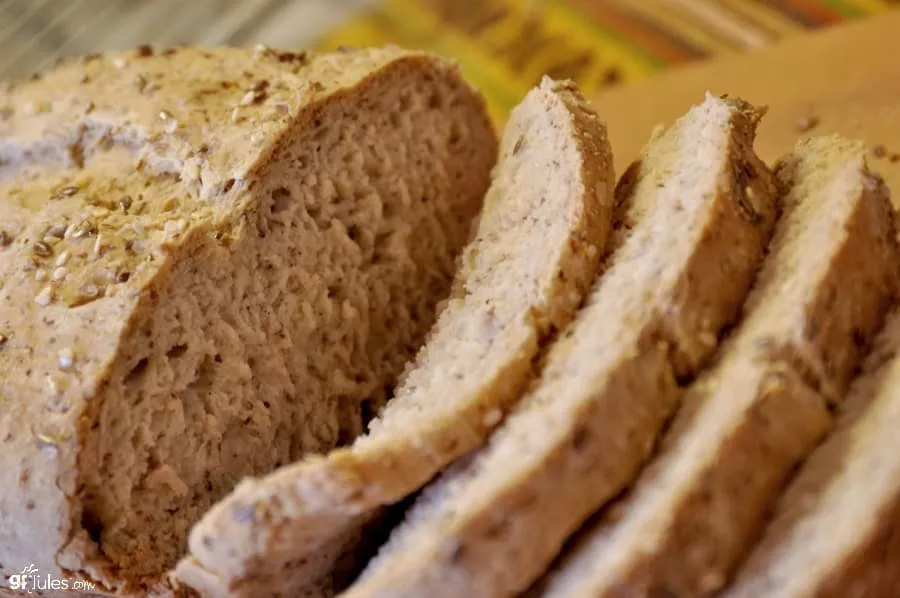
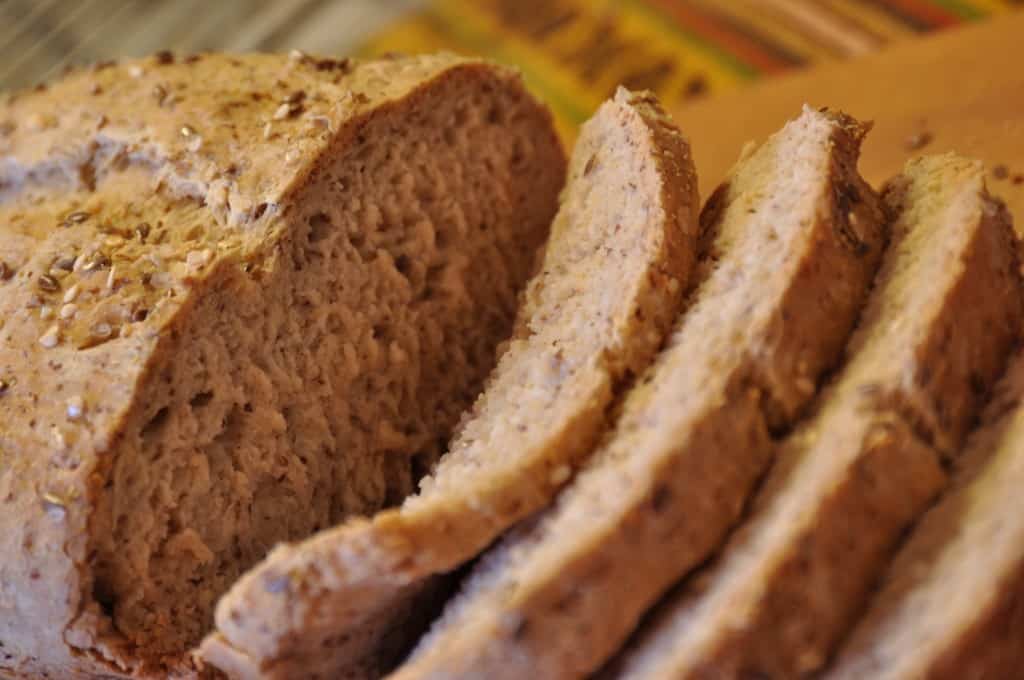
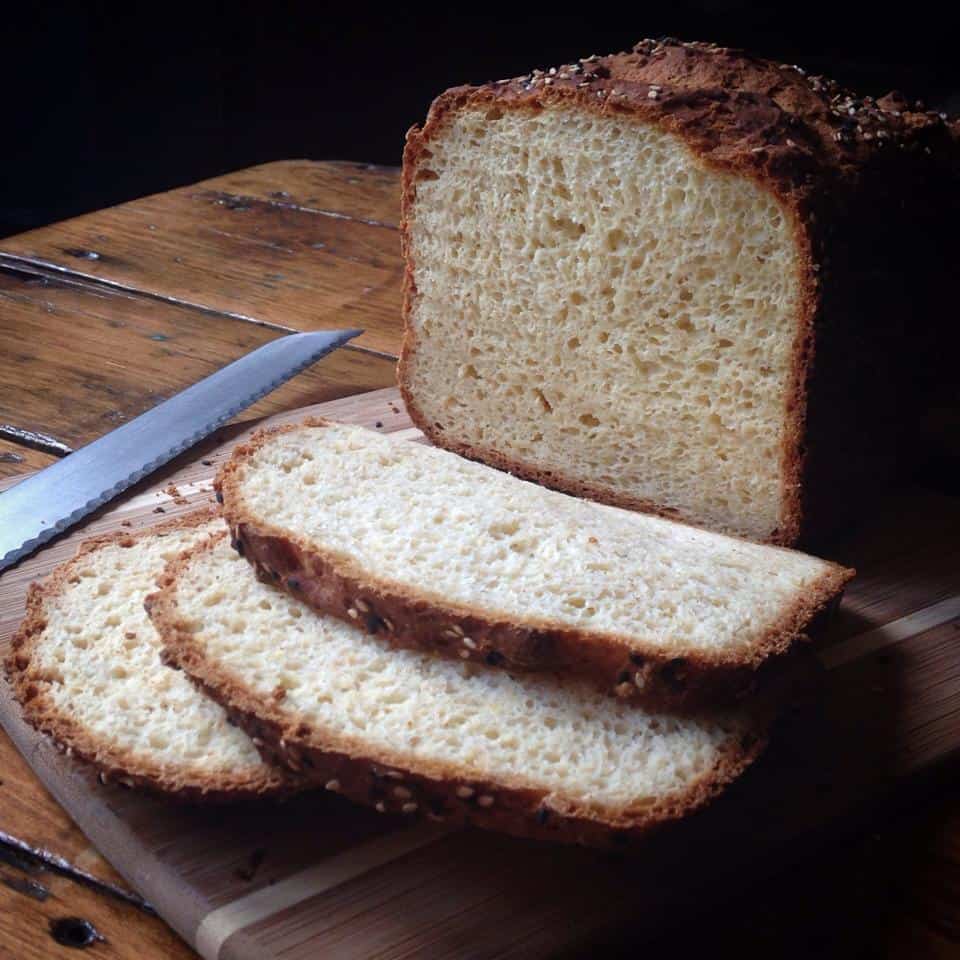
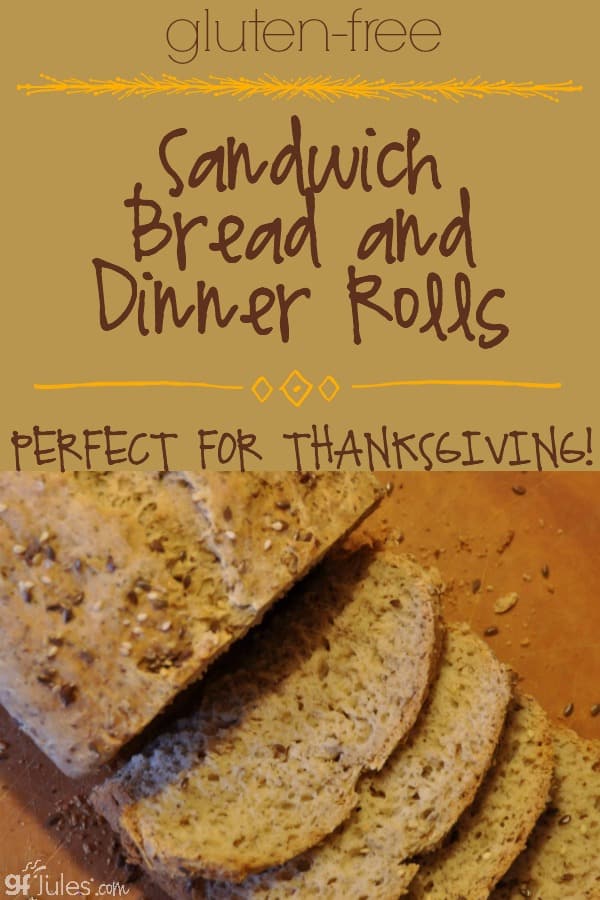
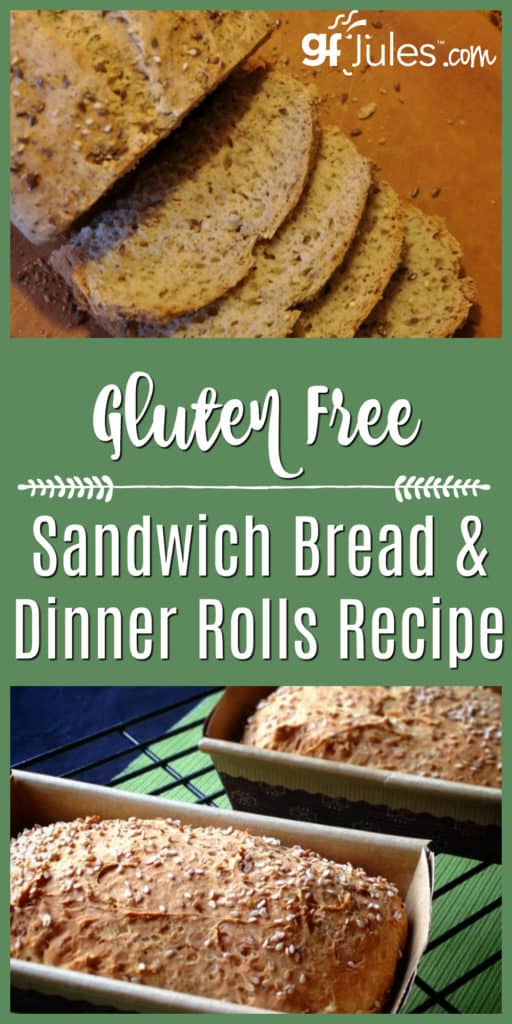
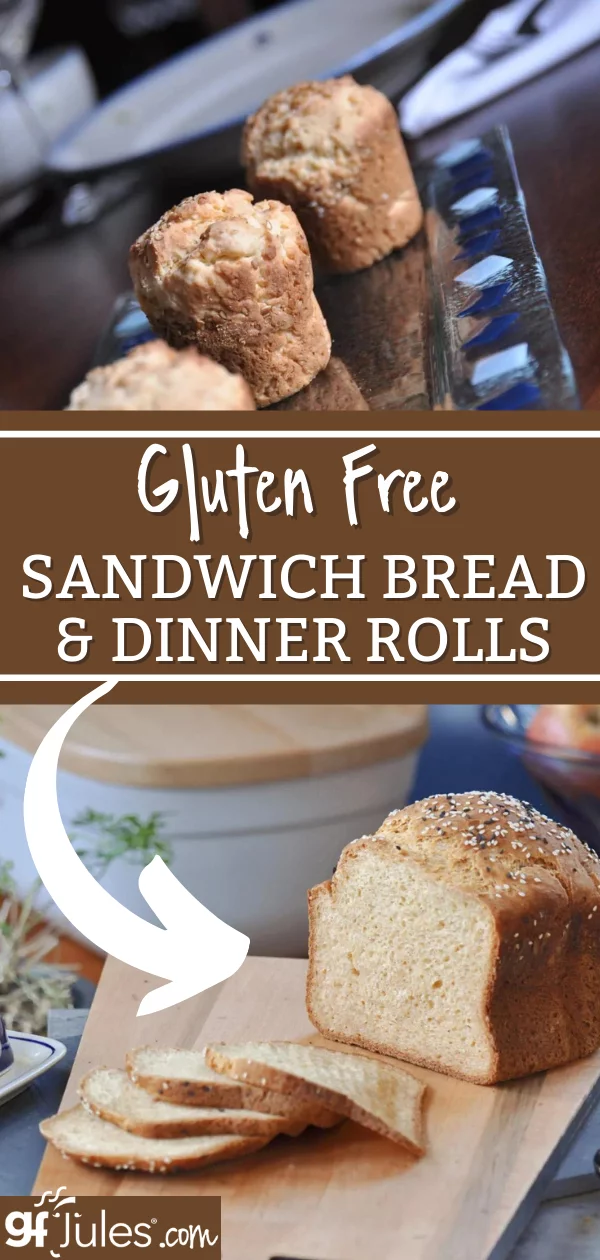
Gluten Free Sandwich Bread and Dinner Rolls Recipe

Ingredients
- 1 gfJules Gluten Free Bread Mix
OR
Dry Ingredients:**
- 3 (405) cups (grams) gfJules® All-Purpose Gluten-Free Flour
- 1/4 (26) cup (grams) flax seed meal (or gfJules Gluten Free Multigrain Baking Flour)
- 1/4 cup dry milk powder dairy or non-dairy (e.g. Coconut Milk Powder) {OR gluten free vanilla pudding mix OR protein powder}
- 1/2 tsp. baking soda
- 2 tsp. baking powder
- 1 tsp. sea salt
PLUS these Liquid Ingredients:
- 2 Tbs. honey OR agave nectar date syrup OR coconut palm nectar
- 1 1/4 cup room temperature liquid: EITHER sparkling water club soda, ginger ale or gluten free beer, milk of choice (not skim), OR plain yogurt*
- 1 tsp. apple cider vinegar
- 1/4 cup extra virgin olive oil
- 2 large eggs (or 2 Tbs. flax seed meal steeped for 10 minutes in 6 Tbs. hot water) or other egg substitute like aquafaba
PLUS
- 1 Tbs. rapid rise or bread machine yeast gluten-free (Red Star Quick Rise®)
Toppings (optional):
- 1 Tbs. flaxseeds or sesame seeds, herbs, certified GF purity protocol oats, etc. (optional)
- 1 Tbs. coarse sea salt (optional)
Instructions
- Oven Directions:**(See notes if using gfJules Gluten Free Bread Mix)
- Whisk these dry ingredients together in a large bowl: GF flours, milk powder, baking soda, baking powder and salt.
- In the large mixing bowl of a stand mixer, stir together the wet ingredients: honey, liquid of choice (sparkling water/club soda/gingerale/milk/yogurt etc.), apple cider vinegar, oil and egg/flax seed and water mixture. Gradually add the dry ingredient mix in with the wet by pouring slowly into the wet bowl while mixing with the paddle attachment. Once incorporated, add the yeast granules and beat well for 1 - 2 more minutes.
- If using yogurt, the dough will be very thick (much more like regular wheat flour bread dough than you may be used to with gluten free); however, if the dough seems too thick to spread into a loaf pan, gradually mix in milk, one tablespoon at a time, until the dough is still thick, but able to be smoothed with a spatula. If using another liquid, the dough will be more batter-like and easier to pour into the pan.
- Scoop the dough into an oiled bread pan (use a dark metal pan if you like a darker crust on your bread; lighter, shiny metal or glass if you like a light crust). The pan should be at least 8.5 x 4.5 inches; 9 x 5 or Pullman pans work well.
- Smooth the top, sprinkle with any toppings, then cover with a damp towel or a sheet of wax paper sprayed with cooking oil. Sit the covered dough for at least 30 minutes in a warm place like an oven warming drawer or an oven preheated to 200º F then turned off.
- Remove the cover from the raised dough and transfer to a preheated convection oven set to 325º F or a preheated static oven set to 350º F. Cook for approximately 60 minutes, or until the crust is browning nicely and a cake tester or skewer inserted into the center of the loaf comes out clean (internal temperature should reach 205-210º F). Remove to a cooling rack. When cooled for 15 minutes, gently remove from the loaf pan to finish cooling before slicing

Gluten Free Dinner Roll Directions:
- Prepare muffin tins or popover trays by oiling. Scoop equal amounts into each tray and smooth the tops. Sprinkle desired toppings. Cover and rise as directed above.
- Bake at 350º F convection or 375º F static for 15 minutes, or until the crust is browning nicely and a toothpick inserted into the center of the rolls comes out clean (internal temperature should reach 205-210º F). Depending on how big the rolls are (muffin tin versus popover size), they may take a bit longer to cook, but test often to be sure they don't over-cook. Remove to a cooling rack.

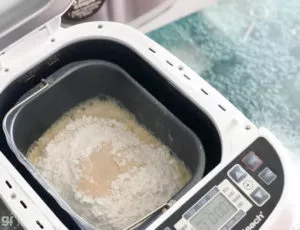
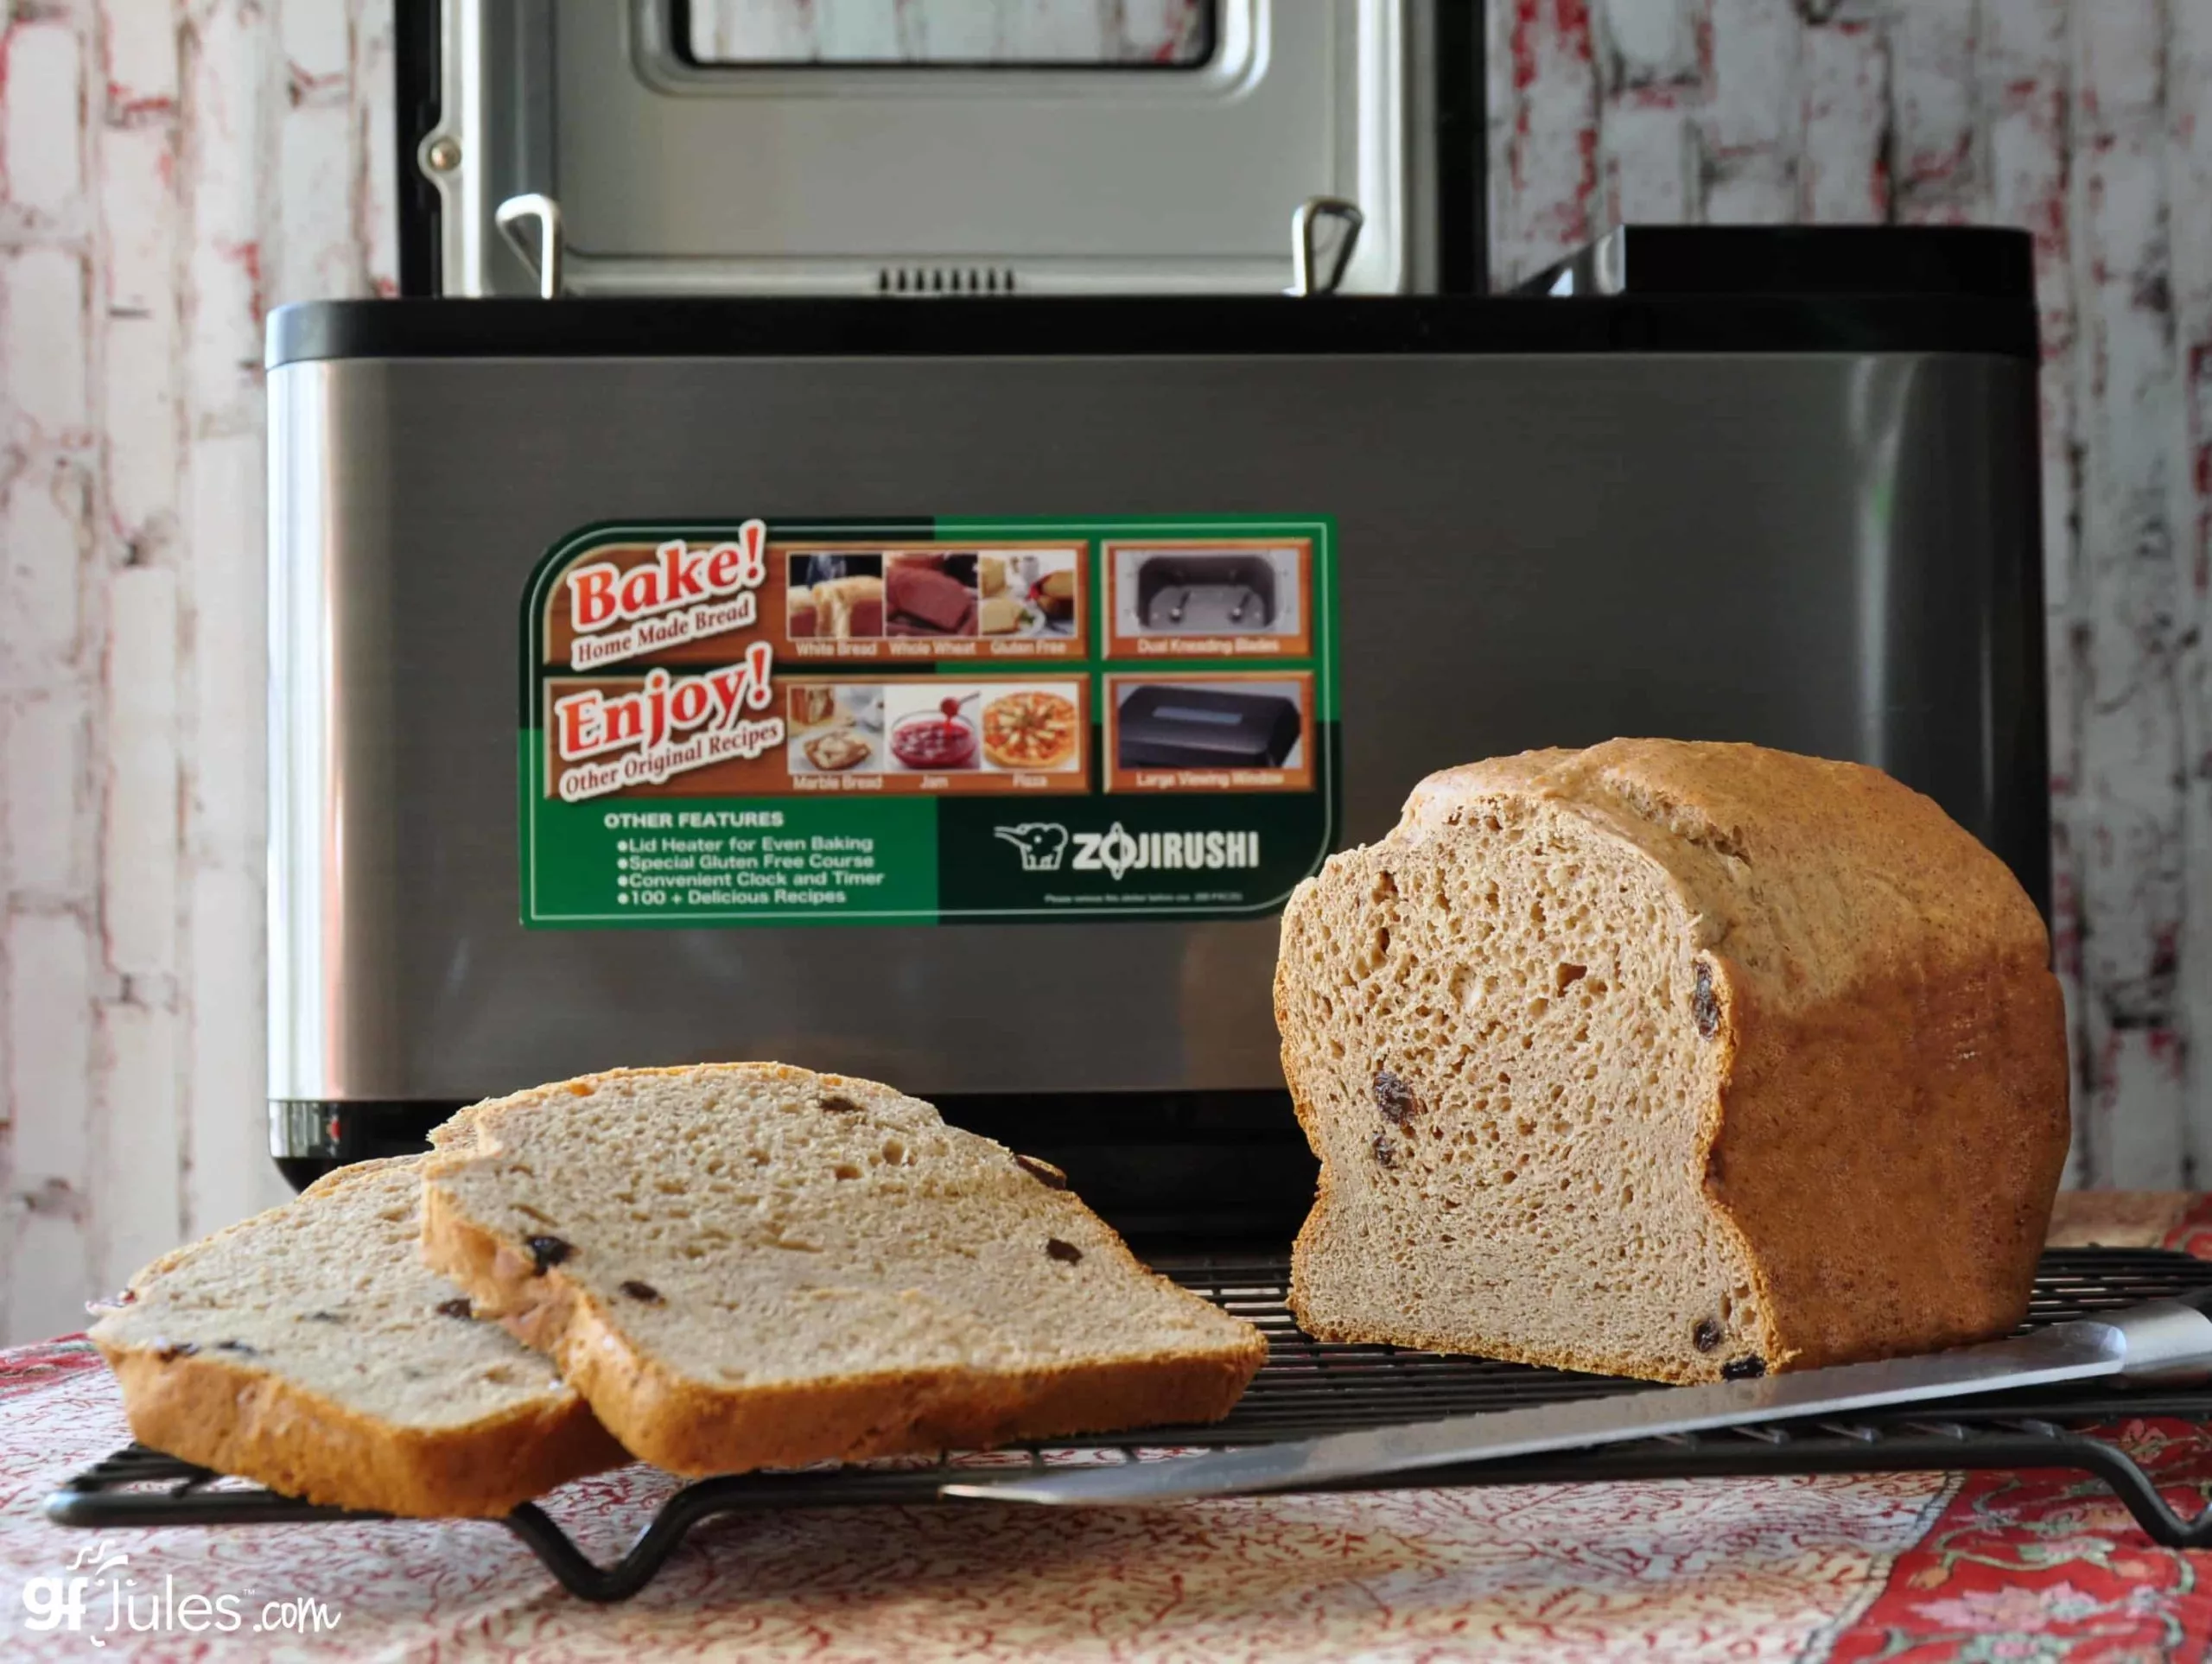
Gluten Free Bread Machine Directions:
- Baking bread in a breadmaker is simple. There are 3 steps: liquids first; then dry ingredients; then yeast. Read more tips on bread machines and gluten free breads in my article on using bread machines.
- Bring all liquids to room temperature before adding to the machine, if possible. Whisk together the yolks and whites before adding to the bread machine with the other liquids; alternatively, allow the flax seed meal to steep in water for 10 minutes before adding. Whisk together dry ingredients and add on top of liquids in the pan. Make a small well with your finger in the center of the dry ingredients and pour in the yeast.
- Select either the gluten-free bread setting on your machine, or the setting with only one rise cycle and no punch-down (2 lb loaf setting). Close the lid to the bread machine and let it do the rest!
- When the machine is done mixing, smooth the top with a rubber spatula and sprinkle any desired toppings on top of the loaf. Close lid again to bake.
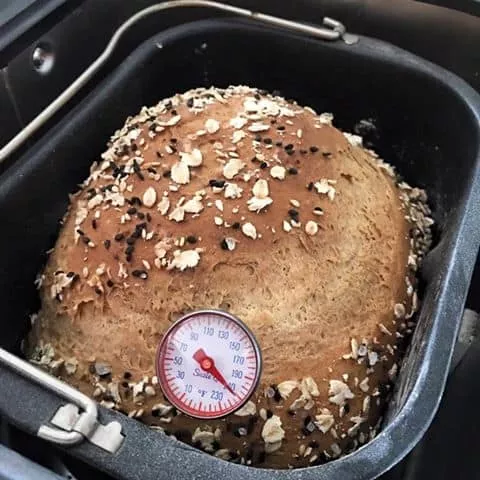
- Once the bake cycle is complete, test the temperature of the interior of the loaf before removing from the pan with a bread baking thermometer – it should have reached at least 205º F. If it hasn’t yet reached that temperature, either add time to your bread machine as another bake cycle of 5-10 minutes, or simply put the pan into a regular oven at 350º F (static), testing the temperature again at five minute intervals.
Notes
** Please keep in mind that nutrition information provided is per serving, which may vary. While we have taken care to provide you with the most accurate nutritional values possible, please note that this information may differ significantly depending on the exact ingredients and brands that you choose to use to make this recipe. Additionally, where options are given for ingredients, the resulting calculation may include all ingredient options instead of only one per line, skewing the totals significantly.
I hope you love this recipe as much as we do!
Pin this recipe to save it for later!


Made this in a Zojo bread maker. Used Omission Lager for the liquid. 1/4 cup brown rice flour with the Jules flour. Knead 15, rise 30, and cook for 60 minutes. Club sandwiches tomorrow I think!!!
So glad to hear you love this gluten free sandwich bread recipe in your Zo breadmaker. That sounds like the homemade cycle I’ve programmed for mine, as well! I did want to point out though, that Omission is not a gluten free beer — it’s gluten reduced. Here’s more information on naturally gluten free beers versus gluten reduced beers. Cheers!
~jules
Thanks for pointing that out. My wife does not have celiac but I will be more careful in picking the next beer.
No problem – I just always want people to know so they have the facts!
~jules
Made dinner rolls for our Thanksgiving meal today. I got about 15 rolls from the recipe. There are four of us in the household and there are currently only 5 left. They were eaten so quickly. Mmmmmm…
That’s always a good sign, Sarah!! Hope you all had a great Thanksgiving!
~jules
I just made my first loaf of sandwich bread in my new bread machine. The gluten free breads available in the stores is just awful and gritty, and very expensive. We are very, very pleased with your all purpose flour. I did not have any potato flakes or almond flour, so I added two tbs mashed baked potato to liquid and replaced almond flour with quinoa. The bread is wonderful. I love the flax and eggs for the added nutrition. Question: can I add additional or replace flour with another protein flour like garbanzo or some other, or simply more quinoa? I believe I read about this, but can’t find it to see the amount allowable. Bless you for this wonder product.????
Hi Mary, so happy you tried it and loved it! And glad you like your bread machine, too! It truly makes the gluten free breads on the market look even worse when you know you can have easy homemade bread that’s this good! Thanks for letting me know about the mashed potato – you’re so resourceful! About the flours, check out this article on gluten free flours for more ideas. I actually don’t like garbanzo flour as it has a funky taste and smell; it also upsets some peoples’ tummies. You can try buckwheat, millet or sorghum as a replacement for some portion of the gluten free flours, but don’t do too much since my flour is formulated with the right amount of gums to hold the bread together and give it a nice, light structure.
~jules
I have made your bread mix several times and it always turns out great and my daughter loves the bread. I am going to try the roll recipe for Thanksgiving and also the yeast free version, am sure they will turn out great.
That’s fantastic, Gail! Enjoy the rolls and I can’t wait to hear how you like the yeast-free version. Have a wonderful holiday!!!
~jules
Jules, what is the purpose of the Apple Cider Vinegar. I see it’s listed here and in your book but not on the recipe in the new mix. I’ve always put it in but wondered what its purpose is. Thanks!!
Hi Beth, the apple cider vinegar helps to activate the yeast. In my new mix, I’ve used some other ingredients to do that for you so that you don’t have to add that extra ingredient anymore. Hope that helps!
~jules
Another easier (lazier?) option for really excellent GF stuffing is to use crumbled GF crackers or non-potato chips as a base. They are often quite salty and have various seasonings added so you have to adjust other seasoning and salt accordingly, but otherwise just moisten with broth and a bit of olive oil, add onions and raisins, apples, citrus, etc. to taste and you have a quick option for everyday use?
Thanks for the ideas, Josh!
Jules,
My husband and sons have Celiac Disease, so being introduced to your flours this past week has been a HUGE blessing to us! i made your pizza dough from scratch today and it was amazing, I’ve also used your all-purpose flour for cake and muffin recipes that I love with no issues at all! I have a question for you: I don’t have any of the other flours mentioned here or almond meal at the moment, but I’d really like to make a basic sandwich bread with your all-purpose flour. Can I sub your flour for all the other flours and the dry milk or is there another recipe I should try instead? Thanks!!
Kaely, that is so wonderful to hear! I’m so glad you found me and my products!! As for a bread recipe, I’d actually recommend using my GF beer bread recipe, believe it or not! It makes yummy buns, too, but if you scroll to the bottom of the recipe, you’ll find the directions for making a loaf … yum!!!! And no other flours are required! Enjoy!!!
Hi Jules,
me again:-)
one quick question, I was watching some of the your youtube videos…(love them) do you suggest using “coarse” sea salt in all of the recipes? I used Himalayan “fine” salt with minerals…. could that have been part of the problem?
Thanks bunches,
Doreen
Hi Doreen – glad the videos are useful to you! I need to find time to make more! About the salt, I often use a combination of both coarse and fine sea salt in applications like pastries and biscuits and some breads because it helps give layers to the dough in rising. I don’t think the difference in the salts would have caused the differences you experienced between my bread mix and making a bread recipe from scratch. What other flours besides mine did you use when you baked the loaf from scratch? That’s probably the source of most of the differences you noticed.
Hi Jules,
I used Arrowhead Mills Organic Millet flour & Bob’s Organic Golden flax-seed meal.
Hi Doreen, yes, I think you will like it better if you use the buckwheat flour instead of millet. That will more closely match the taste you like of my sandwich bread mix.
Thanks Jules,
I will give it a try this weekend…..
Hi Jules Please Help,
I used your bread mix yesterday & it turned out perfect (loved it)….I followed this recipe today & it is nothing like the mix…..I weighed the flour in grams as suggested, but the taste & texture is totally different.
Could you please tell me what is different?
Thanks bunches, Very new to this:-)
Doreen
Hi Doreen – so glad you love my bread mix! It’s not the same as this recipe, so don’t expect the results to be exactly alike. Was there something wrong with the results, or they were just different than you expected since you’d used my mix before?
Hi Jules,
Just totally different, it was whiter, and not as moist or dense, it didn’t taste bad, just not like your bread mix that is awesome…..since I am on SS I was trying to save a little by making mine from scratch with the same results:-)
I did notice that there was buckwheat in your mix, I do have some on order thru VitaCost. Maybe that will help.
Thanks bunches for your input,
Doreen
No problem, Doreen! Have you tried this recipe yet? The buckwheat will make the color and taste change, so give it a shot!
I am so thankful I found your recipes and your flour! My daughter has recently been diagnosed as having celiac disease, and my goal was to find a good bread for her. This was wonderful!! I followed the recipe using eggs with the only exception being sorghum instead of millet. The only think I had a problem with was that it did not rise very much. I let it rise for 30 minutes. Should I let it rise longer? I’m wondering if the 200 degree oven (turned off) was too hot??
Thank you so much for your blog!
Hi Julie – so glad you found me! I always recommend letting bread rise longer, if you have the time. The only worry is if it starts to rise above the pan, then it may collapse when baking. Keep checking on it, and when it has reached the top of the pan, then you can go ahead and bake it. I’ve experimented with all different bread loaf pans and sizes – it really depends on what you want your ultimate loaf to look like – if you want square slices, go with a square baking pan; wider slices, wider pan; taller slices, shorter pan with tall sides. It’s fun to experiment when you get to do all the taste-testing!!! Enjoy!
Trying to plan ahead for the holidays.
What size loaf pan did you use for the oven method? And how many rolls would I get from this recipe?
Thanks!
My bread is raising in the oven as I type this – I am so excited by your mix and recipes and have tried several already with great success. My only problem is that I’m Canadian and you can”t ship to me – so until I get to the states to shop I am using an old make-your-own Jules mix from your earlier days. That being said where in Syracuse or Rochester can I buy many pounds of flour to bring home? Or should I just have a big order shipped to my hotel?
Hi Sandra – I’m so glad you have been enjoying my recipes and flour! It does get to be a bit of a drag to have to make a flour mixture from scratch, so I totally understand about wanting to get the pre-mixed blend! I am so sorry that we are not yet able to ship to Canada … we do have a retailer in Rochester though! Call first to be sure they have plenty in stock before you go! Lori’s Natural Food: 900 Jefferson Rd., Rochester, NY 14623 585-424-2323. Hope that helps!!
Thanks so much Jules – I will call ahead!