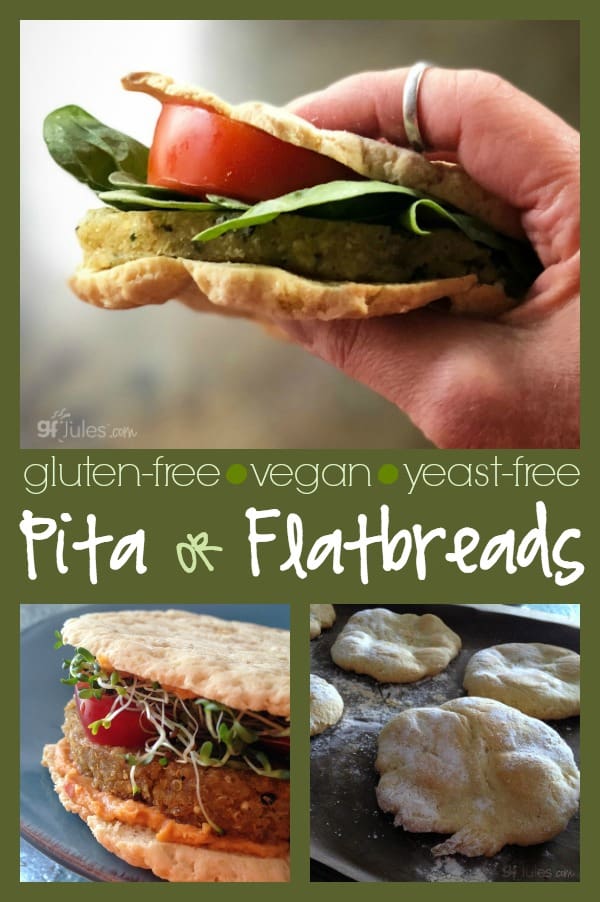
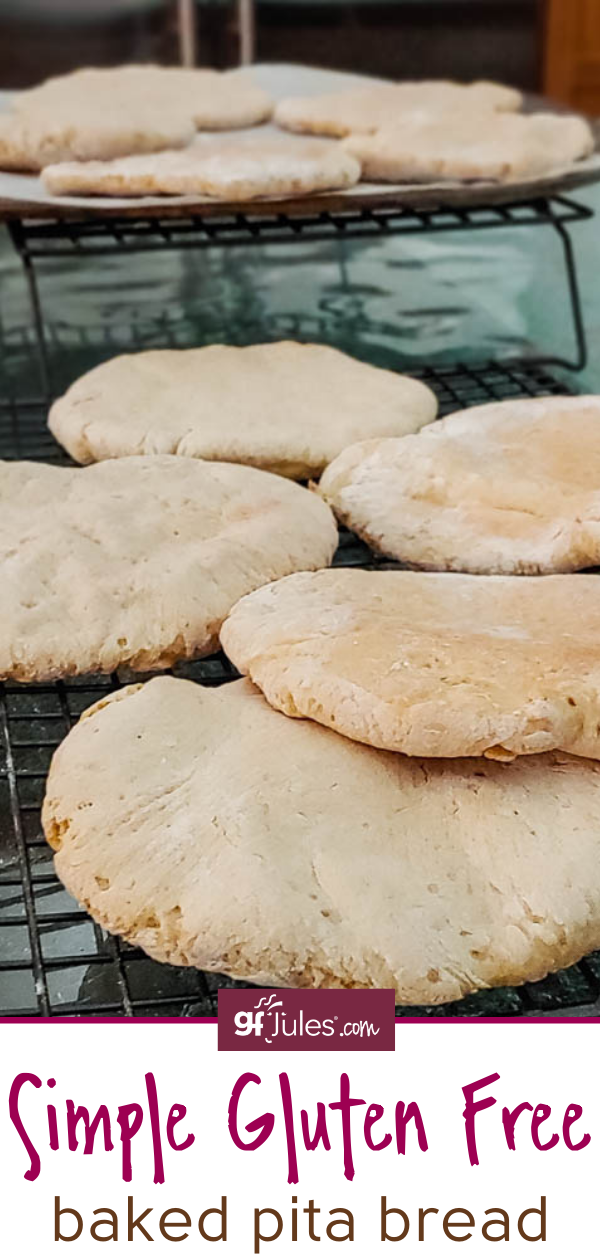
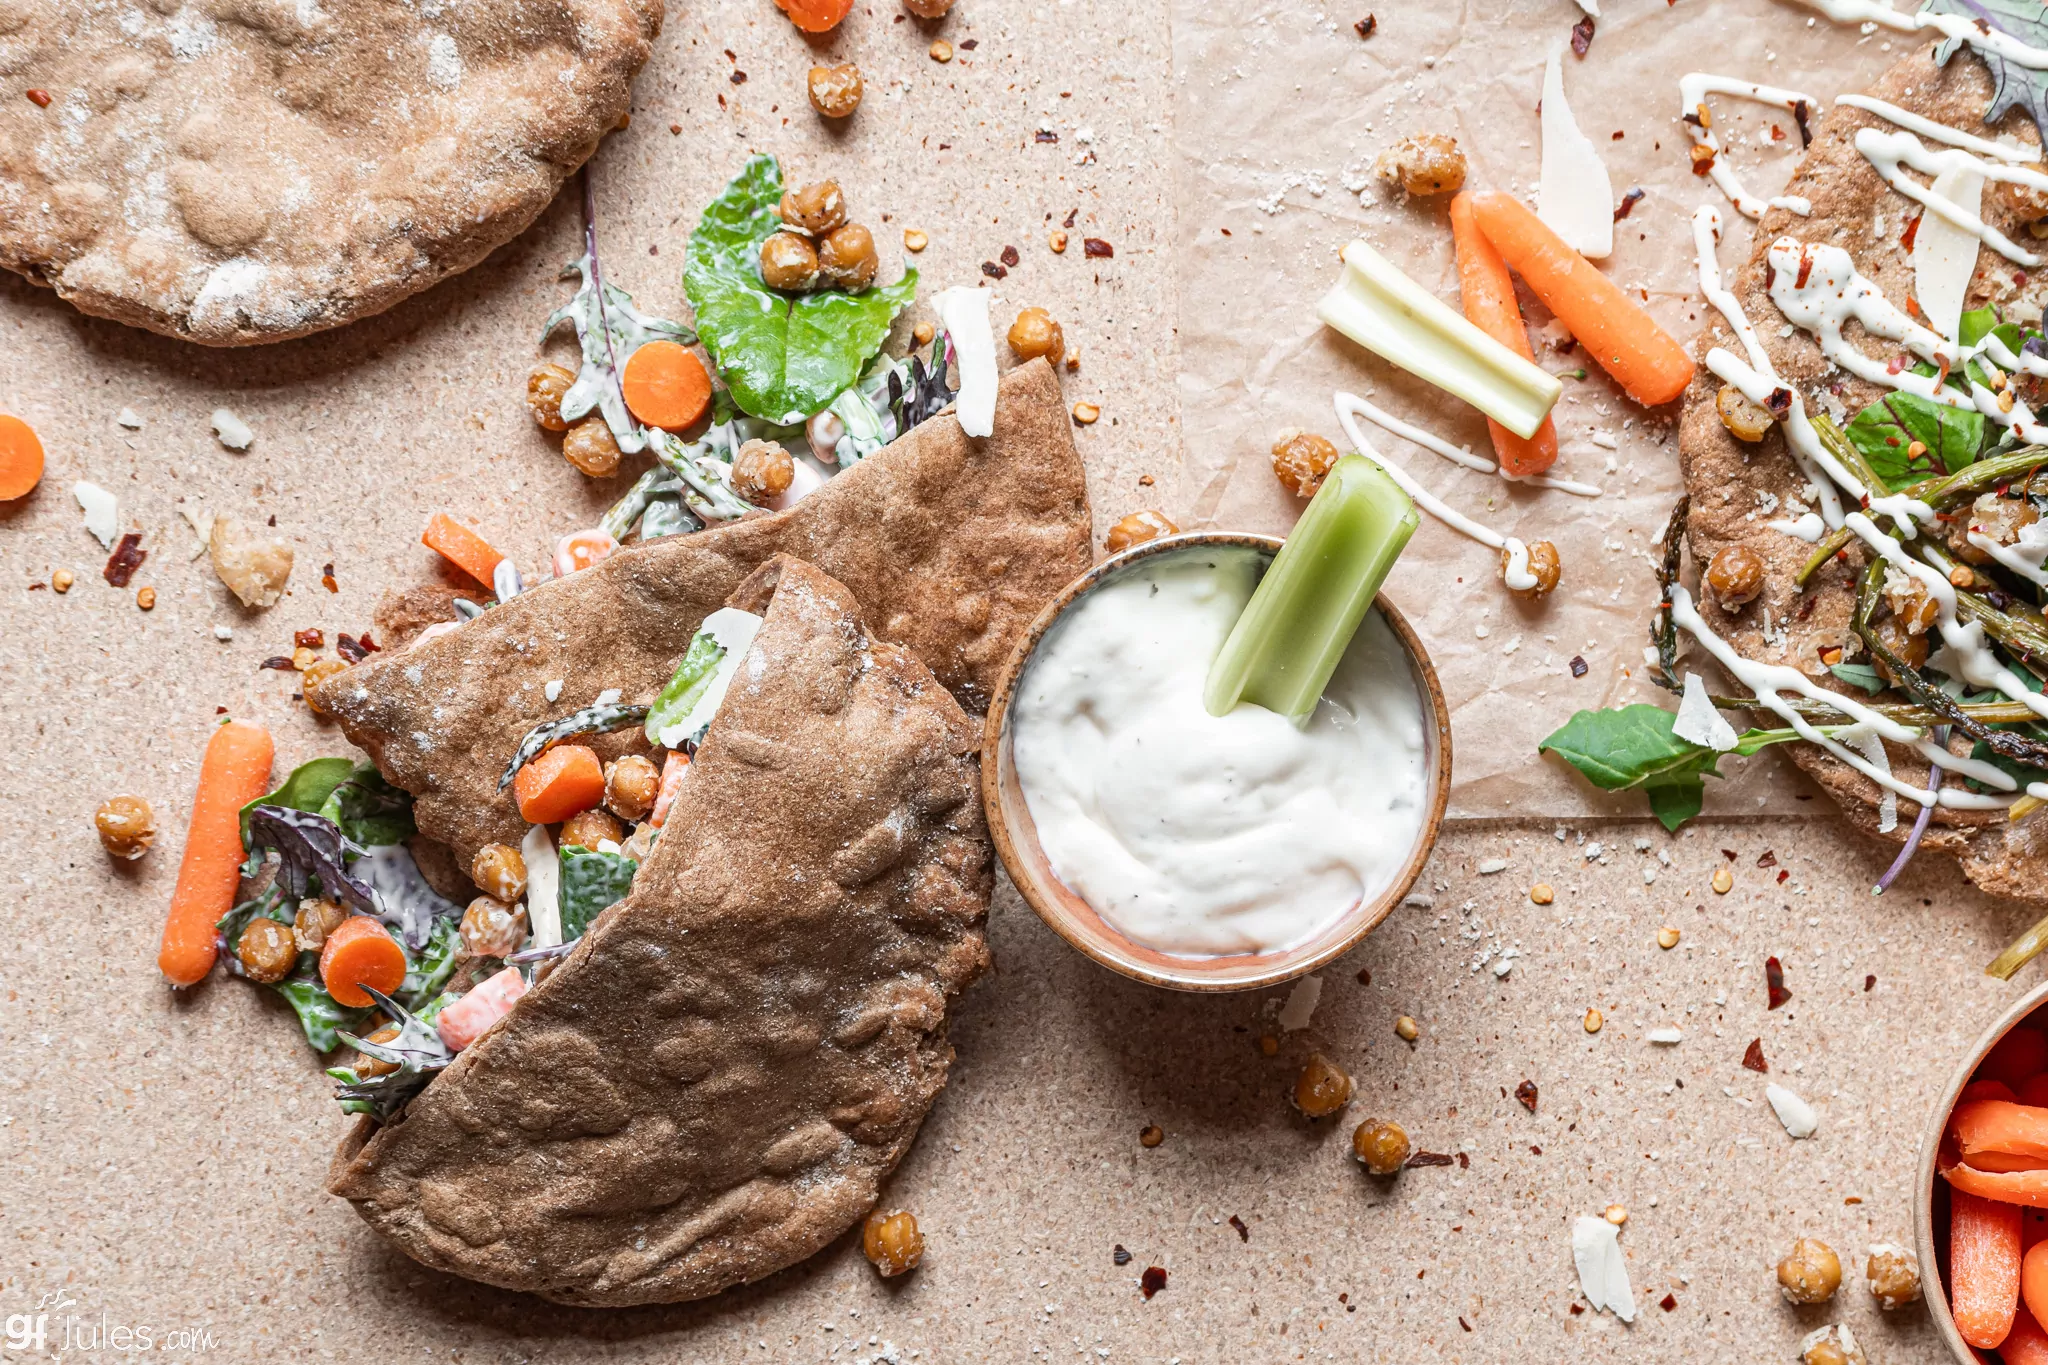
Gluten free pita or flatbreads are possible, scrumptious even, with my gfJules Gluten Free All Purpose Flour, I can assure you! You can even make these as beautiful grain-free pita breads with gfJules Nada Flour. Anything is possible with the right gluten free flour!
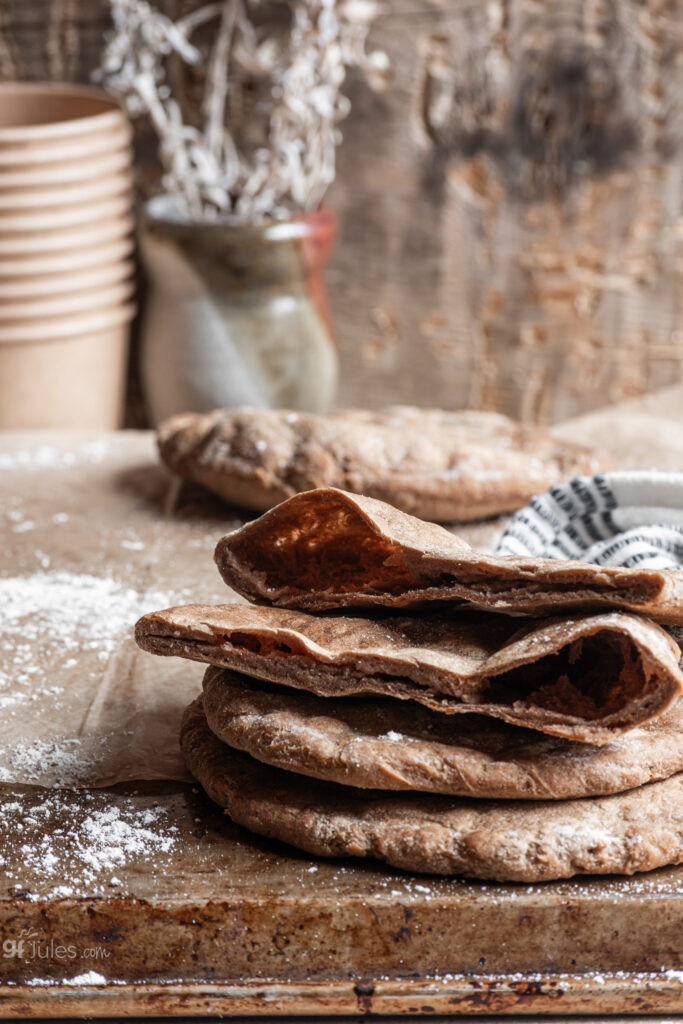

When it comes to grain-free or gluten free pita breads, this recipe is one you’re going to want to bookmark. It’s fast and easy and makes The. Best. Bread!
Yeast-free, dairy-free, egg-free / vegan, and yes, of course, gluten-free, but let’s not focus on what this recipe is missing, since this delicious and versatile bread is soon going to be full of all your favorite yummy fillings!


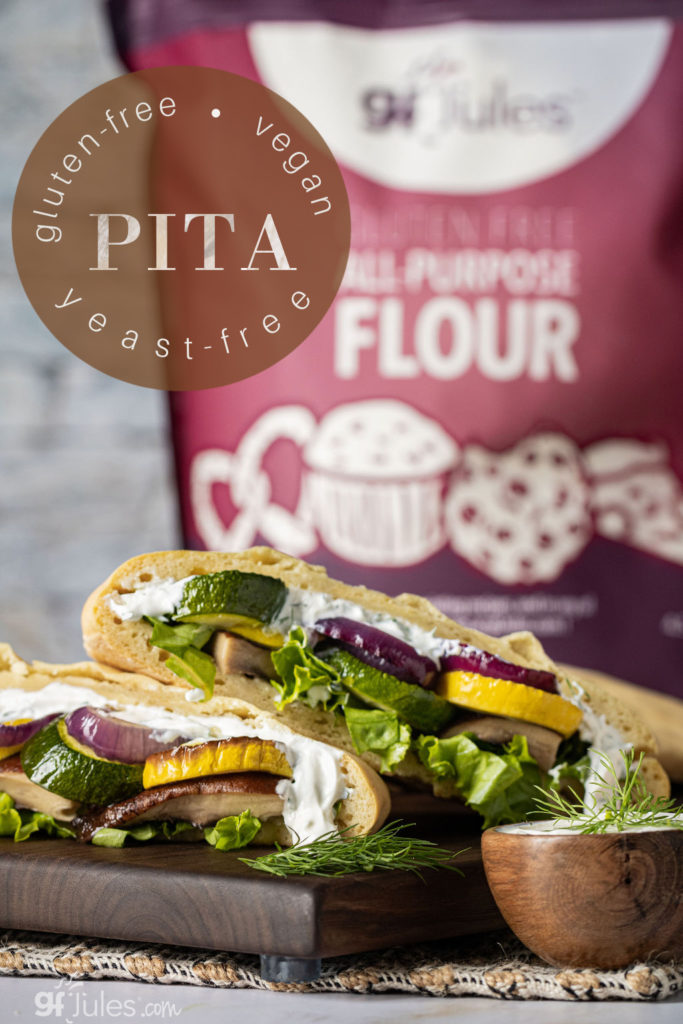
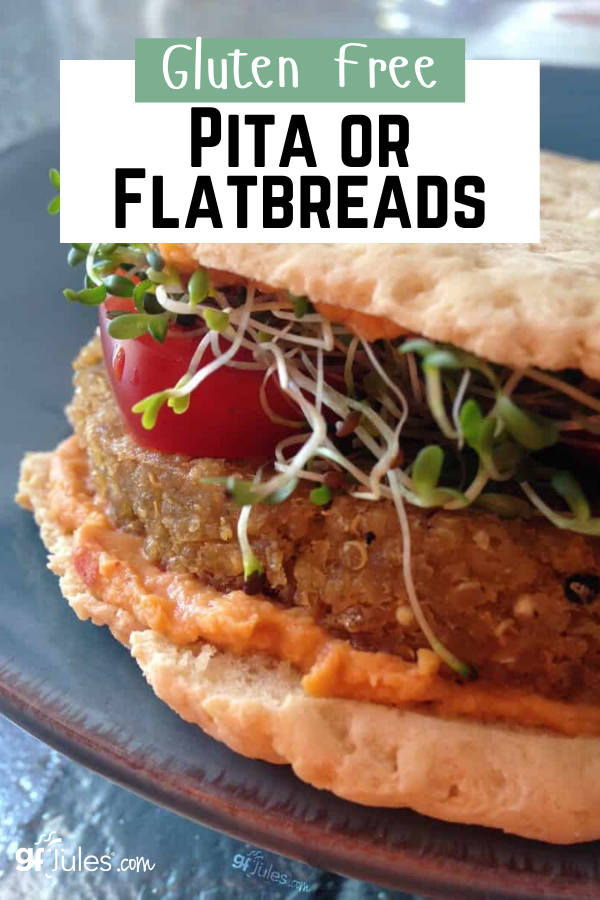
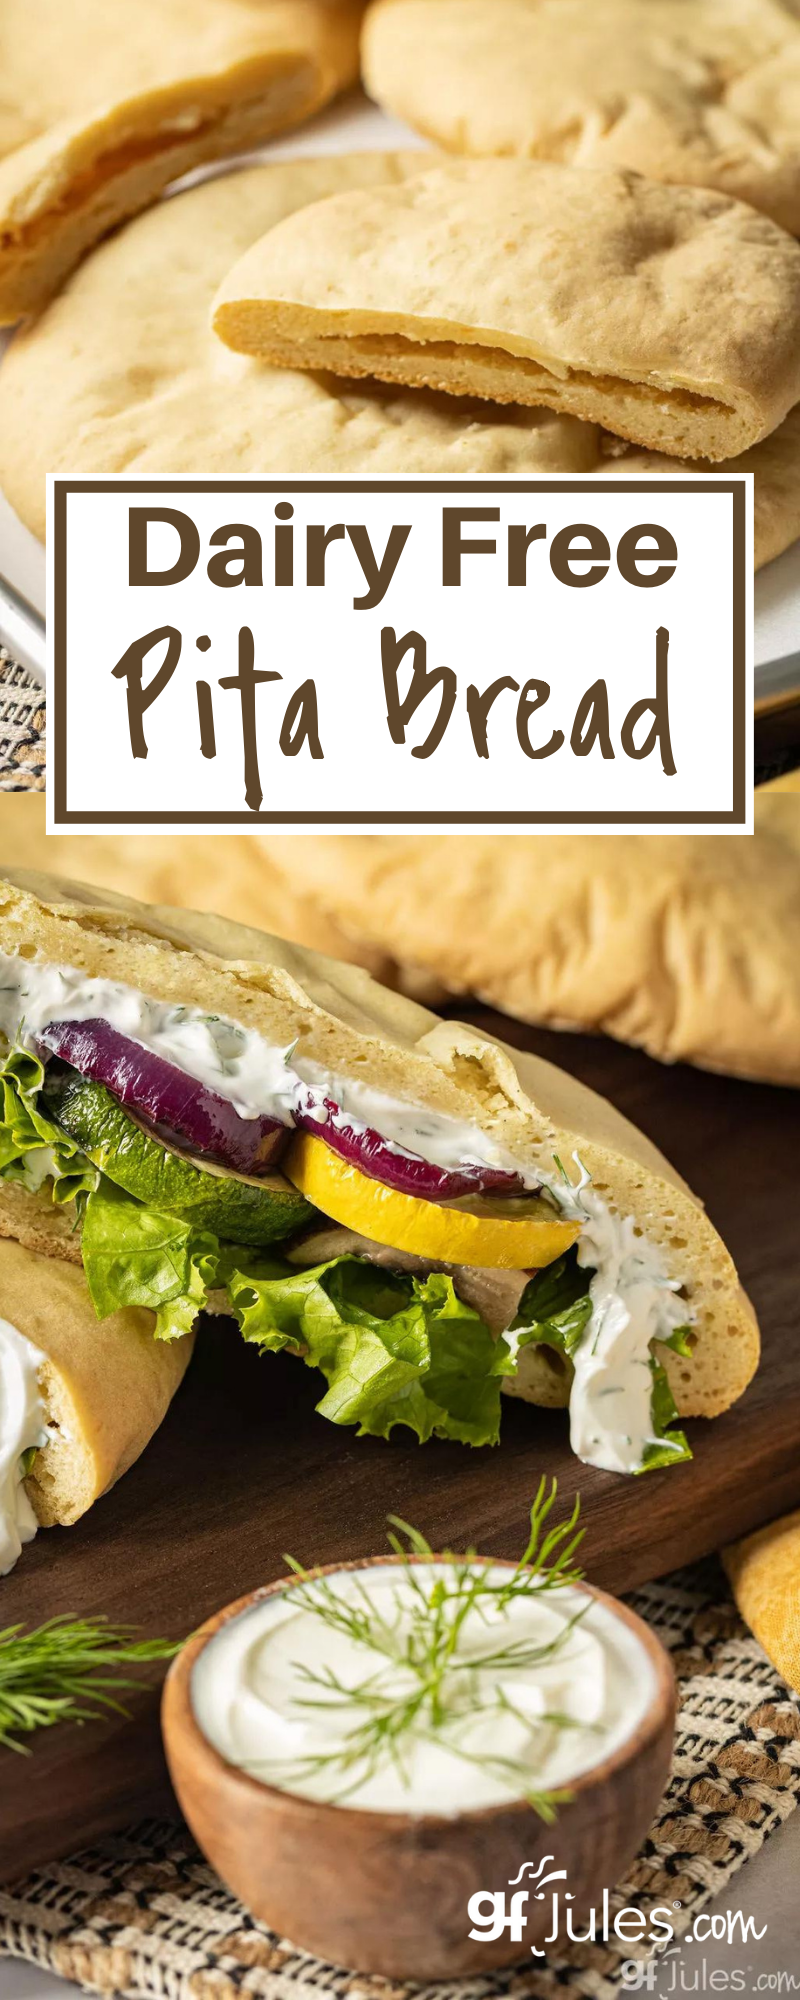
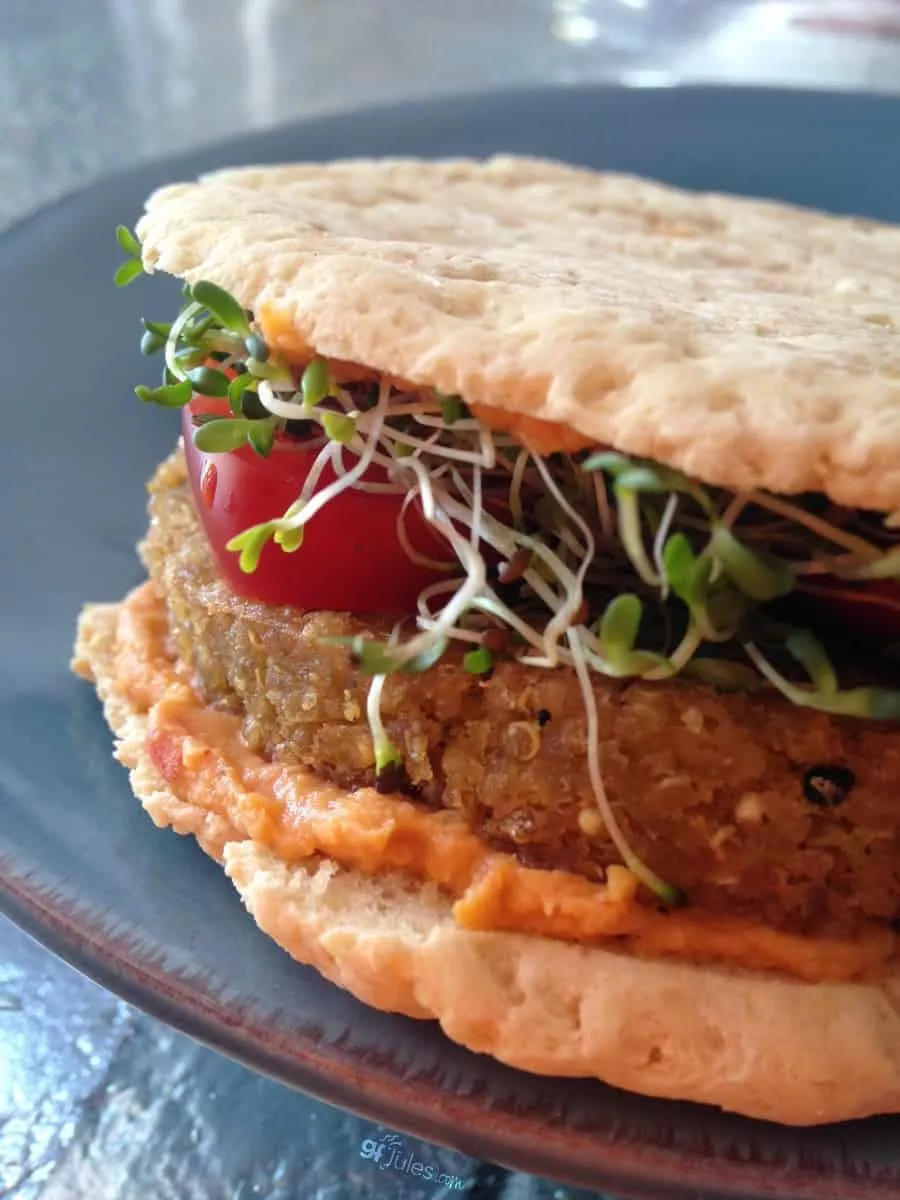
It holds up to whatever sandwich fixin’s you can throw into it or on it. Just like a good pita should. Or of course, you can use it for dipping.
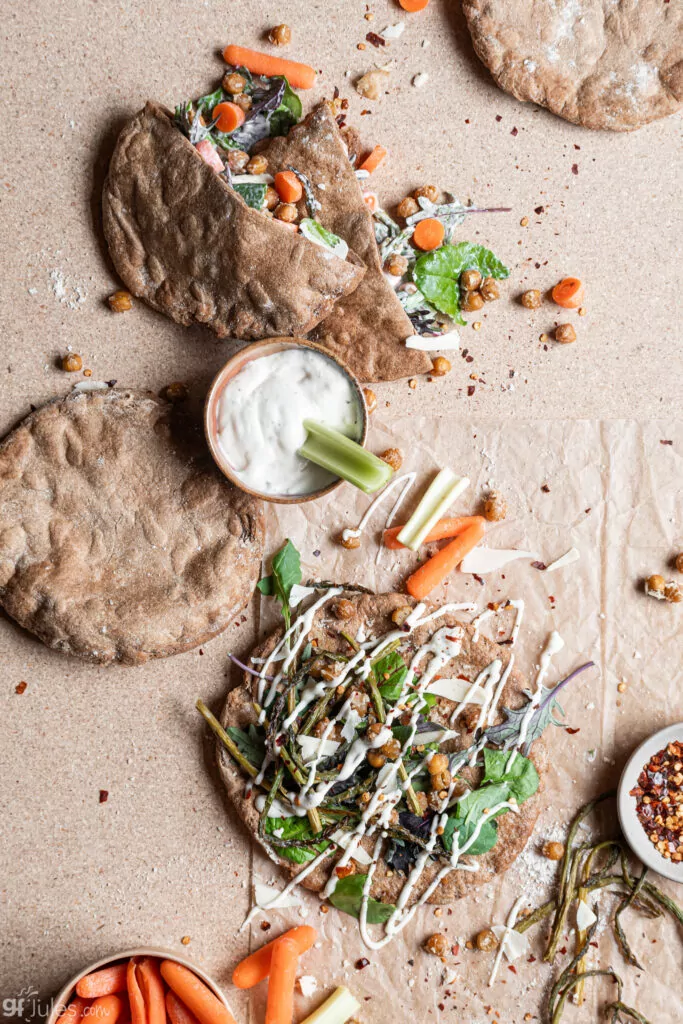

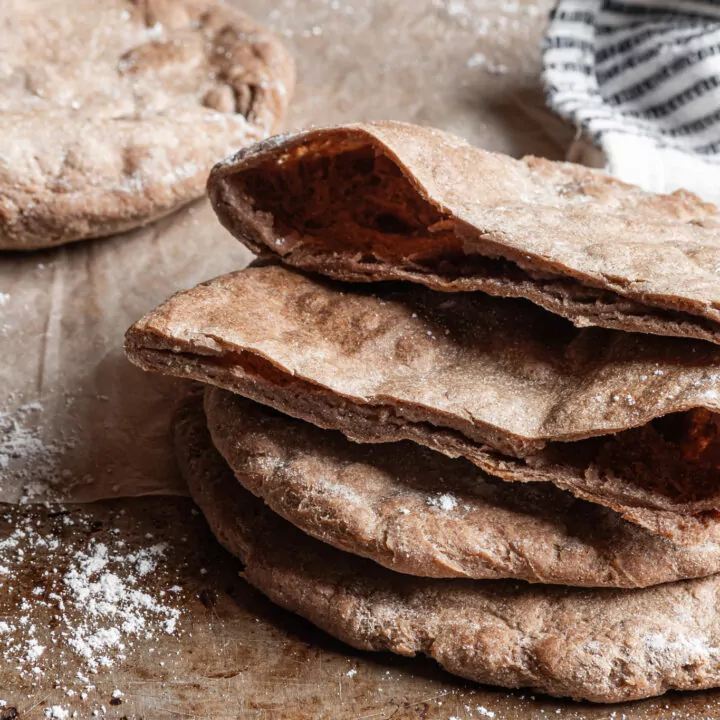
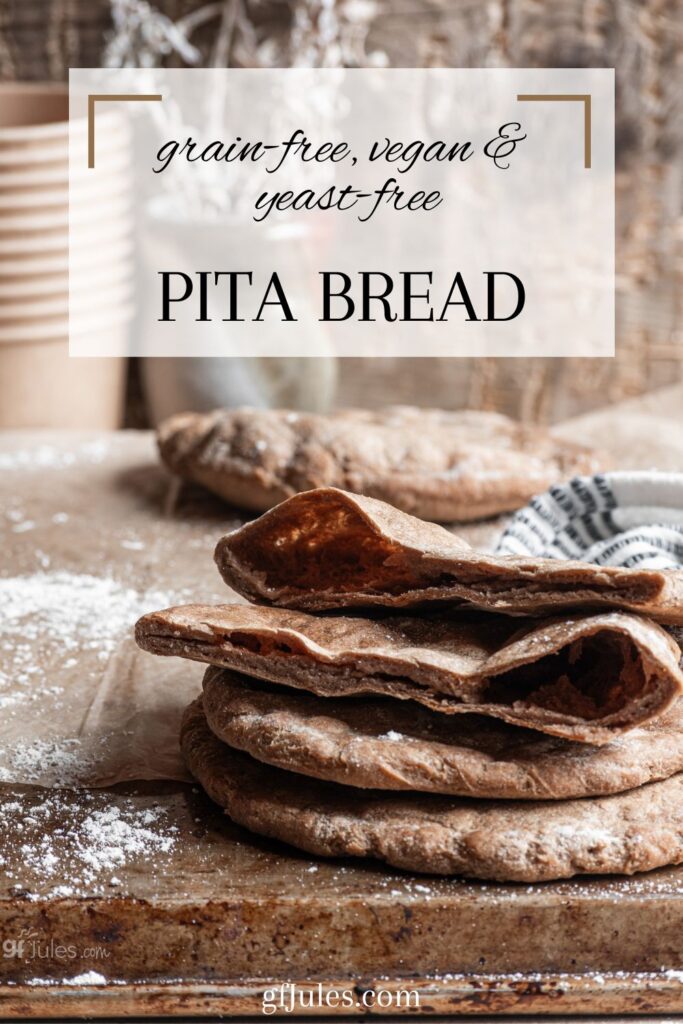
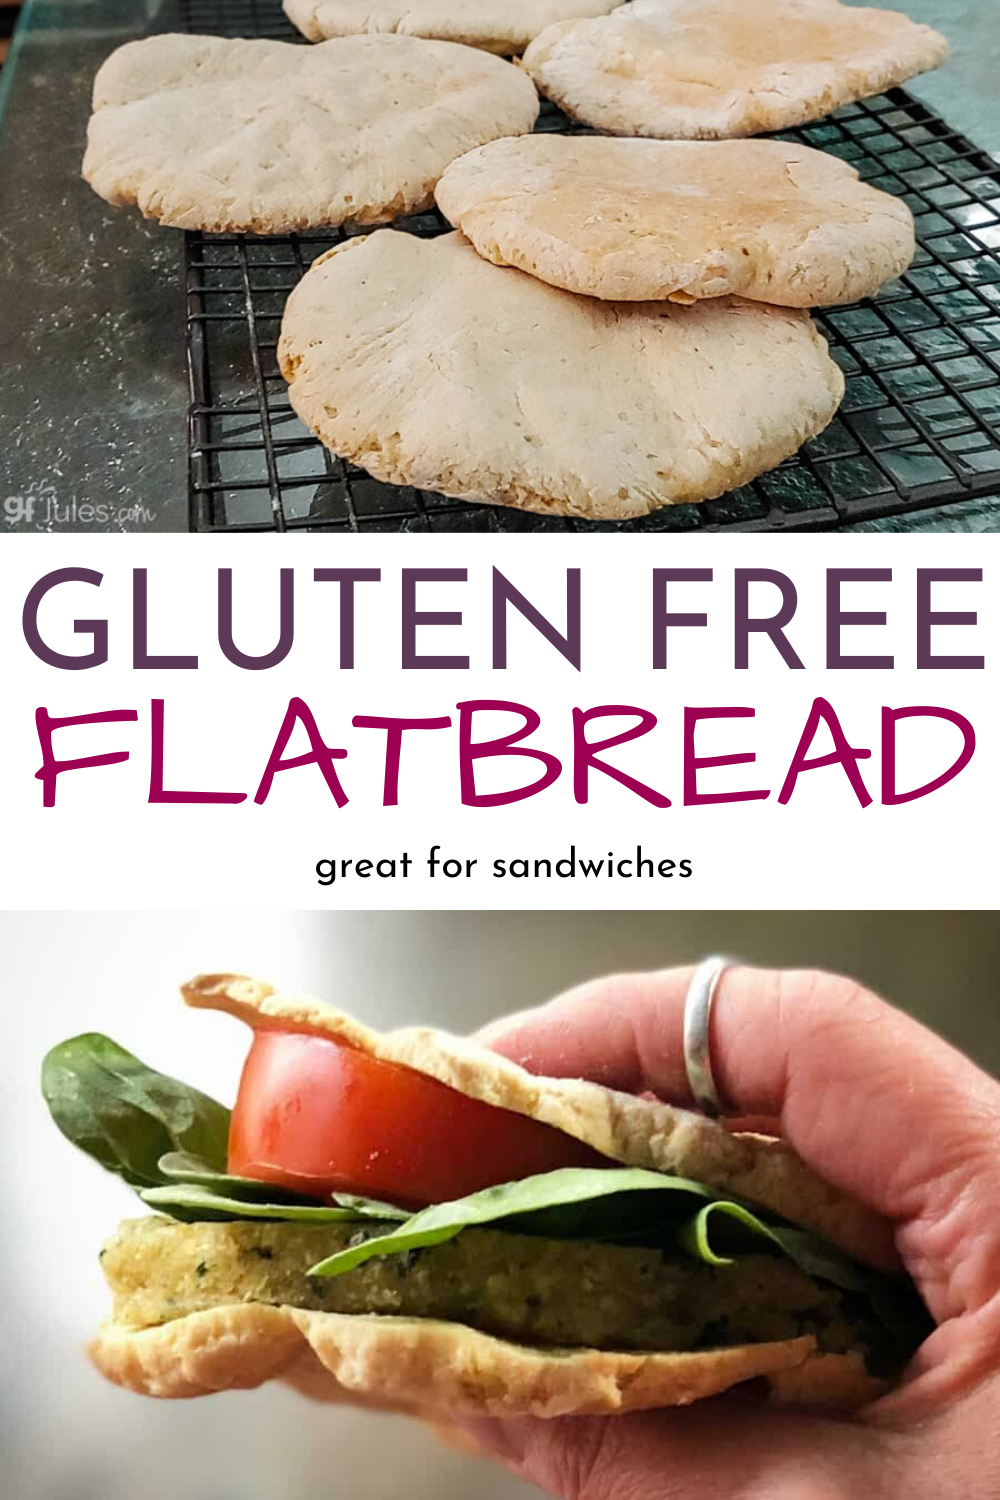
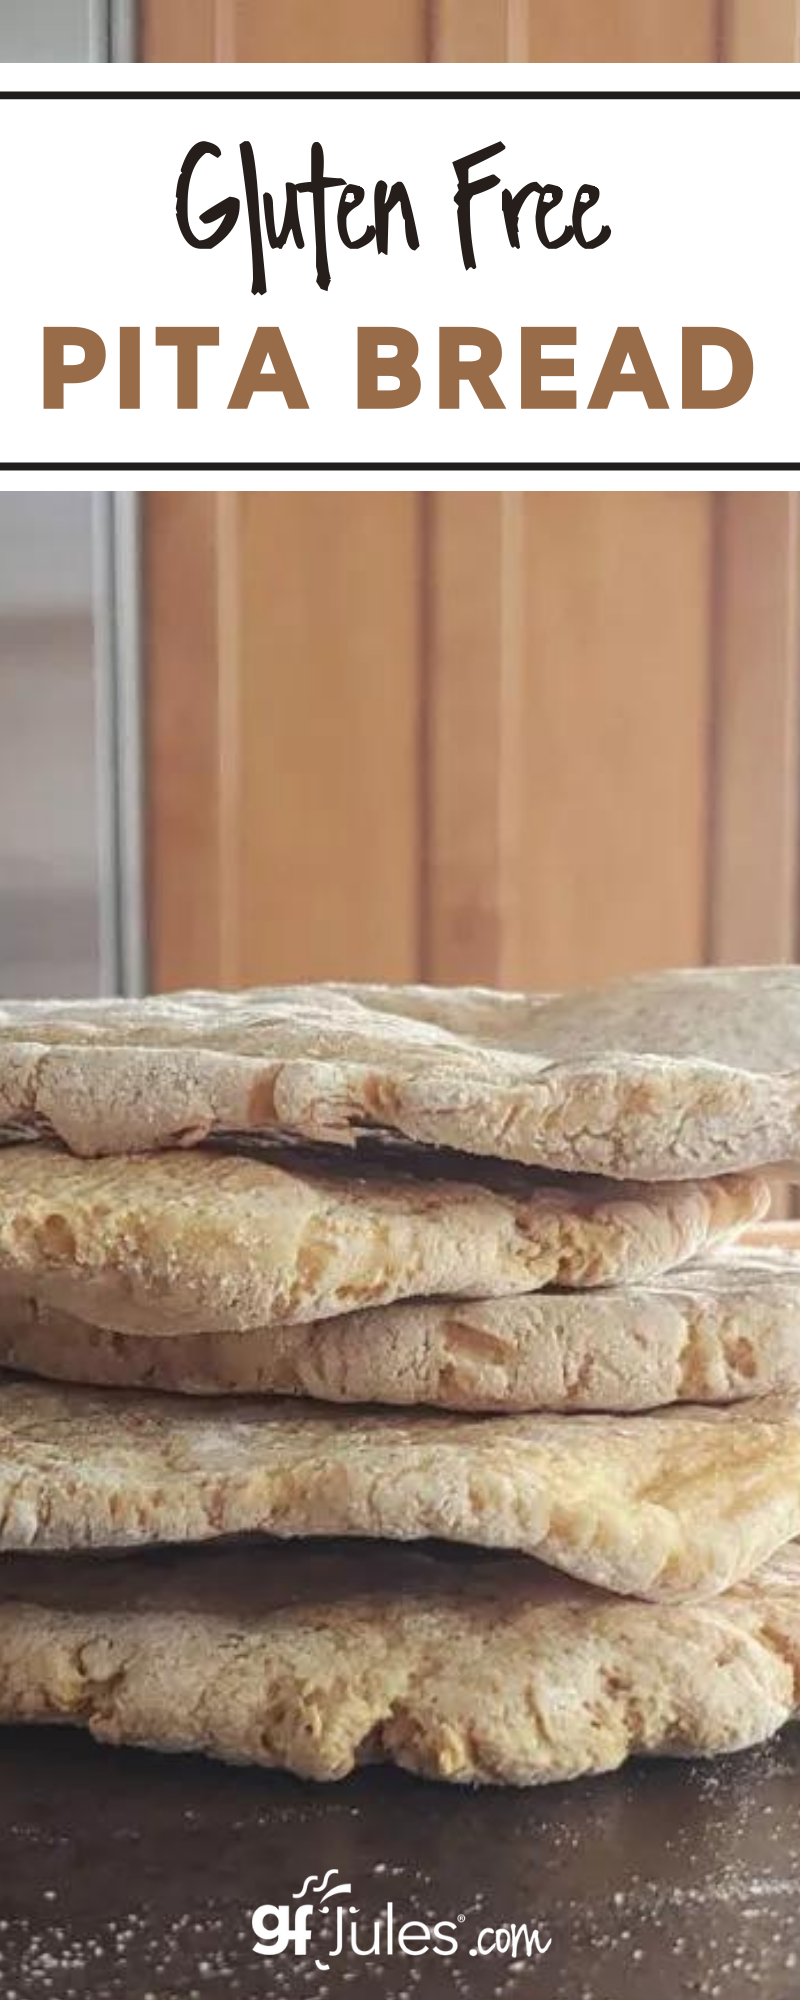
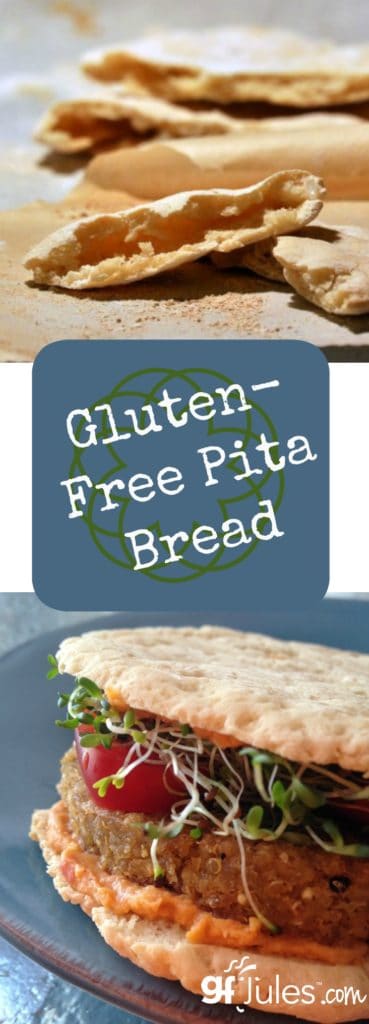
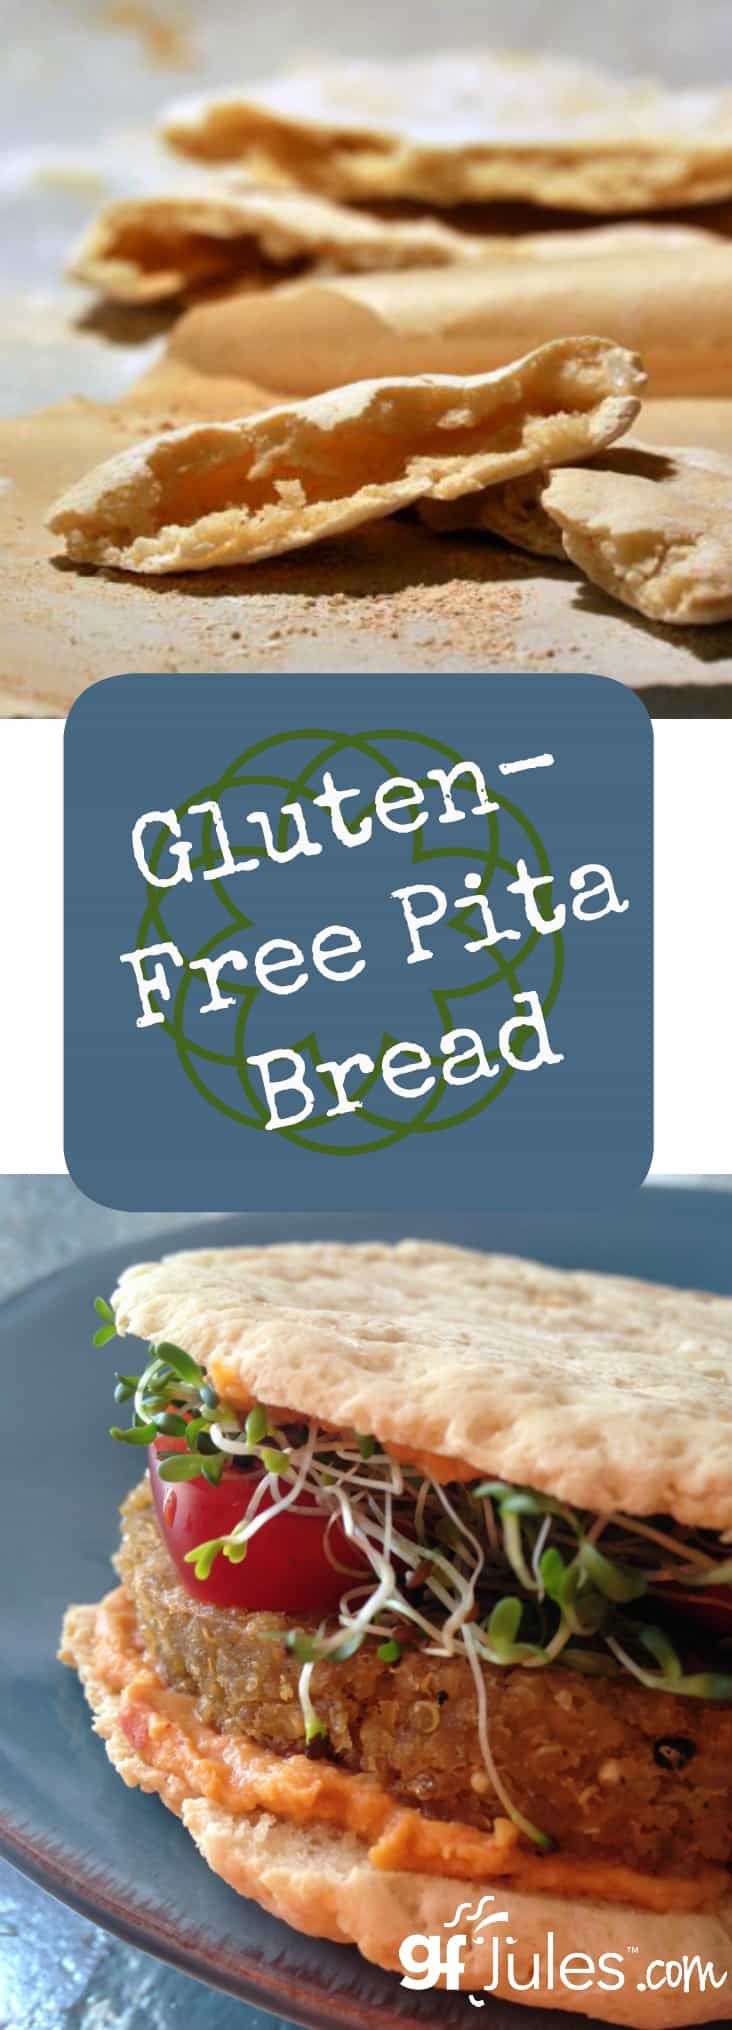
Just look at this beautiful stack. Ready in under 30 minutes — hard to beat that.
In fact, I always wonder why I don’t double the recipe because it’s so worth having these on hand in the freezer at all times for grab and go sandwiches of all kinds.
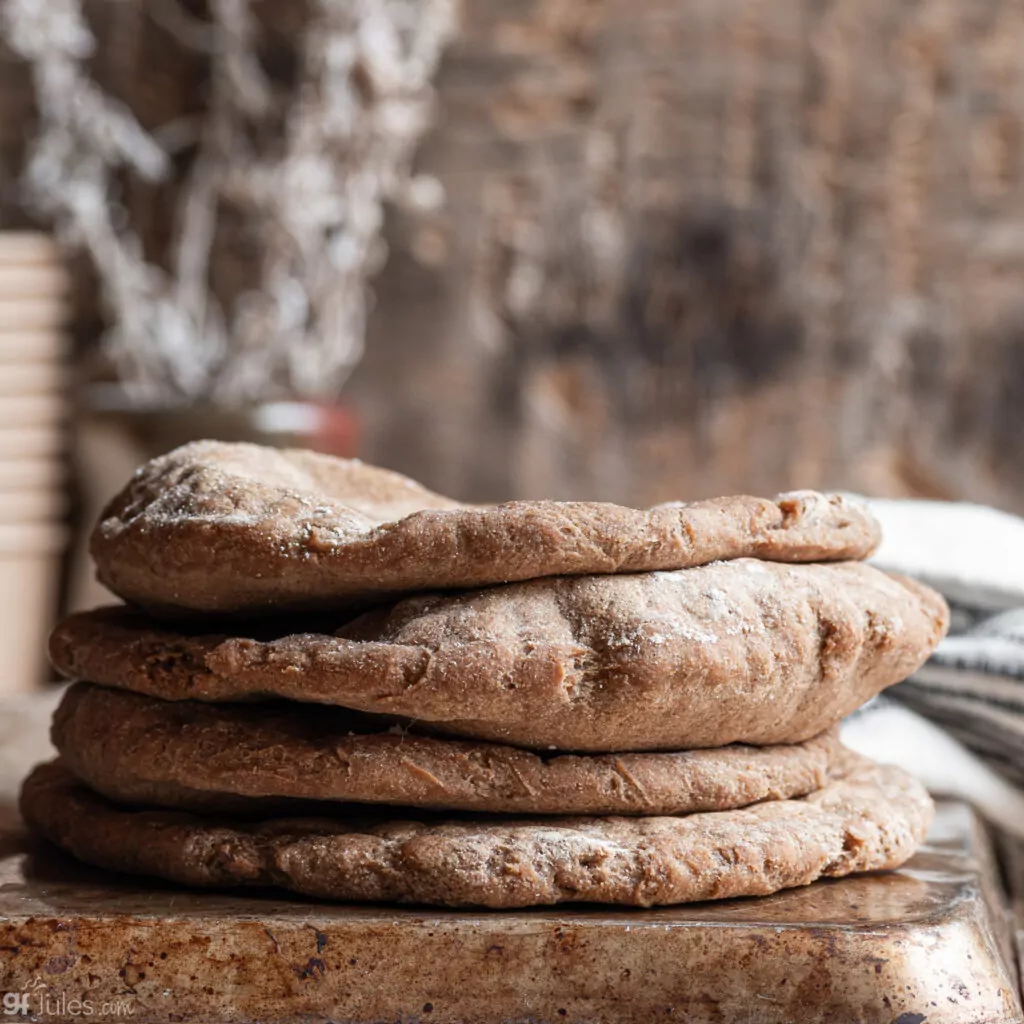

And speaking of sandwiches, remember those “sandwich thins” that used to be so great (back when we could eat wheat)?
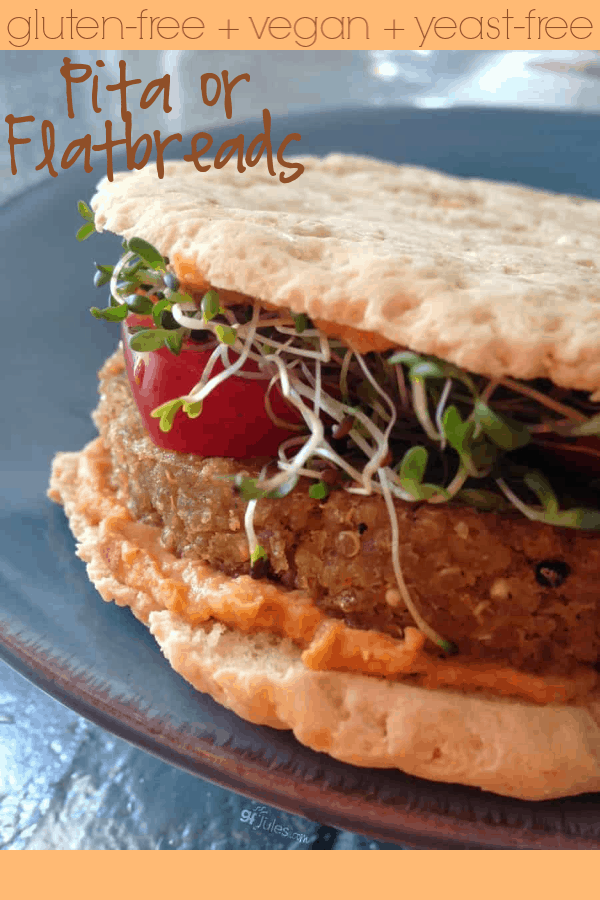
Proportions are everything in a sandwich, and thin gluten free pita or flatbreads means more focus on the sandwich and all the goodies stuffed inside. Like fresh homegrown tomatoes … but I digress.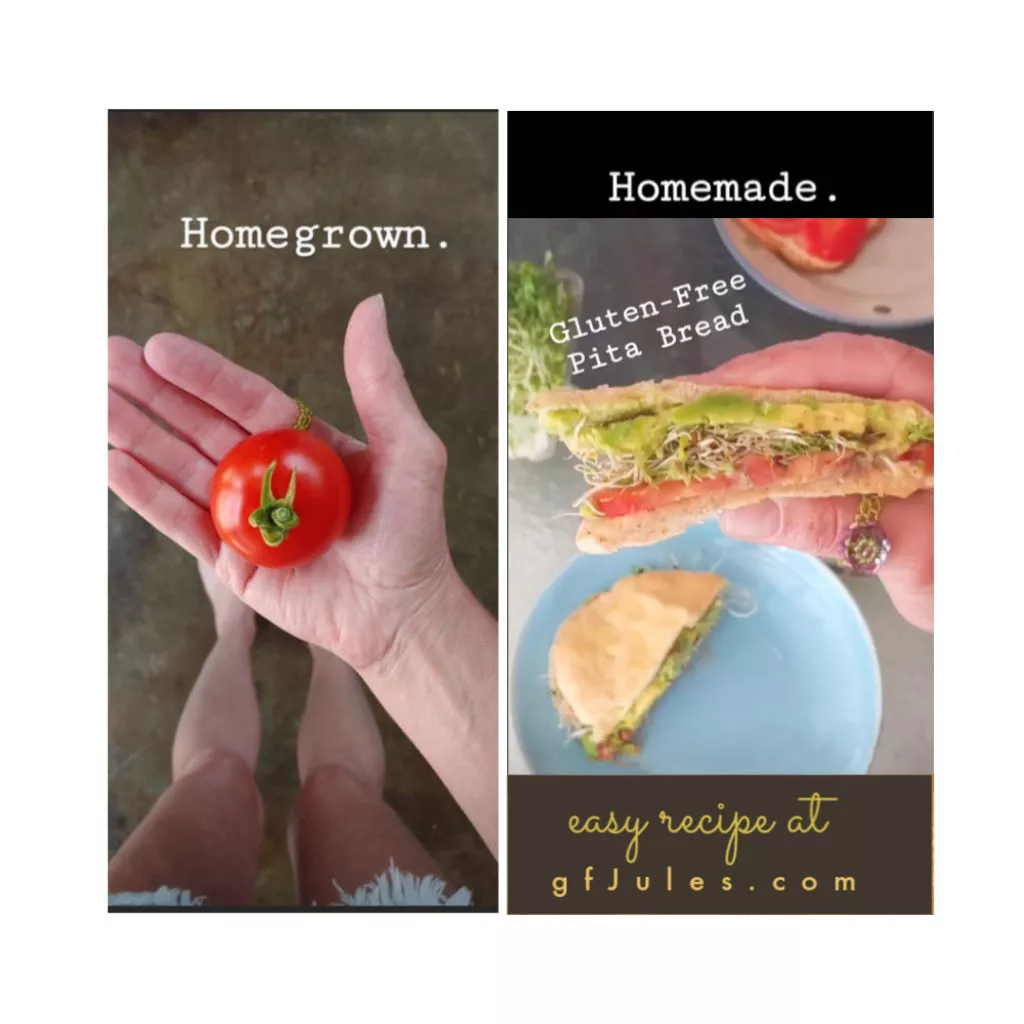

I actually developed this recipe when my oven was broken — a debilitating problem for any baker. I worked on this recipe for weeks, baking it so many times in so many different ways (and so many different ovens -thank you friends & neighbors!), that it has even occupied my dreams. (There’s hardly a dream worse for a baker than nightmares of burned bread!)
I’ve baked this gluten free pita or flatbreads recipe out at temperatures ranging from broiling to 300° F. I’ve tried it in commercial gas heat ovens, electric home ovens and even a gas grill.
Cast iron skillets are another method, believe it or not.
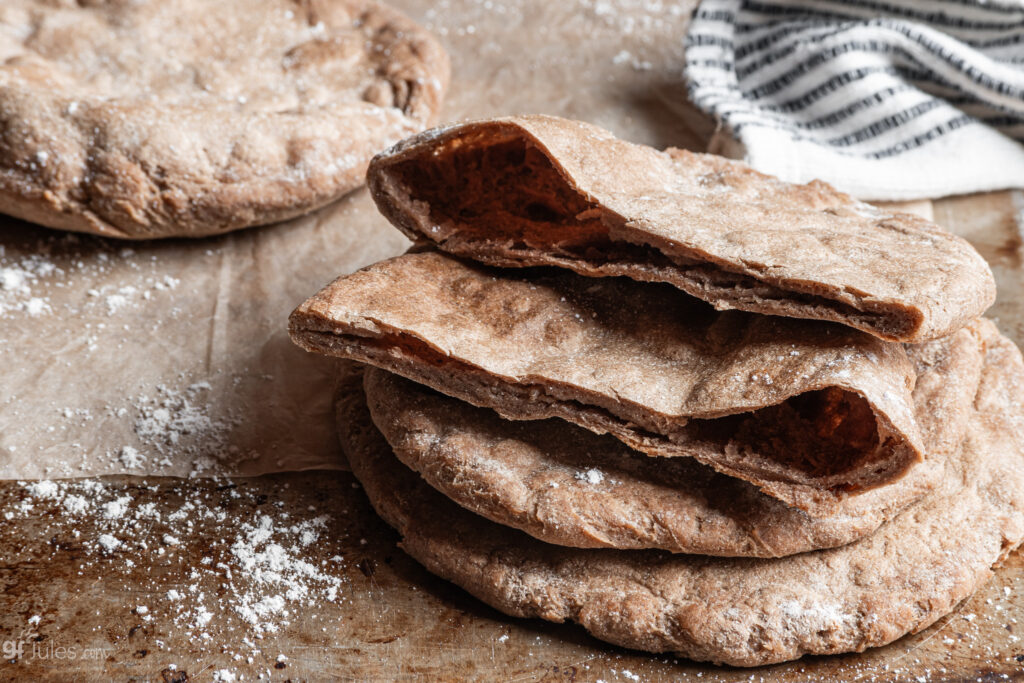

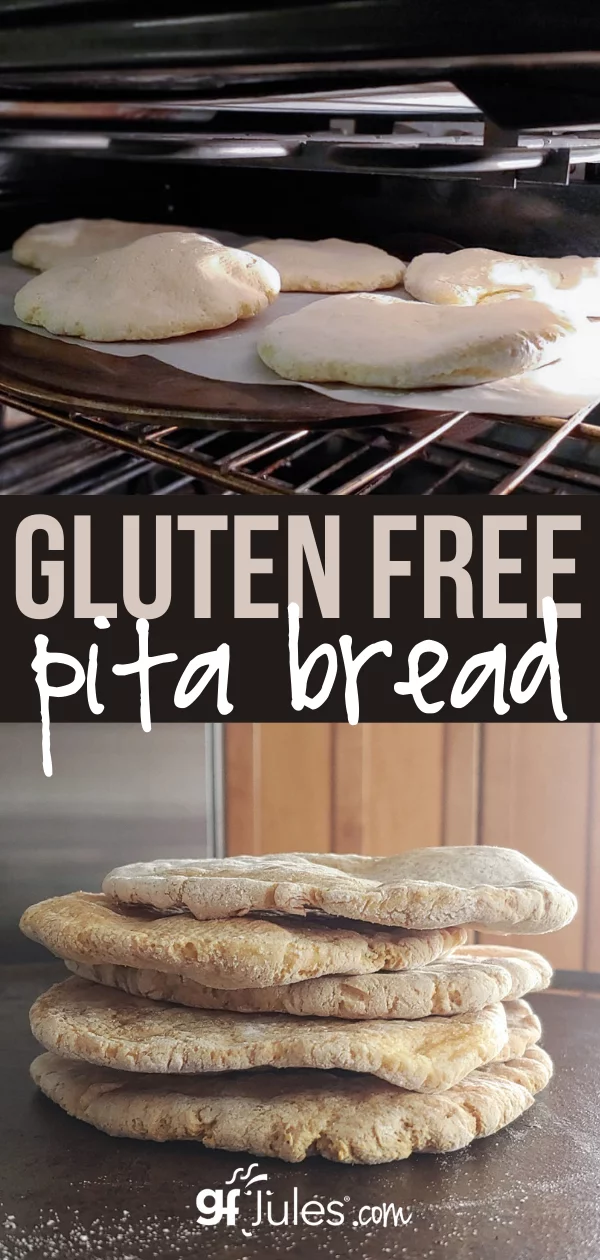
The net result is that, to get these beautiful breads to puff up enough to part the middles for soft pita bread to envelop your favorite sandwich filling, but crisp up enough on the outside to have a slight crunch and a gorgeous lightly browned hue, the dough needs to be mixed as little as possible. And the oven temperature needs to be just right — a perfect 425° F oven should do nicely.
And get those gluten free pitas close to the top heating element for maximum puffiness. I’ve learned that through many trials and errors (the error still taste yummy, too!).
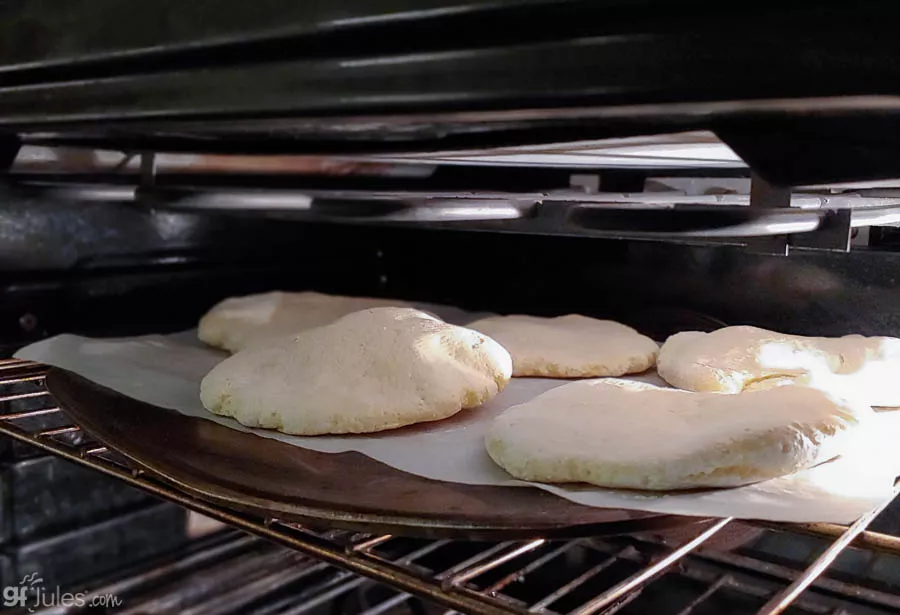

Of course I must sheepishly admit that each time I baked this gluten free pita or flatbreads recipe while I was perfecting it for you, I and all others present ate every single batch, polishing off each one of these breads, regardless of whether we deemed the results “less than perfect.”
Even when these were cooked too long or not long enough or at a not-ideal temperature, they were still amazingly delicious!
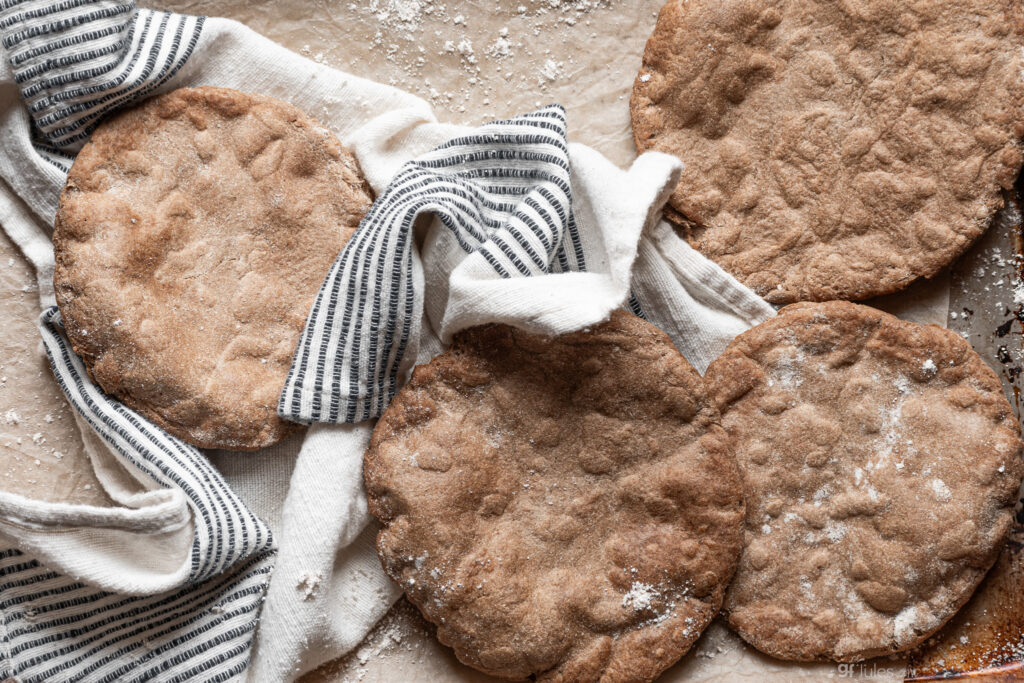

That means that even if your oven isn’t cooperating or they don’t puff up in the middles for you or they’re a touch overcooked, they’ll still be yummy. But don’t wander away from the oven for long, because it is easy to cook them way too much!
Especially because there are so few ingredients in this recipe, it is critical that you use the right ones, namely the gluten free flour specified in this recipe. I hear from folks all the time who try my recipes and use different flour blends and combinations and wonder why they don’t turn out like pictured.
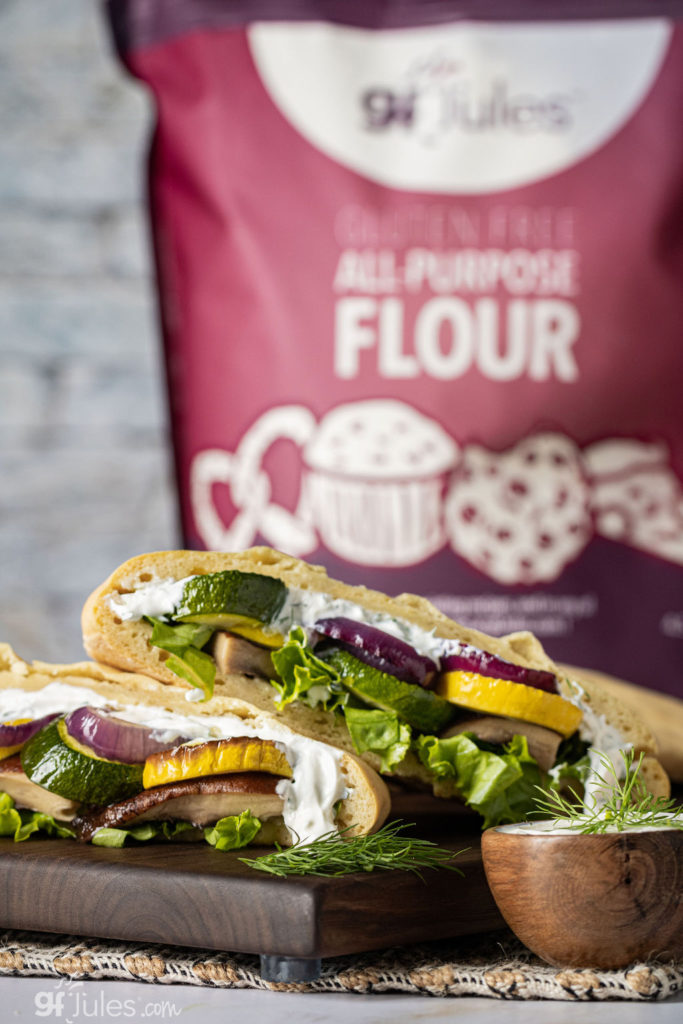

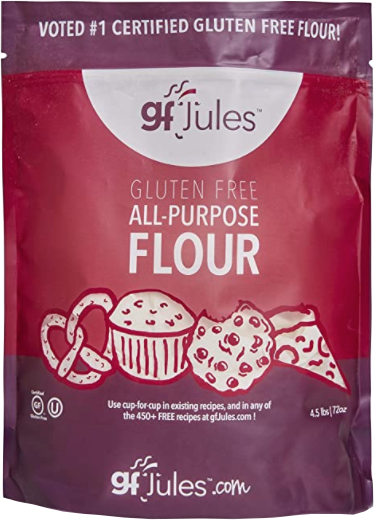
Gluten free flour blends are all very different (click here to read more about different kinds of gluten free flour); my award-winning gfJules™ Flour is fine, light, tasteless and adds stretch to recipes where ordinary gluten free flours fail.
That’s why it’s been voted #1 certified gluten free flour AGAIN in the Gluten Free Awards.
Don’t waste your time with gritty rice flour blends or funky tasting bean flours. Just don’t. If you want these yummy flatbread pitas to turn out right, use the right ingredients and you’ll be a happy baker. I promise!
So don’t be daunted by my trials and tribulations – you can bake this recipe with the right ingredients in a miscreant oven and still come out with pleasing results!
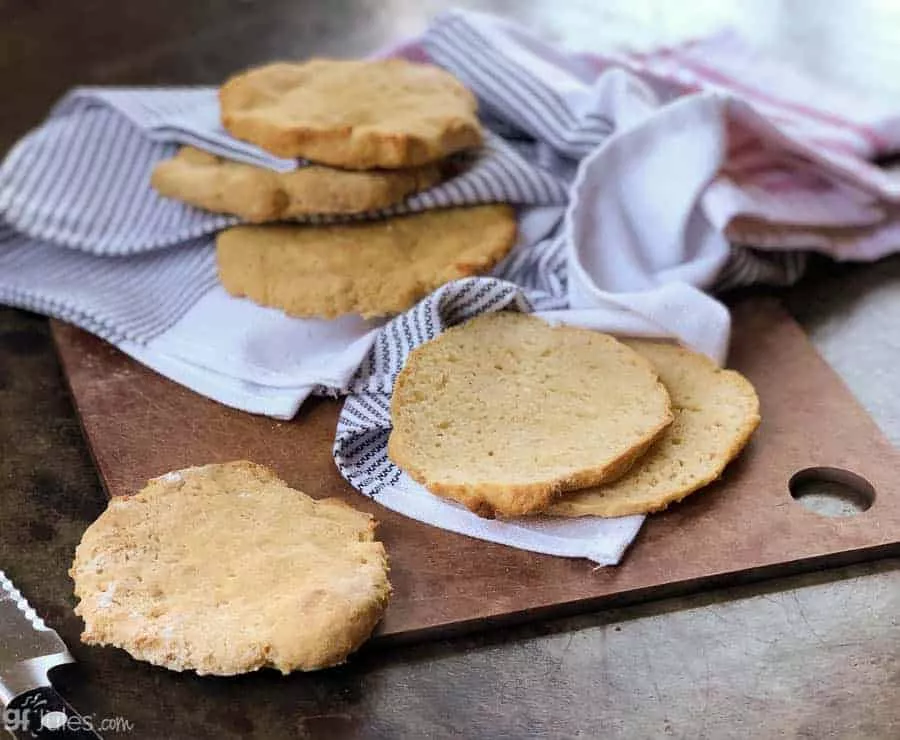

I even baked this gluten free pita or flatbreads recipe at our church with the 2nd grade Sunday School class and we all got our hands in the dough – it’s a wonderful, tactile experience that should be shared!
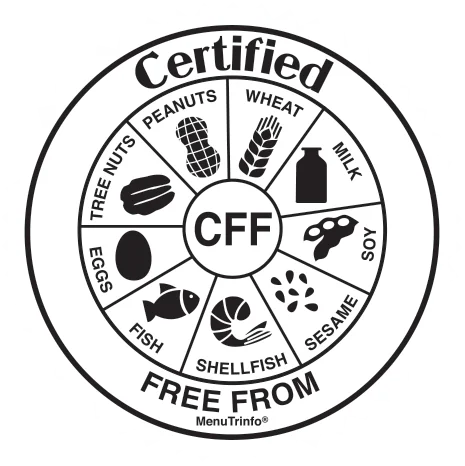
The recipe makes a wonderful gluten free Communion Bread option, too. Yeast-free and free of the top 9 food allergens plus gluten-free, it’s a Host that works well for intinction, as well. Even more inclusive if you use my grain-free gfJules Nada Flour!
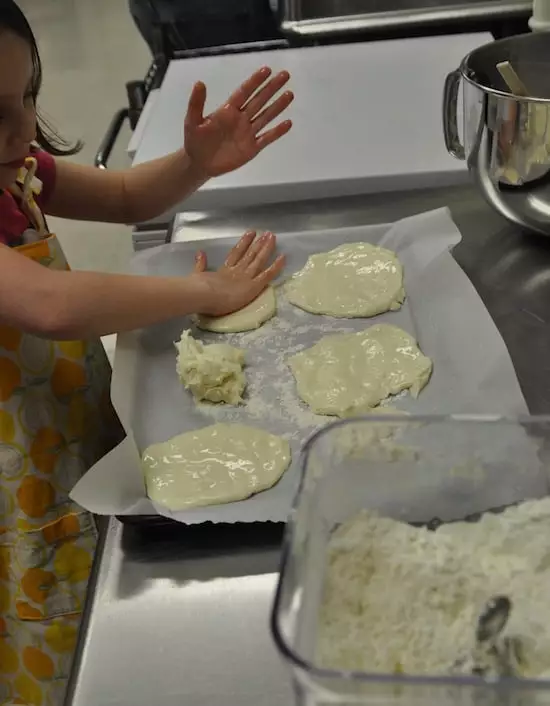

Keep in mind that if 2nd graders can spread this dough into delicious rounds, you can too. There are a few different ways of getting this dough into shape, some a bit less orthodox than others (pun intended) but none is wrong.
Beat it into shape with very well oiled hands or roll in more gfJules Flour and make it look a little neater. Again, no wrong answers.
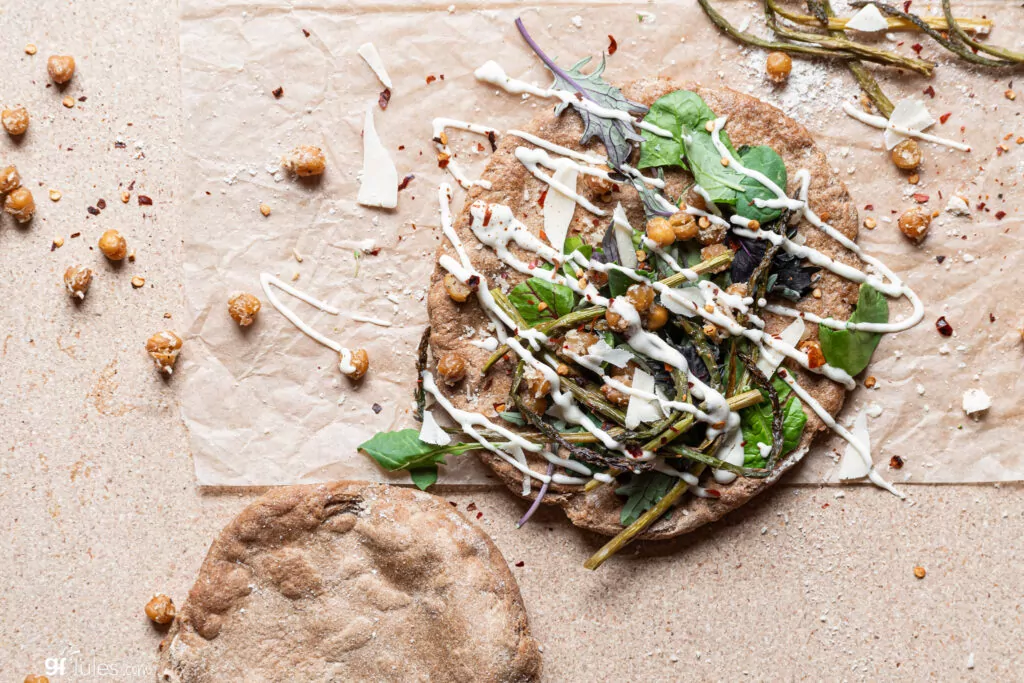

Vegan, yeast-free, dairy-free, and of course, gluten-free or grain-free, there should be nothing keeping you from making this recipe soon and often!
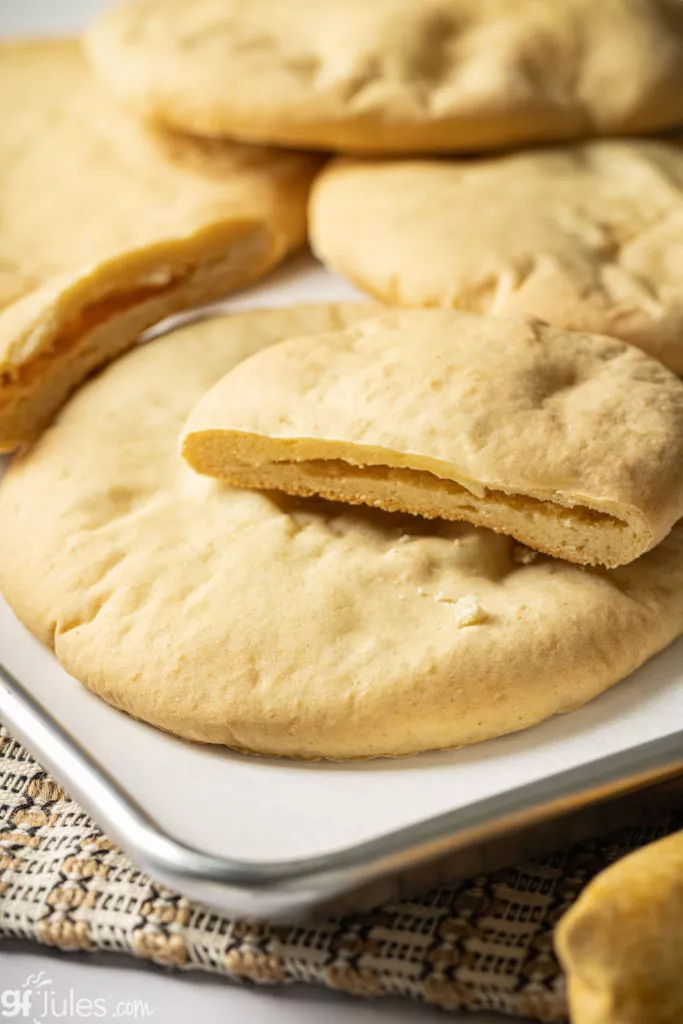

Easy Gluten Free or Grain Free Pita or Flatbreads

Easy Gluten Free Pita or Flatbreads
These gluten free or grain free pita make the perfect sandwich thins or flatbread for your pizza. They have just the right "chew" and are quick to make. Keep some in the freezer so you always have some on hand for lunch or even hummus and dips! They're a great all-around gluten free bread option for so many things!
Ingredients
- 1 3/4 cups (236 grams) gfJules™ All Purpose Gluten Free Flour OR gfJules grain-free Nada Flour (192 grams)*
- ¼ cup (16 grams) instant plain gluten-free mashed potato flakes (Idahoan® Original Mashed Potatoes; or Edward & Sons™ Organic)***
- 2 tsp. baking powder
- 1/2 tsp. baking soda
- 1/2 tsp. coarse sea salt
- 1/4 tsp. fine sea salt
- 3/4 cup + 2 Tbs. warm milk (dairy or non-dairy soy, coconut, almond, etc.)
- 1/4 cup warm yogurt (dairy or non-dairy soy, coconut, almond, etc.) OR 1/4 cup milk
- 1 Tbs. olive oil, vegetable oil or coconut oil (melted)
- Additional oil to brush on tops
Instructions
- Preheat oven to 425° F.
- Place baking stone or metal baking sheet in oven while it is preheating. It should be on one of the upper-most racks, but not the very closest to the top of the oven.
- Whisk the dry ingredients together in a large bowl. Warm milk and yogurt, then add with oil to the bowl and blend, just until integrated.
- Mix until the dough pulls away from the sides of the bowl. If needed, add an extra 1 tablespoon or so of milk, to help the dough to hold together well; if the dough isn't holding together and pulling away from the sides of the bowl, it won't hold together when pressed into rounds, so be sure enough liquid is added at this stage. The goal is for the dough to hold together and be slightly sticky but not wet; not dry or crumbly at all.
- Sprinkle a dusting of my gfJules™ Flour or Nada Flour onto a pastry mat or clean counter. Roll the dough in a small amount of gfJules Flour to keep it from sticking. Gently roll into a wide log and cut into 5-6 equal sized portions.
- Roll each portion in a small amount of gfJules Flour and lightly roll out in all directions to a thickness of about 1/4 inch -- no thinner, and it does not need to be even thickness; some unevenness leads to more puffiness in the baked out breads. Transfer to a piece of parchment dusted with more gfJules Flour.
- Repeat with remaining dough. Brush the tops with oil and slide parchment onto hot stone or baking sheet that has been preheating in the oven.
- Alternatively, scoop out equal portions of dough onto parchment and spread with well-oiled hands, pressing out with the palms of your hands to an uneven thickness of around 1/4 inch. Slide parchment onto hot pan.
- I recommend monitoring this recipe in your oven the first time you try it. Bake for 10 minutes, OR until the breads are puffing up and browning slightly. Flip to the other side and bake for an additional 3-4 minutes. (You may also pan saute the breads lightly to brown the high points like traditional naan baked in a tandoor oven.)
- If you tear open one of the breads, it should be fully cooked and have some pockets of air; it should not be gummy or look uncooked inside. If it is gummy or not fully cooked, return to the oven and monitor until fully cooked. That being said, these breads may appear slightly gummy when hot out of the oven; let them cool for at least 5 minutes before tearing or cutting so the structure of the breads will set first. Note the times and temperatures for your oven, so that next time you bake these flatbreads, you will know what produces the best results with your oven.
Notes
Makes 5-6 flatbreads. Use for personal pizza crusts, naan, pita breads or cut into triangles and toasted or broiled for crisp toast points.
*gfJules Grain-Free Nada Flour
***Substitutes for mashed potato flakes: arrowroot powder, potato starch or cornstarch can be subbed 1:1 for similar results, but mashed potato flakes are still preferred. You can also just bake a potato and mash it instead. Add about 1/2 cup mashed potato instead of 1/4 cup potato flakes, but reduce the liquids slightly.
Pin this recipe for later!




















This looks really good and I will attempt to make it this weekend.
Do you think this recipe could be adapted to make my beloved onion kulcha?
Ooooooh that is a great idea! I don’t know why not, Doug. Let me know if you get a chance to try it before I do!
~jules
This recipe did not work at all and came out more like flat crispy bready scones 🙁
Hi Jade, sounds like maybe they were overcooked? Is your oven temperature accurate? Did you make any ingredient substitutions?
~jules
Same here.. flat doughy circles. they didn’t even puff up at all.
My dough was pretty dry so that could of been the issue also I wonder how accurate my oven was.
Still edible for me – I hate wasting! lol.
If the dough is too dry, it will be stiff and won’t be loose enough to rise. Next time you try this recipe, make sure the dough is not too tight. It should be sticky and want to stick to your hands unless they are well-oiled. Hopefully that will help!
~jules
Hi Jade, I’m sorry you didn’t find success with this recipe. Can you tell me what you used as the liquids (wet ingredients) and did you make any ingredient substitutions? It sounds like the dough may have been too dry or your oven cooking too hot/too long. I’m assuming they didn’t look like the ones pictured?
~jules
Your bread is similiar to what I make, our bread is called “gabobo”bread. Same ingredients except inside of liquid warm milk I use dry milk about 1/4 cup. I then cook it in a cast iron frying pan with a drop of olive oil. I get alot of comments about mine being the best gabobo bread. I am going to try your recipe to see what the difference is, I am thinking it’s probably the warm milk and yogurt. Thank you for your recipe!
Ota Ope Unci
Thank you! I hope you love it – please let me know what you think!
~jules
Got to have gyros tonight because of this recipe! Thank you! Best part: they weren’t crackers. They were actually bendable!
Best recipe ever!!! Thanks for sharing all your pasion with us! Hugss fron New Zealand!
SO happy you loved it, Rodrigo!
~jules
I’ve made naan with regular bread flour before, and cooked them in a cast iron or steel pan. They puff nicely and develop a few dark spots, an aesthetic I like. I wonder, have you experimented at all with pan cooking for this recipe? Any particular reason it doesn’t work? Appreciate the insight!
Hi Paul, I’ve made this recipe in a cast iron pan on the stovetop and had mixed results. What I want to try next is using the cast iron pan in the oven! Have you tried that method yet? Perhaps you have more experience in making them on a stovetop and you’d have more consistent luck than I do. Let me know if you give it a go!
~jules
Not my first Gluten Free rodeo,, but this was horrible.
No yeast???
Can I just substitute your gf all purpose flour and use my regular recipe?
Hi Roberta, I don’t use yeast in my flatbreads recipe, no. If you have another recipe and you’d like to just sub in my gfJules Flour – go for it!
~jules
I would worry that my parchment paper
Would smoke at such a high temperature…
Hi Carolyn, as long as it’s not too close to the burner, it should be fine. Mine does get brown and crispy when it’s too close to the heating element, but I’ve never had more of an issue than that.
~jules
Did what the recipe said both times came out gummy. Help electric oven
Hi Judit,
were you using my gfJules Flour? What yogurt and milk did you use? Did you make any other substitutions?
~jules
Hi, I just tried this for the first time. It didn’t puff at all, but it tastes really good! I have some ideas what I did wrong by reading other comments and also some guessing. I halved the recipe to see if I would like it, and maybe it doesn’t work right that way with halving baking soda and powder. What do you think? Also, I think I flattened them too much and also the dough could have been wetter (it wasn’t dry, but it wasn’t damp either). I used all milk, since I didn’t have any yogurt. Oh, I also made smaller ones, so maybe I should have baked for a shorter time, since they got good and brown after 10 minutes. But I did like the flavor and would like to try them again. I didn’t use your flour, since I wanted to try it right away.
Hi Marsha, you’ve outlined several variables which I think you’re right, contributed to them not puffing. My gfJules Flour is very fine and light, which means that the things you bake with it will be also — in other words, easier to puff! I’m not sure what the flour blend was you were using, but I’m sure that had something to do with it. Also, you don’t want to flatten them too much, or they will not puff. They tend to puff in the thicker parts of the somewhat flattened dough. Using all milk rather than milk + yogurt will mostly just affect the texture of the bread and how much moisture it will retain. It could be that there were not enough leaveners since you halved the recipe. That all being said, the fact that they still tasted good is a WIN! I can’t wait to see what you think when you try again!
~jules
I made a half batch to try tonight and I was pretty pleased overall! I was excited to see them puff up as somehow I didn’t think they would. 🙂 They were great with turkey leftovers and goat cheese! I think I just need to work on my presentation a bit, so they look better.
YAY! So happy you gave it a go and enjoyed delicious results, Caroline!!!
~jules
i made them they turned out very good how did u store them?
Hi Heather, so glad you liked them! I usually just put them in a zip-top bag on the counter with the air squeezed out of it. Wait until they’re fully cooled first, though. Then I’ll slice them and put them in the freezer if I don’t use them up right away. They’re super handy to have ready anytime in the freezer!
~jules
Hi Jules,
I was so excited to try this recipe but something went terribly wrong. My pitas are hard as rocks and no fluffing up at all. My dough looked much dryer than the picture of the second grader’s dough. Any suggestions on how I can get this dough to work for me? Your pitas look wonderful!
Hi Mary, good insight that the dough looked drier. I would encourage you to give them another try and keep adding more liquid until the dough is soft and pliable but not soggy. Then don’t press them too thin and maybe bake them a little less long. It could be anything from humidity to the temperature of your oven that would have made them hard. Also make sure you leavening agents (baking soda/powder) are fresh! Hopefully next time they’ll turn out much better for you!
~jules
These are amazing. <3 They remind me of the fry bread I sometimes ate back in Oklahoma. I'll try frying a batch to see how they come out.
Ooooh I’d love to hear how that turns out! Please let me know!
~jules
THEY WERE GREAT!!!!! OMG.
SO happy you loved them, Susan!!!!
~jules
I’ve tried this recipe three times, using the correct flour (weighing it) along with new baking powder and soda. The breads do not puff. Please, help! What am I doing wrong.
Hi Jo – when you flatten the dough, are you leaving some areas thicker and uneven? Those are the areas that tend to puff more – make sure you don’t flatten the dough too much or it won’t puff. You may also want to experiment with your oven. Try turning your oven up higher or on broil for the first couple of minutes to make it rise really fast then decrease the temperature. Oven rack placement can also affect it. Let me know if any of these tips helps next time!
~jules
are you saying put a bread and naan are exactly the same? that was not my experience before I went gluten free. I’m confused.
thanks!
Hi Ann, no I’m not saying they’re exactly the same thing. I’m saying that this recipe can make bread that is akin to either. For more naan-like bread, put in a pan on the stovetop and it’s more like being baked in a tandoor. Of course, if you have a tandoor, use that, by all means! If you bake and cut in half, you can treat it more like pita bread.
~jules
Didn’t quite work the first time. I will try again. In the photo with the child, the dough looks wetter than mine. Maybe a little more liquid. I am not using yogurt since I am newly dairy, egg, & gluten free. (I used all almond milk.
Thanks
Hi Toni, I’m glad you’re going to try again! I use non-dairy yogurt in all my baking (I’m dairy-free, too), so if you can find some of that at the store, maybe the recipe will work out better for you, but yes, it should be a wetter dough, definitely not dry. I’ll be eager to hear how it goes next time!
~jules
These were awesome. Exactly 10 minutes at 425. I used spelt flour and coconut milk and extra virgin olive oil.
After they were done I brushed my pesto sauce , tomatoes, Gorgonzola cheese and mozzarella cheese with cooked spinach and kale salt/ pepper
And warmed in oven for about 5 minutes . OMG. My work friends went crazy over them.
They are also good with just jalapeño jelly.
Thank you for a great recipe.
So happy you tried the recipe and NAILED IT! YAY! Congrats!
~jules
Made this recipe in to naan breads, best recipe yet so fluffy thankyou for sharing
Hi Jo – so glad you tried it and loved it!!!!
~jules
My daughter loved it, shes dairy and soya intolerant so can be tricky to buy foods for her ????
So happy that she loved it, Jo!!! I hope you enjoy lots of other recipes from my site, as well.
~jules
Can I use gf flour that does not contain corn? Highly intolerant to corn and corn products, like corn starch, and most grains, including rice. So gf for me also means grain free. ???? What substitutes could I use? I miss bread, and now know it was making me sick. ☹
Hi Jaymee, check out this article for information on making your own blend corn-free: https://gfjules.com/gluten-free-flour-comparison/
Also, look into my friend’s blend called Better Batter; it’s corn-free. Hope one of those solutions works for you!
~jules