To cap off a hot summer day, what could be more delicious than a cool, creamy pie? While you might not be thinking chocolate when it’s cold outside, why not this chilly Gluten Free Chocolate Cream Pie?
Zig when they zag, right? Bring this gluten free, dairy free chocolate cream pie to any party and it will be the hit, I promise! Or keep it all to yourself — I’ll never tell!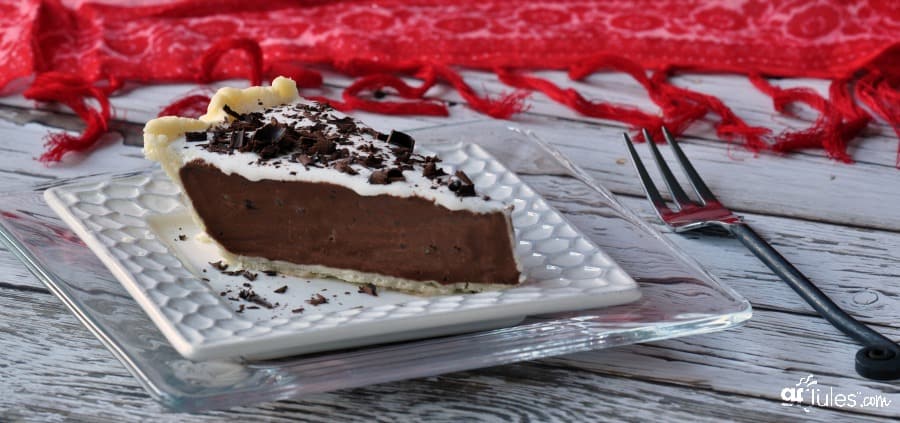
How Do I Make A Gluten Free Chocolate Cream Pie?
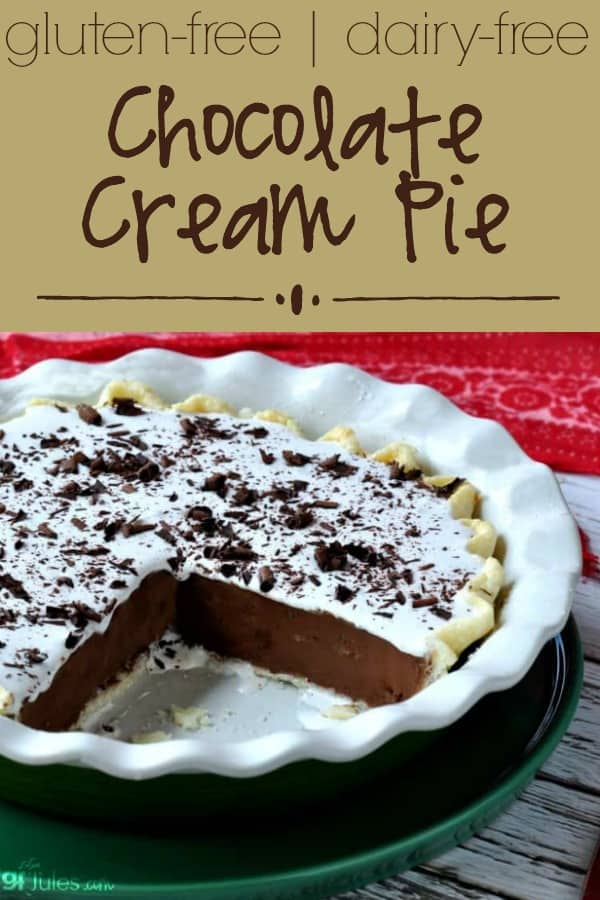
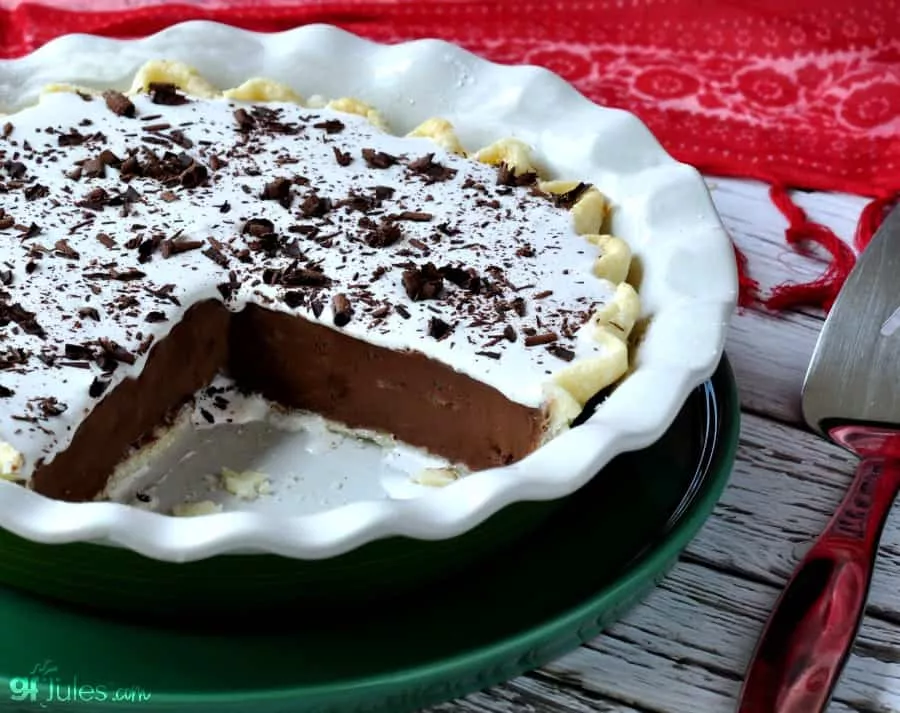
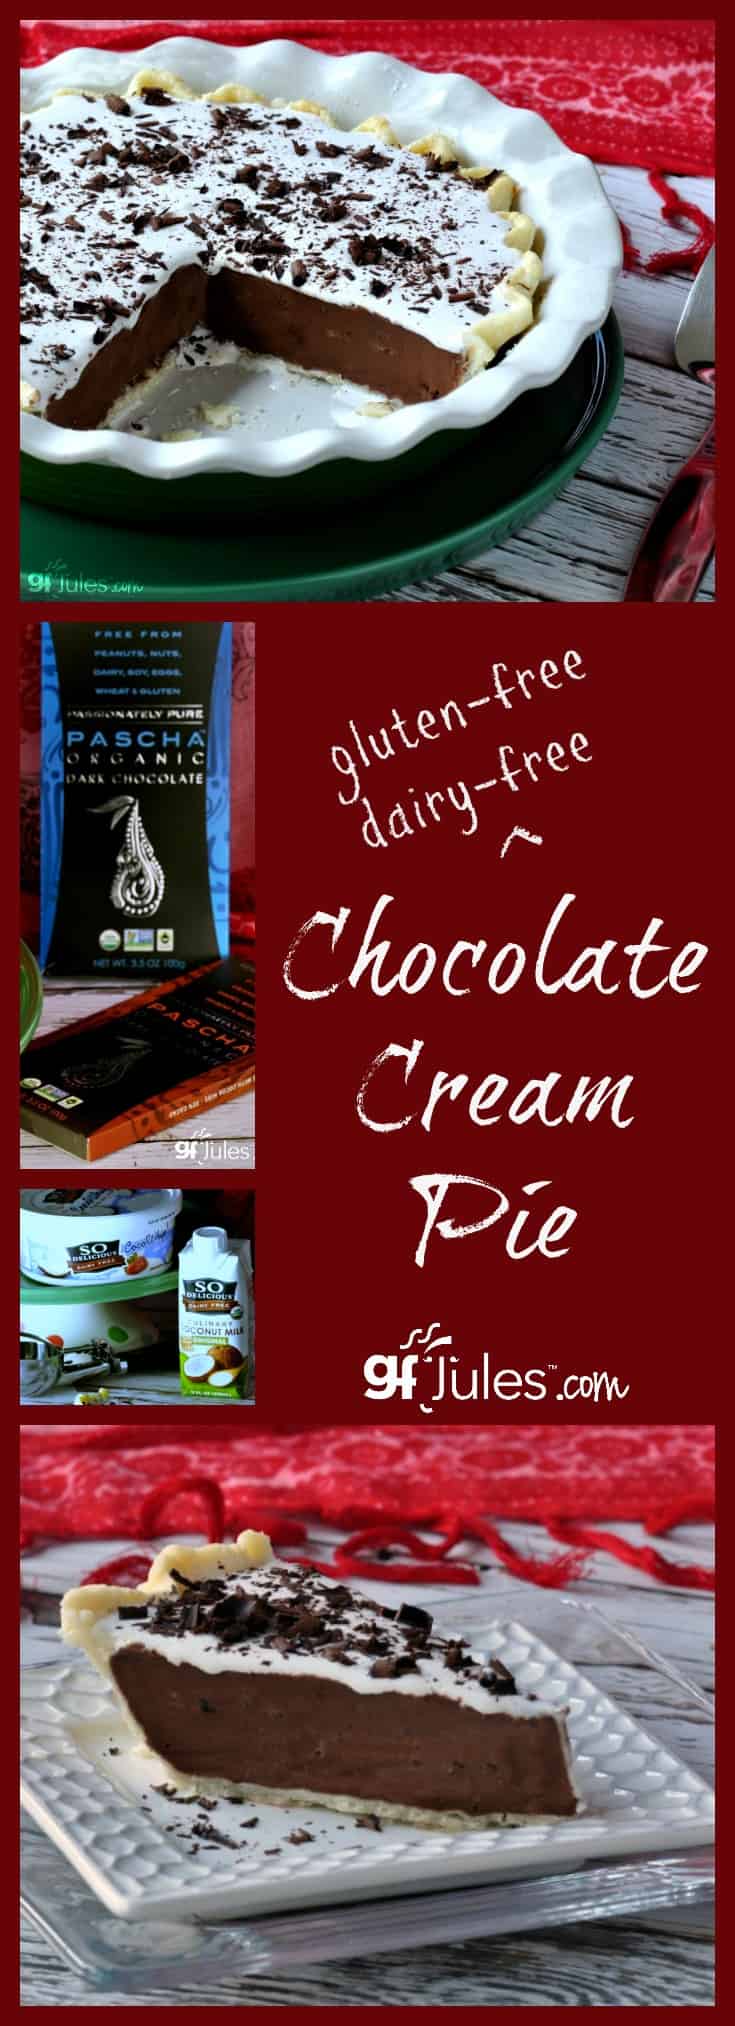
To make this amazing pie, I used my homemade gluten free pie crust and baked it in advance (pictured above). Hop to my tutorial on pre-baking homemade gluten free pie shells for more information on this critical step to making the most delicious, flaky pie crust.
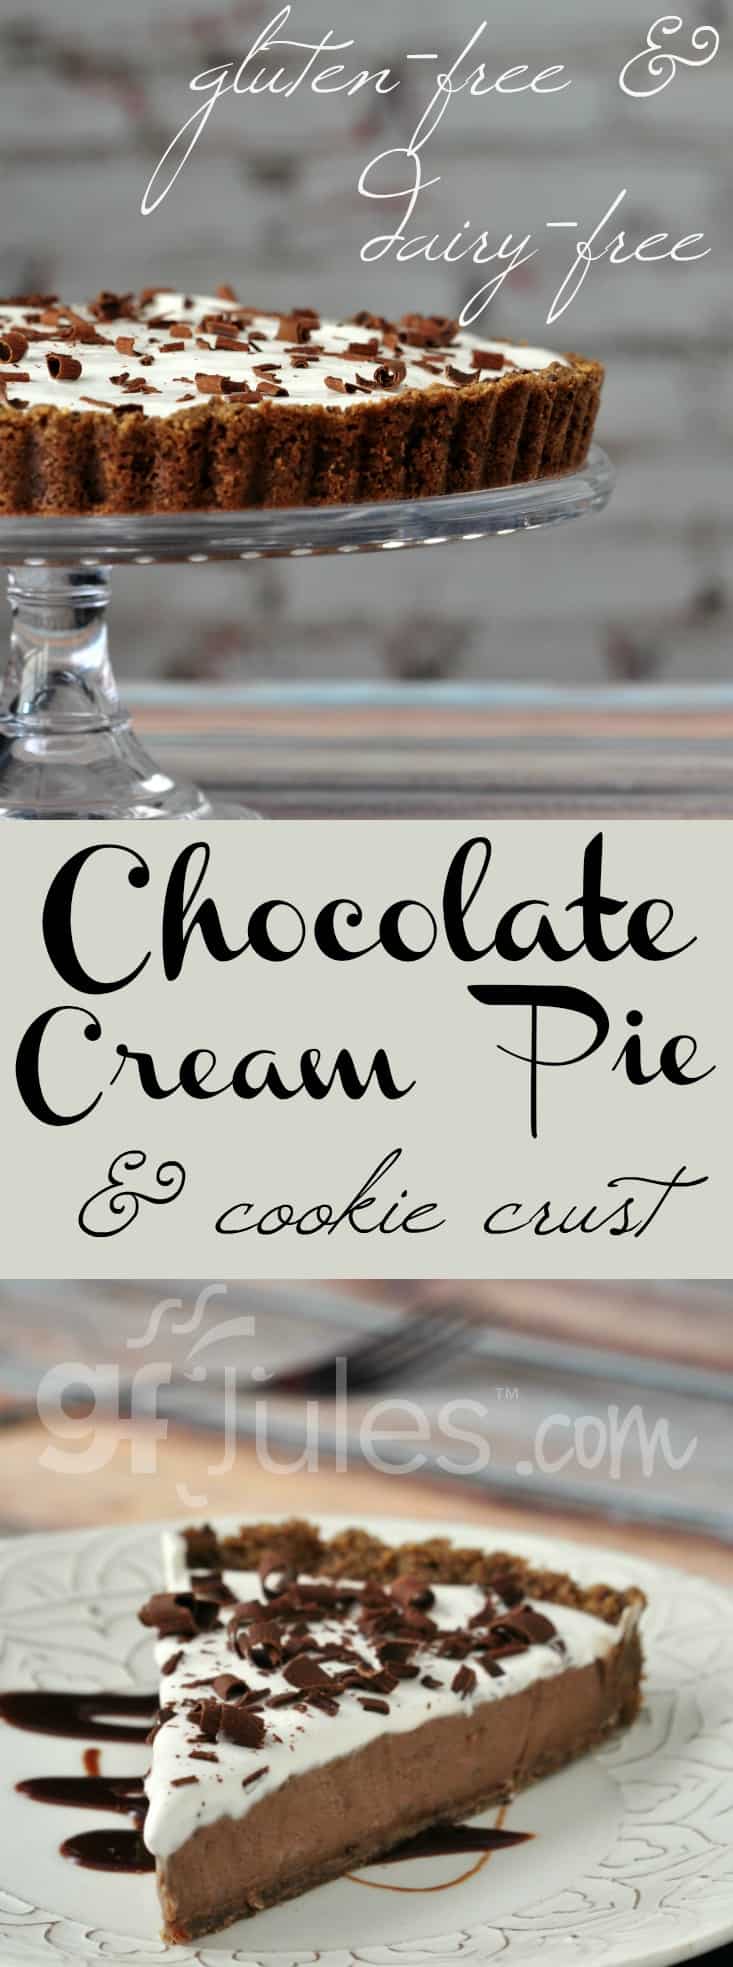
If you’d prefer a gluten-free cookie crust (pictured below), I’ve given you directions below for that too. I really can’t decide which I like better — they’re both delicious, so it’s all up to you!
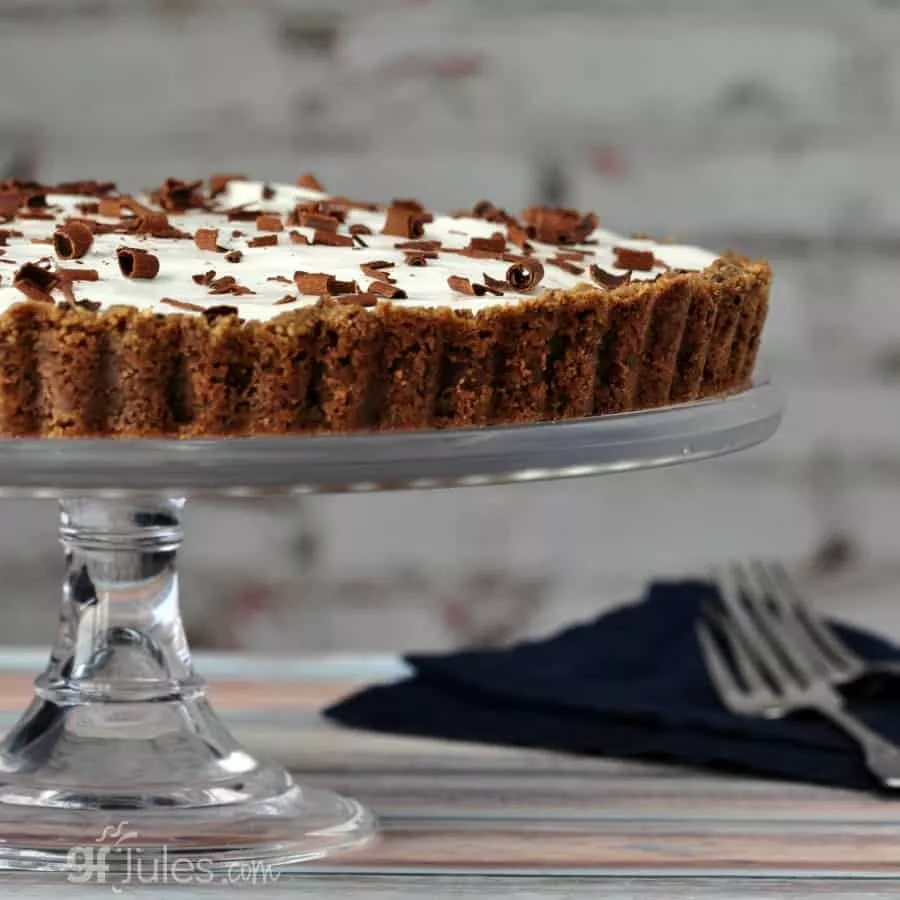
If you choose the gluten free chocolate chip cookie crust option — nice choice — you can even up the chocolate quotient by adding MORE chocolate chips to the crust as you make it!
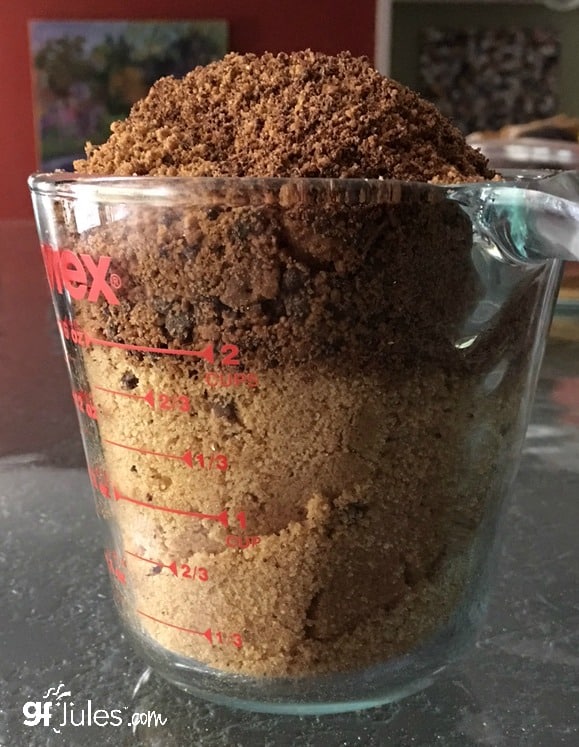
That’s the beauty of making things from scratch, you know. You can always E.M.B.E.L.L.I.S.H.
And then end result is perfectly tailored to your tastes, dietary needs and preferences. You can’t ask for much more than that! (Especially when it turns out THIS deliciously!)
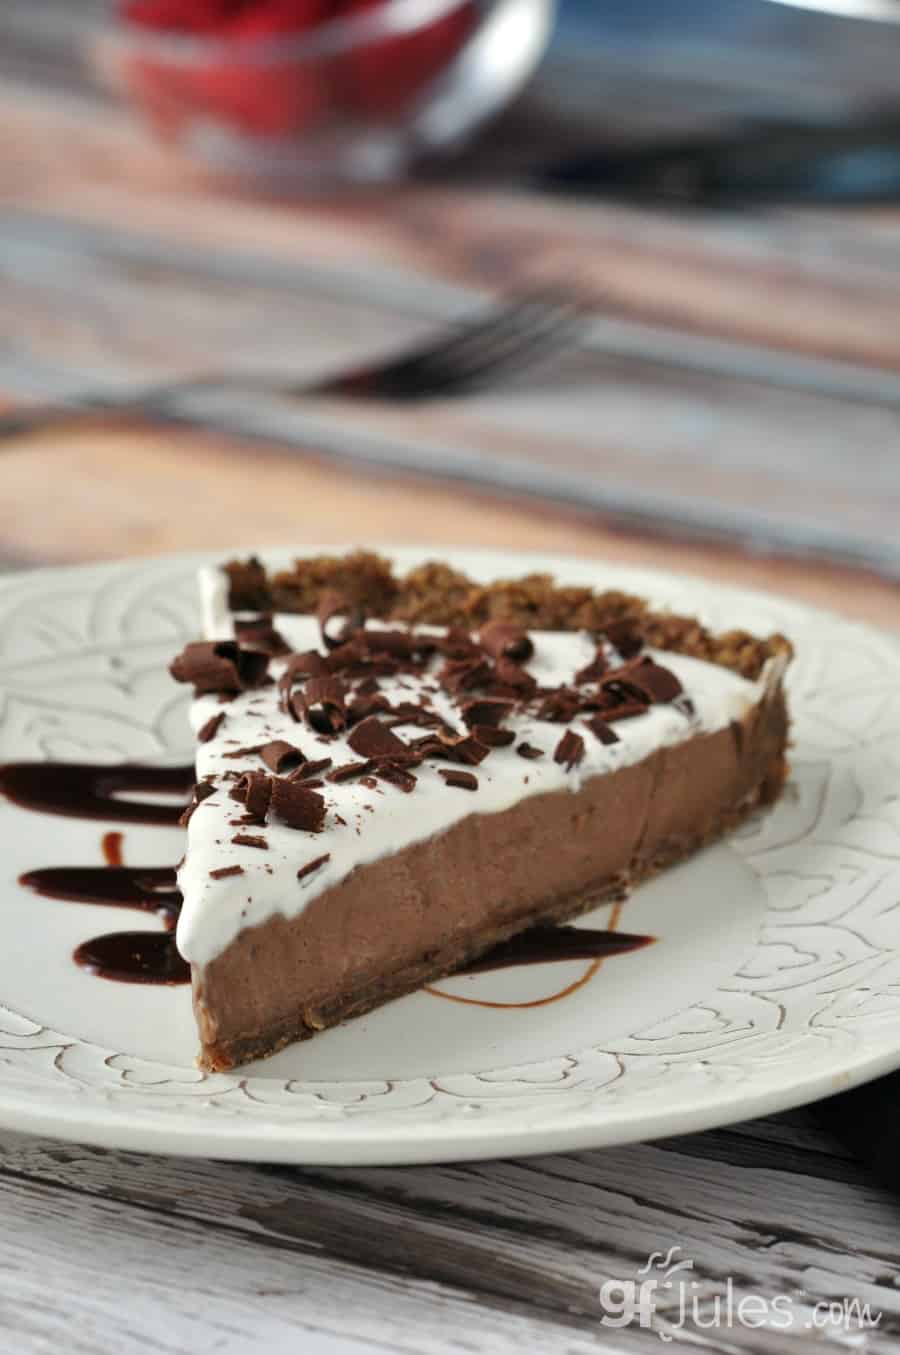
And as for the filling, I used dairy free, vegan products from So Delicious® and Pascha® Organic Allergen Free chocolates.
Feel free to use other ingredients if you like, but I wanted you all to know that this chocolate cream pie is amazingly delicious even without the dairy! I promise!
But whatever you do, don’t skimp on the quality of the chocolate you use — it’s the focus of this light and luscious pie, just like when you’re baking a homemade pie crust, the gluten free flour makes ALL the difference.
Whether it’s hot or cold outside, this rich and creamy Gluten Free Chocolate Cream Pie will make your day brighter and cooler!
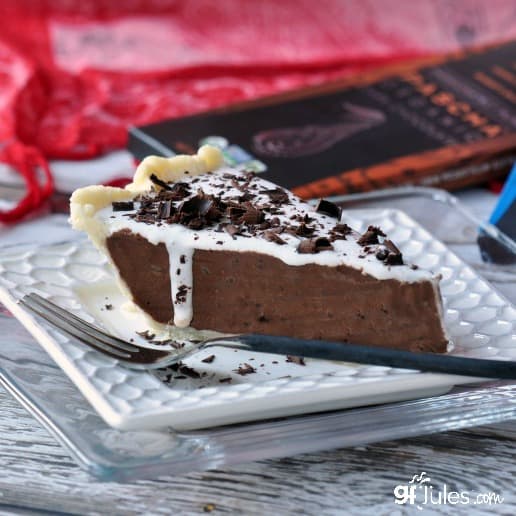

Gluten Free Chocolate Cream Pie Recipe
Ingredients
Pastry Crust
- 1 homemade gluten free pie crust pre-baked
Cookie Crust:
- 2½ - 3 cups gluten-free chocolate chip cookie crumbs (approximately 16-18 3" cookies)*
- 2-3 Tbs. melted butter or non dairy alternative (I used Earth Balance® Buttery Sticks)
Pie Filling:
- 1⅓ cups regular coconut milk canned with 12-14 grams of fat (I used So Delicious® Original Culinary Coconut Milk)
- 1 cup coconut or almond creamer (like So Delicious® or Silk® OR egg nog in winter (So Delicious® Coconut Milk Vegan Nog)
- 3 Tbs. coconut or almond creamer (like So Delicious® or Silk® OR egg nog in winter (So Delicious® Coconut Milk Vegan Nog)
- ½ cup granulated cane sugar
- 1/3 cup gfJules® Gluten Free All Purpose Flour
- 3 large egg yolks (or egg substitute like 9 Tbs. egg-free vegan mayo)
- ¼ tsp. sea salt
- 8 oz. semi-sweet chocolate chips or chocolate bars broken into squares I used Pascha® Organic Allergen-Free Dark Chocolate 55% cacao with cocoa nibs for crunchy texture
- 4 Tbs. butter or vegan butter (I used Earth Balance® Soy Free Buttery Sticks)
- 9 oz. So Delicious® CocoWhip (or regular whipped cream)
- 1 Chocolate bar (I used Pascha® Organic Allergen Free Dark Chocolate 55% cacao) – optional to make chocolate curls for garnish
Instructions
To make the crust:
- Gluten Free Pastry Crust: Prepare and bake 1 homemade gluten free pie crust according to directions in recipe link. Bake with pie weights or dried beans for 15 minutes, then remove weights and bake another 10-15 minutes, according to recipe. Remove and set aside to cool.
- Gluten Free Cookie Crust: Have ready a 10 - 11 inch tart pan with removable bottom or 10 inch pie pan.
Be sure your cookies are crispy before trying to crush them into crumbs. If fresh baked, take several cookies at a time and place them in the freezer for 5-10 minutes (unwrapped). This will harden and dry them, making them easier to crush into crumbs. - To make the crust, process in a food processor (easiest method) or use a gallon size zip-top bag (freezer bags are stronger) and fill it with approximately 2 1/2 - 3 cups of chocolate chip cookies. Remove the air from the bag and seal, then begin rolling over the cookies with a rolling pin, crushing the cookies to a very small crumb size -- if the cookies aren't crushed quite finely, the crust will fall apart when cut.
- Once uniformly crushed, measure out to be sure you have enough crumbs – repeat if you need more crumbs.
Pour the crumbs into a medium-sized bowl and stir in the slightly cooled, melted butter or Buttery Sticks, stirring with a fork until the crumbs begin to stick together when pressed. It is important that the mixture not be too wet, so if the crumbs are very wet at this point, crush more cookies to add to the mixture. The consistency is right when you can press the mixture between your fingers and it sticks together but is not at all drippy with butter. - Transfer the crumb-butter mixture into a pie pan and press with your fingers to create an even thickness along the bottom and sides of the pan. If using a tart pan with removable bottom, you may find it easier to place the pan on a cookie sheet so the crust bottom is not disturbed during transfer.
- Refrigerate the crust for 20 - 30 minutes to help it set. Preheat oven to 350° F (static) or 325° F (convection).
Bake crust for 10 minutes or until firm. Remove to cool completely in the refrigerator or at room temperature before filling.
Chocolate Cream Pie Filling:
- Whisk coconut milk, creamer, sugar, gfJules Flour, egg yolks/sub and salt together in a large saucepan over medium-high heat. Continue stirring periodically so the mixture does not burn. Continue to stir until the mixture thickens noticeably to warm pudding-like texture, approximately 8-10 minutes.
- Remove from heat and stir in chocolate and butter until melted and smooth. Pour into cooled pie crust, cover with plastic wrap and chill in the refrigerator until firm, at least 3 hours.
- To top with frozen whipped cream dollop out onto slices of pie, or to prepare the pie as pictured, whip the entire container of CocoWhip in a large bowl using a whisk or the whisk attachment on a mixer. Stir until smooth and spreadable. Spread on top of cold pie and place entire pie into the freezer for 30 minutes or until the CocoWhip has set. If using this method, the CocoWhip will no longer be as fluffy, but will make a creamy, smooth layer on top of the pie.
- Refrigerate pie to set before serving, no need to freeze once the CocoWhip has set again.
Chocolate Curl Garnish
- Garnish with or without chocolate curls.
- To make chocolate curls, soften a chocolate bar gently by microwaving only until the bar is slightly softer, but not melted. Using a vegetable peeler, go along the length of the bar and shave down in one long movement.
- The curl will fall off and once at room temperature again, can be picked up and sprinkled on top of the pie.
- Repeat until you have enough curls to garnish to your taste. Reserve any remaining chocolate for other applications.
** Please keep in mind that nutrition information provided is per serving, which may vary. While we have taken care to provide you with the most accurate nutritional values possible, please note that this information may differ significantly depending on the exact ingredients and brands that you choose to use to make this recipe. Additionally, where options are given for ingredients, the resulting calculation may include all ingredient options instead of only one per line, skewing the totals significantly.
I hope you love this decadent pie!
Pin for later!














This gluten free pie was RIDICULOUSLY good. Oh my! We made it with the cookie crumb crust. I can’t imagine it any better. Thanks Jules. Your recipes are so creative and they always turn out amazing. We ONLY use your gfJules flour and most of your mixes.
This is the most delicious pie I’ve EVER tasted! Creamy and rich, hit the spot!
SO glad you loved it too, Cindy! I have to share when I make it, lest I eat the WHOLE PIE MYSELF! 😉
~jules
My word this looks like heaven on a plate! Pinned!
Thanks so much, Elle! xoxo
~jules
Egg nog and chocolate? Count me in!
I know, right, Chrystal!? I recently made this pie again when it wasn’t “nog season” and used Coconut Creamer — turned out equally fabulous!
~jules
Sounds terrific, I’m always up for a chocolate dessert!
Hope you enjoy the recipe, Sylvie!
~jules
Delicious!! “I’m in heaven.” was heard around my celiac table, but even my dad who can eat gluten thought it was the bomb. Thanks, Jules! ?
Fantastic!!! So happy EVERYONE at the table was happy with this yummy pie!
~jules
I seriously hate coconut, so I make my chocolate cream pie with avocados, dates, chocolate syrup, sugar, cocoa powder, vanilla extract, and almond or cashew milk. I top it with marshmallows or merengue and brown it in the broiler.
I love using avocado and cocoa to make pudding – bet it would be wonderful in a pie, too. Thanks for sharing, Jenny!
~jules
Mmm…now that sounds like a great idea, do you have a recipe to share?
Hi Elvira, the recipe is in the text above. Enjoy!
~jules
I need this like now!!
hahaha – I know the feeling! It WAS really good, and now I need to make it AGAIN!
~jules
Every year for Christmas my husbands family makes chocolate cream pie. I’ve been meaning to ask them if they could make it gluten-free. I will be sending this over to the the MIL 😉
Thank you,
Chrystal
Wonderful to hear, Chrystal! Now he can have one of his traditions back!
~jules
Growing up, chocolate cream pie was my sister’s favorite…and I still have not made my own from scratch version…you have reminded me it is time!! I love the addition of egg nog!
Wow, this looks delicious. I have made your pie crust and already know that it is amazing…I think I’m going to have to try it with the chocolate cream!
Fantastic to hear, Amanda! I know you’ll love it!
Happy baking!
~jules
I love that you use egg nog in this, I bet it makes it so rich and delicious!
Yes! It’s so creamy – I love it, Megan! Hope you get to try it!
~jules