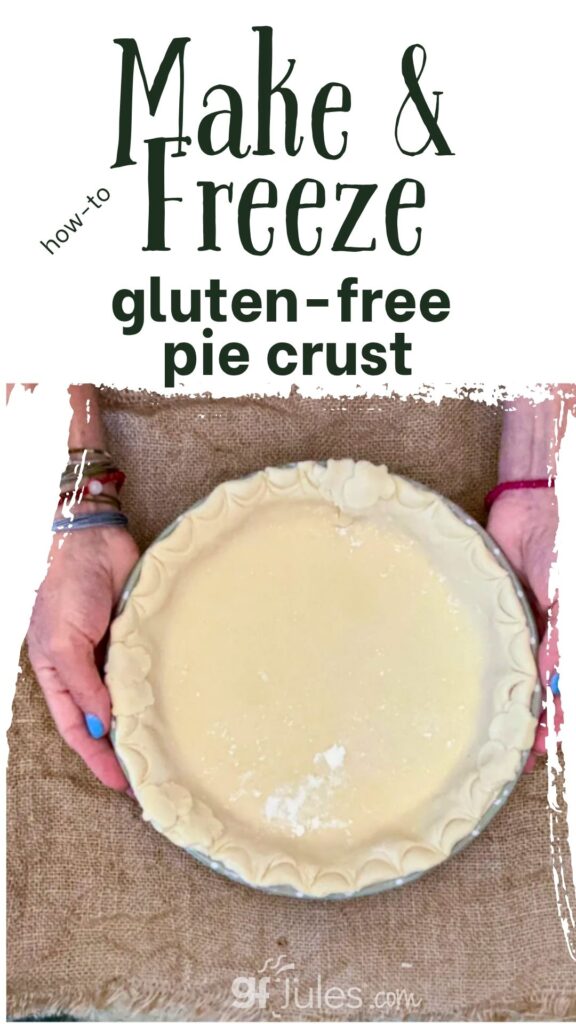
If you’ve ever wondered how to bake a frozen homemade gluten-free pie crust, you’re not alone. Discover the secret to achieving a perfectly flaky and delicious gluten-free pie crust with this step-by-step guide to freezing before baking.
Blind baking a homemade gluten free pie crust is also a useful skill for custard and no-bake pies, so let’s go over the simple steps for that process, too!
The foundation for both of these recipes is the perfect homemade gluten free pie crust.
One that offers unbeatable flavor and texture compared to store-bought alternatives, so that freezing and “blind baking” can preserve your lovely crust to ensure it holds its shape and achieves that perfect golden-brown finish.
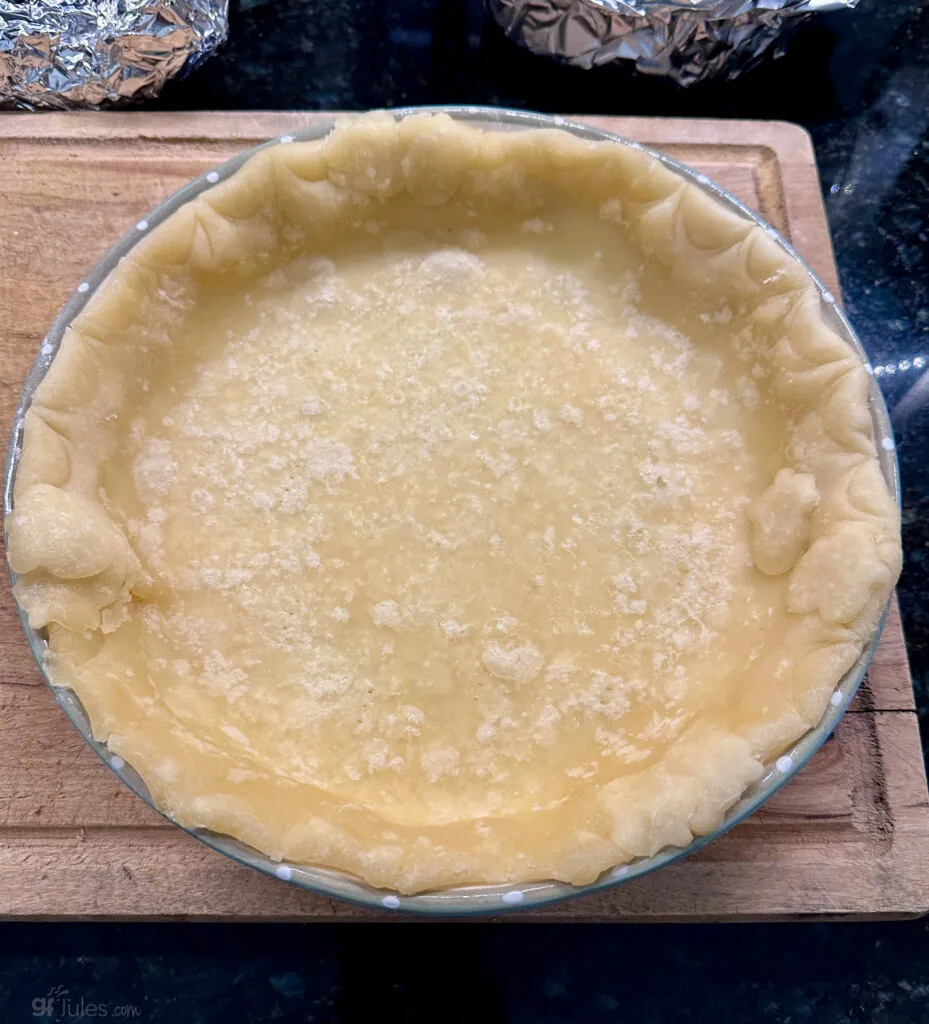
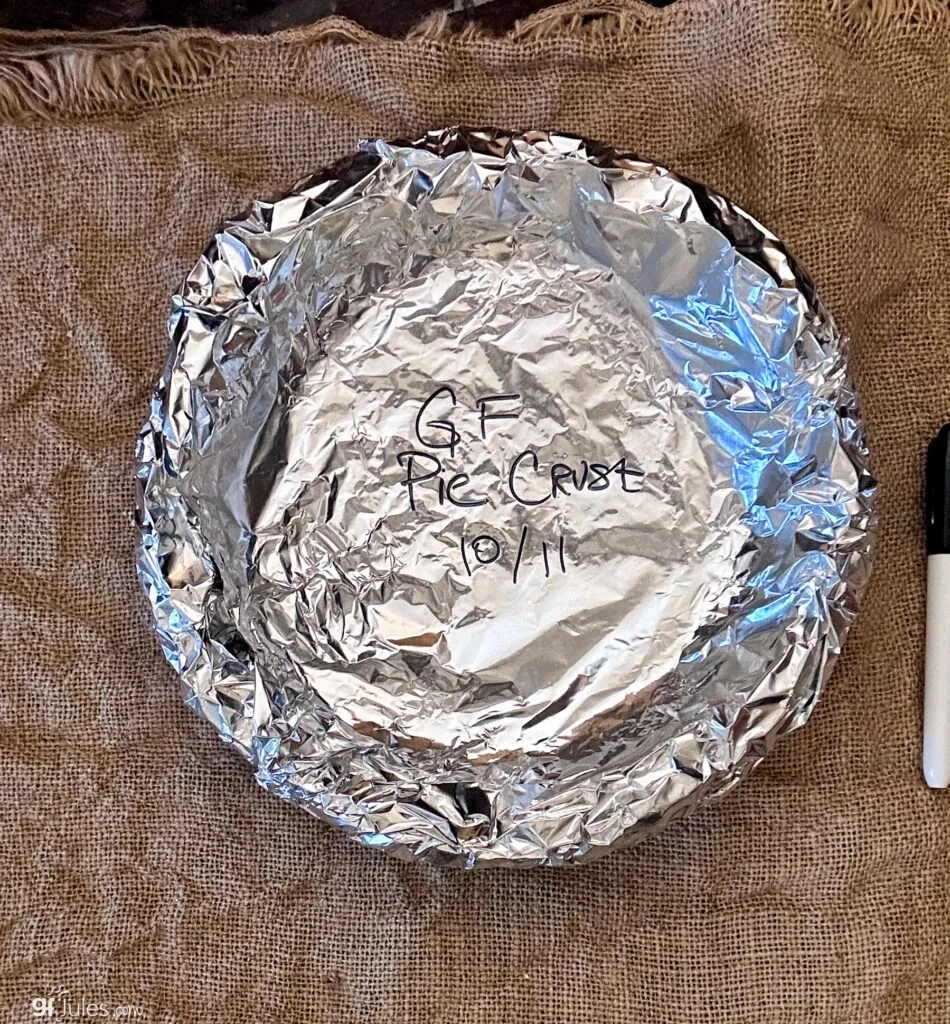
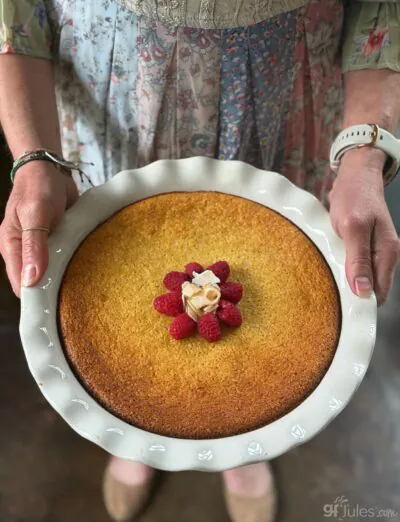
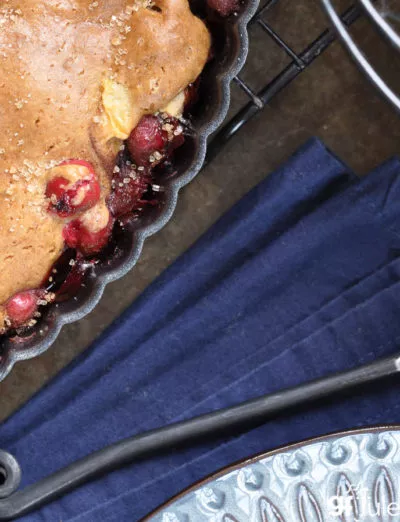
Once you’ve got a great gluten-free crust base, the par-baking or full blind-bake process is easy. You can see what a par-baked crust before freezing looks like above, and then covered with foil, ready for the freezer, below.
Why freeze homemade gluten-free pie crusts?
Freezing your unbaked gluten-free pie crust allows the dough to firm up, which helps prevent shrinking and ensures a beautifully crisp, stable base for your pie.
This method also makes it easy to prepare your crust in advance, saving you time and stress on the day of baking. So many bonuses!
How Do I Freeze a Gluten Free Pie Crust?
The process for freezing a gluten-free pie crust is quite easy.
This easy homemade gluten-free pie dough recipe works well to prepare in advance, freeze it, and bake it when you need it! The crust turns out so flaky and light, making it simple to have a delicious gluten free pie anytime you like, since you can be prepared days or weeks ahead of time!
Remember that the key to to recipes like this one is always in the ingredients + the technique.
Using gritty rice flour blends or bean flours will never yield a great pie crust; on the other hand, using my gfJules™ Flour blend will not only make a great crust, it will make it easy on you as the baker, since it provides the stretch you need to transfer crusts without stress (see the short video clip below).

Scroll down for the recipe and the technique that will have you cranking out pies like a pro, and fooling all your friends and family who think great gluten free pie crusts are impossible to achieve!
And if you need ideas for all the wonderful gluten free pies you can whip up with this great crust recipe, just use the search bar at the top of my site and search for “pie” — then start dreaming of all the yummy things you can make, now that you have this essential recipe!

To prepare a homemade gluten free pie crust and bake right away, hop to my post on making, rolling and baking a one or two-crust gluten free pie crust. This post is your go-to tutorial on all things gluten-free pie. Bookmark it for step-by-step photos, videos, and Q&As for making the perfect gluten-free crust.
In the recipe card below, you’ll find the steps for preparing your gluten-free pie crust, freezing it effectively, and then blind baking it to perfection. Consult the tutorial referenced just above if you need more assistance with the dough making portion of this recipe.
By following these simple steps, you’ll achieve a superior flaky texture and flavor that store-bought frozen options just can’t match.
How to Make & Bake a Frozen Homemade Gluten Free Pie Crust

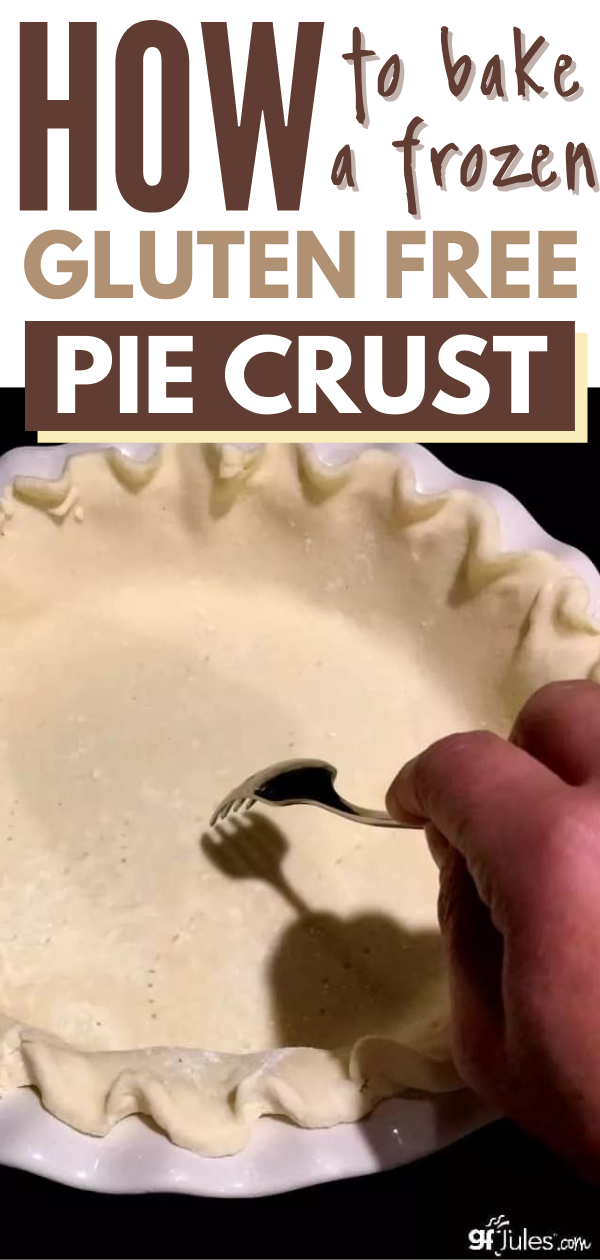
How To Bake a Frozen Homemade Gluten Free Pie Crust

Ingredients
- 1 (135) cup (grams) gfJules All-Purpose Gluten Free Flour
- 1/2 teaspoon sea salt
- 2 (1) Tbs (ounce) shortening (I prefer Spectrum® Palm Oil shortening) OR 1⅛ ounce cream cheese (vegan or dairy)
- 3 Tbs butter or non-dairy alternative (e.g. Earth Balance® Buttery Sticks)
- 3 Tbs vodka* (OR white or rice vinegar)
- 1 Tbs cold water may need to double, depending on humidity
- egg wash (1 egg + 1 Tbs. water) OR milk (dairy or non-dairy) for brushing on crust
Instructions
To Make the Dough:
- In a large bowl, whisk together the dry ingredients. Cut in the shortening and butter using a pastry cutter (or the flat paddle attachment on a stand mixer or a food processor). Do not overwork! It should be pebbly, not smooth.
- Add the vodka/water gradually to make the consistency you need to form a ball – err on the side of it being wetter rather than crumbly, but not sticky or actually wet. Don’t over-work the dough, or it may become tough when baked. Form a disc with the dough, wrap in plastic and set aside in the refrigerator for 30 minutes.
Rolling the Dough:
- After allowing the dough to rest, roll the pastry out onto a surface dusted well with gfJules All Purpose Gluten Free Flour. Consult my videos.
- Use a flexible pastry mat (e.g. Silpat) and rolling pin covers or a pie crust bag for rolling and transferring your gluten free crust easily.
- Gently roll in each direction -- do not press down on the pin while rolling -- to a circle with a diameter at least 1 inch larger than that of your pie pan.
To Transfer the Crust:
- Gently lift an edge of the rolled out crust over your rolling pin. With one hand under the baking mat, use the pin in the other hand to lift the crust so that it is supported by the rolling pin as you pull the crust gently off of the baking mat. Transfer gently over the pie plate to center. Drop gently into the plate and press in with floured fingers. Pat into your pan. Consult my videos.
- Cut the edges of the crust to an even length of approximately 1-inch larger than the diameter of your pie plate.
- Cover with plastic wrap, then wrap the entire pie plate in foil. Place flat in the freezer without anything on top of the pie plate. Pie may remain frozen for up to two months.
- When you are ready to bake your pie, remove the pie plate from the freezer and remove foil and plastic wrap. Allow the crust to thaw for 15 minutes while preheating your oven to 375° F.
Blind Baking Gluten Free Pie Crust
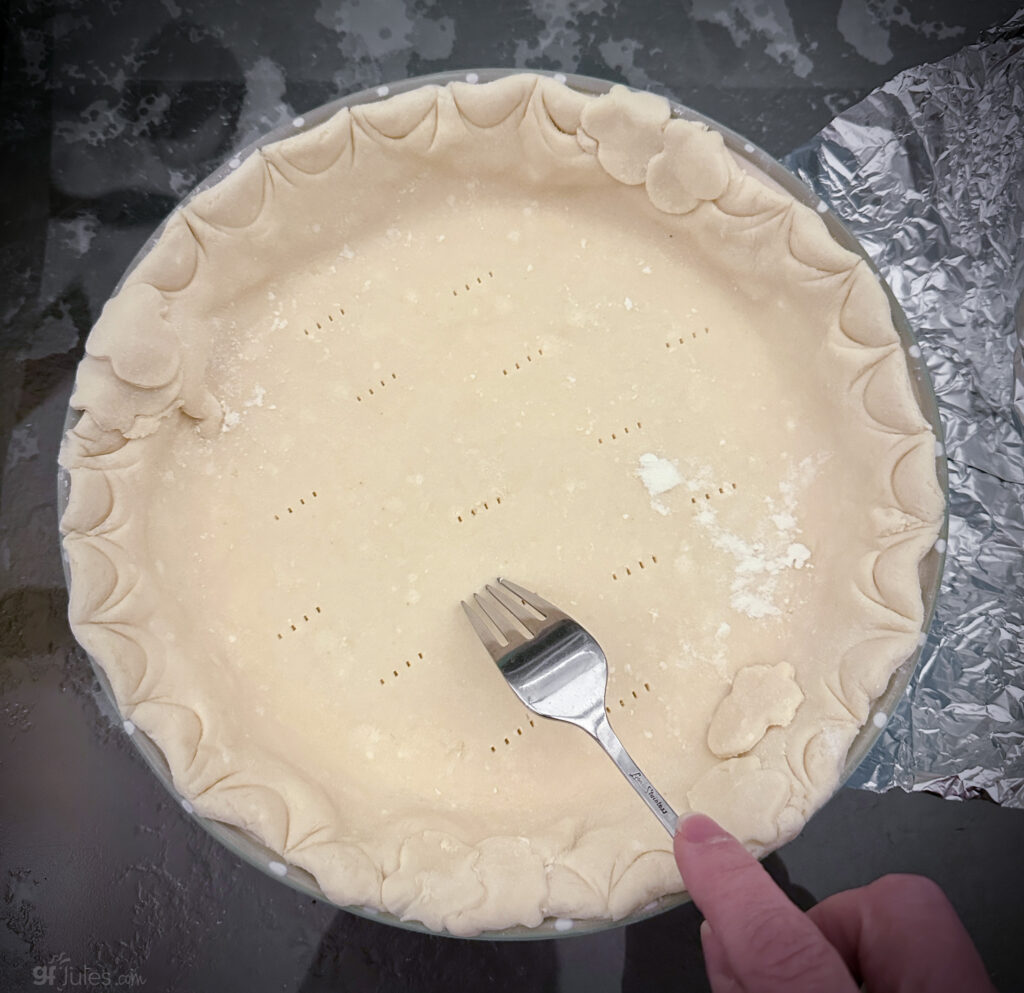
- Prick the bottom of the crust with a fork to help prevent air bubbles from forming. Return the foil to the pie plate and lay in the bottom of the plate and gently up the sides. Place pie weights or dry beans or rice onto the top of the foil to help keep the crust from puffing during the bake.
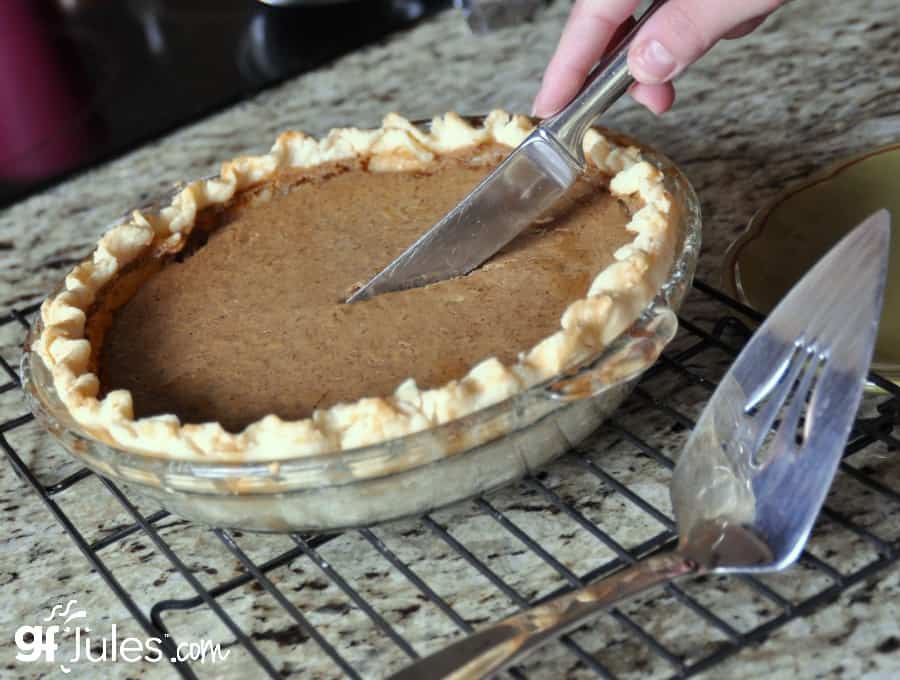
- Bake for 15 minutes, then remove from the oven and remove the foil and weights. Return to bake for 5 more minutes, then fill with pumpkin pie filling or other fruit or custard pie fillings, brush crust edges with egg wash (1 egg white + 1 tablespoon cold water) or milk of choice, then cover with foil or pie crust shields. Bake as directed for your pie.
- For recipes calling for pre-baked pie shells, after removing foil and weights, brush crust edges with egg wash or milk and bake for another 10-12 minutes (or according to your recipe). Do not allow the crust to brown too much or it will be overcooked and be tough to cut. Remove to cool then fill with your pie filling, according to your recipe.
Notes
** Please keep in mind that nutrition information provided is per serving, which may vary. While we have taken care to provide you with the most accurate nutritional values possible, please note that this information may differ significantly depending on the exact ingredients and brands that you choose to use to make this recipe. Additionally, where options are given for ingredients, the resulting calculation may include all ingredient options instead of only one per line, skewing the totals significantly.
Recommended Products
Any links to Amazon may earn me a small amount from qualifying affiliate purchases; this amount goes to fund this blog and does not cost you anything additional.


I prepared a peach pie using Jules GF pie crust and have frozen it unbaked. Are there any recommendations as to the best way to bake it? Would I thaw it first? Use the same temperature as for an unfrozen crust?
Hi Nancy, if I’m understanding correctly, you made a full gluten free peach pie and froze the entire pie? If so, I think what I’d do is allow the pie to thaw for 15 minutes while preheating your oven to 375° F then bake it from there. I wouldn’t bake it at a higher temp because you’re going to need to bake it longer. I’d also cover the crust with foil for most of the bake time. Let me know how it goes!
~jules
Hi! I’ve been using your flour & pie dough recipe since my dx, and no one knows the difference so thank you for that! I’m going to be on a time crunch the week of Turkey Day, and I was thinking of making the pie crust & getting it into the pie plates on Sunday & baking the pies on Tuesday night. Will they be ok in the fridge for 2 days waiting for their filling?
And I apologize for not reading all the comments first. Freeze, not fridge. Got it.
No worries, Diane! I’m so glad to hear that you have been making my gluten free pie crust recipe with my flour and loving it! I’m thrilled to hear that! I hope the freezing step saves you some time before Thanksgiving this year!
~jules
Can I store pie crust in fridge for 3 days before assembling my cherry pie and baking? Or do I have to freeze?
Oops. I found your comment from 2018 so will freeze. Happy Thanksgiving everyone!
Oh great! So glad your question was answered, Melissa! Happy Thanksgiving!!
~jules
Can some sugar be added to the crust? Also par baked the bottom crust as directed. I was disappointed that it still became a bit soggy from the filling. Can it be sealed with egg white before par baking? Any suggestions would be most helpful. Thank you.
Hi Lori, I never have any problems with soggy crusts, so I’m wondering what recipe you used? Can you tell me a bit more about your method and if you used a different crust recipe or ingredients at all? And yes, feel free to seal the crust with egg white before baking if you prefer.
~jules
Can I make an apple pie and freeze it prior to baking? If so, would it be best for it to go from freezer to oven or defrost first? Also, if frozen how long would the bake time be? Can they be baked a day prior to serving and kept in the refrigerator?
Thank you
HI Cathie, I’m just seeing your question somehow — so very sorry!
You can freeze the pie prior to baking, or follow the instructions here to just freeze the bottom crust then blind bake. From frozen for an entire apple pie I’m not sure how long to tell you to bake it. You’re going to have to keep checking to see that it’s done, and also cover with foil for most of the bake to keep the top crust from drying out. The pie can definitely be baked a day ahead of time — I’ve done that plenty!
~jules
Pre-gluten free, I would make a full apple pie ahead of time and freeze the assembled pie to be baked the morning of thanksgiving. I would normally bake it right out of the freezer with no defrosting. Will this method work with your crust or does it need to be kept separate until the day of baking?
Hmmmmmm. Good questions! I haven’t tried it that way, but in thinking about it, I don’t know why it wouldn’t work to do it your way. How long do you bake it from frozen, in comparison to if you were baking it when it wasn’t frozen?
~jules
I need to make GF pies for family reunion and freezer space, and time both will be an issue as we will be in a rental house at the beach.. I see you suggest rolling out pie crust when you make it rather than freezing a ball of crust. Would refrigerating the ball of dough for several days work better?
Hi Susan, good you’re thinking ahead! I don’t suggest refrigerating the dough because it dries it out and makes it more brittle. Hopefully this method will work for you instead!
~jules
Hi There
I am new to GF and am trying to make my famous meat pies. I make between 30-50 beef, chicken one serving pot pies and freeze them to have in a pinch. My husband will not go GF but I must for my Rheumatoid Arthritis. Question, can I still make all my GF pies ahead of time and then freeze them all? I am only making a top crust for mine. Or, should I roll out all of my tops, wrap individually in Saran Wrap and freeze that way and then just place on top of my small foil filled pie plates? Unfortunately I am making today so welcome to my world 🙂 Thanks so much, Kim
Hi Kim, so sorry for my delay in responding. We were suffering high winds with the nor’easter and lost all power and internet. If you ever need a recipe answer immediately, it usually works to email support@gfJules.com, barring any weather issues!
So I’m wondering what you decided to do and how they turned out? Either method you proposed should work, but topping them and then freezing would certainly be easier. Let me know what you chose to do!
~jules
Helllo, I am very new to GF baking. I made a pie crust at Thanksgiving using a GF pie crust mix – Bob’s Red Mill. I made a single crust pie, had left over made up pie crust. I froze it – wrapped and in a zip bag, as I do with conventional pie crust. When I attempted to make a pie for Christmas, after thawing the unbaked, unrolled crust out, it was a crumbly mess. It seemed dry, so I added a bit more ice water, rolled it out between sheets of plastic wrap, but it was still very difficult to work with. Any suggestions for another attempt using already made, unbaked frozen GF pie dough? Thanks so much.
Hi Barbara – happy to help! Since you’re new to GF baking, I’ll first refer you to this article on gluten free flours – there are quite a number of differences! I would say that the results you’re getting are more a result of the pie crust mix you were using, than your method. I don’t have that problem at all when making pie crust with my gfJules Flour, so I would urge you to try that next time. Also, it will make it easier next time if you roll the crust out after making it, and place it in the pan then wrap and freeze so you won’t have to worry about a crumbly, brittle mess later. It should work better for you that way. I hope this helps make your gluten free pie crust making much happier next time!
~jules
Can home made gluteenfree crust made with egg be frozen
Can I freeze unbaked gluten free crust made with egg
Can I make the crust today and wrap it in plastic wrap overnight in the refrigerator? I would then roll it out for my pies tomorrow. Will that work without freezing it?
Hi Marilyn, if you have time, I would roll out the bottom crust and put it in the pan, then freeze it according to these directions. If you don’t have time (and either way, for the top crust) put in the fridge (wrapped well) overnight and then allow to come closer to room temp before rolling so it’s not so hard. Enjoy that pie!
~jules
Would you use this method for baking an apple pie where you want to make the crust several days ahead? What about freezing the top crust? What would you suggest for that?
Thanks so much!
Hi Sarah, great questions! I would use this method for making the bottom crust only. While you could make a double recipe of crust, you would want to take the second (top) crust and wrap it tightly with plastic wrap then put it in the fridge. An hour or two before rolling it out, you’re going to want to take it out and put it on the counter to warm up a bit so it’s possible to roll it out. The dough will have dried out a bit from being refrigerated, so err on the side of the crust being wetter, rather than drier. The other idea for this is just to roll out the top crust after refrigeration and use small cookie cutters (like apples or leaves) and lay them all over the apple filling. It makes a BEAUTIFUL top crust for a pie and it looks SO fancy, but is really the simplest way to cover a pie if you are worried the top crust may be dry from refrigeration. I hope that helps answer your question!
~jules
Thanks so much!!
You are very welcome, Sarah!
~jules
I’m making a crostata for Thanksgiving. I was wondering if I can freeze the pie crust in the pie crust bag?
Ivana, I hadn’t thought of that. I think I would freeze it in the pan though, instead. The pie crust bag isn’t totally sealed because there’s a zipper and the plastic isn’t designed for the freezer. Here’s my recipe for making ahead and freezing the crust. Have a wonderful Thanksgiving!
~jules
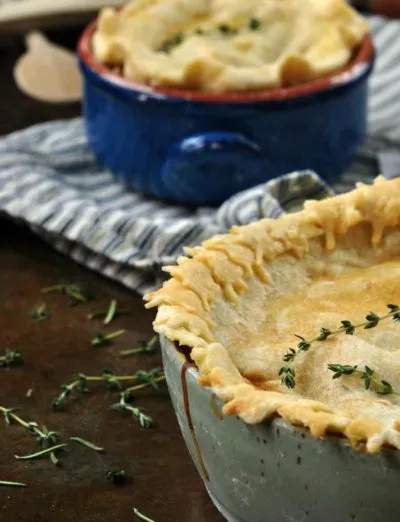
I’m wanting to try this crust with a chicken pot pie. I actually only use a top crust when I make pot pies. I’m wondering if I can prepare my pot pie filling, let it cool completely, top it with the crust and refrigerate it overnight to bake it the next day. I routinely did that before we had to be gluten free, so I’m just not sure if the gf crust will behave any differently being refrigerated overnight (soak up the filling, for example).
It’s probably a silly question, but we are new to all this and I’m so grateful for you that have blazed the trail before us!
Hi Sarah – I’m happy to help and no question is silly, especially when it comes to baking gluten-free! Check out my gluten-fee pot pie recipe when you have time – I’d love to hear what you think! As for using your recipe and letting it sit overnight in the fridge, it should work, but I can’t say 100% because I haven’t tried that method yet! If the dough is nice and cold when you cover the pot pie and then refrigerate it again (covered), I would think it would work out just fine. Let me know when you try it because now you have me curious!!
~jules
Question: after defrosting pie shell, can I fill it with a savory filling for gruyere cheese and tomatoes without baking the crust first?
Hi Pam, I assume with those fillings you’re not baking the pie for a long time, and since they are fairly wet, I’d still suggest following the directions to par-bake the pie crust before filling. You don’t want the crust to get soggy from absorbing the liquids before being baked. I hope that helps – let me know how it goes! The fillings sound divine!
~jules
What a beautiful dough to work with!! Finally…..this Canadian girl can make butter tarts for Christmas ?
YAY! Butter tarts are back! So happy for you, Erinn!!!!!
~jules