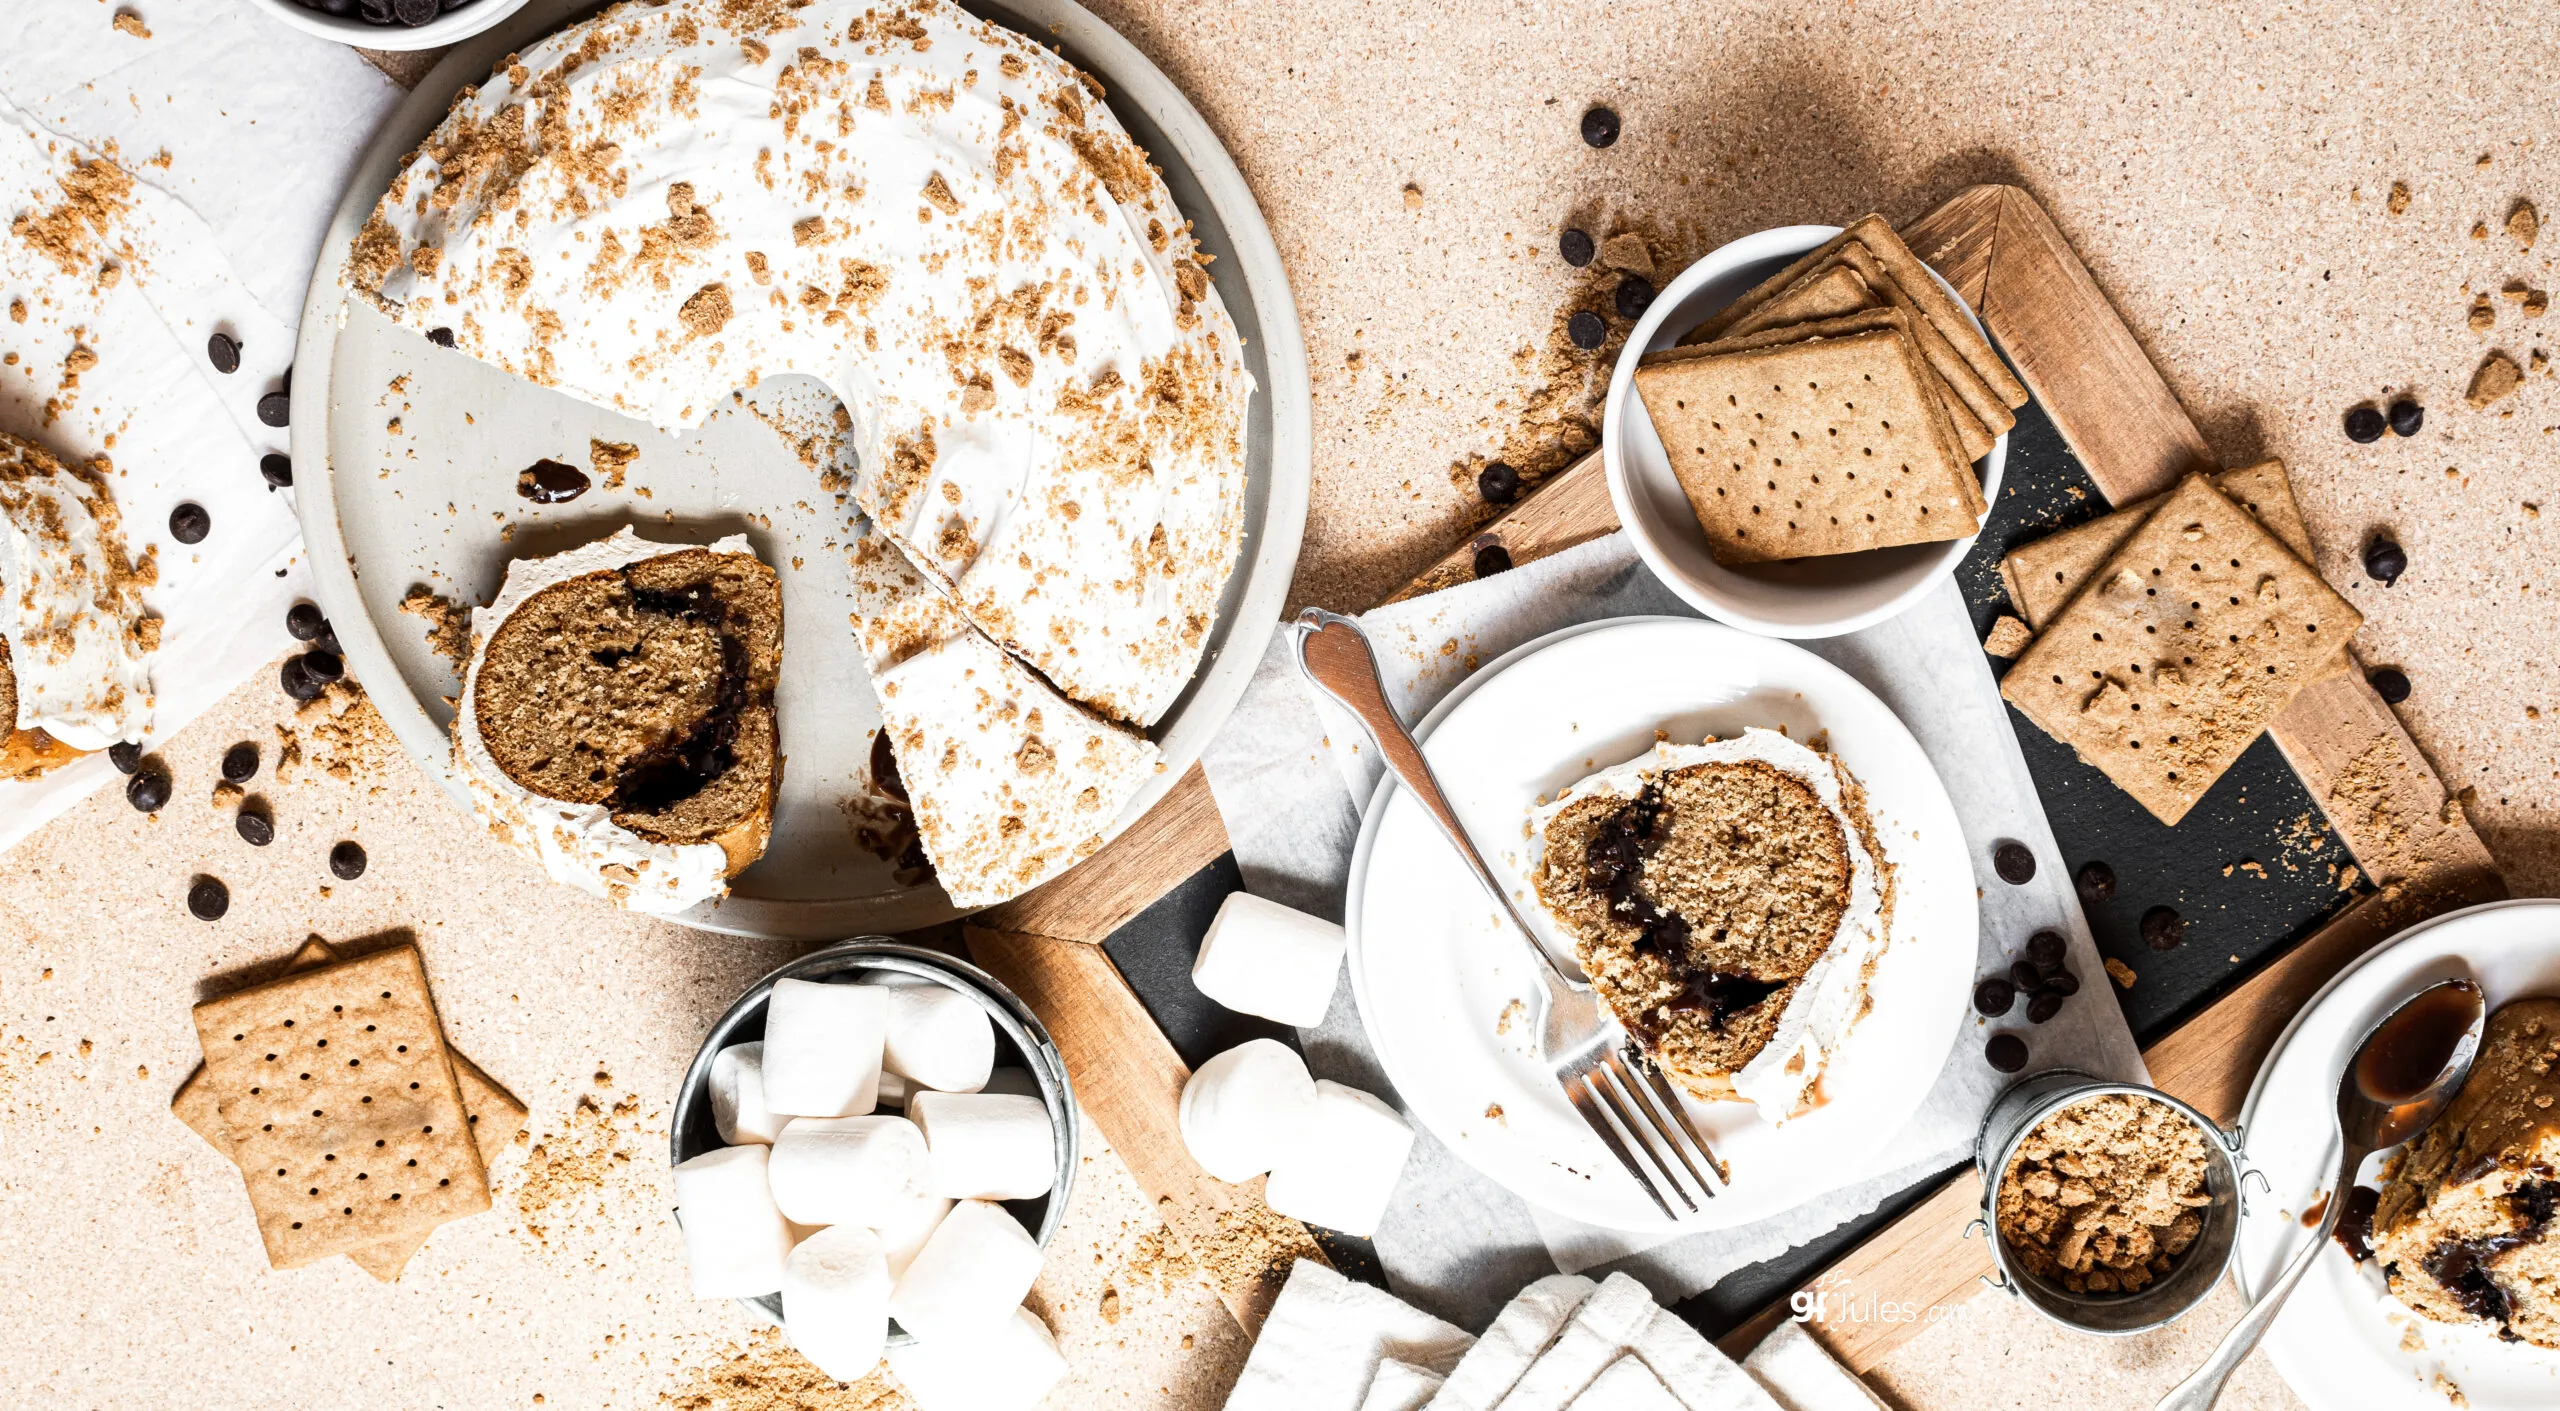
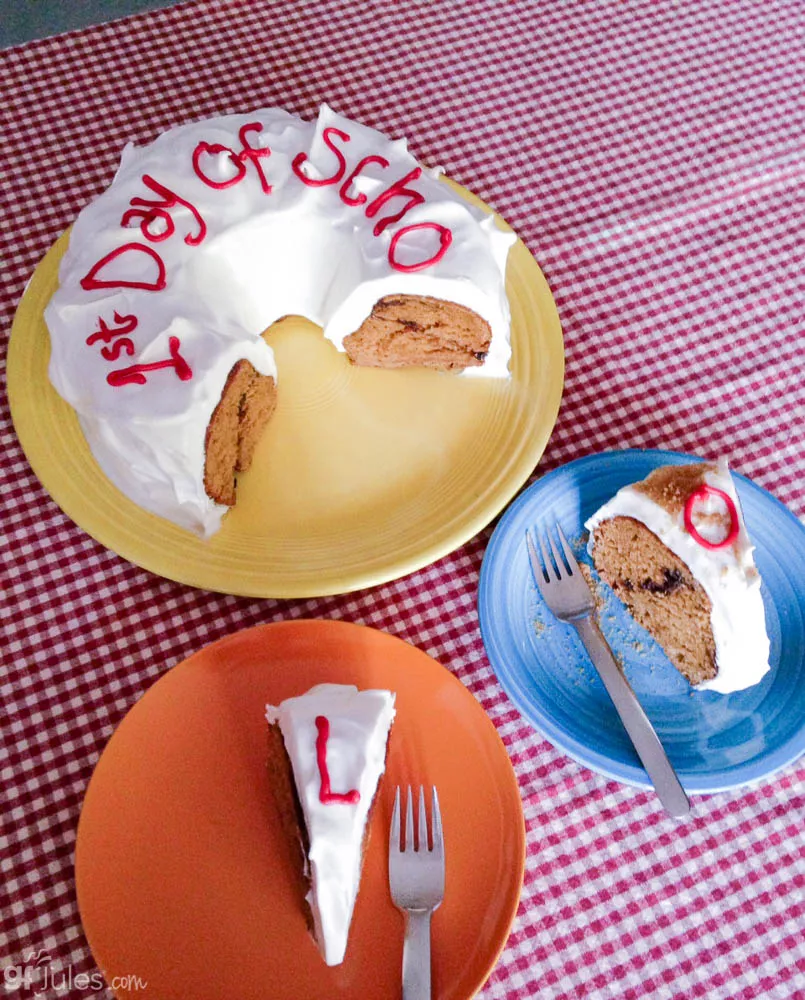
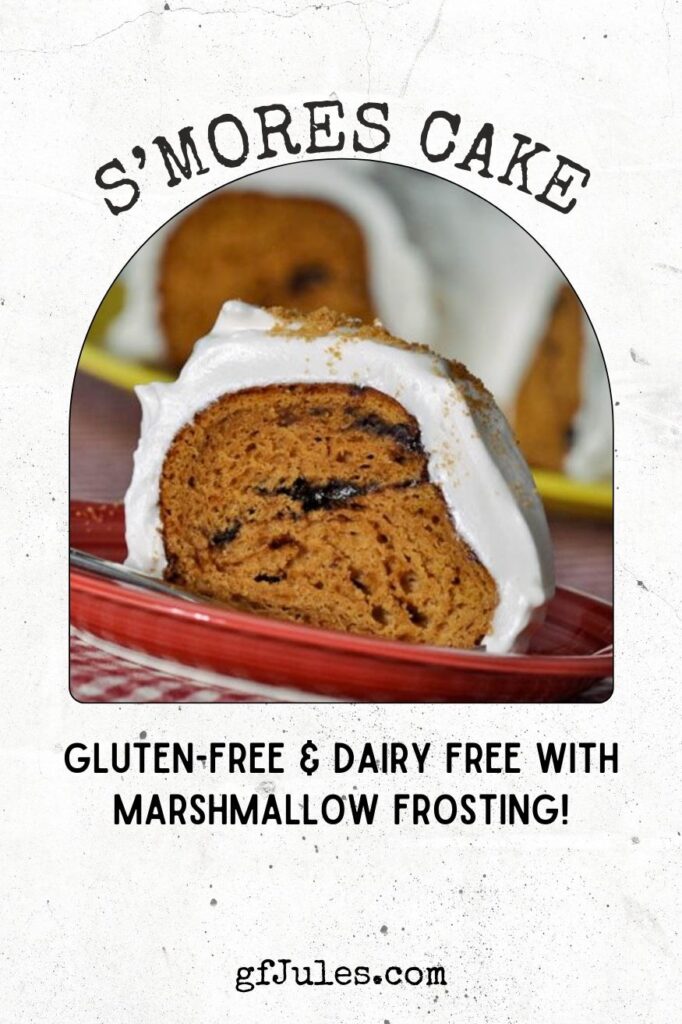
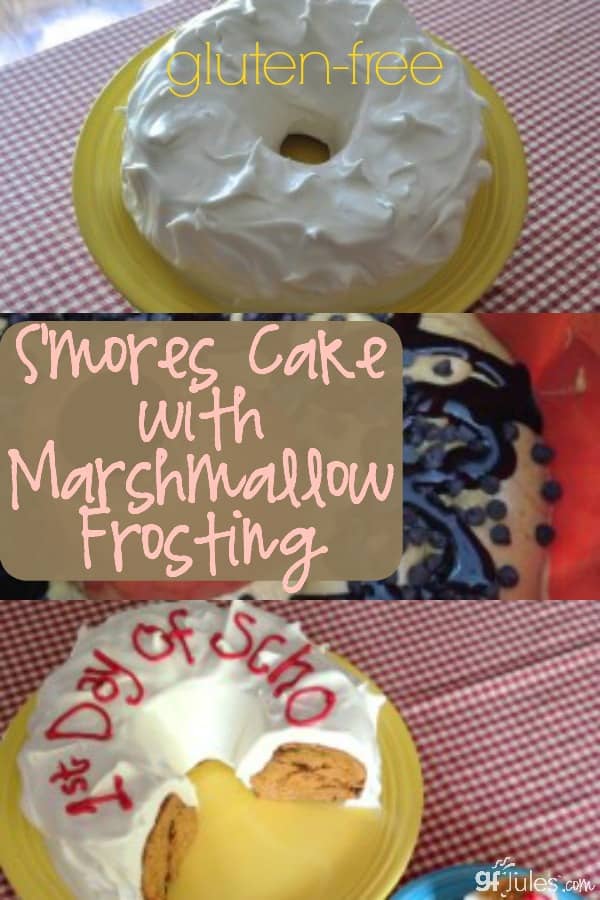
When my children were younger, it was our tradition that each year I would make a “Back-to-School” cake on the first day of school. Their favorite flavor was always this gluten free S’Mores Cake with Marshmallow Frosting.
This recipe is an oldie but goodie, hearkening way back to 2013 (hence many of the old photos!) but it’s never going out of style. I mean, how could anyone of any age resist a cake that tastes of graham crackers with a melty chocolate center and fluffy marshmallow frosting?
No bonfire (or sharp sticks) needed. What’s not to like?
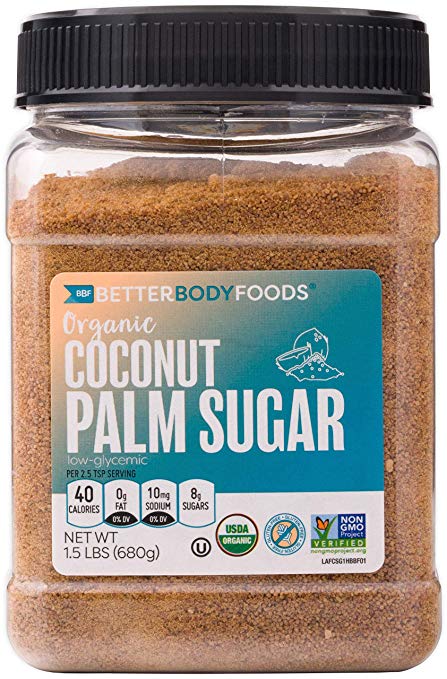
This recipe came about by accident when I was experimenting with coconut palm sugar in place of white sugar in other cakes. We had noticed that unrefined coconut palm sugar in my regular white cake made it taste and even smell of graham crackers.
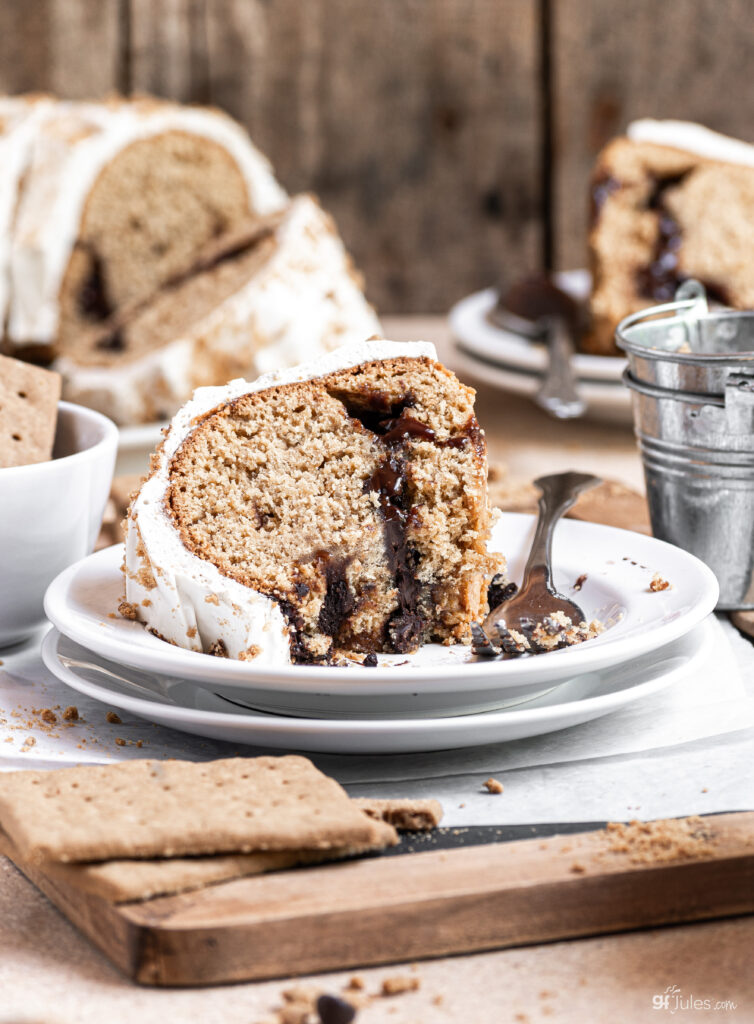
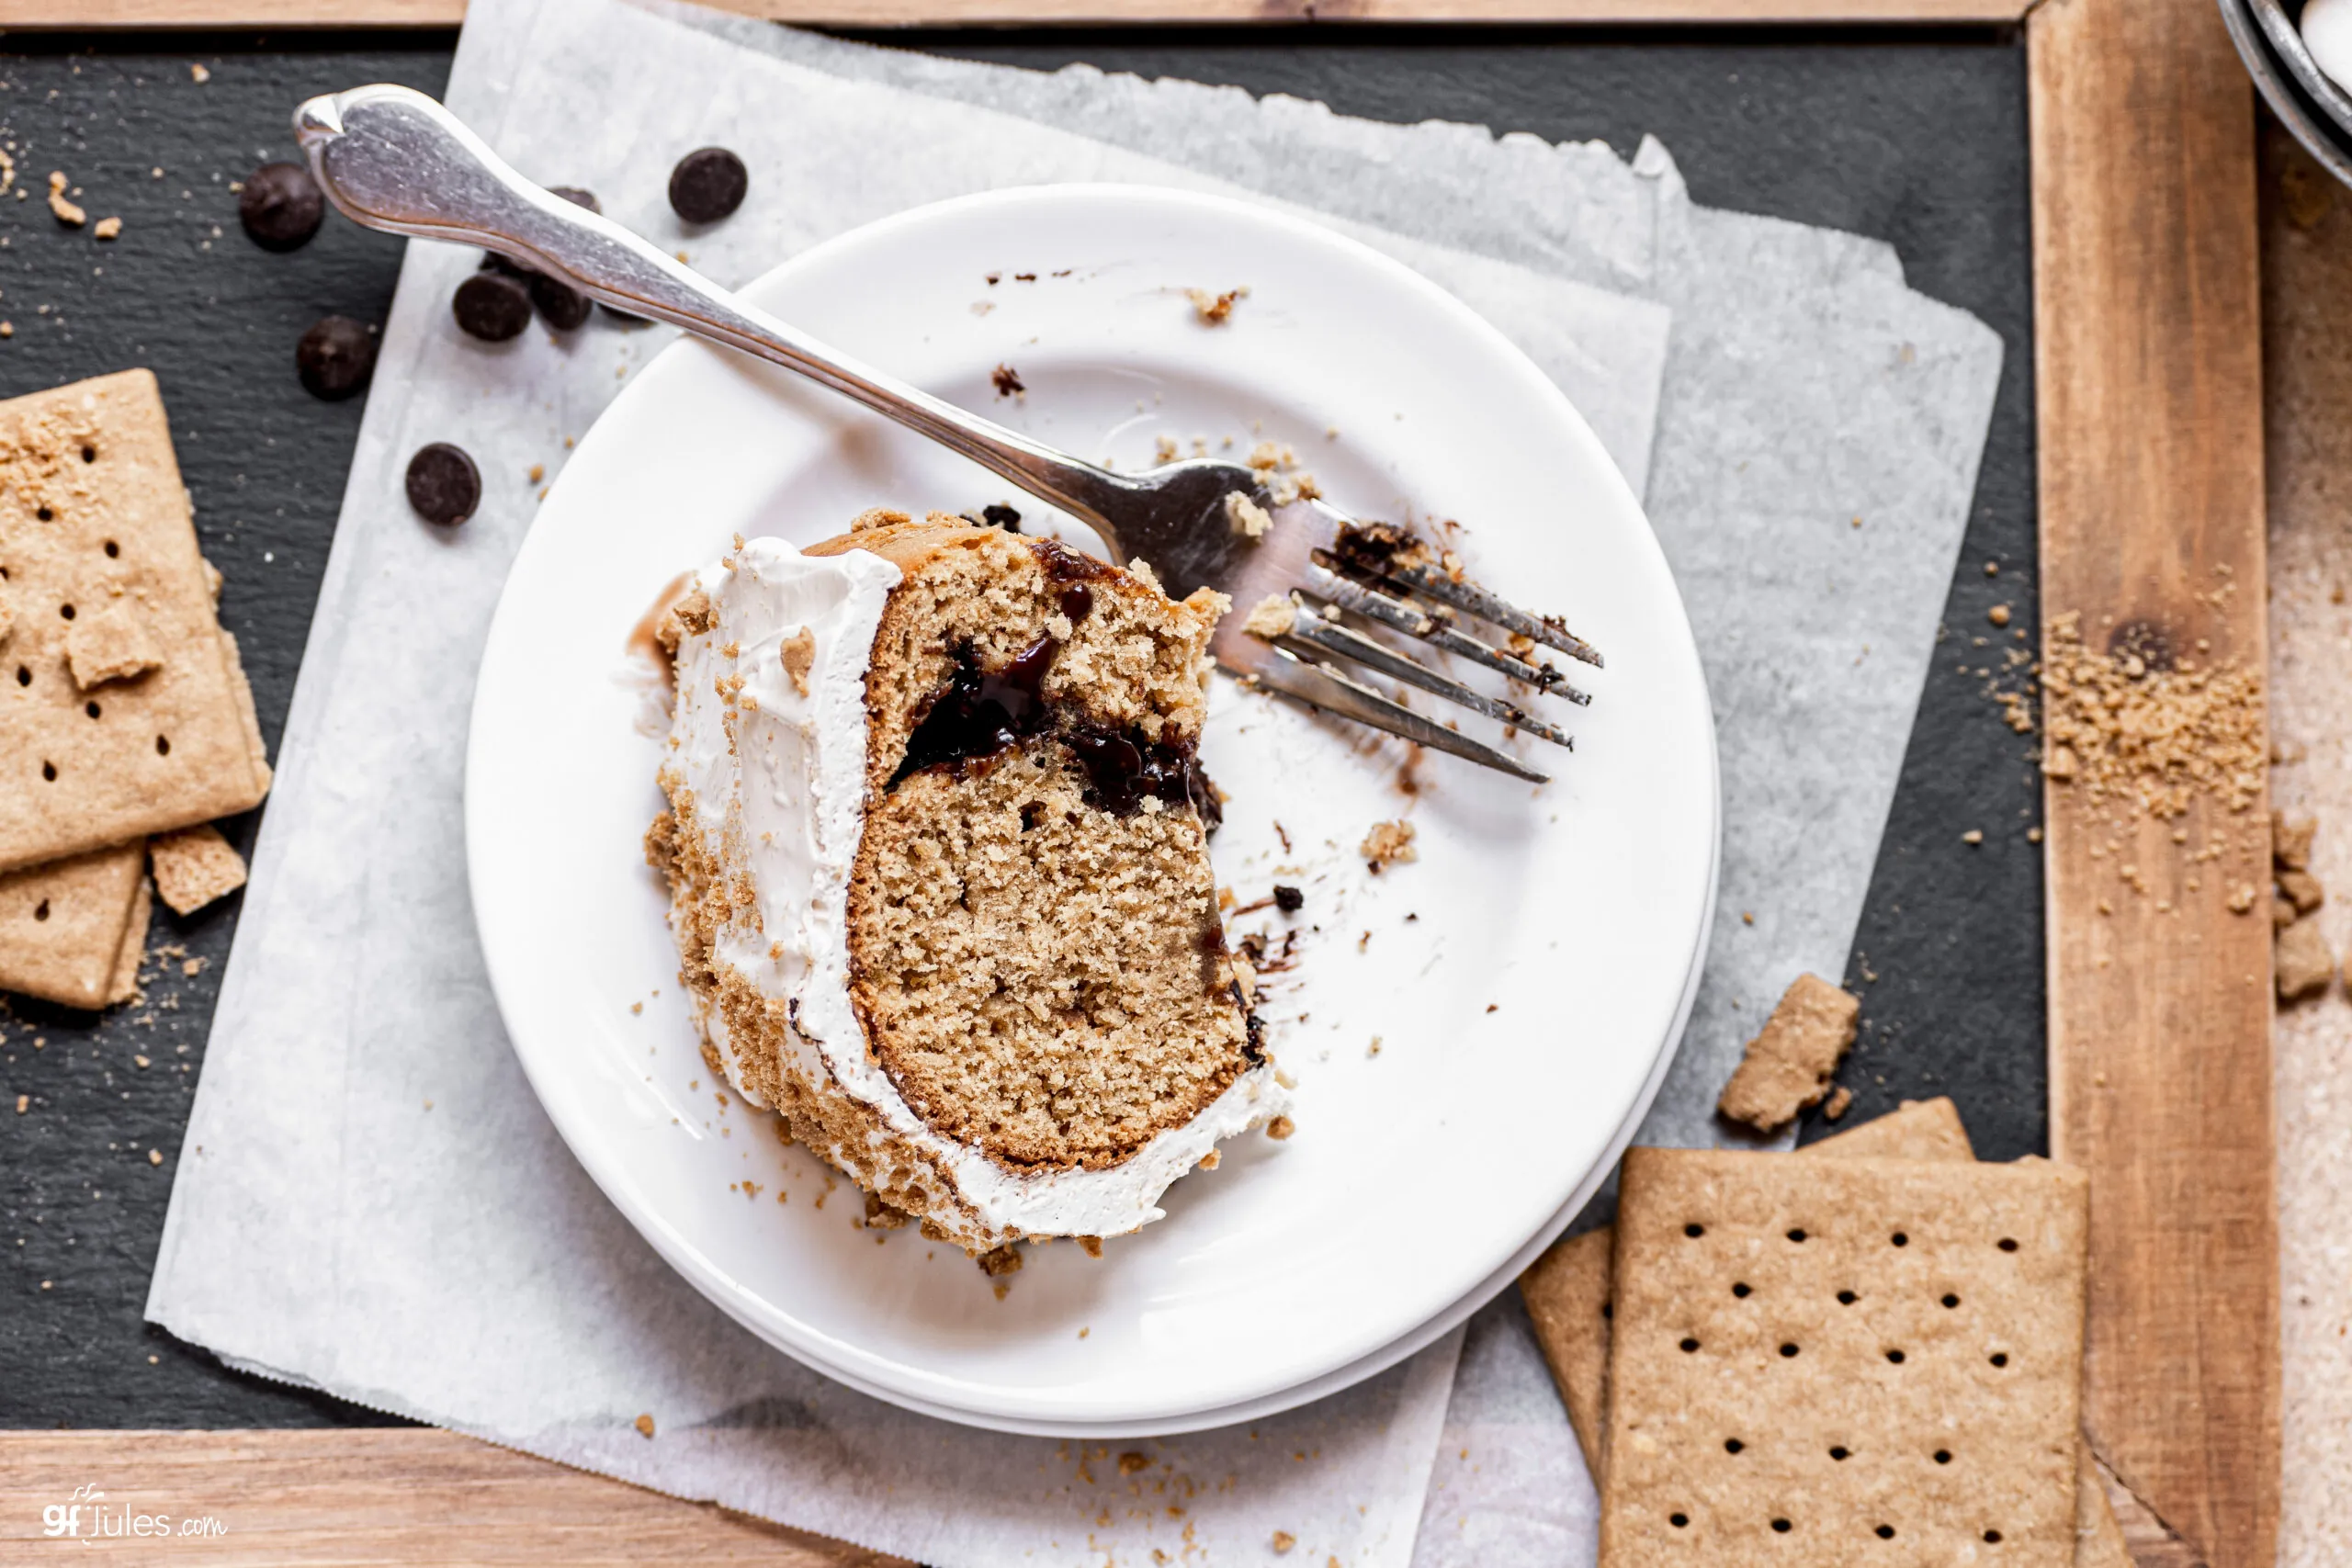
By adding a ribbon of chocolate in the middle of the cake (and the heavenly marshmallow frosting, of course!), all the flavors of one bite combine to make a gluten free s’more of cake proportions.
You could certainly add more chocolate than I did in mine, but the neighborhood kids seemed to enjoy it plenty as is; of the 12 kids who celebrated with us on one particular Back to School occasion, only one was gluten free and one was dairy free, but they all loved it.
In fact, one boy told me it was the best piece of cake he had ever had! High compliment from a child without any food restrictions! Aren’t those the best?
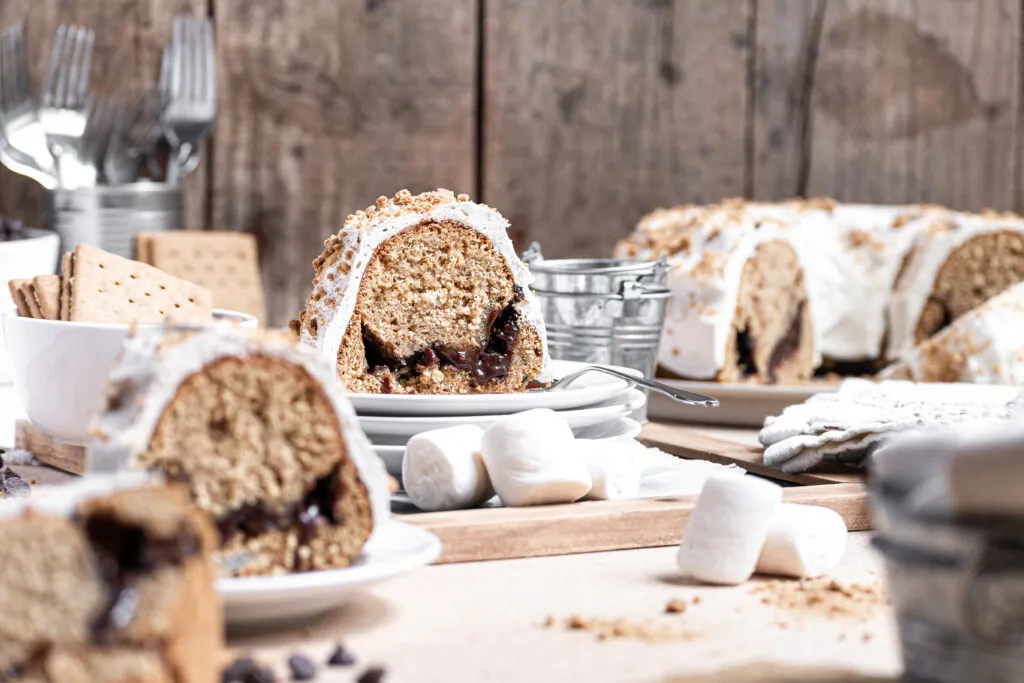
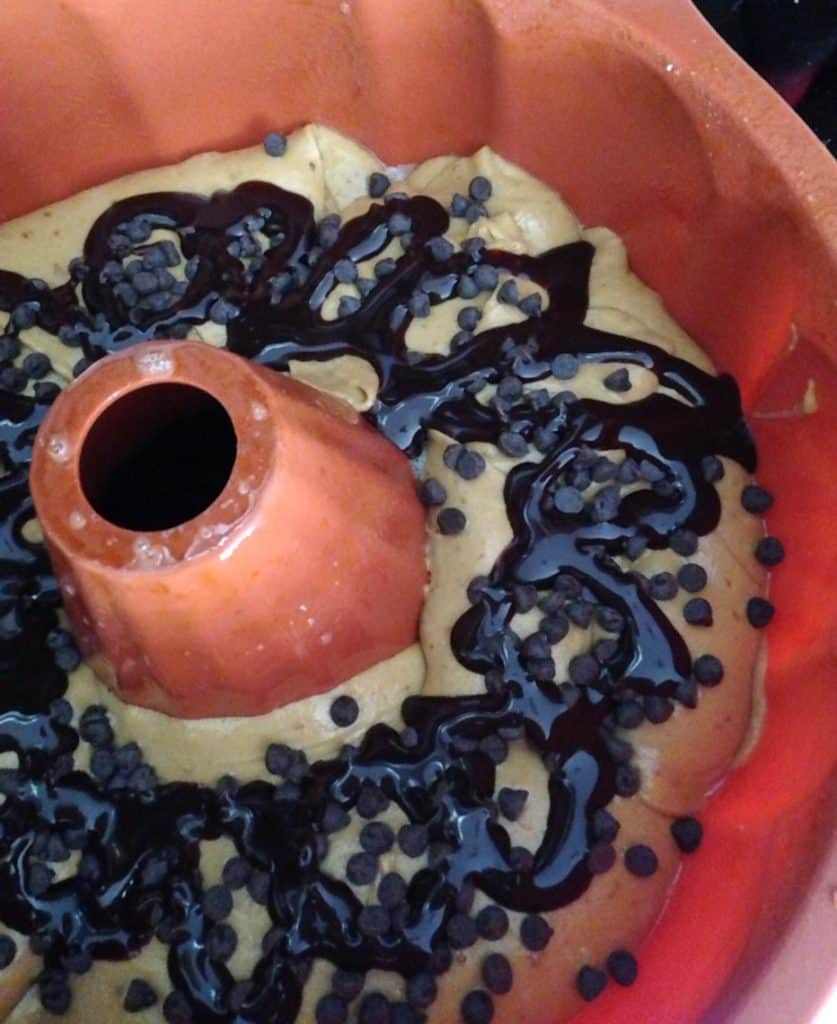
How to Make S’Mores Cake in a Bundt Pan
Here’s a peek at the process of making this cake in a bundt pan.
Its quite easy, you just pause in the middle of pouring in the batter in order to layer in some yummy chocolate syrup and chips before topping with more gluten free cake batter, then baking!
Other Gluten Free S’Mores Recipes
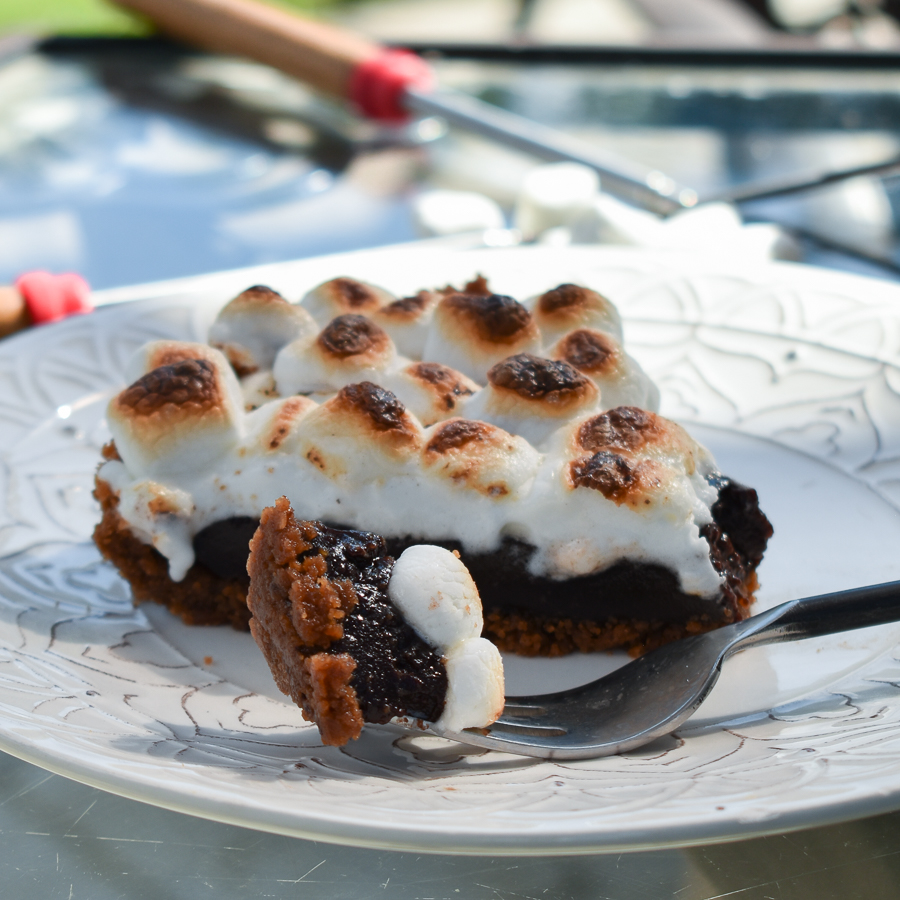
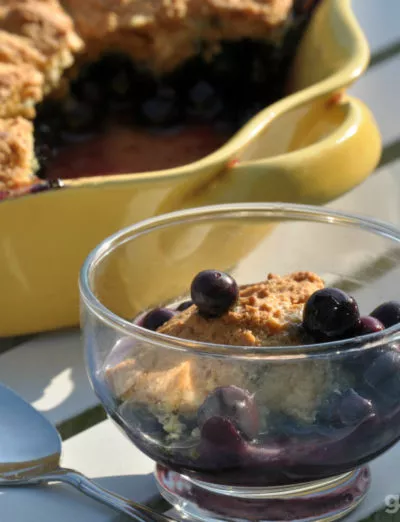
If you’re a true s’mores lover, you’ve come to the right place, as I not only have this delightful gluten free S’mores’ CAKE recipe, but I also have a gluten-free S’mores PIE recipe …
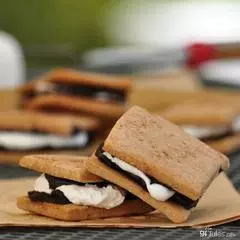
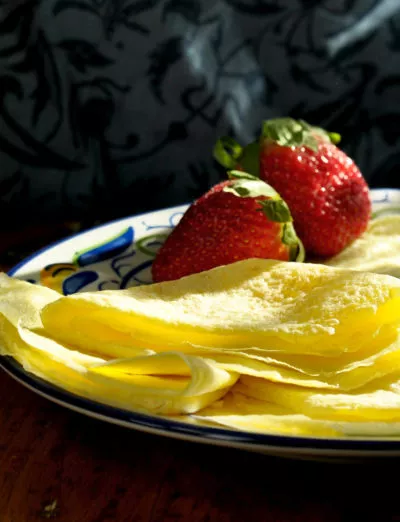
and of course traditional gluten-free s’mores …
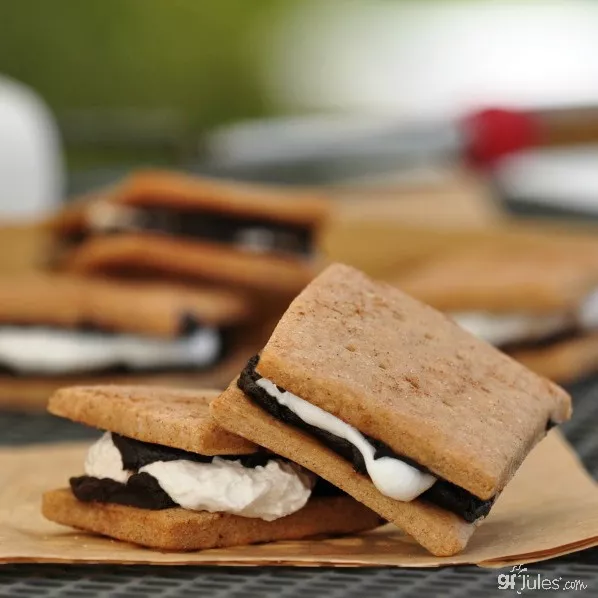
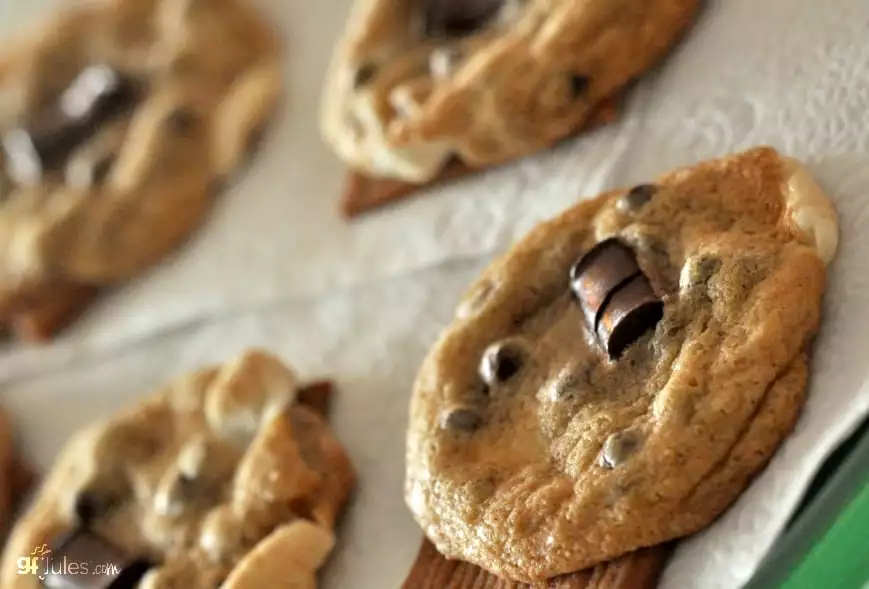
and even a gluten-free cookie take on the traditional sandwich s’more.
‘Tis the season for s’mores, and I’ve given you plenty of choices! Most start with these delightful homemade gluten free graham crackers which you can make either with the homemade from-scratch recipe or by using my easy gfJules Gluten Free Graham Cracker Gingerbread Mix.
Either way you wind up with a load of delicious gluten free graham crackers to eat, make pie crusts with, and/or freeze for later. It’s by far the most delicious and economical way to enjoy gluten free graham crackers!
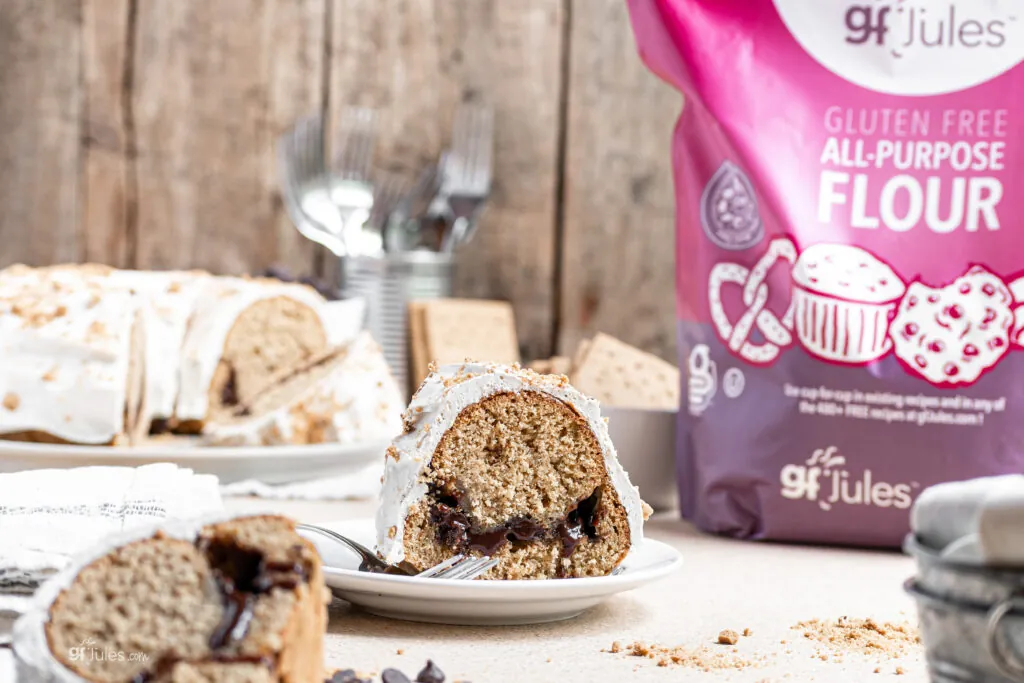
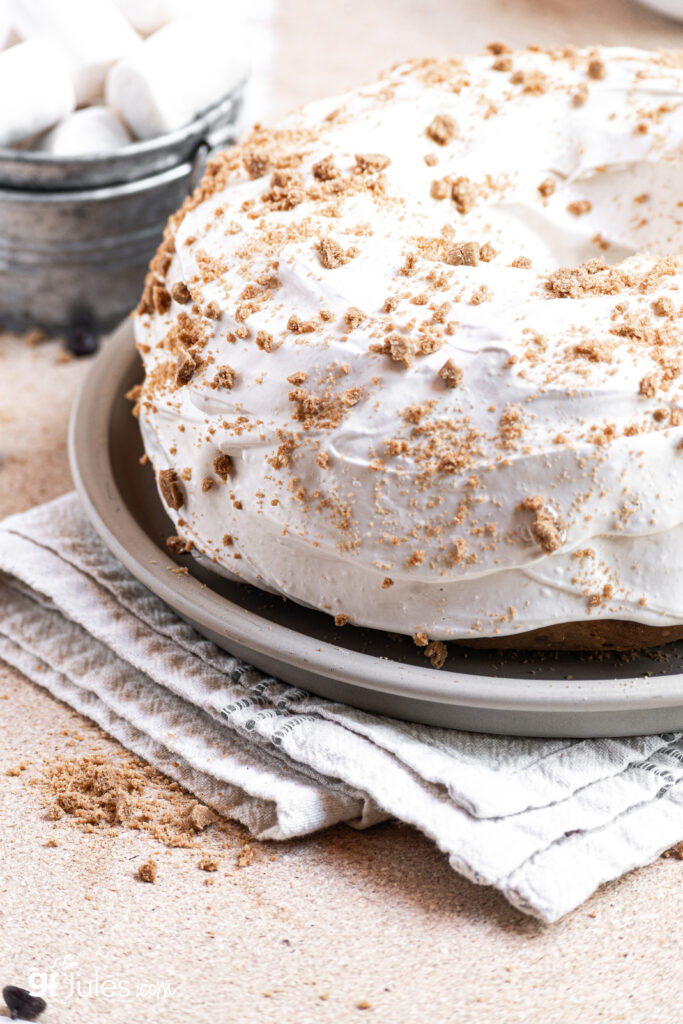
But for now, I hope you also enjoy this unconventional take on the traditional s’more in cake form: Gluten Free S’Mores Cake!
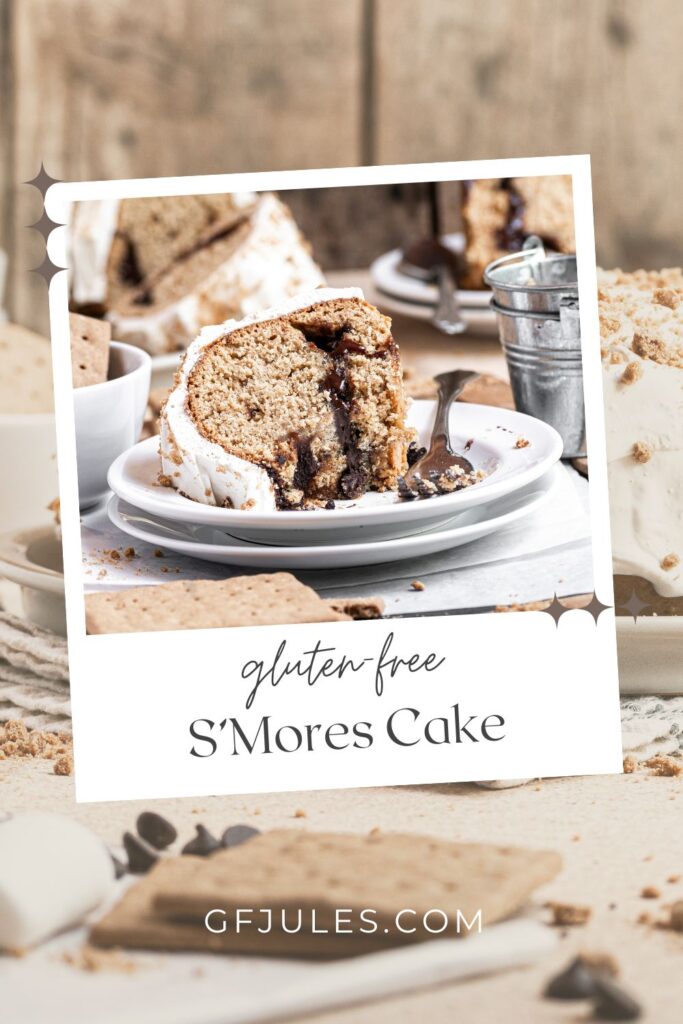
Gluten Free S’mores Cake with Marshmallow Frosting
Gluten Free S’mores Cake with Marshmallow Frosting
Equipment

Ingredients
S'mores Cake
- 3 cups (405 grams) gfJules All-Purpose Gluten Free Flour
- 1 Tbs. baking powder
- 1/4 cup powdered milk OR for non-dairy use gluten free vanilla pudding mix
- 1/4 tsp. salt
- 1/2 cup butter or non-dairy alternative I use Earth Balance® Buttery Sticks
- 2 cups unrefined coconut palm sugar OR brown sugar
- 4 large eggs or egg substitute of choice
- 2 tsp. pure vanilla extract
- 1 cup milk or non-dairy alternative (like vanilla coconut, soy, hemp, rice, etc. “milk”)
- 1/2 cup+/- chocolate syrup (like Pyure Organic Chocolate Syrup or Hersheys 5)
- 3/4 cup chocolate chips (like allergen-free Enjoy Life Foods® chocolate chips)
Marshmallow Frosting
- 1 cup granulated cane sugar
- 1/3 cup water
- 1/4 tsp. cream of tartar
- 2 egg whites or aquafaba
- 1 tsp. pure vanilla extract
- gluten-free graham crackers for garnish if desired
Instructions
Cake Instructions
- Pre-heat oven to 350º F (static) or 325º F (convection). Spray 10" bundt pan with non-stick cooking spray and dust entire surface lightly with gfJules All Purpose Gluten Free Flour.
- Whisk together the gfJules Flour, powdered milk/pudding mix, baking powder and salt and set aside.
- In a large mixing bowl, combine the butter and sugar and beat well with your mixer’s paddle attachment, until the mixture is very light and fluffy (approximately 3-4 minutes).
- Pour half of the batter into the bundt pan. Sprinkle with chocolate chips and then squeeze chocolate syrup around in a ribbon design to cover much of the surface of the batter. Add a bit more or less of these chocolate ingredients depending on how much of a chocolate ribbon you like in the middle of your cake. Pour remaining batter on top of chocolate and bake for 45 minutes.
- To test the cake for doneness, insert a cake tester or toothpick in the middle and be sure it comes out clean, with very few crumbs attached. The cake will also begin to pull away slightly from the side of the pan. Add time if necessary to fully bake the cake.
Marshmallow Frosting Instructions:
- Over medium heat, stir to combine sugar, water and cream of tartar in a small saucepan. Continue whisking together until the mixture bubbles and the sugar has dissolved. Remove from heat immediately (the mixture may start to brown, but do not allow it to cook to dark brown or to burn).
- Combine egg whites and vanilla in a mixer bowl. Slowly stir in the hot, cooked sugar mixture with beaters on low. Increase mixer speed to high for 6 minutes, or until the frosting has whipped to stiff peaks when tested with a rubber spatula.
- When cake has totally cooled, frost with a thick layer of Marshmallow Frosting, swirling designs using an off-set spatula for added decoration.
- Crush gluten-free graham crackers and sprinkle on top of frosted cake, if desired.
** Please keep in mind that nutrition information provided is per serving, which may vary. While we have taken care to provide you with the most accurate nutritional values possible, please note that this information may differ significantly depending on the exact ingredients and brands that you choose to use to make this recipe. Additionally, where options are given for ingredients, the resulting calculation may include all ingredient options instead of only one per line, skewing the totals significantly.
Recommended Products
Any links to Amazon may earn me a small amount from qualifying affiliate purchases; this amount goes to fund this blog and does not cost you anything additional.
I hope your family loves this cake for a delicious new take on traditional s’more flavors!
Pin for later!


Hi Jules,
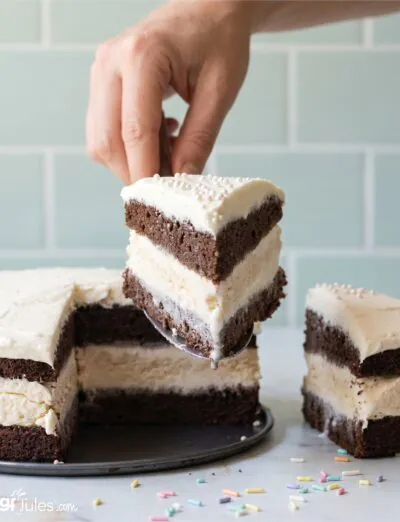
I have questions about your S’mores Cake Recipe. Can I make this into a layer cake? If I use Chocolate fudge topping instead of the chocolate syrup you suggest will I have to refrigerate the cake?
Thank you for your time,
Hi Debbie, you can bake it into a layer cake, for sure. Just watch the bake time, as it will differ depending on your pan size.
I don’t know how the fudge topping will work in place of the chocolate syrup. It’s a worthy experiment; I don’t think you’ll need to refrigerate the cake after, but I suppose if it’s being stored in a hot environment for many days, it wouldn’t be a bad idea.
~jules
My grandsons and I made this cake today, and it came out perfect! It’s actually very rich. I used my torch to burn the icing, and it gave the cake a final smoky fireside marshmallow taste. Thank you for sharing your recipe!
How fun that you were able to enjoy this recipe with your grandsons and that you even had a torch for the ultimate fireside effect! So glad everyone enjoyed, Gina!
~jules
This looks absolutely DELICIOUS! I can’t believe it’s gluten free! I’m a chocoholic myself, so I prefer Pamela’s Chocolate Cake Mix, but this sounds absolutely drool-worthy! I will have to check this out on a rainy day…
http://caseythecollegeceliac.blogspot.com/2013/08/a-gluten-free-birthday.html
Can’t wait to hear how you love it, Casey!
Can I hope that the RAW egg whites are actually cooked by the hot ingredients? Not trying to be stupid or smarty-pants…just not keen on consuming raw egg products………..
Hi Pam, no offense taken! The site FoodSafety.gov recommends “Heating the eggs in one of the recipe’s other liquid ingredients over low heat, stirring constantly, until the mixture reaches 160 °F. Then, combine it with the other ingredients and complete the recipe. Or use pasteurized eggs or egg products.” Egg whites are known to be less hospitable than yolks for nefarious bacteria, but to be safe, choose pasteurized eggs or test the temperature to be sure it reaches 160F before removing from the heat. Hope this information helps!
What do you use as a substitute for egg & egg whites in a recipe like this? S’mores cake?
Hi Melissa – after much digging, I found this recommended substitute for egg whites in making a meringue (similar to the frosting recipe here) — hope this helps!
That sounds like a great back to school tradition!
Thanks Carol, it is lots of fun!