
Craving pumpernickel? You’ve come to the right place. If you have a copy of my gfJules Bread Baking e-book, I hope you have already put this gluten free pumpernickel recipe to good use!
If you don’t have my e-book, welcome to a whole new world of gluten free bread baking with a sneak peak of one of the recipes you’ll find inside.
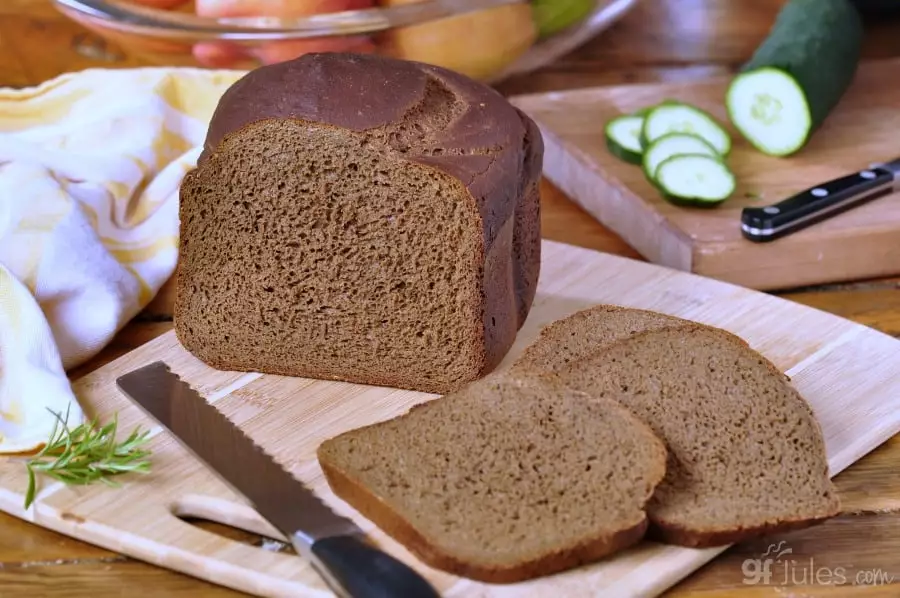
This gluten free pumpernickel recipe will turn everything you knew (or thought you knew) about gluten free bread on its head … in the best possible way.
The dough is as wet as cake batter; the ingredients are crazy; the loaf size is huge; the bread is moist enough to be sliced so thinly you can almost see through it; and the crumb is soft and pliable and it stays that way for days.
I also offer directions to bake in a bread machine or in an oven — your call.
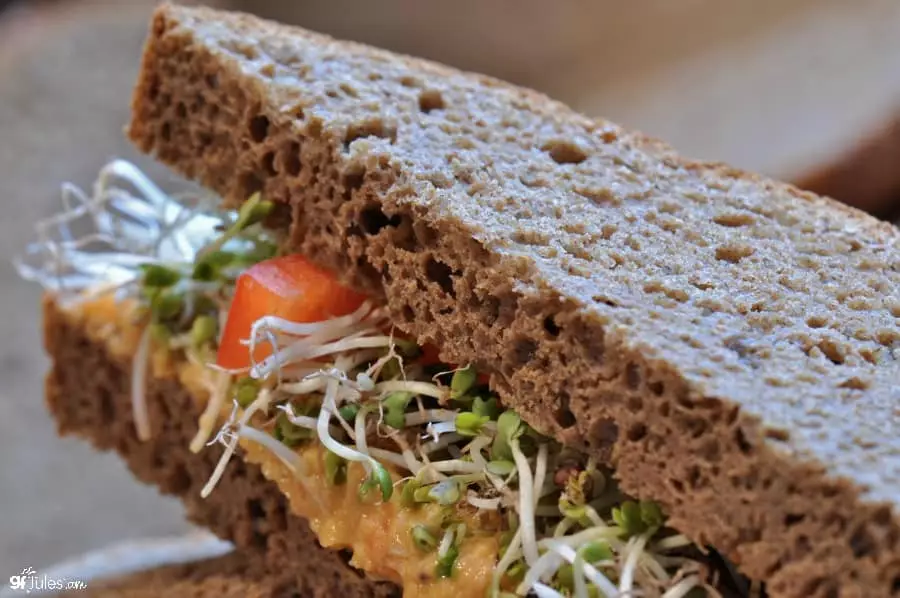
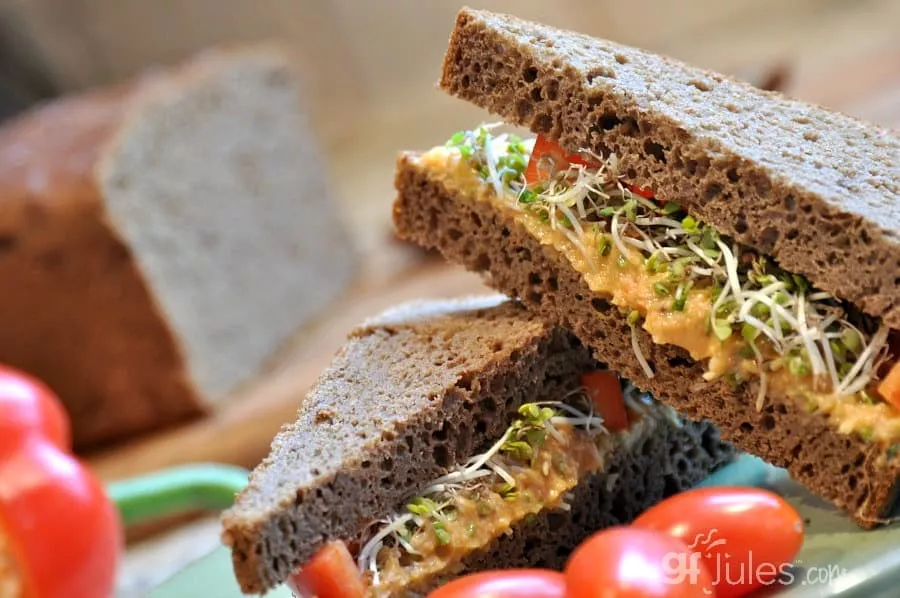
In other words, this gluten free pumpernickel just might become your new favorite gluten free bread for sandwiches or just for munching!
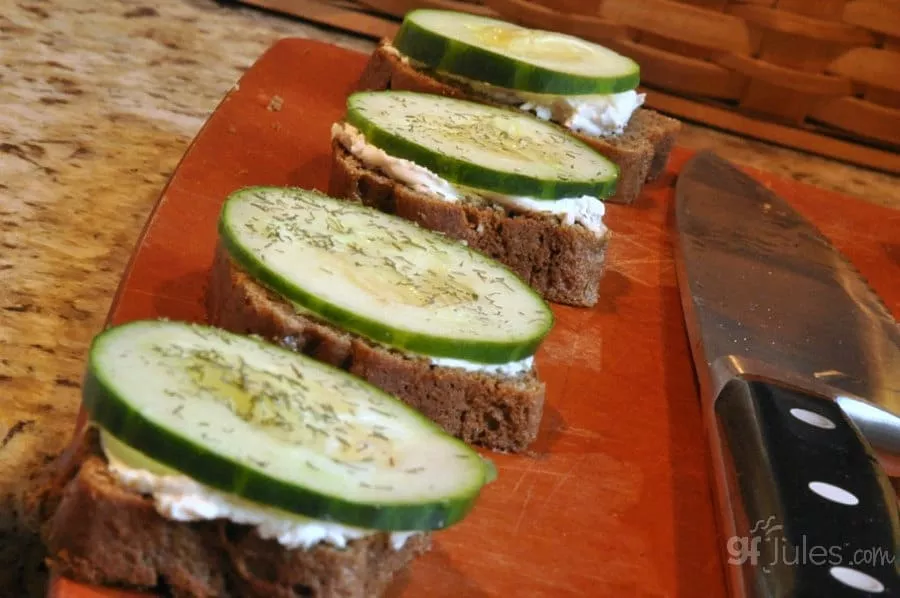
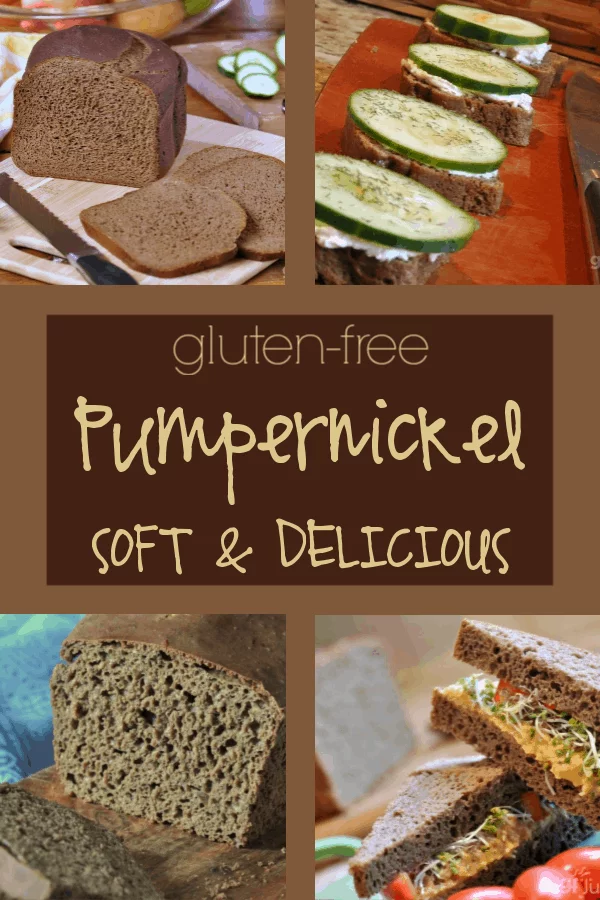
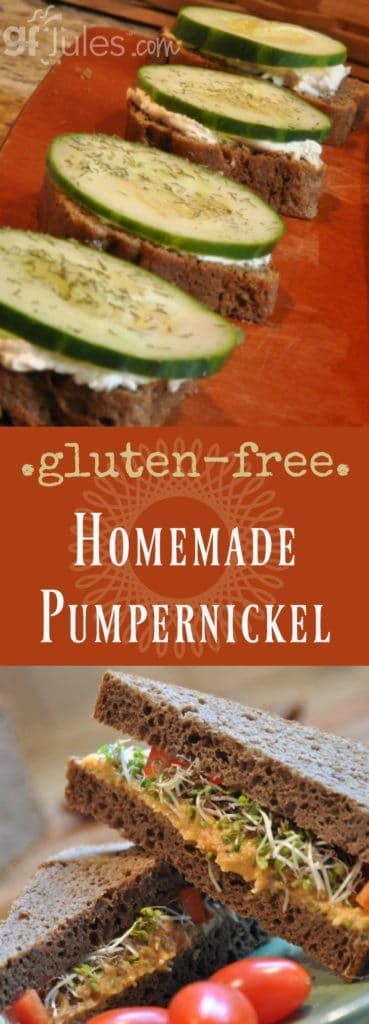
I feel a cucumber sandwich coming on!
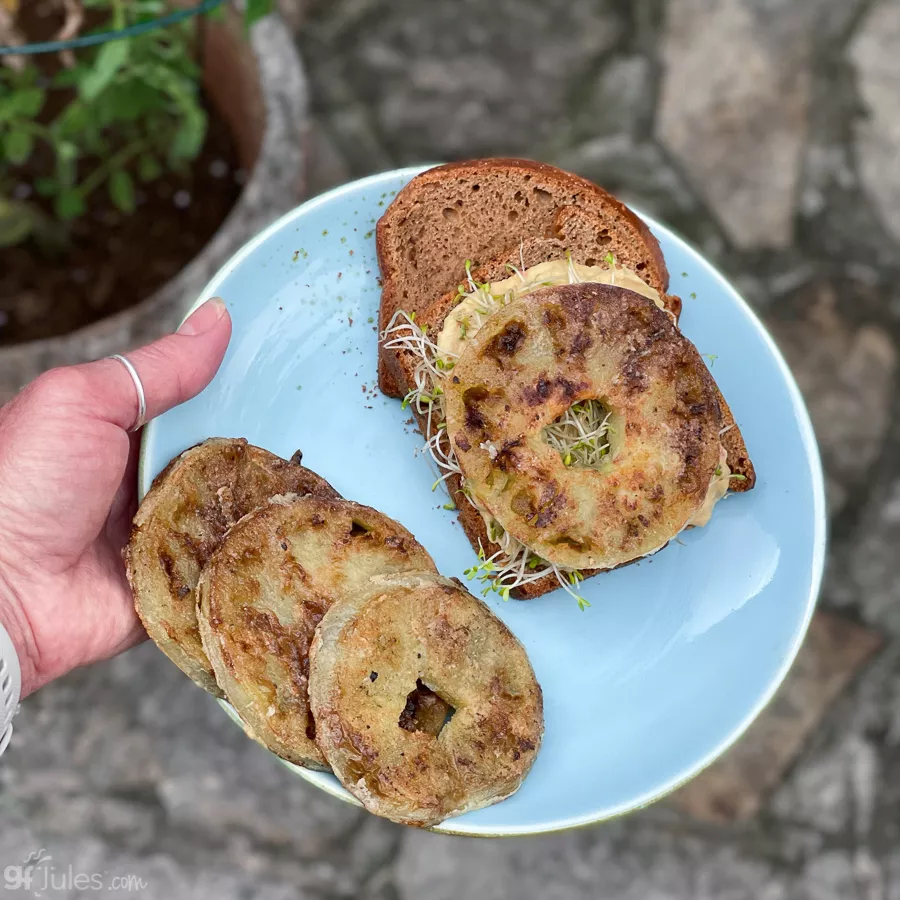
Or perhaps a gluten free fried green tomato sandwich is more your speed?
Lucky you! You have so many delicious options with this yummy gluten free pumpernickel recipe!
You could even modify this recipe to make it more of a deli rye variety like Nora did with these options:
Instead of water/yogurt and the cider, you can replace both with a gf dark stout (I use Steadfast oatmeal stout). Cut the molasses in half, skip the cocoa and orange peel. Use half of the caraway seed and also add a tsp of dry dill weed and 2 tsp dried minced onion.
Enjoy this aromatic homemade gluten free pumpernickel while its baking and for days of sandwiches thereafter!
Gluten Free Pumpernickel Bread

Positively Perfect Gluten Free Pumpernickel
Ingredients
- ½ cup water or plain yogurt
(using water the bread will rise higher)*
- ½ cup apple cider (or apple juice or gluten free beer)
- 2 large eggs + 2 egg whites
- 3 Tablespoons molasses (or dark agave nectar or pure maple syrup)
- 3 Tablespoons olive oil
- 3 Tablespoons apple cider VINEGAR
- 2 cups (270 grams) gfJules® All Purpose Flour
- 1 cup buckwheat or millet flour (certified gluten-free) or 1 cup/140 grams gfJules Corn-Free Multigrain Flour Blend
- ¼ cup milk powder dairy or non-dairy NOT reconstituted (Coconut Milk Powder) or almond meal
- 3 Tablespoons granulated sugar (or unrefined coconut palm sugar)
- 1 Tablespoons cocoa powder (unsweetened, not “Dutched”)
- 1 ¼ teaspoon sea salt
- 1 teaspoon baking soda
- 1 Tablespoon caraway seeds (optional)
- 1 -2 teaspoons orange peel grated (optional)
- 2 ¼ teaspoons rapid rise yeast (1 packet) (Red Star® Quick Rise)
Instructions
Mixer/Oven Method:
- Bring all wet ingredients to room temperature (including eggs). Mix eggs, molasses, oil and cider vinegar in a large mixing bowl. Combine dry ingredients, including yeast, in a separate bowl and whisk well.
- Slowly stir the dry ingredients into the wet, adding the water and apple cider last to help keep flour dust in the bowl while mixing. Continue to mix on medium speed until all lumps are smooth, approximately 2-3 minutes. The batter will be very wet like a cake batter, not like a typical bread dough.
- Meanwhile prepare one 9×5 inch bread pan and three mini loaf pans, or two 9×5 inch bread pans or one 12×4 1/2 inch Pullman bread pan by oiling well or lining with parchment.
- Pour batter into pans, but do not fill more than 2/3 full. Cover with oiled parchment paper and allow to rise for 45 minutes in a warm place like an oven set to 200°F then turned off. Watch to be sure the loaves do not rise above the top of the pans.
- Preheat oven to 350°F (static) or 325°F (convection) and bake mini loaves for 15-20 minutes, larger loaves for 35-40 minutes, removing only when internal temperature is at least 205°F and a toothpick or skewer inserted into the center of each loaf comes out clean.
- Allow to cool for 5-10 minutes in the pan before removing to finish cooling on a wire rack. Slice once cooled. Keep fully cooled loaves in a zip-top bag at room temperature.
- Bread machine method (3lb loaf):This recipe makes a large loaf, so set your bread machine to its largest loaf setting (3lbs if that's an option). Because of the size of the loaf, a typical bread machine cycle may not bake it all the way through. Be prepared to add time at the end of the bake cycle, either on the machine if it will allow it, or by preheating your oven to 350° F and moving the bread pan to the preheated oven to add bake time.
- The bread may sink in the middle somewhat (I've made several of these breads in various breadmakers, and they sometimes look a little funny on the top edge (a little like bat's ears - my kids love it, actually!), but the crumb is still gorgeous and the loaf should still cook all the way through, once it's reached an internal temperature of 205 - 210° F).
- Bring all wet ingredients to room temperature, whisk together, then pour into the bread pan. Whisk together dry ingredients (except for yeast) in a separate bowl, then pour on top of the wet ingredients in the pan. Make a well in the center with your finger, then pour in yeast.
- Set bread maker to gluten-free bread setting, OR, if your machine does not have a gluten-free setting, use “Dough” setting or a setting for mixing and rising only. Do not let the machine “punch-down” the bread or set for second rise. After rising, set machine to “Bake” for 60 minutes.
- Remove only when the bread has come to an internal temperature of 205-210°F. If necessary, add bake time to the bread machine or when finished the bread machine cycle, finish baking in an oven preheated to 350°F.
- Leave bread in the pan for 5-10 minutes before inverting gently to remove. Finish cooling on a wire rack and slice when cooled. Keep fully cooled loaves in a zip-top bag at room temperature.
Notes
** Please keep in mind that nutrition information provided is per serving, which may vary. While we have taken care to provide you with the most accurate nutritional values possible, please note that this information may differ significantly depending on the exact ingredients and brands that you choose to use to make this recipe. Additionally, where options are given for ingredients, the resulting calculation may include all ingredient options instead of only one per line, skewing the totals significantly.
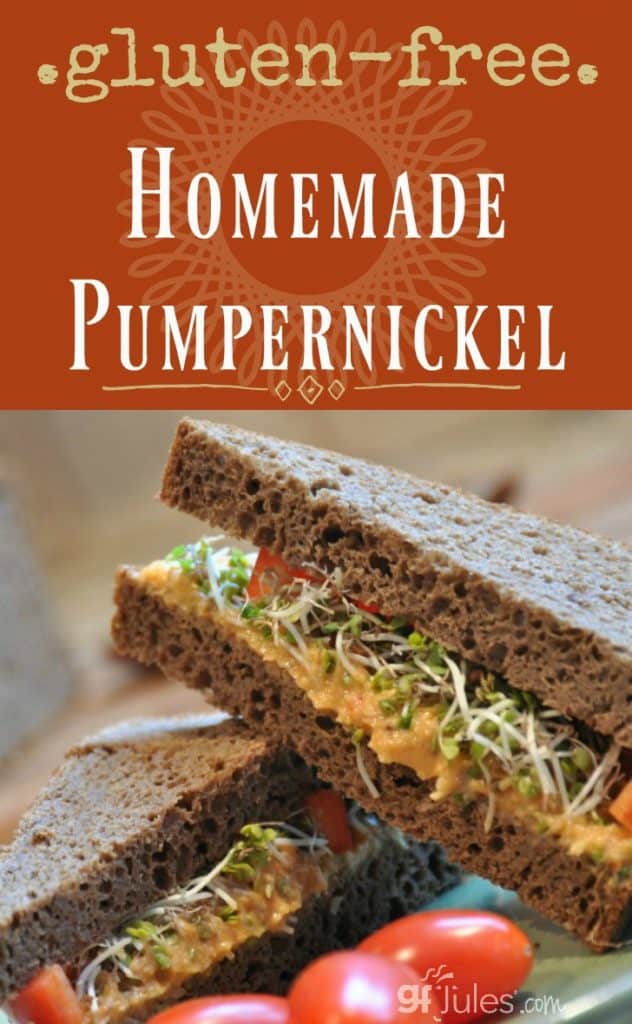
Pin it for later!


Hi Jules, I promised a friend that I would try to make a loaf of gluten-free pumpernickel bread for him, and I’d like to try your recipe. However, he is not able to have gum either, so your all-purpose flour will not work. Do you have any other gluten-free and gum-free flours that might work in this recipe or any other suggestions?
Thanks for your help!
Hi Ruthie, I haven’t tried it yet, but you could give this recipe a try with my gfJules Nada Flour. I would try halving the recipe first though, as this recipe as written makes quite a large loaf (still use the full 1 packet of yeast). It will be easier to bake all the way through if the volume is smaller, especially in an experiment since you’ll be using Nada instead. Remember that Nada Flour is 110grams/cup instead of 135grams/cup like gfJules Flour. Nada has no gums.
~jules
I did this recipe and loved it!
Like me, my dad and brother are celiac and we’ve had very sad Thanksgivings since we all got diagnosed.
Well, this Thanksgiving is going to be different as I’m going to make this bread as. Surprise for my dad who has always loved pumpernickel and rye bread. I’ve also found a GF rye bread recipe with sun flour seeds (3 tbls) and flax seeds (1 tbls) and was thinking of adding them to the recipe to give it a rye style I happen to like. Any thoughts about how to do this would be appreciated!
That makes me so happy to hear, Frank! I think adding more seeds would be a lovely addition, and carraway, of course. You could add to the top, or stir them into the batter at the end of the mixing. If using flax, use whole seeds unless you are altering the recipe’s liquid proportions, since flaxseed meal will absorb liquid. Please share pictures and any recipes notes here when you have made your seeded loaf. Happy Thanksgiving!
~jules
HI, I haven’t made it yet. I would like to know if this could be cooked in a dutch oven?
Hi Christine, you should be able to make this in a Dutch Oven if you’re baking it in a loaf pan, since it is such a wet batter loaf. Enjoy!
~jules
True game changer! Yes the bread is fantastic! But what I needed it for was my recreation of gluten free (just like Pepperidge Farm stuffing) mix. Yes Pepperidge farm is the family favorite but for those of us who were diagnosed with Celiac disease that stuffing loss was a heartbreaker. Sorry but nothing on the market compares. This addition to the rice free bread mix was the missing link. Yes it takes at least 3 kinds of gf bread to pull it off, but it’s so worth it. Highly recommend using GF stout or GF dark beer. Perfection! Easy, flawless and we are all so darned excited! Thank you!!!!
Correction, missing word in that post. Should be “Brown Rice” free! 😀
I totally agree with you about using 3 different kinds of bread for the stuffing! And adding the homemade gluten free pumpernickel to the mix is SO flavorful! Your bread looks fantastic – it must have been hard to cube it and cut it up for stuffing! I hope you kept a few slices for sandwich-ing!!
~jules
Awesome recipe! I followed directions and added the optional ingredients as well (caraway and orange peel). The result was as good or better than my once-favorite dark rye–I’ve always preferred rye with molasses. Using Pampered Chef loaf pans, which are a bit higher/fuller than standard 9 x 5 pans, I discovered that I had only enough batter for one large loaf. But what a loaf! Crusty, rich, complex, delicious! Thank you Jules! P.S. I used an automatic bread program on my new range oven, which
bumped up the temps to 390F for 15 min before lowering to 350. I’m guessing this accounted for the crustiness, which I very much like! Thanks, Jules!
Thanks so much for including the photo as well as your recipe notes (pan and oven). I’m thrilled that you loved this recipe as much or more than your dark rye loaf! What a win!!!
~jules
Is it possible to cut way back in the sodium and still have the soft high rise loaf?
Absolutely, Deborah. The sodium is there for flavor, not for rise. Enjoy the recipe!
~jules
This came out great! Could not tell it was gluten free. Thank you.
That is wonderful to hear, Joanne! I’m so glad you have gluten free Pumpernickel available to you now — it’s such a yummy bread!!!
~jules