That’s all I need to hear with my recipes, since I don’t write recipes to be “good for gluten free,” I write them to be crave-worthy for all.
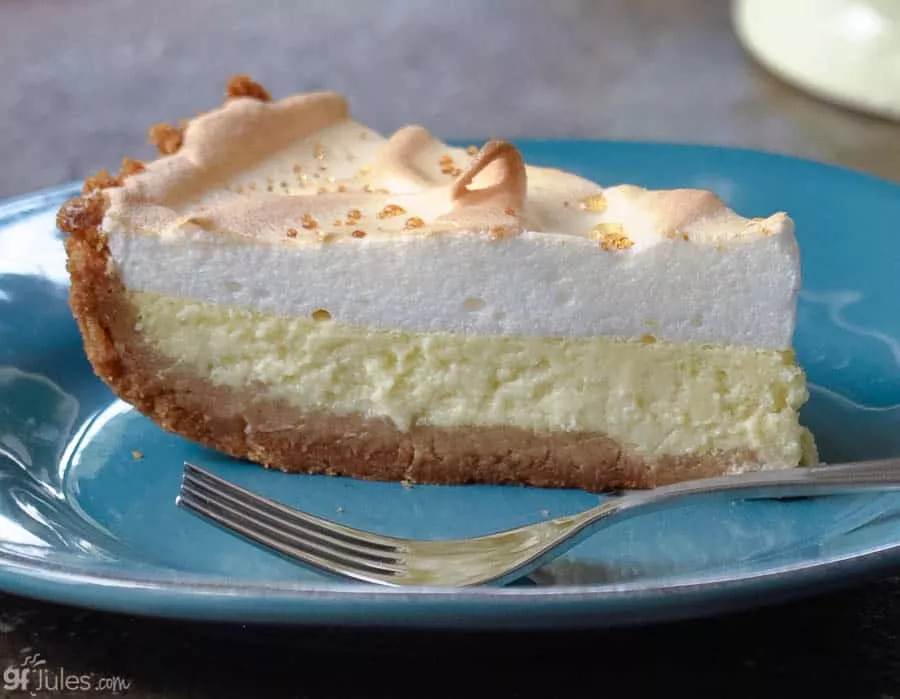
And this gluten free Key Lime Pie certainly fits that description. It’s a perennial favorite in my house for birthdays, holidays, celebratory meals and hot Wednesday nights.
Since restaurant varieties always contain gluten in the crust and dairy in the pie — a double no-go for us — it was essential that I develop a recipe we could all enjoy since Key Lime Pie is right up there with birthday cake in order of importance in our house!
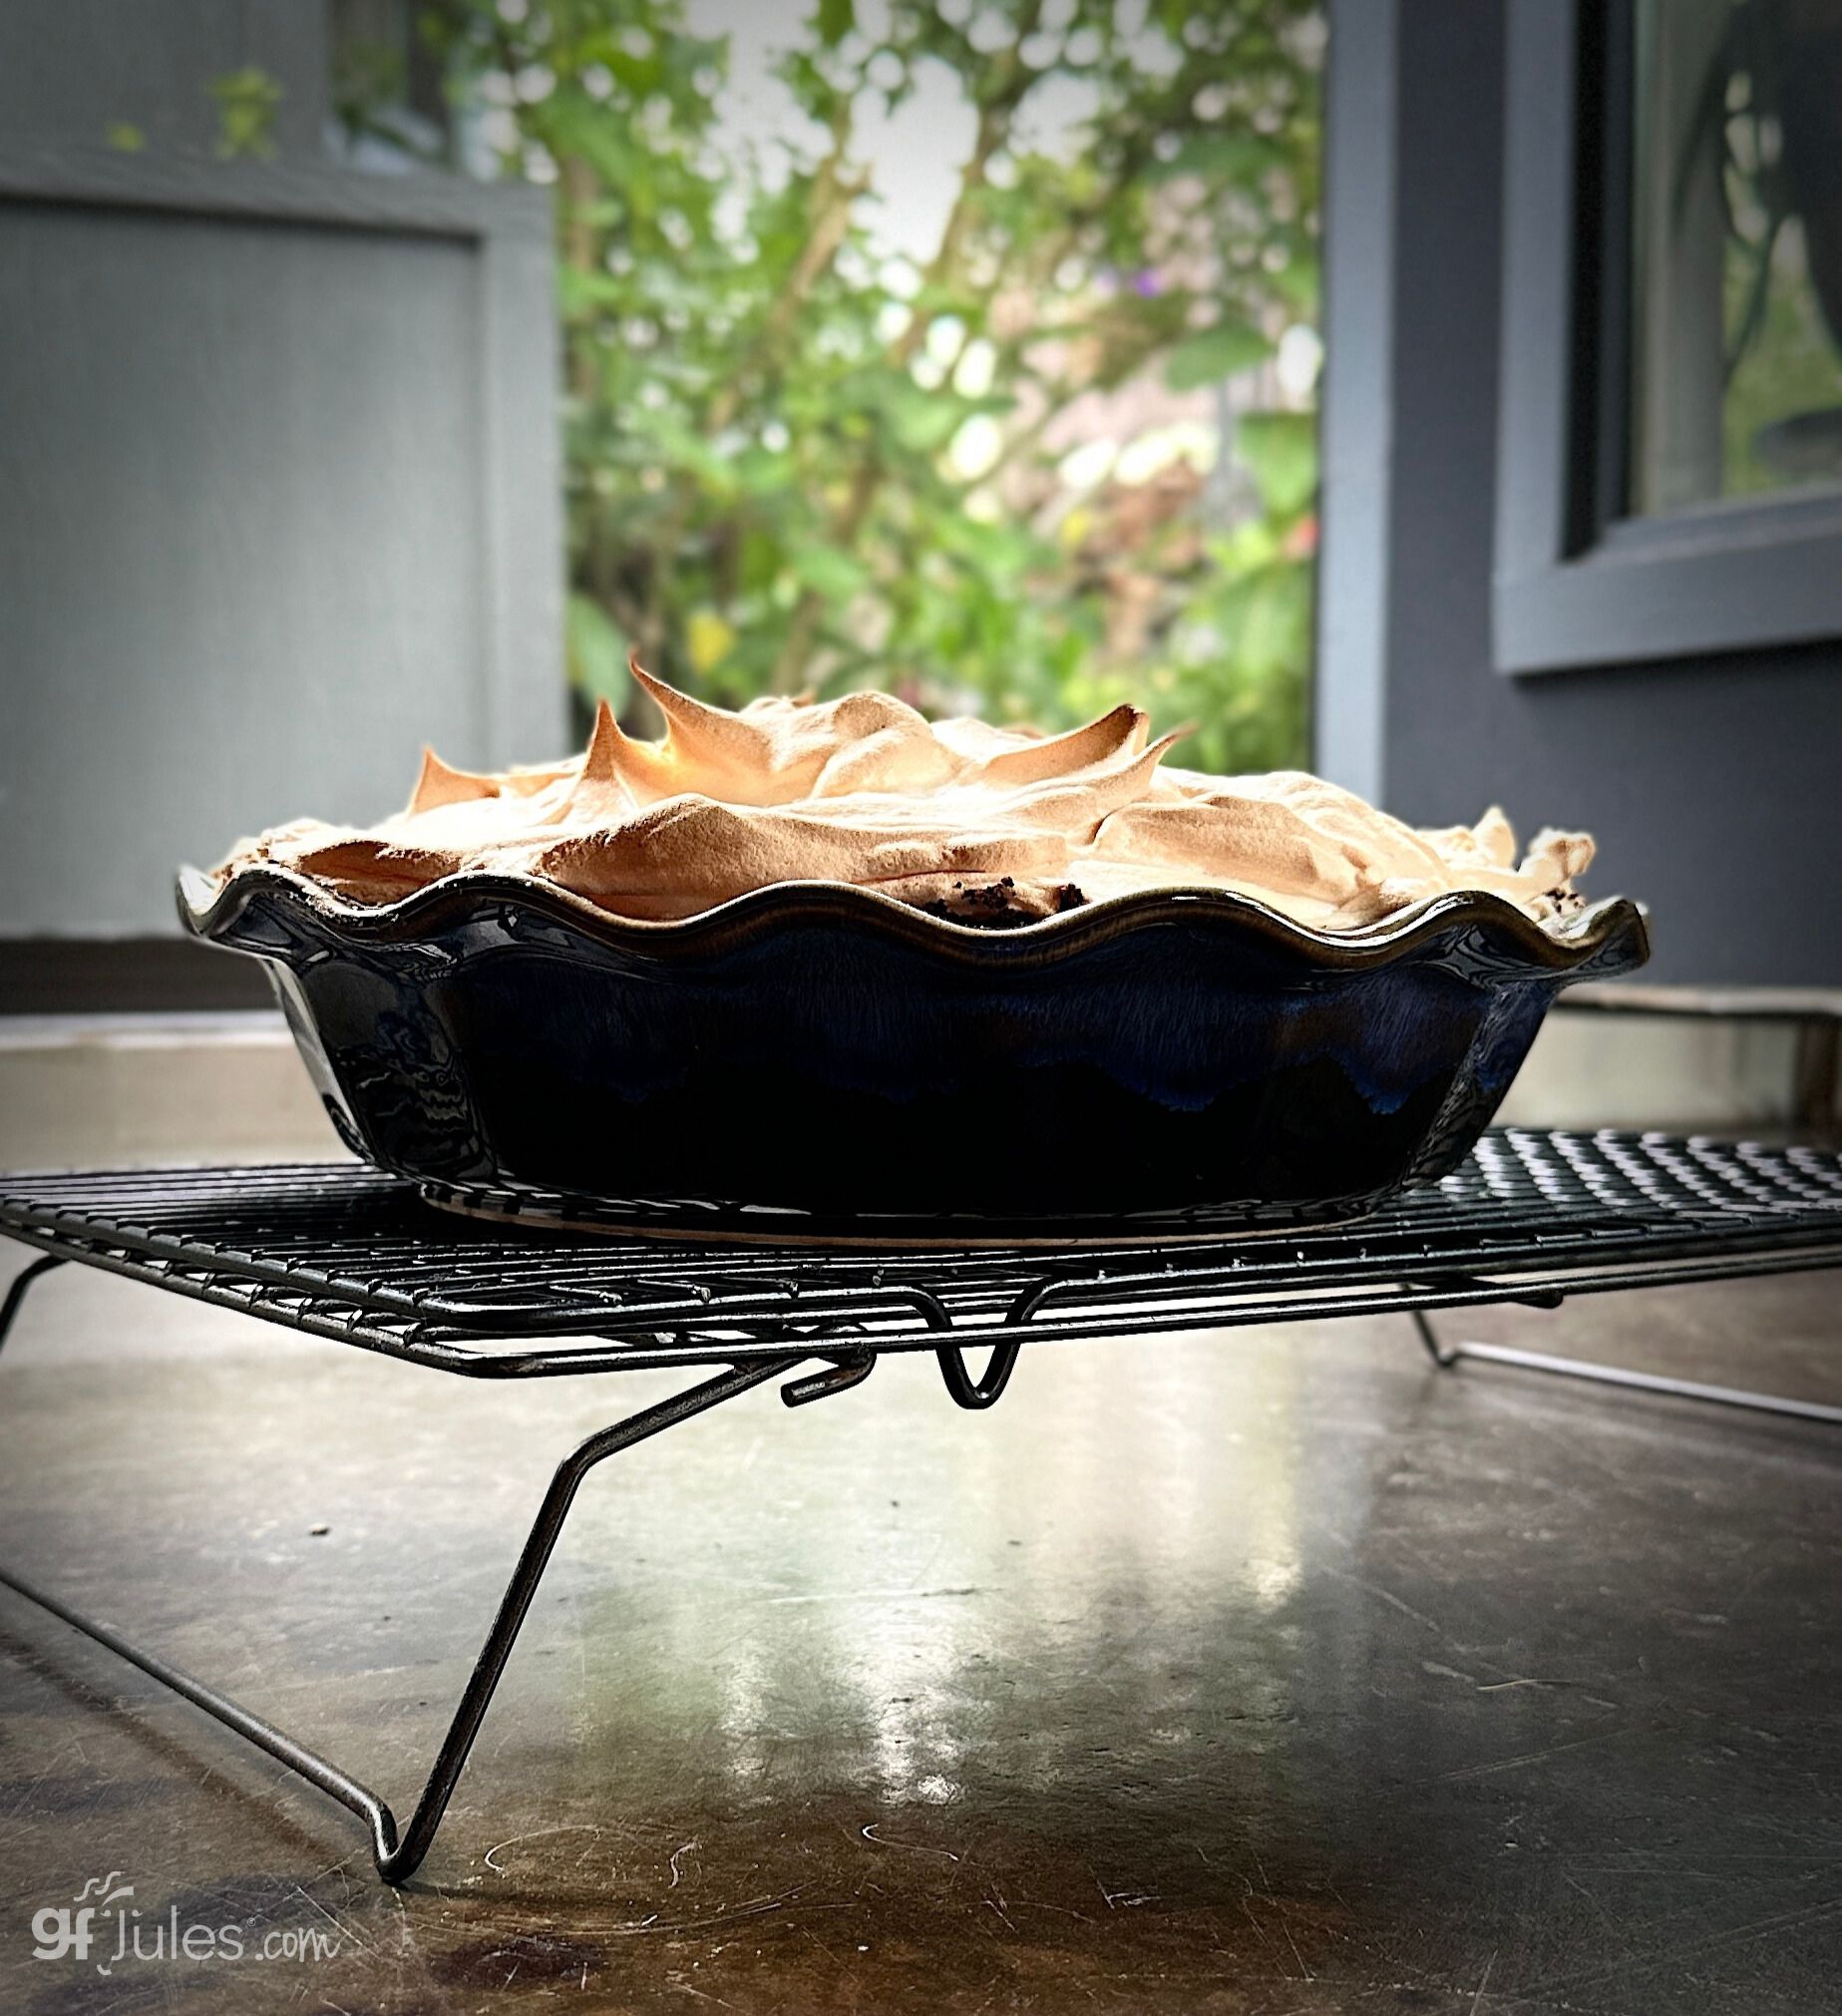
As our dairy- and gluten-eating friends tell me this recipe makes the best Key Lime Pie they’ve ever had, it’s probably a recipe you need to try for yourself, wouldn’t you agree?
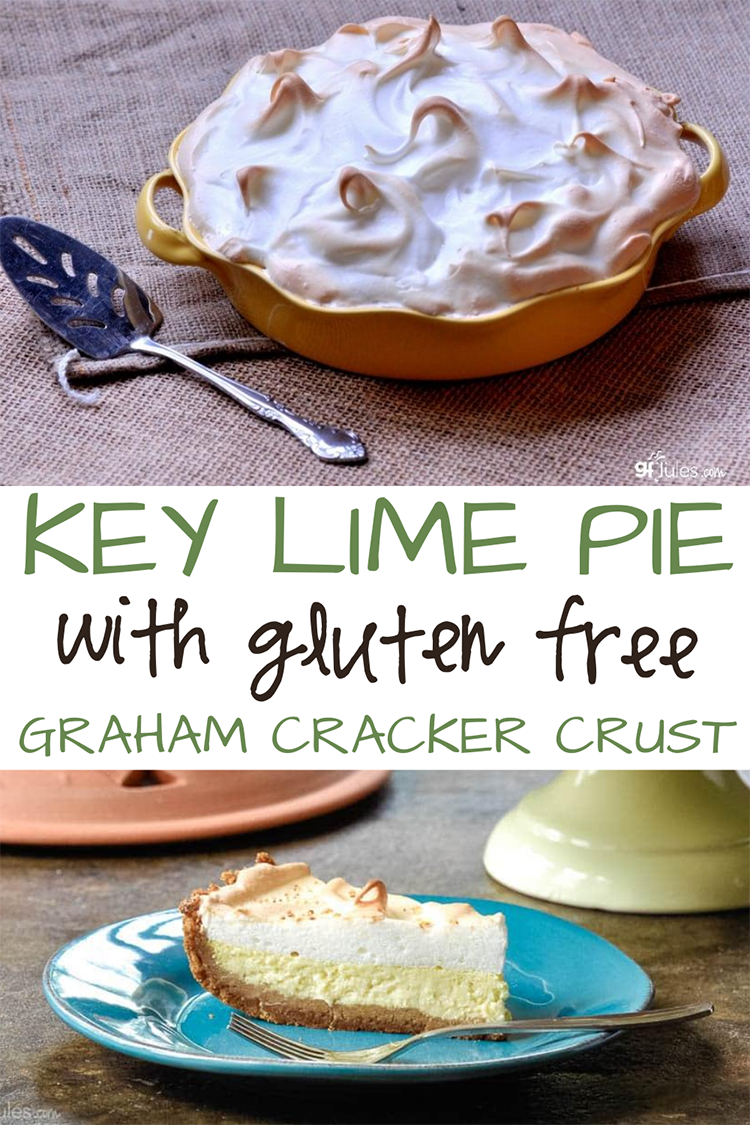
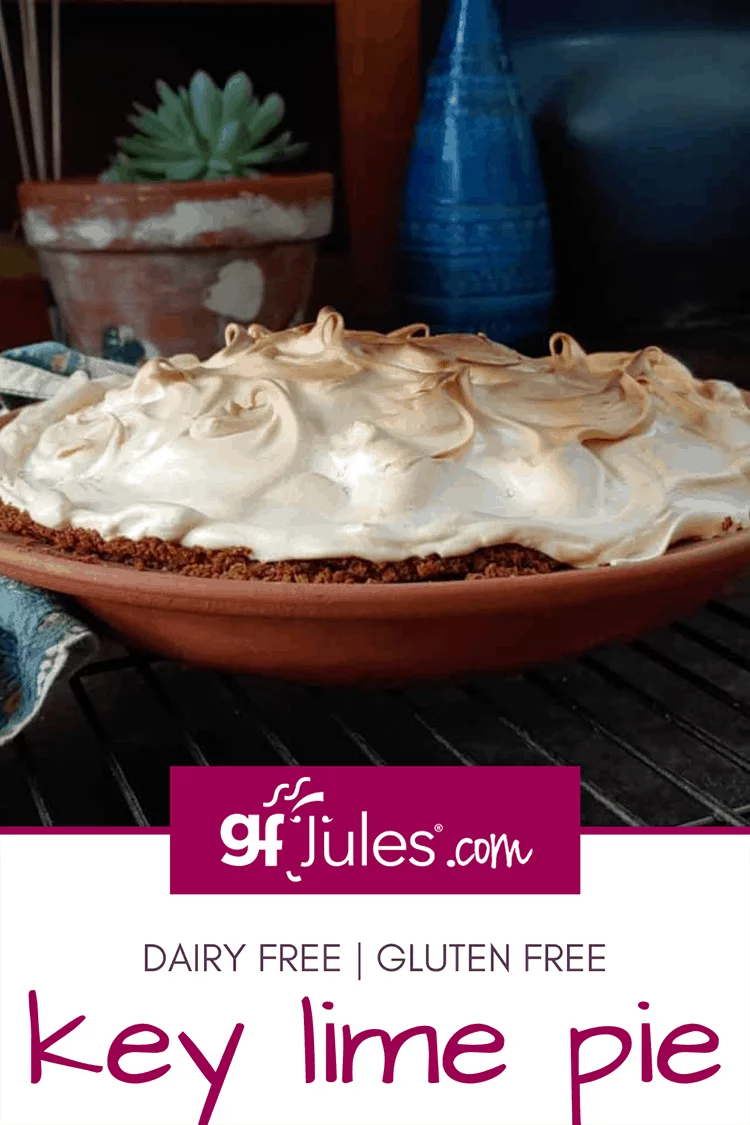
Fresh, light, and oh-so tangy, it’s truly one of my favorite desserts of all time. And so beautiful!
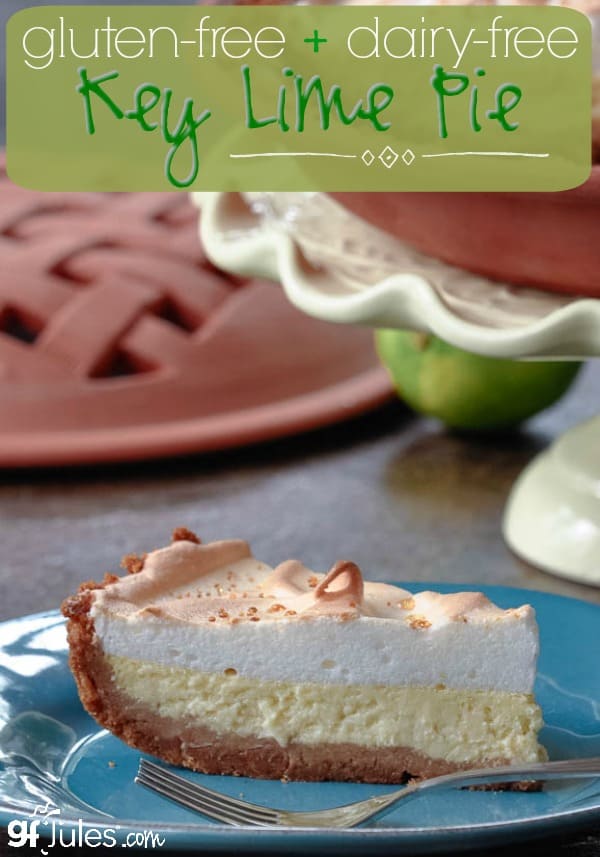
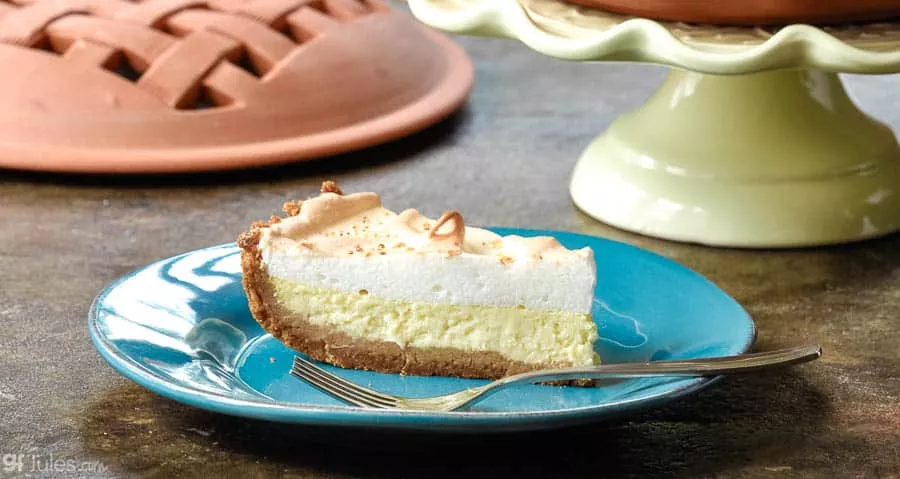
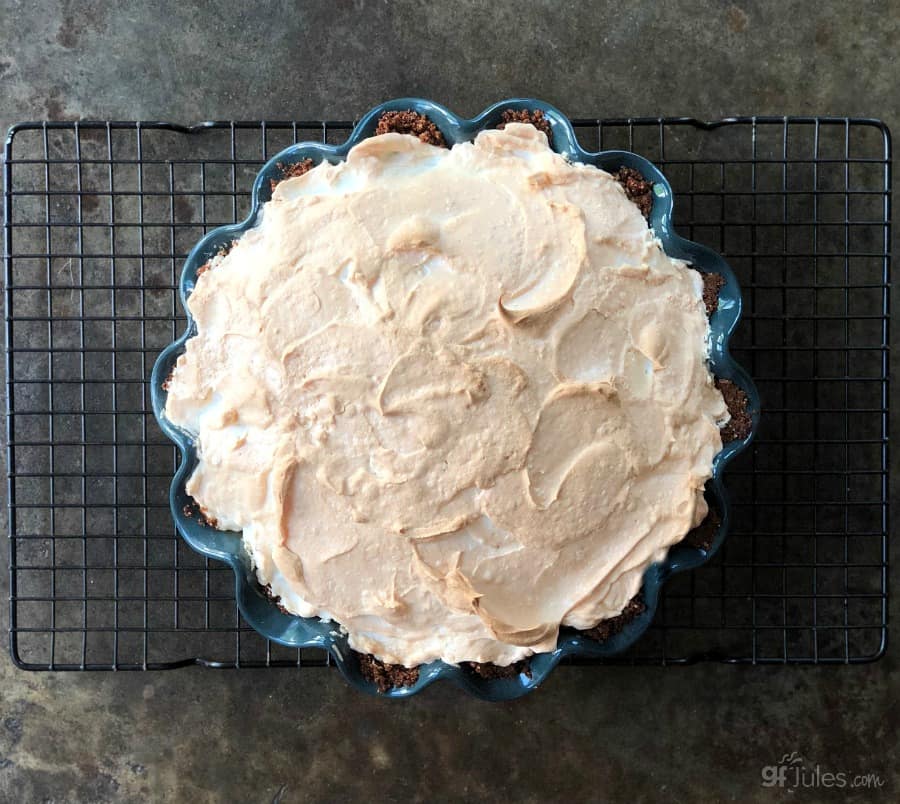
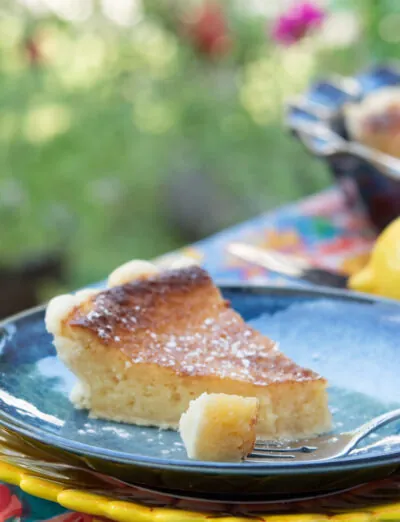
I mean, how cool and creamy does this treat look?
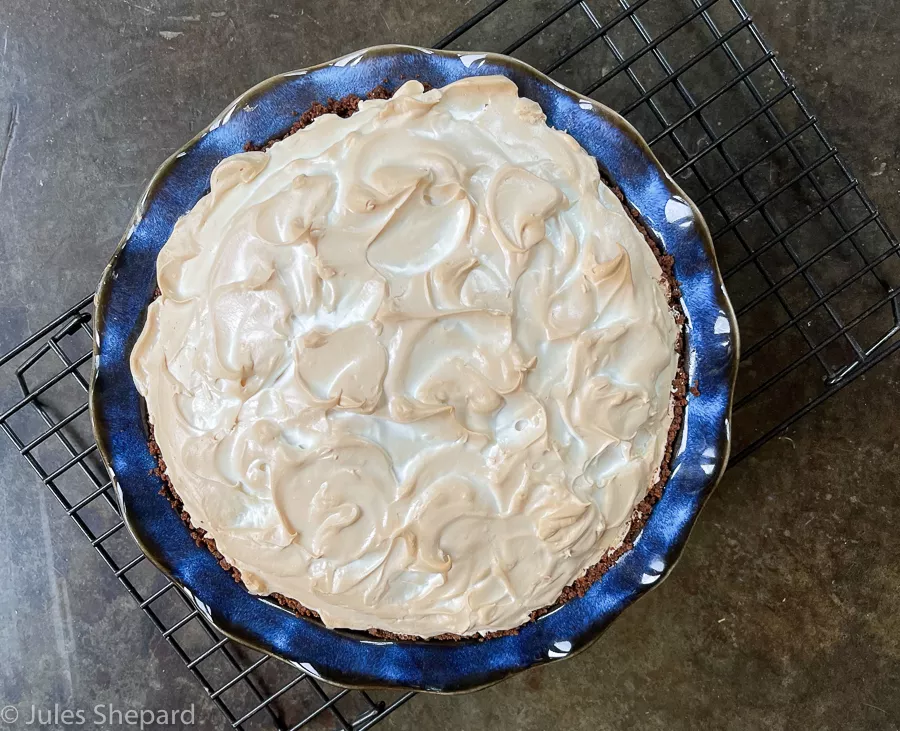
And no gluten or dairy was harmed in the making of this delicious, iconic pie!
It’s not needed and it’s certainly not missed! Check my recipe for the cool ingredients I used to get around any need for gluten or dairy.
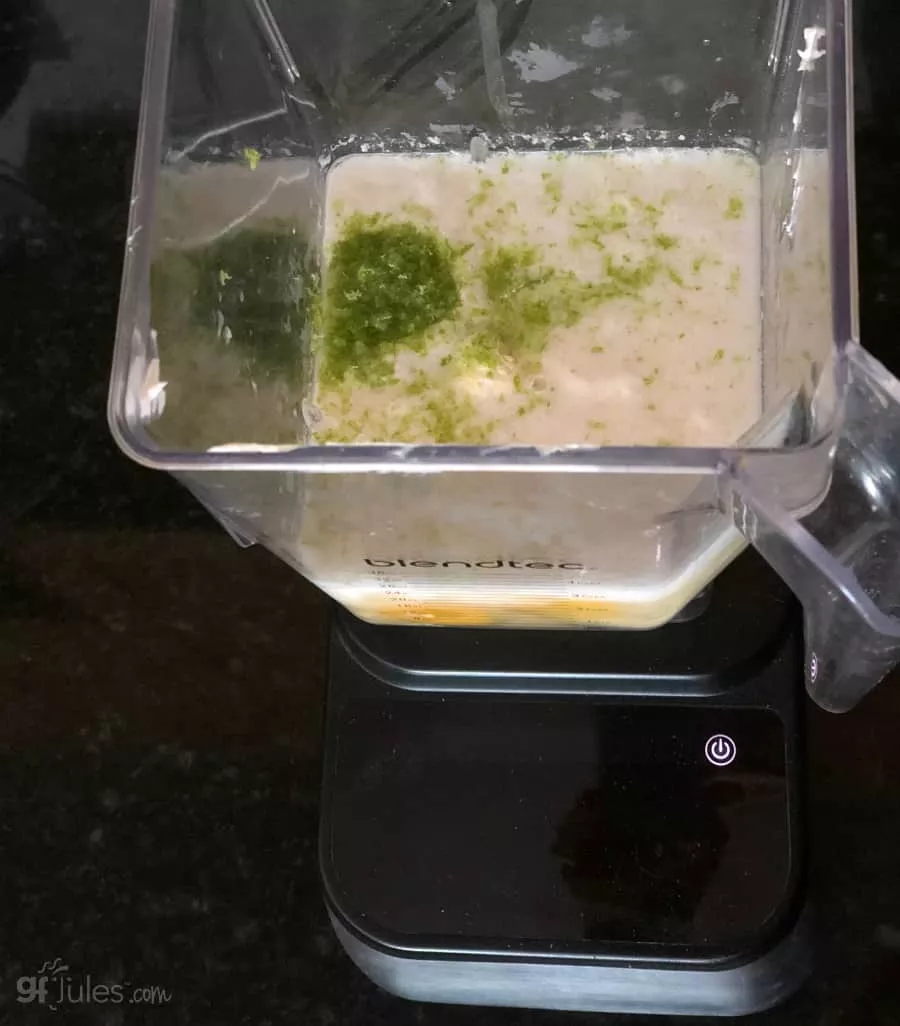
You can even make the filling in a blender! (I used my trusty Blendtec — Enter code GFJULES for 15% off Blendtec blenders and accessories at https://www.blendtec.com)*
My gluten free Key Lime Pie boasts 3 fancy layers: gluten free graham cracker crust; sweet-tart creamy key lime filling; light and airy meringue top. But there’s actually nothing complicated about making this yummy pie (and you can skip the meringue if you like).
It all starts with homemade gluten free graham crackers. I mean, when your graham crackers are this good, the homemade gluten free graham cracker pie crust is bound to be amazing!
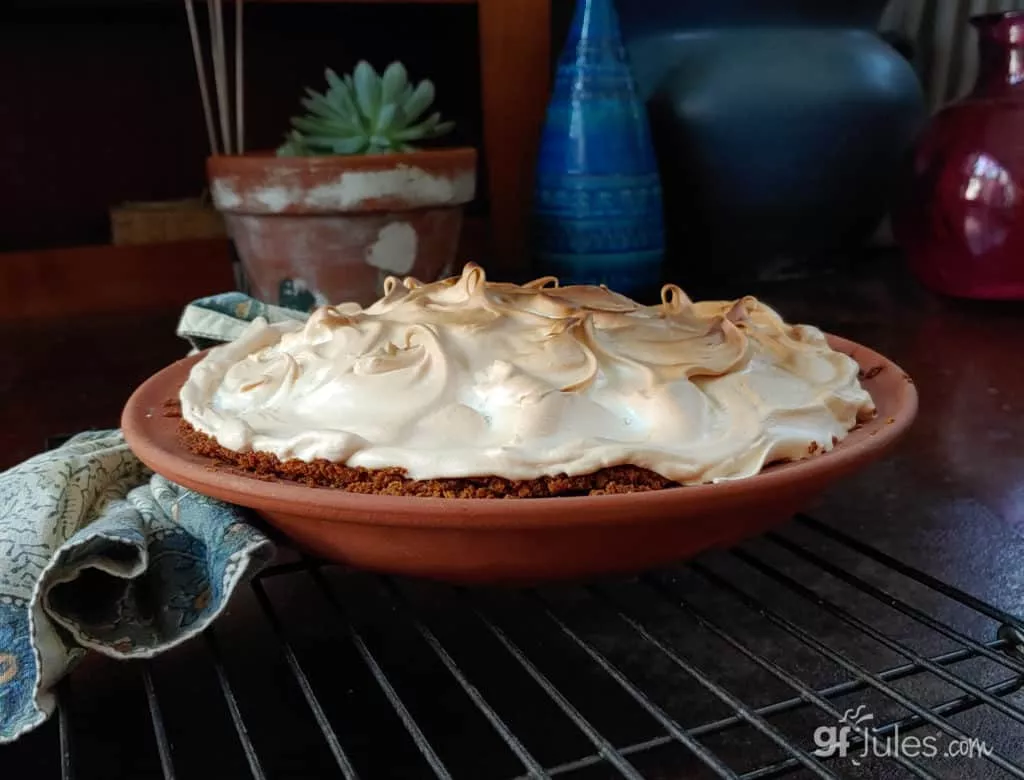
Just bake the gluten free graham cracker crust, pour the filling ingredients into a blender or mixer, bake, and top with meringue (so easy to make – I promise!), and bake again. For the full recipe, hop to my gluten free Graham Cracker Pie Crust Recipe.
If you allow enough time for every step, it’ll be a stress-free baking experience because this pie is seriously simple to pull together.
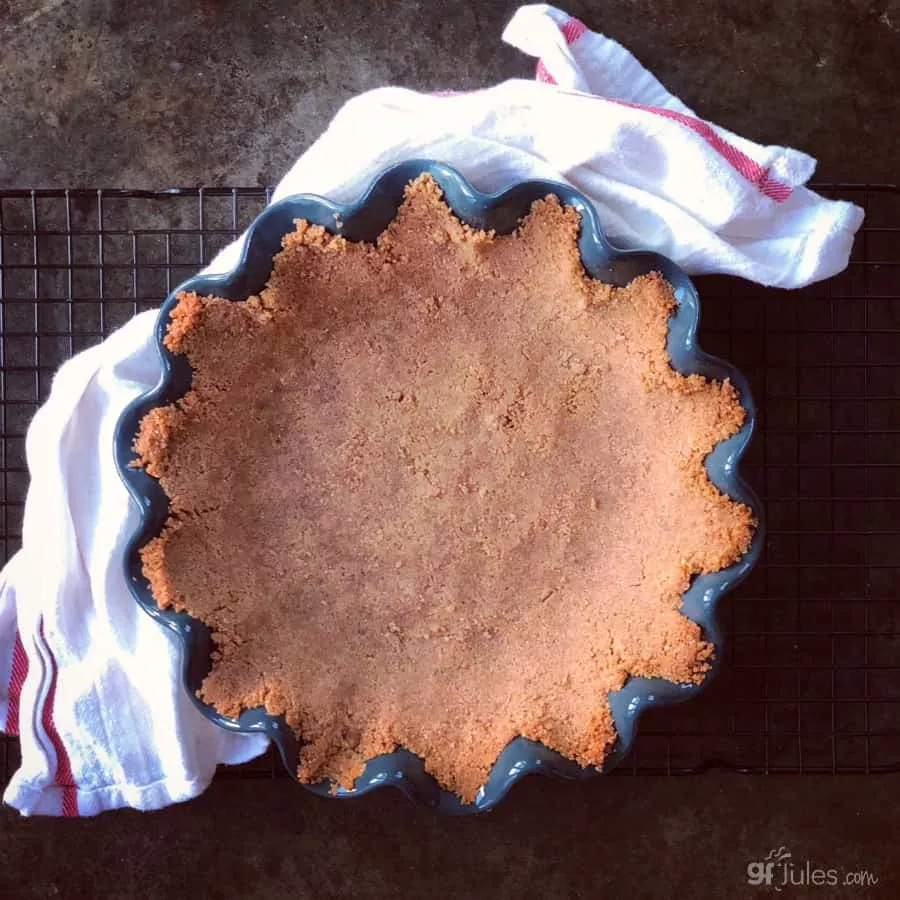
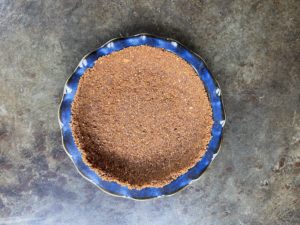
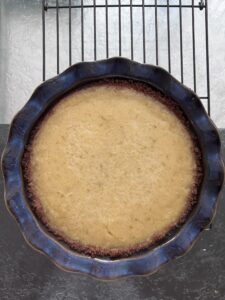
Just crush the graham crackers, add some sugar (optional) and melted butter (or vegan butter) and press into the pan. Bake for 10 minutes, then fill with the key lime filling to bake again. (Check out my quick recipe video to see for yourself how easy it is to make this homemade gluten free graham cracker crust!)
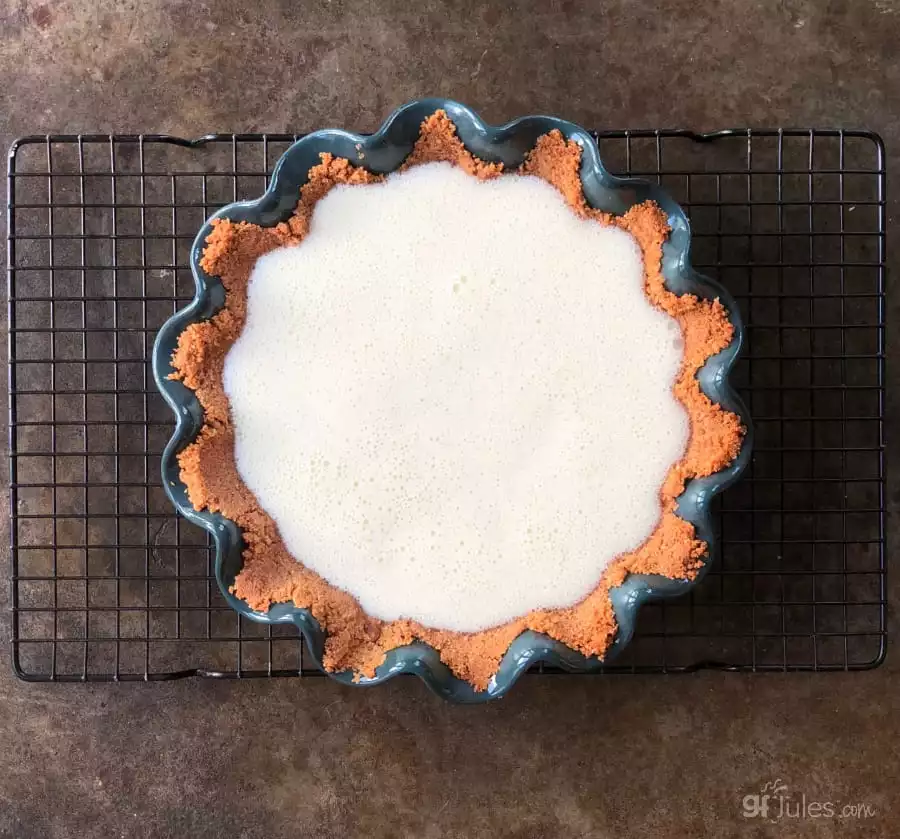
Top with the meringue (which looks fancy and complicated, but it’s so NOT!) and bake again for 10 minutes or until the tips of the meringue are getting lightly browned but not burning.
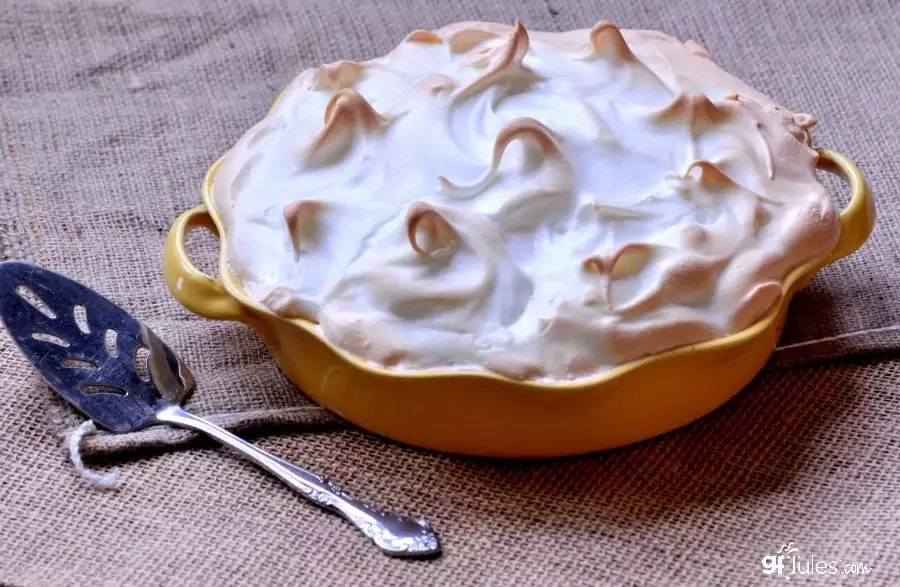
And with these gluten free and dairy free key lime pie ingredients, it’s also surprisingly … dare I say … healthy? Don’t tell your family until after they rave about it, but especially if you use the tofu ingredient option, there’s nothing to keep you from having a second piece!
You can find Key Lime Juice at the store, or juice your own, but if you decide to opt for the latter, make sure you buy a whole bag. Check out how many of these tiny limes it’s going to take to get the 1/2 cup of fresh juice you’ll need for this pie!
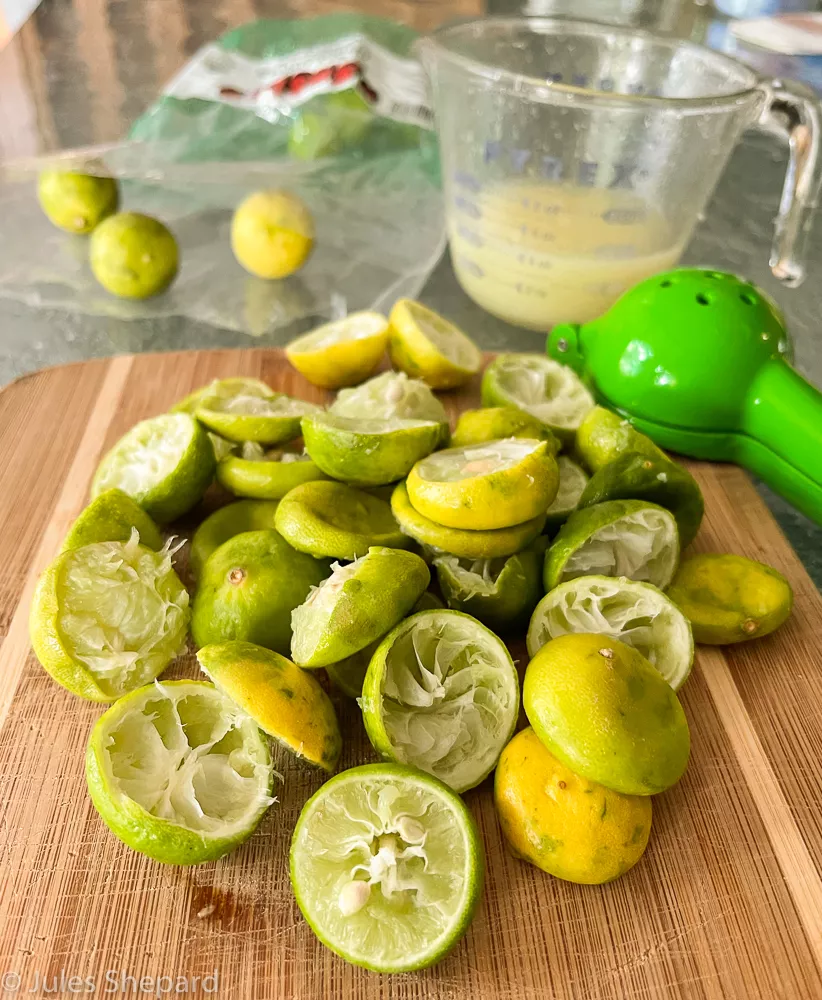
Want to make this heavenly treat even easier? Buy the juice in a bottle! It does taste different than regular lime juice (not that a regular lime pie wouldn’t also be delish! it is!) — the flavor is milder and just all around perfect.
You can also save some time by setting aside extra homemade gluten free graham crackers or gingersnaps whenever you make them; freeze at least a cup or two in a bag so that you can whip up a graham cracker crust quickly whenever you need one … like I did today!
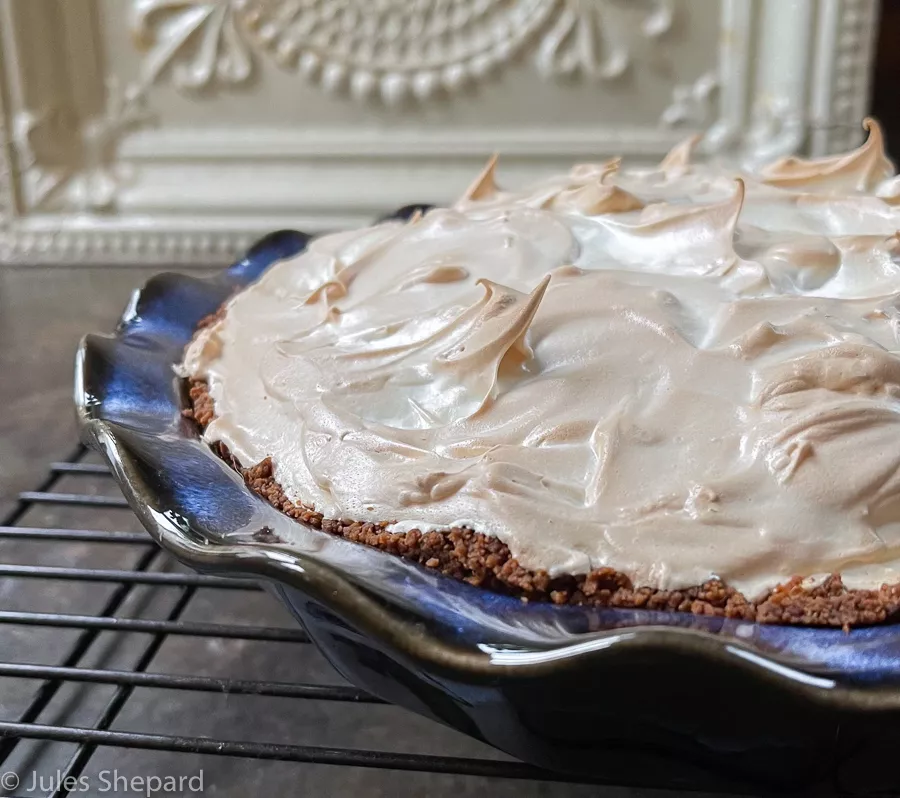
Enjoy this cool pie on these hot summer days!
Watch BOTH the Recipe Videos to See How to Make this Easy Homemade Gluten Free Graham Cracker Crust & See How to Make this Yummy Pie!
Gluten Free Key Lime Pie Recipe

Gluten Free and Dairy Free Key Lime Pie
Equipment
Ingredients
Gluten Free Graham Cracker Crust
- 1 2/3 cup gluten Free graham crackers or gingersnaps chopped finely*
- 1/4 cup granulated cane sugar (optional)
- 4-5 Tablespoons butter or non-dairy alternative (e.g. Earth Balance® Buttery Sticks,) melted
Key Lime Pie Filling
- 2 Tablespoons gfJules® All Purpose Flour
- 3 large eggs
- 1 1/4 cups milk dairy or non-dairy
- 3/4 cup granulated cane sugar
- 1/2 cup firm tofu or cream cheese dairy or non-dairy
- 1/2 cup Key Lime juice (lots of key limes or approximately 3 regular limes)
- 2 tablespoons fresh lime zest (don’t skimp on this ingredient!)
- 1 teaspoon pure vanilla extract
Meringue
- 3 large egg whites
- 1/2 teaspoon lime juice
- 6 tablespoons granulated cane sugar (finely granulated sugar is best)
Instructions
- * Bake out my gfJules™ Graham Cracker/Gingersnap Mix or use this great homemade recipe for plenty of delicious graham crackers to make this crust and have lots left over for munching!
- Crust Directions:Preheat oven to 350°F.
- Chop the graham crackers in a food processor until fine. Once uniformly crushed, measure out to be sure you have 1 2/3 cups of crumbs-repeat if you need more crumbs.
- Pour the sugar into the food processor with the crumbs and pulse until integrated. Add in the melted butter, pulsing until the crumbs begin to stick together (alternatively, stir together in a bowl with a fork). If you find you need slightly more butter to get the crumbs to hold together, melt an additional tablespoon and add it in the same way.
- Pour the crumb-butter mixture into a pie pan and press with your fingers to create an even thickness along the bottom and sides of the pan. Bake in preheated oven for 10 minutes-do not allow the edges to burn, though. Remove and set aside until the pie filling is prepared.

- Filling Directions:Combine all ingredients in a large food processor or mixing bowl and process or beat until smooth; sift gfJules Flour when adding to reduce lumps.
- Pour into cooked crust and bake for 40-50 minutes, depending on the size of your pie pan and therefore, the depth of your pie. If the crust edges are browning too much, cover with a pie crust saver or aluminum foil.

- Remove from oven once the center of the pie is no longer jiggly. While baking, prepare meringue according to directions, or set baked pie aside to cool for two hours and serve plain, with whipped topping or fresh berries.

- Meringue Directions: Separate the egg yolks and egg whites, throwing away the yolks and breaking the whites into a clean metal bowl (be sure there is no yolk at all in the bowl with the egg whites).
- Beat the egg whites in a clean metal bowl with clean whisk attachments to your mixer until the whites are foamy. Add the lime juice and continue beating on high until peaks begin to form. Add the sugar in gradually while beating, and whip until the mixture is stiff ad you don't hear any sugar crunching in the bowl.
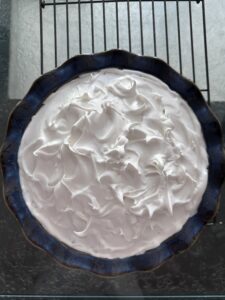
- When the pie is done baking, remove from the oven and swirl the meringue over the top of the pie, spreading to touch the outer edges of the pie pan, covering the entire pie.

- Return to the oven and bake until the meringue tips are light brown, approximately 10 minutes.

- Remove from the oven to a cooling rack and cool in the refrigerator for 2 hours before slicing.
- Serves: 6-8
Video
** Please keep in mind that nutrition information provided is per serving, which may vary. While we have taken care to provide you with the most accurate nutritional values possible, please note that this information may differ significantly depending on the exact ingredients and brands that you choose to use to make this recipe. Additionally, where options are given for ingredients, the resulting calculation may include all ingredient options instead of only one per line, skewing the totals significantly.
I hope you love this recipe as much as we do!
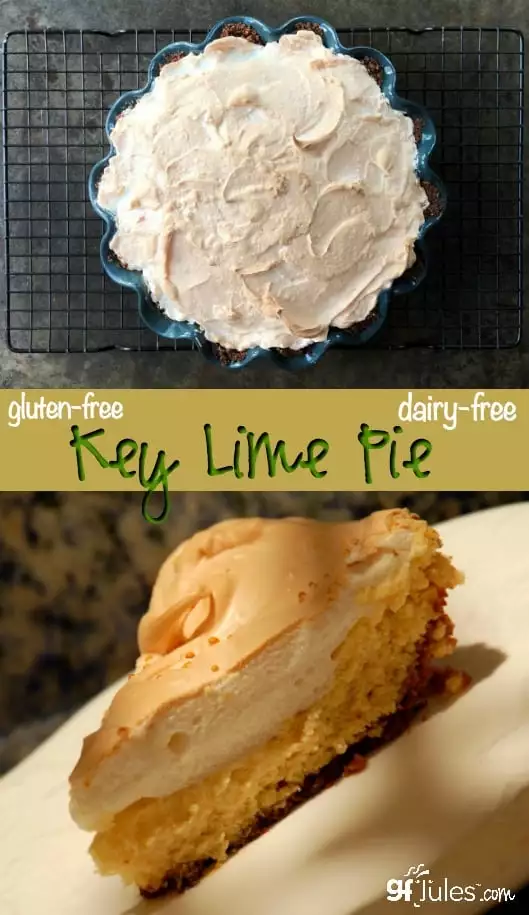
Pin it for later!

**I am a Blendtec brand ambassador; as always, all opinions are my own. Enter code GFJULES at https://www.blendtec.com for15% off anything except already discounted Pro Series)














Hi Jules, when making it with the tofu option, do you recommend pressing the tofu before to removed excess moisture? Thank you, Suzanne
Hi Suzanne, yes I would press the tofu first so that the texture is more akin to cream cheese. Enjoy the recipe!
~jules
This looks delicious! Which dairy free mild would you suggest works best?
Thank you!
Hi Sarah, you can check my dairy free substitutions article for recommendations. I really love coconut milk in baking and recipes like this one, but there are other good options!
~jules
My pie was perfect until I put it in the fridge to set. The meringue started weeping. How can I keep this from happening? Hoping to make it again today
Hi Emily, always put the meringue on hot fillings to help prevent weeping. Refrigerating the pie can cause weeping too, though, as it’s such a humid environment. Meringues like hot and dry! It doesn’t hurt anything for the meringue to weep, it’s just not so pretty, so if all else fails, try to soak it up with a paper towel. I hope that helps!
~jules
Hi! This recipe looks delicious! I’m wanting to make it for thanksgiving. If I made a day or two ahead and kept it in the fridge, would it still be good?
Hi Jen, yes! I’ve made it and kept it in the fridge and it’s still yummy; the only thing is the meringue can get a bit weepy like all meringues can after a day or two. It’s prettiest when fresh if you can wait to do that the day you want to serve it or the day before, that would be the most ideal. ENJOY!
~jules
Oh boy, this sounds SO good! I can’t wait to give it a go!!
I hope you love it, Kristen!
~jules
Ooh, I’m excited for key lime season! This pie looks like the perfect way to celebrate.
Me too, Alisa! I love anything key lime!!!
~jules
look at that gorgeous pie! I bet it tastes just as good as it looks…
OOooh even better, Kristina! So creamy and light – so yum!
~jules
Key lime pie is my favorite for warm weather desserts!! I love this dairy-free version 🙂
Thanks much, Jenna! I hope you enjoy the recipe!
~jules
Key lime is one of my husband’s favorite! Can’t wait to try this!!
YAY! I’m so glad you’ll be putting the recipe to good use! Hope he loves it, too!
~jules
Crust is always my favourite part, looks like you chose the perfect pan to make this. I like those extra thick edges!
I love the crust too, Kortney! It didn’t used to be that way back in the early days of living GF – so glad I’ve perfected crusts now. Bring on the pies!!!
~jules
Wow! Such a pretty pie. Sounds delicious too!
Thank you! I hope you get to try it soon!
~jules
Love key lime! What a great dessert for summer.
It is so perfect for these hot days!!
~jules
Key Lime Pie was always a summer favorite! I just love how tangy and refreshing it is.
Mine too, Nicole! It’s so nice to have it back again!
~jules
How can I make this very low to no sugar? A new member of family must watch his sugar levels.
Thanks.
Can you use a gluten free pastry crust instead of the graham cracker? Also, could you use three egg yolks instead of three whole eggs in the filling mix?
Hi Jenny, you could absolutely use my gluten free pastry crust recipe instead – it’ll be delicious! Where a whole egg is indicated, you need to use the same amount of liquid, so if you only use the yolks, you’ll need to use more. The volume of one egg yolk is 1 to 1 1/4 tablespoons; one whole egg is about 3 tablespoons. Therefore where 3 whole eggs are called for, you would need around 9 tablespoons of yolks if you wanted to use those instead (approximately 9 egg yolks). I hope that helps!
~jules
If using a pastry crust, should it be cooked before adding the pie filling?
Hi Jenny, because the key lime pie filling is also baked, you don’t need to bake it before filling, but if you’d like to do a brief “blind bake” (for 15 min or so), follow the directions in this recipe for baking from frozen pie crust. Enjoy!
~jules
Can’t wait to try this out
So glad to hear someone other than my son and me craves Key Lime Pie in the winter!
~jules
Thanks for the advice, I am planning on getting one soon. Do you think maybe I should add a bit more tofu next time? (in a food processor)
I’m guessing the problem was with the tofu and the mixing step. If the tofu broke apart and floated, then it wasn’t fully creamed into the rest of the filling — this is where a food processor can be really helpful! When you poured the filling into the crust, there should have been no chunks or separate pieces of tofu at all.
With regard to the meringue, it is essential that it be whipped in a clean metal bowl with no yolks and whipped to very stiff peaks – it will look the same going into the oven as coming out, just browner after the baking step.
I hope it at least tasted good and you could eat it in a bowl! Eating my experiments is part of the reward for the effort for me!
I made this recipie last night and it just did not turn out like the picture for me. The picture looks flaky and mine is very runny. The firm tofu just broke into clumps that floated in the liquid filling. My topping was runny too. I could not find the same brand of tofu but I did get a good brand in the firm style. What did I do wrong? Why did the filling not get flaky? I followed the recipie exactly other than the tofu brand…