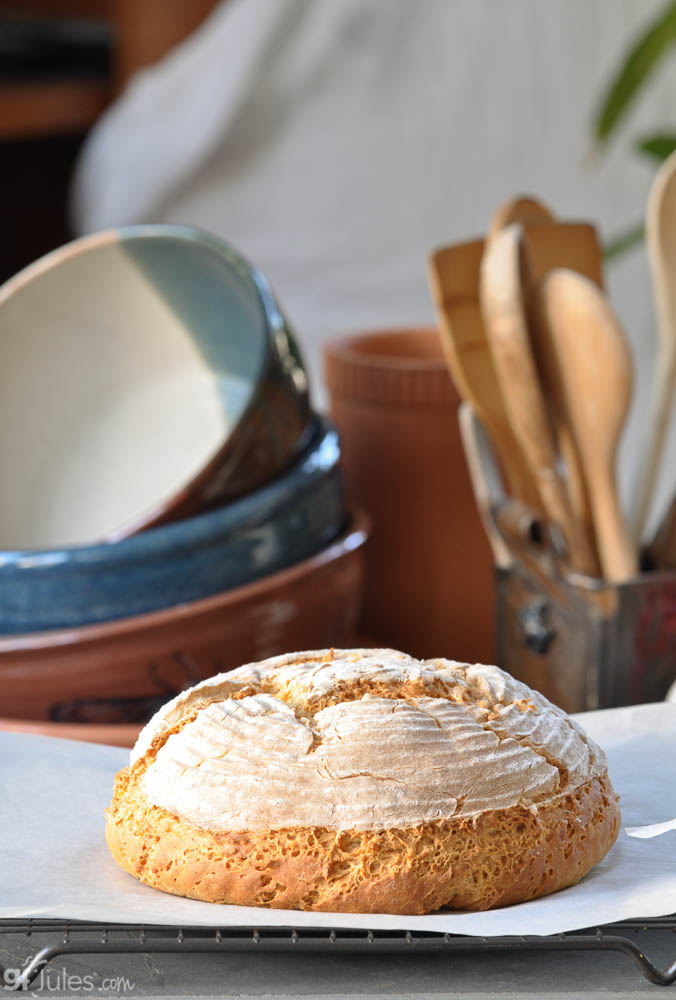
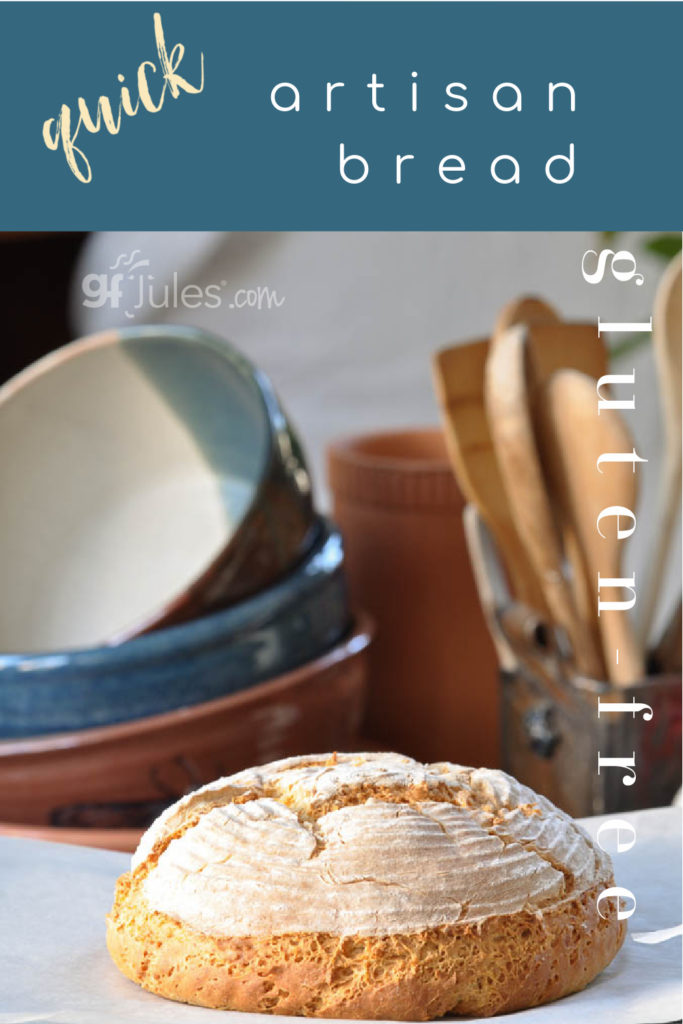
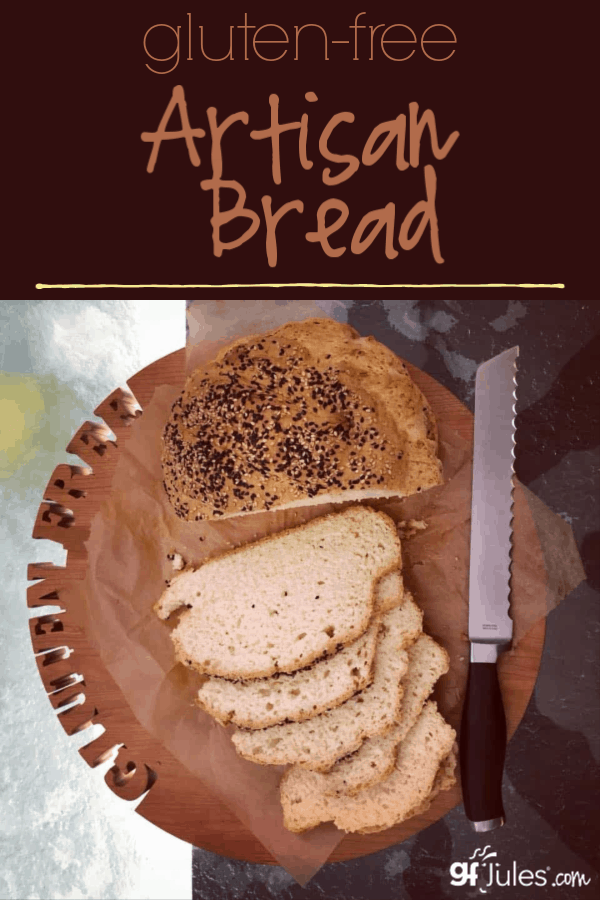
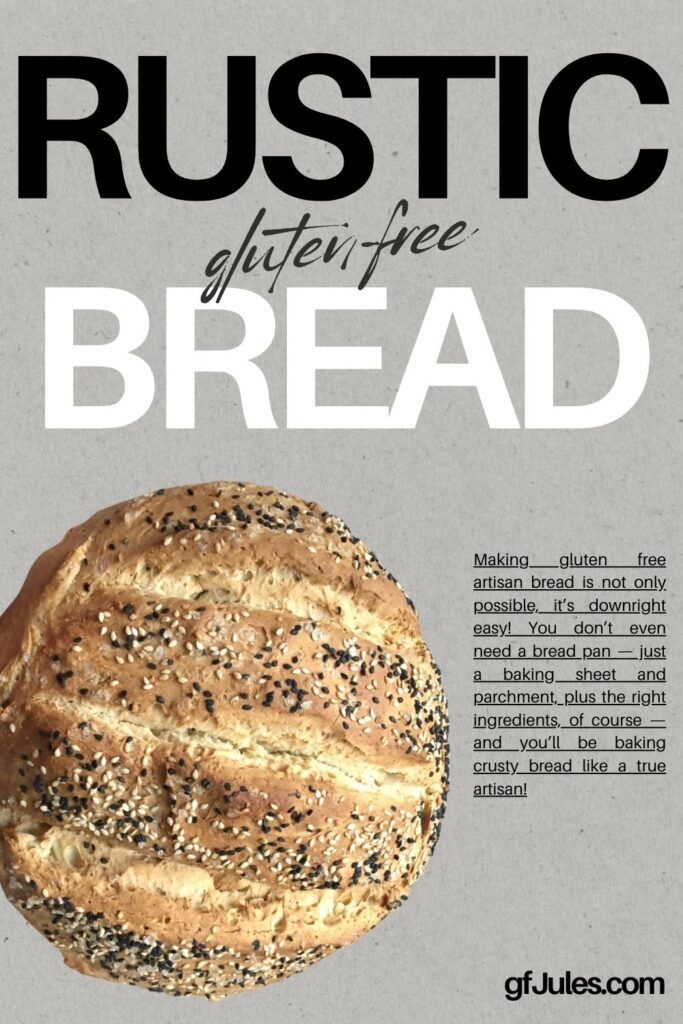
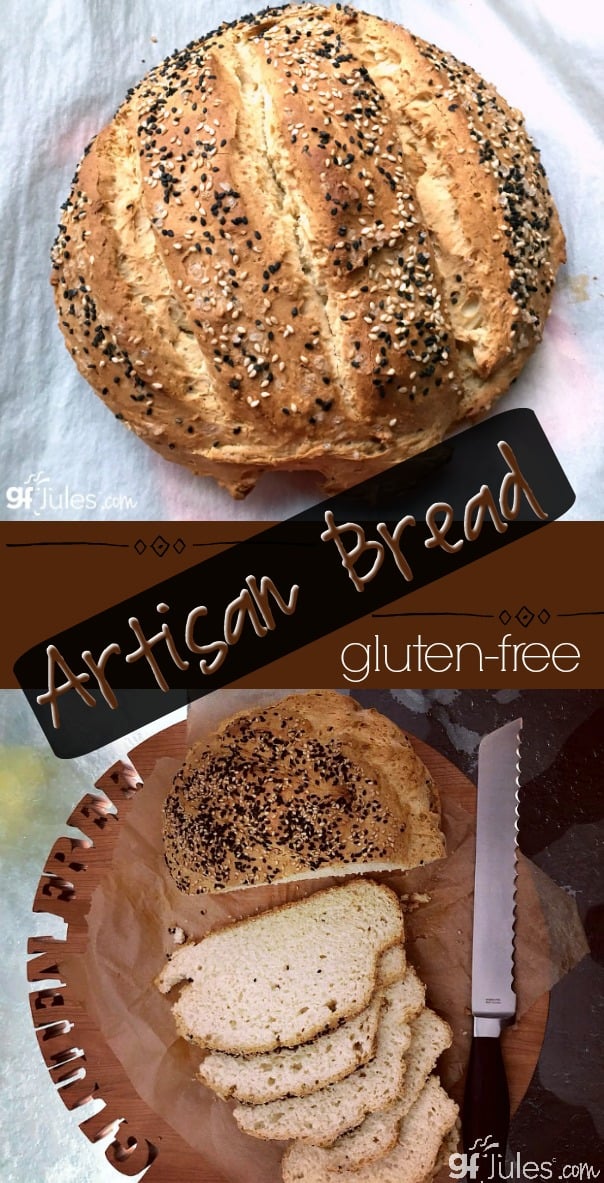
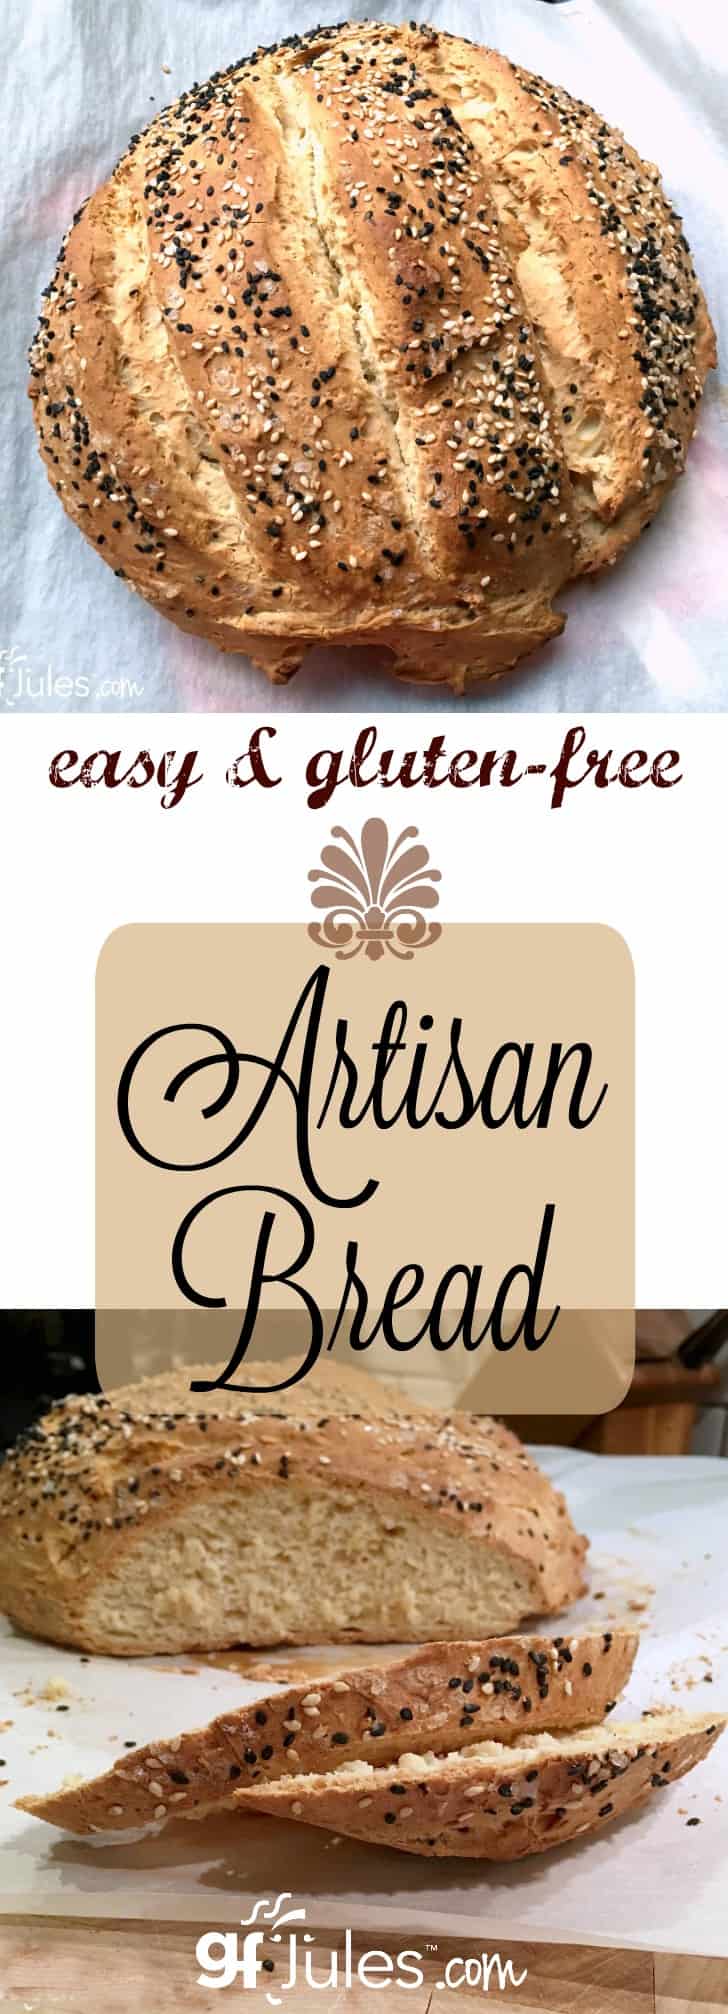
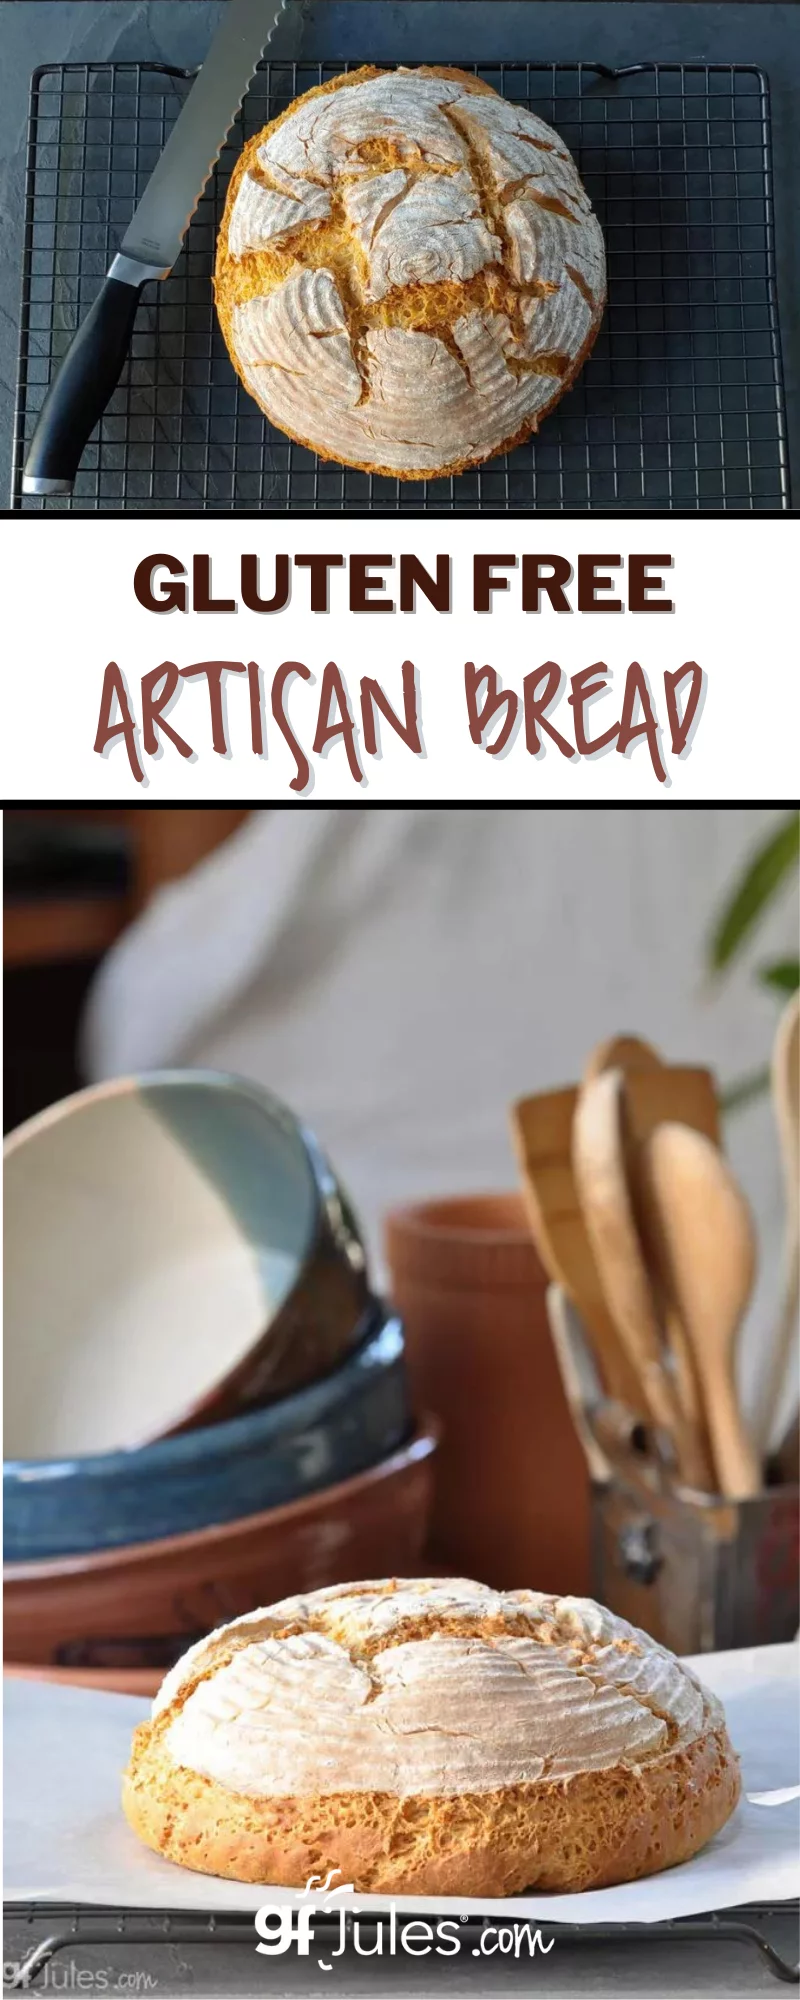
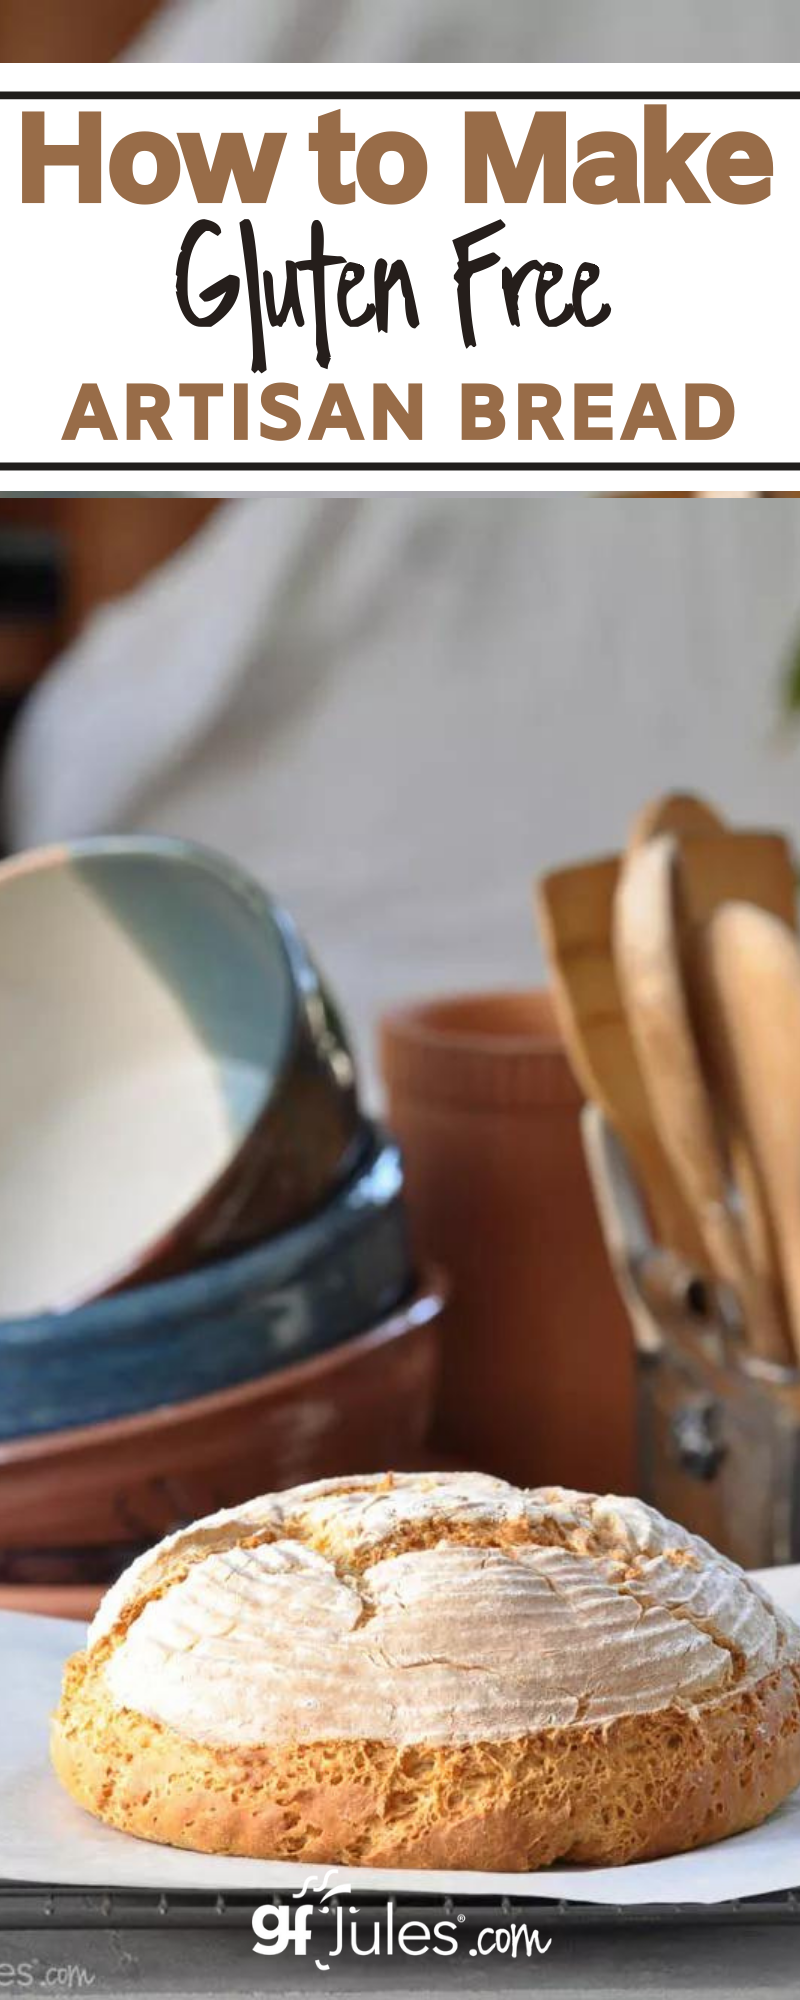
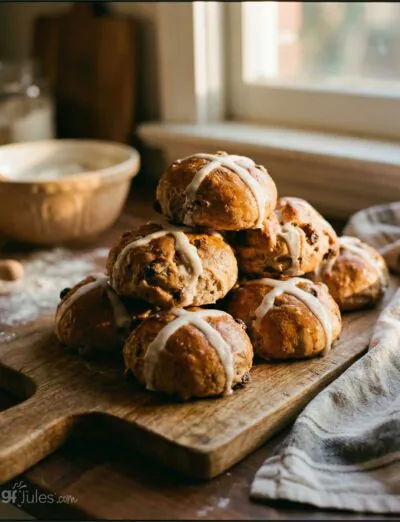
Making gluten free artisan bread is not only possible, it’s downright easy! You don’t even need a bread pan — just a baking sheet and parchment, plus the right ingredients, of course — and you’ll be baking crusty bread like a true artisan!
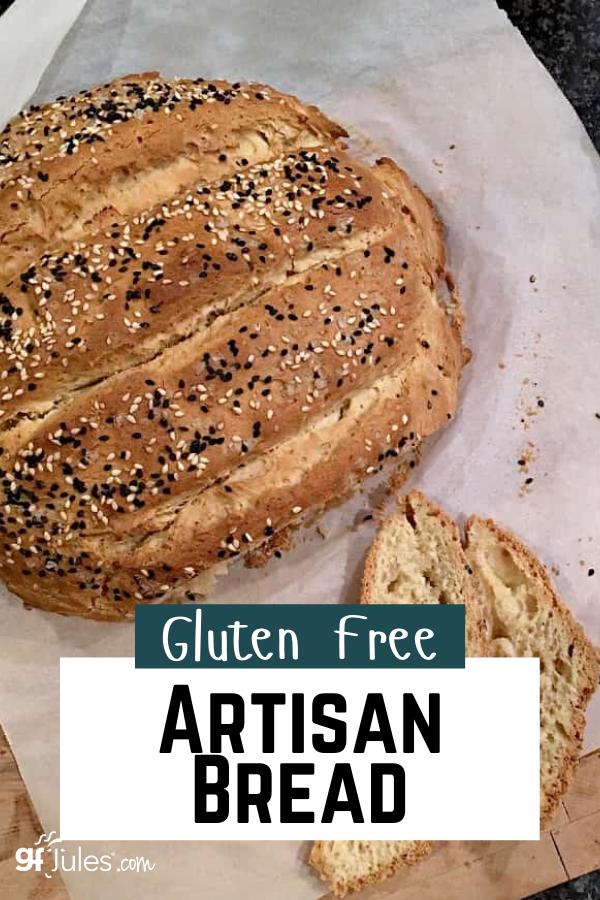
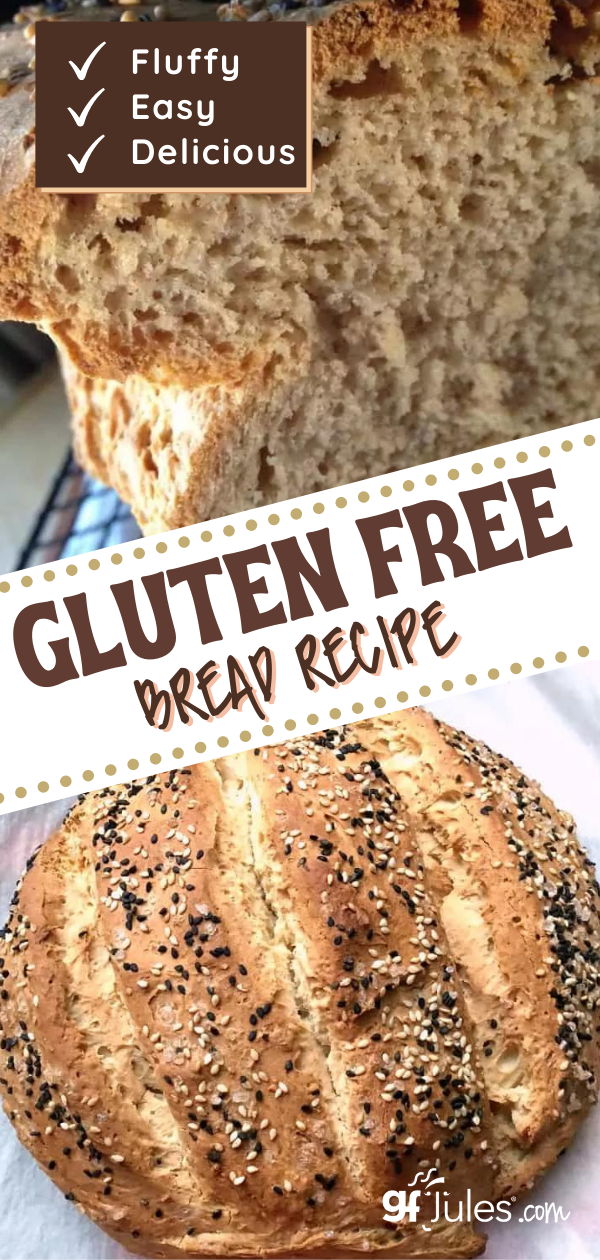
You don’t want to use heavy, gritty gluten free flours if you want your loaf to be light and airy like this one, so follow along and you’ll be serving beautiful, impressive, crusty gluten free artisan breads in no time!
How Do I Make Gluten Free Artisan Bread?
You know me — I’m always here for you with options! This gluten-free artisan bread recipe is no exception.
I give two options to make this delicious bread: use my award-winning super easy gfJules Bread Mix or my from-scratch recipe. And within that from-scratch recipe, there are two major options for baking without a pan for a true gluten free artisan bread look or partially baking in a round or springform pan for a more rounded loaf that even works well as a bread boule for soup!
Which will you choose?
Especially if using bubbly water or gingerale or even gluten free beer(!) as the liquid in this recipe, your dough will need some help holding together until mid-bake (*unless using my gfJules Gluten Free Bread Mix — see recipe cards).
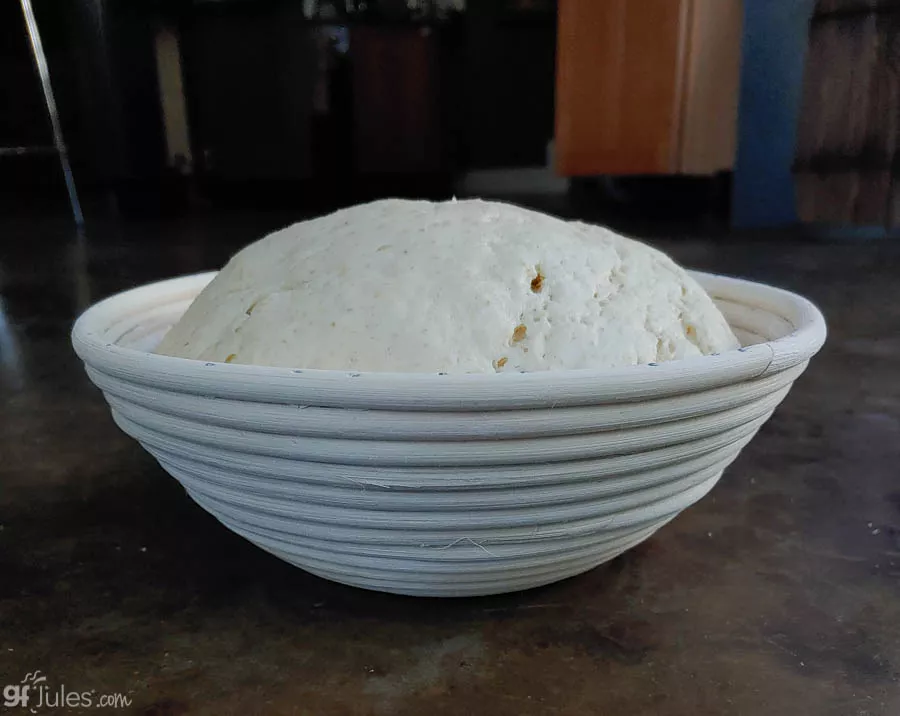
I prefer yogurt (I use vegan yogurt) for this recipe if baking from scratch and without a pan for the best, roundest shape, and using a bowl or proofing basket is always a handy way to help it rise in a rounder shape. How beautiful is this risen bread in a banneton?
Use a proofing basket like this one, a parchment-lined springform pan, or even a glass (oven-safe) bowl lined with oiled parchment, the dough can rest for as little as 30 minutes to overnight (covered) in the refrigerator while rising in the style of sourdough, if you like.
If using a thinner liquid in the recipe — like sparkling water or club soda — you may choose to leave it in the pan or bowl (not the basket) for half the bake time, then gently pull up on the parchment to remove it from the pan and place it (with parchment) onto a baking sheet and return to the oven.
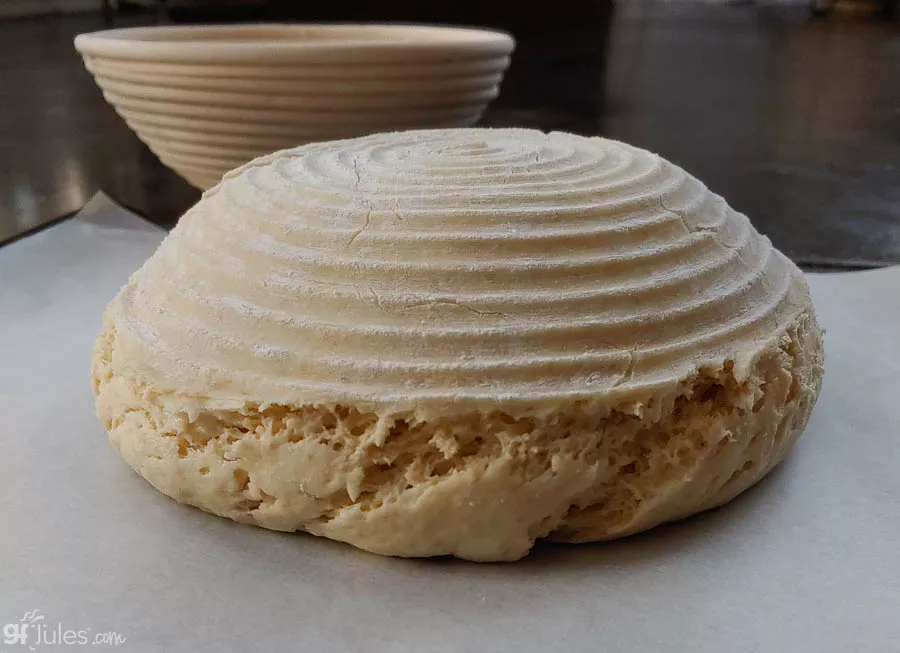
If using yogurt and a proofing basket, remove it before baking and it will keep a lovely round shape but not rise quite as high.
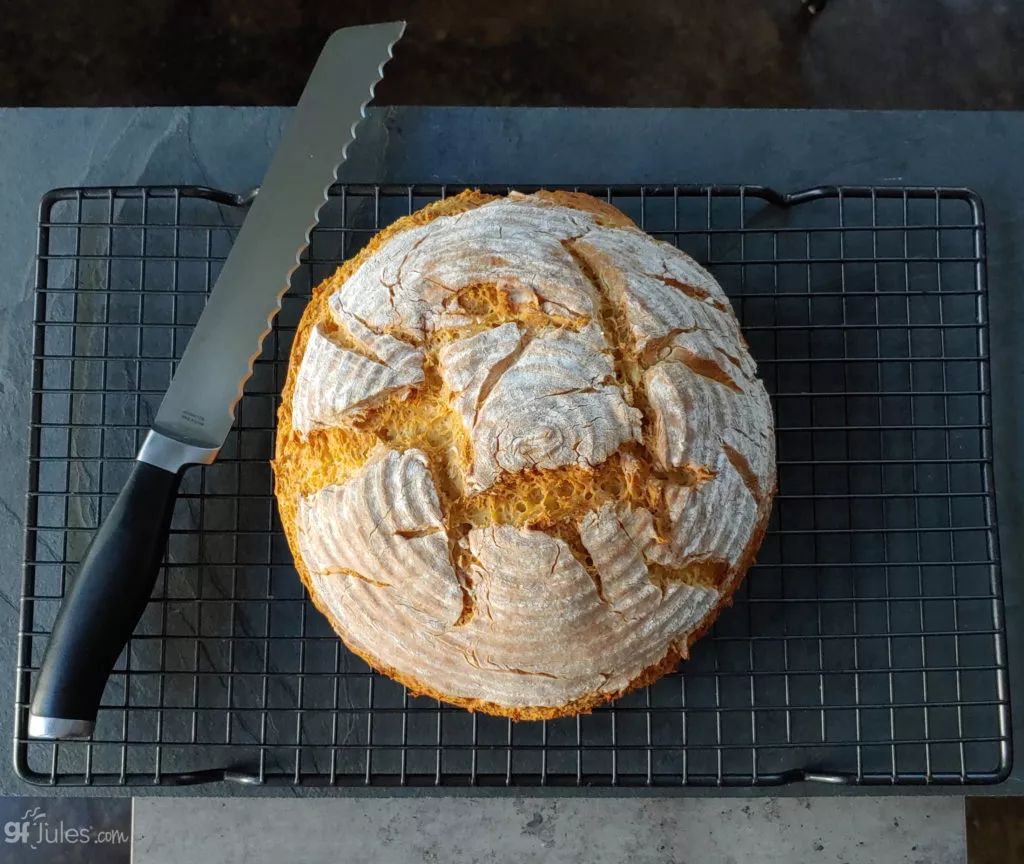
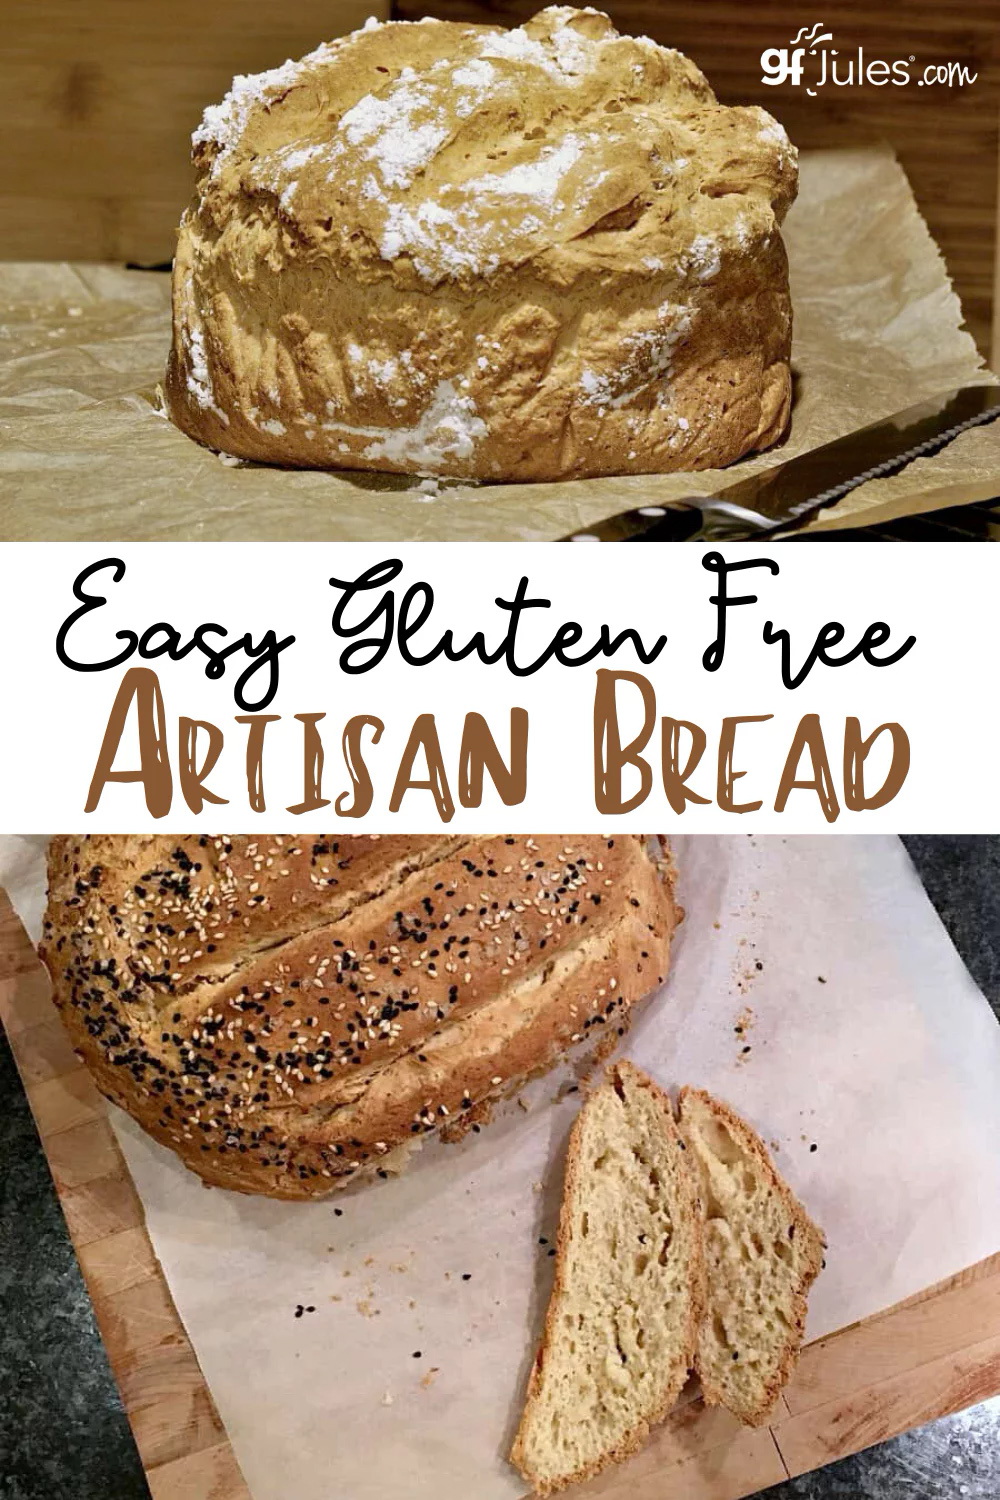
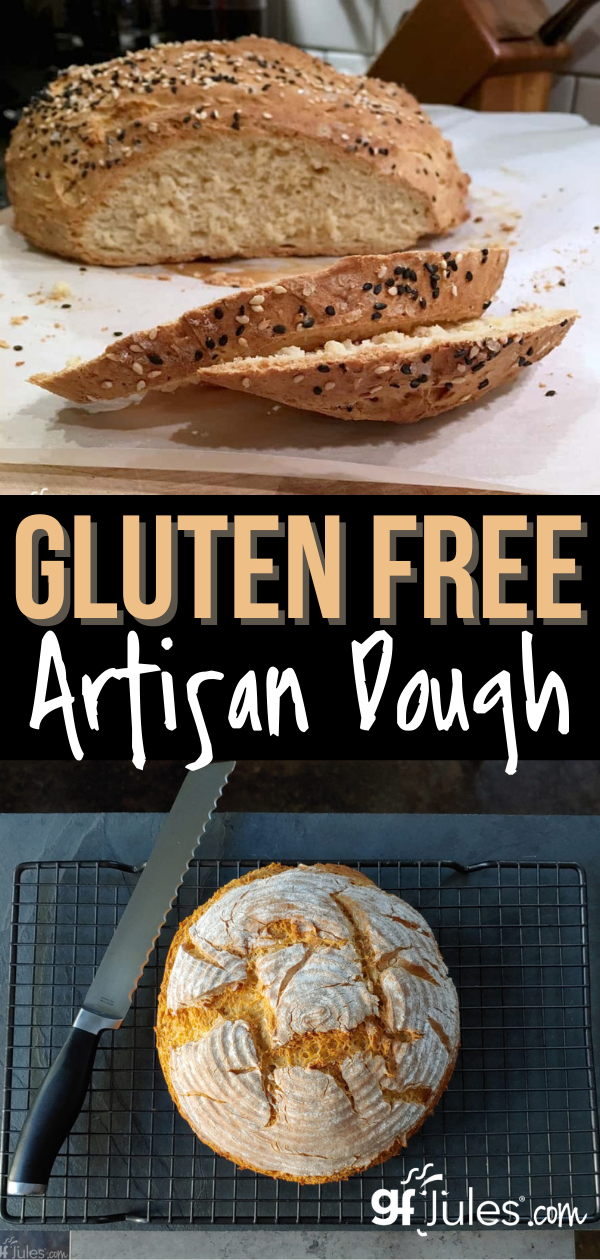
Every time you bake this gluten free artisan bread, it will take its own shape. It’s part of the beauty of this bread. No two breads will ever look alike, nor should they. Like snowflakes, they’re each unique and beautiful.
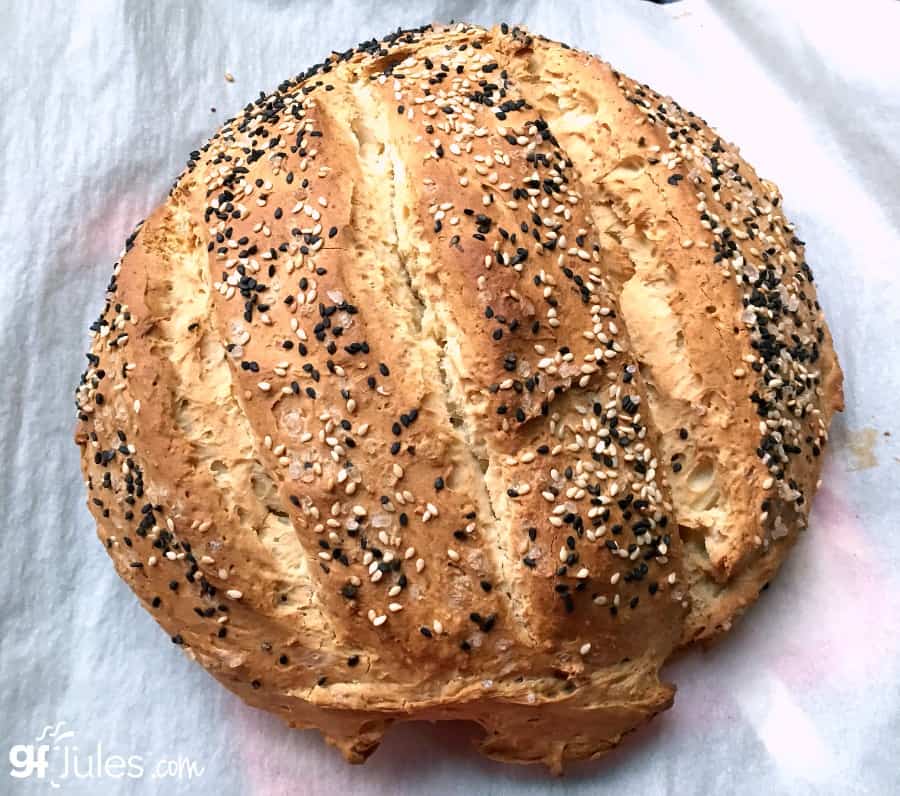
Here’s a picture of one reader’s lovely loaf. See, you can do it, too!
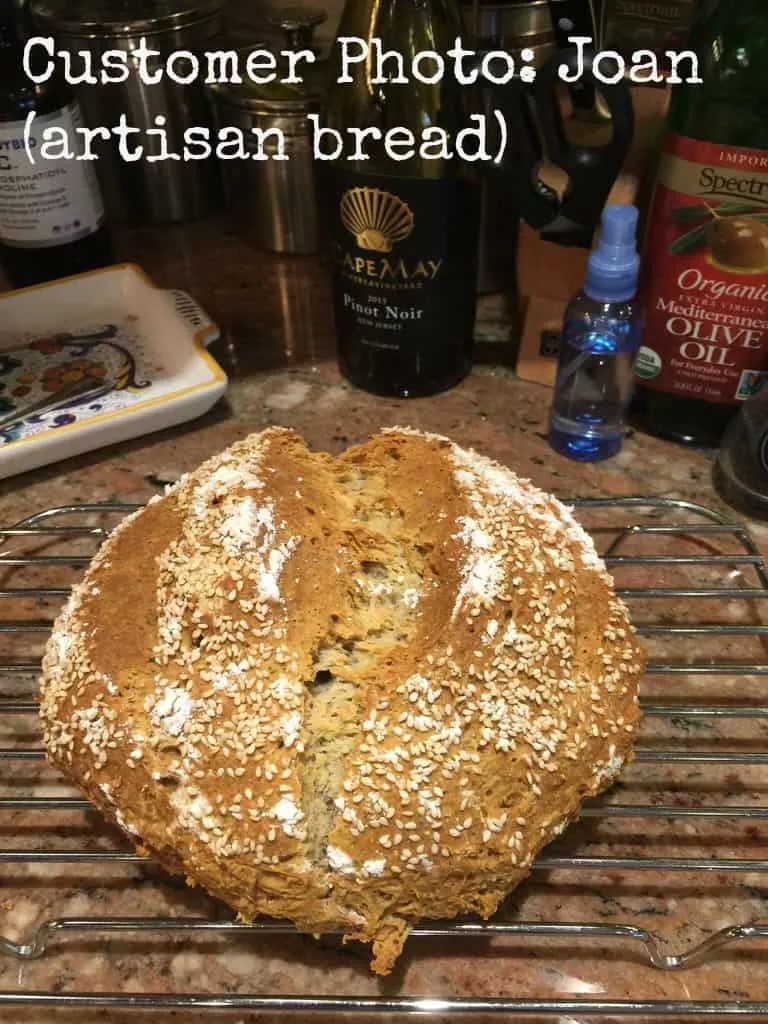
I can’t stop taking pictures of these loaves because every time they’re show-stoppers.
Check out the video below to watch me make gluten free artisan bread in a springform pan in case you don’t have any of these other options … so you know just how easy it is!
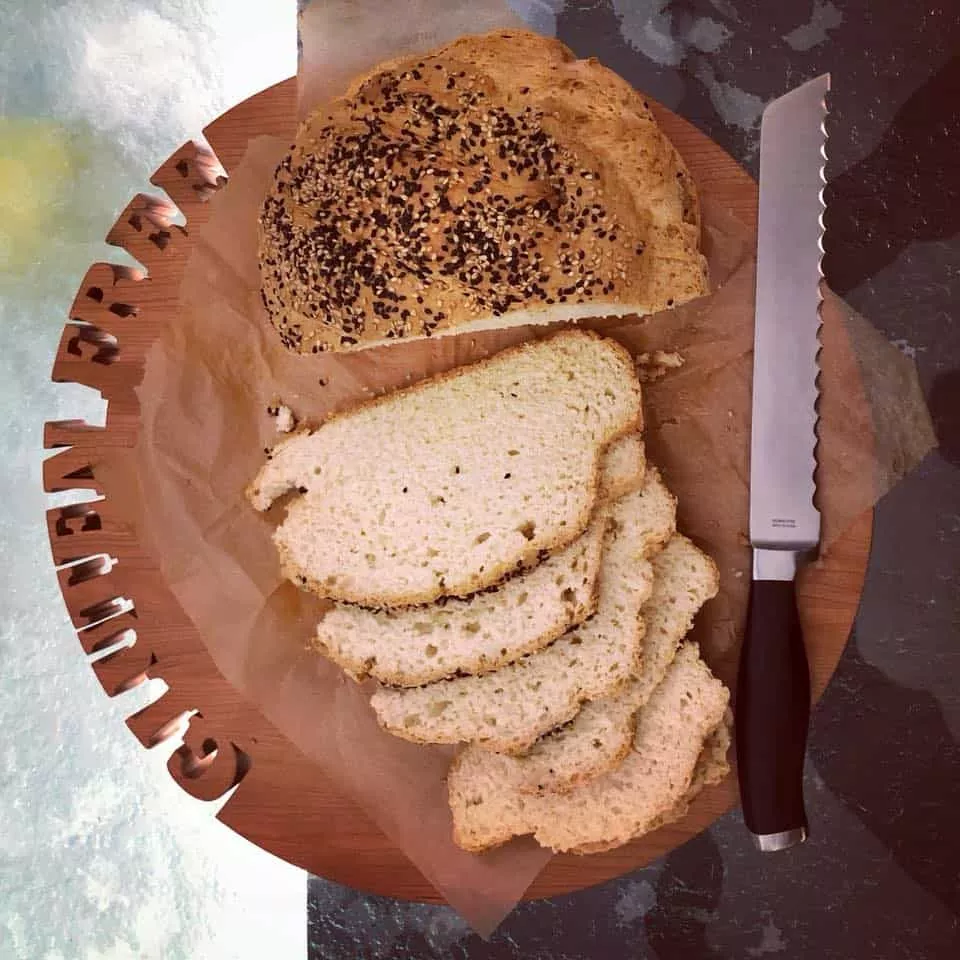
NOTE: my gfJules Gluten Free Bread Mix is now UPDATED and stays soft and fresh even longer! It also does NOT require a springform pan for rising in this recipe, although I love the look of it after rising in a banneton proofing basket!

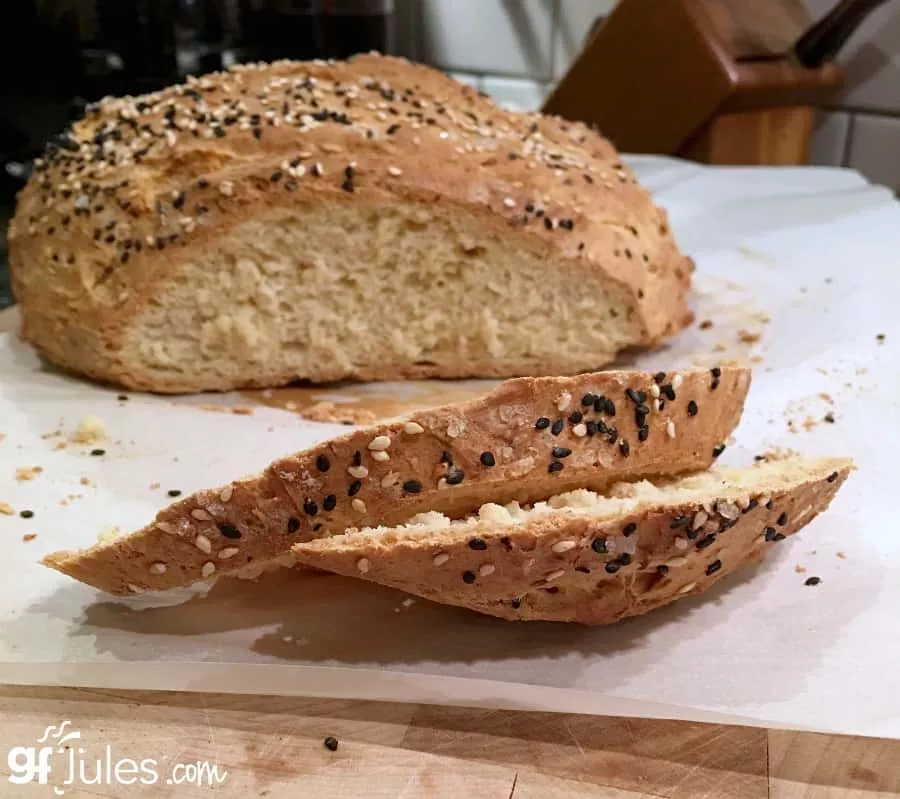
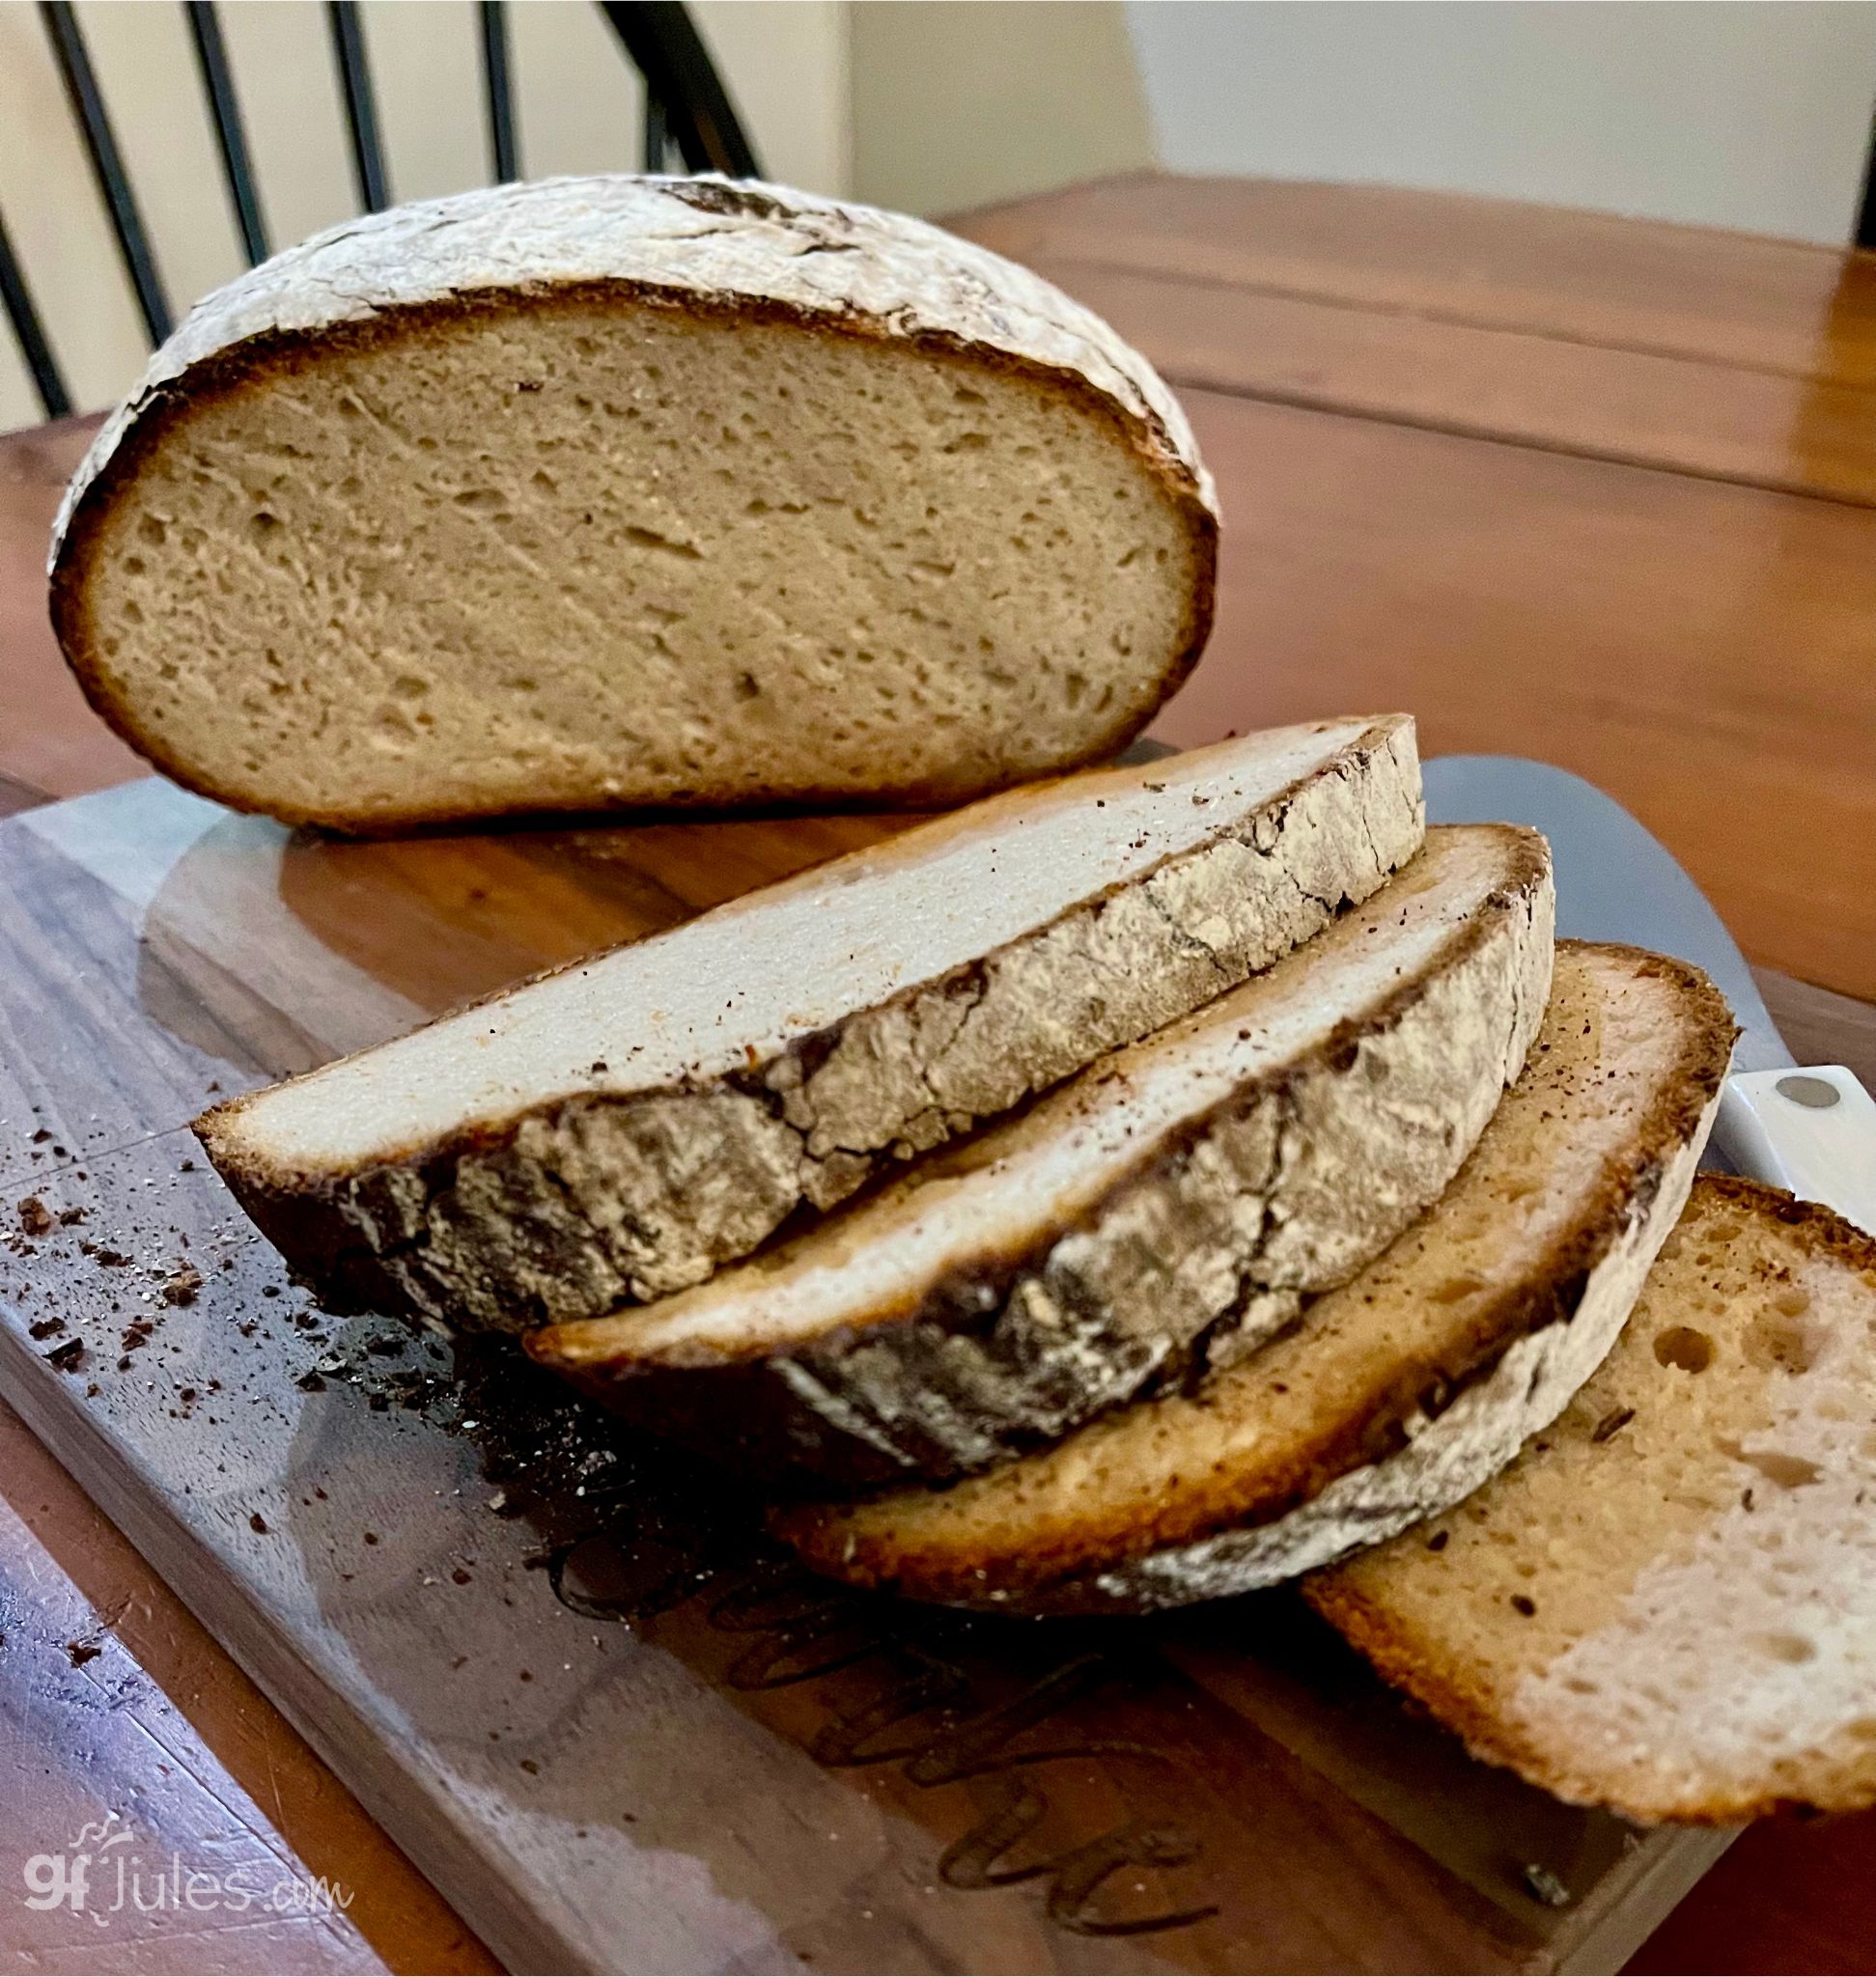
Here’s a look at it sliced. This bread, as baked is vegan (egg-free), but feel free to add an egg or two if you prefer a more open cell structure.
Gluten Free Artisan Bread Recipe made with gfJules Bread Mix
Gluten Free Artisan Bread Recipe made with gfJules Bread Mix
Equipment
Ingredients
PLUS
- 2 1/4 tsp quick rise yeast 1 packet like Red Star
- 4 1/2 Tbs. sugar 56 grams or sugar sub OR 3 Tbs. honey or agave or maple syrup
- 1 3/4 cups warm water OR bubbly liquid like GF beer or ginger ale or 1 1/2 cups water + 1 large egg
Instructions
- In the large mixing bowl of a stand mixer or just a mixing bowl, stir together the liquids with gfJules Gluten Free Bread Mix, yeast, and sugar by pouring slowly into the bowl while mixing with the paddle attachment. Beat well – 2-3 minutes.
- Dust a pastry mat or clean counter with more gfJules Flour and transfer the dough onto the surface, rolling gently in the flour to cover all sides. Knead to form a smooth ball.
- Transfer to a proofing basket (as pictured), bowl or oiled parchment-lined glass bowl.
- Cover loosely with a warm, damp tea towel or piece of oiled parchment paper and place in a warm spot to rise for 30 minutes - 1 hour.
- Preheat oven to 475º F (static) or 450º F (convection).
- Gently transfer to a parchment-lined baking sheet (flip so that the bottom of the proofing basket is the top of the bread). Remove proofing basket or bowl and dust with more gfJules Flour.
- Wet a large serrated knife or use dough lame and cut into the bread across the top or use the lame to cut into the bread in a decorative pattern. This will give the bread natural rifts to rise from, and make it even prettier once baked.
- Bake for 30-35 minutes on a lower rack, placing another baking pan on the rack below with ice cubes, testing with an instant read thermometer to ensure it's fully baked before removing from the oven. The thermometer should have reached 205º F. If the top of the bread is getting too dark, cover with foil.
- Remove to cool on a wire rack (at least 20 min) before slicing or the bread may get rubbery when pushed down upon while slicing.
** Please keep in mind that nutrition information provided is per serving, which may vary. While we have taken care to provide you with the most accurate nutritional values possible, please note that this information may differ significantly depending on the exact ingredients and brands that you choose to use to make this recipe. Additionally, where options are given for ingredients, the resulting calculation may include all ingredient options instead of only one per line, skewing the totals significantly.
Recommended Products
Any links to Amazon may earn me a small amount from qualifying affiliate purchases; this amount goes to fund this blog and does not cost you anything additional.
Gluten Free Artisan Bread Recipe from Scratch with gfJules Flour

Gluten Free Artisan Bread Recipe
Equipment


Ingredients
- 3 (405) cups (grams) gfJules® Gluten Free All Purpose Flour
- 1/4 cup flax seed meal or gfJules Gluten Free Multigrain Baking Flour
- 1/4 cup dry milk powder dairy or non-dairy (e.g. Coconut Milk Powder) - preferred - OR almond meal (in a pinch)
- 1/2 tsp. baking soda
- 2 tsp. baking powder
- 1 tsp. sea salt
- 1 tsp. apple cider vinegar
PLUS:
- 2 Tbs. honey agave nectar or coconut palm nectar
- 1 1/4 cup room temperature liquid: EITHER plain yogurt* OR milk not skim OR sparkling water OR ginger ale OR gluten free beer (bubbly liquids make the bread rise higher and lighter but will need support from a bowl to rise and partially bake - see intro before recipe card)
- 1/4 cup extra virgin olive oil
- 2 large eggs OR 2 Tbs. flax seed meal steeped for 10 minutes in 6 Tbs. hot water
- 2 1/4 tsp. one packet rapid rise or bread machine yeast, gluten-free (Red Star Quick Rise®)
toppings (optional):
- flaxseeds or sesame seeds
- coarse sea salt
- egg mixed with 1 Tbs. water to brush onto crust for darker color optional
- oil to brush on top
Instructions
- Whisk these dry ingredients together in a large bowl: flours, milk powder, baking soda, baking powder and salt. Set aside.
- In the large mixing bowl of a stand mixer or just a mixing bowl, stir together the wet ingredients (honey, yogurt, apple cider vinegar, oil, and egg or flax seed and water mixture). Gradually add the dry ingredients in with the wet by pouring slowly into the wet bowl while mixing with the paddle attachment. Once incorporated, add the yeast granules, and beat well – 2-3 more minutes.
If baking with yogurt:
- The dough will be very thick (much more like regular wheat flour bread dough than you may be used to with gluten free); however, if the dough seems too thick or dry, gradually mix in milk, one tablespoon at a time, until the dough is still thick, but able to be smoothed with a spatula.
- Liberally dust a pastry mat or clean counter with more gfJules Flour and transfer the dough onto the surface, rolling gently in the flour to cover all sides. Knead slightly, if necessary, to form a smoother ball.
- Transfer to a proofing basket, bowl or oiled parchment-lined glass bowl.
- Cover loosely with a piece of oiled parchment paper and place in a warm spot to rise for 30 minutes - 1 hour.
- Preheat oven to 350º F (static) or 325º F (convection).
- Gently transfer to a parchment-lined baking sheet.
- Brush with egg wash or oil, then lightly dust the top with more gfJules Flour.
- Wet a large serrated knife and press into the bread in 2 or 3 lines 1/2 inch deep, rocking the knife back and forth to open the cuts slightly wider or use a lame to cut into the bread in a decorative pattern. This will give the bread natural rifts to rise from, and make it even prettier once baked.
- Spritz with water once risen, if you prefer an even crunchier crust.
- Place an oven-safe bowl or pan on the bottom shelf of your oven and fill with ice cubes. The steam from melting ice cubes will help your bread get even crustier!
- Bake for 30-40 minutes, testing with an instant read thermometer to ensure it's fully baked before removing from the oven. The thermometer should have reached 200º F.
- Remove to fully cool on a wire rack.
If baking with another liquid:
- The dough will be more batter-like, so it still needs some support while rising and baking. Choose an oven-safe deep, round pan or bowl, pyrex, or even a springform pan. Line with oiled parchment and transfer the dough to the pan, smoothing the top with a wet spatula and mounding it more in the middle of the pan rather than flattening it out.
- Cover loosely with a piece of oiled parchment paper and place in a warm spot to rise for 30 minutes - 1 hour.
- Brush with egg wash or oil, then lightly dust the top with more gfJules Flour.
- Wet a large serrated knife and press into the bread in 2 or 3 lines 1/2 inch deep, rocking the knife back and forth to open the cuts slightly wider or use a lame to cut into the bread in a decorative pattern. This will give the bread natural rifts to rise from, and make it even prettier once baked.
- Spritz with water once risen, if you prefer an even crunchier crust.
- Preheat oven to 350º F (static) or 325º F (convection).
- Place an oven-safe bowl or pan on the bottom shelf of your oven and fill with ice cubes. The steam from melting ice cubes will help your bread get even crustier!
- Bake for approximately 15 minutes, then lift up on parchment and remove the bread from the pan. Lay parchment with bread on top of a flat baking sheet. Otherwise, leave dough inside the pan for support.
- Bake for 20-25 more minutes, testing with an instant read thermometer to ensure it's fully baked before removing from the oven
- Depending on the size of the pan used, and therefore the height of the loaf, it may need to cook longer to be fully done. The thermometer should have reached at least 200º F.
- Remove to full cool on a wire rack for 10 minutes.
Video
Notes
** Please keep in mind that nutrition information provided is per serving, which may vary. While we have taken care to provide you with the most accurate nutritional values possible, please note that this information may differ significantly depending on the exact ingredients and brands that you choose to use to make this recipe. Additionally, where options are given for ingredients, the resulting calculation may include all ingredient options instead of only one per line, skewing the totals significantly.
Recommended Products
Any links to Amazon may earn me a small amount from qualifying affiliate purchases; this amount goes to fund this blog and does not cost you anything additional.
No matter which liquid you choose, no matter which rising method, be sure to use my award-winning gfJules Flour or Bread Mix for the absolute best results.
Pin for later!


Hi!
Sounds like we don’t need to use a heavy lidded DUTCH OVEN, to bake GF sourdough/fermented bread?!?!
Correct????
I’m new to this.
Hi Marsha, it’s not necessary to use a Dutch Oven, but you certainly CAN! I have lots of readers who do — it’s a preference thing. If you have a Dutch Oven method you like, try this recipe both ways and see which you prefer!
~jules
I’m new to this GF FERMENTED BREAD BAKING. I’m Gluten and Dairy FREE.
So a DUTCH OVEN is NOT needed?
I fight muscular dystrophy, and have strength, lift and ergonomic limits.
Dutch Ovens are HEAVY!!!
My daughter makes beautiful gluten FULL bread, but says fermented:sourdough breads should be baked in a lidded Dutch Oven.
SOS!!!
Hi Marsha, it’s absolutely not necessary and you’re right, Dutch Ovens can be very heavy! Check out my gluten free sourdough bread recipe for tips on making gluten free sourdough –without the Dutch oven– and you can see how lovely they turn out!
~julees
Hi Jules –
I just made this recipe for the first time using a can of your bread mix and seltzer water. It was very simple, turned out great and has an amazing flavor and texture. Do you think I could mix raisins or olives directly into the mixture to make a sweet loaf or a savory loaf?
Also – this bread has a very light texture, which I love. But do you have a recipe for a bread that would have a denser texture, or one that has seeds in it?
Thank you for all you do!
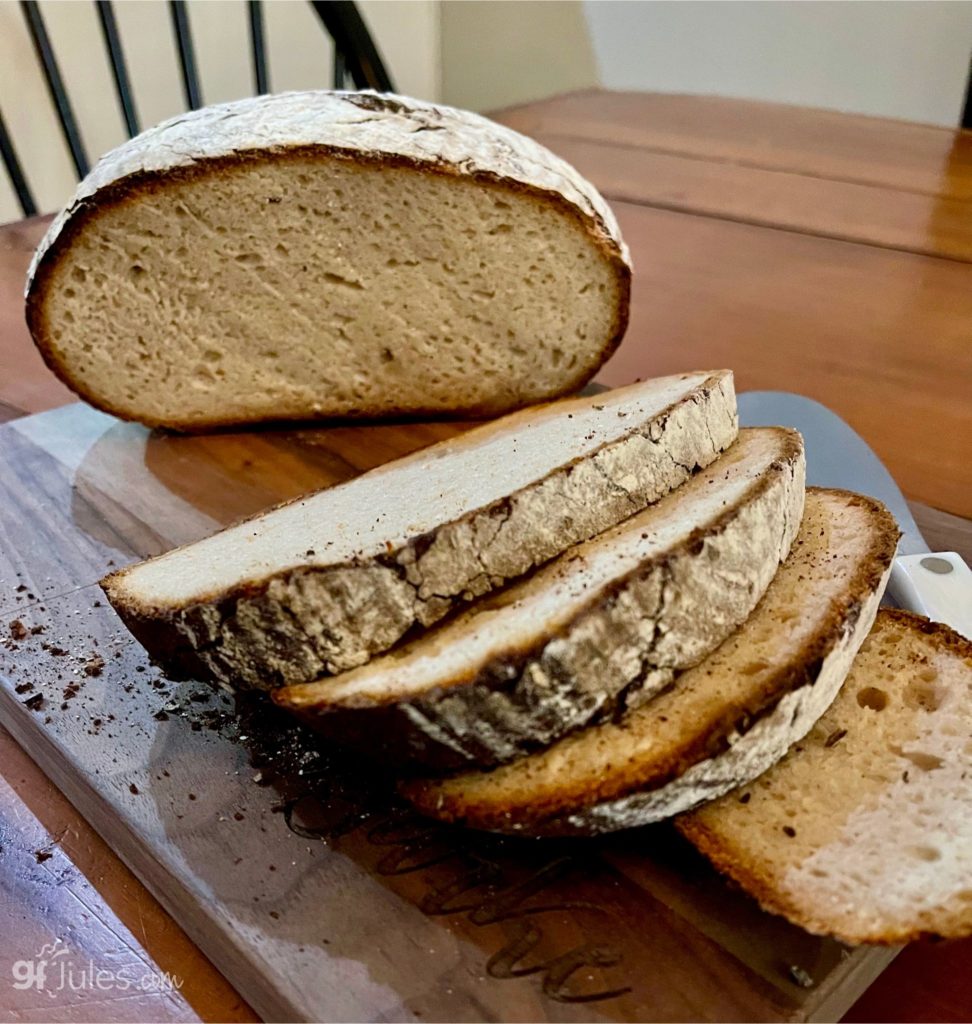
This is my 14th bread made with your flour— always delicious. Usually I use ginger ale but this time I used yogurt: I find it’s way easier to shape into a boule and roll into the flour dusted surface as it’s a bit drier with this specific yogurt. Recently I’ve been doing the baking in a cast iron Dutch oven for more even heat distribution. Also à first this time, once the internal temperature reached 180, I took the cover off the Dutch oven, fired up the broiler on high and added a bowl of ice onto the bottom shelf until internal temp hit 200. This was to stimulate a crispier crust.
Here’s a photo of a tartine and the bread sliced in half so you can see the crumb.
HI Marc, thanks so much for sharing your Dutch Oven method — I bet that crust is absolutely divine with the ice cubes added to the oven at the end! And your bread is GORGEOUS!! Thanks so much for taking the time to share and also for posting your beautiful pics!!!! Seriously beautiful bread. I’m thrilled that you’re loving this gluten free artisan bread recipe so much and putting it to good use! You are quite an accomplished bread baker (obviously) after 14 loaves!!!
~jules
Hi! I was wondering if I could use Kefir instead of yogurt or milk in this recipe. Seems like it would be a good inbetween of milk and yogurt
Hi Frankie – that would be a worthy ingredient here, yes!!!
~jules
I made this ‘artisan’ loaf yesterday. It has yeast in it but there its similarity to bread ends. It is actually another recipe for vaguely savoury madiera cake and to say i wasted a bunch of ingredients and time cleaning up my kitchen would be charitable. I am a qualified chef of no little experience and should have picked up on the lack of dutch oven, psyllium/zanthum or double prove. However. I was looking for an artisan loaf recipe with yoghurt and this seemed to fit the bill.
Disappointing. If you want crumbly cakey textured cardboard then this is your recipe. For me- I’m going back to the drawing board im afraid. Not your best work girl.
great recipe! just had fun making the loaf and it turned out just as wonderful as you implied. i am in Canada, so i used Angélique flour, buckwheat and some vanilla protein powder, ’cause i ‘m out of almond meal… can we get your flour in Canada, eh? thank you fro this well done recipe, either way.
Hi Brigitte, so happy to hear you loved this gluten free artisan bread recipe! And yes! You can get my gfJules Flour in Canada! Here’s the link to buy my flour on Amazon.ca, which is the cheapest way, but you can always buy from my shop and have any of my products shipped internationally.
Happy baking!
~jules
Hi Jules,
I made this loaf last night for my family and they set onto it like wolves. By far the best gf loaf I have ever made, with none of the gumminess of some of the other recipes I’ve tried – I appreciate the temperature taking tip! I realized after I’d placed it in the oven that I left out the flaxseed, but it was still a great loaf, just a little on the flat side. It had a soft, light crumb and a crisp, but not hard, crust. Absolutely delicious.
I’m thrilled to hear that, Rebecca, and thrilled that your family has great gluten free bread in their lives any time they want! Congrats on your successful bread baking endeavor, and thanks for taking the time to let me know how much you all enjoyed the recipe!!!
~jules
Can you use buttermilk powder for the dry milk powder? I’ve never baked a bread, let along a gluten free bread. Would the measurement be the same as the dry milk powder?
Hi Simone, yes, buttermilk powder would work well here. Great question! Good luck!!
~jules
This bread is delicious. I make it often.
Wonderful to hear, Fran! Thanks so much for letting me know how much you enjoy this recipe!!
~jules
Can this bread be made with sour dough starter as well as yeast?
Hi Eileen, absolutely! Just take a portion of the liquids called for in this recipe out, and replace with an equal amount of your gluten free starter. Enjoy!
~jules
I’m excited to give this a try! What sized springform pan did you use for the dough? Thanks for the video. It was very helpful.
I recently purchased your flour and made my first batch of chocolate chip cookies which are delicious!
I am now going to make the artisan bread and hope you can clarify something. During my research, I read that psyllium powder is best to use in yeast breads. I know that your flour contains xanthan gum. Should I add the psyllium and if so, what are the portions per cup of your flour?
Hi Laura, I’m so happy you loved the gluten free chocolate chip cookies made with my gfJules Flour! That’s a great intro — everybody deserves a great cookie!
As for psyllium husk, it does work well with some gluten free bread doughs, but it’s not necessary to add with my gfJules Flour unless noted in my recipes. You can read more about it in my article on baking with gums. I have started adding a tiny bit of it in some braided breads here and there for smoothness, but I don’t think you’ll find you need it in this gluten free artisan bread recipe.
Can I make this bread in my new Dutch oven?
Hi Julie – yes! That would be a wonderful use for your new Dutch oven! Let me know how it turns out!
~jules
Hi Jules- I’ve made this bread and your sandwich bread several times and it always seems to come out really dense. I’m using your flour, following the recipe, and let the dough rise anywhere from 45 min to 2 hours but it never gets anywhere close to double the size. I’ve used both tonic water and a sparking water but it doesn’t seem to make much difference. Should I be using Gf beer or ginger ale instead? Thanks!
Hi Allie, thanks for the details with your question — it really helps! A couple more questions: what flours are your adding to the recipe in addition to my gfJules Flour? What yeast are you using and have you ever tried proofing it to be sure it’s really still quite active? Is your baking soda and baking powder fresh? Those should be replaced every couple or three months, but more often if you’re having any troubles with recipes and if you live in a moist climate. Also, is your oven baking to temperature? You can test this with an oven thermometer you can usually purchase at the grocery store. You can also double check that the bread is totally cooked by using an internal thermometer on the bread itself. One thing you could try to remove some of the variables is to use my Bread Mix instead and see the difference. It comes with all the additional gluten free flours already, as well as the yeast packet, so you could just see whether that makes a difference and you would know for sure that those were the variables, not the oven, for example.
One other thing to review just to see if any of these other tips help: my article on gluten free bread baking in general. I hope one of these helps!
~jules
Did I miss something? When did you put the yeast in
Hi Theresa, it’s the last ingredient added: “Once incorporated, add the yeast granules, and beat well – 2-3 more minutes.” With the rapid rise yeast, it can be added in last without proofing. ENJOY!
~jules