Making delicious gluten free bread isn’t difficult, it just seems like it ought to be. In fact, in many ways it is easier and quicker to bake a gluten free bread loaf than it is to bake a traditional gluten bread.
With the right recipe, you don’t even need a loaf pan! Follow my gluten free bread help check list, and it will bring you delicious gluten free bread baking success!
-
For tips on baking gluten-free bread with a bread machine, hop to my article on Baking Gluten Free Bread in a Bread Maker
-
For these easiest, no-fail gluten free bread, use my gfJules Gluten Free Bread Mix (voted #1 Gluten Free Bread Mix 6 times in the Gluten Free Awards!)
-
Check out my Reviews of 5 Top Gluten Free Bread Machines before you buy yours!
-
Need Yeast-Free Gluten Free Bread? Grab my Gluten Free Yeastless Bread Recipe! (I have loads more gluten-free and yeast-free bread recipes here)
18 Top Gluten Free Bread Baking Tips
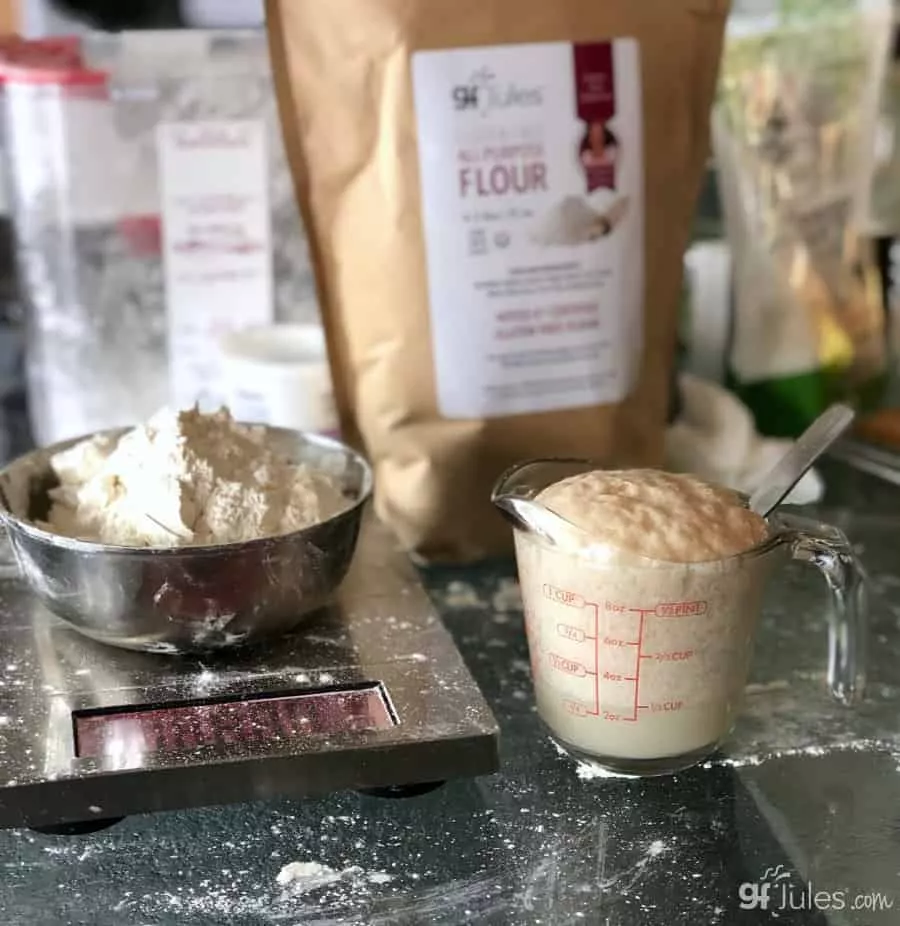
1. Don’t scoop flour! When measuring flour, don’t scoop from the bag with your measuring cup. This can compress the flour — up to 25%! Use a spoon to scoop flour into the measuring cup and level off with a knife instead. Even 1/2 cup of flour can make a huge difference in the results you get with any recipe.
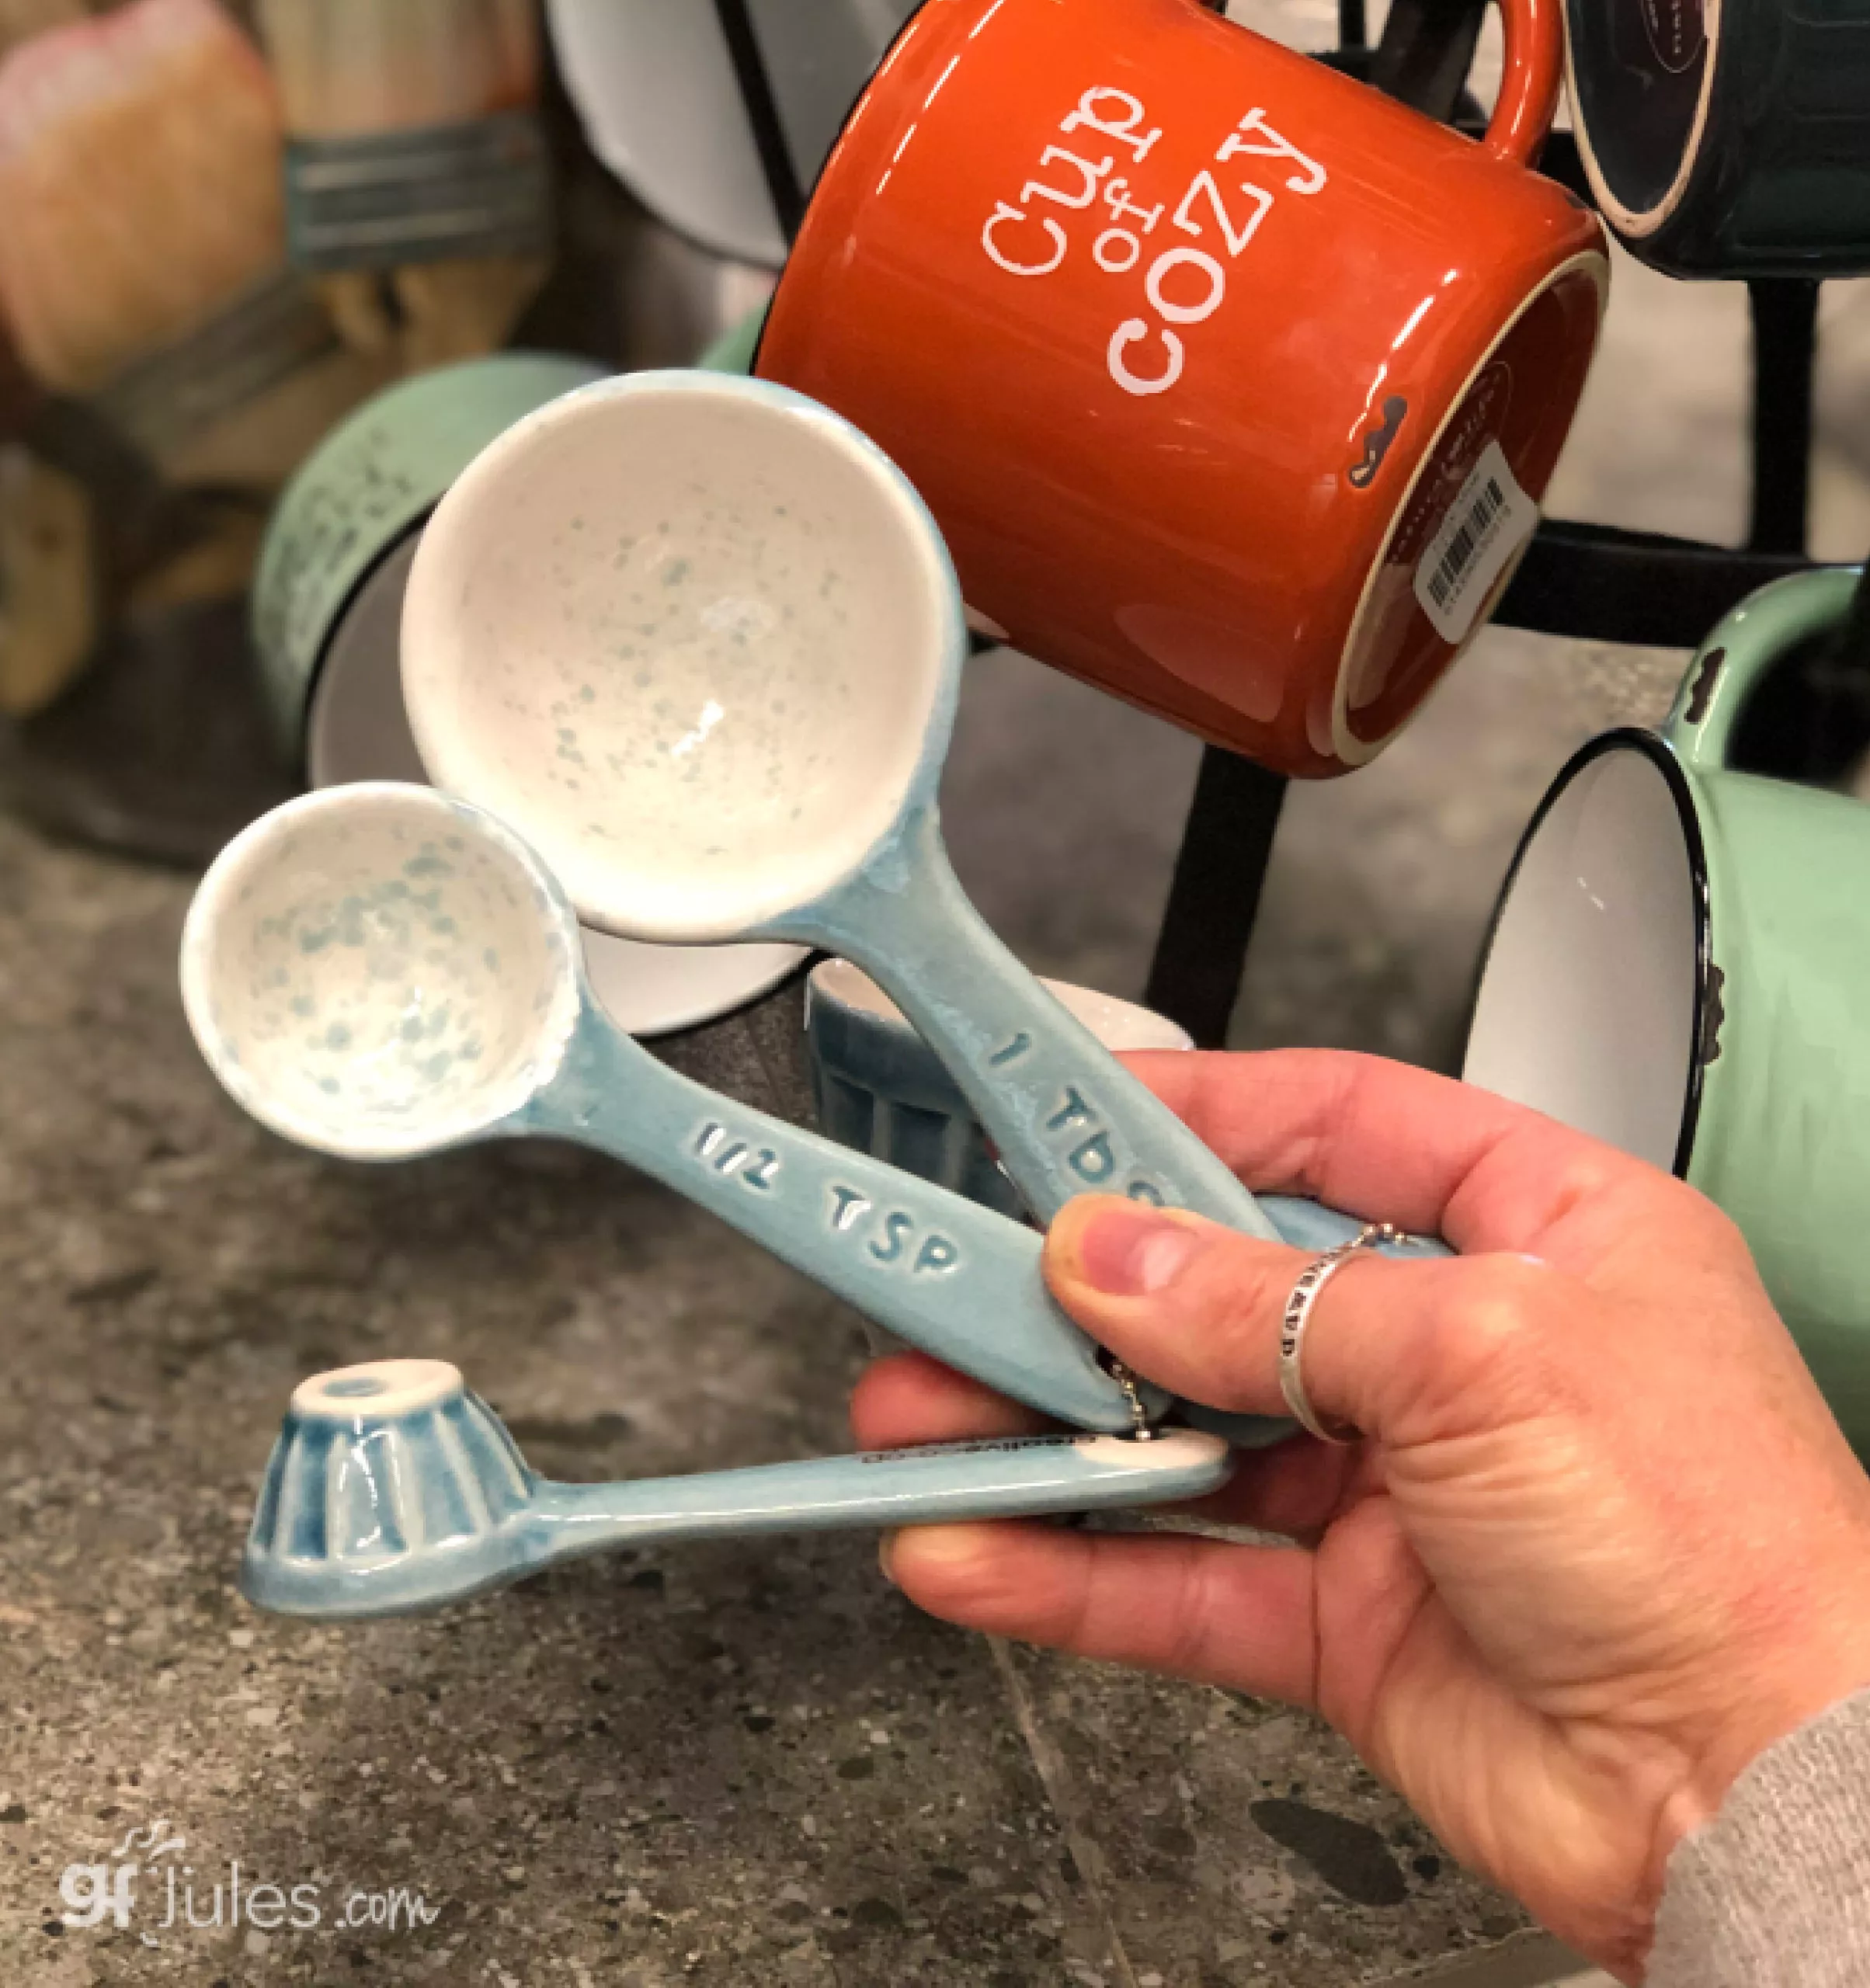
2. Weigh your ingredients. One step better is to weigh your flour. My gfJules™ All Purpose Gluten Free Flour weighs 135 grams per cup. Measuring by weight will ensure that you have the correct amount of flour in any recipe.
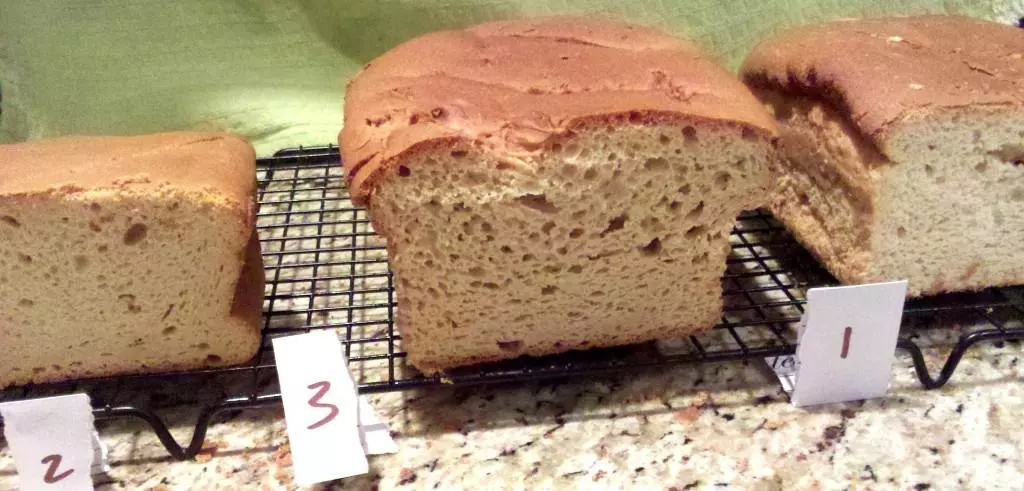
Same gluten free bread recipe using different gluten free flours.
It’s not enough to just use any gluten free flour you choose; gluten free flours aren’t necessarily interchangeable and they all have different cup weights. Follow the flours recommended for each given recipe to get the results promised or use a tried and trusted gluten-free bread mix like my award-winning gfJules Gluten Free Bread Mix.
3. Room temperature. Room temperature. Room temperature! It is particularly important for yeast recipes that you bring all of your ingredients, such as eggs, to room temperature before adding them together to make bread. Yeast needs warmth to grow and if your ingredients are too cold, it may prevent full yeast growth. Don’t make your wet ingredients too hot though, just nice and warm, the way yeast likes it!
A good rule of thumb for yeast is to stick your finger in the water — if it feels pleasant to your finger, yeast will love it too!
4. Don’t follow directions (for wheat bread). It is essential when converting wheat-based bread recipes to gluten-free, that you not follow the directions. That’s right! Break all the wheat/gluten dough rules when baking gluten-free bread!
Any kneading beyond simply mixing the dough well, and any punching down of the gluten-free dough will punch the risen life right out of it. Those steps are designed to “exercise the gluten” and make it more elastic.
We have no gluten in our recipes, so nothing to exercise, and more than that, these steps will actually cause your gluten-free recipe to fail! It is for this reason that I counsel people when first attempting to make gluten-free breads, to follow a highly rated gluten-free bread recipe or two or use a trusted gluten-free bread mix, just to get the hang of it. If you are an accomplished bread baker, it may feel weird for you to abandon these techniques, but trust me, you must!
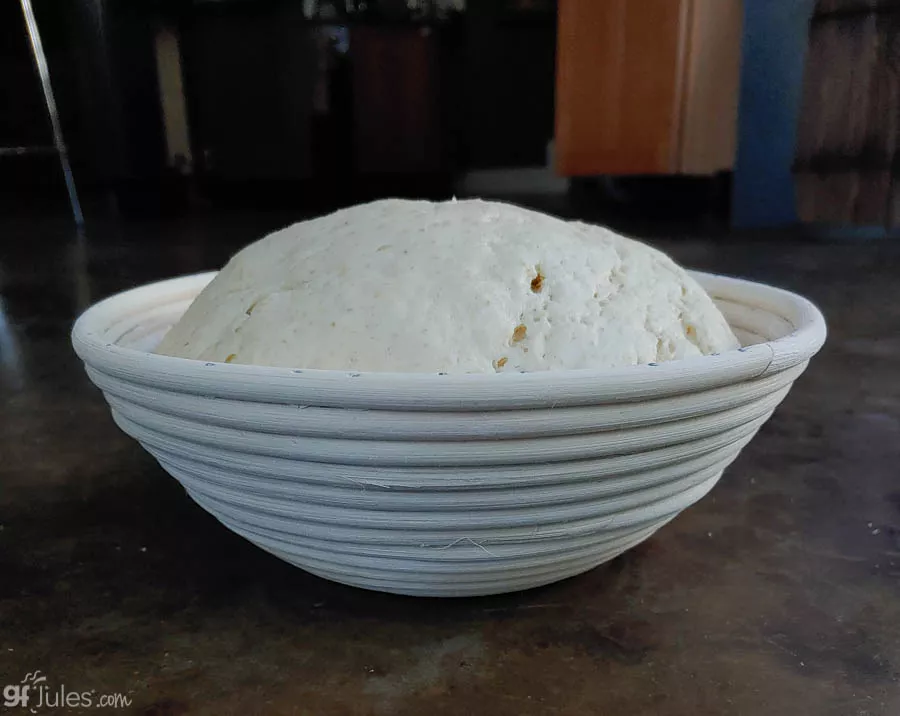
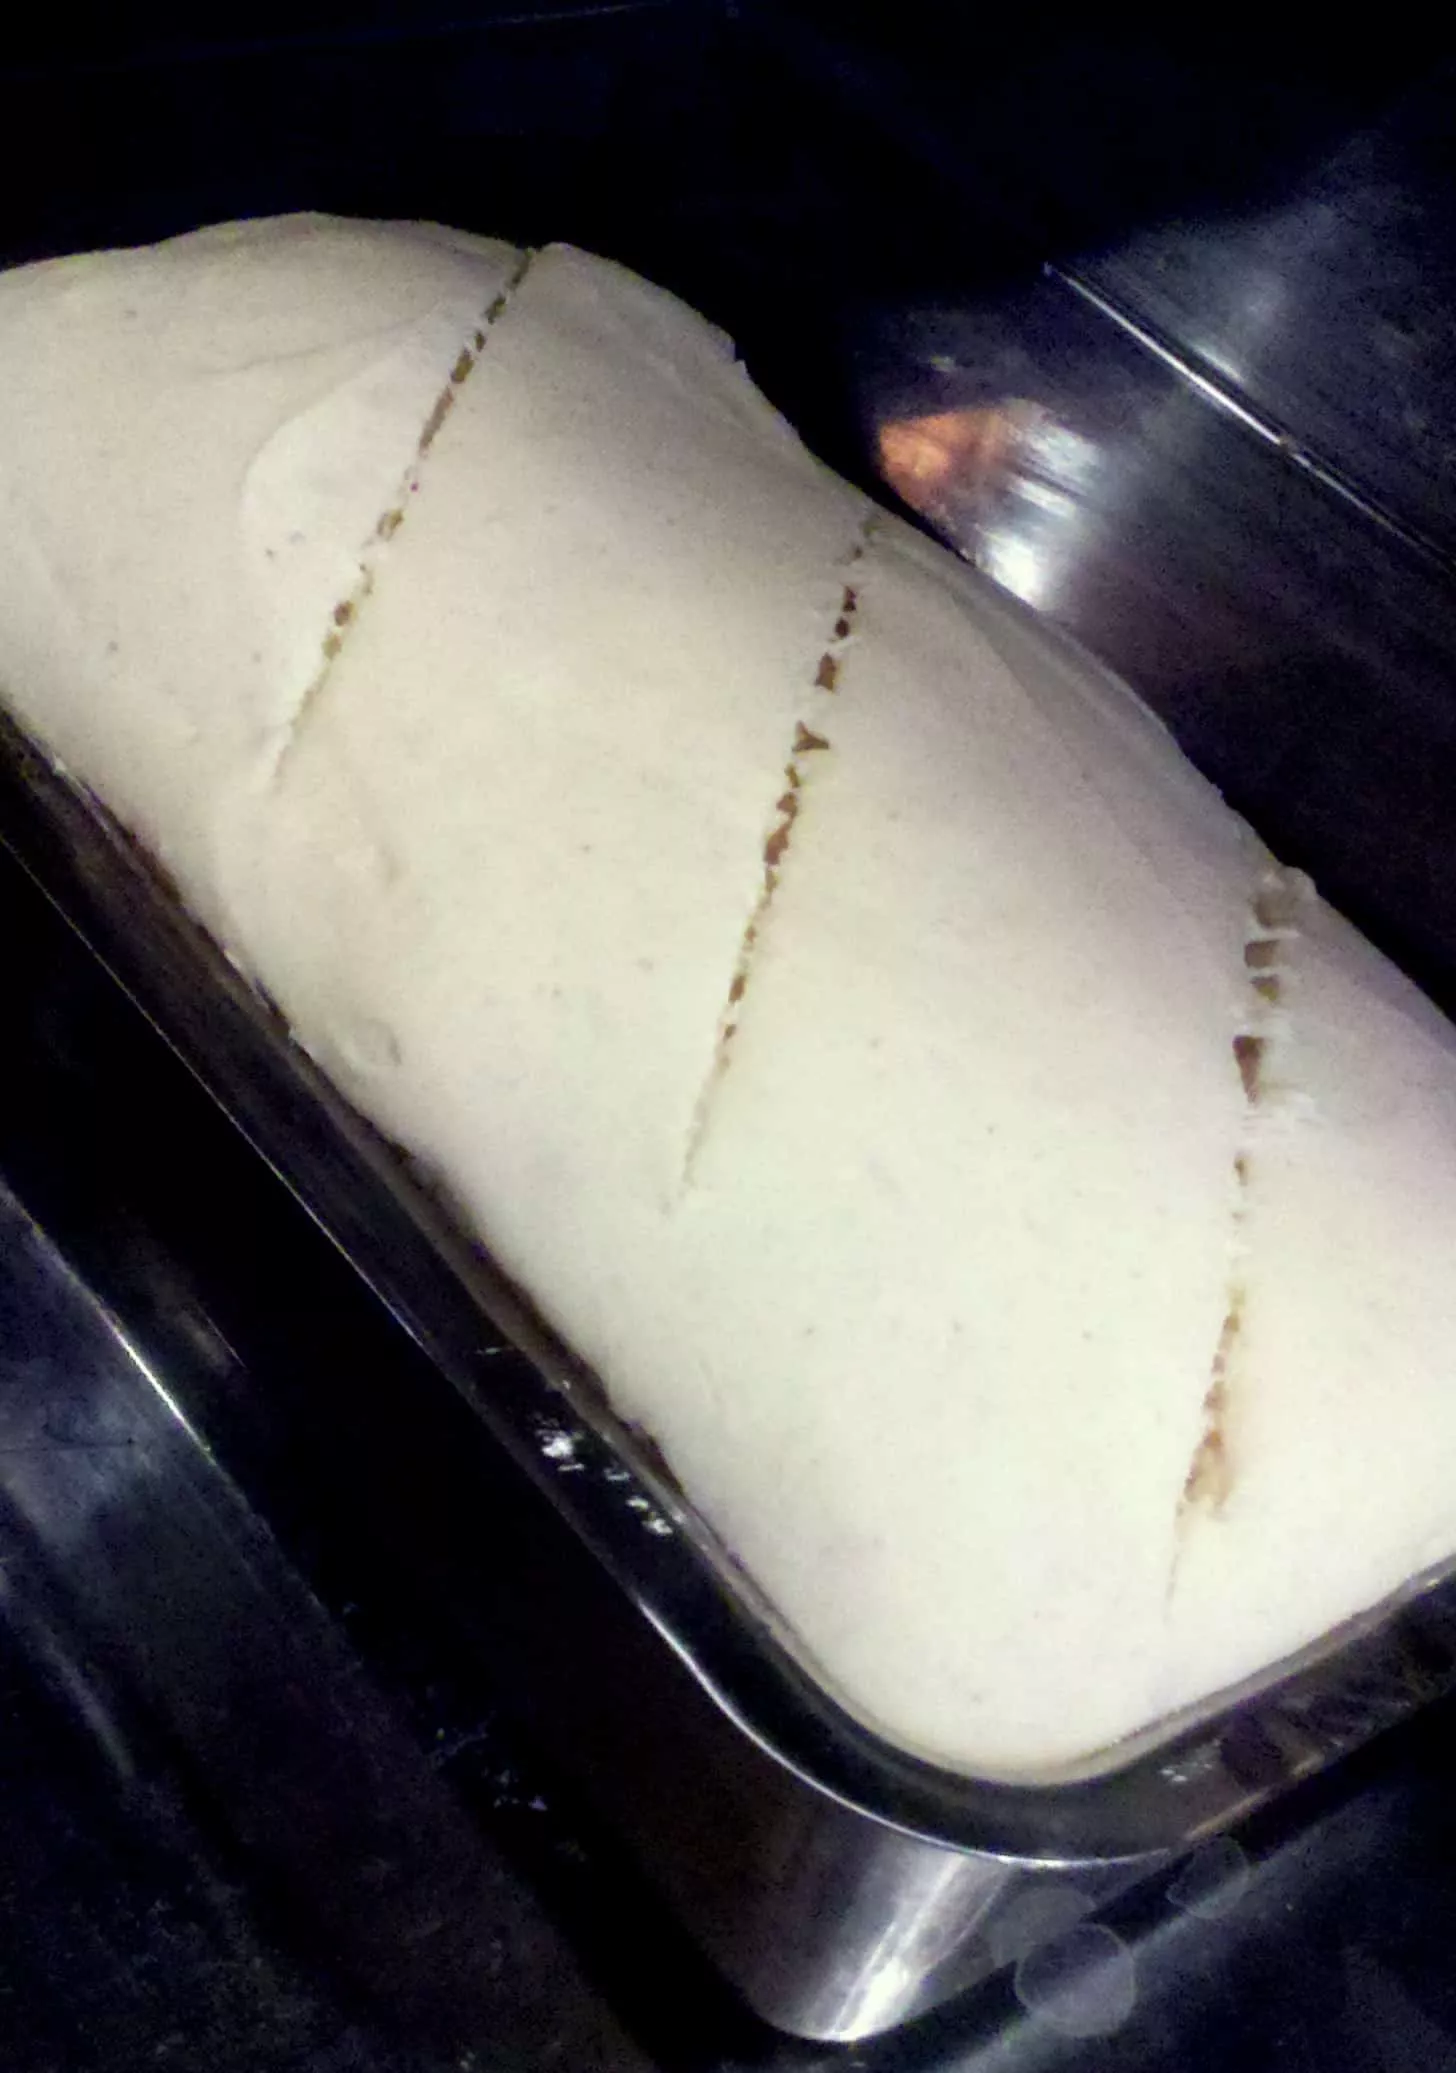
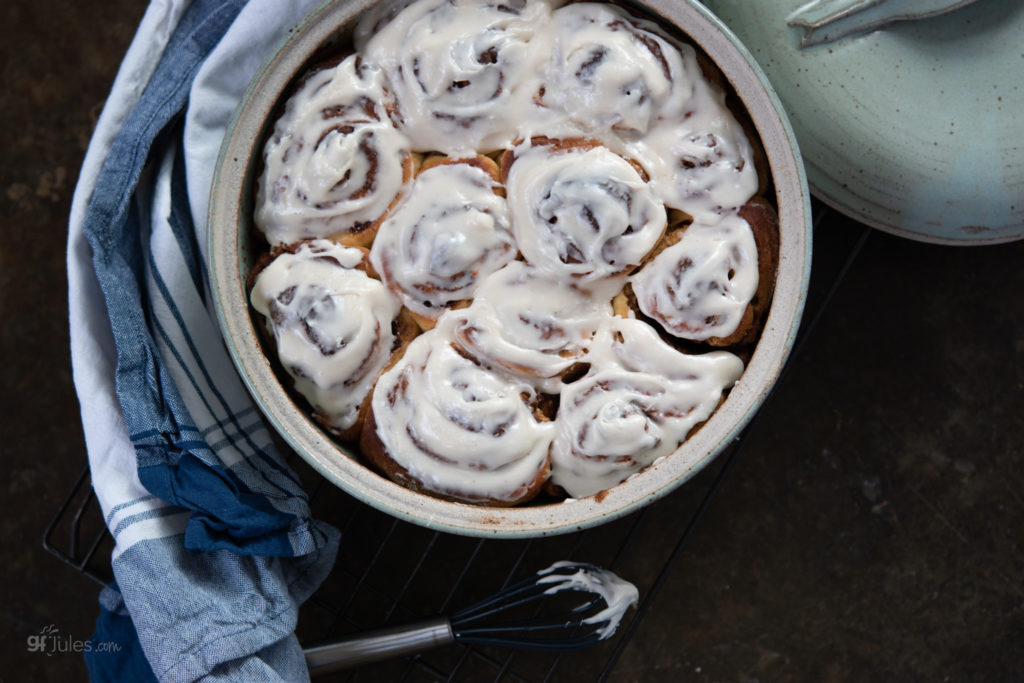
5. Shape before rising. Because our gluten free breads have no rise and punch down and second rise and punch down … you’ll want to shape any breads before the rise (they’ll only rise once!).
Dinner rolls should rise in the shape or tin you would like them to bake in; bread sticks should be formed before rising; cinnamon rolls should rise in their pans; challah must be braided and then allowed to rise.
Don’t mess with gluten-free dough once it has risen, just bake it!
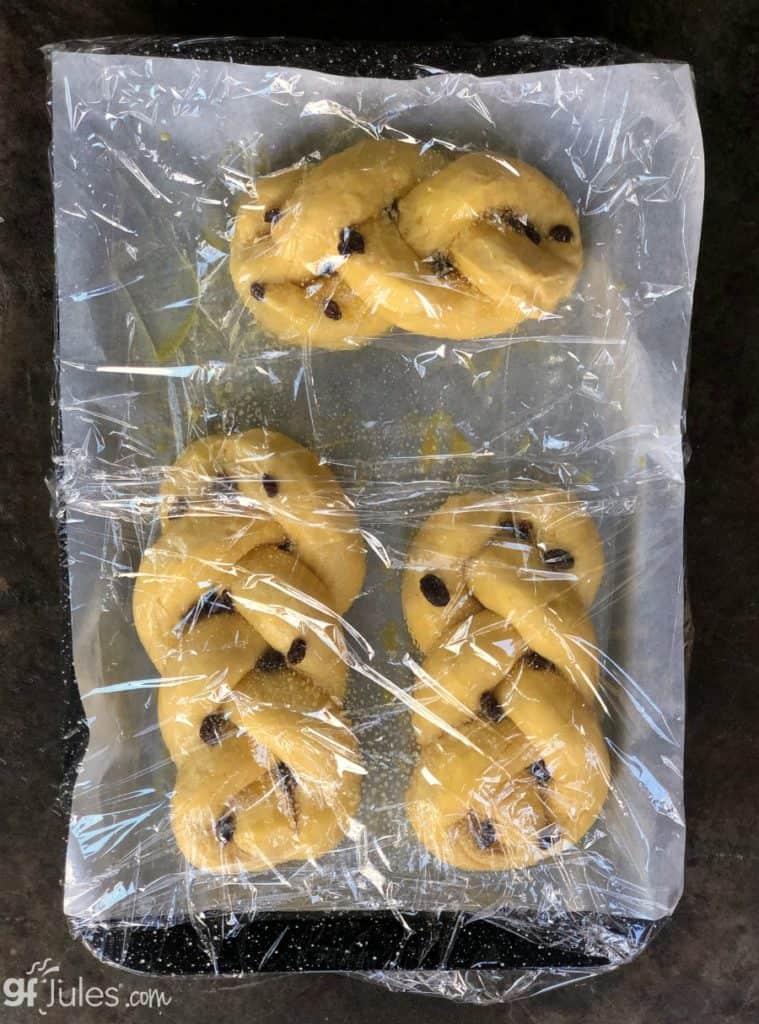
Gluten free braided Challah Bread covered for before rising.
6. High altitude can change the way yeast doughs behave. Have a look at my High Altitude Gluten Free Cooking Tips.
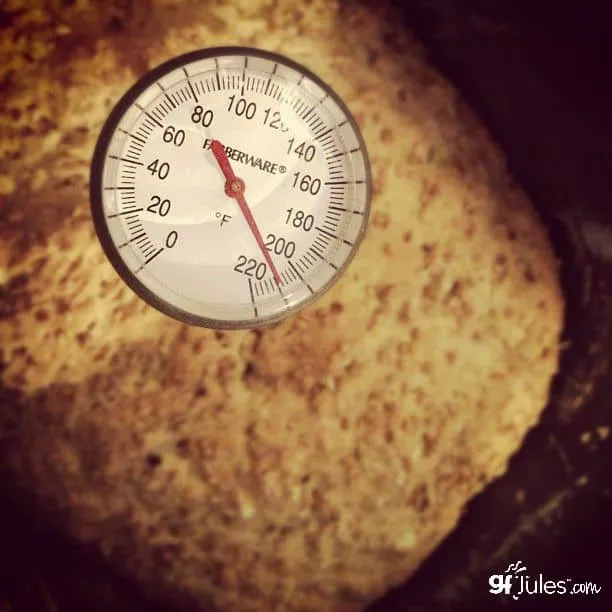
Use an internal thermometer to test your gluten free bread before removing
from the oven or bread maker.
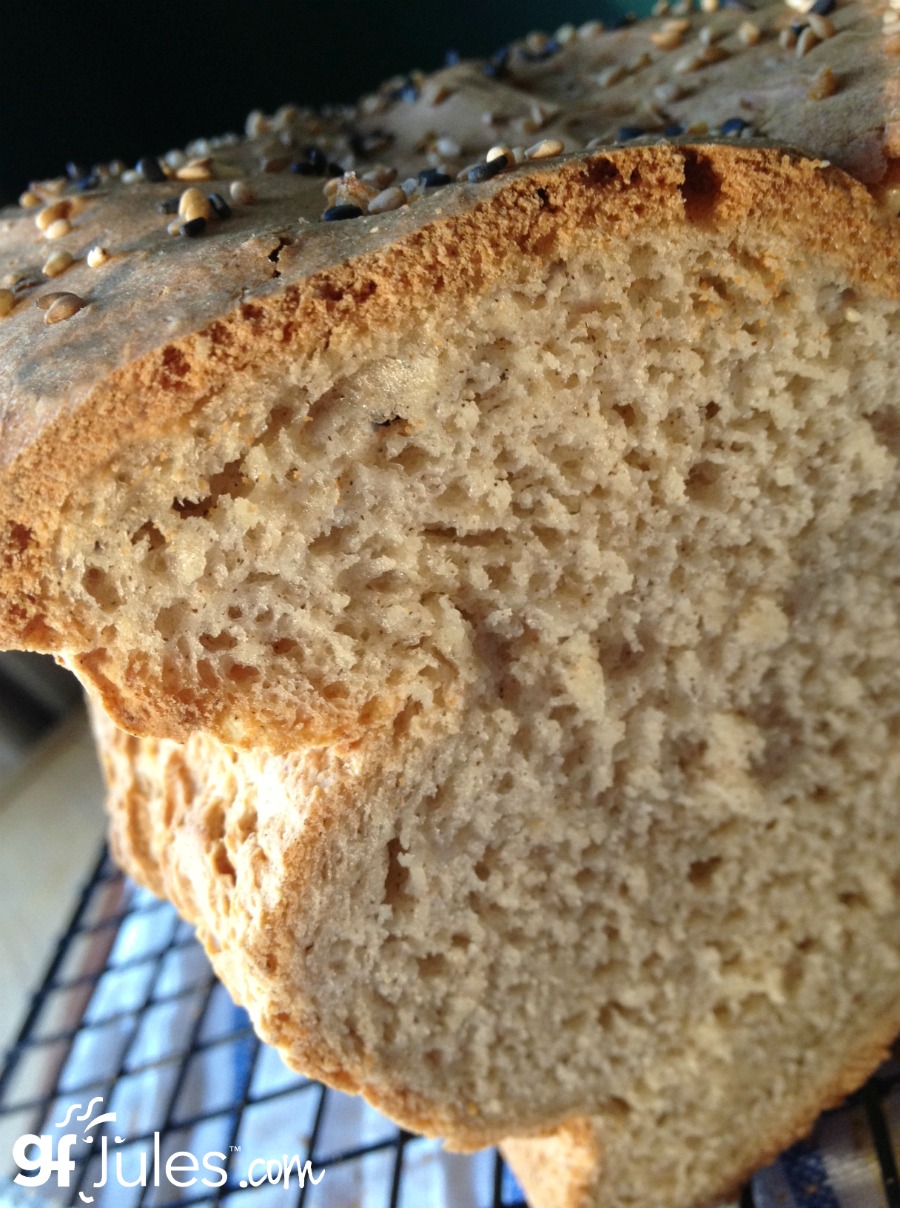
7. Take your bread’s temperature. It is very important not to take your bread out of the oven before it is fully cooked. If the bread has a rubbery layer at the bottom, this usually means it was not fully cooked. The best way to tell if the bread is done is to insert an instant read thermometer all the way to the bottom of the loaf (but not touching the pan). The temperature should be approximately 205-210º F when it is done. Your bread should keep its shape when it is completely baked. Internal thermometers for bread baking are available in my shop.
8. Change your bread pan. Metal pans generally work better than glass for fully cooking a loaf of bread. Metal pans do not have to be fancy or expensive, and you can often even find them in your local grocery store. I also like cast iron for baking gluten free bread.
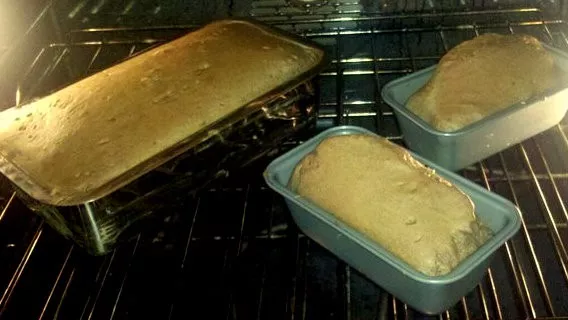
Different bread pan sizes, shapes and materials can affect how long and evenly
the gluten free bread bakes.
9. Make sure your rising spot is nice and warm. A great method for letting your yeast breads rise before baking is to turn on your oven to 200º F, then turn it off when it has reached temperature. Put your un-raised bread into the warmed oven with an oiled piece of parchment on top and a bowl of water in the oven with it, then let it rise according to directions. Once raised, remove the parchment and bake according to directions.
10. Find the perfect rise time and place. If you can let your bread rise a bit longer, it will taste better and be less likely to collapse. A good rule of thumb is to let the bread rise to the top of your pan before baking; a slower, cooler rise to that level will produce a better loaf, so make sure it isn’t rising in too warm of a spot.
If you can let the gluten free bread dough rise overnight, covered, in a cool place, the slower rise will provide a stronger cell structure and more of a sourdough flavor when baked the next day. Speaking of gluten free sourdough … I have a recipe for that! Check out my gluten free sourdough recipe!
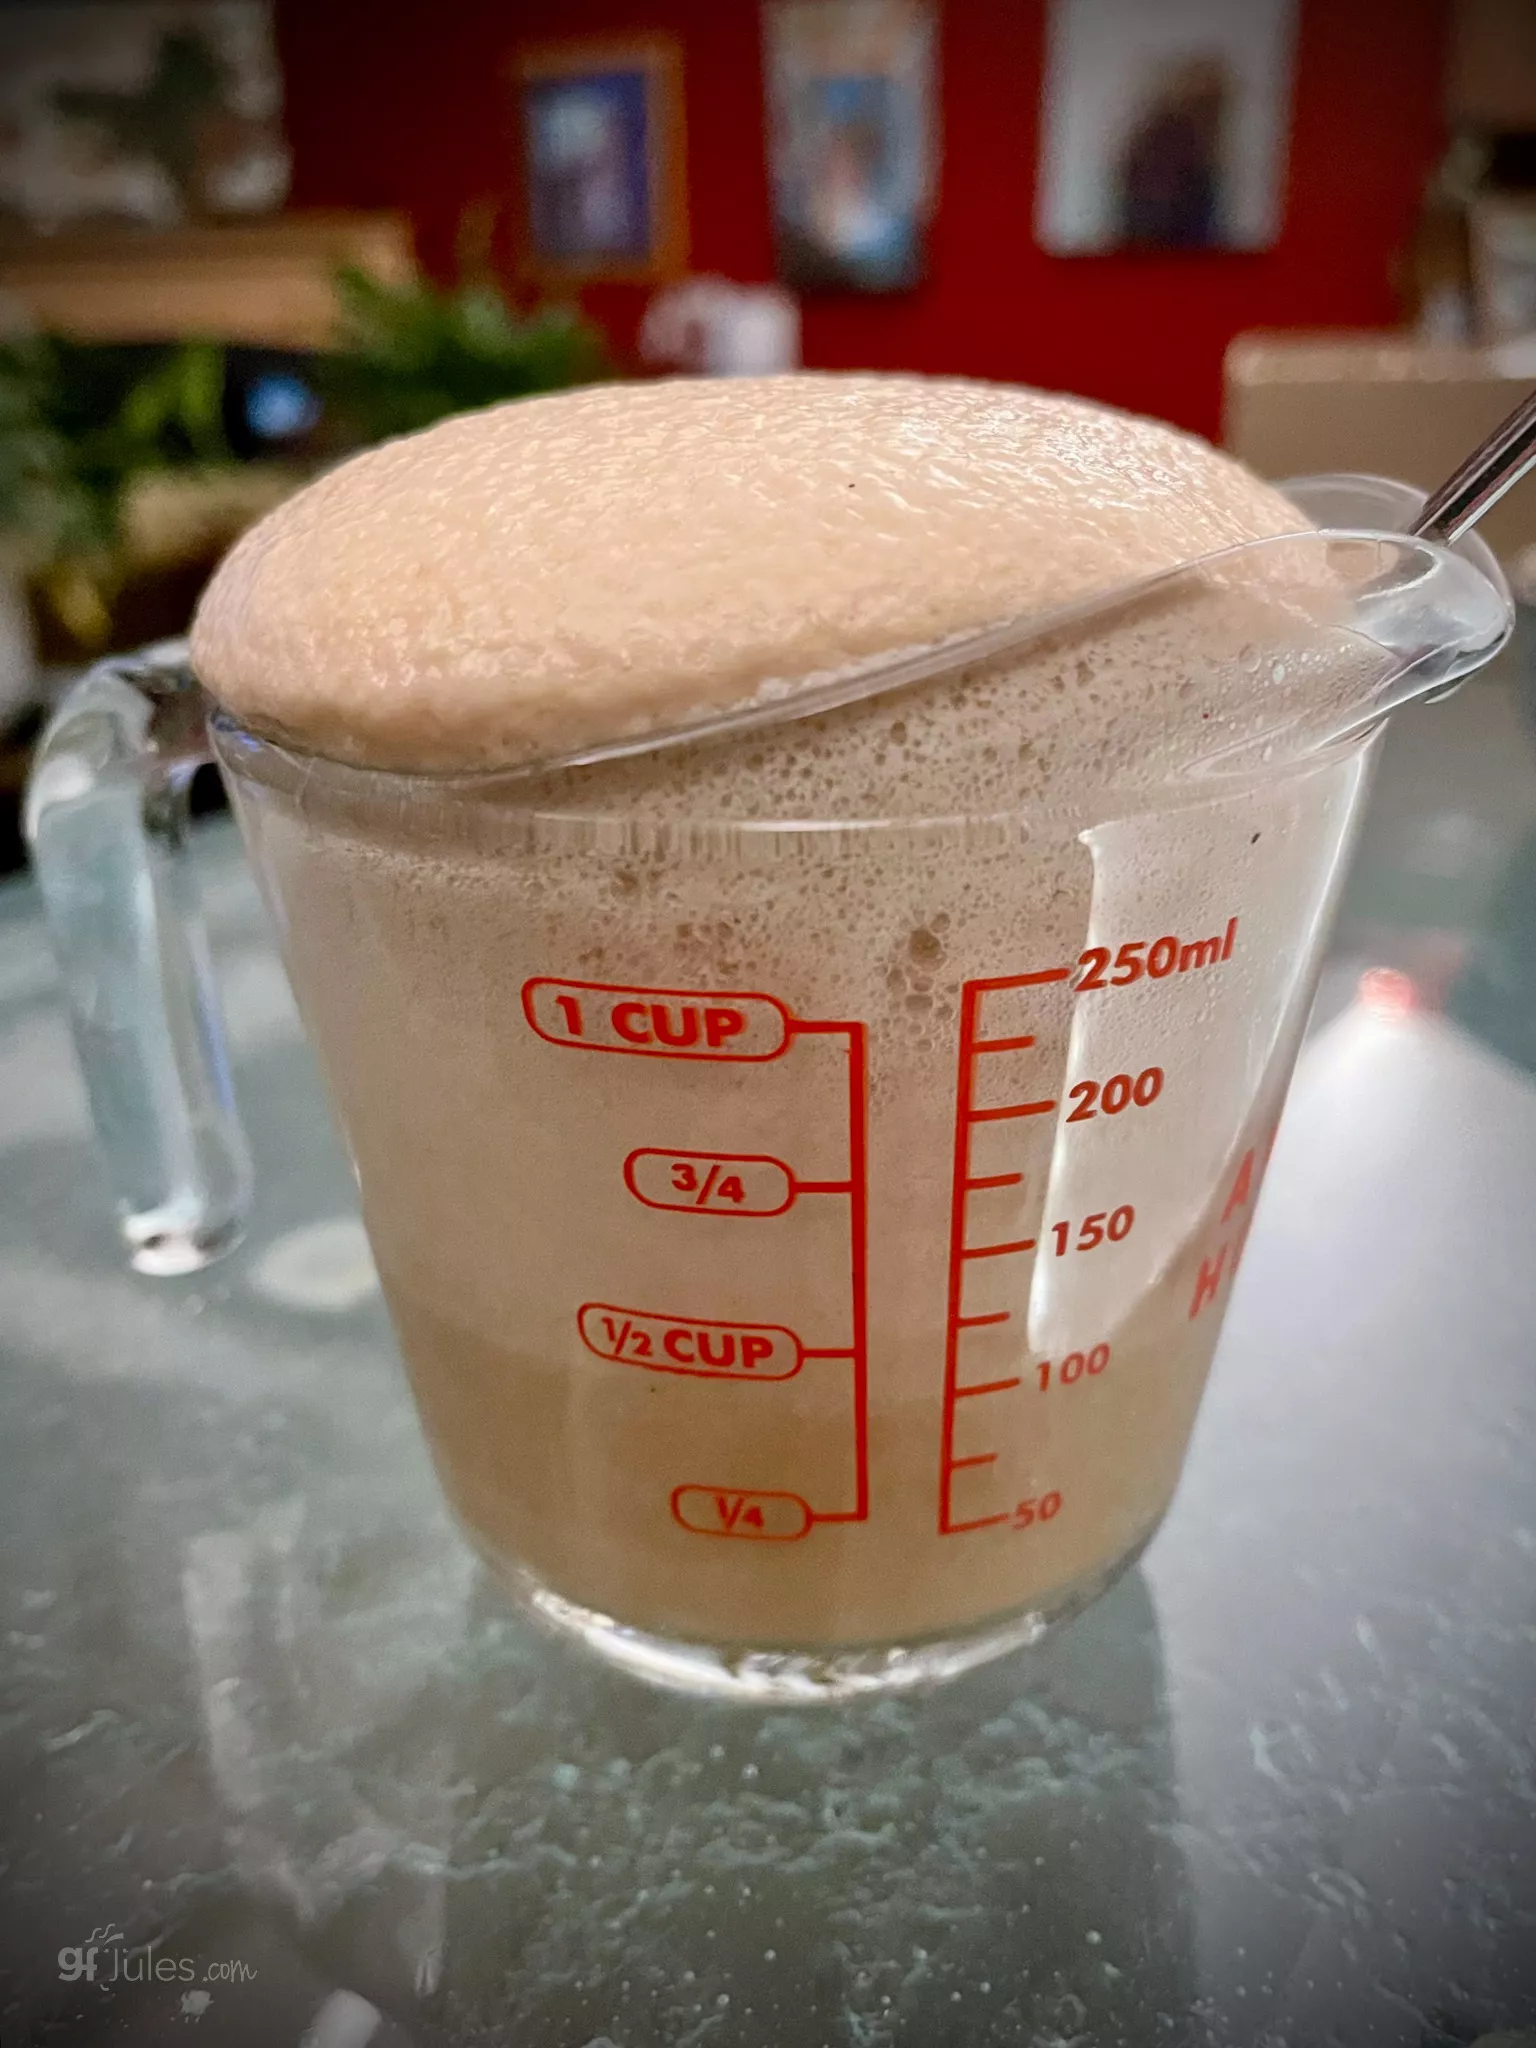
When yeast has proofed, it has bubbled and started to smell like the familiar
yeast smell we associate with baking bread.
11. Proof yeast right. “Proofed” yeast should look like this. If not, throw it out and start with fresh yeast.
If you’re still having issues with getting your yeast breads to rise, try “proofing” regular yeast first. We don’t have the punch-down and second rise necessary with most gluten loaves, so it works well to activate the yeast and let it start doing its thing right away! Place the yeast in a bowl with the liquid called for in the recipe (water, milk, etc.), but make sure it’s warm.
If you can add a teaspoon of sugar, that’s helpful. Whisk it gently and let it sit for 5 minutes. If it’s starting to have that familiar yeasty smell, foam up and swell, it’s good and you can add it to your recipe; if it’s stagnating and not getting foamy or rising, throw it out. For more information on what kind of yeast to use in your recipes, how to proof yeast and more, hop to my article all about yeast in gluten free breads.
In general though, I prefer using “Quick Rise” or “Rapid Rise” yeast for gluten-free yeast breads. You just open the packet and stir it right in with the dry ingredients — even easier! You’ll see that I give those directions for most of my gluten free yeast breads.
12. Make Sure Ingredients are Fresh. Yeast can go bad, as can baking soda and baking powder. Sometimes the problem is your ingredients, not you. What a relief, right? Once open, baking powder and baking soda should be used within 3 months, or less if it’s particularly hot and humid in your kitchen.
13. Cool bread slowly. When your bread is done cooking, turn off the oven and open the door so that the bread can cool slowly (this is the same concept with leaving your loaf in the bread machine on the “keep warm” function after baking). Taking the bread out of a hot oven and quickly transferring it to a cool counter can sometimes cause the loaf to sink in. If it still sinks, it may have too much moisture to support itself fully.
It should still taste great, but if you have your heart set on a nice crowned loaf, next time try cutting back on the liquid a bit in that recipe or adding 1/4 cup of flaxseed meal to help support the bread’s structure and enhance its nutritional value, all in one! Altitude and even the day’s weather can affect sometimes-picky yeast recipes.
14. Calibrate your oven temperature. Oven temperatures are frequently off by as little as 25 degrees and it can make a big difference in something as finicky as a yeast bread. Invest in an oven thermometer and adjust your oven’s temperature so your bread will bake comfortably, at the temperature it likes.
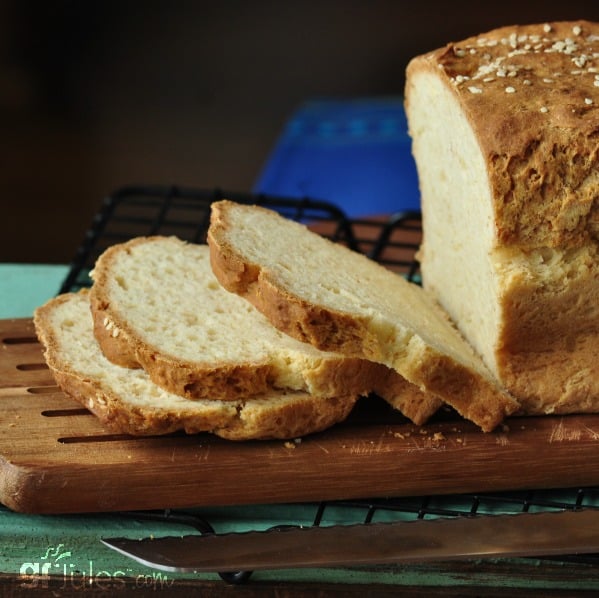
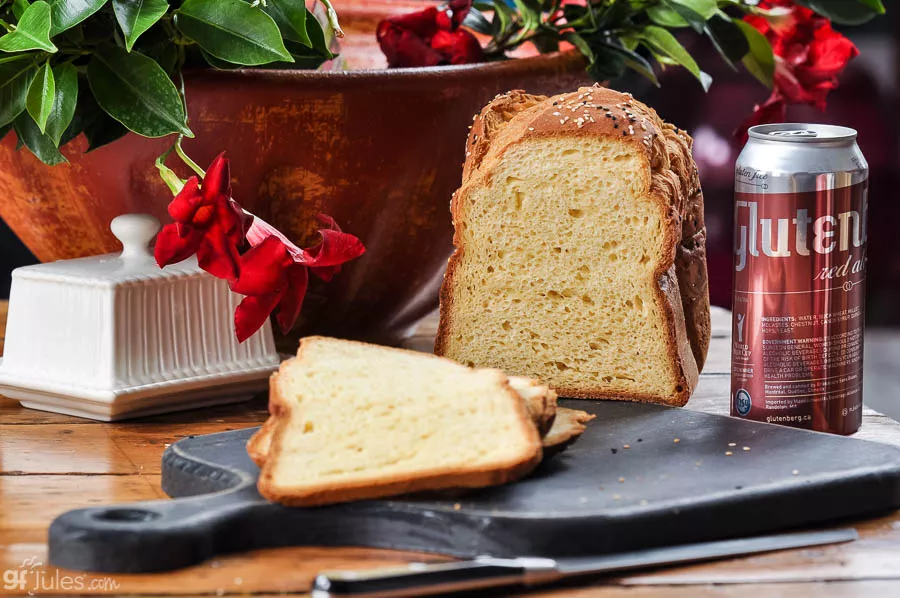
Soft, fresh gluten free bread made with gluten free beer.
15. Bubbles add air (duh, right?). It’s amazing what adding bubbles can do for the lift in your bread loaf! Try the same amount of club soda, gluten-free beer, ginger ale, 7-Up, Perrier … you get the picture. Room temperature, of course, and measured appropriately (let the bubbles settle for accurate measurements). Check out this gorgeous gluten-free beer bread!
16. Fixing that rubbery bottom. If you still wind up with a rubbery bottom on your loaf, there are a few things that could have gone wrong.
- First, you might have over-beaten the dough. Unlike gluten doughs, gluten-free bread doughs should not be overworked, and doing so can sometimes make them a bit rubbery.
- Second, if you are baking from scratch and adding your own xanthan or guar gum, you might have added too much.
- Third, there might be too much liquid in your recipe, all settling at the bottom and not baking off, while also weighing down the dough.
- Fourth, the loaf might not have baked all the way. If the top is baked and getting a nice crust, but the bottom isn’t all the way done, cover the loaf with foil and keep baking!
- Fifth, see #17, below.
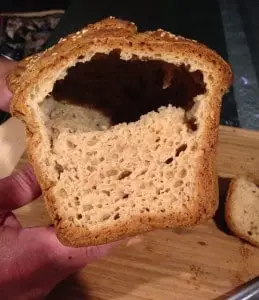
Gluten free loaf cooked on rack too close to the top of oven.
17. Where your loaf is baking also makes a difference. Too close to the top of the oven, and the top will bake much more quickly than the rest of the bread, causing a split in the loaf. That’s quite a chasm, all because the bread rose so high that it nearly touched the oven’s heating element (and heat rises, don’t forget!).
The rack of the oven shouldn’t be so high that the crust is that close to the heating element, nor should it be so low that the bottom of the bread burns from a lower heating element. Sometimes it takes a bit of experimenting to get to know your oven and the best placement for baking bread.
Convection bake settings also help with this, as convection keeps the temperature in the whole oven more consistent.
Side note: also be sure there’s not an oven rack above the one on which your bread is baking – you don’t want the bread to rise during the bake and bump into the bottom of another rack! Turn your bread half-way during the bake cycle to prevent one side from rising higher than the other if your oven tends to cause this to happen; it’s made more pronounced in convection ovens.
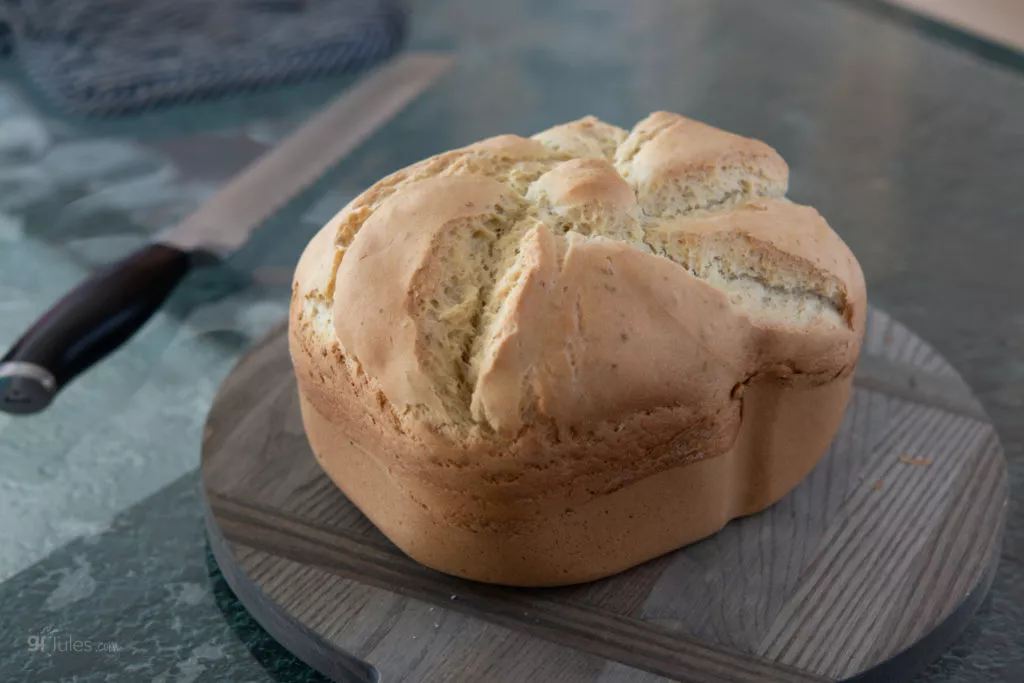
18. You don’t even need a bread pan to make great gluten free bread! Try making a gluten free artisan loaf on a parchment-lined baking sheet, or baking in a springform or tall-sided oven-safe bowl or pan. Or even use muffin cups or popover trays! Your bread will be yummy no matter how you bake it, if you use the right ingredients!
(Ok, I guess there were more than a couple things …!)

*Note: If you purchase one of these items after following my link, I may
receive a small commission, at no additional cost to you, which I use to
pay for web design, hosting and services for this blog.