I’ve been thinking about making gluten free Danish puff pastry a lot lately. I have no idea why exactly, but sometimes when a food memory bubbles up, I can’t stop thinking about it until I make a gluten free recipe for it.
And so it happened with gluten free puff pastry. Specifically, Danish.
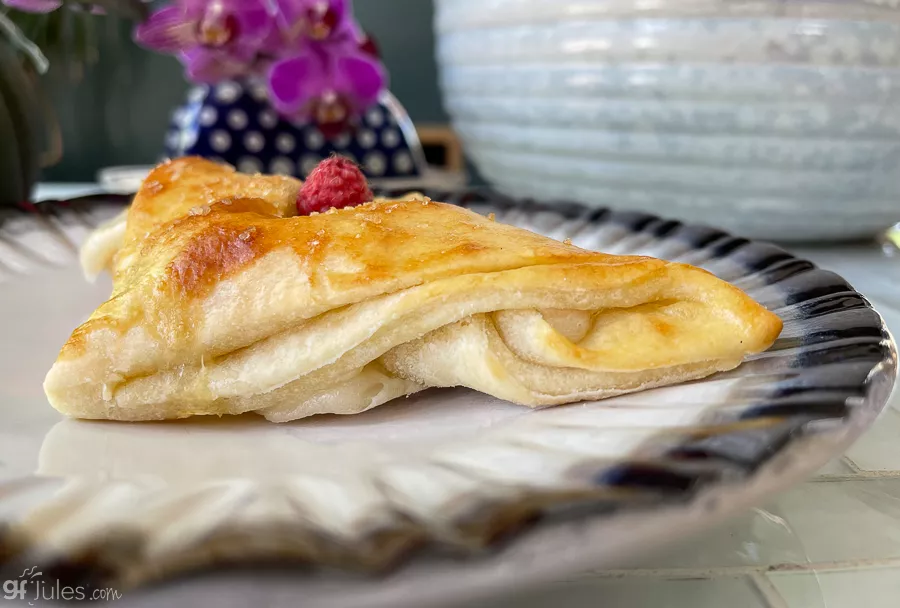
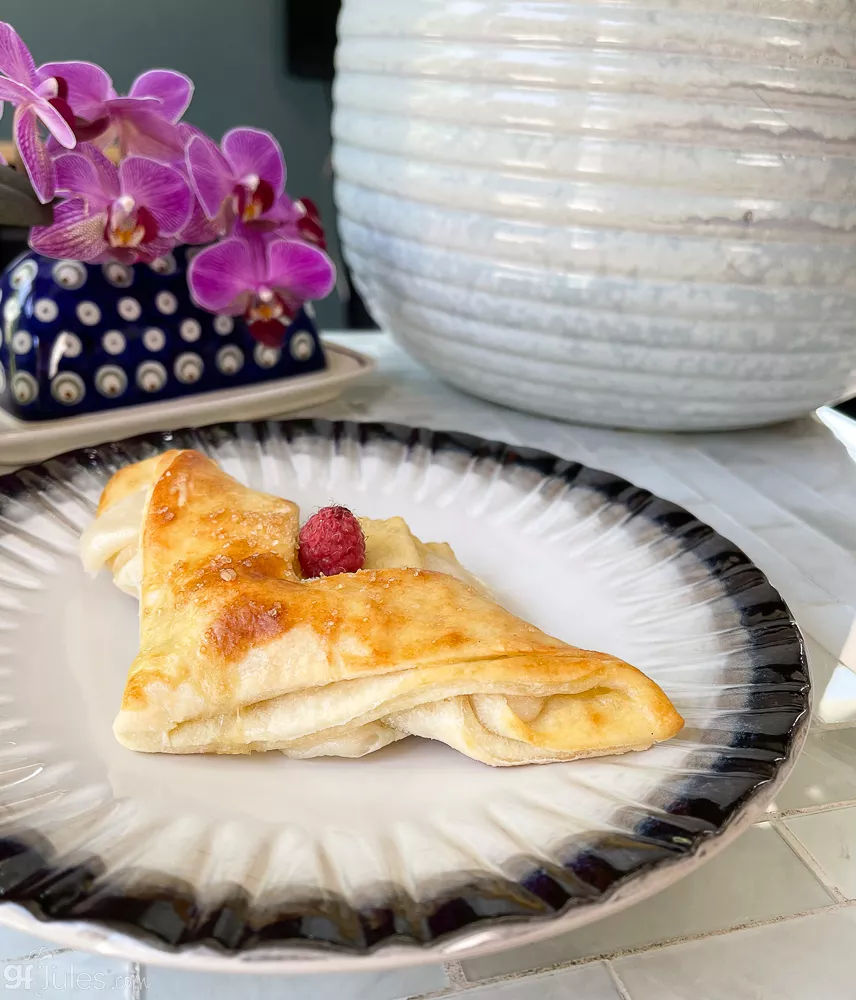
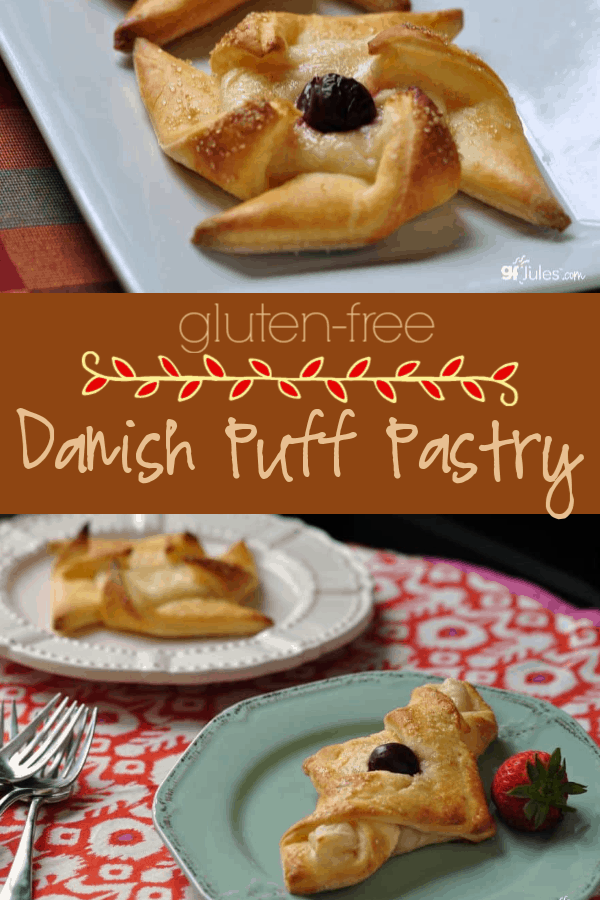
When I was young, my mom used to buy frozen Danish with cream cheese filling for special breakfasts. They must have been made with a puff pastry; they weren’t fancy, just incredibly delicious!
I bet I haven’t had one for at least 30 years — that’s really scary to put into writing — but I remember the taste vividly.
When I set about to create this gluten free Danish puff pastry recipe, I wanted to also recreate the decadent cream cheese filling as a vegan recipe, so I experimented with several dairy free cream cheese alternatives.
They all worked well, but some are more runny than others, which is easily fixed by adding a touch of my gfJules™ Gluten Free All Purpose Flour to thicken it up. Feel free to make the filling with regular dairy cream cheese instead, if you like.
The results were not only pastries that tasted as good as I remember, but are even more beautiful! I had so much fun working with this pliable, soft dough. You read that right: I had fun working with this PLIABLE, SOFT GLUTEN FREE DOUGH.
That’s all because of my gfJules Flour. It adds subtle stretch to doughs like these (and gluten free pie crust, gluten free sugar cookies, gluten free crescent rolls, etc.) and makes it easy to roll out and fold over your fillings, plus it makes the baked gluten free Danish so light and fluffy.
Don’t try this recipe with an ordinary rice flour-based or bean flour blends, or you’ll wind up with dry, cracked and crumbly Danish that taste funky or gritty. No one wants that.
Definitely not worth your time or effort, so do it right the first time and follow my lead. Use the ingredients specified in my recipe and you can’t go wrong.
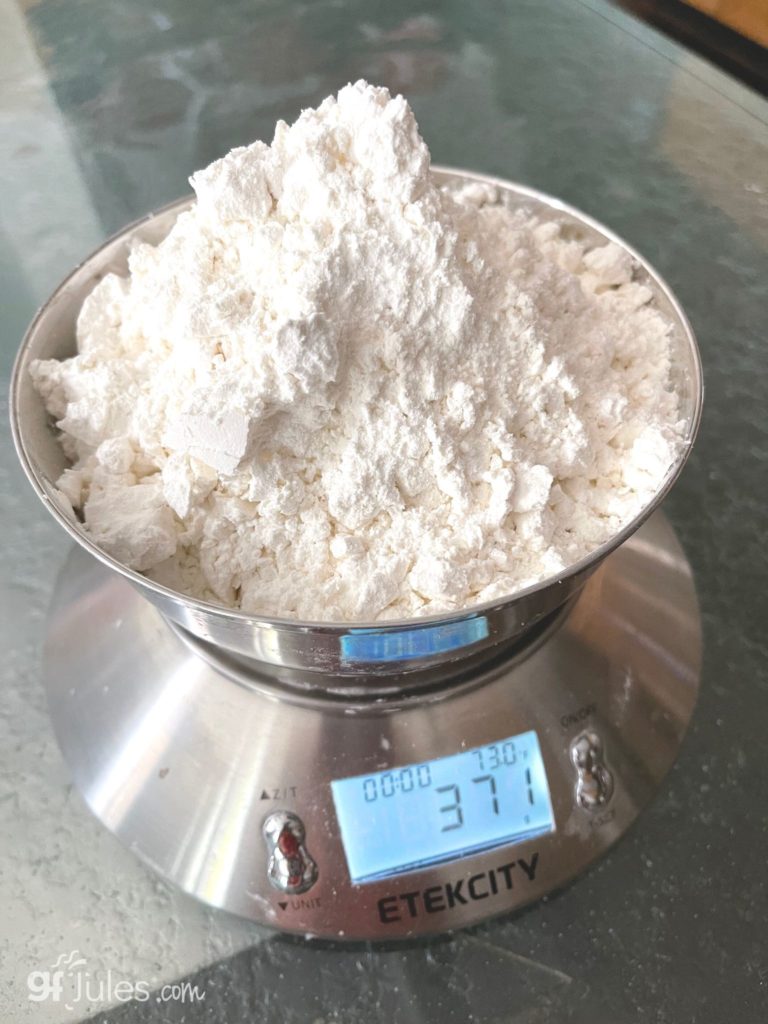
It’s particularly important not only to use my gfJules Flour blend, but also to measure it properly. If you haven’t read this article on how to measure gluten free flours the right way, it’s worth your time.
And if you’re still wondering the difference between one gluten free flour blend and another, this article comparing gluten free flours and what makes them different is worth 5 minutes of your time.
I stress this information because it really makes me feel bad when people come back and tell me my recipe didn’t work as pictured (invariably they used another gluten free flour blend). They really are very different, folks!
Again, check out this article on gluten free flours to find out why!
Since I first published this recipe, I’ve heard from so many readers that they’ve made it and loved the results with my award-winning gfJules Flour (that should encourage you to try it, too!).
The most fun part is that readers have shared with me ways that they’ve made the dough into other beautiful shapes.
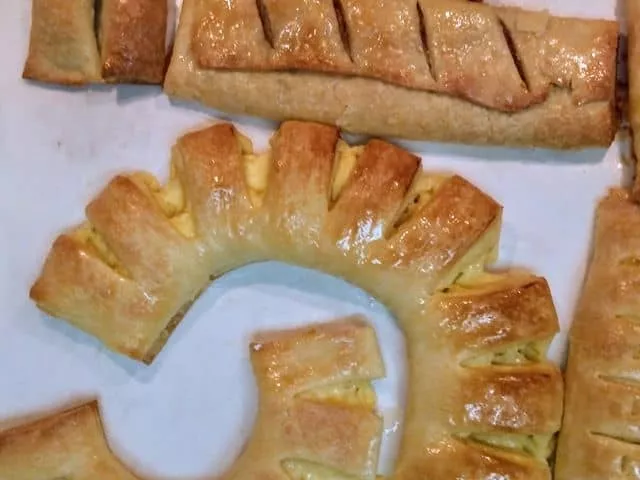
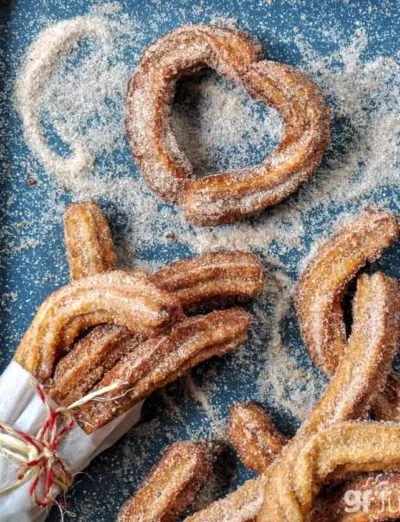
Here are Debbie Bernhardt’s gluten free Danish RINGS made with this recipe. She writes,
“Tonight’s Gluten Free (Jules of course) Danish’s from your recipes.
Fillings include: Cheesecake, Lemon Curd, Apples with Cinnamon Sugar, and Dark and White Chocolate. I baked them for 25 minutes. I had let them rise for more than a hour because I had started out with cold dough, so it took that long to get them to begin to rise. By that time they were room temp, so they baked fairly quickly.”
 Fillings include: Cheesecake, Lemon Curd, Apples with Cinnamon Sugar, and Dark and White Chocolate. I baked them for 25 minutes. I had let them rise for more than a hour because I had started out with cold dough, so it took that long to get them to begin to rise. By that time they were room temp, so they baked fairly quickly.”
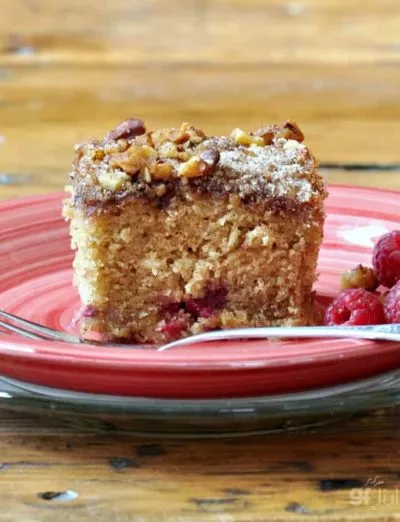
Others have made different fun fillings, too: chopped apples and cinnamon; pecans, sugar and butter; diced peaches; preserves … or use one of the two filling recipes I provide below.
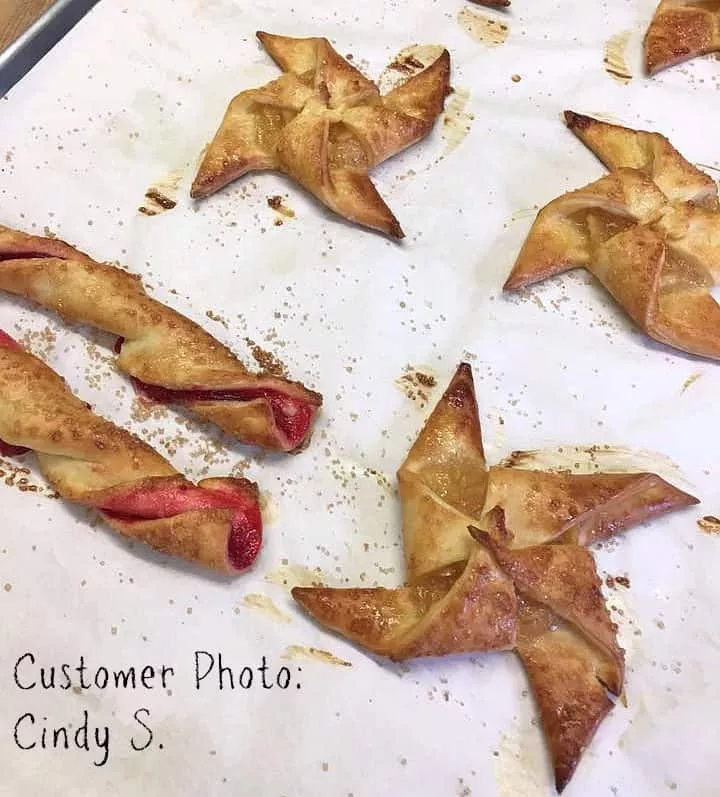
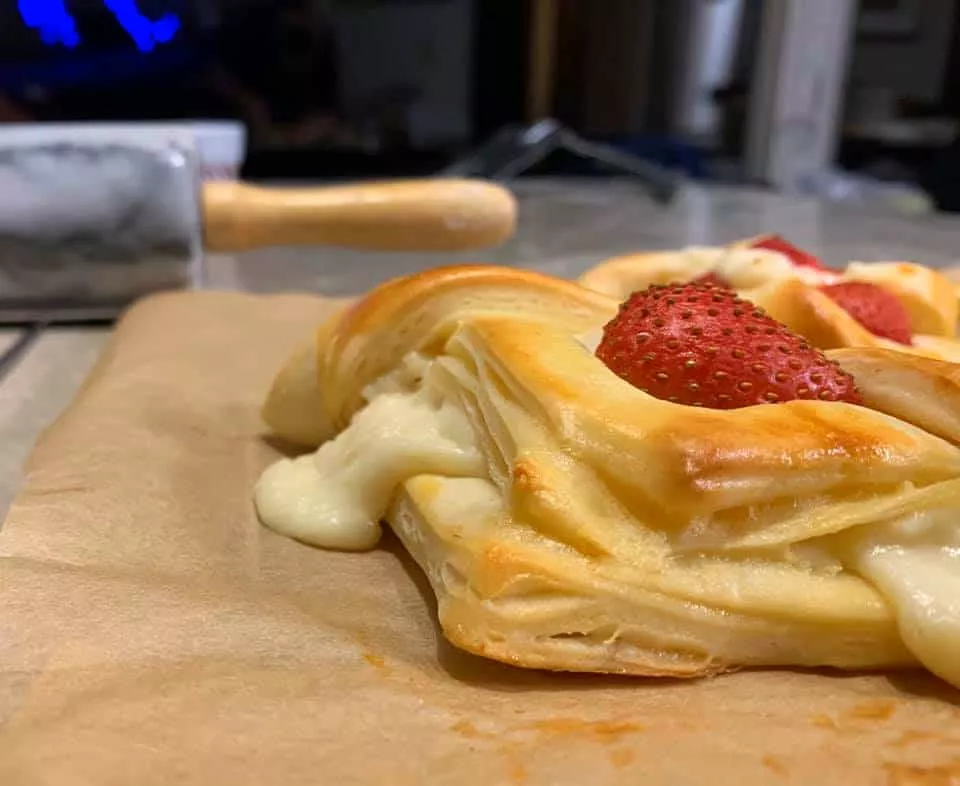
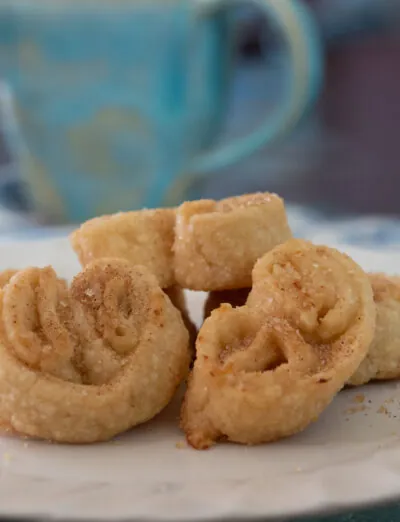
And this customer photo makes me drool every time!
The point is, you can make these any shape you like and you know they’re going to be delicious made with my soft, light gfJules Flour, so go for it!
Make pockets, envelopes, braids, twists … get creative and enjoy delicious gluten free puff pastry again!
Now that gluten free Danish Puff Pastry is back on the menu, I’m starting to think of other delicious food memories I need to re-create gluten free.
Is there a food memory from your childhood you’d like to re-create gluten free? I’d love to hear about it!
Click here to see a my video showing the recipe in action!
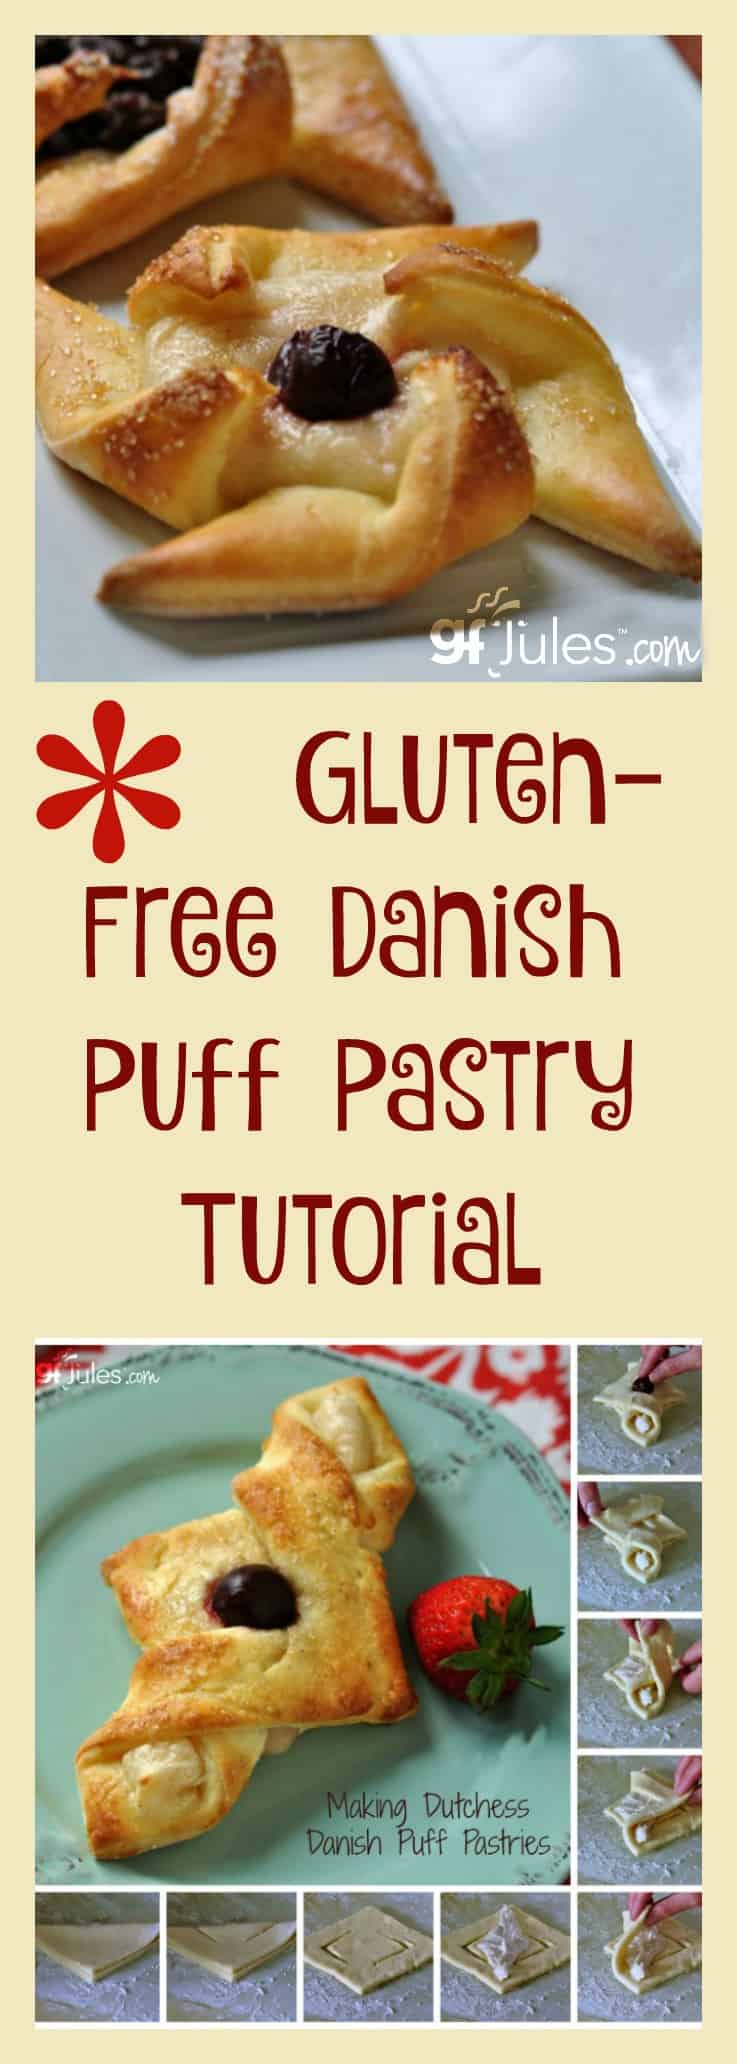
How to Make Gluten Free Danish Pastries
Here is an overview of the steps after mixing the dough:
This is called the “rough pastry” method that makes the dough super flaky!

Once the layers are formed, you’ll roll the dough out again and cut into equal squares:

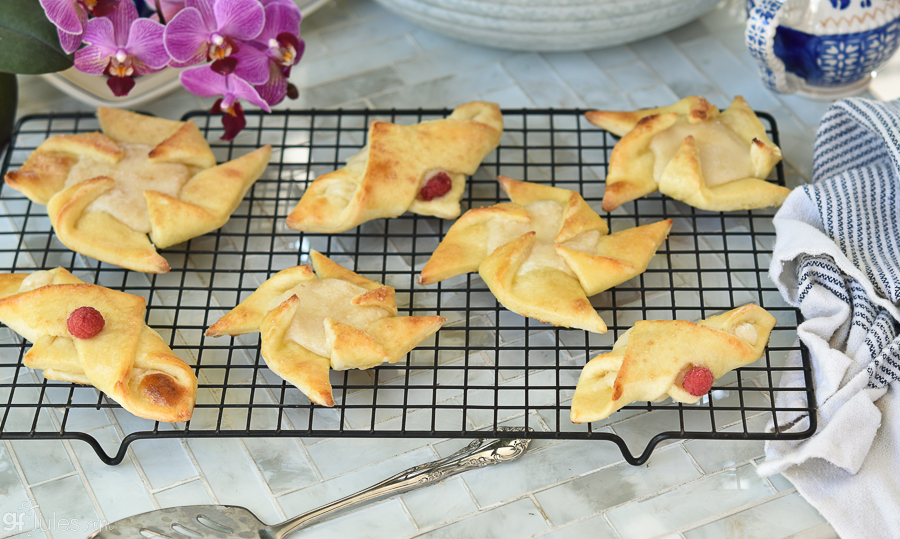
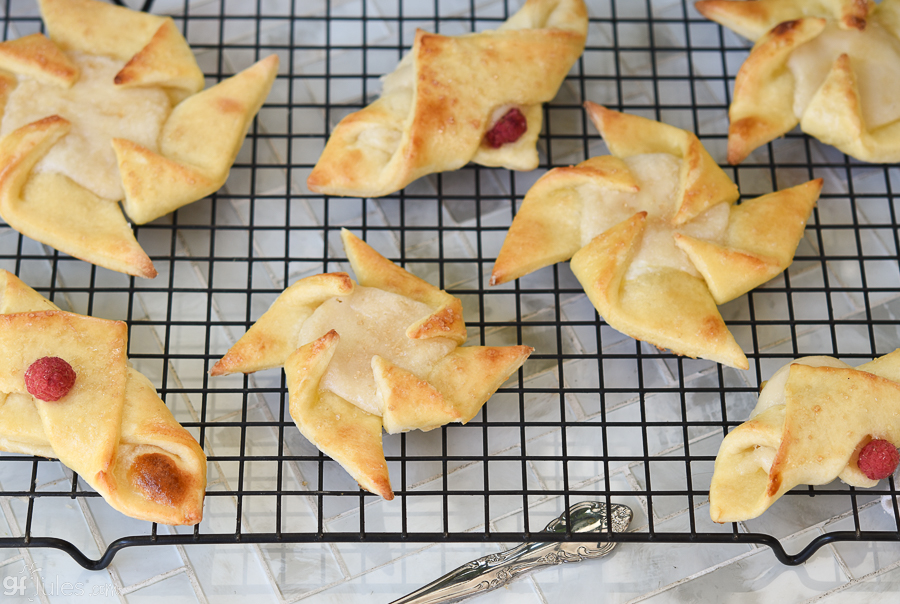
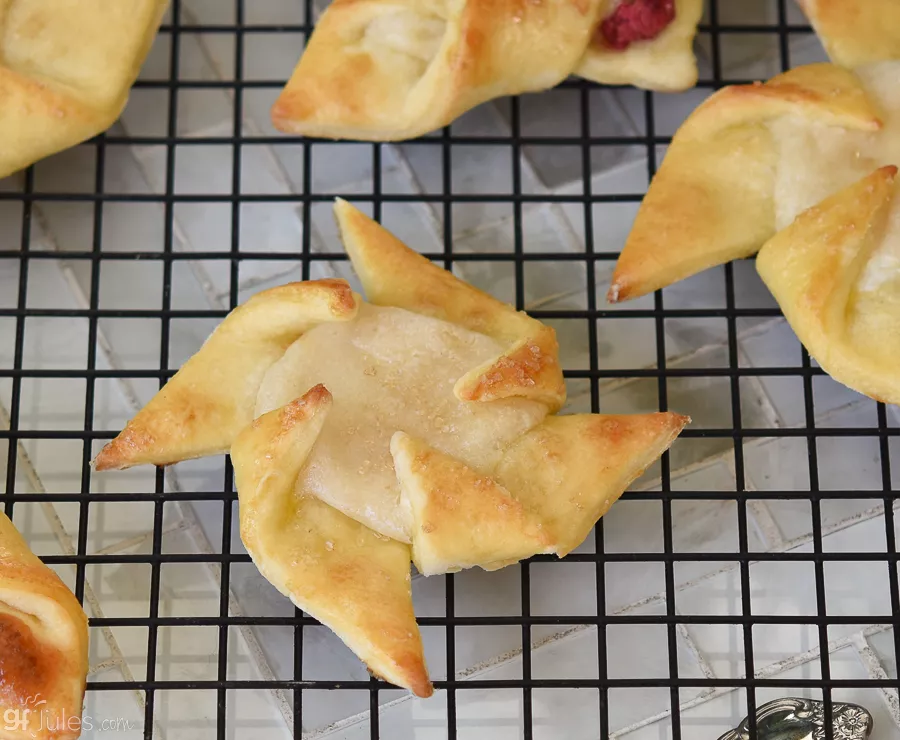
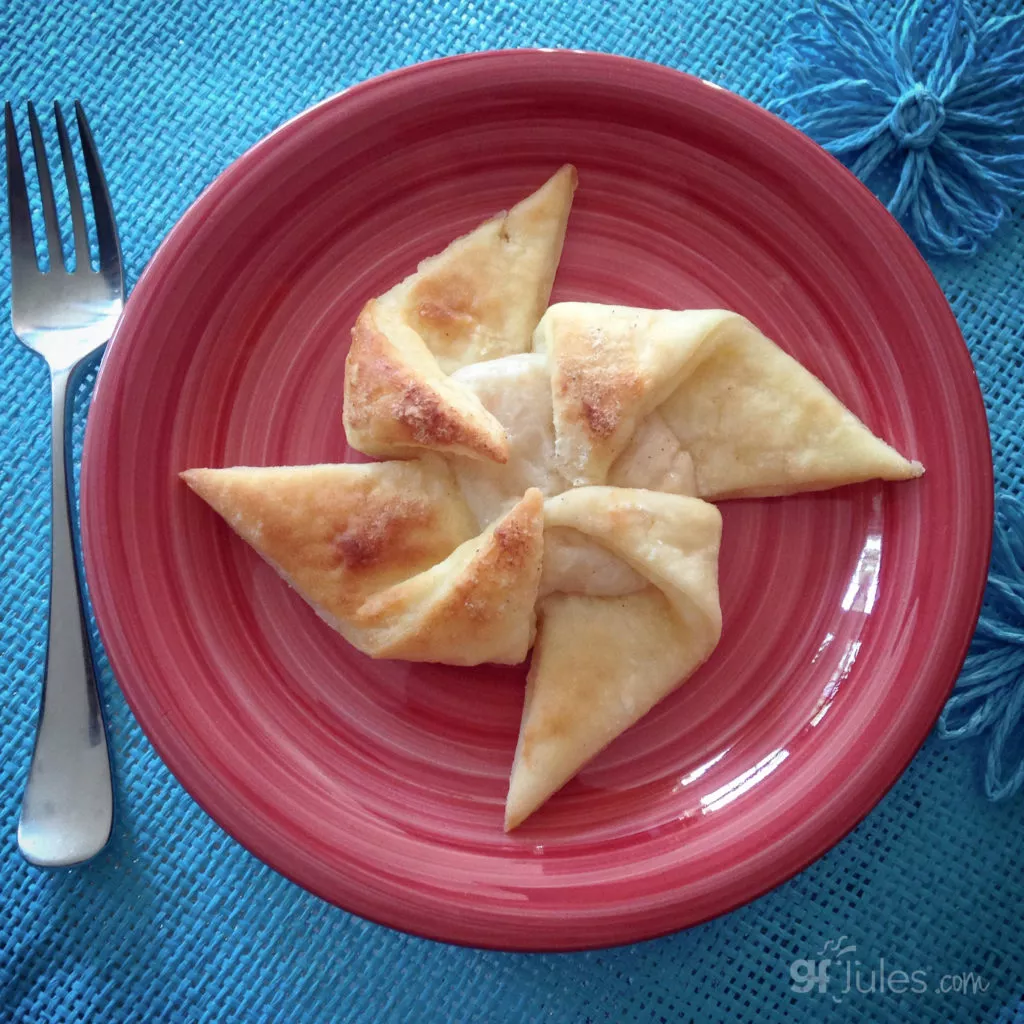
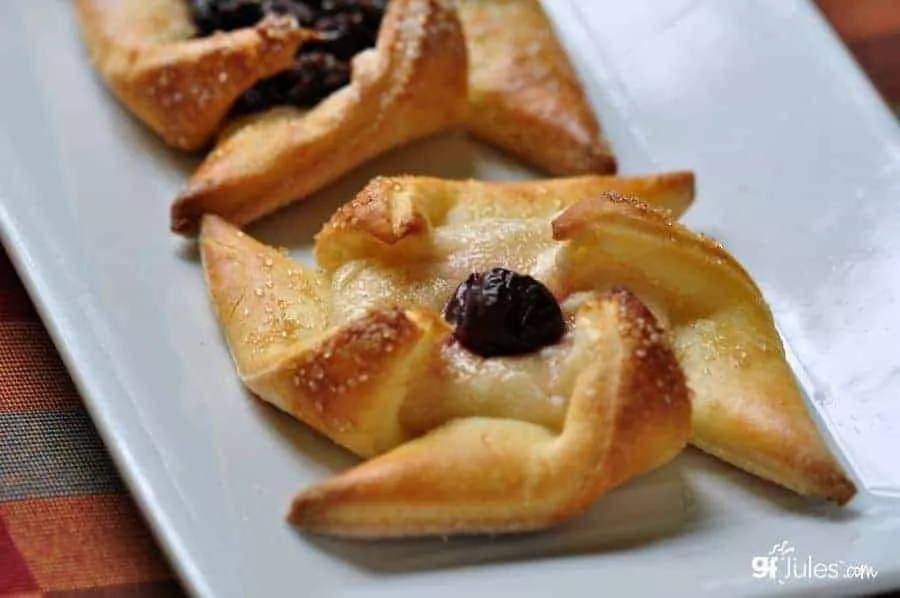
To make Gluten Free Danish Pinwheels:

To make Gluten Free Dutchess Danish:

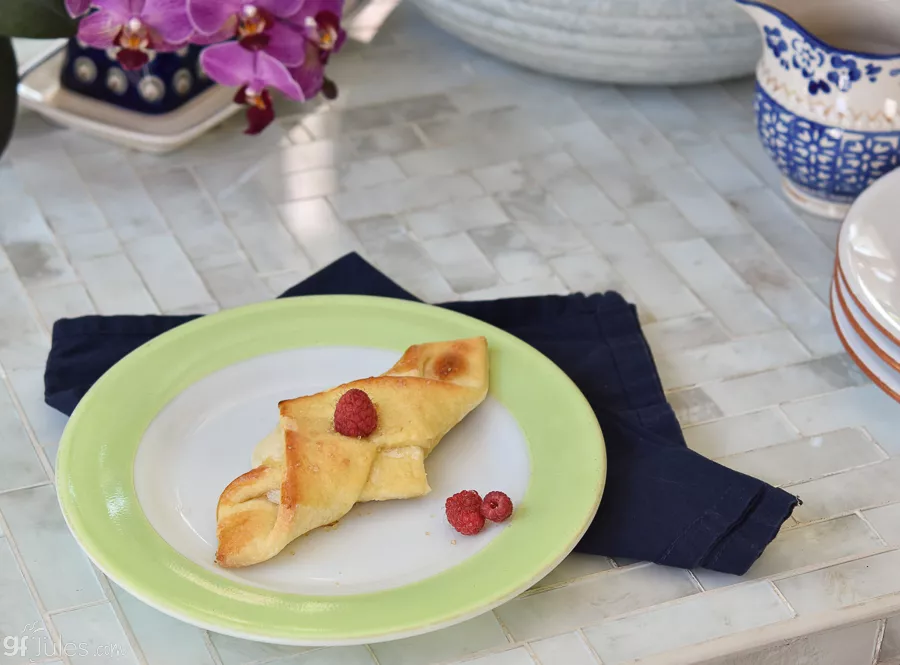
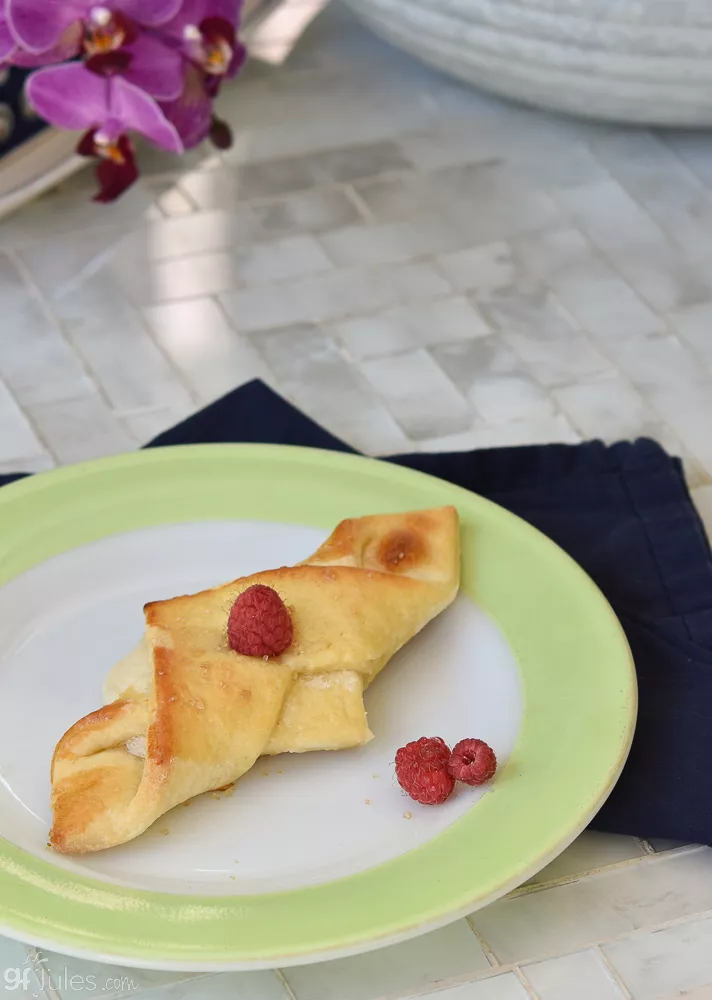
To make Gluten Free Swiss Roll Danish:

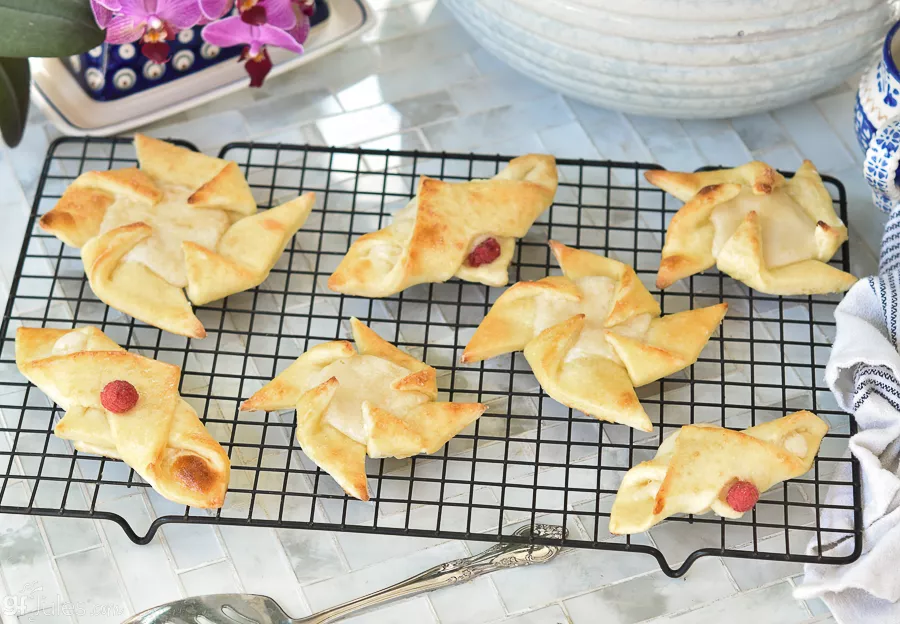
Which gluten free Danish shape do you prefer? Will you try them all?
Gluten Free Danish Puff Pastry Recipe
Equipment

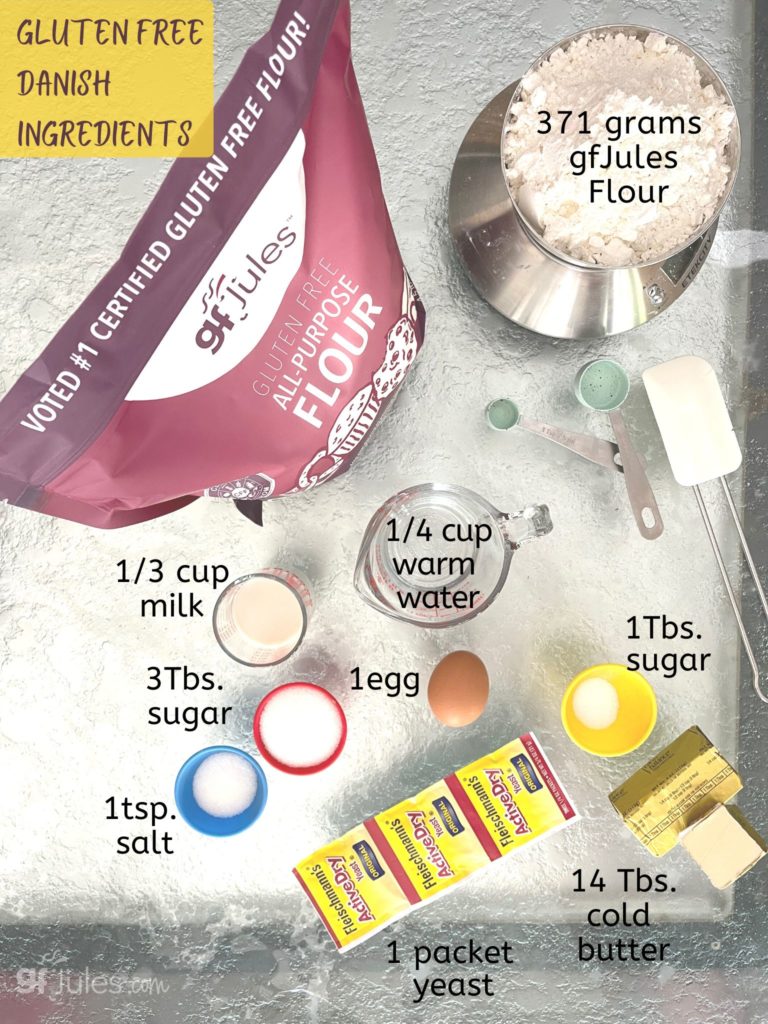
Ingredients
Gluten Free Puff Pastry Dough
- ¼ cup warm water
- 1 Tbs. granulated sugar
- 2 ¼ tsp. dry yeast (Red Star or Fleishmann's) – 1 packet
- 1/3 cup milk dairy or non-dairy, room temperature
- 1 egg room temperature or 1 Tbs. flaxseed meal steeped in 3 Tbs. warm water until thick
- 2 ¾ cup (371 gr) gfJules™ Gluten Free All Purpose Flour
- 3 Tbs. granulated sugar
- 1 tsp. sea salt
- 14 Tbs. cold butter or non-dairy substitute (e.g. Earth Balance® Buttery Sticks
Cream Cheese Filling
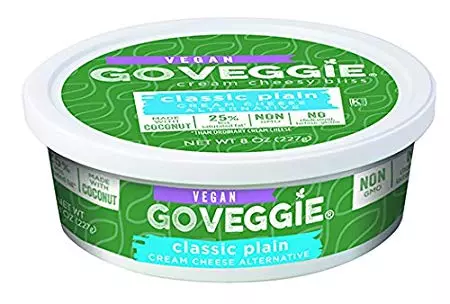
- 8 oz. cream cheese (dairy or non-dairy like Go Veggie® Violife or Kite Hill™ vegan cream cheese alternatives
- 1/3 cup + 1 Tbs. granulated sugar
- 2 tsp. lemon juice
- 1 tsp. pure vanilla extract
- 1 tsp. sour cream (dairy or non-dairy like Follow Your Heart® Vegan Gourmet® Forager, Tofutti or other vegan sour cream alternatives OR vanilla yogurt of choice
- 1 Tbs. gfJules™ Gluten Free All Purpose Flour
Raisin Filling
- ½ cup raisins
- 1/8 cup granulated sugar
- ½ tsp. cinnamon
- 2 Tbs. softened butter or non-dairy alternative (like Earth Balance® Buttery Sticks)
Other Toppings
- 1 egg for egg wash or mild flavored oil for vegan alternative
- demerara sugar
- confectioner’s sugar
- berrries
Instructions
Gluten Free Puff Pastry:
- In a small bowl, whisk together warm water, 1 tablespoon sugar and yeast. Set aside.
- Once the mixture becomes foamy, add 1 egg/sub and milk.
- In a separate bowl, whisk together the gfJules™ flour, 3 tablespoons sugar and salt.
- Cut cold butter into ½ tablespoon-sized pieces and toss with flour mixture. Using a paddle attachment on a stand mixer or a blender, food processor or two knives, cut the butter into the flour mixture until it resembles small pebbles. Do not over-process; it should still be a powdery mixture with small pieces of butter throughout.
- Slowly pour the yeast mixture into the dry mixture and mix just until dough has formed. The dough will be sticky but will hold together.
- Wrap dough in plastic wrap and refrigerate for at least 1 hour or freeze for 30 minutes.
- Once dough is cold again, place on a clean counter or pastry mat liberally dusted with more gfJules™ flour or gluten free starch.
- Roll gently in all directions until you have a rectangle of dough that is between 16-17 inches by approximately 14 inches. Add more flour as you roll to prevent the dough from sticking.
- Fold opposing ends in to the middle, as you would fold a letter in one direction, and then in another. You will be left with a square of folded dough. If it is very sticky, wrap and refrigerate or freeze again; if you are still able to work with it, repeat the rolling and folding steps 3 more times, then wrap the dough and refrigerate for 3 hours or more (overnight is fine).
- This process of gently rolling cold dough with cold butter distributed throughout, layering with flour between folds and re-rolling, will help to form yummy flakey layers in the baked pastry dough, so for the flakiest pastry, don’t skip these steps!
- Prepare your fillings while the pastry is refrigerating.
Cream Cheese Filling:
- Whisk all ingredients together, adding more gfJules™ Flour if the mixture is runny; different brands of non-dairy cream cheese and sour cream can be thinner and may need more flour to give the filling body so it won’t run out of the pastries. Refrigerate until ready to use.
Raisin Filling:
- Combine raisins, sugar and cinnamon with soft butter in a small bowl, mixing with a fork until the raisins are evenly coated. Refrigerate until ready to use.
Making the Gluten Free Danish:
- Cut the refrigerated dough in half and re-wrap and cover one half of the dough, returning to the refrigerator as you work.
- Prepare two baking sheets by covering with parchment and setting aside. Prepare a clean counter or pastry mat by liberally dusting with gfJules™ Flour.
- Roll out half of the dough gently in all directions until the dough forms a square or rectangle between ¼ – ½ inch thick. Measure squares between 4 ½ – 5 inches on each side and cut with a pastry cutter, bench scraper or butter knife. The sides of the squares should be equal (they are squares, after all), but the size can vary depending on the amount of dough you have to work with.
- Gather up the dough cut off from the squares and re-roll, cutting squares from the remaining dough as well. Repeat with remaining refrigerated dough.
- Cut even squares of dough from the rolled out pastry dough.
Choose a shape below:
- To make pinwheel pastries, place a dollop of filling in the middle of each square, then cut in from the 4 corners just to the filling. Brush with egg wash.
- Pick up the left corner of one of the cut corners and fold into the middle of the filling; repeat with the same left corner of each of the cut corners.
- Wet the corners with more egg wash and gently press together in the center to help them stay together more during the rise. Place a berry in the center, if you wish. The dough will spread when they rise and bake – particularly if your dough is rolled thicker – but the twisted pinwheel shape is still pretty.
- Brush egg wash on the newly exposed sides of the pastry before setting aside to rise.
- Gently pick up the pastry with a spatula or bench scraper and transfer to the parchment lined baking sheet. Sprinkle with demerara sugar, if desired.
- To make Dutchess pastries, fold the square into a triangle by pulling one corner over to top the opposite corner. Cut into the triangle to almost form another smaller triangle in the middle, but don’t join the cuts, so they are still intact. The border outside of the smaller triangle should be about ¾ inch wide.
- Open the square back up and place a line of filling down the center. Fold one cut border over to the opposite side on top of the smaller interior square and filling. Repeat with the other side, folding overtop the opposite border, as pictured above. Brush with egg wash.
- Gently pick up the pastry with a spatula or bench scraper and transfer to the parchment lined baking sheet. Sprinkle with demerara sugar, if desired.
- To make Swiss roll-style pastries, roll the equivalent of two 5 inch squares of dough out to form a rectangle instead of a square, approximately 1/8 inch thick. Gently spread a thin layer of butter or non-dairy spread on top of the entire rectangle, then sprinkle with brown sugar, cinnamon, raisins, or any combination you desire.
- Starting at one long side of the rectangle, gently roll up the pastry into a long log. Twist the log around itself to form a bun, then press gently in the center to form a well. Place a dollop of filling into the well. Brush with egg wash.
- Gently pick up the pastry with a spatula or bench scraper and transfer to the parchment lined baking sheet. Sprinkle with demerara sugar, if desired.
Baking Pastries:
- Cover pastries and allow to rise for 15-30 minutes in a warm spot.
- Preheat oven to 400º F.
- Bake pastries in preheated oven for 9 minutes. Particularly with pastries like the pinwheel which have smaller points, do not over-cook or they will become crunchy and dry. Swiss rolls generally need a bit longer to cook. Because of the egg wash, the pastries will brown nicely, so watch to make sure they are not getting too dark before you remove from the oven.
- Remove to cool on a wire rack once baked.
- Sprinkle with confectioner’s sugar or a simple mixture of confectioner’s sugar and your milk of choice, drizzled as icing on top of the Danish, if desired.
- Makes 10-12 Danish pastries, depending on size.
Video
** Please keep in mind that nutrition information provided is per serving, which may vary. While we have taken care to provide you with the most accurate nutritional values possible, please note that this information may differ significantly depending on the exact ingredients and brands that you choose to use to make this recipe. Additionally, where options are given for ingredients, the resulting calculation may include all ingredient options instead of only one per line, skewing the totals significantly.
Recommended Products
Any links to Amazon may earn me a small amount from qualifying affiliate purchases; this amount goes to fund this blog and does not cost you anything additional.
I hope you love this recipe as much as we do!
Pin it to try later!


I plan to use this recipe for Christmas morning. I want to make them ahead, baked and all, and freeze them. I read through comments and noticed that you mentioned you have done that before. Any tips for thawing and warming back up when ready
Smart plan, Kendra! When I’ve frozen these Danishes, I’ve taken them out of the freezer and just brought them to room temp that way, but in a rush, you could wrap them in foil and re-heat gently in the oven. I wouldn’t microwave. Enjoy!
~jules
Are there alternatives to the GFJules flour blend? I have a severe corn allergy, and the flour blend contains both corn starch and corn flour.
Hi Natalie, I have two corn-free blends. You can read more about them in this article all about gluten free flour blends or check them out in my shop. I hope that helps!
~jules
Hi! Do you know if this freezes well? I made it once and it was delicious but I was wondering if it’s possible to freeze half of the dough. Thank you!! This recipe is the best danish I’ve had in 16 years at least.
I’m thrilled you have great gluten free Danish in your life now, Maddie! I have frozen the finished, baked Danish and they are delicious; I have not frozen the dough, but I don’t know why it wouldn’t work. ENJOY!
~jules
I tried voting for your flour on the website which is the one to cast my vote I was not able to do so. Sorry, too much of the site devoted to other things which I did not want to participate in.
Hi Gloria, thanks so much for trying to cast your vote! It is a very long ballot, so I totally understand!!! I’m just glad you’re so happy with my gfJules Flour that you wanted to take the time to vote for it in the Gluten Free Awards!!!
~jules
Another successful and delicious recipe! I made this dough and used it for Roasted Peaches & Cream Cheese Danishes! They were wonderful. I am freezing half of the pre-cut dough for later use. Thank you for making such a great product for those of us unable to consume gluten. Your recipes never disappoint!
Aw, that is fantastic!!! What a smart idea to freeze half of the pre-cut dough to use later as well, Cheryl! And oh MY! Peaches & Cream Cheese Danishes sound DIVINE!!!!!! Save one for me!
~jules
Hi Jules- I’m planning on making these tomorrow and was re-reading the instructions to make sure I have enough time to get things done in the am. I missed it earlier but while your header says the recipe only takes 1 hour and 5 min, inside the recipe it says to do a second refrigeration of 3+ hours. I just want to be sure I’m not misreading the instructions (it’s late here so maybe my brain isn’t working)… there are actually 2 periods of refrigeration, correct? So I should plan for about 4-5 hours for the total recipe?
HI Kirsten, so sorry for the confusion! The new recipe card format must have truncated the chilling time from the recipe card. I just re-added it. Thank you so much for pointing that out!!!! I hope you followed the recipe itself instead of the time header!!!
~jules
I made these today, outstanding recipe. I didn’t have gfjules flour, I used cup4cup and don’t know if the end result is the same, but these were outstanding. I had little pockets of flaky like a traditional pastry puff. I did roll my dough with plastic wrap, not sure if its needed, but its what I’ve always done, and this held up well with it.
Highly recommend, very good.
So happy they turned out well for you, Abbie! There’s nothing like having delicious gluten free danish puff pastry again!!!!
~jules
So delish! Just like my favorite bakery back home, smooth, creamy, simple and gorgeous! I added a filling of 1C cream cheese, 1/3 C sugar, 1t each vanilla/lemon juice. Win! It’s neat it’s NOT a pie shell. It’s a creamy, slightly flaky danish.
Fantastic to hear!!! I’m thrilled you tried this gluten free danish puff pastry recipe and you loved it, Donna!!! {Your filling sounds divine, btw!} You just have to love when you can make a homemade gluten free pastry taste like a bakery’s – that’s a huge baking victory! Congrats!
~jules
Second photo
Tears are running down my face. Several members of my family were diagnosed with celiac disease 20 years ago. And every year for the last 20 years I have been trying to duplicate a danish pastry that we always had on Christmas morning. And every year was a failure. I’d just about given up. But I tried this recipe today as a trial run and it is fabulous. Exactly, no, maybe better than the glutinous danish pastry that I’ve been making for so very very long. Thank you, thank you, thank you
Oh Anne, now you’re making me teary!! Thank you so much for sharing your joy with me! I was diagnosed with celiac over 20 years ago as well, and those treasured recipe memories mean so much; it’s hard to even begin to describe how much to someone who’s not living in our shoes. Your determination and persistence has paid off! Thank heavens you didn’t give up!!!!! Won’t your family be amazed this Christmas morning!? I am so excited for you all! (I can’t wait to see pictures!) Wishing you all a very, very merry Christmas!!!!
~jules
Look at that delicious filling in the layers of tender, delicious pastry. I made six and I couldn’t get a photo of them all together because my children kept coming over and picking one up for their house! Managed a photo of the last one. So, So delicious! Thank you! I’m sending two photos
Oh my gosh, Anne, that is absolutely stunning! What gorgeous gluten free danish puff pastry you pulled off! No wonder there’s none left! Thank you so much for sharing the photos – I love the way you decorated them! I’m going to do the braiding like you did next time!!!
~jules
I am very pleased with my first try. I ended up adding an additional 1/3 milk because the dough was really dry. Also, I think I will lower my oven to350. I cooked this for 13 minutes, and the top started to burn, but I needed a few more minutes for the layers to separate.
Cynthia, that is just stunning! You should be quite pleased!!! And good for you that you added more milk when you felt your dough was too dry — clearly that was the right thing to do in this case. Good to take notes on your oven, as well. Perhaps move the rack down for next time? I hope it tasted as good as it looks because this truly looks masterfully made!
~jules