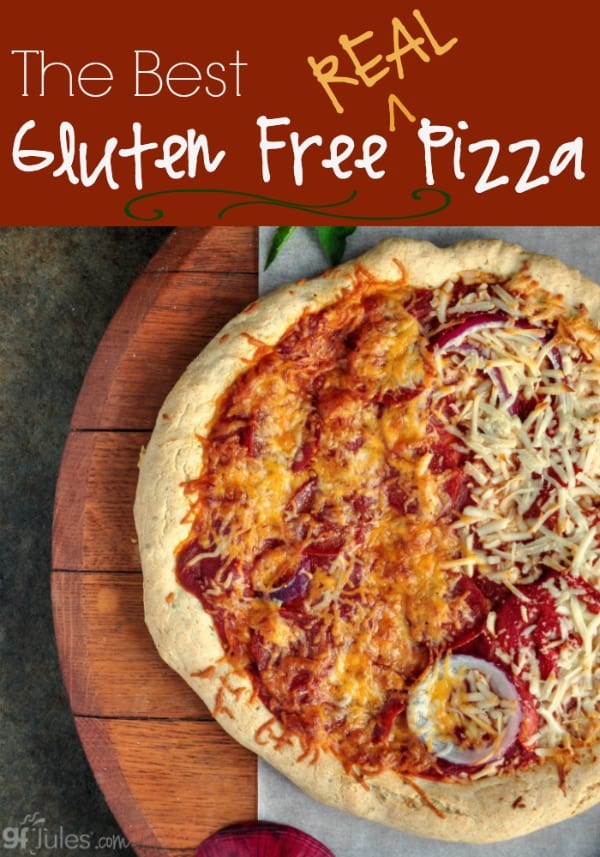
Delicious gluten free pizza — REAL pizza — is one of the things people think they’ll have to miss out on with the gluten free diet, but it doesn’t have to be that way at all! This thick and chewy crust brings people to tears because it brings them back to the real pizza crusts they’ve been missing. And it all starts with this perfect gluten free Pizza Dough Recipe.
No compromises with taste, texture or safety (no wheat starch here!).

People talk about craving it, but with this gluten free pizza dough recipe (or my super easy, award-winning gfJules Pizza Crust Mix), you can have it: crunchy, chewy, doughy, yeasty REAL pizza in no time, without the gluten!
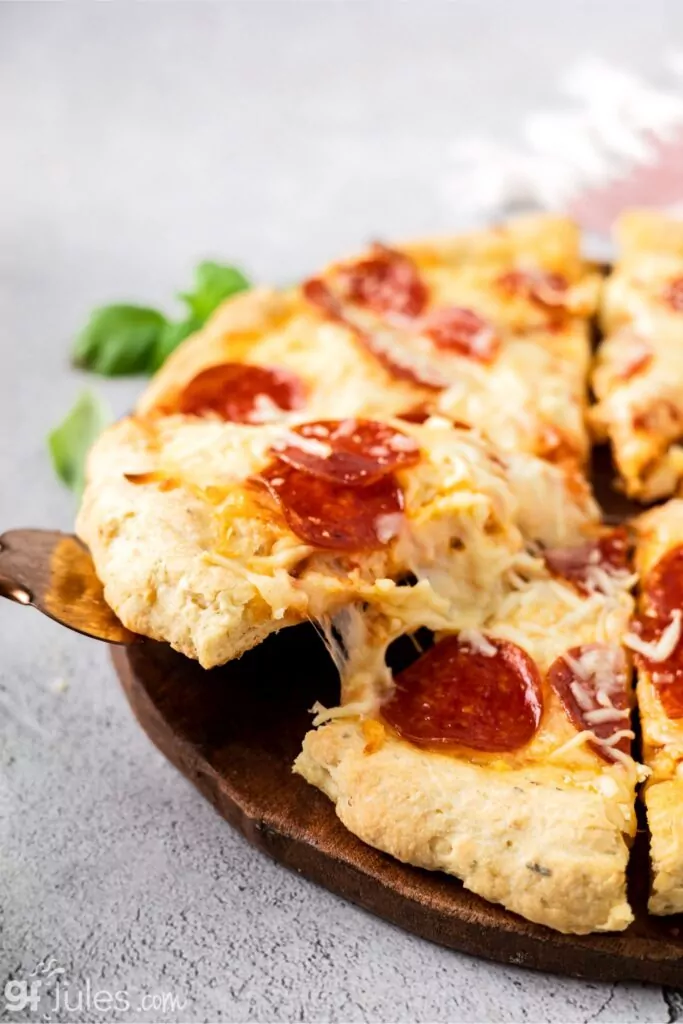
It really is the BEST gluten free pizza!
There’s just something about pizza that everybody loves. And it’s tragic to think you might have to give up great pizza when you go gluten free.
I truly believe pizza is the ultimate comfort food, and just because we’re gluten free doesn’t mean we don’t deserve great gluten free comfort food (pizza)!
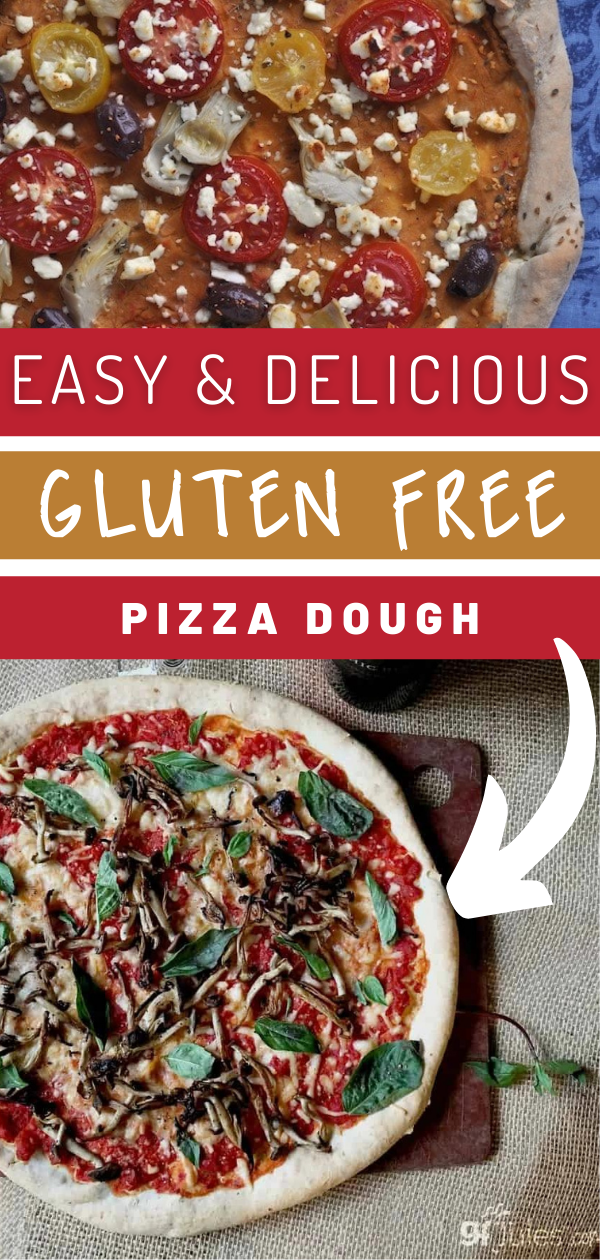
And when you make it at home yourself, you can put ANYTHING on top and you can choose if you want thick or thin pizza. Either is delicious, both are easy!
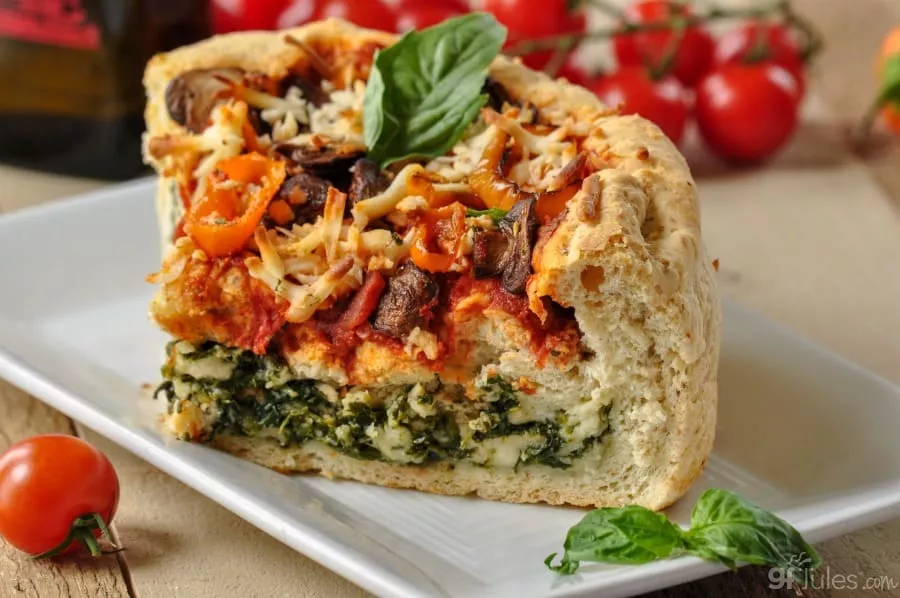
You can even make Chicaco-style gluten free Deep Dish or Stuffed Crust pizza with this homemade recipe or my gfJules Gluten Free Pizza Crust Mix!
Or how about Gluten Free Slow Cooker Pizza? That’s right — you can make this gluten free pizza dough in a slow cooker and it does all the “work” for you!

How Do I Make Gluten Free Pizza Dough?
Even if you’ve never made a pizza crust in your life (most of us hadn’t), it’s easy with my mix or this recipe, and the rewards are indeed sweet! I’ve posted a few videos for you in this recipe so you can see just how easy it is.
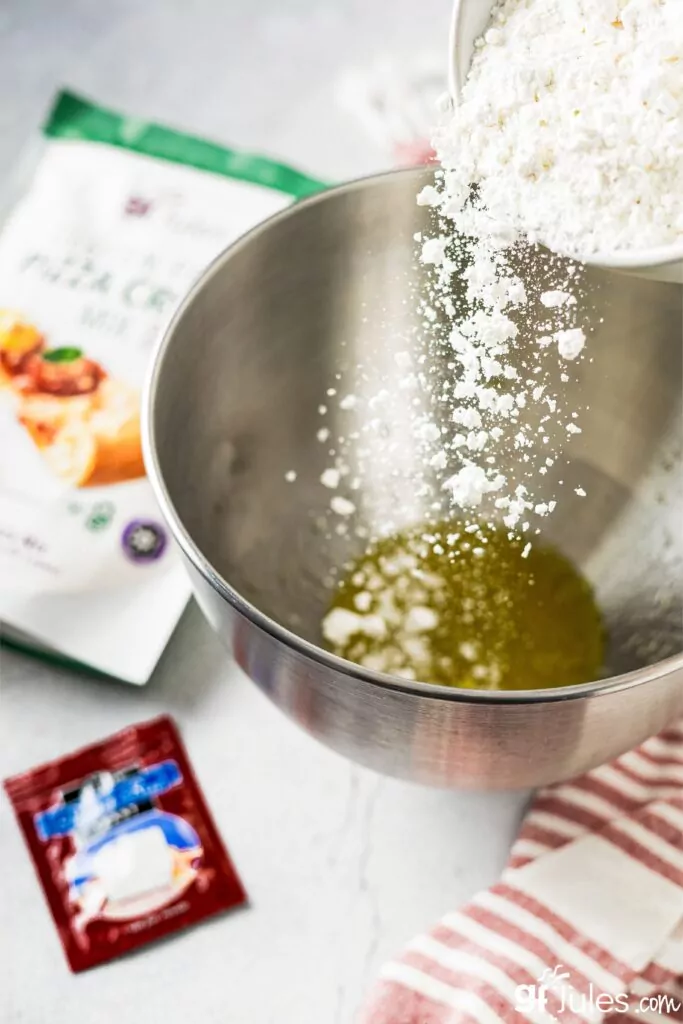
Just dump the dry ingredients into a bowl with a few liquids like oil, egg (or substitute), and water …
Spread the dough out onto parchment so it won’t stick. I find that when you put cooking oil like olive oil into your palms it makes spreading the dough super easy!
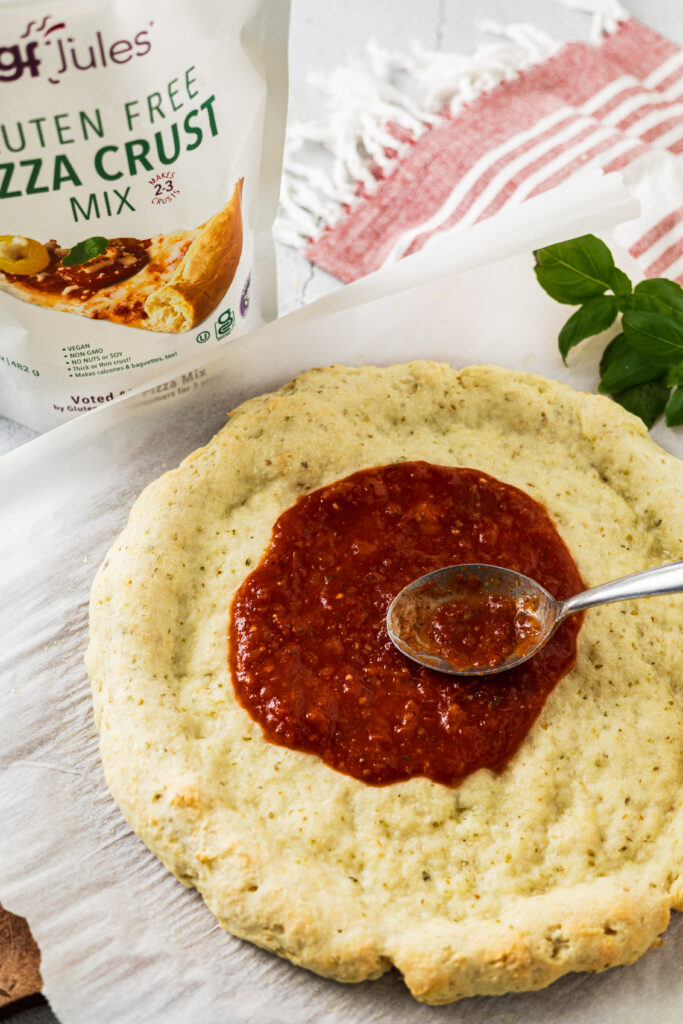
Build up the edge of the dough as much as you’d like for your crust so the sauce won’t come off the sides.

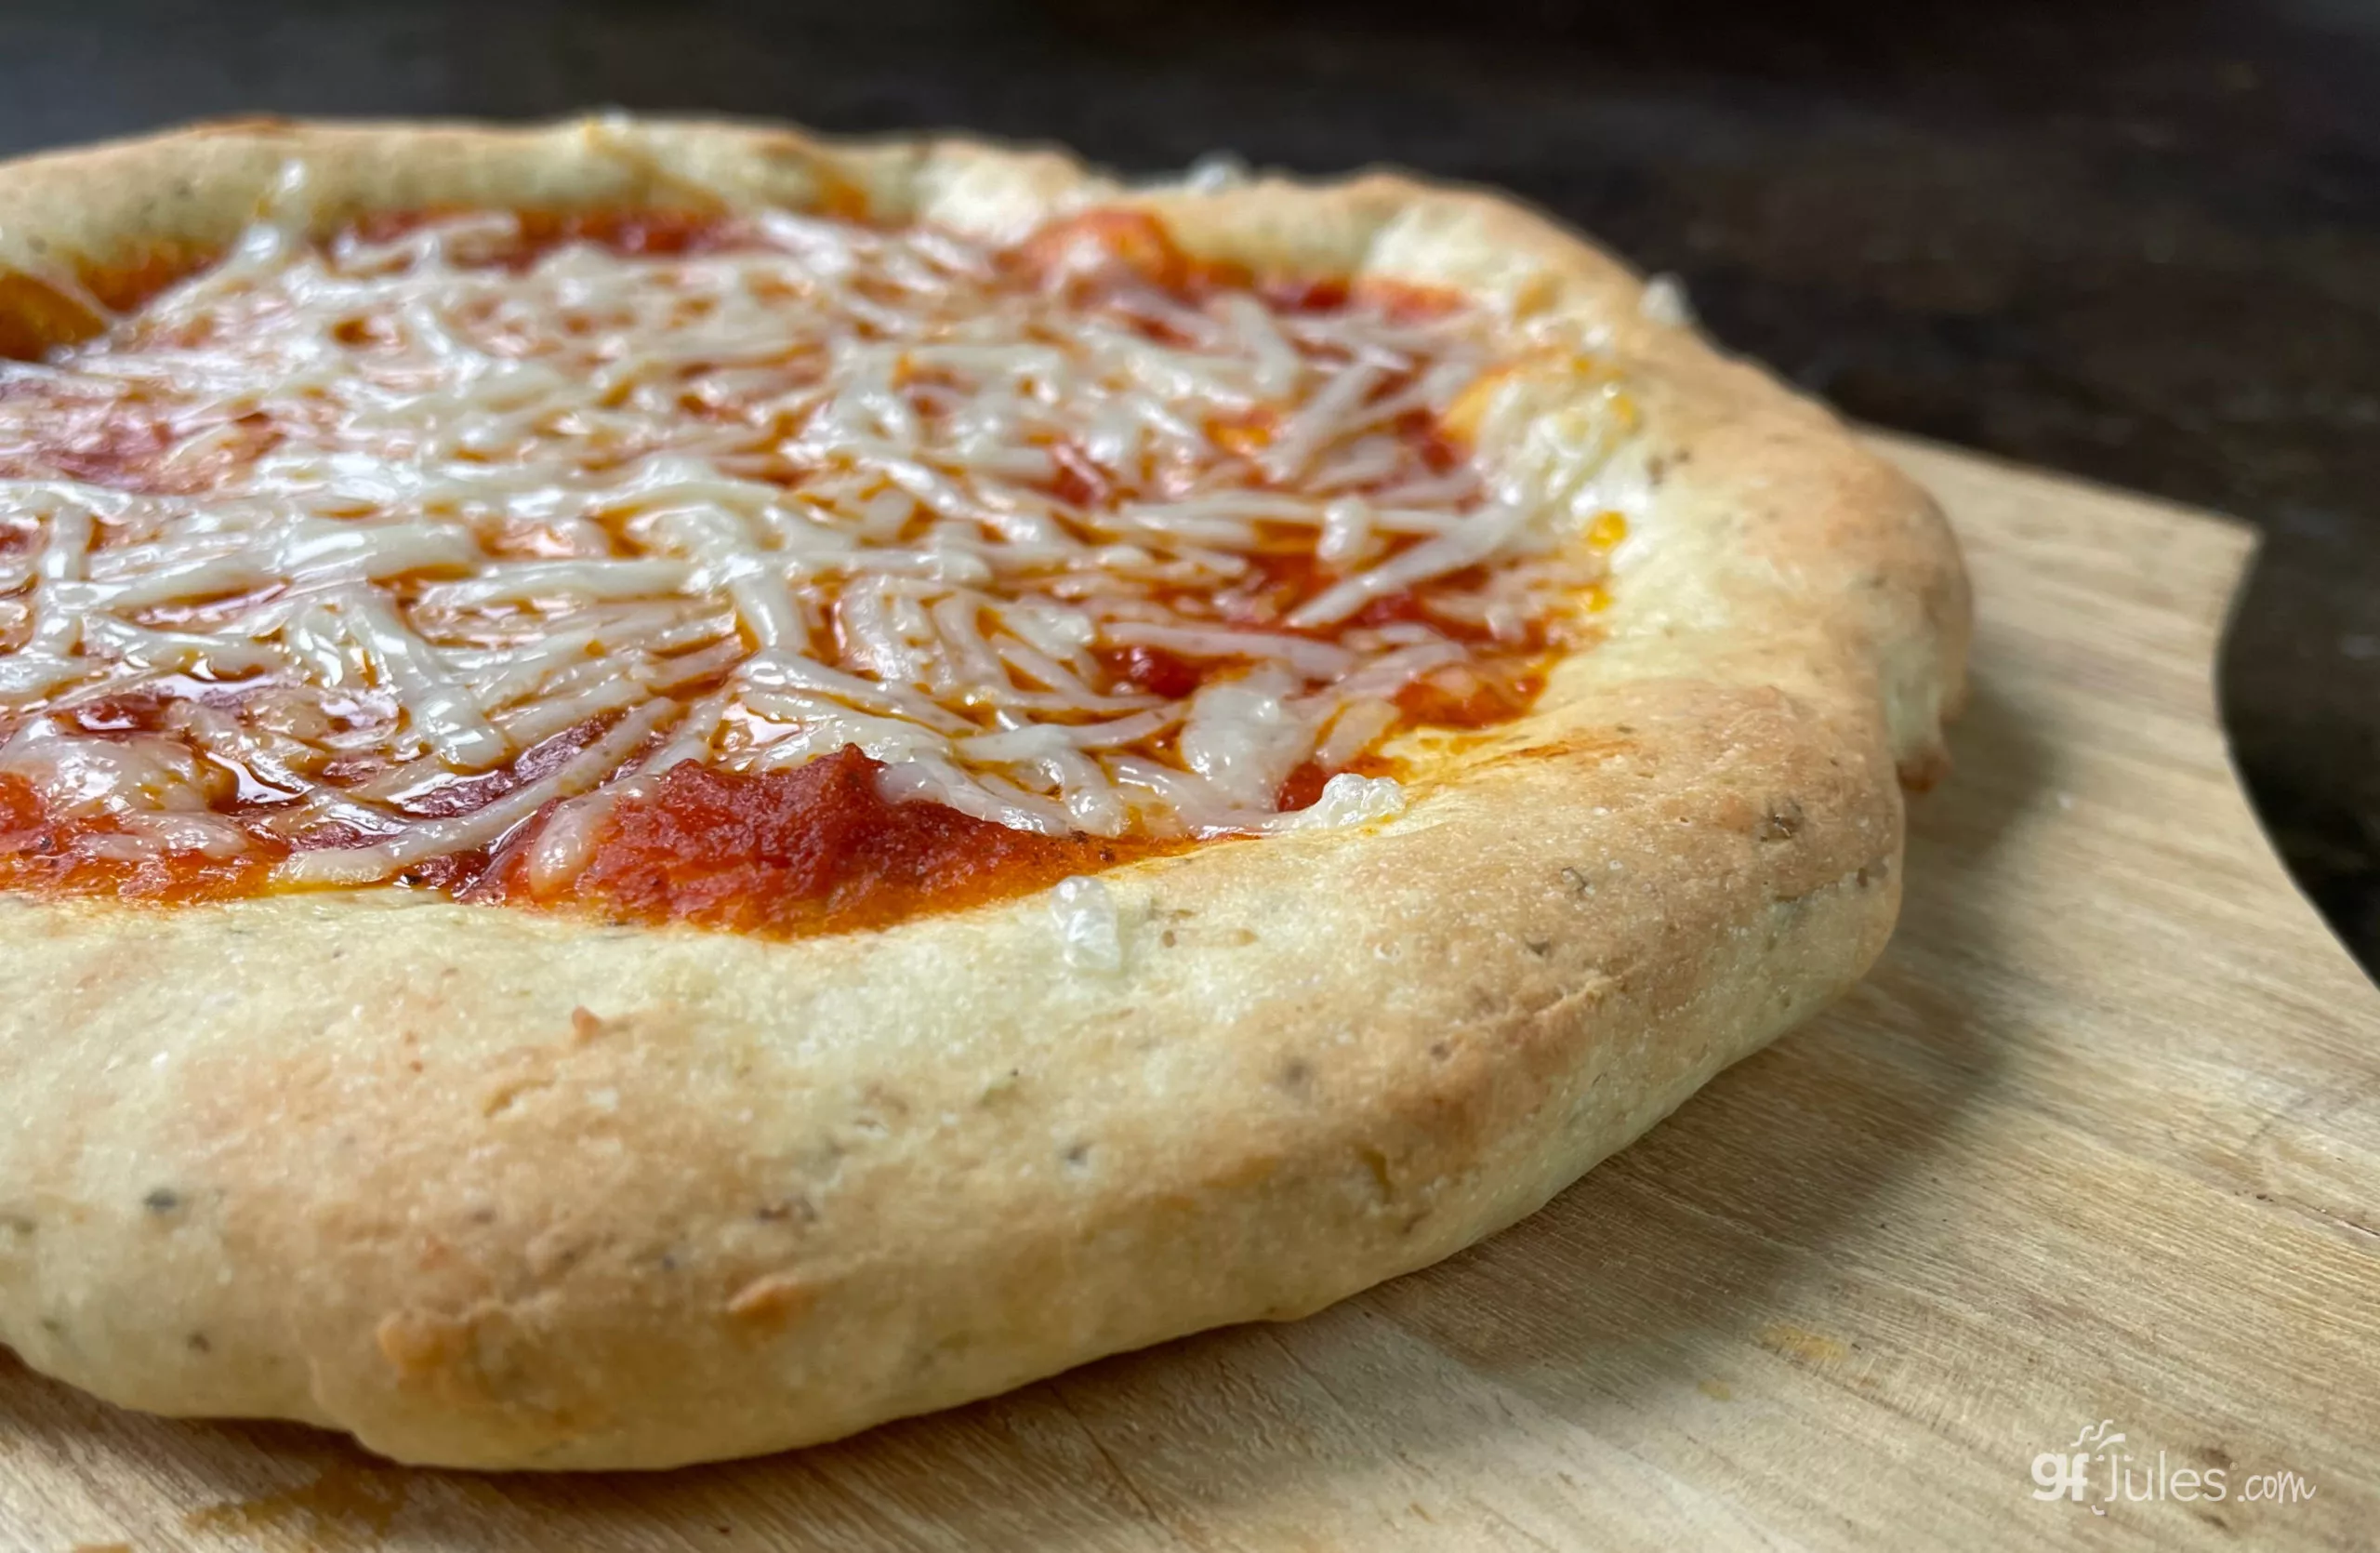
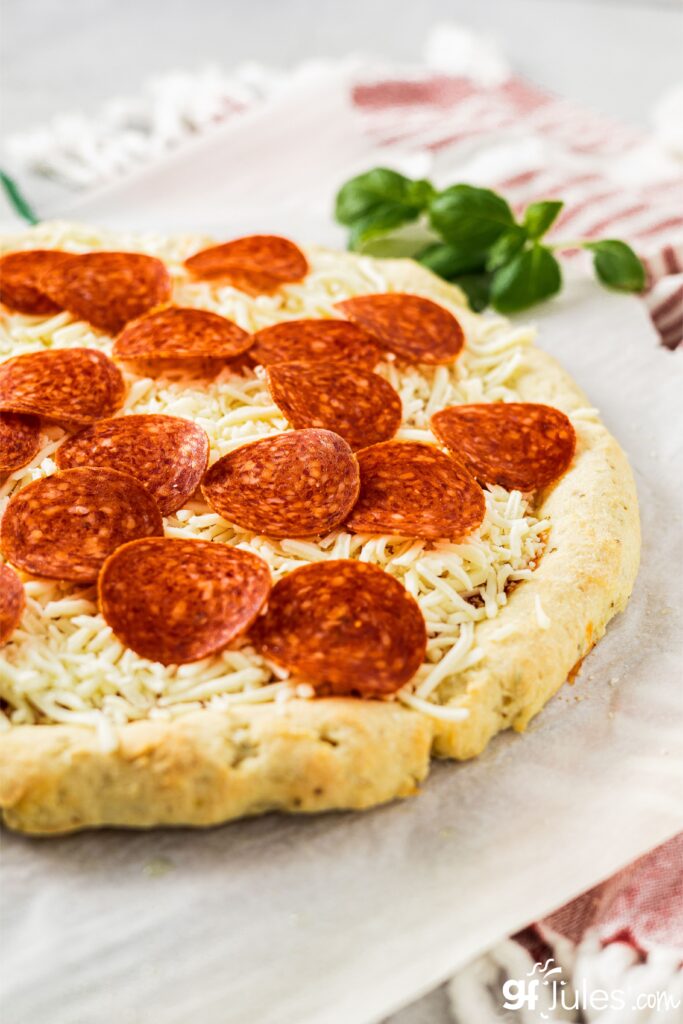
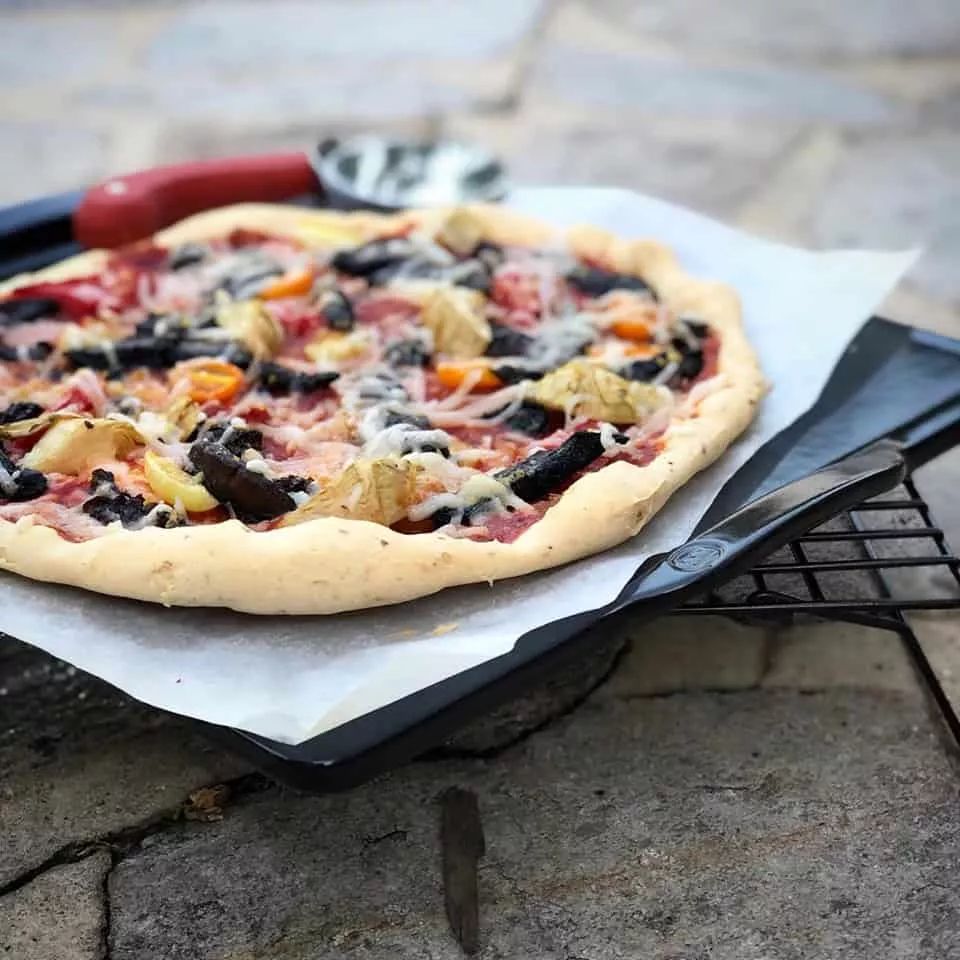
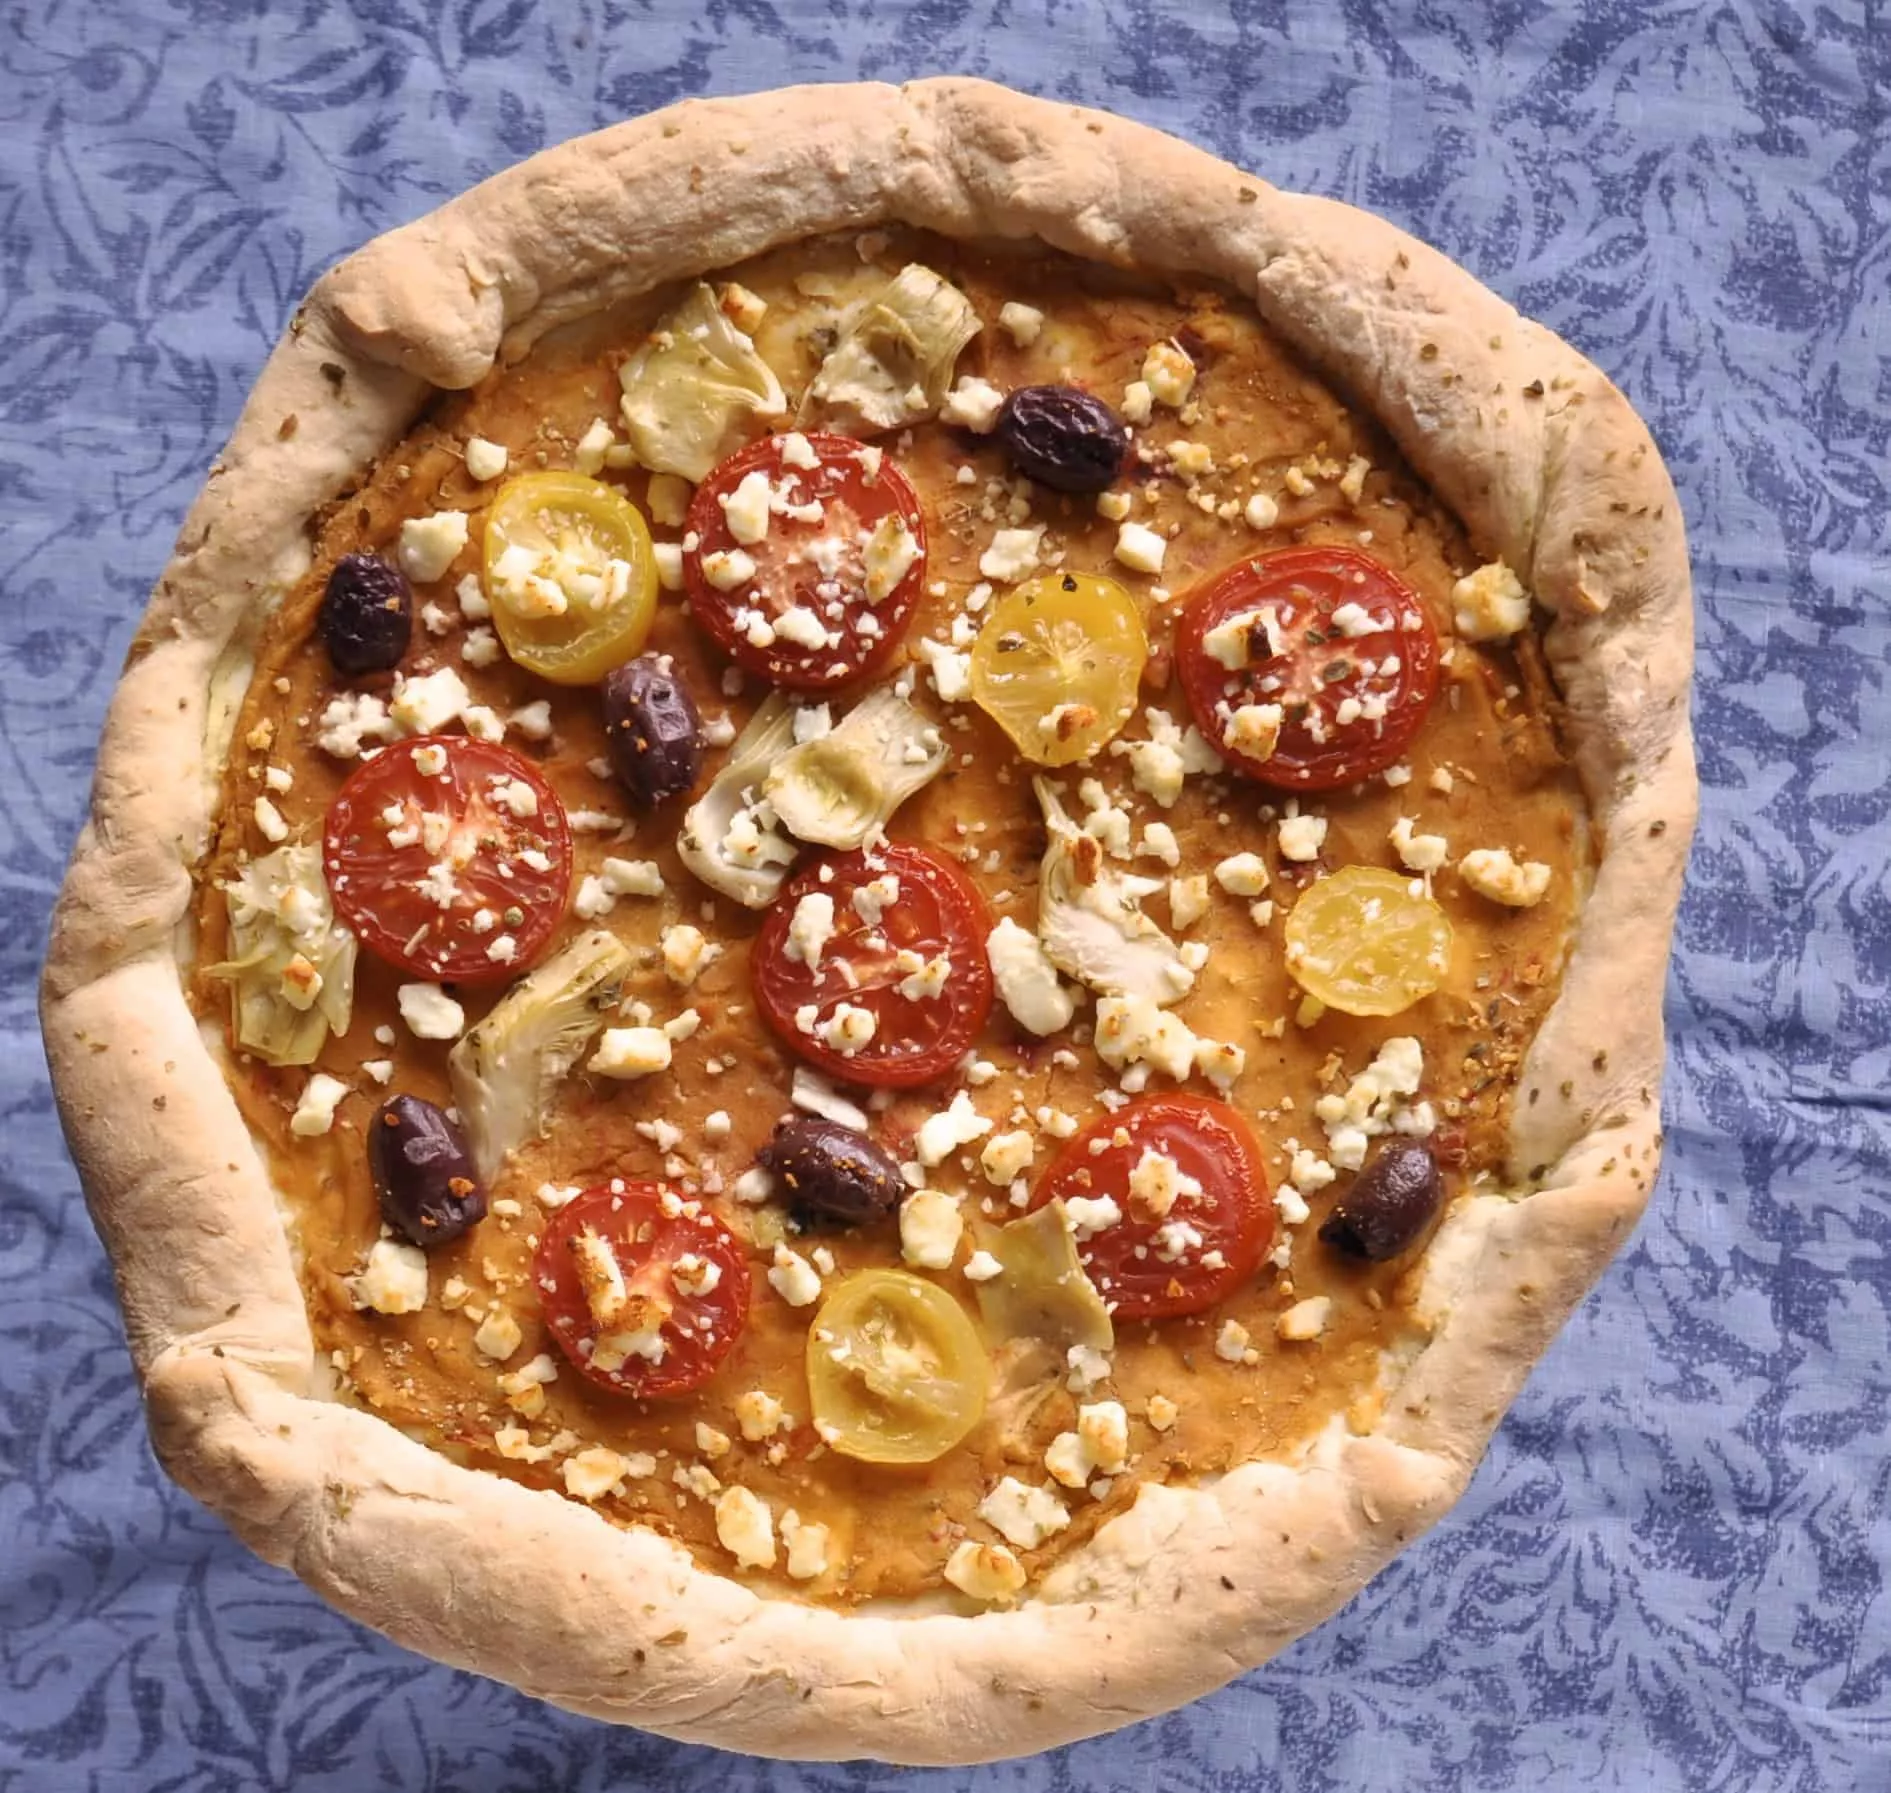
Once risen and par-baked, spread sauce and toppings, then finish baking until golden and the cheese is bubbly.
Bake on a stone or pan, in your oven or even a grill. It’s delicious any way you choose, thick or thin! I give you options in the recipe for lots of different ways to cook your pizza.
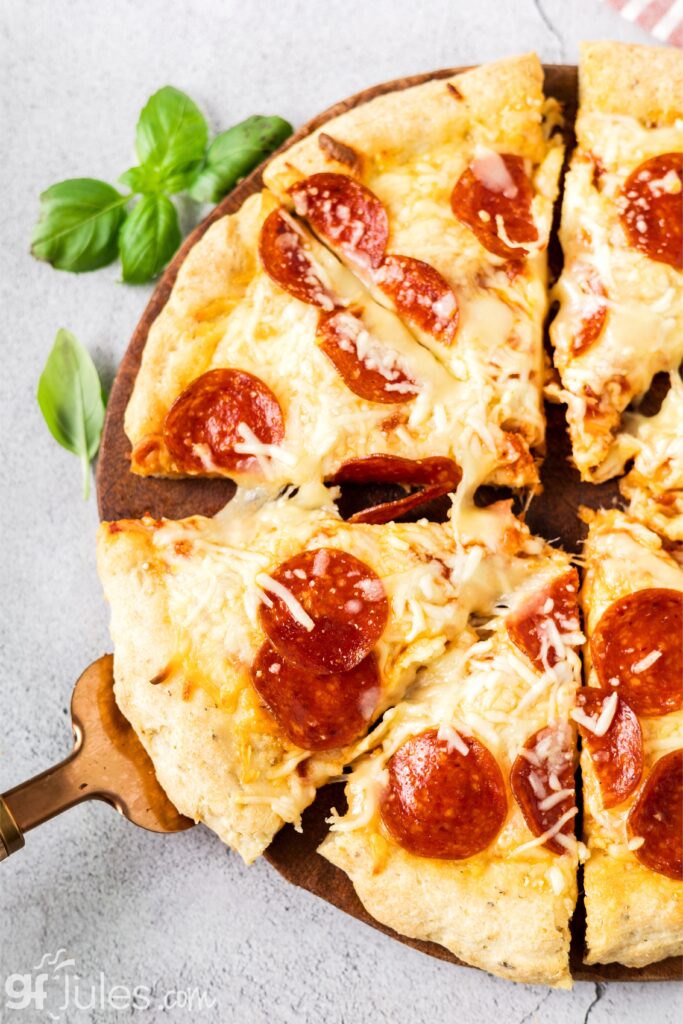
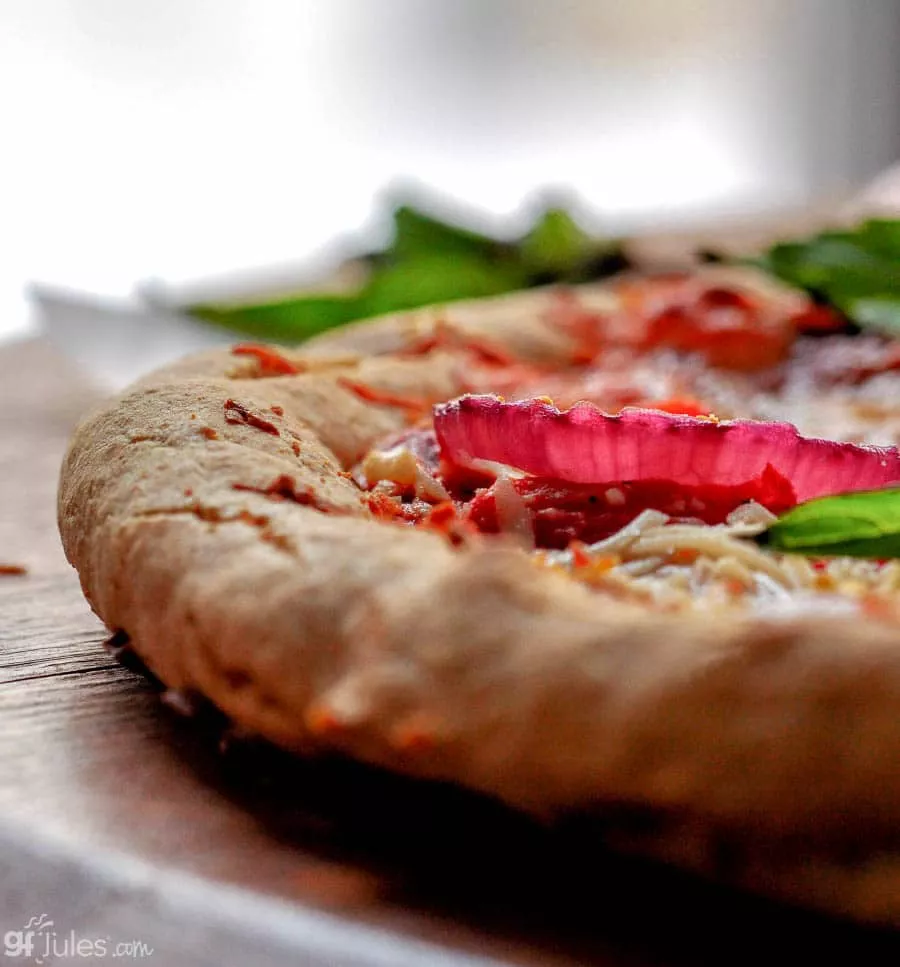
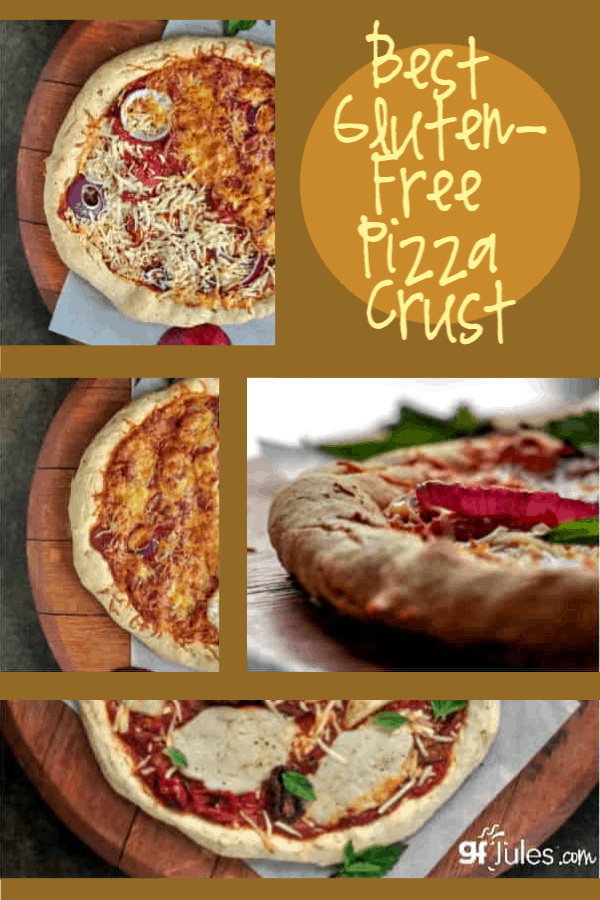
Once baked, this delicious crust is everything a pizza lover could ask for!
Once you get good at making the pizza crust, try something new like gluten free calzones or gluten free pizza rolls!
The pizza possibilities are nearly endless!

What’s the Best Gluten Free Pizza?
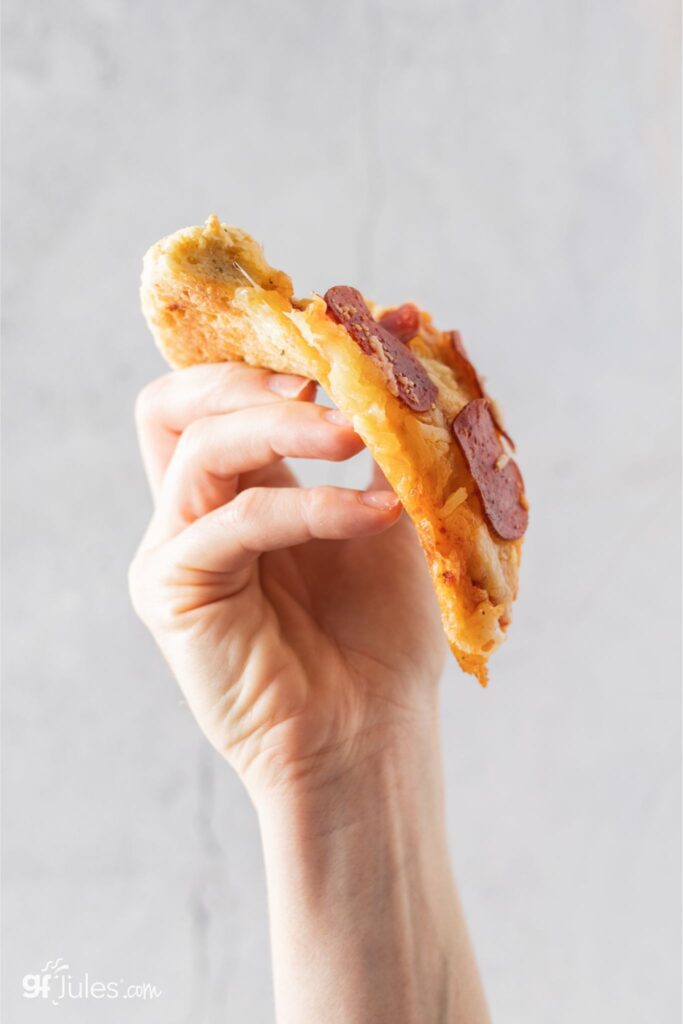
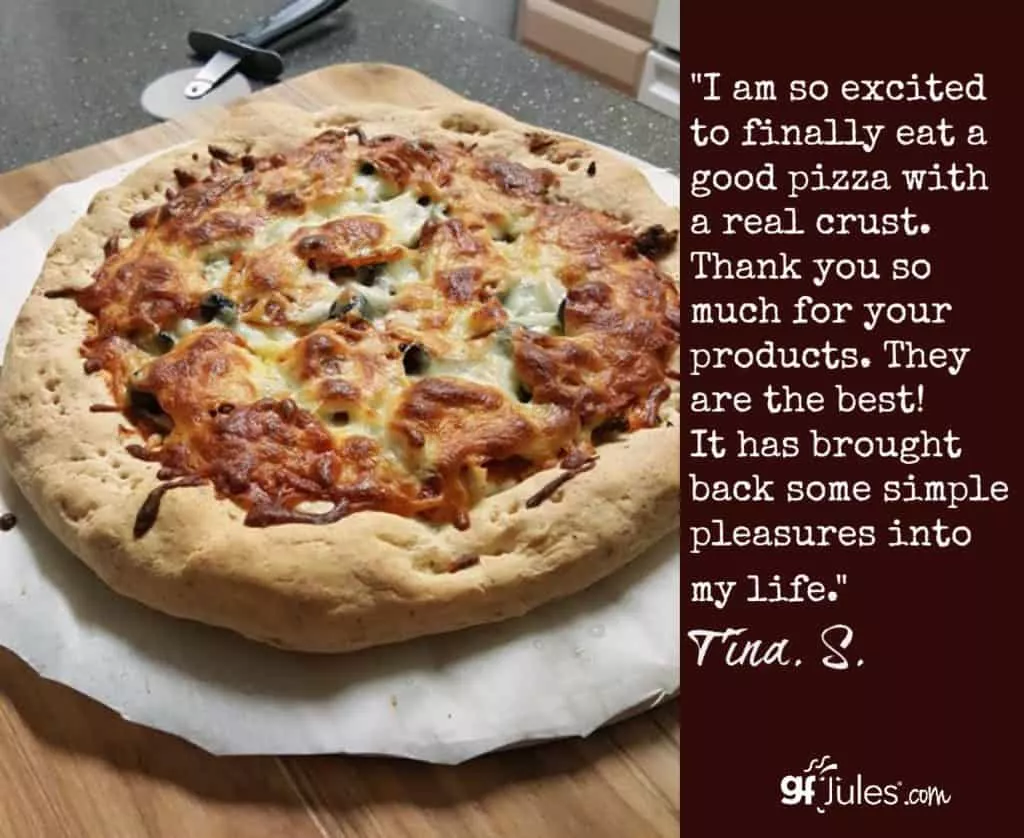
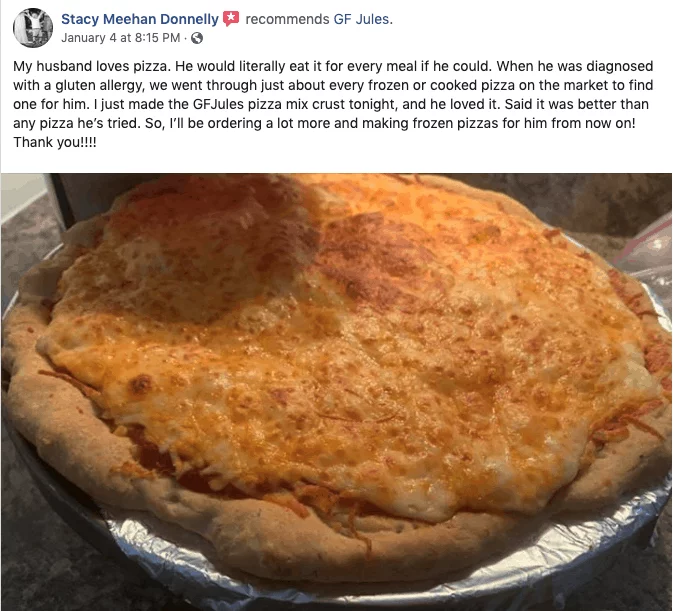
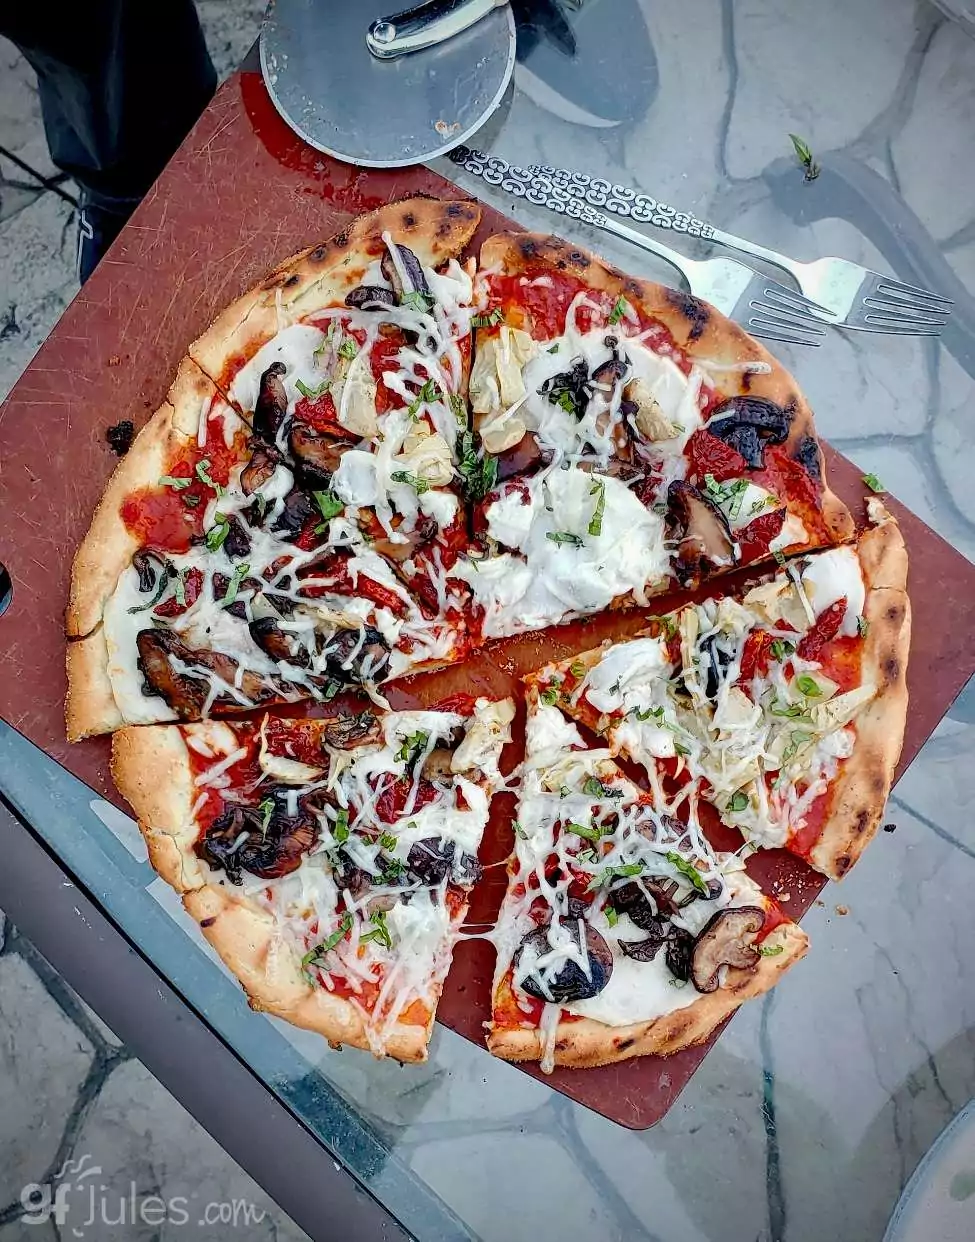
This pizza has made gluten free pizza believers out of so many people! To prove it to you, I’ve put some of their pizza pics here.
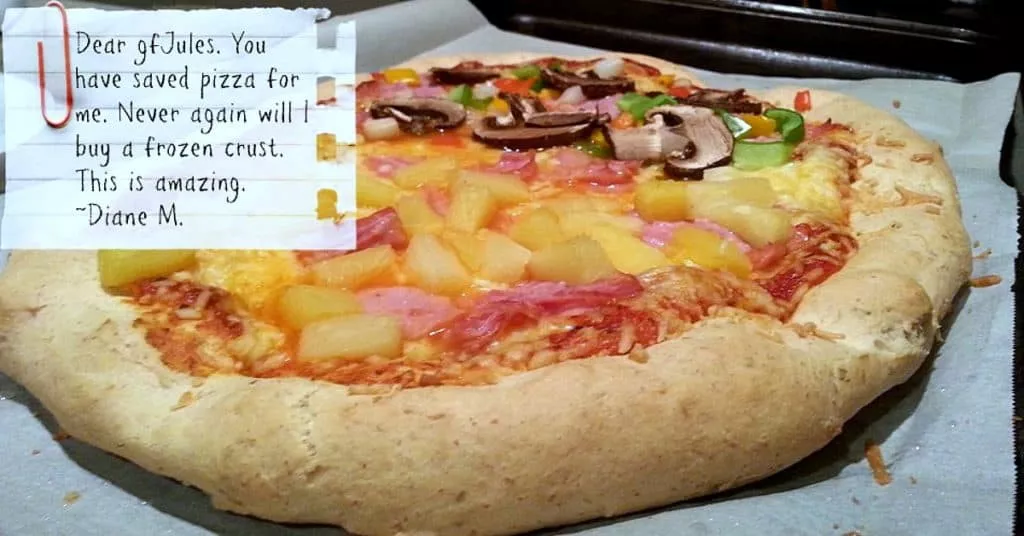
Real pizza strikes a chord with people.
It’s right up there with bread and chocolate chip cookies as the top 3 things folks think they will miss most when going gluten free.
I suppose rice cracker gluten free pizzas have their place, but when you want a real pizza with a real doughy crust, this will be your go-to, real pizza recipe (but be ready, it could be a real tear-jerker for you, too!).
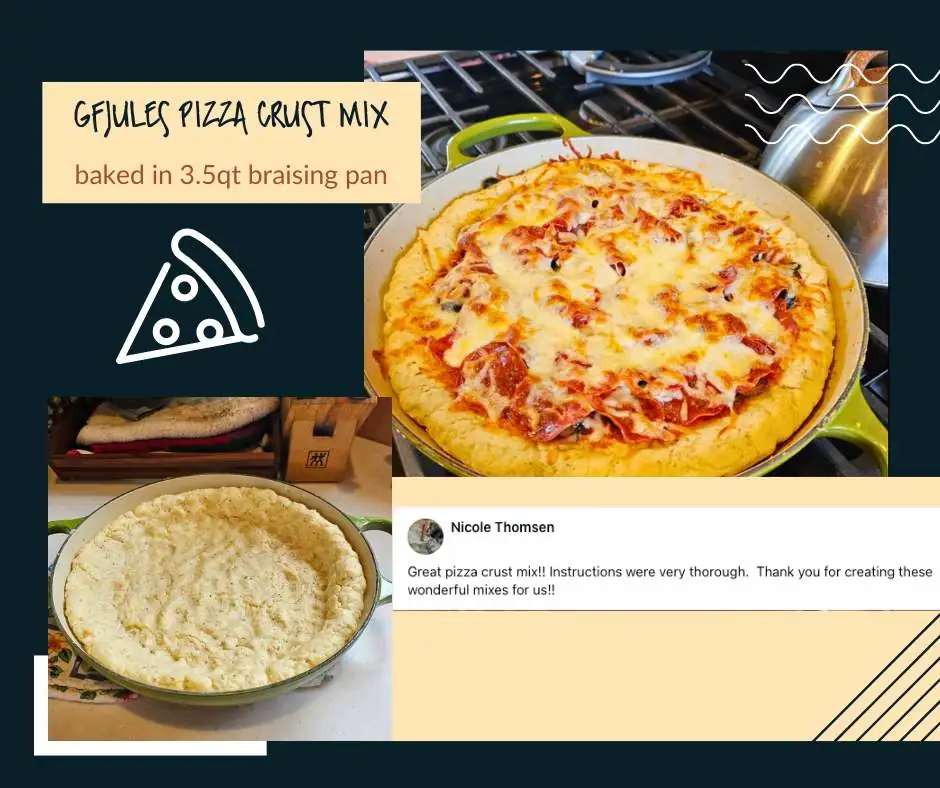
You can even bake this delicious gluten free pizza crust in a slow cooker / crockpot (click here for directions) or in a cast iron or braising pan.
You choose how you would like to cook it!
I worked so hard to develop a truly AWESOME gluten free pizza crust because at this point in my gluten free life, I’ve got to be honest, I’ve made a lot of gluten free pizzas.
I’ve made gluten free pizzas for dinner parties, I’ve made them for cooking classes of 85 people, I’ve even made them for food shows for hundreds of samplers. I have never had a complaint, but I have actually seen a few tears from folks who have been deprived of real pizza for so long.
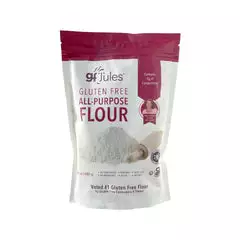
If you have been missing out on REAL pizza because you’re gluten free, don’t! Now you know you can have it anytime you like — either with my easy gfJules Pizza Crust Mix or from scratch with this handy recipe and my gfJules Flour.
The only tough part now is deciding … thick or thin crust?? Are you ready for a slice?

What’s the Best Pan for Gluten Free Pizza?
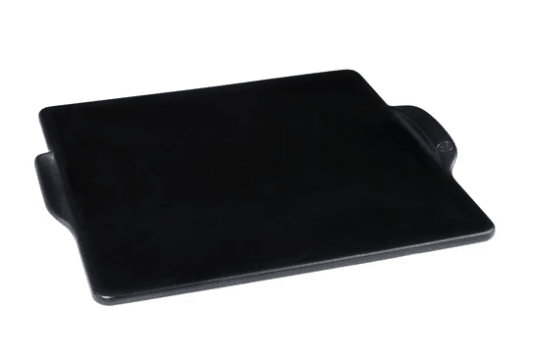
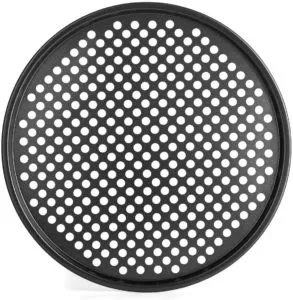 To bake this recipe as gluten free pizza or gluten free focaccia, I like using a pizza stone or a pizza crisper pan covered with parchment sprayed with non-stick cooking oil.
They are usually circular pans and have lots of little holes in them to help the air flow and to make the outside of the crust crisper, while allowing the inside crust to remain chewy.
Another option is a traditional pizza stone (this one comes with a pizza peel, too — so handy!) or this gorgeous one from Emile Henry.*
How Do You Grill Gluten Free Pizza?
This gluten free pizza dough recipe also works on the grill!
Yes, I’m talking grilled gluten free pizza, here. SO yummy – just rise it according to the recipe, then grill instead of baking in the oven.
It imparts a real pizza oven quality to the crust and is truly delicious (just be sure to monitor it so that it doesn’t burn!).
Follow this link to my full Grilled Gluten Free Pizza Recipe for all the how-tos and tips!
What are Other Ways to Cook Gluten Free Pizza?
I’ve also used a portable pizza oven when I offer samples at gluten free shows. My favorite so far is the Presto Pizazz® Pizza Oven. This handy gadget is fun to watch in action and takes any guess-work out of rising and baking a pizza.
Another option is to simply cover a baking sheet with parchment paper sprayed with cooking oil and bake the pizza in a round or rectangular shape on that. Whichever pan or method, this recipe can make a thin or thick crust and will make your whole family happy.

Particularly when using a regular baking sheet though, don’t make the center of the crust too thick or use a very watery pizza sauce, as it will be harder to get that part of the pizza nice and crispy on the bottom.
Can I Par-Bake Gluten Free Pizza Crust?
 Yes! You can bake a gluten-free pizza crust and stick it in the freezer to make it more convenient for dinner later. I mean, who doesn’t love being able to pull a frozen pizza out and shove it in the oven? Well next time you make this recipe (or make one of my gfJules Gluten Free Pizza Crust Mixes), make two and freeze one!
My gfJules Pizza Crust Mix actually makes 2-3 large pizzas already (it all depends on just how thick you like your crust!), so if you’re not in the mood for two large pizzas today, you’ll be set, because you can easily par bake one and freeze it for later!
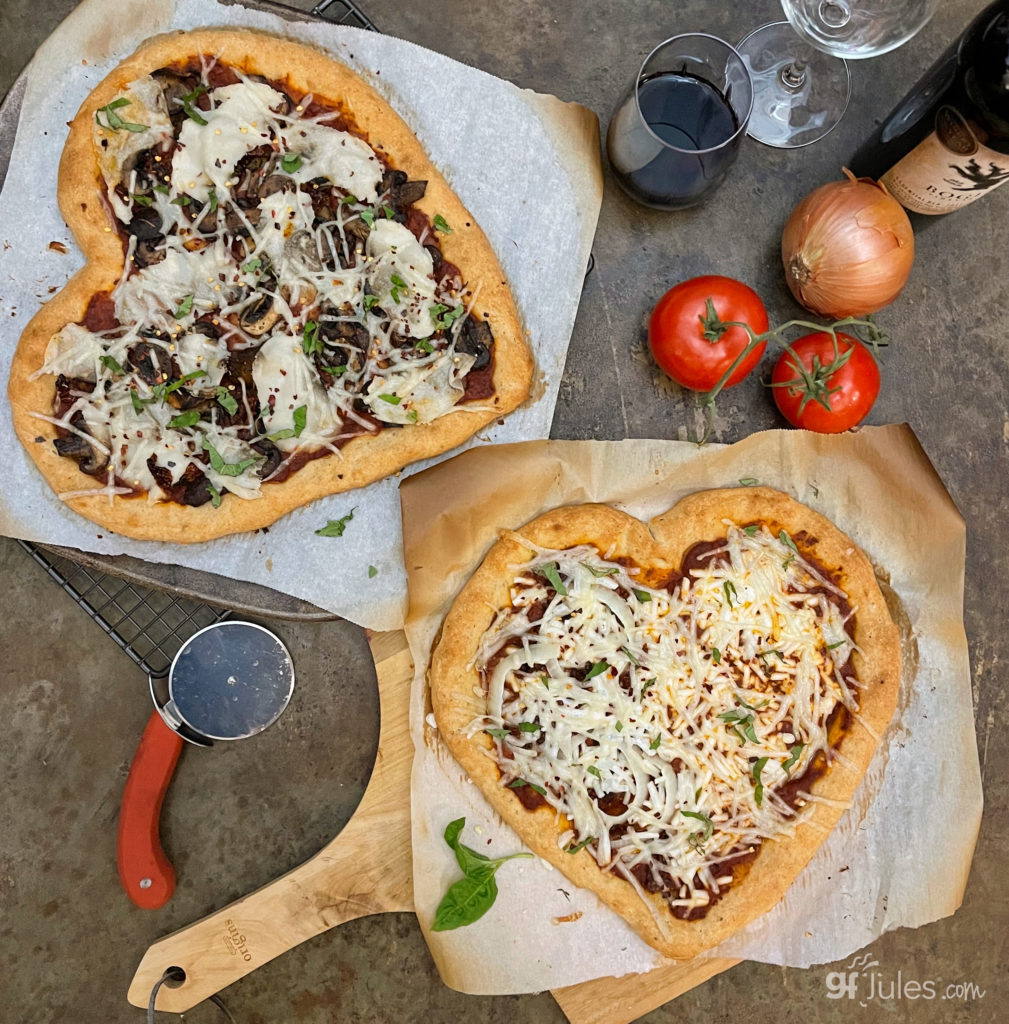
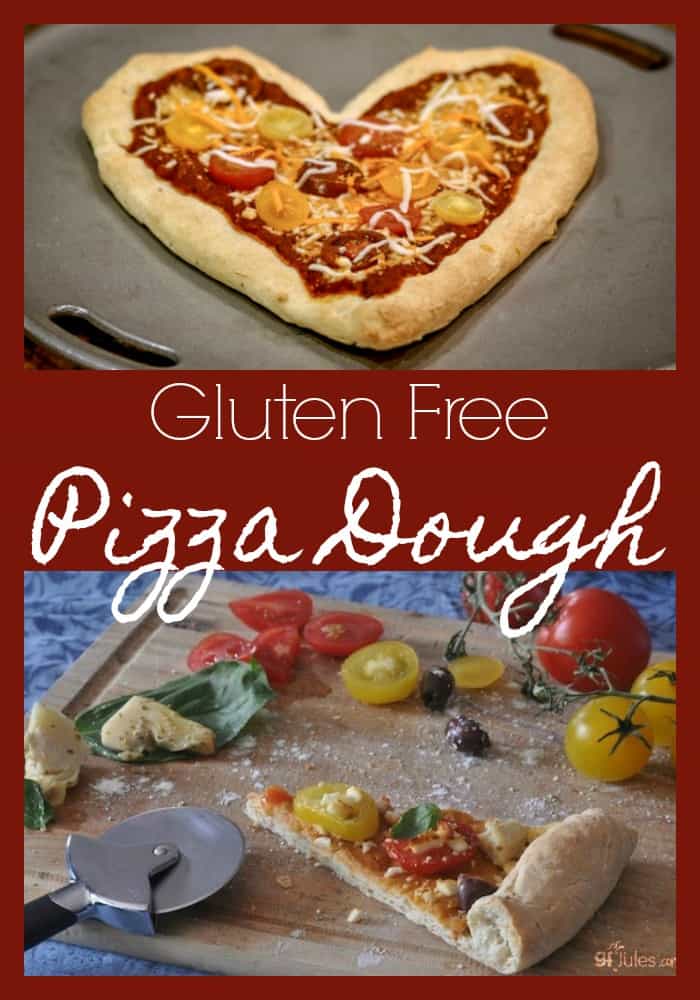
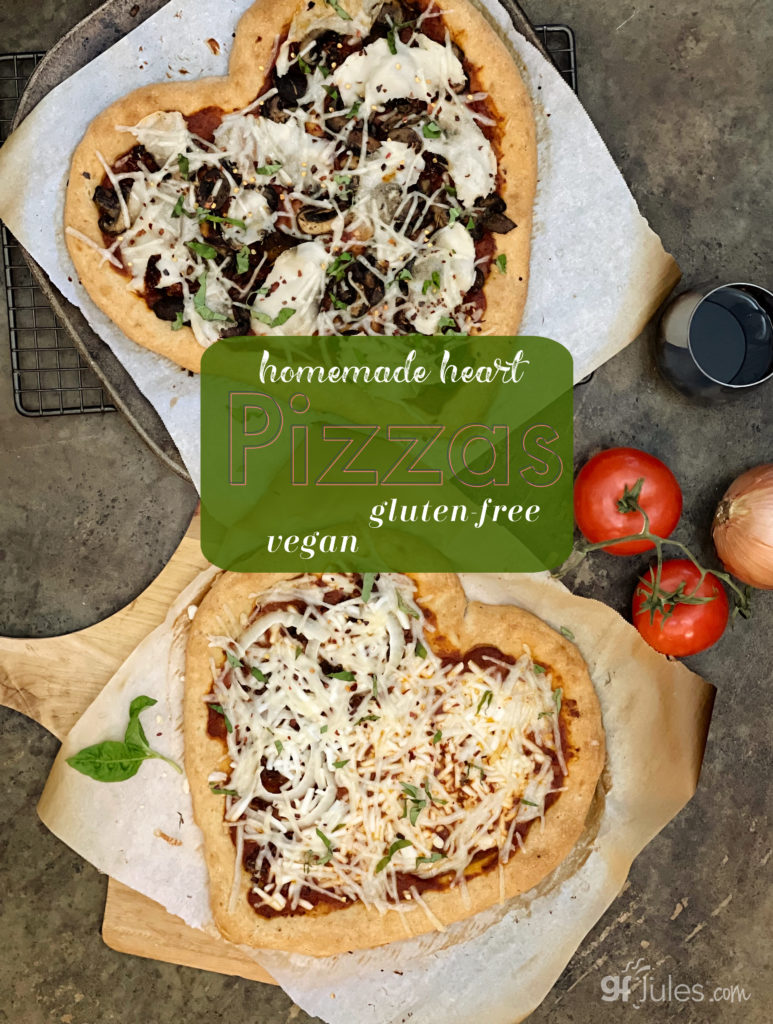
You can even make these delicious, authentic gluten free pizza crusts into HEART shapes (or any shape, really!)
How do I par bake gluten free pizza crust and freeze for later?
Follow the instructions for making, spreading and rising the pizza just as you would normally, but then bake it at 450F for only about 5-7 minutes, or until the dough has puffed and is starting to look a bit dry but not brown.
Remove the crust to fully cool to room temperature and then either cover with toppings or not, your choice. Either way, at that point, wrap the pizza well with plastic wrap … twice. This will prevent freezer burn. If you know you’ll be keeping it in the freezer for a few weeks or even a month, I’d suggest another layer of foil, as well.
When you’re ready for gluten free pizza next time, preheat your oven to 450F, then remove the foil and plastic wrap. If you haven’t already topped it previously, add sauce and toppings now.
Place the frozen gluten free pizza on your favorite pan or pizza stone and place it in the preheated oven, baking until the crust is browned and your toppings are melted, at least 10 minutes.
RECAP: How to make the Best Gluten Free Pizza
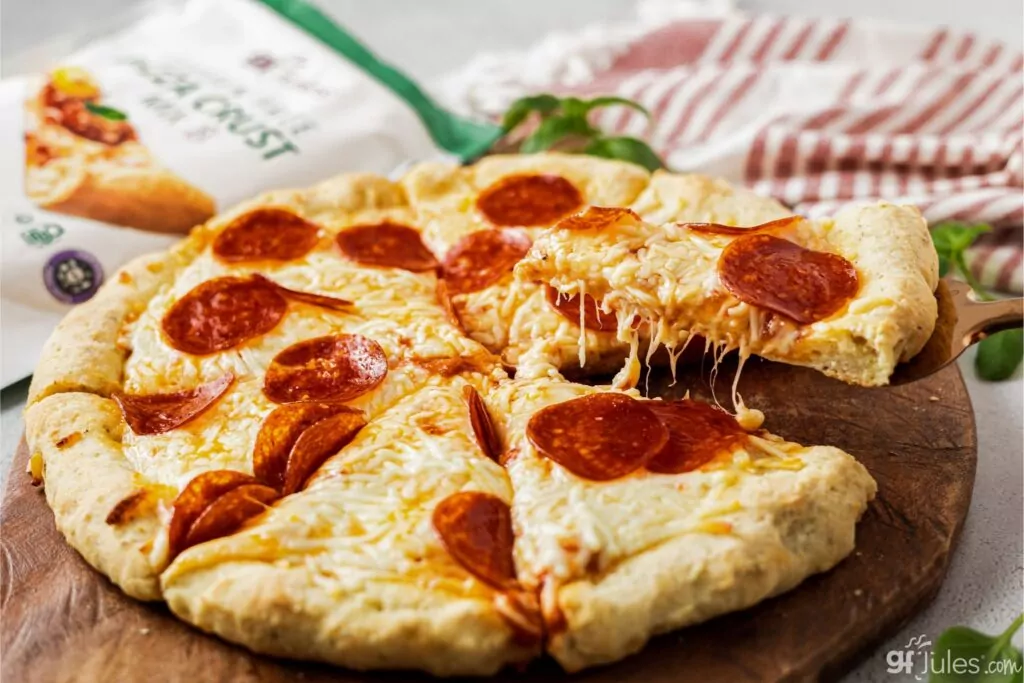
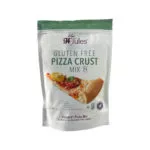
 ✦The easiest way to gluten free pizza nirvana is with my gfJules Gluten Free Pizza Crust Mix. It takes any worrying or guess-work out of the equation — pre-measured with ingredients selected just to get that perfect “chew” out of your gluten free pizza dough. It makes 2-3 large pizzas, or you can only make half the mix and save half for later. OR you can par bake and freeze a pizza or two for later!
✦My Gluten Free Pizza Making e-book gives you 13 different pizza recipes for any type of pizza craving!
✦And if you need more proof that this dough (from scratch or using my mix) is easy to make into a pizza, watch my 14 year old son do it in this short video!
*For YEAST-FREE gluten-free pizza, check out my Gluten Free SOURDOUGH Gluten Pizza Crust Recipe, or the dough directions below at the end of the recipe card.*

What are you waiting for? Isn’t it about time you enjoyed the BEST gluten free pizza?
Choose your method: I give you three here, one for using a pizza stone and turning your regular oven into a pizza oven! one easy no-rise method that has your pizza ready in only about 20 minutes! and one traditional method that turns out a great gluten free pizza every time.
The Best Gluten Free Pizza Recipe
Gluten Free Pizza Dough Recipe

Ingredients
One 12-inch Pizza or Focaccia
- 1/2 mix gfJules® Gluten Free Pizza Crust Mix (~ 1⅔ cup or 8.5 ounces of mix)**
OR THESE DRY INGREDIENTS
- 1 1/2 (202) cups (grams) gfJules® All-Purpose Gluten-Free Flour OR 210 grams gfJules Gluten Free Multigrain Biscuit & Breakfast Baking Flour (corn-free)
- 3 Tbs. milk powder dairy or non-dairy (like coconut milk powder) OR almond meal OR plain GF potato flakes
- 1/4 tsp. oregano
- 1/4 tsp. garlic powder optional
- 1/2 tsp. salt
PLUS
- 2 egg whites or egg substitute like flax egg or aquafaba room temperature
- 2 Tbs. extra virgin olive oil
- 1/2 tsp. apple cider vinegar or lemon juice
- 1/2 cup warm water (if making from scratch, add 2 Tablespoons additional water)
- 2¼ tsp. rapid rise yeast gluten-free (1 packet - included with pizza crust mix) ** (for yeast-free directions, scroll to the bottom of the recipe)
- additional olive oil to brush onto the crust
- pizza sauce & toppings of choice
Instructions
Make the Dough:
- Bring all ingredients to room temperature. If warming egg whites, place whole eggs in a bowl of very warm water for a few minutes while gathering other ingredients.
- (From scratch: whisk together dry ingredients except yeast; set aside.)
- In a large mixing bowl, combine egg whites, olive oil, cider vinegar and water.
- Using a stand mixer (preferably), slowly add in the dry ingredient mix with yeast. Beat for 2-3 minutes on high to get a firm but very sticky dough that can still be spread; if dough is tight or resistant to spreading out on the pan, mix an extra 2-3 tablespoons of warm water into the dough until absorbed.(Note: this recipe may be mixed by hand in a large bowl, using a wooden spoon – stir as long as you can!)
FORM THE CRUST:
- Spoon dough onto oiled parchment. Put a tablespoon of olive oil into your palms and spread pizza out to a 12-14” circle or form small personal pizzas, adding more oil to your hands if the dough is sticking. Create raised edge to contain sauce.
FOR PIZZA STONE:
- Preheat oven with pizza stone on rack to 500°F (static)/475° F (convection).
- Cover crust with oiled parchment and let rise for 30 minutes in a warm spot.
- Remove top parchment and transfer pizza to hot stone.
- Bake for 3-4 minutes or until the crust is lightly browned, bubbled, and firm.
- Remove to spread warm sauce and toppings, then bake for 2 more minutes.
NO RISE METHOD:
- Place pizza pan on bottom rack of oven. Turn oven on to 500°F. Bake for 18 minutes or
until crust is lightly browned, risen, and firm. - Remove, add sauce and toppings, and bake for 3-4 minutes on top rack.
TRADITIONAL METHOD:
- Preheat the oven to 375° F (static)/ 350° F (convection).
- Cover crust with oiled parchment. Let rise for 30 minutes in a warm spot.
- After the crust has risen, bake for approximately 15 minutes or until the crust is risen and lightly browned.
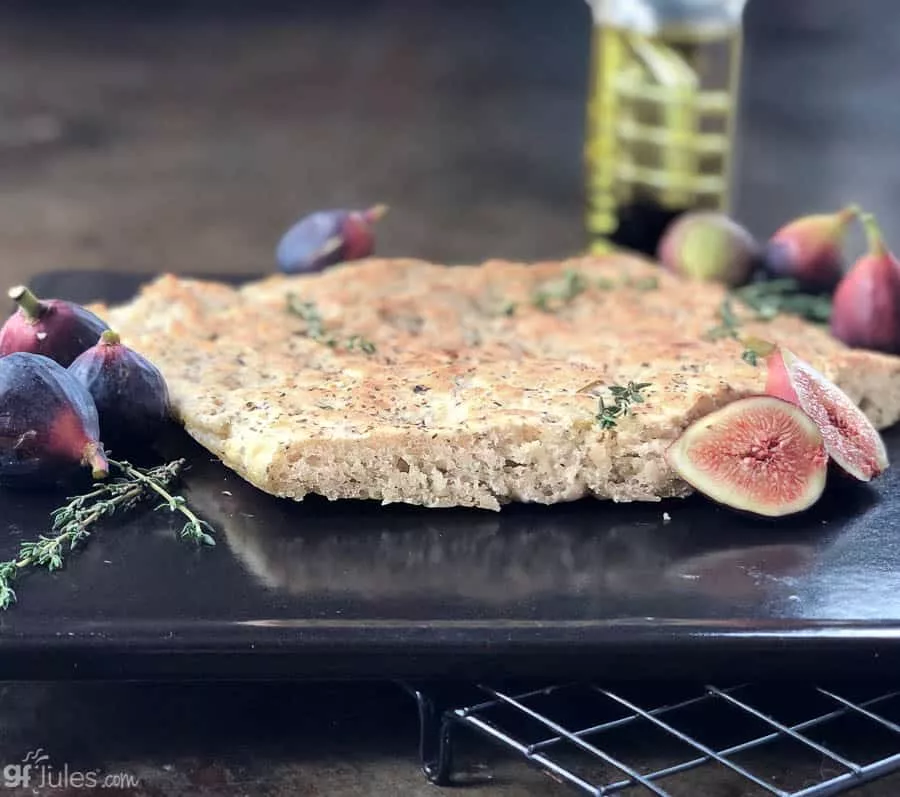
- Spread with warm sauce and toppings (or if making focaccia, sprinkle fresh rosemary, sea salt or other toppings) and cook an additional 8-10 minutes, or until the cheese is bubbly, if using.
Video
Notes
YEAST-FREE PIZZA DOUGH INSTRUCTIONS
from reader Amanda Marie: "First I have to say that I love this pizza recipe. It works really well and I’ve gotten a lot of positive reviews on it both at school and from the very tough crowd at home. Jules knocked it out of the park with this recipe! Second, I have to give major props to Chef Patrick Auger because I never would have known how to figure this out without his guidance. Thanks Patrick! To bake gluten free pizza without yeast: Add to the dry mixture:- 1 Tablespoon baking powder
- 1 heaping teaspoon baking soda
** Please keep in mind that nutrition information provided is per serving, which may vary. While we have taken care to provide you with the most accurate nutritional values possible, please note that this information may differ significantly depending on the exact ingredients and brands that you choose to use to make this recipe. Additionally, where options are given for ingredients, the resulting calculation may include all ingredient options instead of only one per line, skewing the totals significantly.
Recommended Products
Any links to Amazon may earn me a small amount from qualifying affiliate purchases; this amount goes to fund this blog and does not cost you anything additional.

Freezing Uncooked Gluten Free Pizza Crusts
If you’d like yet another way to prepare several of these yummy gluten free pizza crusts in advance, freeze them and bake them later — all at one time — hop to In Angela’s Kitchen for her how-to photos of how to make your own frozen pizzas with my mix! Angela:
Cut 8 parchment circles 2 inches larger than trays. Lightly oil trays so parchment sticks, put parchment circles on trays, then oil parchment. Set aside.
Working with only 4 crusts at a time, mix together 4 crusts according to the package directions. Divide pizza crust between 4 prepared trays. Drizzle a bit of olive oil over each crust. With well oiled hands, pat out pizza crusts, leaving a ridge at the edge to contain toppings.
Spread pizza sauce onto each crust. Add toppings.
Wrap each pizza well, label and freeze. Repeat with remaining pizza crusts and toppings.
To bake: unwrap pizzas and remove from trays. Place pizza (still on parchment) on your favorite pizza baking pan, pizza stone or directly on the baking rack of the cold oven. Close oven door. Set oven to bake at 400 degrees F. Check pizza after 25 minutes. Depending on toppings, bake for another 15 to 20 minutes until crust is baked through and toppings and bubbly and cheese is melted. Enjoy!
I hope you love this recipe as much as we do!
Pin it for later!
**Emile Henry has provided me with a baking stone to use in my gluten free baking. As always, all opinions are my own. See my disclosure policy for more information. Working with select brands I love allows me to keep bringing you free recipes, and I hope that in the process, you’ll learn about some of the products I choose for my family. Thanks so much for your support!


I use white rice flour to help pat down the sticky dough. I’ll have to try the oil. Potato starch is another option as well. It gives the pizza a rustic look as well. Thanks!
Have you ever made this yeast free??
I have not made this particular recipe yeast-free, but I have made delicious breads yeast-free! I need to find time to experiment with pizza recipes, too!
I would be interested in a yeast-free version as well! TY
I don’t usually have liquid creamer or milk powder on hand. Will heavy cream or whole milk work ok, or should I just go to the store and get what the recipe calls for?!
Oh, yes, I forgot to mention that I only had one cookie sheet so I used heavy duty aluminum (one thickness) for two of the pizzas and it worked fine so if you need more pizzas than you have pans for you might use the heavy duty foil.
I just tried my third ‘mini’ pizza. I divided the dough into 4 pieces and put the toppings on all of them. I baked two of them and put the other 2 in the freezer. I ate one as soon as it was done and it was delicious. After cooling, I put the other baked one in the freezer for supper to warm in the microwave. Not quite as good but it was still delcious. It would probably taste just as good as the original if I’d used the oven but I was curious. Then I baked one of the others for lunch today. It was just as good as the one I ate when it was “fresh”, so topping before freezing works fine for me. As you can see I was hungry for pizza.
Do you happen to have a recipe for a baking mix that could be used for biscuits, etc. without having to start from scratch. I love your flour by the way.
I would like to make the pizza but I live alone so I was wondering, if I divide the pastry into 4 pieces and make smaller pizzas, do I still use the same baking time (15 min)? Can I go ahead and put the sauce and toppings on all the crusts before I freeze them or is it better to wait until I’m ready to eat them?
Hi Lucille, that’s a great idea! I have made these as smaller pizzas before and they work beautifully. Bake times are really more dependant on the thickness of the crust than anything else. As for freezing, I have had great success with parbaking, cooling, wrapping and freezing before topping; I would imagine it would work fine to go ahead and finish them off with sauce and toppings before freezing though. I haven’t tried this method yet, but you’re making me want to run and do it now! If you get time to try this method before I do, please let me know how it works out!
Hi Jules,
I am going to try the pizza, it sounds great. Could you please give me the time and directions you use for the Presto Pizazz® Pizza Oven?
Thanks so much,
Linda
Hi Linda, I usually let it rise on the Pizazz Pizza Oven for 12-15 minutes (use the lower burner only), then bake it using both burners with the toppings on for another 10-15 minutes, depending on how thick your crust is. I have baked it longer and it has been fine though. If it isn’t cooked in the middle when sliced, put it back on the pan and bake it longer. It’s pretty easy once you start using it!
I would like to make the pizza but I live alone so I was wondering, if I divide the pastry into 4 pieces and make smaller pizzas, do I still use the same baking time (15 min)? Can I go ahead and put the sauce and toppings on all the crusts before I freeze them or is it better to wait until I’m ready to eat them?
So, I made the pizza crust tonight. It tasted good, but I had a problem with the dough not rising. My yeast was current, and I followed the instructions. What might have caused this?
BTW — The paragraph about covering the pizza crisper pan with oil-sprayed foil could be an actual part of the recipe–and highlighted. I skipped it and ended up with major sticking.
Question: If you cover the crisper holes with foil, would the crust still become aerated during the cooking process?
I bake this pizza on a regular jelly roll pan as well (see photo in recipe where my daughter is spreading the sauce) and it works just fine. However, the pizza crisper tray seems to solve the problem some folks have of the middle not baking as well, either because the crust is too thick in the middle or the sauce is too watery. The crust is, in fact, still able to bake better even with the aluminum foil covering the pan, since the foil covering the holes is still thinner than the metal pan itself. Also, if you don’t cover with foil, this wet dough will fall into the holes and then rise, causing major difficulties when trying to remove the crust from the pan!
About your rising problem, not sure what happened for you. It’s imporant to cover the crust while rising if you have any problems with the rise, and be sure anytime you are working with yeast that your liquid ingredients are room temperature or slightly warmer, in order to help activate the yeast.
Jules —
Thanks. I will try using the foil the next time. As for the rising, it could have been any number of things.
By the way, instead of pizza sauce, I use an Italian boxed brand (Pomo something) of strained tomatoes. It’s expensive, but makes 3 pizzas. The tomatoes cook faster and more thoroughly than a sauce, puree, or paste, and never cause that “pizza tummyache” people sometimes get.
Just noticed that there seems to be a duplicate instruction:
Preheat the oven to 375° F (static). “After the crust has risen, poke several holes in it with a fork to prevent large air bubbles forming, then bake for approximately 15 minutes.
After rising, preheat the oven to 375° F (static). Bake for approximately 15 minutes. The cooking time will vary depending on your pan, but the crust should have risen nicely by this time, and just begun to slightly brown.”
They are different enough that they look like they might be separate. However, I looked at the video and it helped clarify. Thanks for having the video!
This is my first time making the pizza. I’ll let everyone know how it turns out.
Thanks for pointing that out Geri – I had inadvertently retyped that line of the directions twice! Fixed now!
Jules, I’m slightly confused and I was hoping that someone else had also noticed and commented on it here, but not so. In the ingredients list, you have 2/3 c. creamer listed and in the directions, you have 1/3 c. listed!! I’m going to wing it, and hope I choose right
never mind….just read the directions again and i see it now.
Every gf recipe I have seen for pizza dough involved par-baking the dough. What is the purpose of this?
Also, my usual pizza making method is to use a pizza stone in a 500 degree oven. Is this too hot for gluten free dough? I’m a sucker for real new York style thin crust baked at high temp, but have some celiac friends, so I’d love to be able to make that style.
Hi Pete – I can’t comment on other folks’ gluten-free pizza crust recipes, but with mine, the dough is really wet, so the first parbake is to help it really bake and begin to get crispy on the edges. Without that bake time, the wet sauce would keep the dough too wet in the middle. That still sometimes happens to folks when they use a really thin pizza sauce. I’d definitely give the pizza stone a try (as long as it hasn’t been used for gluten pizza doughs before, since it is nearly impossible to rid a pizza stone of the residue of past pizzas!) – I’ve heard from lots of folks that they have had success with pizza stones and my GF crust. Let us know how it turns out!
I make this pizza crust all the time using Almond Milk. I make mini pizzas and then the gluten free people can custom make their own. Also this past Saturday my husband suggested adding 1/2 tsp sugar and the results were amazing!! The kids thought they were back to eating a thick crust pizza.
What a great experiment! I’ll have to give that a try next time I make the crust too! Thanks for sharing!
What ;could be used in stead of tapioca in a pizza crust? I have a friend that can’t eat tapioca.
Tapioca flour is a root starch – as a sub, try potato starch (not flour), corn starch or arrowroot powder.
I made this pizza crust today. I used sweet dairy whey instead of the powdered milk, i had both on hand, but had already opened the whey. This pizza was insanely good. It was chewy and crispy and amazing. My 16 yr old son, who is not gluten free, loved it. I am giong to try this again, using regular oil, cinnamon and see if i get a nice breakfast flat bread…Amazing, i recommend this to anyone who has been dying for regular pizza again!Thank you so much Jules! I cannot believe how good this is.
Is there any way to do a stuffed crust? The type with the cheese in the outer rim?
Hmmm – I haven’t done it myself, but I’d think it would be easy enough to do if you spread the dough out wider than you want for your pizza, spread the cheese near the edge, then roll up/press the extra dough on top. Even if it’s not pretty the first few times you do make it, I’m sure it will taste good! Could be really fun to practice and have to eat your experiments! : )
Would it be ok to substitute plain old milk (1%) for the creamer or milk powder? I want to try this tonight!
You actually cannot sub liquid milk for powdered milk. You could probably get away with using whole milk with some success in place of the creamer though. The milk powder provides structure to the recipe, as does the liquid creamer as an alternative, so you really need to use one or the other for best results.
Looks yummy! i have to try it! Could I substitute vance’s dairy free for the milk, since my son is casein free?? btw, made your beefy stew last night– oh so yummy!
Yes Julie, you could reconstitute the Vance’s DariFree and use that as milk, or use any other dairy-free milk like soy, almond or coconut.
I am allergic to milk soy and wheat so what would i beable to just not put in the powder milk or creamer?
Ashlie – I use a product called Vance’s Dari-Free as the milk powder. It’s made from potatoes and thus is milk and soy free. For creamer to use instead, simply use coconut creamer. They both work great as milk and dairy-free options!
Quite possibly the best pizza (gluten free or not) EVER. So chewy and bakes up just like the real thing. The garlic gives it a wonderful flavor. Spread out so easy with the oiled hands. I love that you included a freezer option. Thanks so much!
I just wanted to say that there’s a little GF bakery where I live that has the best Italian pizza crust that I’ve ever had; including gluten pizza crusts. It’s light, and chewy in the middle, and the bottom has a crispiness that’s to die for. Your recipe is the equivalent to this pizza crust. Now I can spend at least half of the amount on this pizza dough, and have it in my home whenever I want it. I’M IN HEAVEN!!
I LOVE how this pizza crust turns out, and I know your instructions say that the dough will be sticky, but it is EXTREMELY sticky when I try to spread it … so sticky that I can only spread it with a spoon in a manner similar to spreading frosting on a cake. Do I need to add more flour, or do you have any tips for getting a less sticky dough?
Thanks for your flour and all your great recipes — it’s made adjusting to the gluten-life so much easier!
I’ve had more luck just pouring olive oil into my hands and then spreading the dough with oiled fingers. My kids can do it this way too. It’s weird how sticky wet this dough can be, but bake out perfectly, so I don’t want to mess with the proportions too much because I love the end result! Try the oiled hands technique and see if that works any better for you. If not, you can roll the ball of dough in more of my flour, but the objective should be to not integrate much more flour into the dough before baking, just to keep it from sticking so you can spread it.
I use a rubber spatula with a bunch of oil to spread and it works great;-) (except it always ends up sticking to the tin foil…even with a 1/4 cup olive oiled added onto tin foil first…suggestions?)
Also, I substitute a half cup warmed almond milk instead of the creamer/milk powder and it turns out awesome!!!
Hi Jules, I was just wondering about using a convection oven- what would be the temp required and for how long? I cant wait to try this recipe, you have helped so many people, I think your wonderful.
Thanks so Much
Cheers Brenda