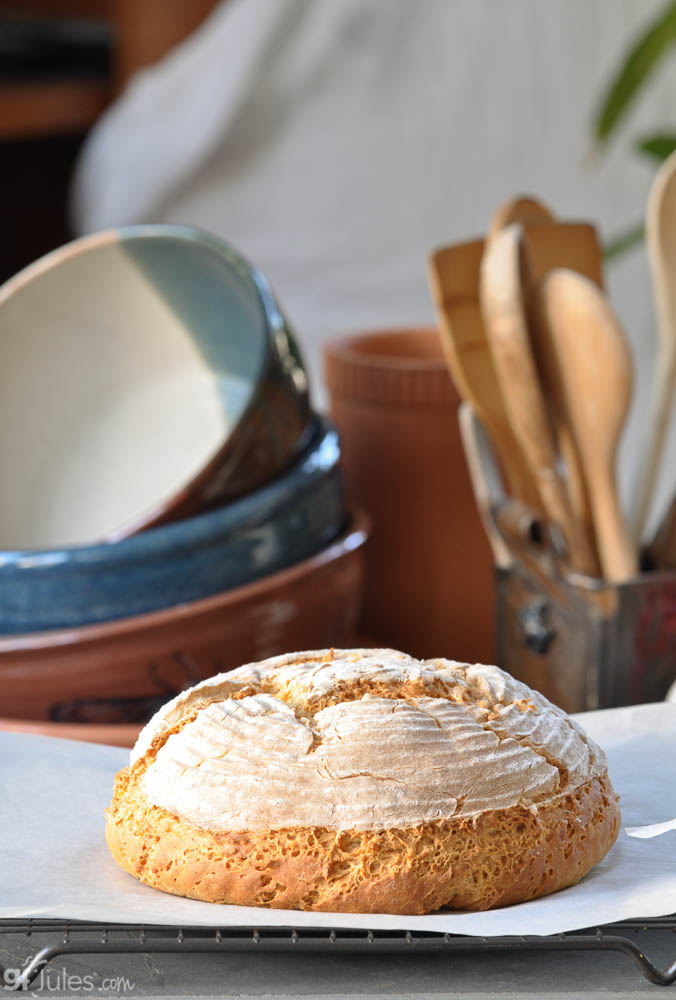
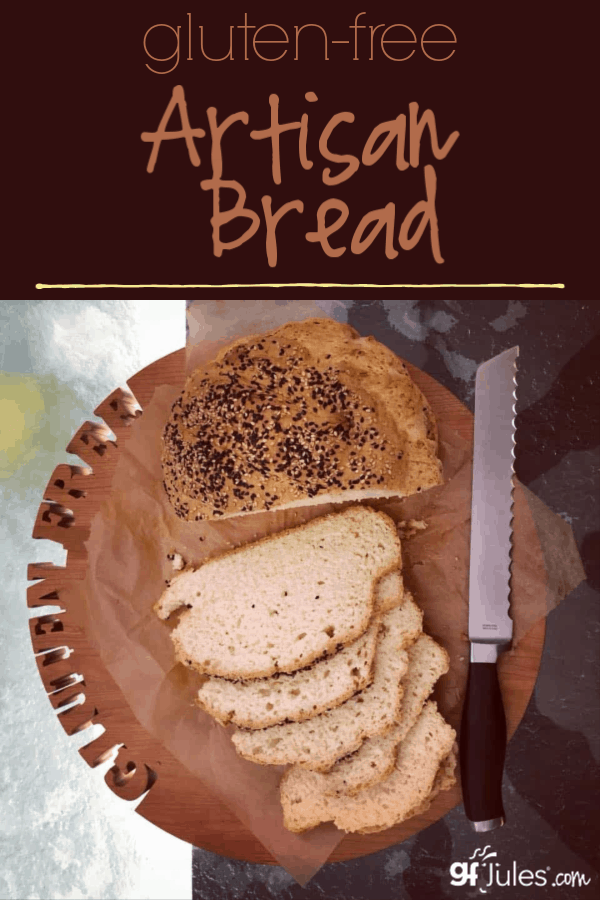
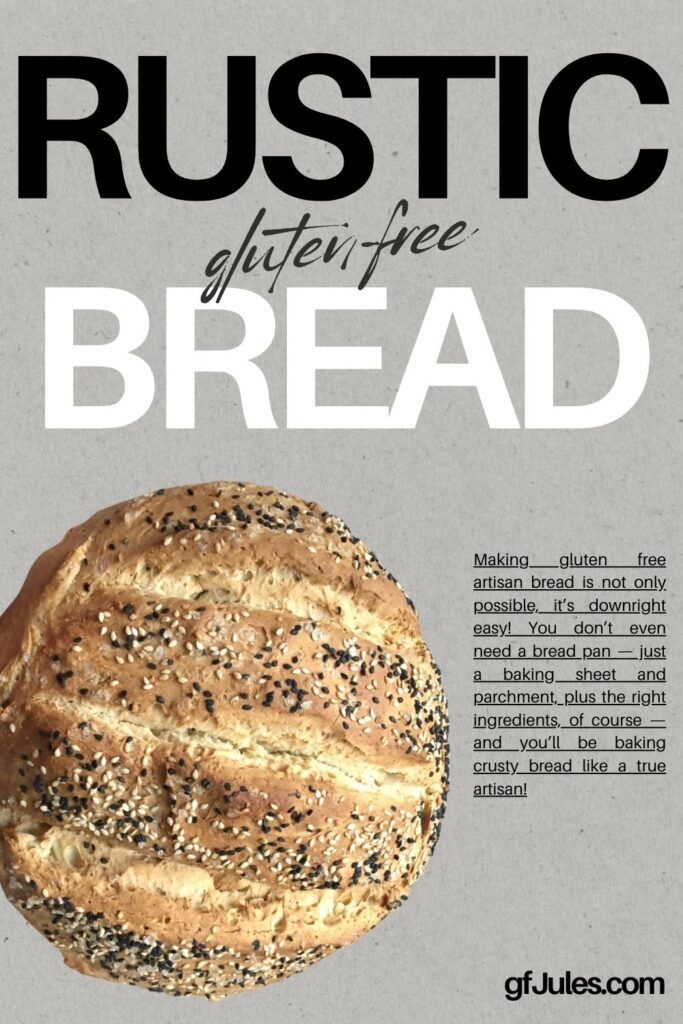
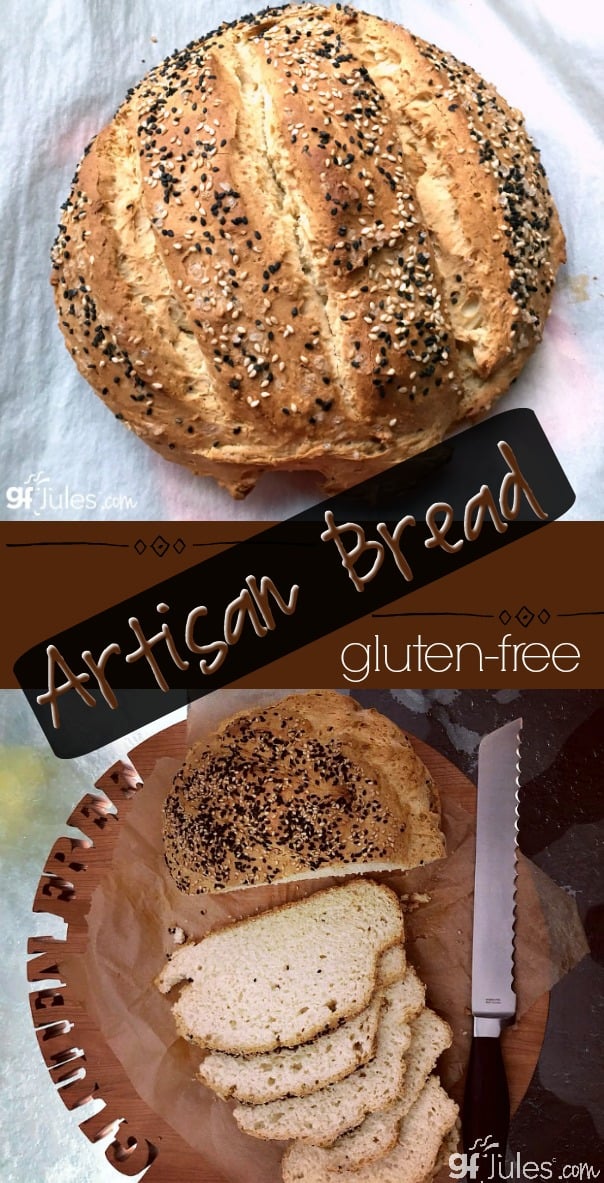
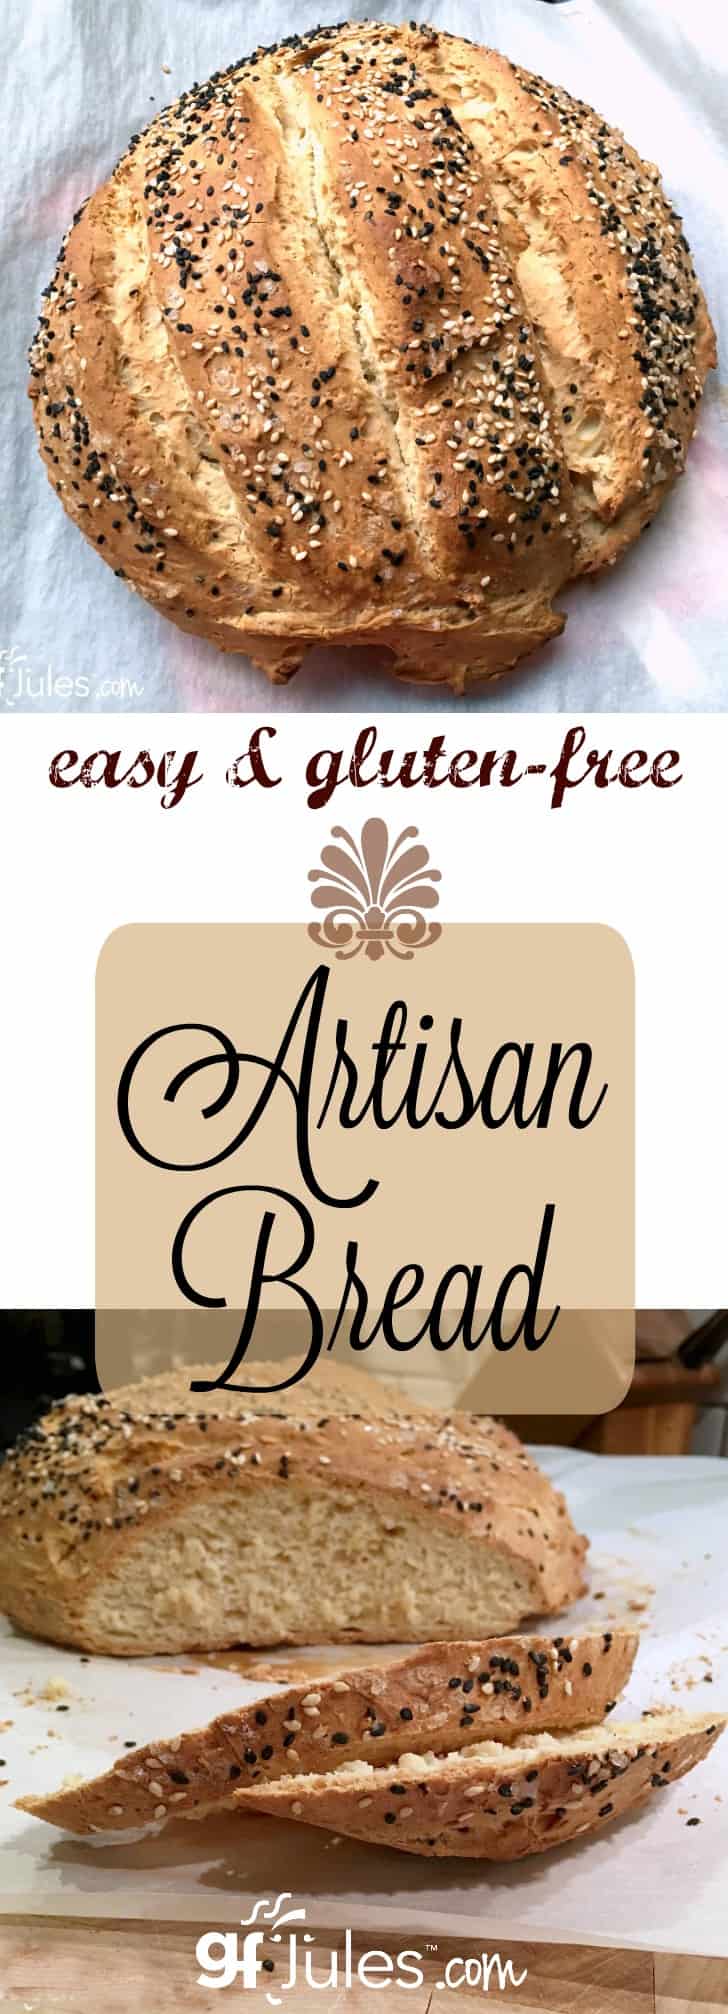
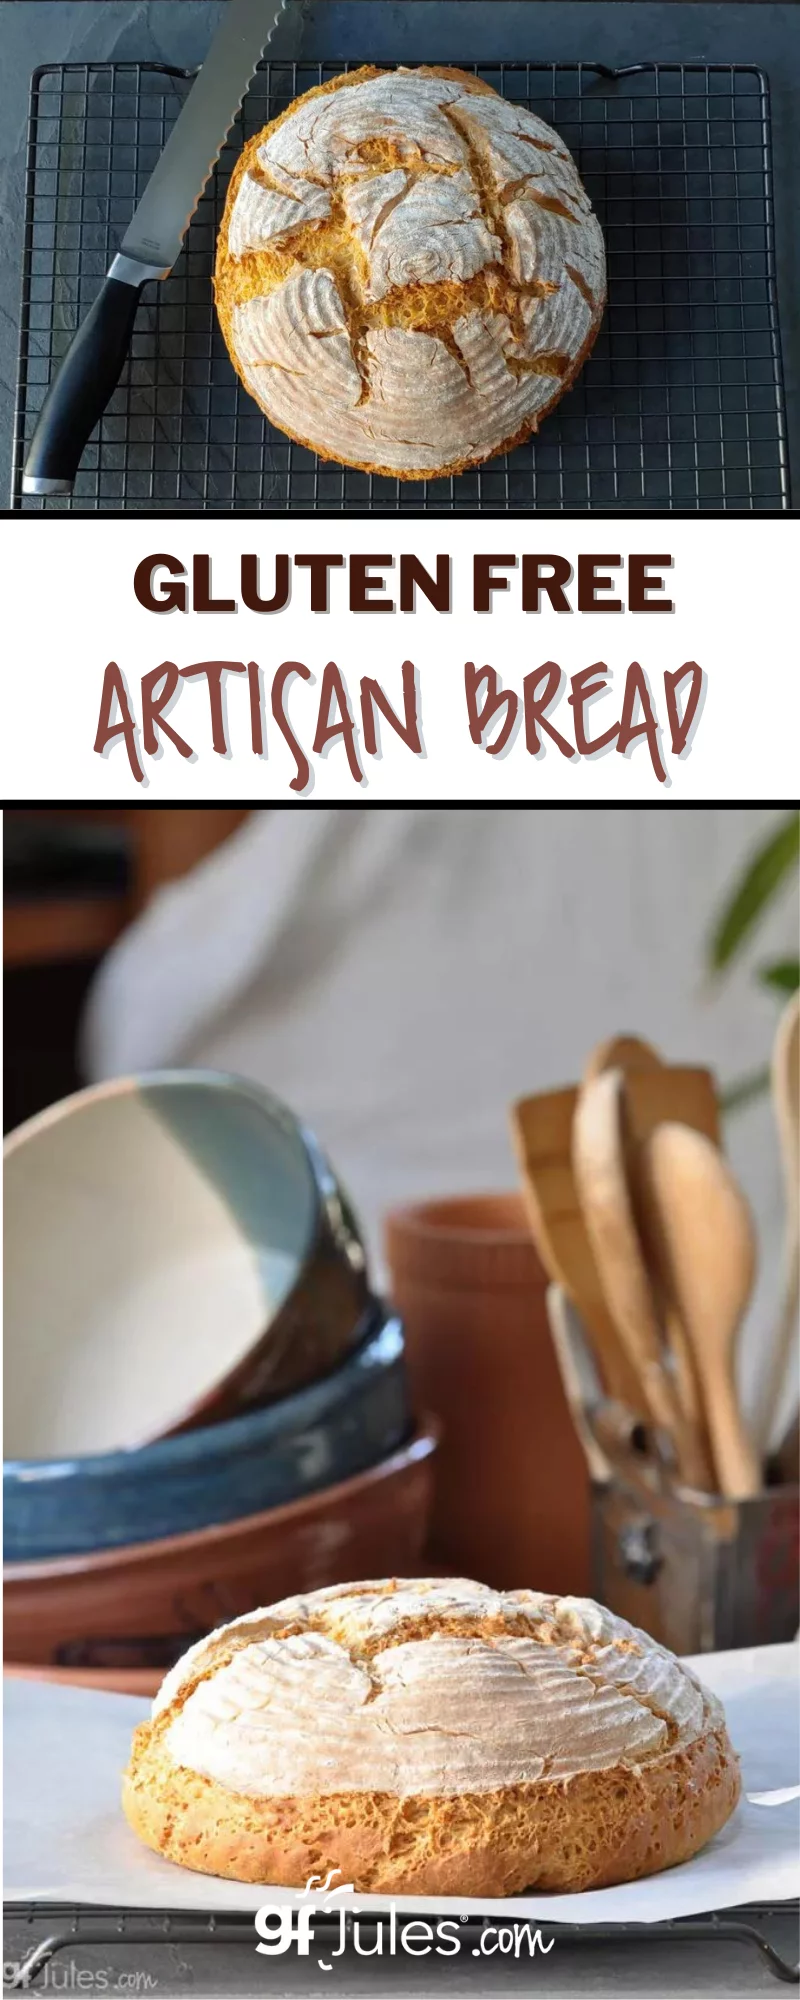
Making gluten free artisan bread is not only possible, it’s downright easy! You don’t even need a bread pan — just a baking sheet and parchment, plus the right ingredients, of course — and you’ll be baking crusty bread like a true artisan!
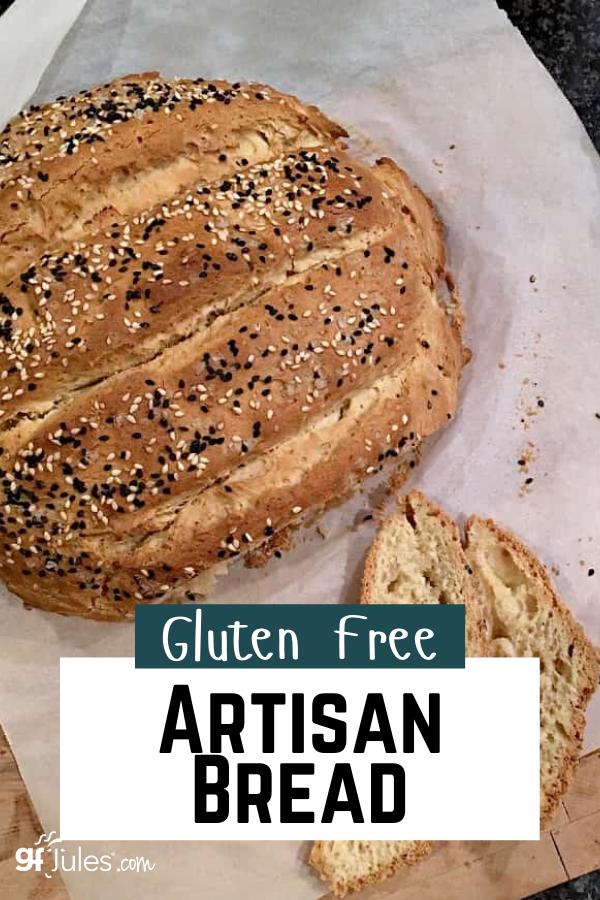
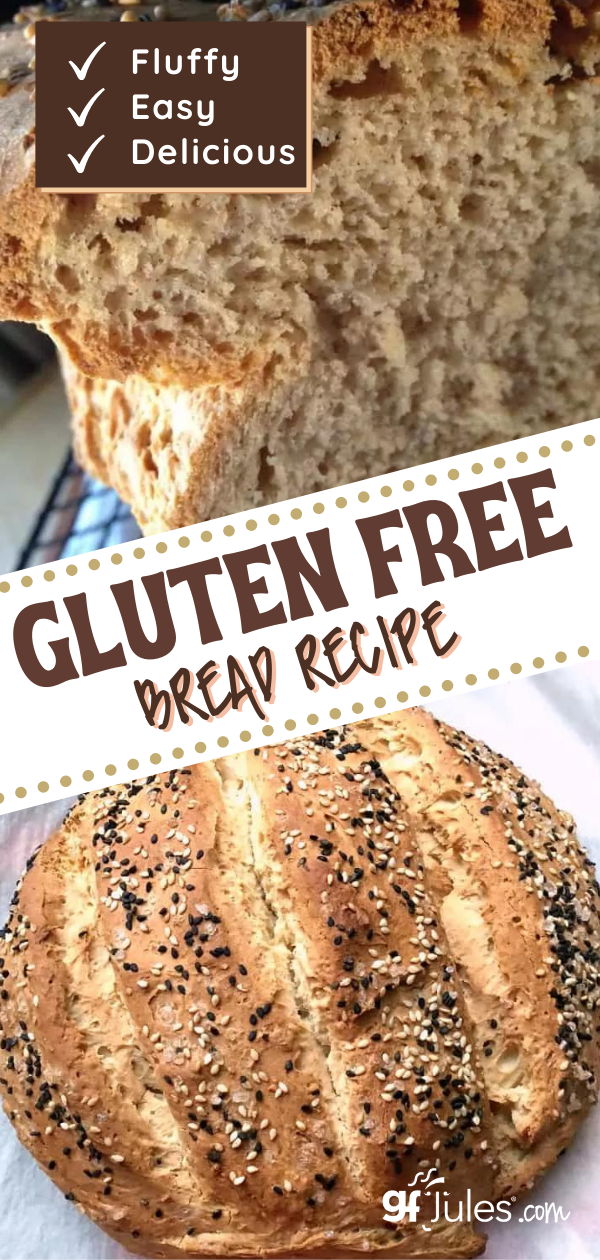
You don’t want to use heavy, gritty gluten free flours if you want your loaf to be light and airy like this one, so follow along and you’ll be serving beautiful, impressive, crusty gluten free artisan breads in no time!
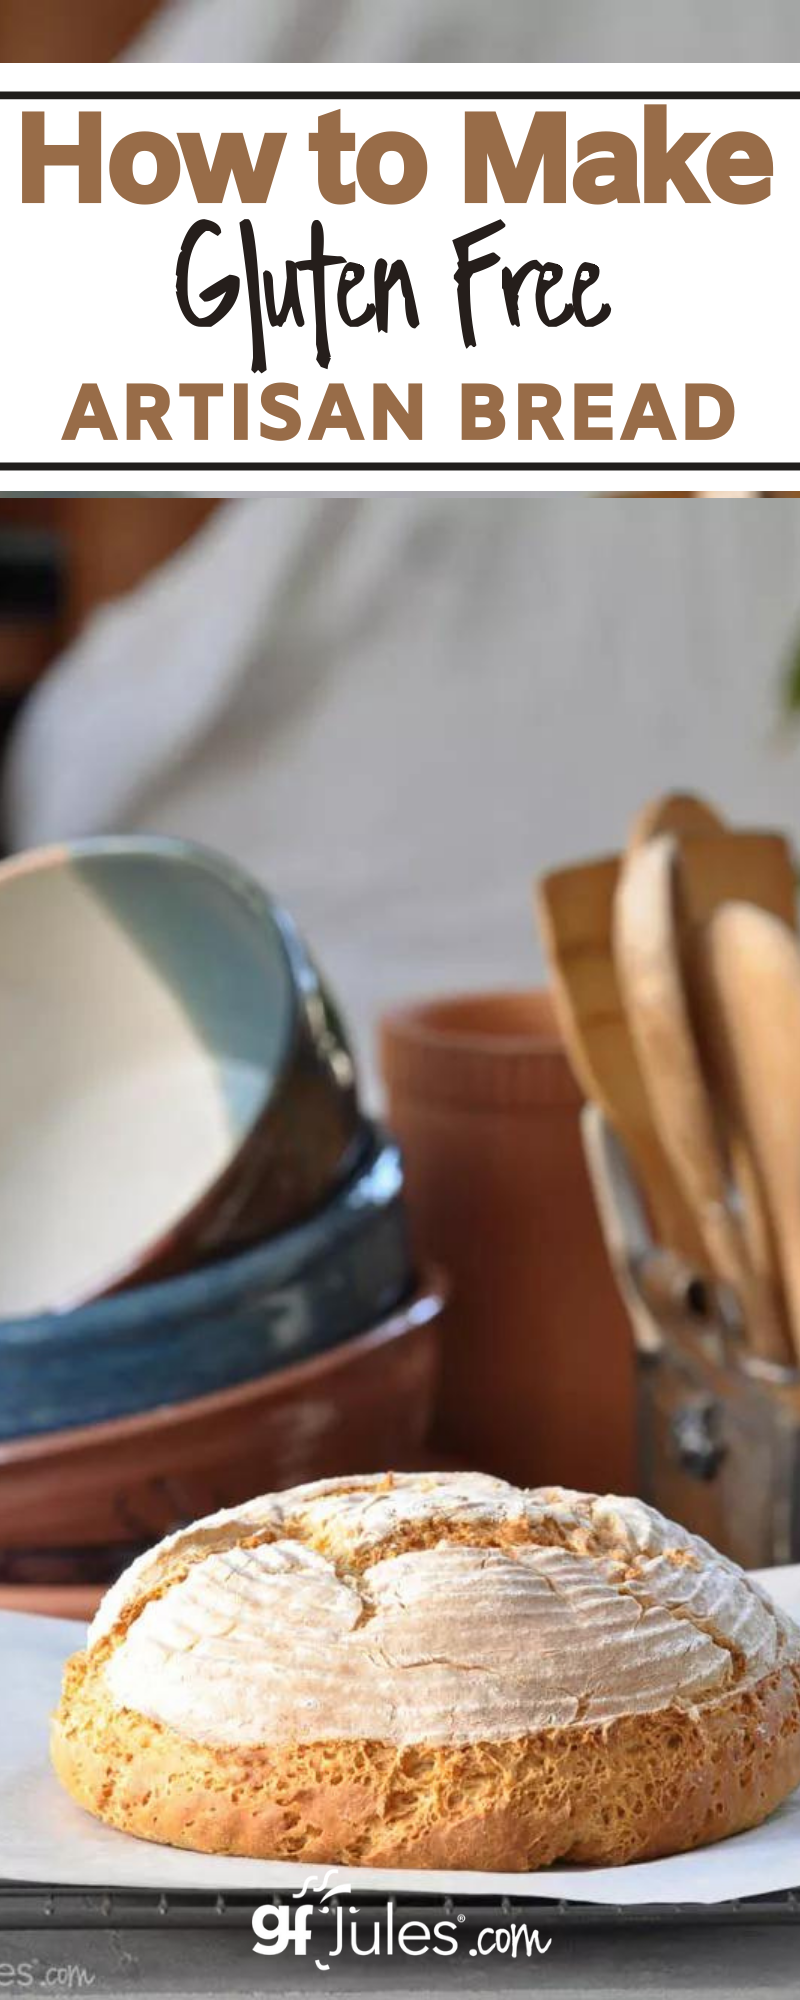
How Do I Make Gluten Free Artisan Bread?
You know me — I’m always here for you with options! This gluten-free artisan bread recipe is no exception.
I give two options to make this delicious bread: use my award-winning super easy gfJules Bread Mix or my from-scratch recipe. And within that from-scratch recipe, there are two major options for baking without a pan for a true gluten free artisan bread look or partially baking in a round or springform pan for a more rounded loaf that even works well as a bread boule for soup!
Which will you choose?
Especially if using bubbly water or gingerale or even gluten free beer(!) as the liquid in this recipe, your dough will need some help holding together until mid-bake (*unless using my gfJules Gluten Free Bread Mix — see recipe cards).
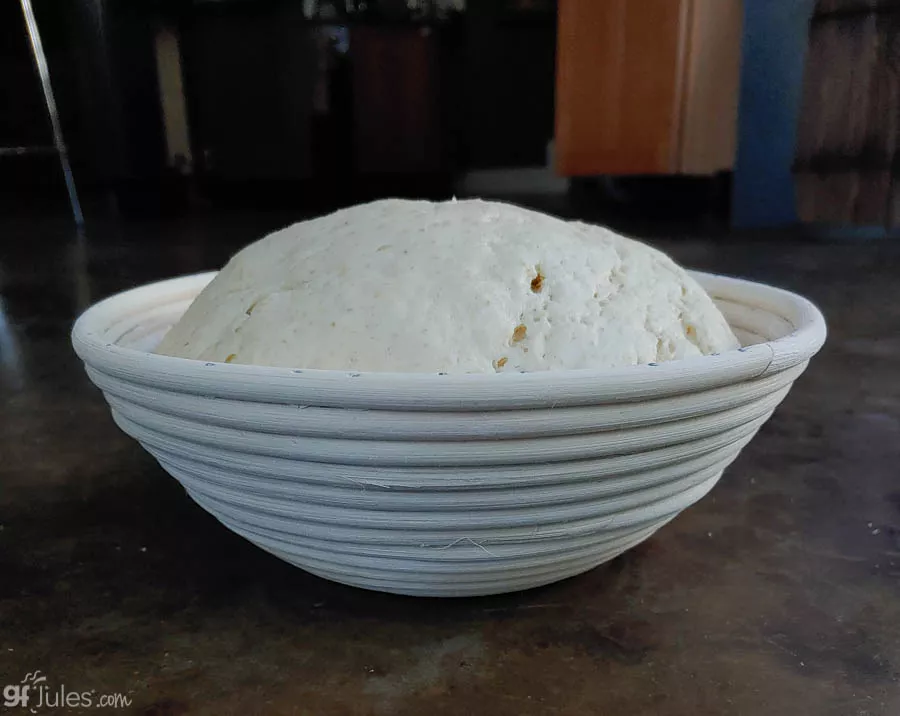
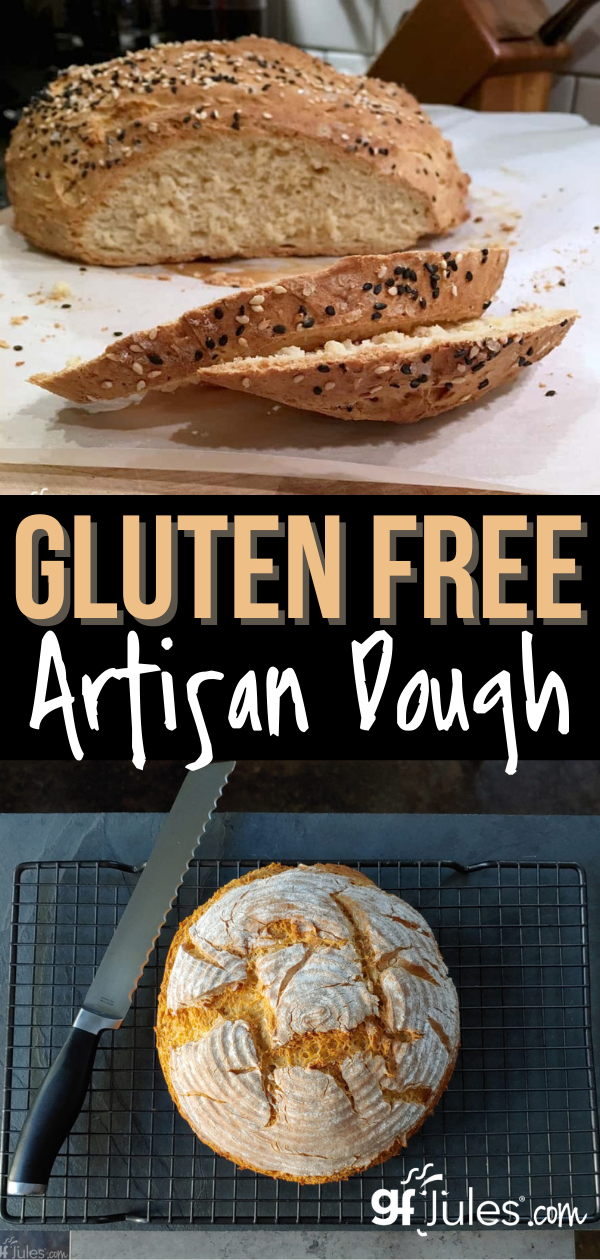
I prefer yogurt (I use vegan yogurt) for this recipe if baking from scratch and without a pan for the best, roundest shape, and using a bowl or proofing basket is always a handy way to help it rise in a rounder shape. How beautiful is this risen bread in a banneton?
Use a proofing basket like this one, a parchment-lined springform pan, or even a glass (oven-safe) bowl lined with oiled parchment, the dough can rest for as little as 30 minutes to overnight (covered) in the refrigerator while rising in the style of sourdough, if you like.
If using a thinner liquid in the recipe — like sparkling water or club soda — you may choose to leave it in the pan or bowl (not the basket) for half the bake time, then gently pull up on the parchment to remove it from the pan and place it (with parchment) onto a baking sheet and return to the oven.
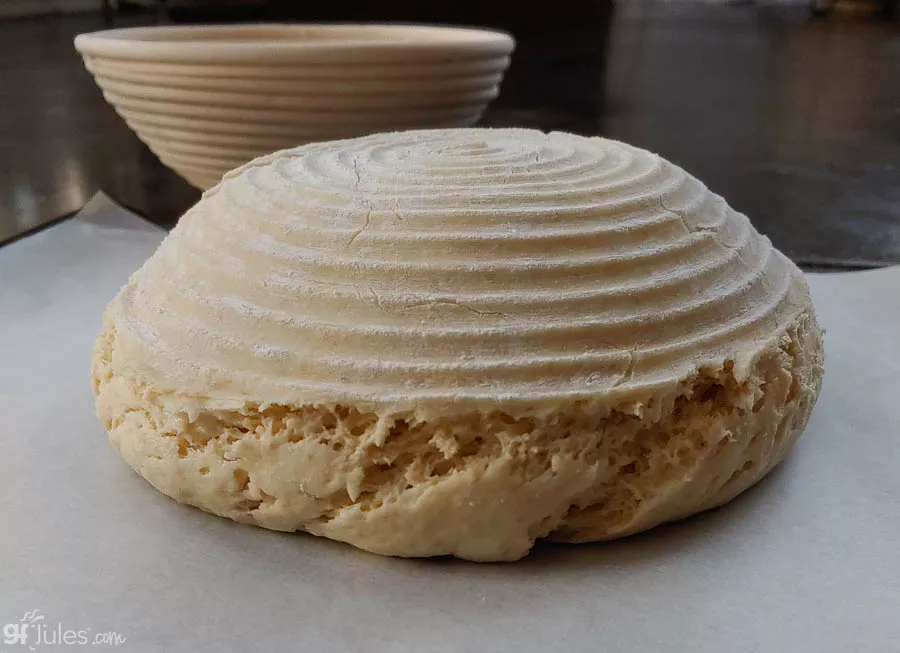
If using yogurt and a proofing basket, remove it before baking and it will keep a lovely round shape but not rise quite as high.
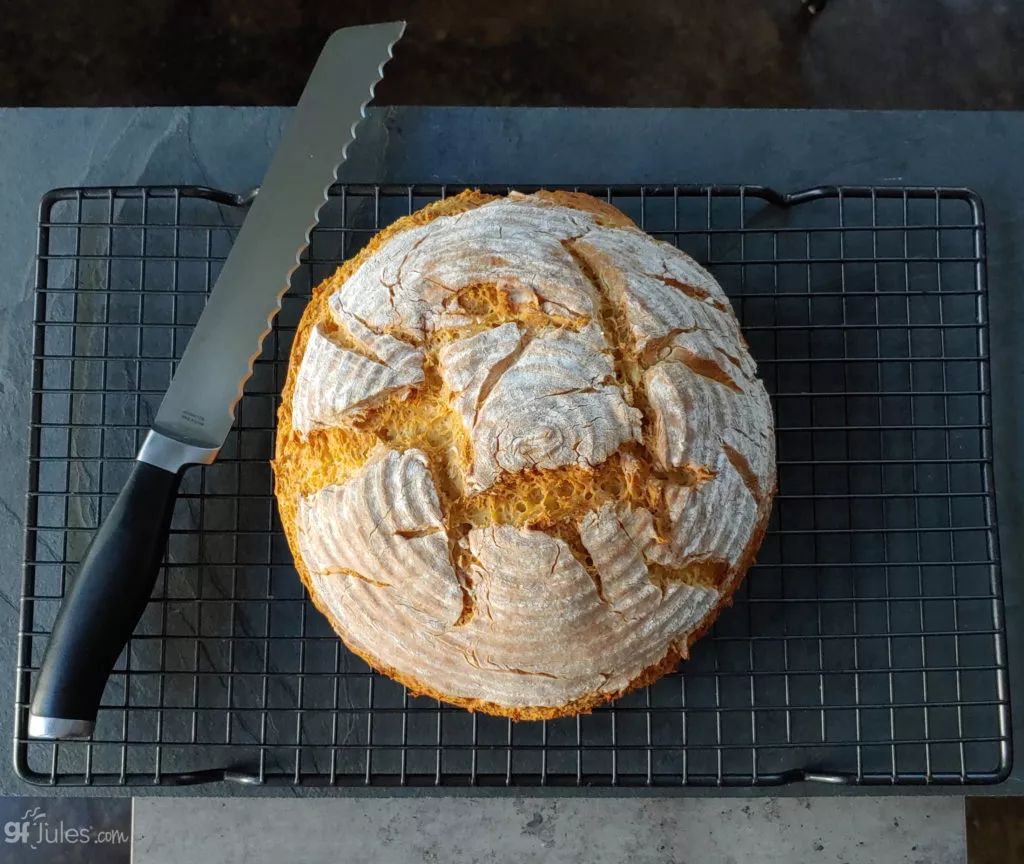
Every time you bake this gluten free artisan bread, it will take its own shape. It’s part of the beauty of this bread. No two breads will ever look alike, nor should they. Like snowflakes, they’re each unique and beautiful.
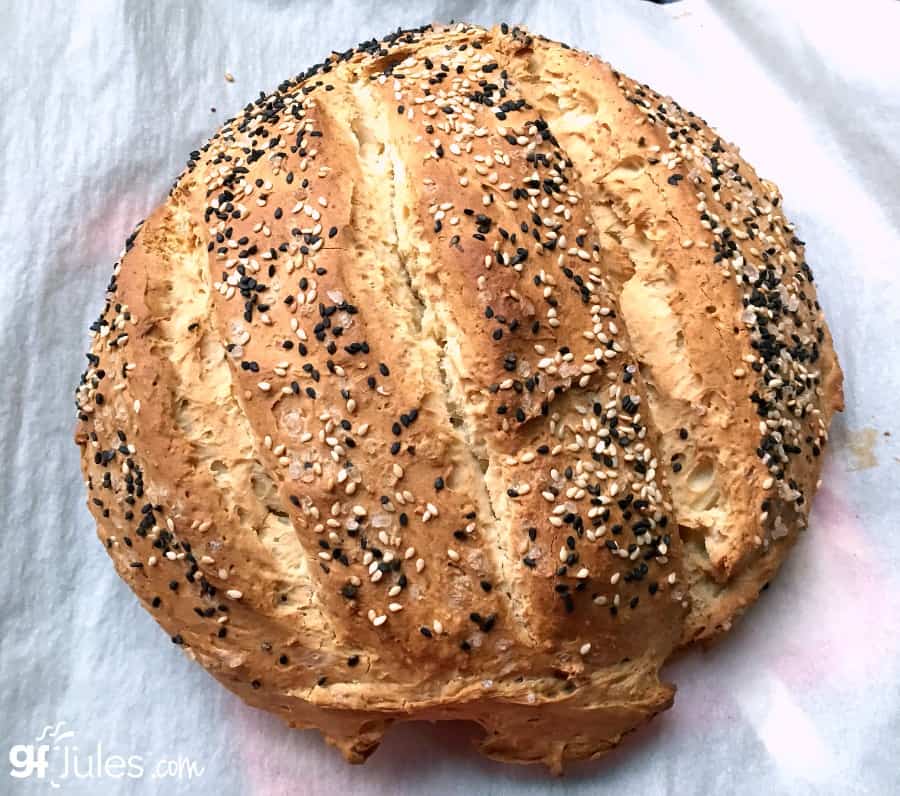
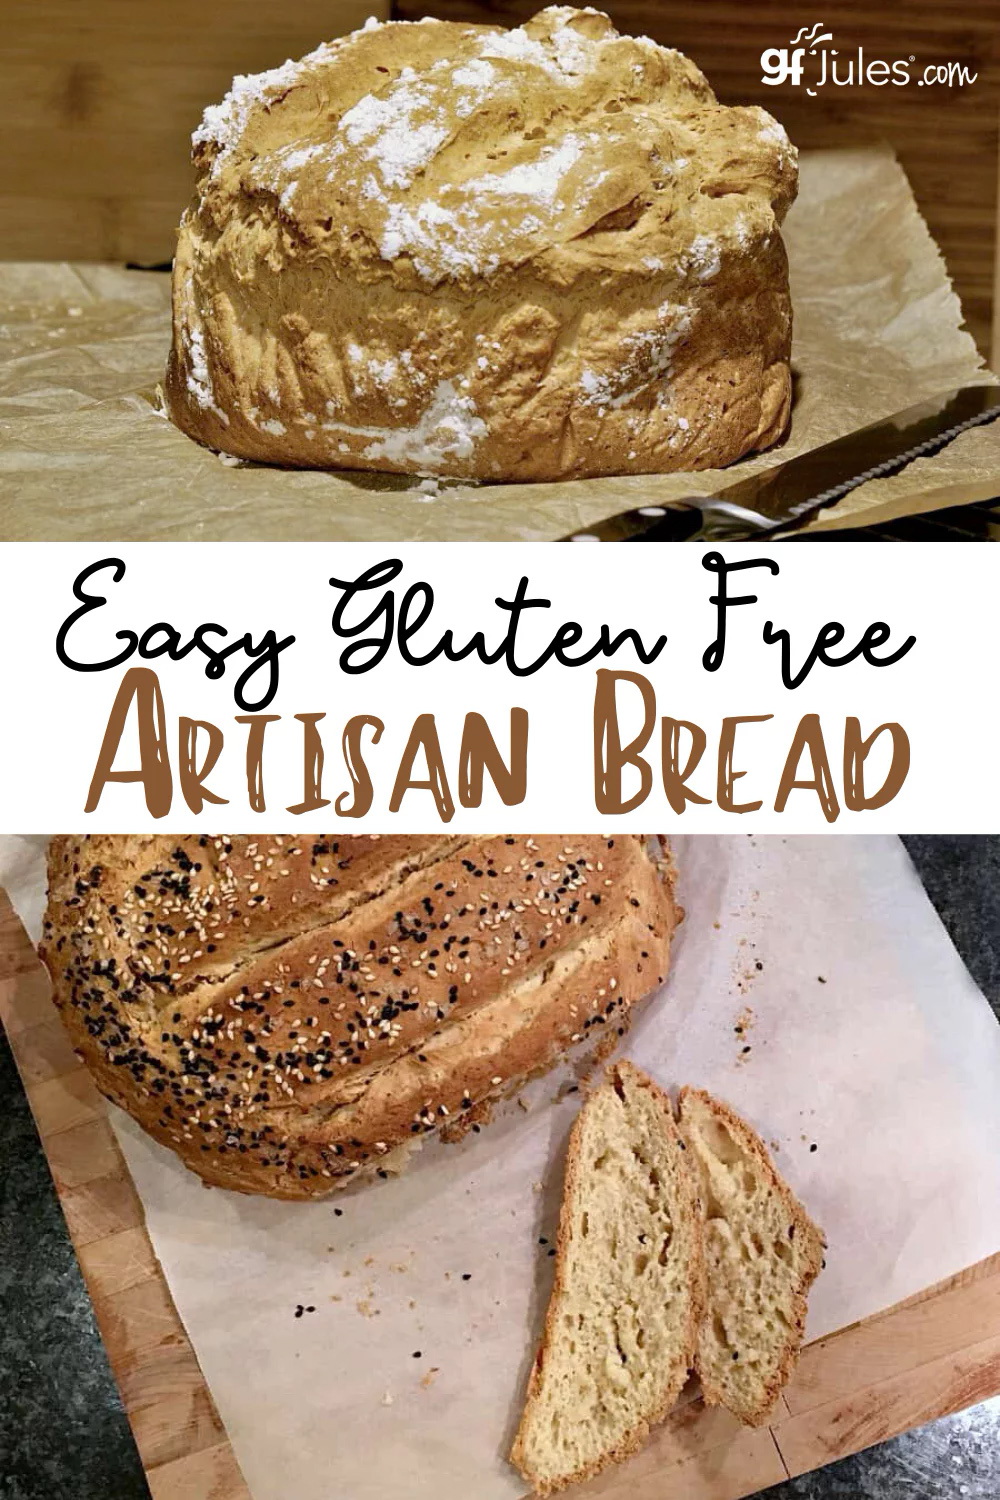
Here’s a picture of one reader’s lovely loaf. See, you can do it, too!
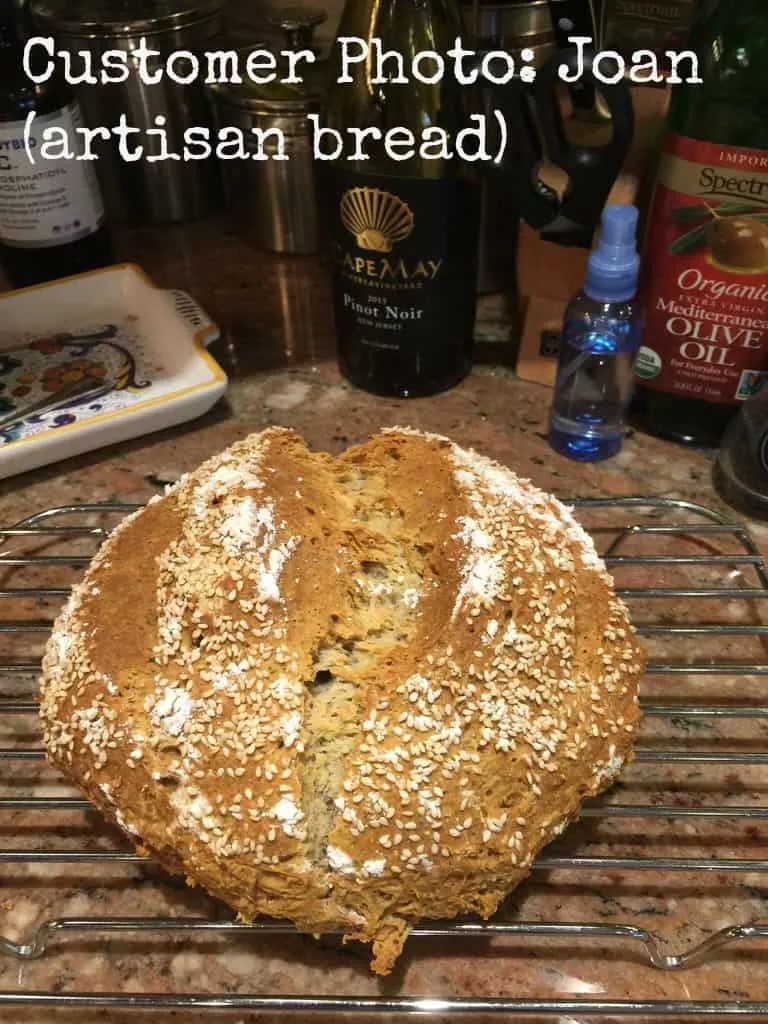
I can’t stop taking pictures of these loaves because every time they’re show-stoppers.
Check out the video below to watch me make gluten free artisan bread in a springform pan in case you don’t have any of these other options … so you know just how easy it is!
NOTE: my gfJules Gluten Free Bread Mix is now UPDATED and stays soft and fresh even longer! It also does NOT require a springform pan for rising in this recipe, although I love the look of it after rising in a banneton proofing basket!

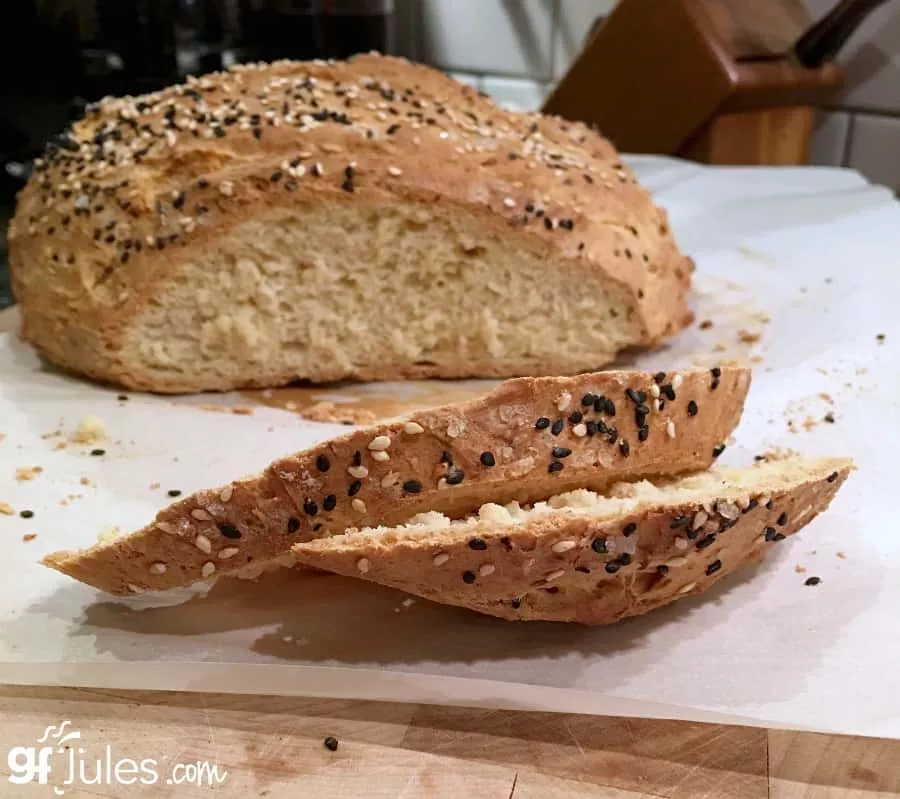
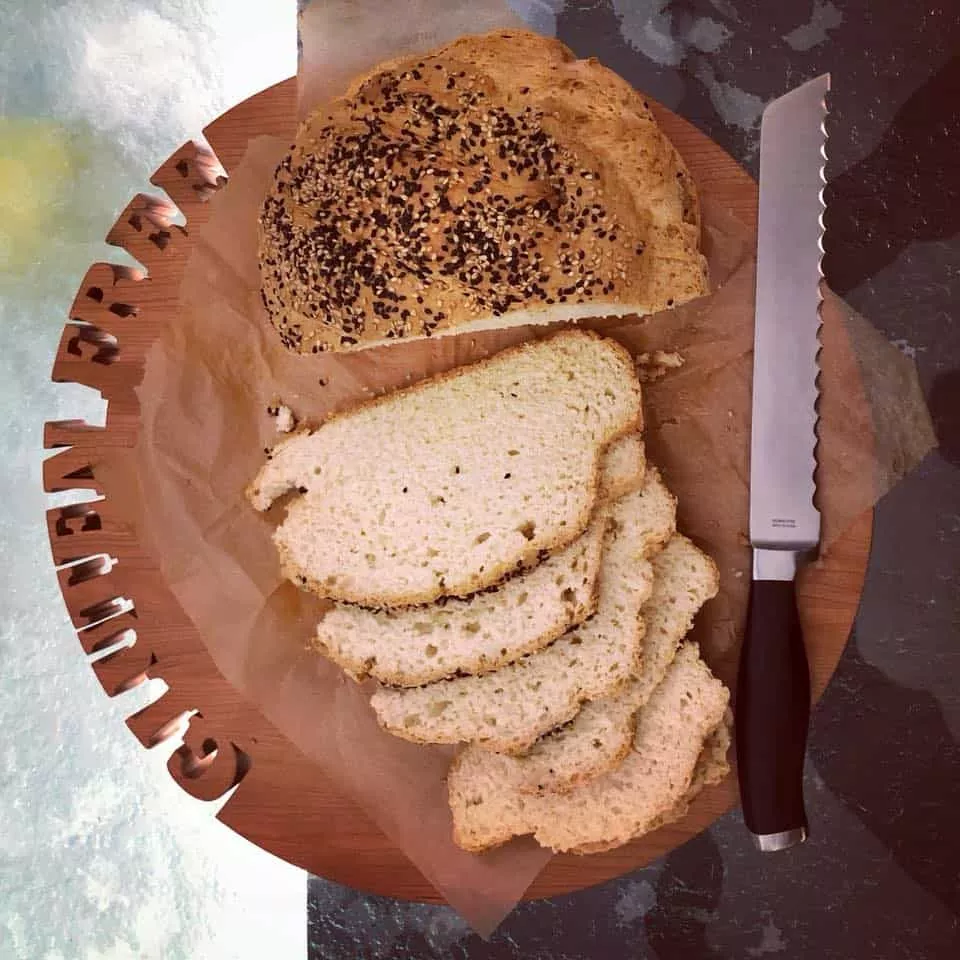
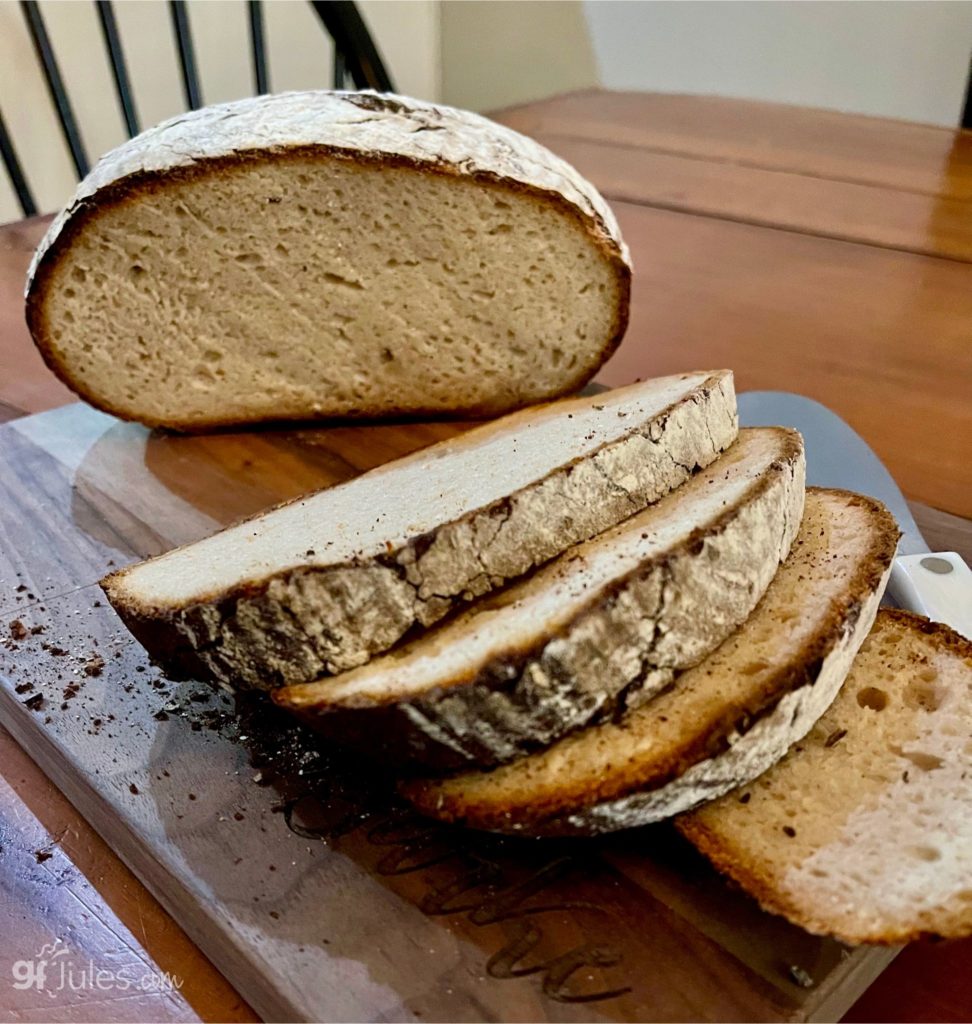
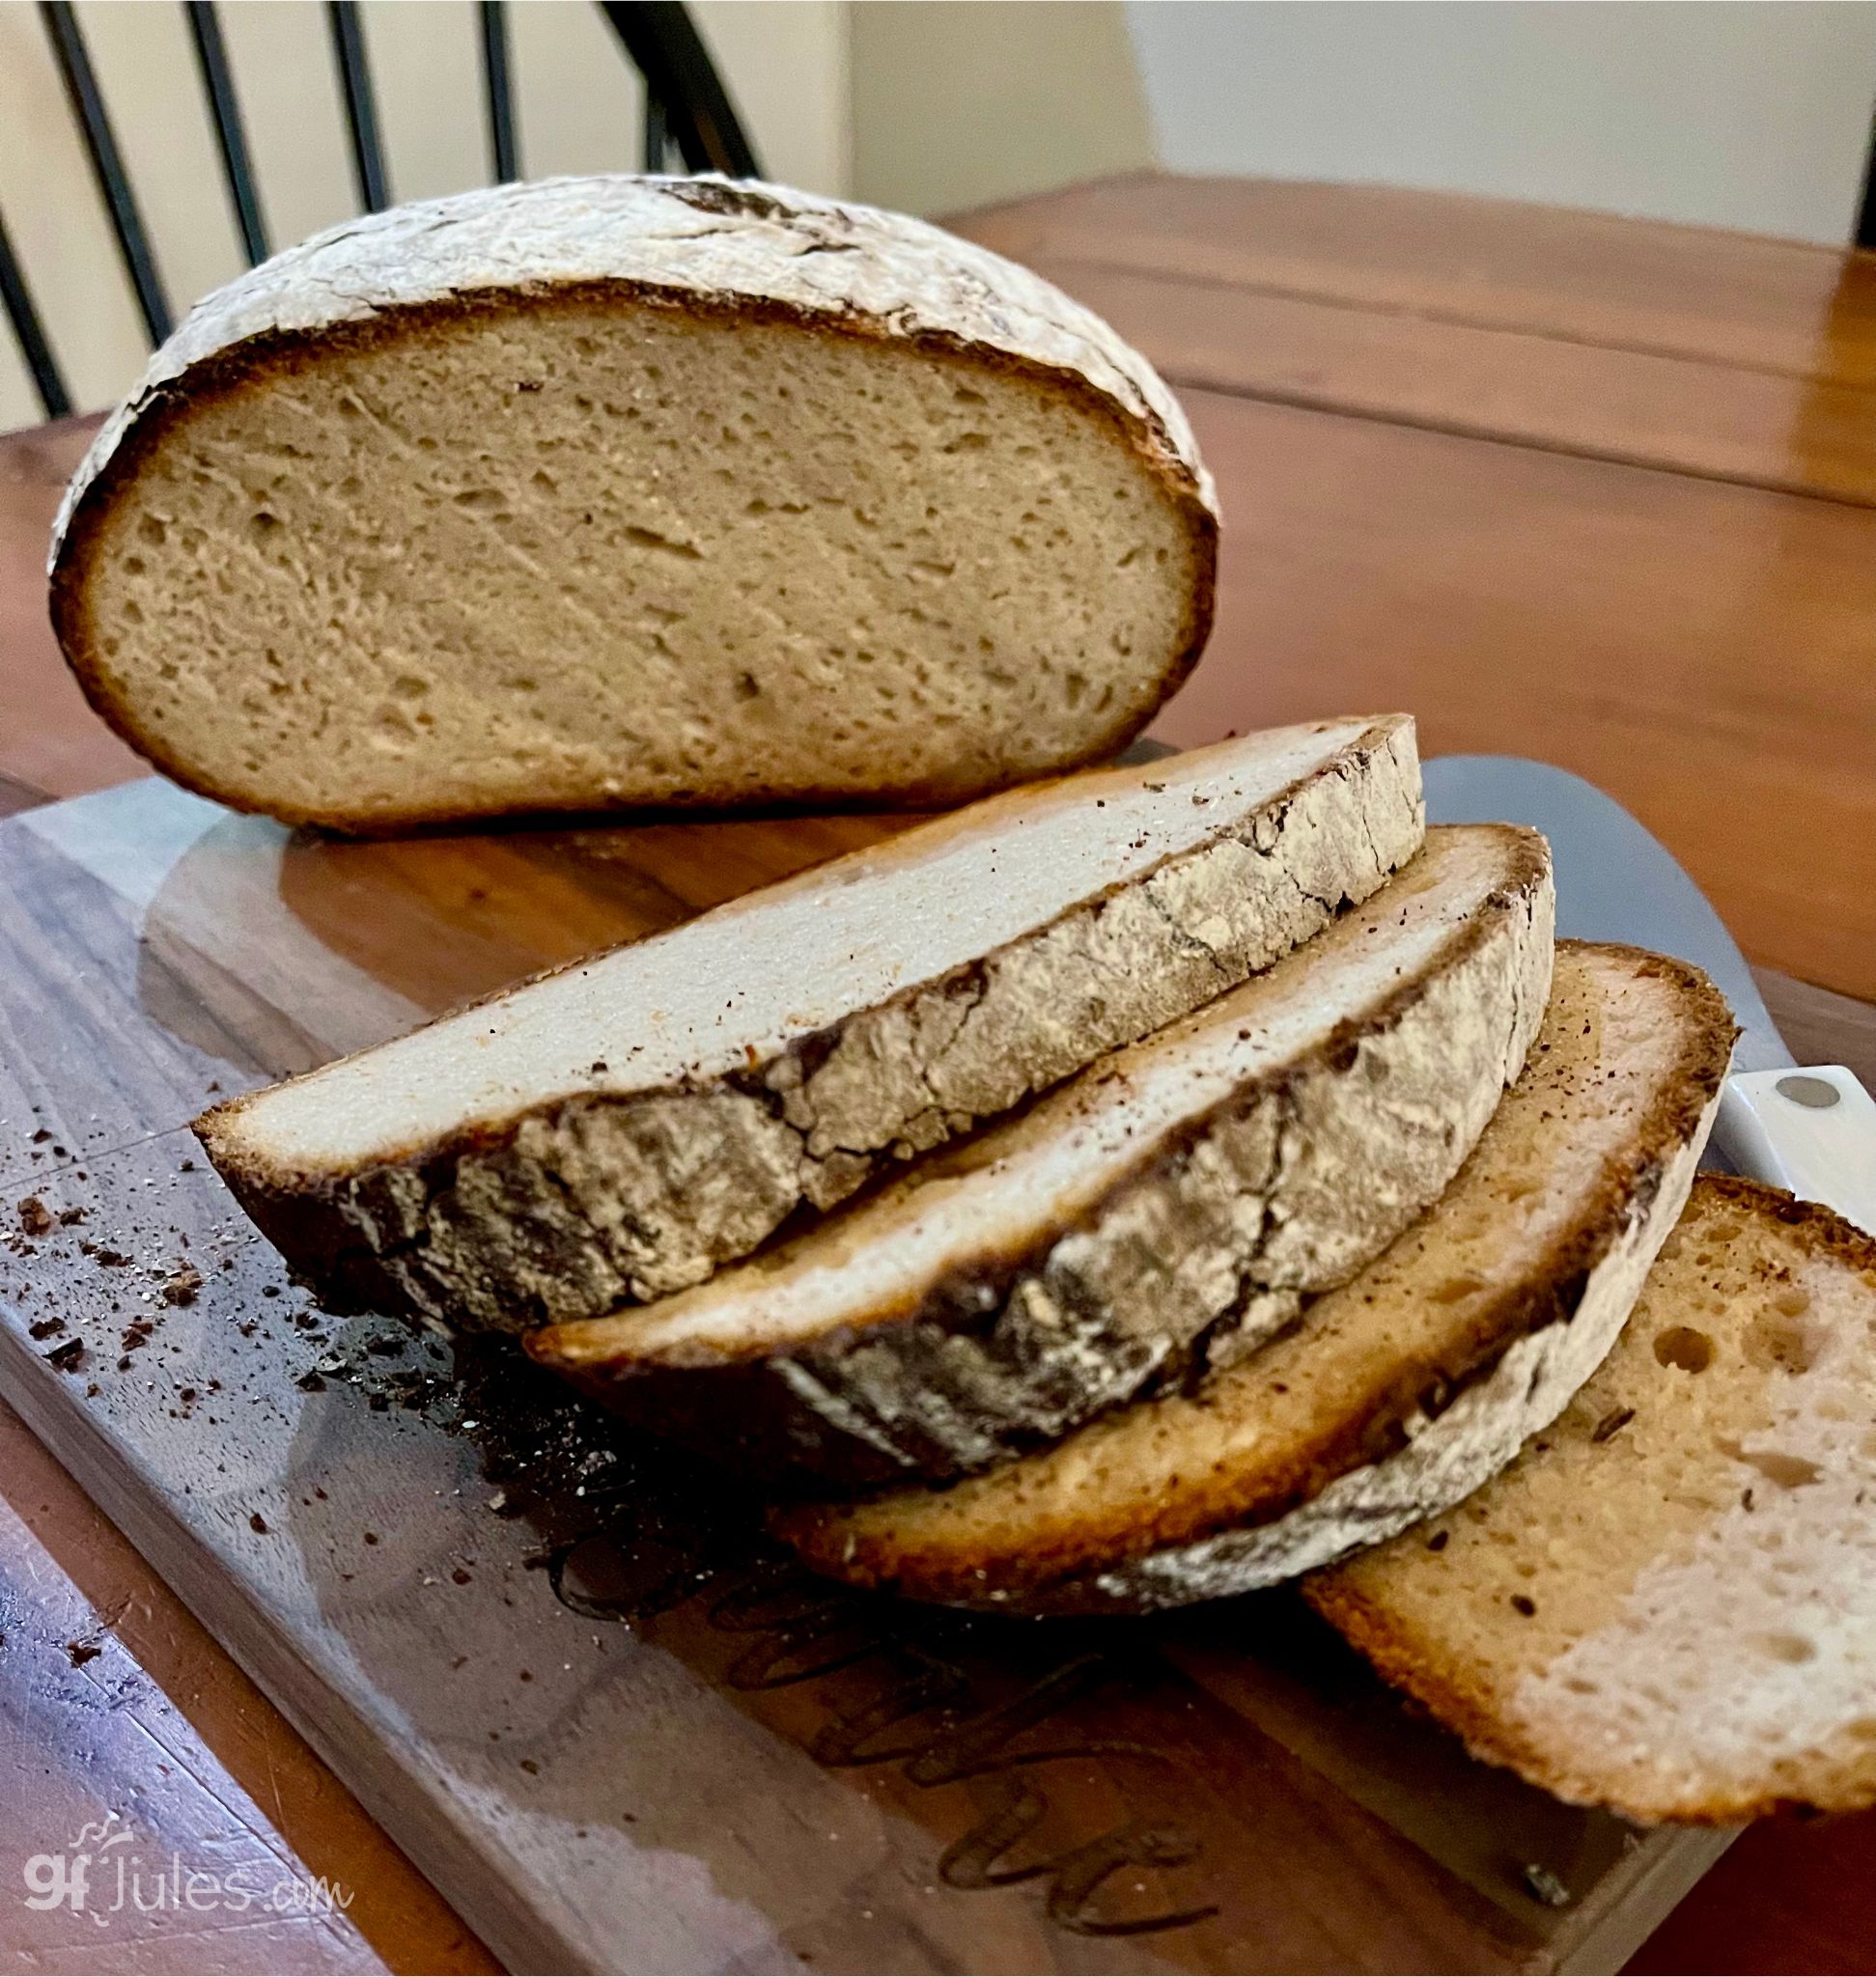
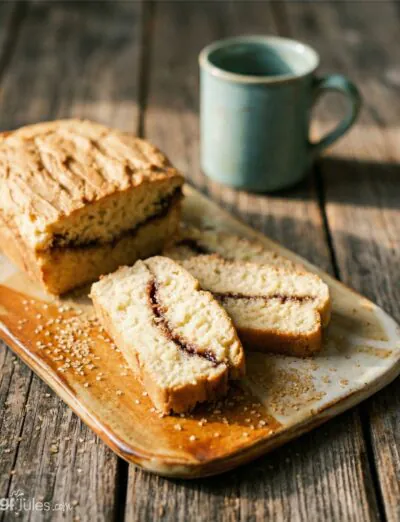
Here’s a look at it sliced. This bread, as baked is vegan (egg-free), but feel free to add an egg or two if you prefer a more open cell structure.
Gluten Free Artisan Bread Recipe made with gfJules Bread Mix
Gluten Free Artisan Bread Recipe made with gfJules Bread Mix
Equipment
Ingredients
PLUS
- 2 1/4 tsp quick rise yeast 1 packet like Red Star
- 4 1/2 Tbs. sugar 56 grams or sugar sub OR 3 Tbs. honey or agave or maple syrup
- 1 3/4 cups warm water OR bubbly liquid like GF beer or ginger ale or 1 1/2 cups water + 1 large egg
Instructions
- In the large mixing bowl of a stand mixer or just a mixing bowl, stir together the liquids with gfJules Gluten Free Bread Mix, yeast, and sugar by pouring slowly into the bowl while mixing with the paddle attachment. Beat well – 2-3 minutes.
- Dust a pastry mat or clean counter with more gfJules Flour and transfer the dough onto the surface, rolling gently in the flour to cover all sides. Knead to form a smooth ball.
- Transfer to a proofing basket (as pictured), bowl or oiled parchment-lined glass bowl.
- Cover loosely with a warm, damp tea towel or piece of oiled parchment paper and place in a warm spot to rise for 30 minutes - 1 hour.
- Preheat oven to 475º F (static) or 450º F (convection).
- Gently transfer to a parchment-lined baking sheet (flip so that the bottom of the proofing basket is the top of the bread). Remove proofing basket or bowl and dust with more gfJules Flour.
- Wet a large serrated knife or use dough lame and cut into the bread across the top or use the lame to cut into the bread in a decorative pattern. This will give the bread natural rifts to rise from, and make it even prettier once baked.
- Bake for 30-35 minutes on a lower rack, placing another baking pan on the rack below with ice cubes, testing with an instant read thermometer to ensure it's fully baked before removing from the oven. The thermometer should have reached 205º F. If the top of the bread is getting too dark, cover with foil.
- Remove to cool on a wire rack (at least 20 min) before slicing or the bread may get rubbery when pushed down upon while slicing.
** Please keep in mind that nutrition information provided is per serving, which may vary. While we have taken care to provide you with the most accurate nutritional values possible, please note that this information may differ significantly depending on the exact ingredients and brands that you choose to use to make this recipe. Additionally, where options are given for ingredients, the resulting calculation may include all ingredient options instead of only one per line, skewing the totals significantly.
Recommended Products
Any links to Amazon may earn me a small amount from qualifying affiliate purchases; this amount goes to fund this blog and does not cost you anything additional.
Gluten Free Artisan Bread Recipe from Scratch with gfJules Flour

Gluten Free Artisan Bread Recipe
Equipment


Ingredients
- 3 (405) cups (grams) gfJules® Gluten Free All Purpose Flour
- 1/4 cup flax seed meal or gfJules Gluten Free Multigrain Baking Flour
- 1/4 cup dry milk powder dairy or non-dairy (e.g. Coconut Milk Powder) - preferred - OR almond meal (in a pinch)
- 1/2 tsp. baking soda
- 2 tsp. baking powder
- 1 tsp. sea salt
- 1 tsp. apple cider vinegar
PLUS:
- 2 Tbs. honey agave nectar or coconut palm nectar
- 1 1/4 cup room temperature liquid: EITHER plain yogurt* OR milk not skim OR sparkling water OR ginger ale OR gluten free beer (bubbly liquids make the bread rise higher and lighter but will need support from a bowl to rise and partially bake - see intro before recipe card)
- 1/4 cup extra virgin olive oil
- 2 large eggs OR 2 Tbs. flax seed meal steeped for 10 minutes in 6 Tbs. hot water
- 2 1/4 tsp. one packet rapid rise or bread machine yeast, gluten-free (Red Star Quick Rise®)
toppings (optional):
- flaxseeds or sesame seeds
- coarse sea salt
- egg mixed with 1 Tbs. water to brush onto crust for darker color optional
- oil to brush on top
Instructions
- Whisk these dry ingredients together in a large bowl: flours, milk powder, baking soda, baking powder and salt. Set aside.
- In the large mixing bowl of a stand mixer or just a mixing bowl, stir together the wet ingredients (honey, yogurt, apple cider vinegar, oil, and egg or flax seed and water mixture). Gradually add the dry ingredients in with the wet by pouring slowly into the wet bowl while mixing with the paddle attachment. Once incorporated, add the yeast granules, and beat well – 2-3 more minutes.
If baking with yogurt:
- The dough will be very thick (much more like regular wheat flour bread dough than you may be used to with gluten free); however, if the dough seems too thick or dry, gradually mix in milk, one tablespoon at a time, until the dough is still thick, but able to be smoothed with a spatula.
- Liberally dust a pastry mat or clean counter with more gfJules Flour and transfer the dough onto the surface, rolling gently in the flour to cover all sides. Knead slightly, if necessary, to form a smoother ball.
- Transfer to a proofing basket, bowl or oiled parchment-lined glass bowl.
- Cover loosely with a piece of oiled parchment paper and place in a warm spot to rise for 30 minutes - 1 hour.
- Preheat oven to 350º F (static) or 325º F (convection).
- Gently transfer to a parchment-lined baking sheet.
- Brush with egg wash or oil, then lightly dust the top with more gfJules Flour.
- Wet a large serrated knife and press into the bread in 2 or 3 lines 1/2 inch deep, rocking the knife back and forth to open the cuts slightly wider or use a lame to cut into the bread in a decorative pattern. This will give the bread natural rifts to rise from, and make it even prettier once baked.
- Spritz with water once risen, if you prefer an even crunchier crust.
- Place an oven-safe bowl or pan on the bottom shelf of your oven and fill with ice cubes. The steam from melting ice cubes will help your bread get even crustier!
- Bake for 30-40 minutes, testing with an instant read thermometer to ensure it's fully baked before removing from the oven. The thermometer should have reached 200º F.
- Remove to fully cool on a wire rack.
If baking with another liquid:
- The dough will be more batter-like, so it still needs some support while rising and baking. Choose an oven-safe deep, round pan or bowl, pyrex, or even a springform pan. Line with oiled parchment and transfer the dough to the pan, smoothing the top with a wet spatula and mounding it more in the middle of the pan rather than flattening it out.
- Cover loosely with a piece of oiled parchment paper and place in a warm spot to rise for 30 minutes - 1 hour.
- Brush with egg wash or oil, then lightly dust the top with more gfJules Flour.
- Wet a large serrated knife and press into the bread in 2 or 3 lines 1/2 inch deep, rocking the knife back and forth to open the cuts slightly wider or use a lame to cut into the bread in a decorative pattern. This will give the bread natural rifts to rise from, and make it even prettier once baked.
- Spritz with water once risen, if you prefer an even crunchier crust.
- Preheat oven to 350º F (static) or 325º F (convection).
- Place an oven-safe bowl or pan on the bottom shelf of your oven and fill with ice cubes. The steam from melting ice cubes will help your bread get even crustier!
- Bake for approximately 15 minutes, then lift up on parchment and remove the bread from the pan. Lay parchment with bread on top of a flat baking sheet. Otherwise, leave dough inside the pan for support.
- Bake for 20-25 more minutes, testing with an instant read thermometer to ensure it's fully baked before removing from the oven
- Depending on the size of the pan used, and therefore the height of the loaf, it may need to cook longer to be fully done. The thermometer should have reached at least 200º F.
- Remove to full cool on a wire rack for 10 minutes.
Video
Notes
** Please keep in mind that nutrition information provided is per serving, which may vary. While we have taken care to provide you with the most accurate nutritional values possible, please note that this information may differ significantly depending on the exact ingredients and brands that you choose to use to make this recipe. Additionally, where options are given for ingredients, the resulting calculation may include all ingredient options instead of only one per line, skewing the totals significantly.
Recommended Products
Any links to Amazon may earn me a small amount from qualifying affiliate purchases; this amount goes to fund this blog and does not cost you anything additional.
No matter which liquid you choose, no matter which rising method, be sure to use my award-winning gfJules Flour or Bread Mix for the absolute best results.
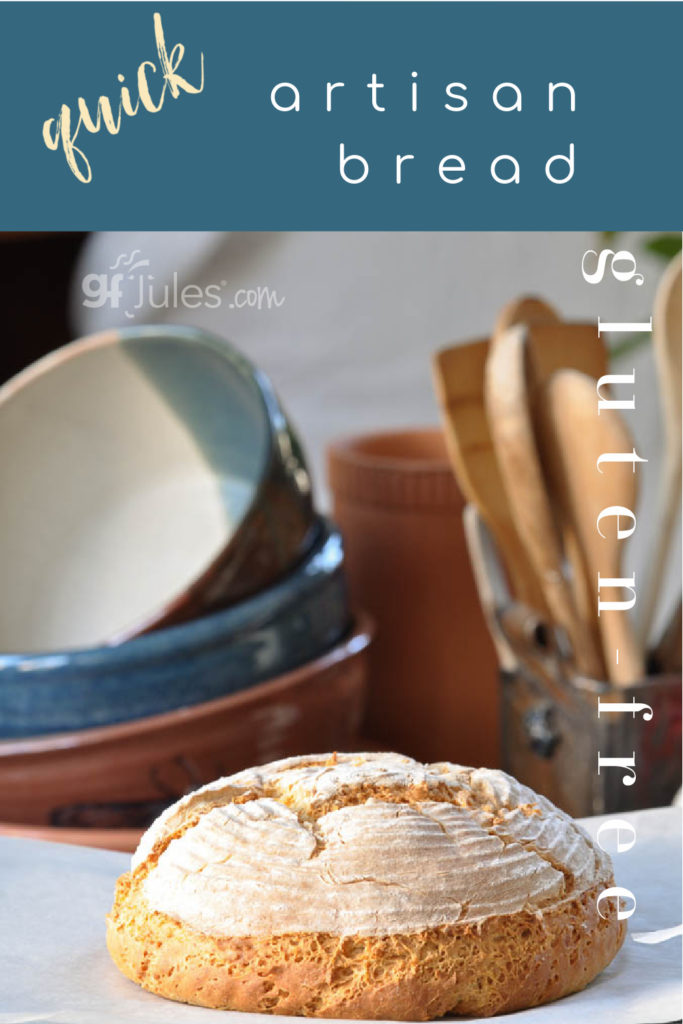
Pin for later!


Hi Jules,
Trying to make GF bread during the StayAtHome without going out, however I don’t have any dry milk. Could I use corn starch instead or what would you recommend?
Thank you,
Cat
Hi Cat, corn starch wouldn’t be a direct replacement for dry milk powder. Do you have any dry mashed potato flakes or almond meal or any other kind of protein powder or even dry pudding mix? Trying to get creative keep you from having to go out to the store! If you have my gfJules Sandwich Bread Mix instead, you could just use that in place of the from-scratch recipe, or we deliver right to your door, as well. I hope one of those solutions works for you. Be well!
~jules
Get to the point!
Love this recipe, I’m sure it will be better next time around, when I realize BEFORE I start making it that my yeast is expired. It was dense since it didn’t raise, but still delish! Thanks for sharing.
and I went for a nice savory flavor with 1t garlic powder and some dried rosemary mixed in with the flour mix and then sprinkled some rosemary on the top.
Sounds absolutely lovely, Amanda!
~jules
Oh dear – yes, that would be disappointing for the yeast to be expired, but I’m sure glad that it was still delish!!!
~jules
Love love love this bread! It’s so simple and so yummy!! Have you ever tried mixing in any flavors? I’m thinking about adding some roasted garlic and rosemary the next time I make this loaf. Would love to know if you’ve already tried and tested anything like that.
That makes me SO happy to hear, Rebecca!!! YAY!
I have added in herbs to this bread (like fresh rosemary – so good!), so I know that garlic and rosemary would be fantastic. I can almost smell it baking already!
Happy baking!!
~jules
Hi Jules. Made this bread last week using your flour blend recipe, but added the extra quarter cup of buckwheat instead of millet. I used bubbly water and followed the recipe steps. The crumb, density, and airiness were all very nice but the outer crust seemed gritty and dry. I’m thinking it might have been the buckwheat? I’ve tried filling your pizza dough recipe in your cookbook using the buckwheat in the flour blend and I definitely don’t like the crust as much. I will try the bread again this weekend and use the extra quarter cup millet flour instead and report back.
Your books were the very first I bought after being diagnosed in 2014, and they were so helpful: took away my fear of going without gluten the rest of my life. Thank you for all you do for our celiac community! ❤️
That should read “making your pizza dough recipe”, not “filling.” Not sure what happened there… 🤦🏼♀️
Hi Sara, I’d highly recommend you use either my gfJules Bread Mix or start with my gfJules Gluten Free All Purpose Flour. The homemade flour blend in the books is a solid blend, but it varies significantly based up on the raw ingredients and brands you can find in the stores, and flavors, as well as grittiness can be big variables. Also, my pre-made blends and mixes have natural preservatives which will keep your breads and other baked goods soft much longer than those made with a blend that you’d make yourself. I think you’ll really find that they make a difference! I can’t wait to hear what you think!!! (PS – thanks so much for your sweet note about my books, Sara! xox)
~jules
Thanks so much for the tip. I will order some of your mixes and give them a try. I’ve been wanting to anyway!
I can’t wait to hear what you think!
~jules
I have read that buckwheat flour is much denser than other grain flours and that one should use about half the amount.
Hi Terry, in this amount, you should be fine! Happy baking!
~jules
Tried your recipe about six weeks ago as I love the flavour of artisan. Used yoghurt and found it a bit too heavy and not fully cooked. However flavour wasn’t too bad and am willing to give it another go. Some of the Bread recipes I’ve baked before I have found that two rise seems to give better and more instance flavour. How would this recipe go with two rises? I’d probably use milk as the fluid and the flaxseeds as egg replacements. Thank you for the work you do for the gluten free world, makes life so much easier for many people.
Hi Vee, thank you for your kind words! I’m so very happy to be able to help!
Regarding the yogurt ingredient, it does contribute to density in the crumb, but helps the bread to hold together in terms of shape. If you rise it in a form, the yogurt isn’t necessary. I usually don’t use yogurt myself, preferring milk or even bubbly liquid, but I rise the boule in a bowl or springform pan for better shape. The second rise option would only be if there is a punchdown which you definitely don’t want to do with gluten free. Check out more about why not in my article on gluten free breads here. Let me know how your experimenting goes!
~jules
Going to try but do not have a stand mixer so no paddle for stirring. Will the hand method give same results? Thanks.
Hi Chears, you should be able to get it mixed by hand, just take a rest once in awhile!
~jules
I tried this today for the first time. Have to say I’m not happy. The dough was very runny, I added a bit more flour but it didnt help. So I put the doughy mess in a spring form pan for 30 min and lifted it out to put on the flat sheet. The middle fell in and the sides fell out. I check and double check all directions I have no idea why this happened. The taste was a bit bitter and very off. I made it with sparkling water. Will definitely not make this again, what a waste of money.
Hi Caroline, sparkling water (as opposed to milk or yogurt) will make the dough thinner, requiring some kind of support while it’s rising and initially in the bake to prevent the dough from spreading too much on the pan and becoming thinner than what you’d like. However, the dough should not have been “runny.” If you used my gfJules Flour, it’s possible you measured something a bit off. Not sure what to say about a bitter taste, unless you were using another gluten free flour that had a taste of some kind. Some gluten free flours do have odd odors and tastes, which is another reason why folks like my gfJules Flour so much — because it doesn’t have a taste, which lets the recipe shine through. Have a look at this other gluten free bread baking tips and see if any of this helps you figure out what might have gone wrong.
I had the same problem, used soda water option and it was more of a cake batter consistency than a dough. I added a little more flour but didn’t want to go too far off track from the recipe. It was impossible to roll in flour before rising 😭
Hi Becks, if the dough is very wet like that using soda water, you’ll need to rise it as described in the recipe using a mold like a spring-form pan or a bowl to help keep its shape. You may also start the bake like that and remove the mold during the bake if it still needs support. Rolling in gluten free flour is for when you use yogurt or milk instead of soda water and the dough is thicker. I hope that helps for next time – I’m sure it still tasted good!
~jules
Can I use egg replacers for the eggs above?
Hi Val, check my recommendations for egg replacers and choose one from there. I have good luck in my yeast breads like these with flaxseed meal + water. Enjoy!
~jules
The interior glass of my oven shattered and I do not know how to replace it… Can I make this in a large convection counter top oven?
Hi Bonnie – wow! I hope you weren’t anywhere near that glass when it shattered!
It may be possible to make this bread in your countertop oven, depending on the size. If the bread wouldn’t be too close to the heating elements to the top and sides of the oven, you should be able to make it, but I’ve found cooking at a lower temp in those countertop ovens works better to keep things from burning. If you use the convection setting, you’d want to lower the temp by 25 degrees anyway; perhaps lower to 300F convection and keep an eye on it. Using an internal bread thermometer will let you know when it’s done, as bake times will vary as well.
~jules
Hello,
I had your bread at a friends house and it was awesome! I was wondering what alternative yogurt you would suggest. My partner can’t eat dairy.
Thanks!
Hi Karen, so glad to hear you loved the gluten free Artisan Bread! It was so nice of your friends to share! 🙂
All of my recipes are written dairy-free, so if there’s an ingredient (like yogurt) in the recipe, you can be sure I’ve made it dairy-free with success (we are dairy-free, too). Here’s an article I wrote with my favorite dairy-free substitutes — you might find it useful for other things, too. As for yogurt in general though, I like coconut or almond or even soy yogurt for baking.
Enjoy!
~jules
Goat yogurt is a good alternative.
I have this in the oven as we speak. Wondering what is the best storage for this bread and how long does it stay fresh
Hi Lori, it depends on how large the loaf is that you’ve made, and whether it will fit into a freezer bag. I like to squeeze the air out of a gallon sized freezer bag and store the bread on the counter for a few days. At that point if there’s any left, it makes wonderful French Toast!
~jules
Hello,
I’m not given up but my 1st attempt today was not great. The bread was edible but was soft and not crusty. I want to persevere… I couldn’t find a round bread loaf pan so I made in in a quart size oven safe Pyrex bowl. Maybe that was not ideal. Also didn’t use parchment but instead oiled the inside of the bowl. I made the bread without yogurt so the dough was more runny. What would be the best baking pan to use for a nice, round loaf. The dough is too loose for a baking sheet. Thank you so much for your help and your great recipes. One more thing: what would be a good dairy free milk powder? Cheers!
This was my first attempt and the bread was absolutely fabulous. My bread flour mix is three parts white rice, two part potato starch, one part tapioca starch. I was out of flax and eggs so used 3 T chia seeds. I had enough homemade plain yogurt for half the liquid, and club soda for the rest. It bake on parchment paper in a 1 quart stainless bowl for the first 20 minutes and then took it out of bowl leaving it on the rack to bake for the rest of the time. It took a long time to bake – perhaps another 40 minutes until 200° was reached. I let it cool for half an hour and it was delicious. Flavor was great, bread a good consistency, moist yet not to moist with a good crust!
Hi Betsy, so glad you tried the recipe and made the best of it with what you had on hand! Isn’t it nice when things just turn out?!
Thanks so much for taking the time to leave your review and substitutions. I can’t wait to hear how you like it if you get a chance to try with my gfJules Flour – I’d love to know what you think!
Happy baking!
~jules
I made this artisan bread recipe recently and had the gollowing experience:
1. The bread dough needed to bake a very long time. It just didn’t seem to want to finish baking.
2. I finally used a food thermometer and when it reached the recommended temperature, I took it out of the oven and let it cool completely.
3. When it was ready to be cut into, I found it to be nice at the outer edges, but the center was still doughy.
4. The taste was good, but more like cake than bread, and very soft, moist and crumbly. A little sweeter than bread.
5. The texture was very soft and easily broke apart when handled.
I will give it another try. Overall it was interesting, but not particularly breadlike in taste or texture.
Any advise?
Hi Joy, thanks for the notes. Can you tell me what gluten free flour you used, and if you made any other ingredient substitutions?
Thanks!
~jules
Hi Jules: Sorry it took me a while to respond to your questions regarding my first post about my experience making your gluten-free artisan bread. I was traveling and this is the first time I’ve had a chance to respond to you.
To answer your question, I used your gluten-free all-purpose flour as recommended in your recipe. I followed all of the direction exactly and used and measured all ingredient exactly as described.
I used the Ginger ale method. I did not have a springform pan, however I baked the bread for most of the time in an oven proof bowl, then took it out of the bowl and allowed it to finish baking on the preheated a pizza stone.
As I said, I followed your recipe exactly as described using all the ingredients recommended and your gluten free all-purpose flour.
Next time I will reduce the amount of honey, as I thought the bread was a little too sweet. As for the other issues, I’m not sure how to remedy some of the problems I encountered. I will just keep practicing and hope for a better outcome.
Hi Joy, I applaud your attitude and willingness to try again!
First off, the sweetness comes more from the gingerale than anything else. Next time try your favorite milk and keep the honey, as it feeds the yeast but also helps to act as a humectant and keep the bread soft and moist.
The oven proof bowl is a variable in baking, since (depending on the thickness) it can cause the bread to need to bake longer. As long as it’s not drying out or burning, you did the right thing to just leave it in the oven longer to finish baking. Have you checked your oven temperature lately? It sounds like maybe it’s not baking to temperature though, if you had to add more time and it still wasn’t baked in the center. Take notes and add more time later, of course, but also check your oven’s calibration. Here are more tips on that: 18 Tips for Gluten Free Bread Baking.
If you want the best results with the fewest variables, give my gfJules Bread Mix a try.
Let me know how it goes the next time around – feel free to email support@gfJules.com if you want us to walk through it with you anytime!
~jules
I love this bread! I have been playing with spicing things up with scallions, sun dried tomatoes and garlic or making it with cinnamon, lemon and rosemary. Thank you for publishing this recipe.
Oh wow, Kari, I love your additions! Thinking about those flavor combinations is making me hungry – I bet they would all be so good with this recipe. Thanks for sharing and for taking the time to let me know how much you like this recipe!
~jules
I have a question about the transfer from a pan to baking sheet. I used sparkling water and the dough had a thinner texture. I cooked the bread in a glass pyrex for 20 minutes and then transferred to a baking sheet where the bread immediately cracked and fell apart in the middle
Do you have any suggestions on how to maintain the shape of the bread?
If you use sparkling water, the dough will definitely be looser and needs structure for nearly the entire bake. Do you have a springform pan? That’s one option, or you could leave it in the glass pan until it’s done and then remove from the glass pan to the parchment for another couple of minutes just to crust-up the sides. The other option next time is to choose milk or yogurt for even thicker dough, or of course you can always bake it in a loaf pan the entire time. Lots of choices!
~jules
It says to check out the video, where’s the video?
I have a question about the bread recipe and I have loved all of your recipes and I am excited to try this one. In terms of the liquid options what is the difference in the outcome if I use milk versus the sparkling water or Ginger ale or beer? I am happy to use any of them just not the yogurt just wanted to see how it would affect the outcome before I try.
Thanks so much!
Lisa
So happy you’re loving my recipes, Connie! Great question about the different liquids, as they really do make a difference. Using something with bubbles will make the bread lighter and rise higher. If the bubbly liquid has a taste (like gingerale, 7-up or gluten free beer) that WILL come through in the bread though. Milk is a good happy medium, as it doesn’t have any flavor to speak of and it will help the bread stay fresh a bit longer than using the bubbly liquid. They’re all good, I hope you enjoy!
~jules
I can’t have at all. I don’t know if the gluten free wheat flour would work for me. Do you have recipes for oat bread, black bean flour bread, etc? Is there such a thing? I need suggestions.
Hi Madge, I’m sorry I don’t exactly understand what you’re asking? Are you unable to use my gfJules Flour? Is that why you’re looking for black bean flour bread?
~jules