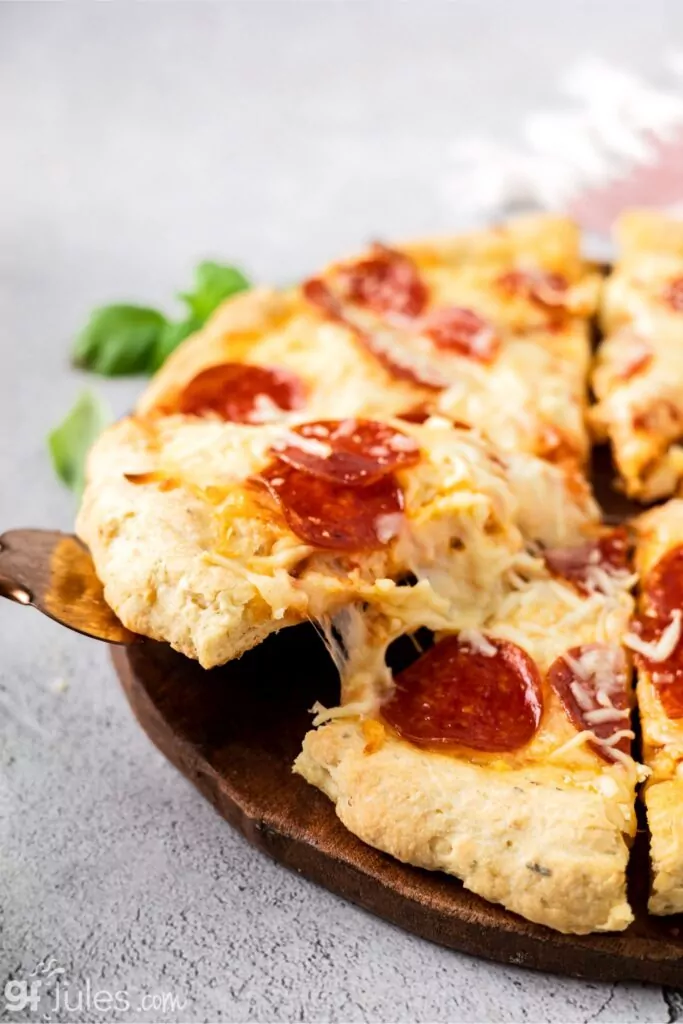
Delicious gluten free pizza — REAL pizza — is one of the things people think they’ll have to miss out on with the gluten free diet, but it doesn’t have to be that way at all! This thick and chewy crust brings people to tears because it brings them back to the real pizza crusts they’ve been missing. And it all starts with this perfect gluten free Pizza Dough Recipe.
No compromises with taste, texture or safety (no wheat starch here!).
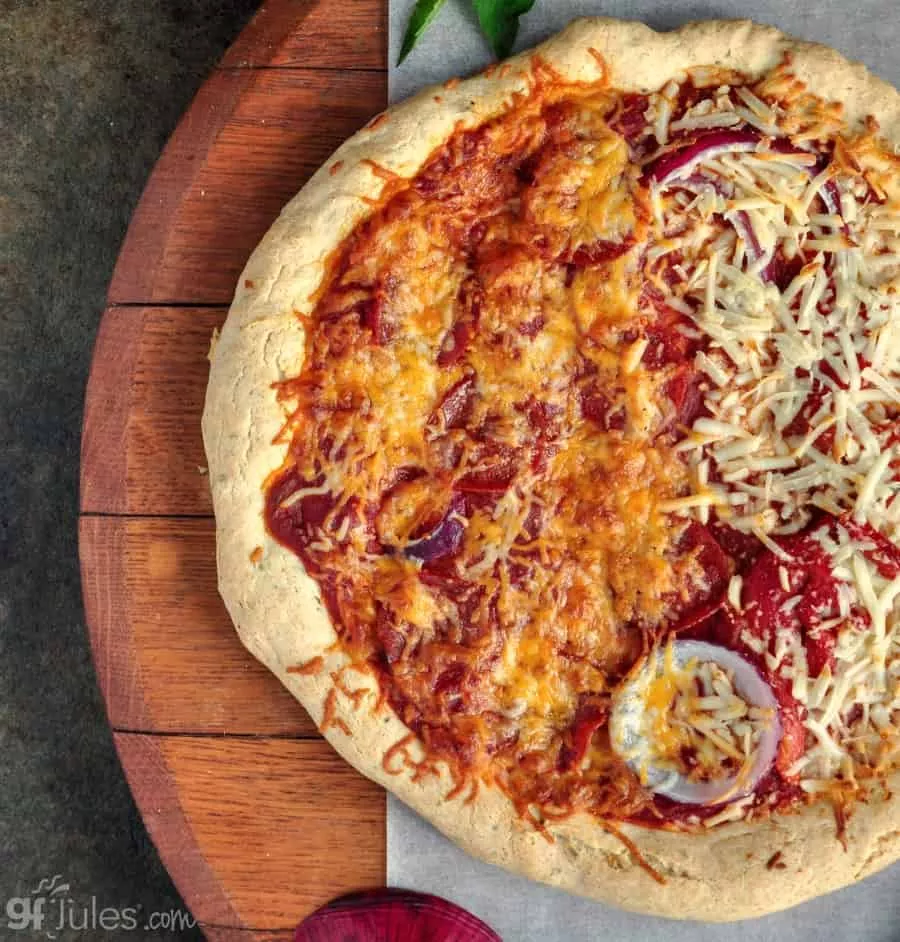
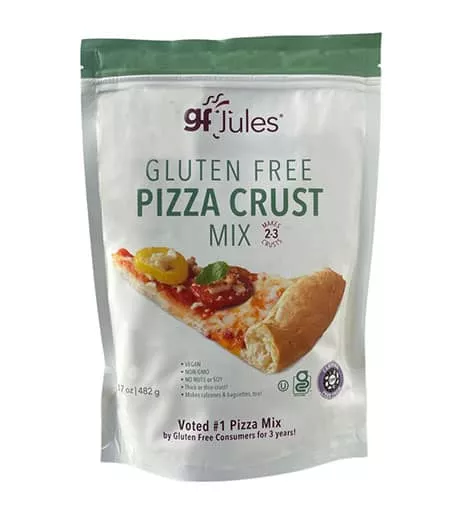
People talk about craving it, but with this gluten free pizza dough recipe (or my super easy, award-winning gfJules Pizza Crust Mix), you can have it: crunchy, chewy, doughy, yeasty REAL pizza in no time, without the gluten!
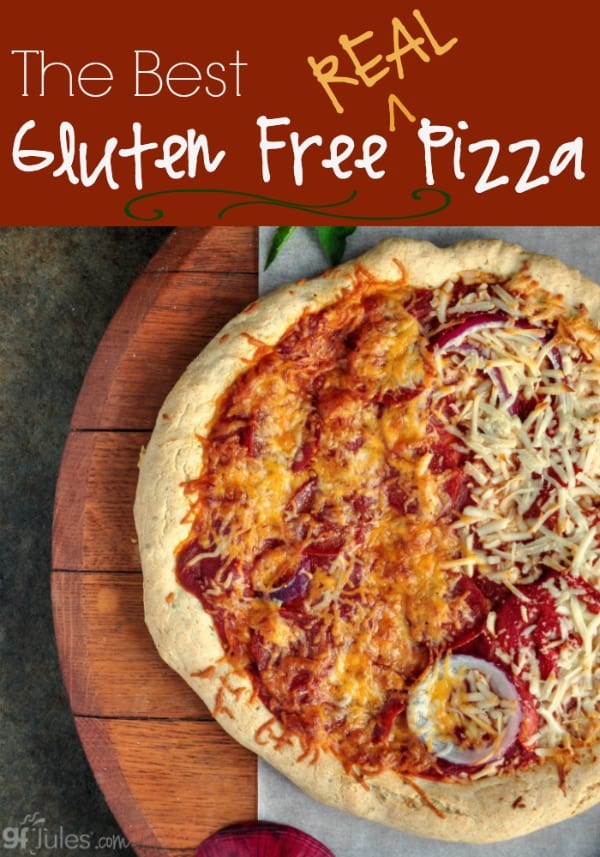
It really is the BEST gluten free pizza!
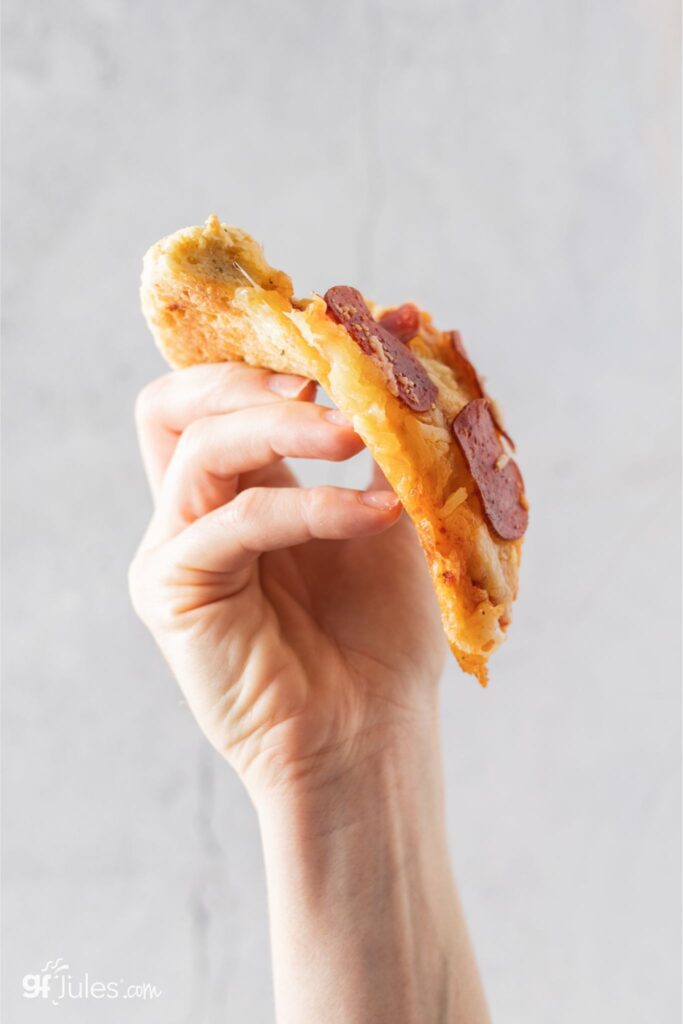
There’s just something about pizza that everybody loves. And it’s tragic to think you might have to give up great pizza when you go gluten free.
I truly believe pizza is the ultimate comfort food, and just because we’re gluten free doesn’t mean we don’t deserve great gluten free comfort food (pizza)!
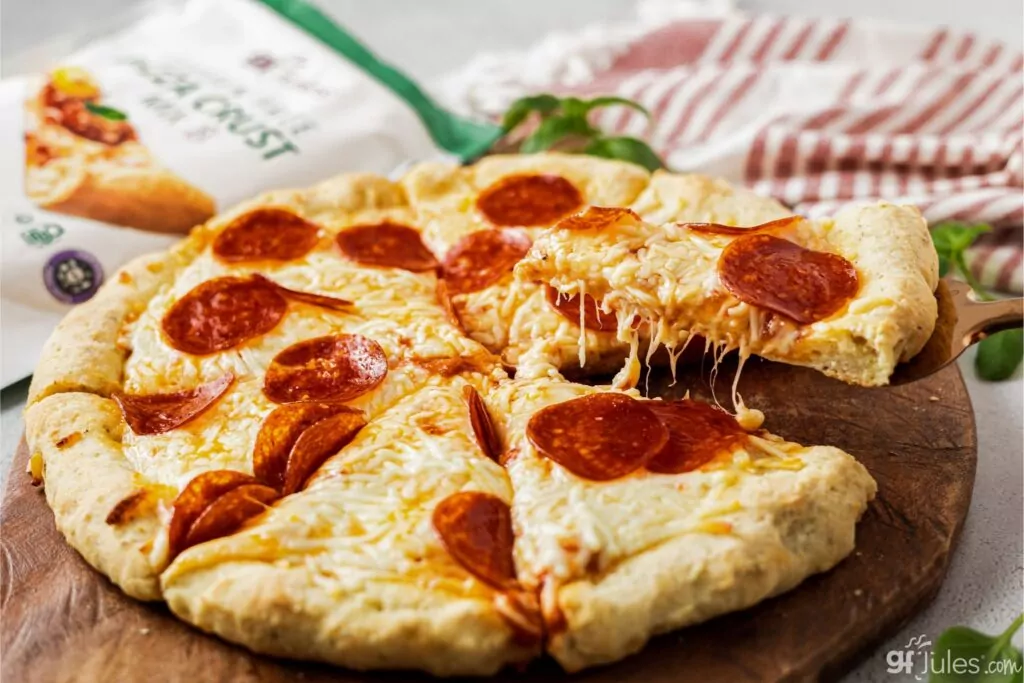
And when you make it at home yourself, you can put ANYTHING on top and you can choose if you want thick or thin pizza. Either is delicious, both are easy!
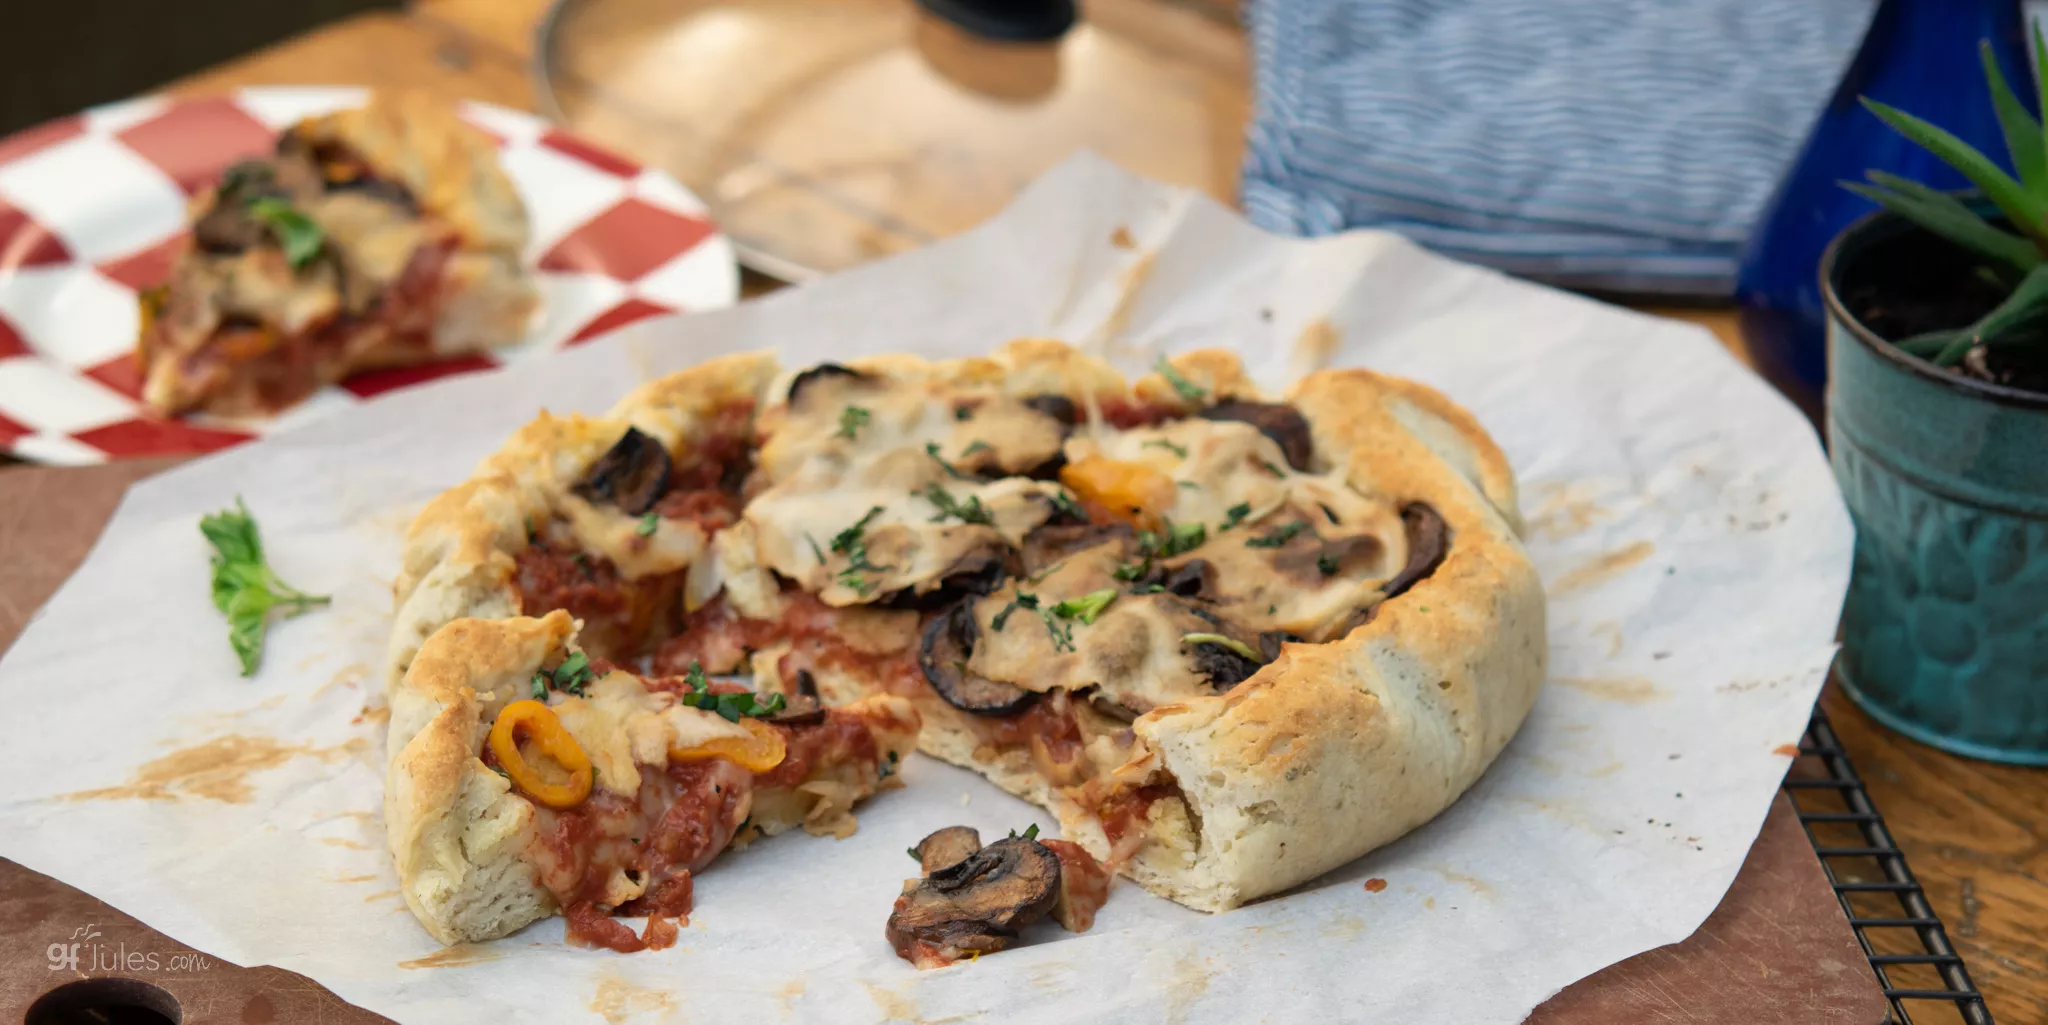
You can even make Chicaco-style gluten free Deep Dish or Stuffed Crust pizza with this homemade recipe or my gfJules Gluten Free Pizza Crust Mix!
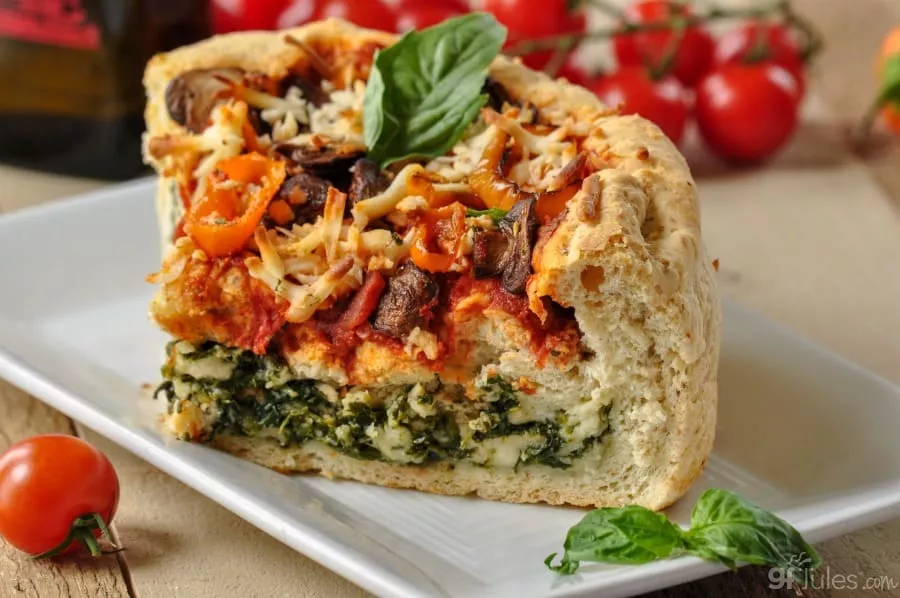
Or how about Gluten Free Slow Cooker Pizza? That’s right — you can make this gluten free pizza dough in a slow cooker and it does all the “work” for you!
How Do I Make Gluten Free Pizza Dough?
Even if you’ve never made a pizza crust in your life (most of us hadn’t), it’s easy with my mix or this recipe, and the rewards are indeed sweet! I’ve posted a few videos for you in this recipe so you can see just how easy it is.
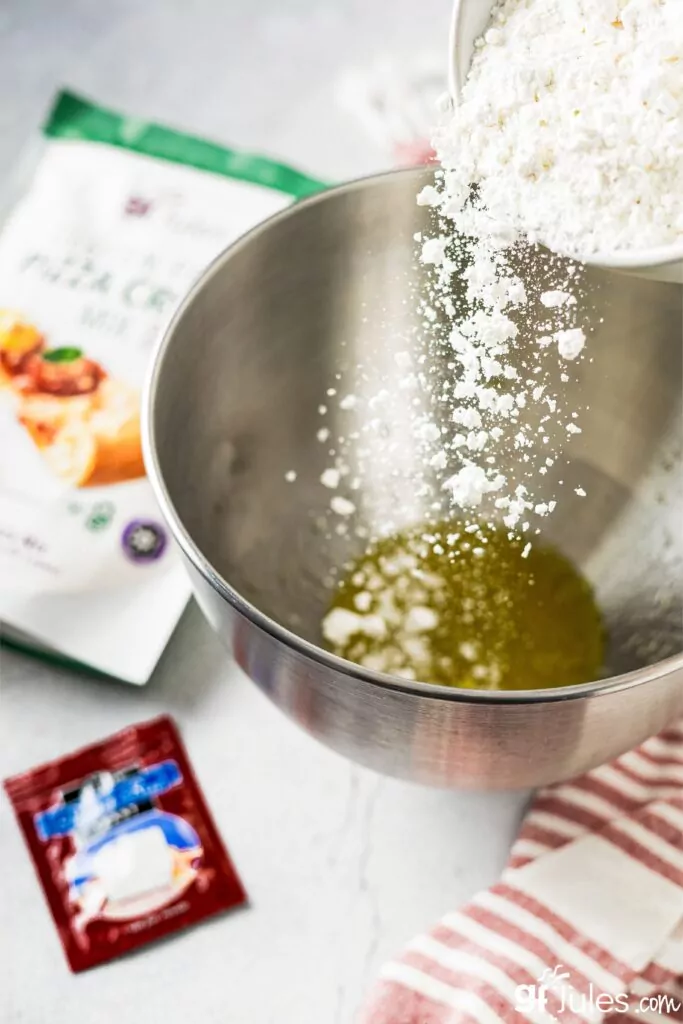
Just dump the dry ingredients into a bowl with a few liquids like oil, egg (or substitute), and water …
Spread the dough out onto parchment so it won’t stick. I find that when you put cooking oil like olive oil into your palms it makes spreading the dough super easy!
Build up the edge of the dough as much as you’d like for your crust so the sauce won’t come off the sides.
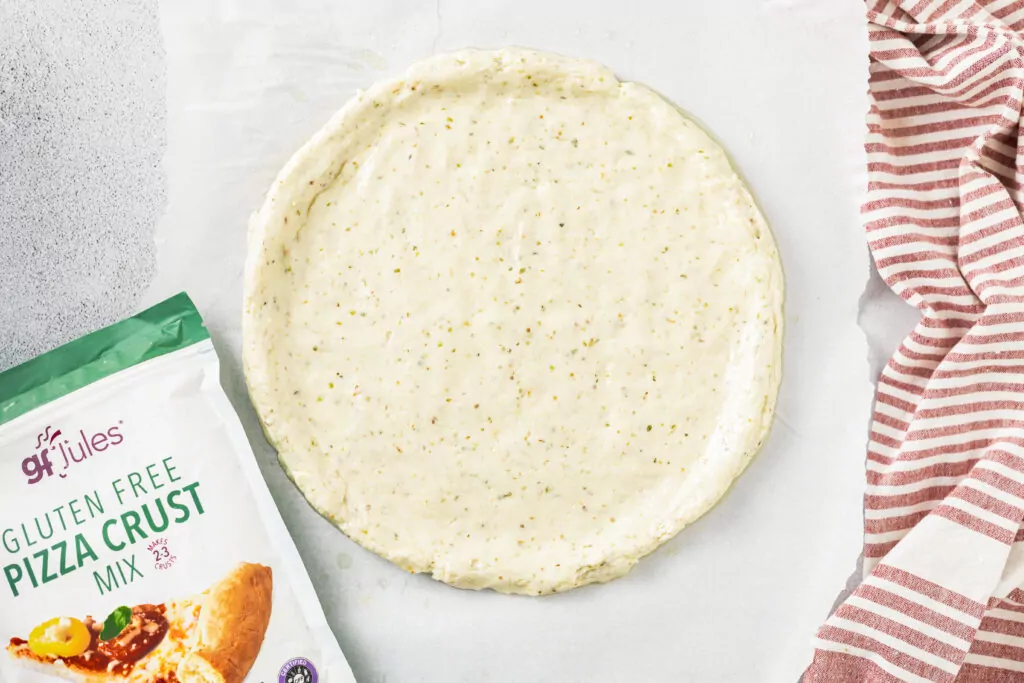
Once risen and par-baked, spread sauce and toppings, then finish baking until golden and the cheese is bubbly.
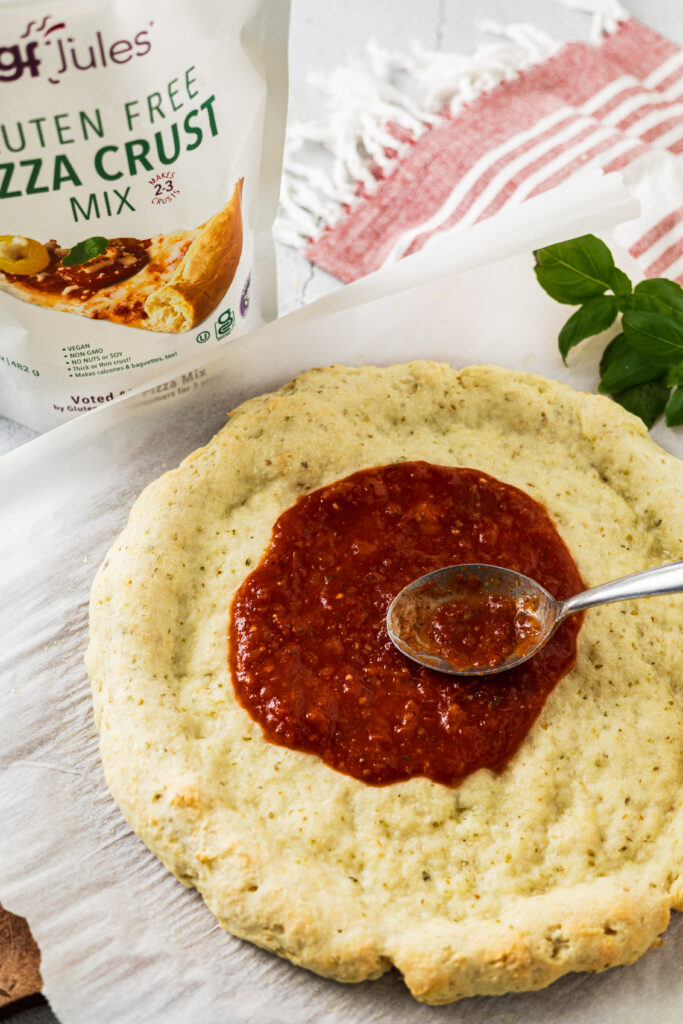
Bake on a stone or pan, in your oven or even a grill. It’s delicious any way you choose, thick or thin! I give you options in the recipe for lots of different ways to cook your pizza.
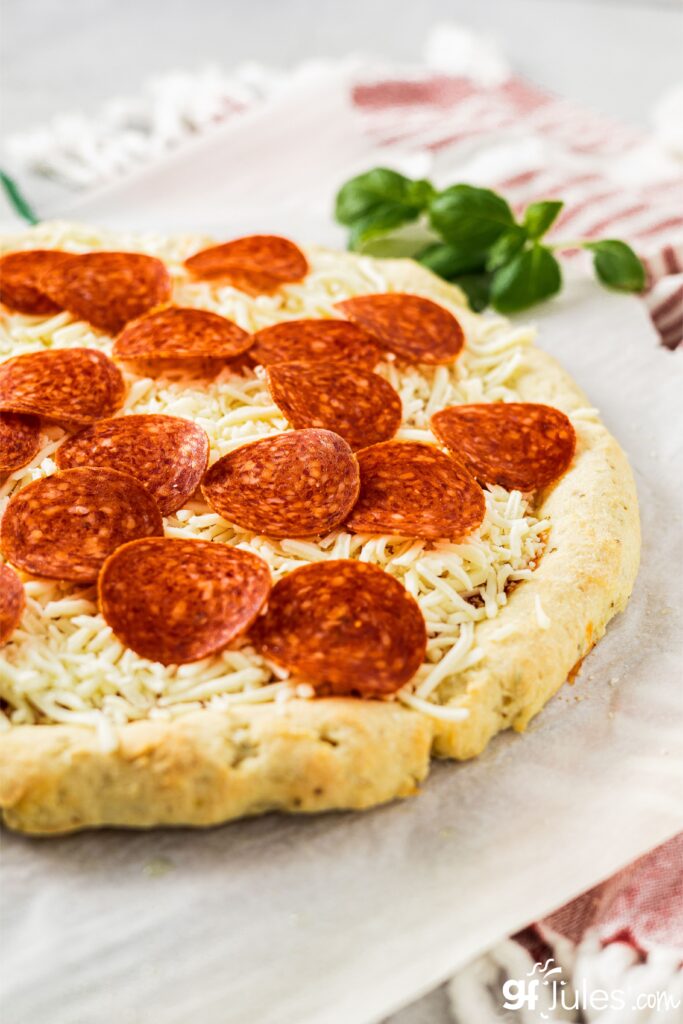
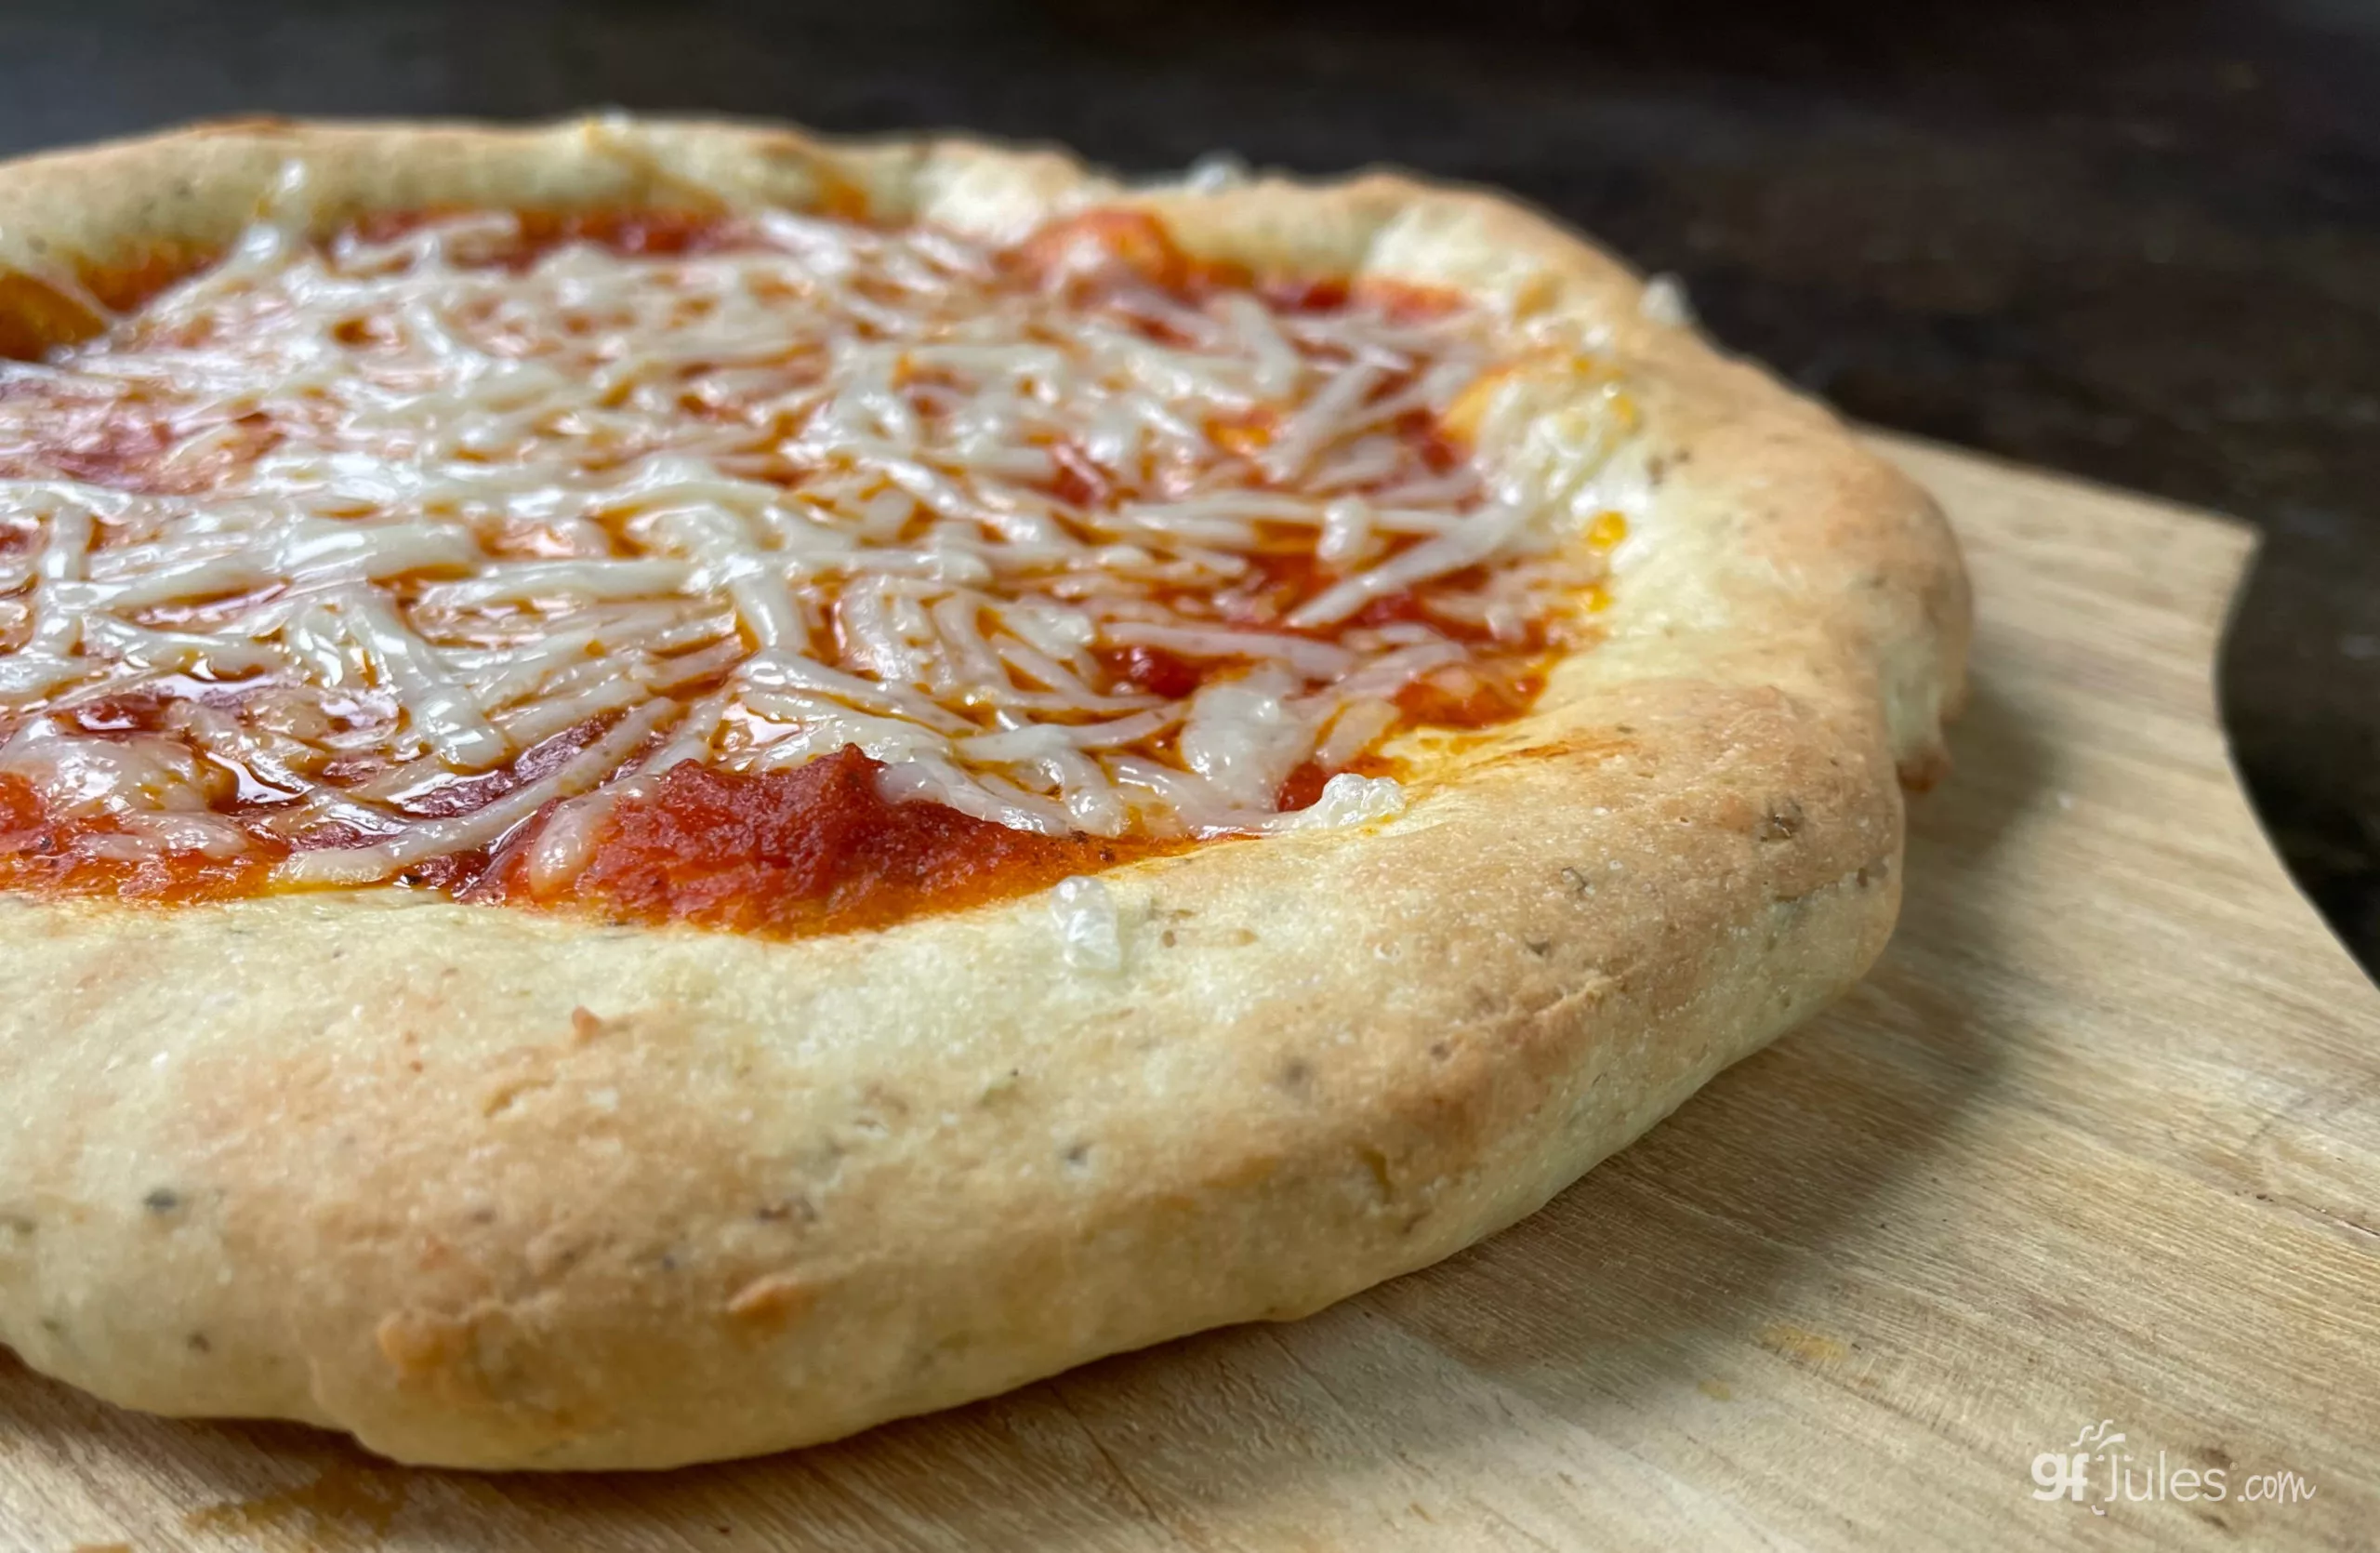
Once baked, this delicious crust is everything a pizza lover could ask for!
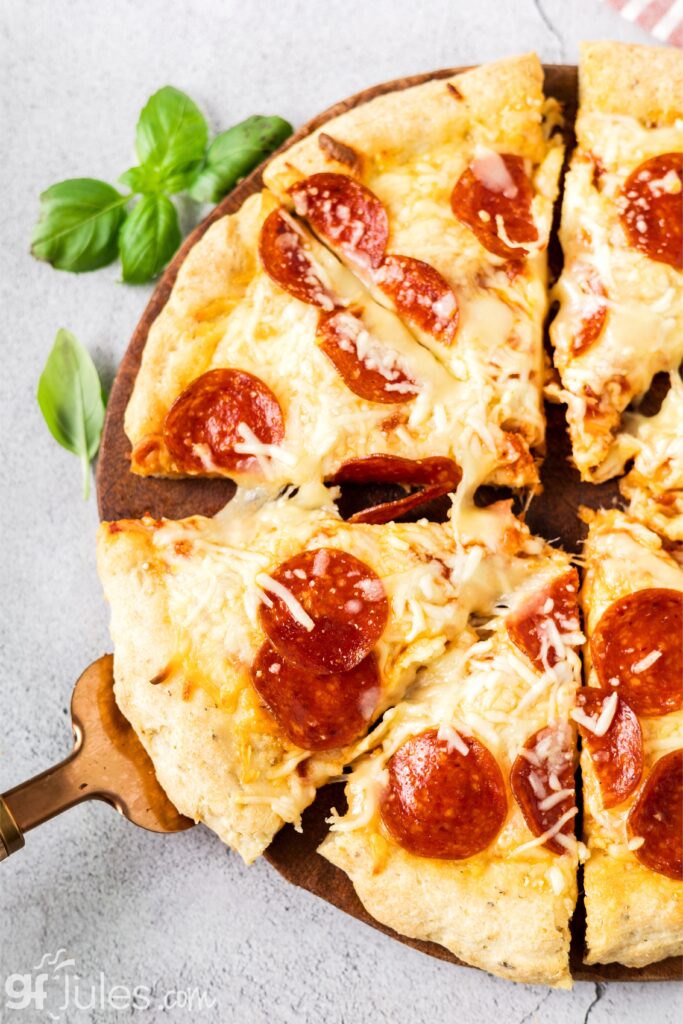
Once you get good at making the pizza crust, try something new like gluten free calzones or gluten free pizza rolls!
The pizza possibilities are nearly endless!
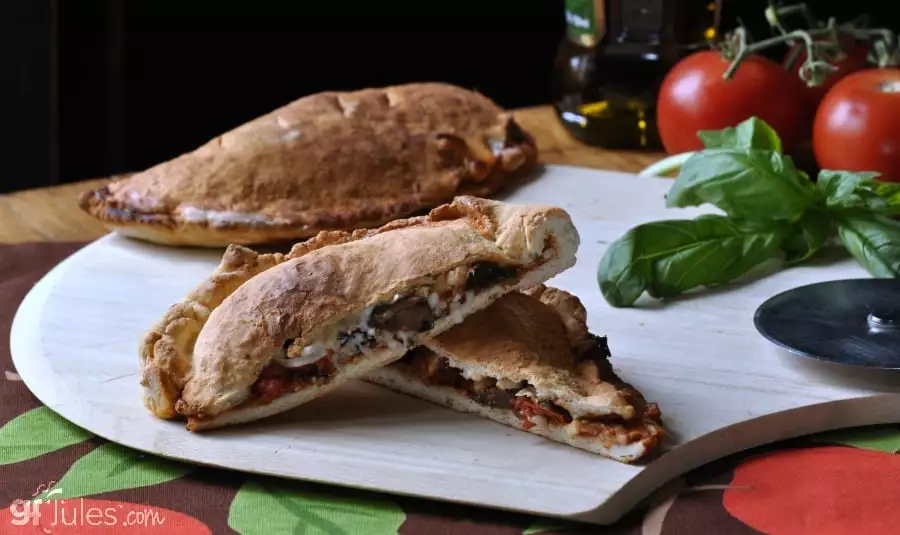
What’s the Best Gluten Free Pizza?
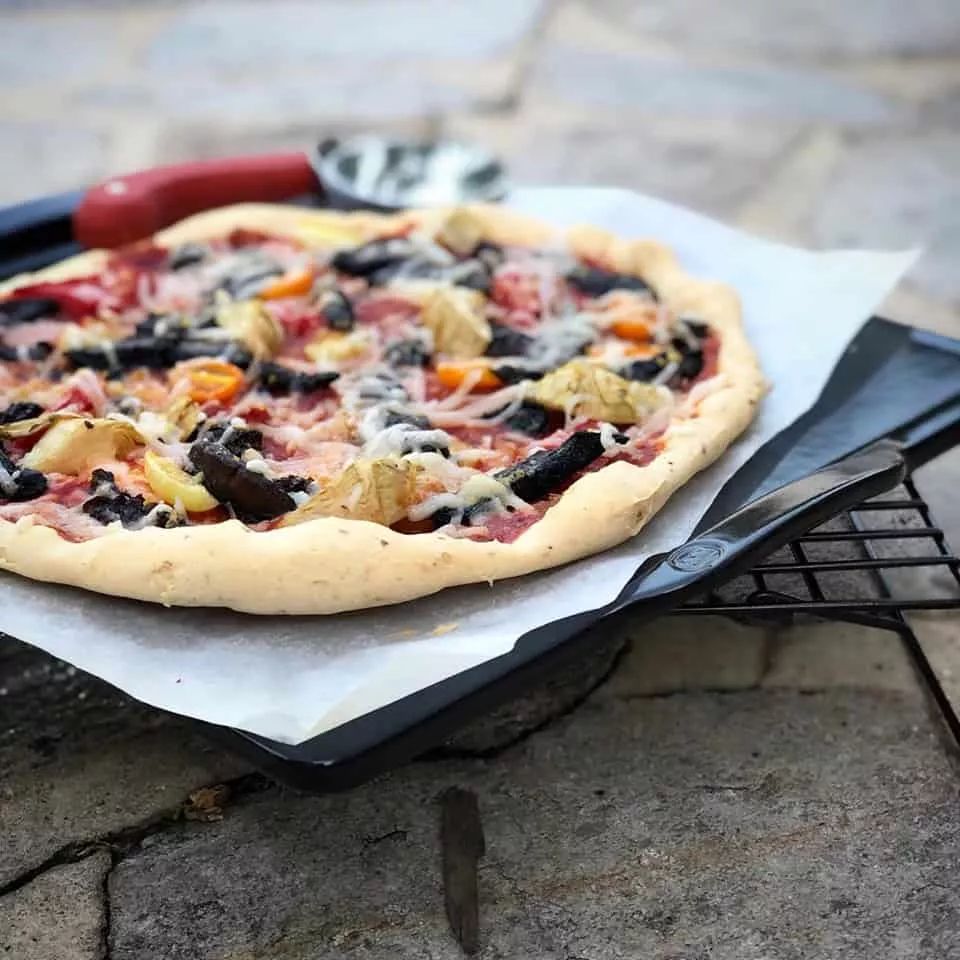
This pizza has made gluten free pizza believers out of so many people! To prove it to you, I’ve put some of their pizza pics here.
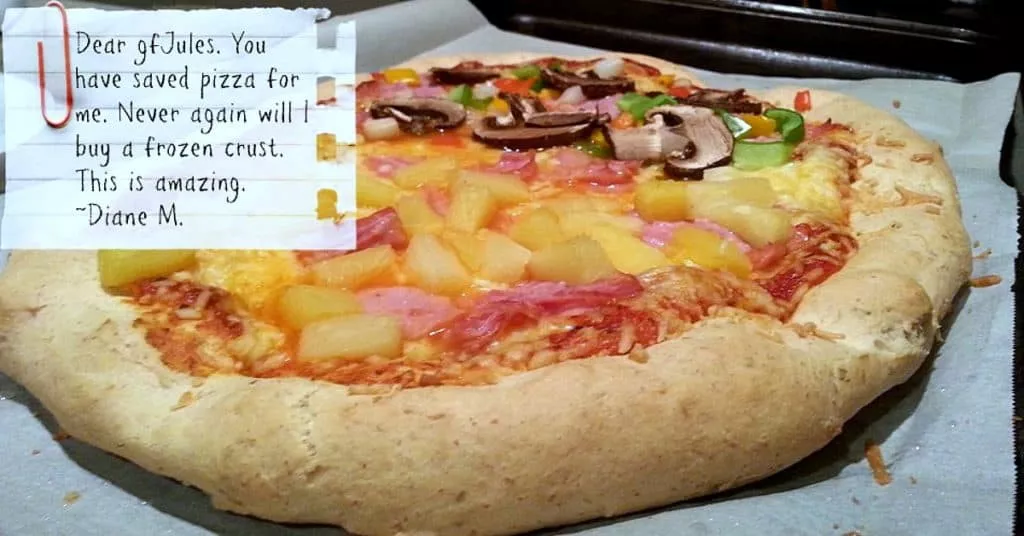
Real pizza strikes a chord with people.
It’s right up there with bread and chocolate chip cookies as the top 3 things folks think they will miss most when going gluten free.
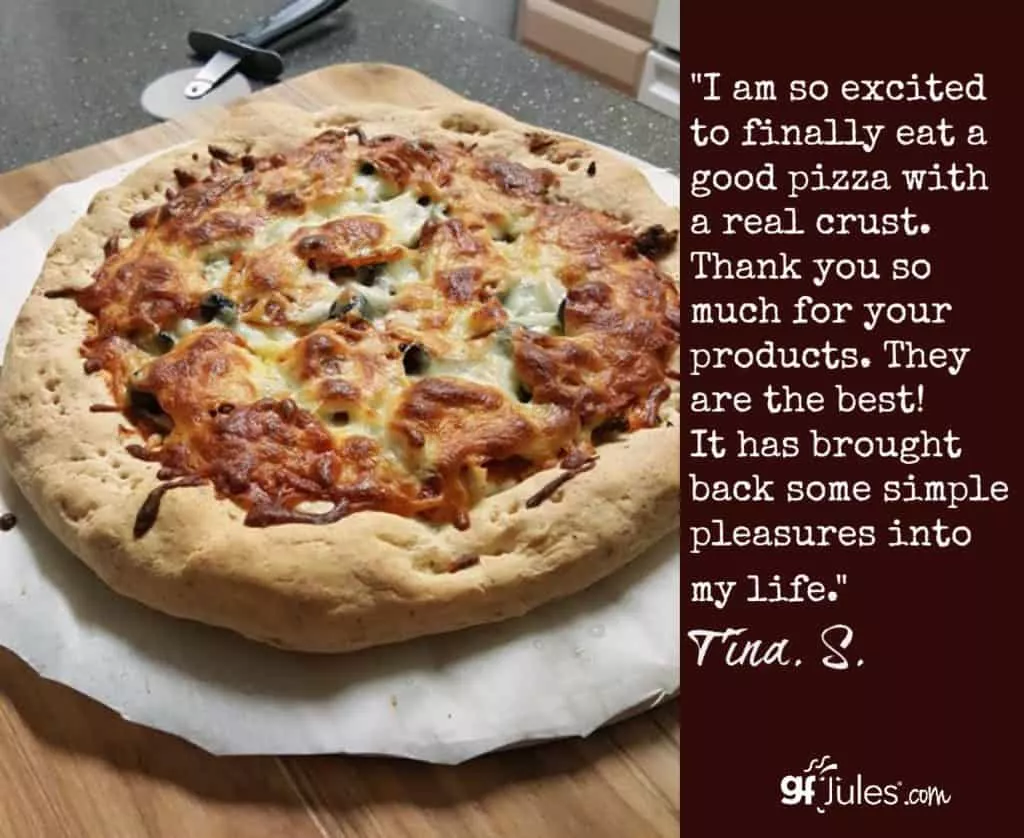
I suppose rice cracker gluten free pizzas have their place, but when you want a real pizza with a real doughy crust, this will be your go-to, real pizza recipe (but be ready, it could be a real tear-jerker for you, too!).
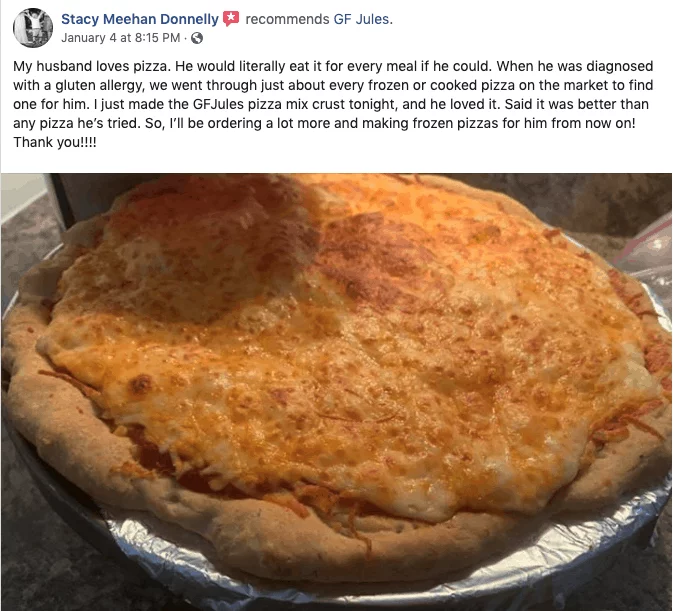
You can even bake this delicious gluten free pizza crust in a slow cooker / crockpot (click here for directions) or in a cast iron or braising pan.
You choose how you would like to cook it!
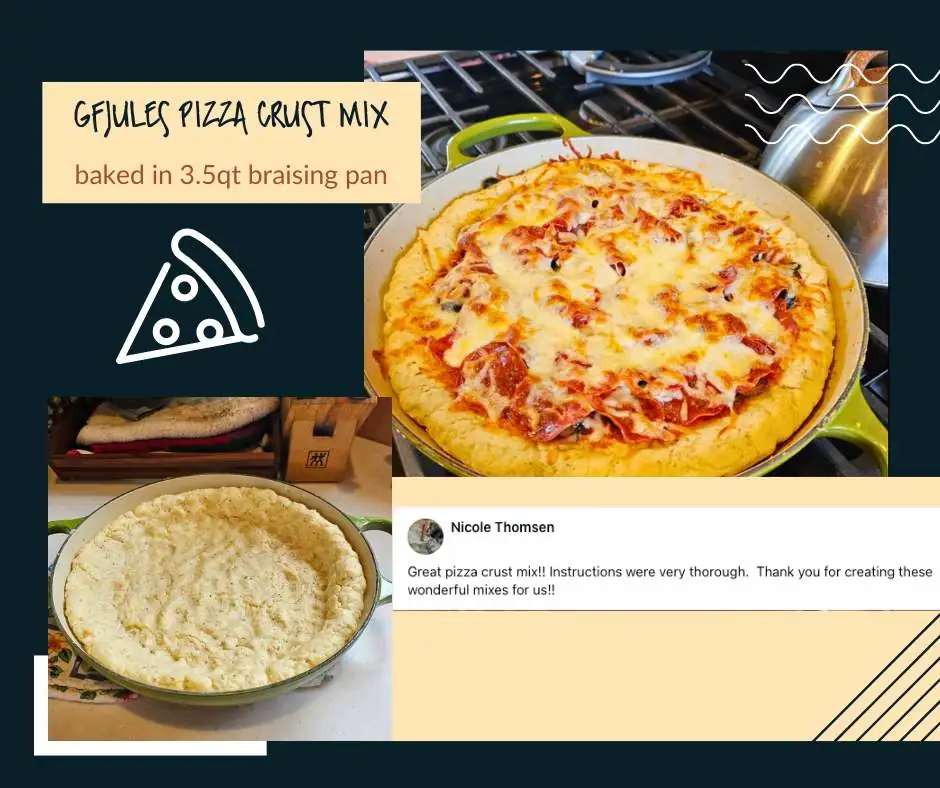
I worked so hard to develop a truly AWESOME gluten free pizza crust because at this point in my gluten free life, I’ve got to be honest, I’ve made a lot of gluten free pizzas.
I’ve made gluten free pizzas for dinner parties, I’ve made them for cooking classes of 85 people, I’ve even made them for food shows for hundreds of samplers. I have never had a complaint, but I have actually seen a few tears from folks who have been deprived of real pizza for so long.
If you have been missing out on REAL pizza because you’re gluten free, don’t! Now you know you can have it anytime you like — either with my easy gfJules Pizza Crust Mix or from scratch with this handy recipe and my gfJules Flour.
The only tough part now is deciding … thick or thin crust?? Are you ready for a slice?
What’s the Best Pan for Gluten Free Pizza?
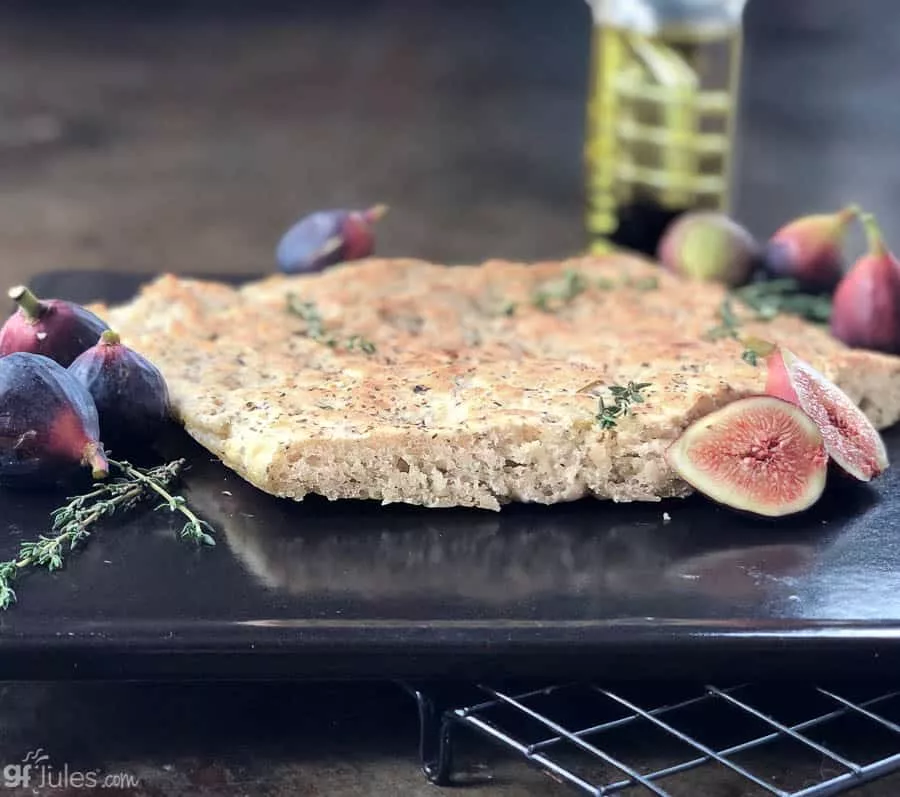
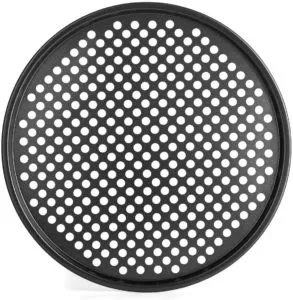 To bake this recipe as gluten free pizza or gluten free focaccia, I like using a pizza stone or a pizza crisper pan covered with parchment sprayed with non-stick cooking oil.
They are usually circular pans and have lots of little holes in them to help the air flow and to make the outside of the crust crisper, while allowing the inside crust to remain chewy.
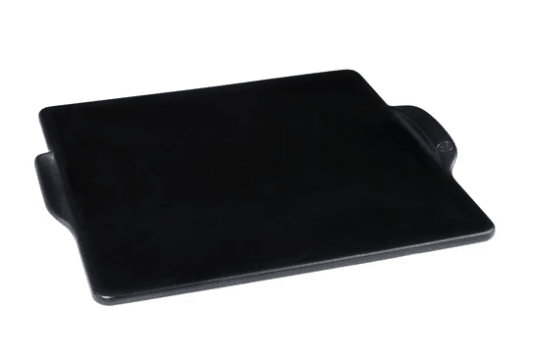
Another option is a traditional pizza stone (this one comes with a pizza peel, too — so handy!) or this gorgeous one from Emile Henry.*
How Do You Grill Gluten Free Pizza?
This gluten free pizza dough recipe also works on the grill!
Yes, I’m talking grilled gluten free pizza, here. SO yummy – just rise it according to the recipe, then grill instead of baking in the oven.

It imparts a real pizza oven quality to the crust and is truly delicious (just be sure to monitor it so that it doesn’t burn!).
Follow this link to my full Grilled Gluten Free Pizza Recipe for all the how-tos and tips!
What are Other Ways to Cook Gluten Free Pizza?
I’ve also used a portable pizza oven when I offer samples at gluten free shows. My favorite so far is the Presto Pizazz® Pizza Oven. This handy gadget is fun to watch in action and takes any guess-work out of rising and baking a pizza.
Another option is to simply cover a baking sheet with parchment paper sprayed with cooking oil and bake the pizza in a round or rectangular shape on that. Whichever pan or method, this recipe can make a thin or thick crust and will make your whole family happy.
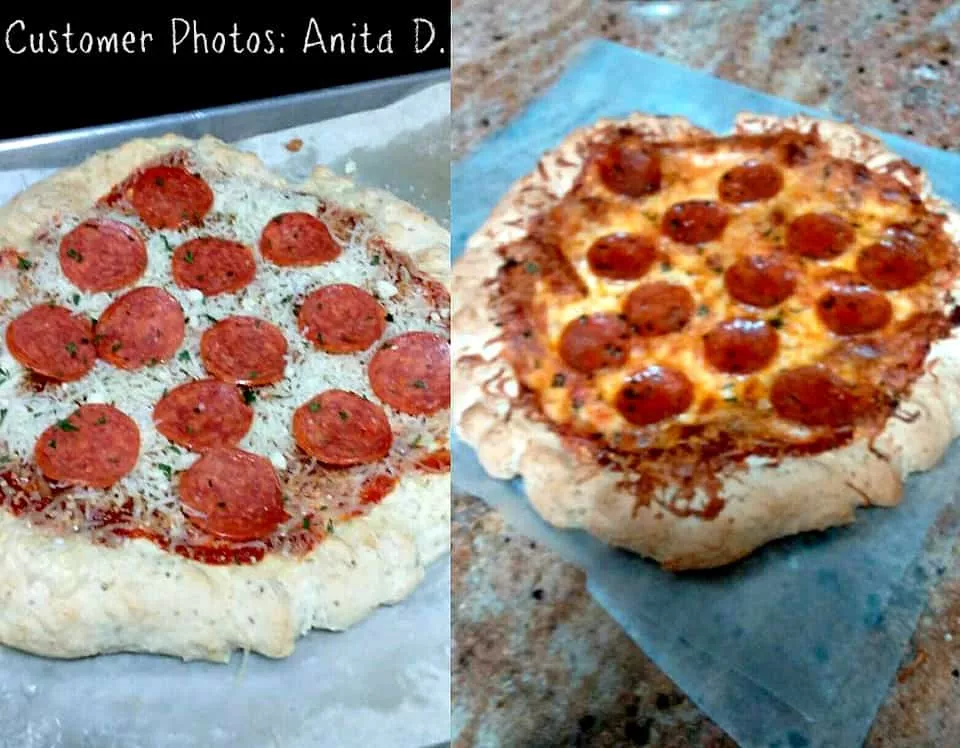
Particularly when using a regular baking sheet though, don’t make the center of the crust too thick or use a very watery pizza sauce, as it will be harder to get that part of the pizza nice and crispy on the bottom.
Can I Par-Bake Gluten Free Pizza Crust?
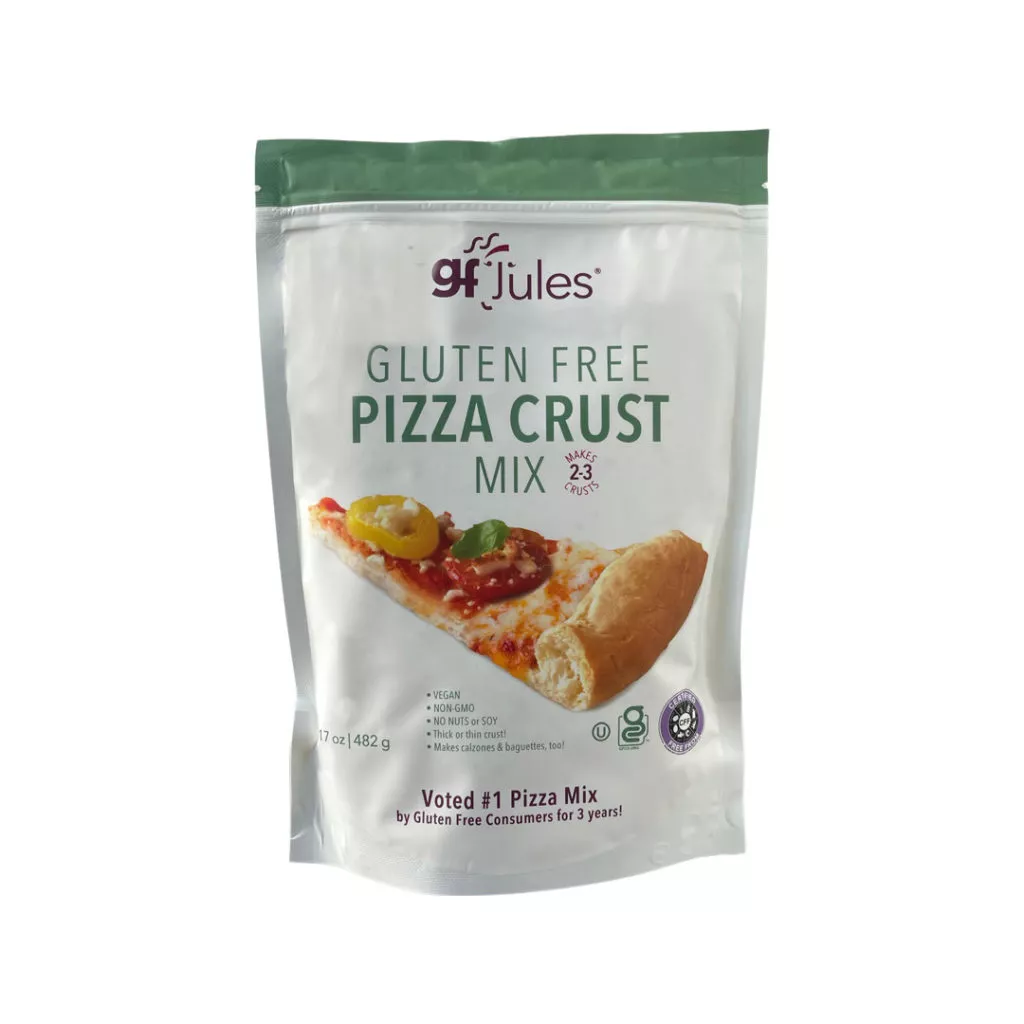 Yes! You can bake a gluten-free pizza crust and stick it in the freezer to make it more convenient for dinner later. I mean, who doesn’t love being able to pull a frozen pizza out and shove it in the oven? Well next time you make this recipe (or make one of my gfJules Gluten Free Pizza Crust Mixes), make two and freeze one!
My gfJules Pizza Crust Mix actually makes 2-3 large pizzas already (it all depends on just how thick you like your crust!), so if you’re not in the mood for two large pizzas today, you’ll be set, because you can easily par bake one and freeze it for later!
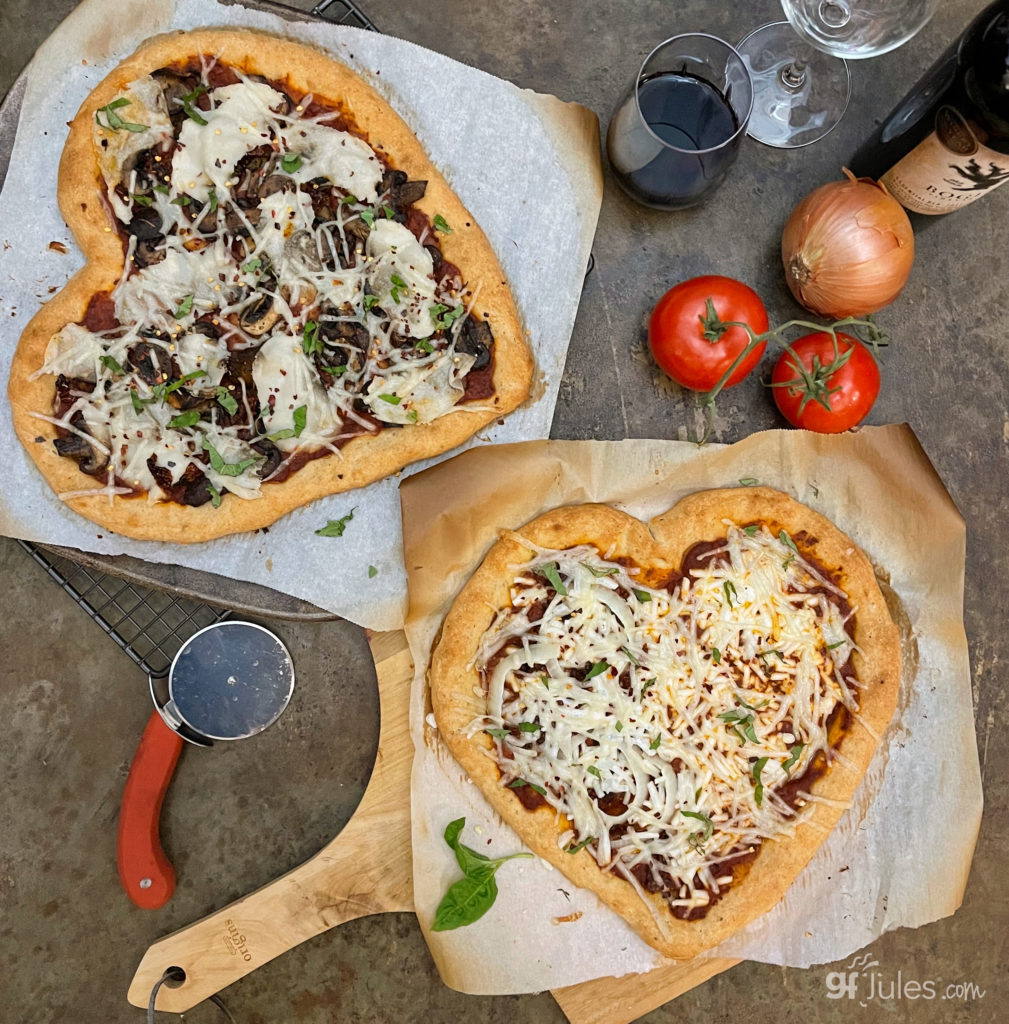
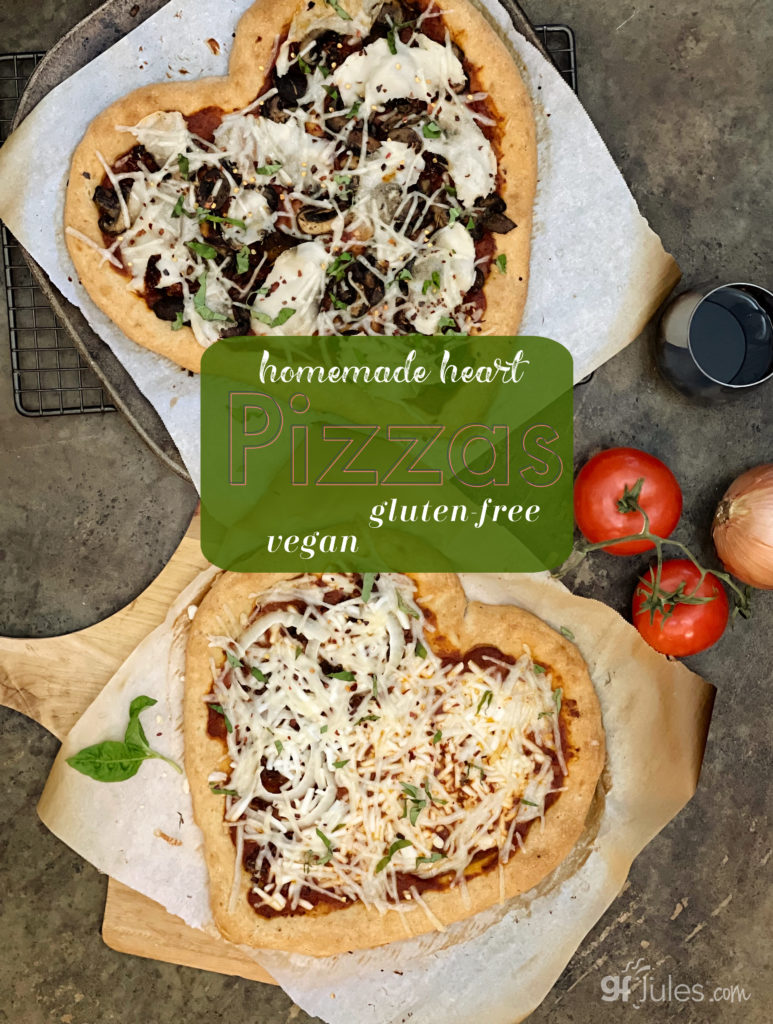
You can even make these delicious, authentic gluten free pizza crusts into HEART shapes (or any shape, really!)
How do I par bake gluten free pizza crust and freeze for later?
Follow the instructions for making, spreading and rising the pizza just as you would normally, but then bake it at 450F for only about 5-7 minutes, or until the dough has puffed and is starting to look a bit dry but not brown.
Remove the crust to fully cool to room temperature and then either cover with toppings or not, your choice. Either way, at that point, wrap the pizza well with plastic wrap … twice. This will prevent freezer burn. If you know you’ll be keeping it in the freezer for a few weeks or even a month, I’d suggest another layer of foil, as well.
When you’re ready for gluten free pizza next time, preheat your oven to 450F, then remove the foil and plastic wrap. If you haven’t already topped it previously, add sauce and toppings now.
Place the frozen gluten free pizza on your favorite pan or pizza stone and place it in the preheated oven, baking until the crust is browned and your toppings are melted, at least 10 minutes.
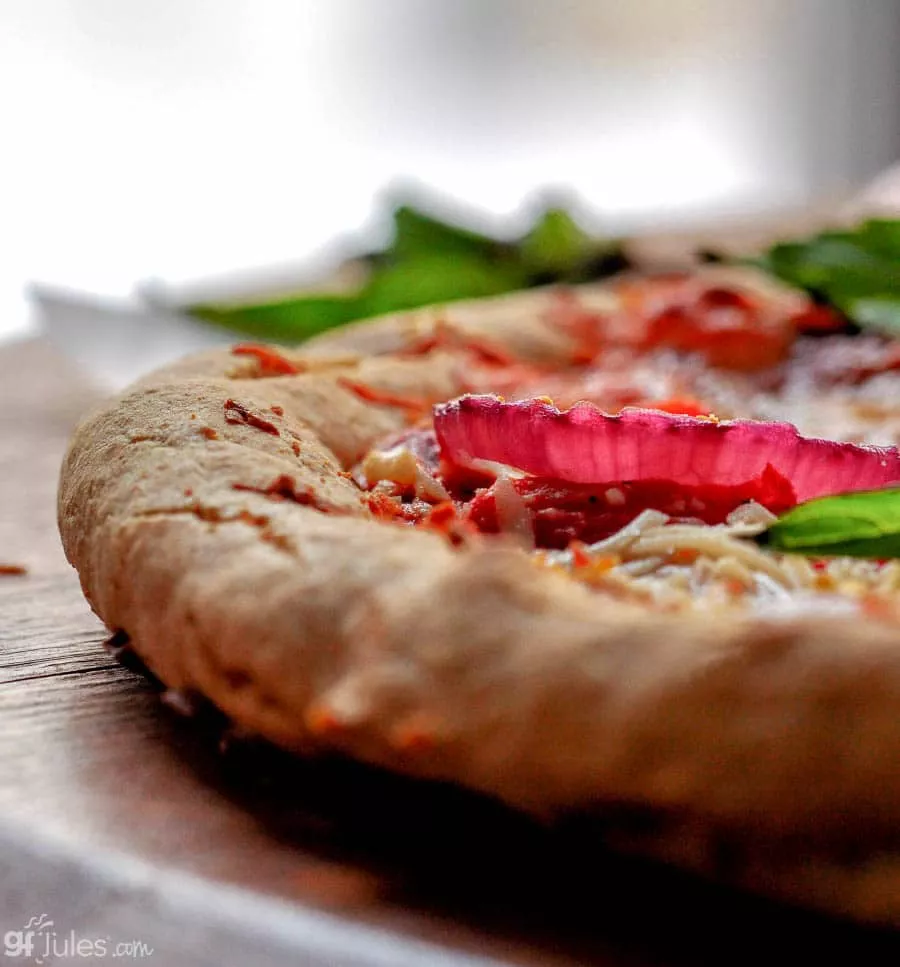
RECAP: How to make the Best Gluten Free Pizza
 ✦The easiest way to gluten free pizza nirvana is with my gfJules Gluten Free Pizza Crust Mix. It takes any worrying or guess-work out of the equation — pre-measured with ingredients selected just to get that perfect “chew” out of your gluten free pizza dough. It makes 2-3 large pizzas, or you can only make half the mix and save half for later. OR you can par bake and freeze a pizza or two for later!
✦My Gluten Free Pizza Making e-book gives you 13 different pizza recipes for any type of pizza craving!
✦And if you need more proof that this dough (from scratch or using my mix) is easy to make into a pizza, watch my 14 year old son do it in this short video!
*For YEAST-FREE gluten-free pizza, check out my Gluten Free SOURDOUGH Gluten Pizza Crust Recipe, or the dough directions below at the end of the recipe card.*

What are you waiting for? Isn’t it about time you enjoyed the BEST gluten free pizza?
Choose your method: I give you three here, one for using a pizza stone and turning your regular oven into a pizza oven! one easy no-rise method that has your pizza ready in only about 20 minutes! and one traditional method that turns out a great gluten free pizza every time.
The Best Gluten Free Pizza Recipe

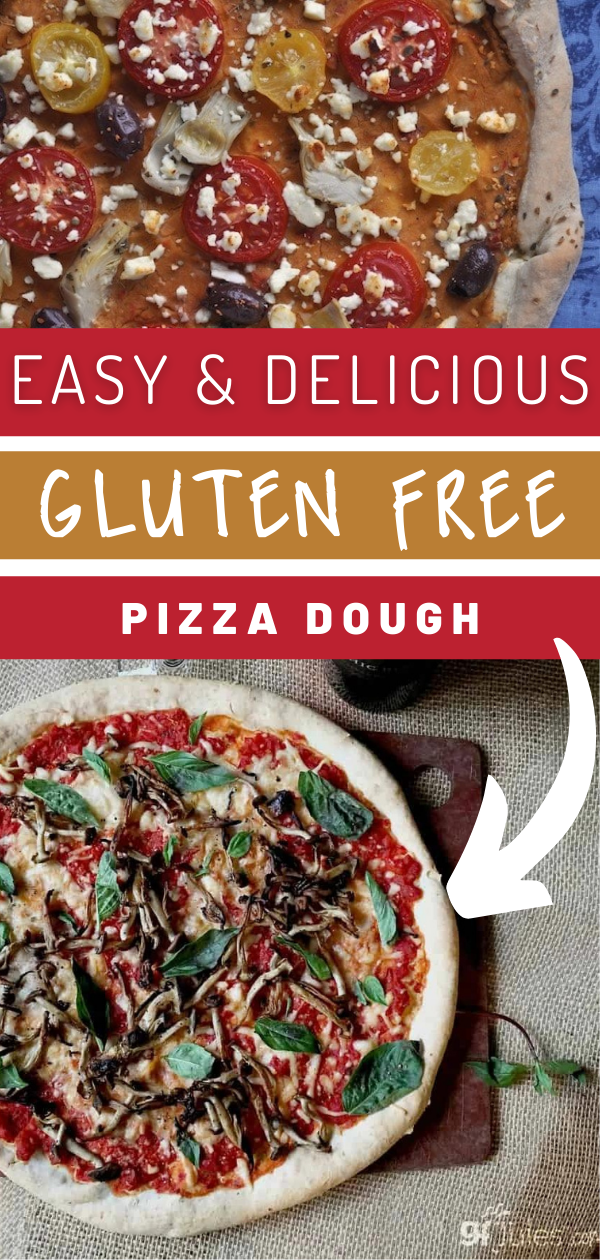
Gluten Free Pizza Dough Recipe
Ingredients
One 12-inch Pizza or Focaccia
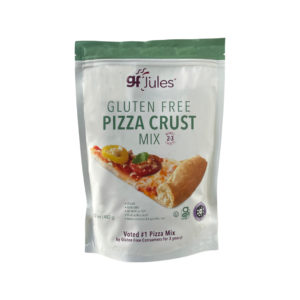
- 1/2 mix gfJules® Gluten Free Pizza Crust Mix (~ 1⅔ cup or 8.5 ounces of mix)**
OR THESE DRY INGREDIENTS
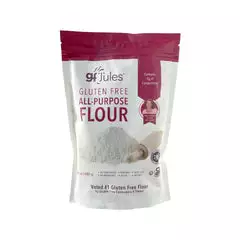
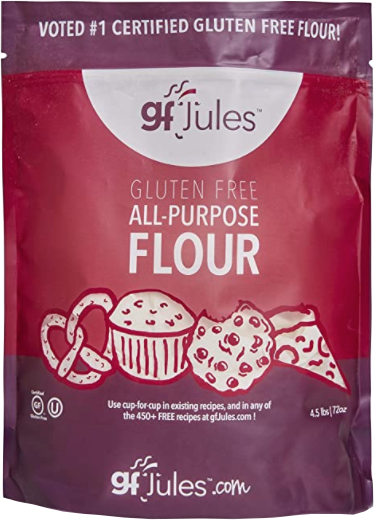
- 1 1/2 (202) cups (grams) gfJules® All-Purpose Gluten-Free Flour OR 210 grams gfJules Gluten Free Multigrain Biscuit & Breakfast Baking Flour (corn-free)
- 3 Tbs. milk powder dairy or non-dairy (like coconut milk powder) OR almond meal OR plain GF potato flakes
- 1/4 tsp. oregano
- 1/4 tsp. garlic powder optional
- 1/2 tsp. salt
PLUS
- 2 egg whites or egg substitute like flax egg or aquafaba room temperature
- 2 Tbs. extra virgin olive oil
- 1/2 tsp. apple cider vinegar or lemon juice
- 1/2 cup warm water (if making from scratch, add 2 Tablespoons additional water)
- 2¼ tsp. rapid rise yeast gluten-free (1 packet - included with pizza crust mix) ** (for yeast-free directions, scroll to the bottom of the recipe)
- additional olive oil to brush onto the crust
- pizza sauce & toppings of choice
Instructions
Make the Dough:
- Bring all ingredients to room temperature. If warming egg whites, place whole eggs in a bowl of very warm water for a few minutes while gathering other ingredients.
- (From scratch: whisk together dry ingredients except yeast; set aside.)
- In a large mixing bowl, combine egg whites, olive oil, cider vinegar and water.
- Using a stand mixer (preferably), slowly add in the dry ingredient mix with yeast. Beat for 2-3 minutes on high to get a firm but very sticky dough that can still be spread; if dough is tight or resistant to spreading out on the pan, mix an extra 2-3 tablespoons of warm water into the dough until absorbed.(Note: this recipe may be mixed by hand in a large bowl, using a wooden spoon – stir as long as you can!)
FORM THE CRUST:
- Spoon dough onto oiled parchment. Put a tablespoon of olive oil into your palms and spread pizza out to a 12-14” circle or form small personal pizzas, adding more oil to your hands if the dough is sticking. Create raised edge to contain sauce.
FOR PIZZA STONE:
- Preheat oven with pizza stone on rack to 500°F (static)/475° F (convection).
- Cover crust with oiled parchment and let rise for 30 minutes in a warm spot.
- Remove top parchment and transfer pizza to hot stone.
- Bake for 3-4 minutes or until the crust is lightly browned, bubbled, and firm.
- Remove to spread warm sauce and toppings, then bake for 2 more minutes.
NO RISE METHOD:
- Place pizza pan on bottom rack of oven. Turn oven on to 500°F. Bake for 18 minutes or
until crust is lightly browned, risen, and firm. - Remove, add sauce and toppings, and bake for 3-4 minutes on top rack.
TRADITIONAL METHOD:
- Preheat the oven to 375° F (static)/ 350° F (convection).
- Cover crust with oiled parchment. Let rise for 30 minutes in a warm spot.
- After the crust has risen, bake for approximately 15 minutes or until the crust is risen and lightly browned.
- Spread with warm sauce and toppings (or if making focaccia, sprinkle fresh rosemary, sea salt or other toppings) and cook an additional 8-10 minutes, or until the cheese is bubbly, if using.
Video
Notes
YEAST-FREE PIZZA DOUGH INSTRUCTIONS
from reader Amanda Marie: "First I have to say that I love this pizza recipe. It works really well and I’ve gotten a lot of positive reviews on it both at school and from the very tough crowd at home. Jules knocked it out of the park with this recipe! Second, I have to give major props to Chef Patrick Auger because I never would have known how to figure this out without his guidance. Thanks Patrick! To bake gluten free pizza without yeast: Add to the dry mixture:- 1 Tablespoon baking powder
- 1 heaping teaspoon baking soda
** Please keep in mind that nutrition information provided is per serving, which may vary. While we have taken care to provide you with the most accurate nutritional values possible, please note that this information may differ significantly depending on the exact ingredients and brands that you choose to use to make this recipe. Additionally, where options are given for ingredients, the resulting calculation may include all ingredient options instead of only one per line, skewing the totals significantly.
Recommended Products
Any links to Amazon may earn me a small amount from qualifying affiliate purchases; this amount goes to fund this blog and does not cost you anything additional.
Freezing Uncooked Gluten Free Pizza Crusts
If you’d like yet another way to prepare several of these yummy gluten free pizza crusts in advance, freeze them and bake them later — all at one time — hop to In Angela’s Kitchen for her how-to photos of how to make your own frozen pizzas with my mix! Angela:
Cut 8 parchment circles 2 inches larger than trays. Lightly oil trays so parchment sticks, put parchment circles on trays, then oil parchment. Set aside.
Working with only 4 crusts at a time, mix together 4 crusts according to the package directions. Divide pizza crust between 4 prepared trays. Drizzle a bit of olive oil over each crust. With well oiled hands, pat out pizza crusts, leaving a ridge at the edge to contain toppings.
Spread pizza sauce onto each crust. Add toppings.
Wrap each pizza well, label and freeze. Repeat with remaining pizza crusts and toppings.
To bake: unwrap pizzas and remove from trays. Place pizza (still on parchment) on your favorite pizza baking pan, pizza stone or directly on the baking rack of the cold oven. Close oven door. Set oven to bake at 400 degrees F. Check pizza after 25 minutes. Depending on toppings, bake for another 15 to 20 minutes until crust is baked through and toppings and bubbly and cheese is melted. Enjoy!
I hope you love this recipe as much as we do!
Pin it for later!

**Emile Henry has provided me with a baking stone to use in my gluten free baking. As always, all opinions are my own. See my disclosure policy for more information. Working with select brands I love allows me to keep bringing you free recipes, and I hope that in the process, you’ll learn about some of the products I choose for my family. Thanks so much for your support!

















I can’t wait to try your recipe! I’m new to GF cooking and it has been disappointing more often than not, but I’m not giving up! I feel like I’m missing something in the directions for making the dough. It says to whisk all of the dry ingredients except the yeast and set aside, then says to mix all of the wet ingredients in a large mixing bowl. The next step says to slowly add in “the dry ingredient mix with yeast” but there was no step that referenced adding the yeast? Does it go with the wet ingredients which then gets added to the dry ingredients? If I’m using a stand mixer it seems like the dry ingredients start there and the wet ones get added (or vice versa) but either way, there is no mention of where the yeast goes. I might just be missing something, but I find the directions a little confusing! Help!
Hi Jennifer, I’m so glad to hear that you’re not giving up! There’s so much delicious gluten free baking out there to be had and I’m here to help!!!
Regarding these directions, I’m sorry for any confusion. The yeast is added together with the dry ingredients when you’re mixing them together with the wet ingredients. It’s not a big deal if you go ahead and add the yeast packet to the dry ingredients before-hand when whisking them all together, if you’d rather do it that way. The idea is that when the dry ingredients go into the bowl with the wet, you’ll also add the yeast packet to the bowl at that time. We’re using quick rise yeast for most gluten free doughs, and they don’t have to be proofed first, so it’s easy to just toss them in with the other ingredients while mixing. Much easier that way! (Here’s more info on yeast for GF baking, if you’re interested).
I hope that helps clear it up!
~jules
Wow.. just wow!! Thank you so much. The pizza was a success with gluten free and non gluten free tasters alike. I baked it on a pizza stone and it was such a great texture. The edges were pillowy and still crisp.
That’s amazing, Violet!! So excited for you and yours to have amazing gluten free pizza to share! Thanks so much for sharing your gluten free baking win with me!!
~jules
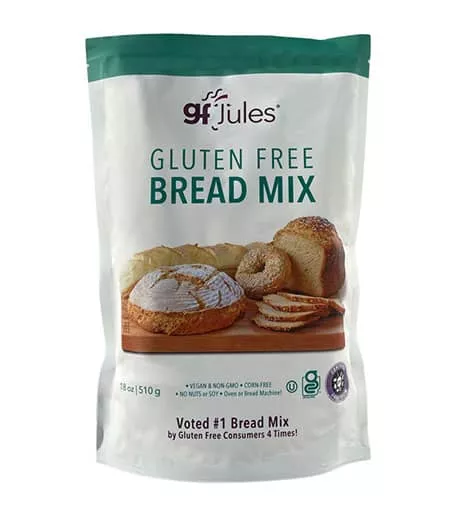
I have been using your GF Bread Mix and the 3 loaves made so far have come out perfectly. I’ve been looking for a fairly simple recipe for homemade pizza dough and was ready to buy the GF Pizza Mix but had to pass. I follow a fodmap diet and am unable to digest garlic- would you ever consider making a pizza mix without garlic? That would be great. Thank you * I purchased a Hamilton Beach Bread Machine after reading your review- and love all the videos (so helpful)
Hi Leta, I also have a hard time with garlic, so I usually make the pizza mix from scratch. Most of my customers love the authentic Italian flavors from the garlic and oregano in the mix (and when it’s baking, it smells amazing!) but I hear you on a garlic-free mix for those of us who are low-FODMAP. At least we can always make the dough from scratch with the gfJules Flour!!! I hope in the meantime that’s going to work for you!
Thanks so much for letting me know that my bread machine recommendation worked for you! Happy to help!
~jules
Your gf pizza dough recipe (traditional method baked in oven) is delicious! So happy to have found your recipes, as well as your flour! It even tasted great the next day when I re-heated a slice in the microwave.
Goodness, Patricia, that gluten free pizza looks perfect!!! (you could be a food photographer in your next career!) Looks like it was baked to perfection! Thanks so much for taking the time to both share a photo and also which method you chose to use! I’m sure that will be really helpful for folks since I give so many options!!!! Happy pizza-ing!
~jules
Hello Jules,
Thank you for your site and recipes. I just bought your bread mix and pizza crust mix. I saw on the pizza crust mix that you could also make focaccia bread with it, but I was not able to find that recipe on your site. If you have a link to make this with your crust. mix can you please share? Thank you.
Hi Erin, you are so very welcome!!! I can’t wait for you to start baking all this delicious gluten free bread!
For gluten free focaccia, you can use either the gfJules Bread Mix or gfJules Pizza Crust Mix. The Pizza already has savory herbs in it and the texture will be a bit crunchier on the top, but the directions for forming and baking the focaccia are the same – just hop to my gluten free focaccia recipe and after you make the pizza crust mix as directed on the package, follow the how-to directions on the focaccia directions for spreading, rising and baking. ENJOY!!
~jules
Jules….I just made your pizza crust last night for the first time and can I just thank you from the bottom of my heart for such an amazing recipe? We like a thin, crispy pizza crust (similar to Pizza Hut) and this recipe was as close to that as I’ve tasted since being GF! So easy to work with! I patted it thin, pre-baked it in the oven (since it’s SNOWING outside and didn’t want to grill it like I had planned!), topped it and finished it off in the oven. My GF hubby asked TWICE if I was sure I used GF flour! Just amazing! Thank you for all your work and for this flour blend! It’s so great to find a Certified GF flour that isn’t so heavy on the rice flour!
Oh Cheryl, I’m so happy for you and your hubby to have safe and delicious pizza!!! Your photo is mouth-watering!!!
Thanks for taking the time to share your pizza experience! Here’s to many more yummy gluten free pizza nights ahead!!
~jules
Delicious pizza crust! The gfJules flour is so easy to work with. I doubled the recipe and got two good sized pizza crusts. I used the traditional method listed in the recipe. Baked the crust 15 minutes on parchment in a pizza pan. After toppings were added, I baked the pizza on parchment directly on the oven rack. The crust was a little crisp on the bottom but still soft and chewy. Very impressed how the pizza turned out as this was my first time making the recipe. I’ll be making this again 🙂
That sounds like a pizza win to me, Bethany!!! Thanks so much for taking the time to share which method you used and how it all turned out! Now I’m hungry for gluten free pizza night again!!!
~jules
not a duplicate comment as this thing keeps telling me. #1 – what is up with that? I can’t post a comment because some
AI thinks I’ve done it before?
question is – all i want is the honest Jules video making the pizza crust, not some cartoon version for 1.46 minutes. I cannot find any other link to a decent video. Please tell me you are not moving to some animated form of baking videos?
That’s so odd, Elaine! I’m sorry that it kept giving you an error message!! Glad you were able to finally leave your comments though!! I do need to make some new gluten free pizza making videos. All my videos are so long that I put an older, short one here. The original video (from which the cartoon was made) is linked here so you can see it’s actually me making it 😉 but because there’s not much to making the dough itself and it goes so fast, there are hardly any steps and the video is super short. Here’s a r e a l l y old one that’s longer that shows me spreading the dough if that helps! But thanks for the reminder that I need to make another gluten free pizza making how-to video soon!!!!! LOL
Hey Jules. Not a fan of the cartoon version of your pizza crust recipe and I cannot find a link to a normal video with you, not the cartoon version. Why ?
I’ve read articles about making great pizza crust, and many talk about making the dough 24 to 48 hours ahead of time and refrigerating, so that the dough rises very slowly. Would this work with the GF Jules Pizza Crust mix?
Hi Yolanda, the slow rise method you speak of is typically related to recipes involving developing gluten doughs, not gluten free doughs. However, it’s possible to make this gluten free pizza dough in advance and refrigerate the dough to rise it slowly if necessary. Just be sure to wrap it well so it does not dry out. With gluten free yeast doughs it’s important not to handle it too much after it has risen so you don’t deflate the dough because there’s no gluten in the dough to pull back and stretch. There’s information in this post about par-baking and freezing the dough if that’s more convenient for you as another option, too. I find that gluten free yeast doughs are very liberating in that it doesn’t take long to make, rise or bake them to get a great end result! I hope you enjoy that process, as well!
~jules
I just made this pizza. My only disappointment is that I did not make it DECADES ago!! From now on this is my go to pizza recipe. I actually made a mistake, I topped dough BEFORE first baking. However, no problem, came out better than any other pizza I’ve had in my 20+ years as a celiac. Thank you.
Oh Noreen, I’m THRILLED that you’ve finally been able to enjoy a delicious gluten free pizza!!!!! It looks spectacular — that crust!!!! Oh my!
I can’t believe it even turned out so well having been topped before baking! So fantastic! YAY for amazing pizza!!!! Thanks so much for sharing your pizza joy with me!!!
~jules
good grief. ever hear of bullet points? My husband wants me to make this but instructions in novella-form are frustrating.
Hi Mary, thanks for the feedback. I’ll look into changing this recipe to numbered format. I always appreciate the constructive criticism and certainly my intention is never to frustrate! I’ll see what I can do!
~jules
Ok Mary, just added some numbers to the directions for you. Hope that helps you enjoy the recipe even more!!!!!
~jules
For a stand mixer, is it recommended to use a dough hook or paddle to mix?
Great question, Joe! I always just the paddle. I just don’t find that a dough hook gets the job done with gluten free doughs. Hope that helps!
~jules
I have tried it both ways and the paddle is definitely the way to go. Thanks!
Agreed! Glad you gave it a go and decided for yourself though. Thanks for letting me know, Joe!
~jules
I used the pizza dough mix yesterday. It was delicious! Best gluten free pizza I’ve ever had! I topped it with mozzarella, chicken, bacon, lettuce, tomato, and avocado (copycat CPK California Club Pizza). I fully intend to make pizza every Friday night for the rest of my celiac life. 🍕
Oh MY! That does look good, Jenny! Join the Friday Night Gluten Free Pizza Club!!! There are a ton of us who do that very thing with my gfJules Pizza Crust Mix!!! I’m thrilled you had such success with it and are so happy! And I’ll say it again, that pizza looks SOOOO good!!! I love the avo slices on top!!!! WOW!
~jules
Do I have to use your gf flour blend or can I use a regular gf flour?
Hi Cathy, glad you asked, as I never want people to be disappointed! All gluten free flour blends are very different. Unlike all purpose wheat flour, there really isn’t any such thing as a “regular gf flour”. Have a look at this article on gluten free flours so you can understand better how they work differently and together and why one doesn’t evenly exchange for another. I have no idea if one you have at home might do a decent job in my recipes since they were developed with my gfJules Flour, but this article will tell you more about the one you have and about mine for comparison. gfJules Flour also has “stretch” that is very unusual for gluten free flours, which is part of the reason it works so well in this pizza dough to make it taste and have the texture of real pizza.
~jules
Due to being insanely.broke and on foodstamps im limited to the gf all purpose flour i found at the local grocery stores. But after researching and playing around with ratios I made a at home copycat of gf jules flour using bobs red mill 1-1 gluten free flour and corn meal or psyllium husk (or both) instead of 1 1/2 cups of the gf jules flour I use 1 1/4 cups of bone red mill 1-1 gf flour with 1/4 cup of corn meal and 2 tbsp of psyllium husk. Maintaining standard ratios for the rest of the recipe it works excellently and i look forward to not being limited on what i can buy any more so i can buy your product that im sure functions even better but for now what i figured out works great! Any tips for getting really big crusts? Or do I just need to roll a thicker ridge at the edge to get thicker crusts?
Bluegal, I love the creativity here and the fact that you were undaunted by your limitations! One must have great pizza!!!! As for getting really big, thick crusts, you will need a bigger edge for sure (be sure to watch the videos on my site for how much room to leave), but also my gfJules Pizza Mix makes all the difference. Bob’s is not going to rise up and give you the real yeasty pizza crust you seek. Please contact us at support@gfJules.com and we’ll help get the world’s best gluten free pizza crust to you, despite your current financial limitations.
~jules