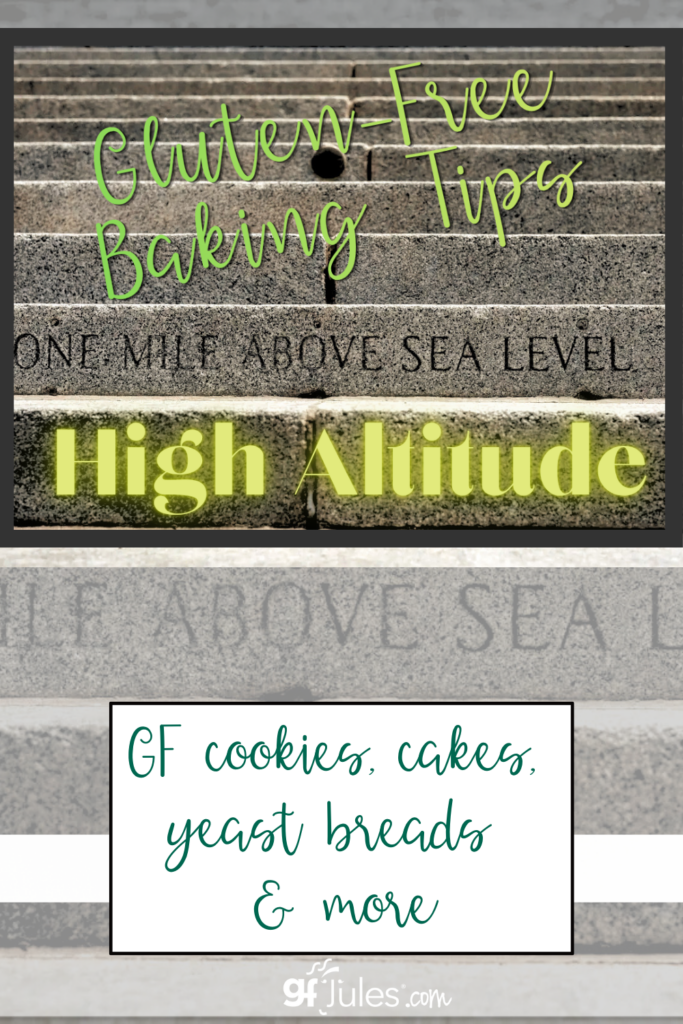
I get lots of questions from folks asking how to adjust gluten free recipes for high altitude and my first answer is that you might not have to make an adjustment at all. My gfJules Flour compensates for a lot of baking woes that plague high altitude bakers, but there are a few tips that will help you achieve gluten free baking nirvana, even at higher elevation.
High Altitude Gluten Free Baking Tips
Why Does Altitude Affect Baking?
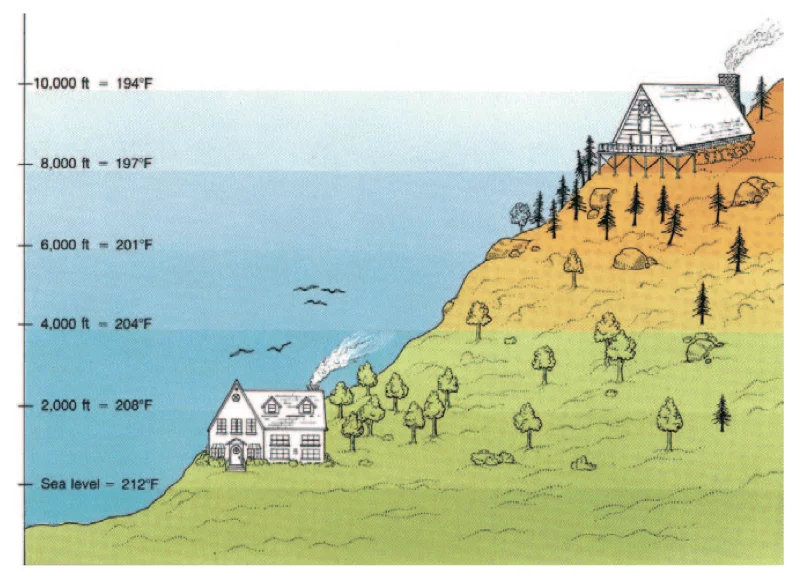
Those of us unaccustomed to high altitudes often experience shortness of breath, headaches and quick sunburns when we visit higher locations. The air is thinner and the pressure is lower at 5,000 feet above sea level and beyond, but people aren’t the only things affected.
The same conditions that create these physical problems for living creatures can also affect baking.

First let’s look at what happens when there is low atmospheric pressure, low humidity and thinner air. The first things you’ll notice in the kitchen are a lower boiling point, more rapid rising and drier baked goods from the reduced humidity.
What does Altitude Do to My Gluten Free Recipes?
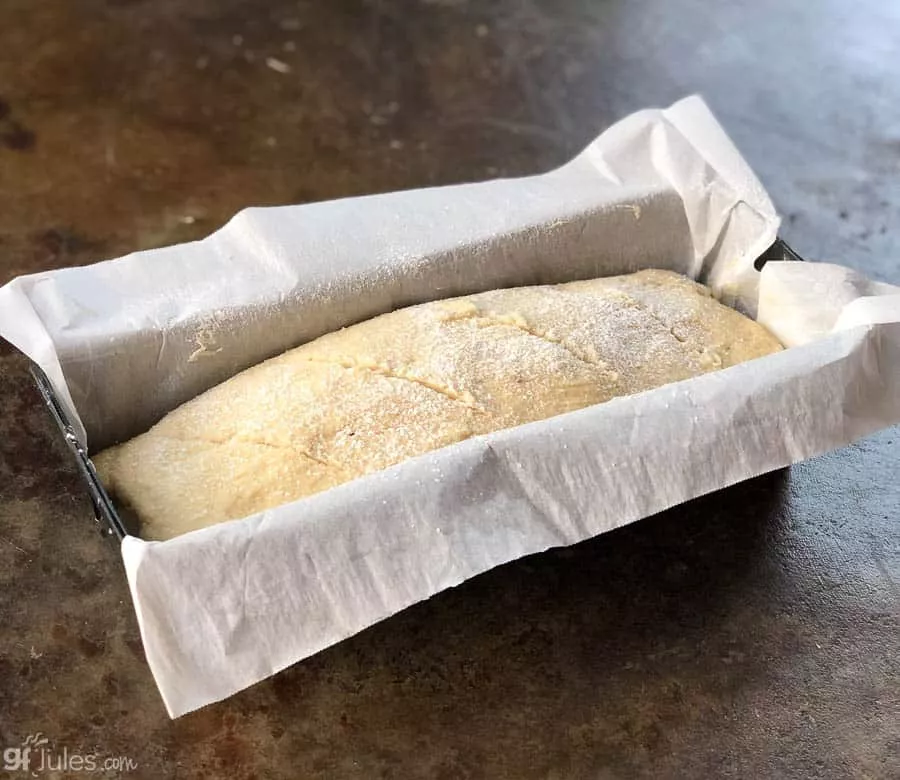
Where we really see altitude really affecting gluten-free baked goods is in the leavening. Particularly with large gluten-free loaves, yeast breads may rise faster due to lower atmospheric pressure, which can lead to potential cave-ins. The loaf’s cell structure may not be set well enough to hold the bread’s shape.
Other leavening agents like baking powder and baking soda will also cause the gases in breads and cakes to expand/rise faster. (One teaspoon of baking powder at 5,000 feet yields 20% more volume than at sea level!)
If you have the time and the luxury to do so, my recommendation is to try your gluten-free recipe without adjustment first. Keep good notes so that you remember any problems that developed with each recipe, and what solutions you devised that worked. If you encounter problems, reference these tips to help.
♦ What do I do if my gluten free bread or cakes rise too fast and then collapse?
- Adjust the leavening agents: reduce baking powder by 1/4 teaspoon for each teaspoon called for in the recipe if you are baking above 6,000 feet. If you are baking at 8,000 feet or higher, reduce by 1/2 teaspoon for each teaspoon in the recipe.
- For yeast breads, you may want to reduce the amount of the yeast you are using. Standard yeast packs contain 2 1/4 teaspoons of yeast, but you may find you only need 1/2 that amount, depending on your elevation. Experiment with yeast amounts to see how much is the right amount for your recipes and your elevation.
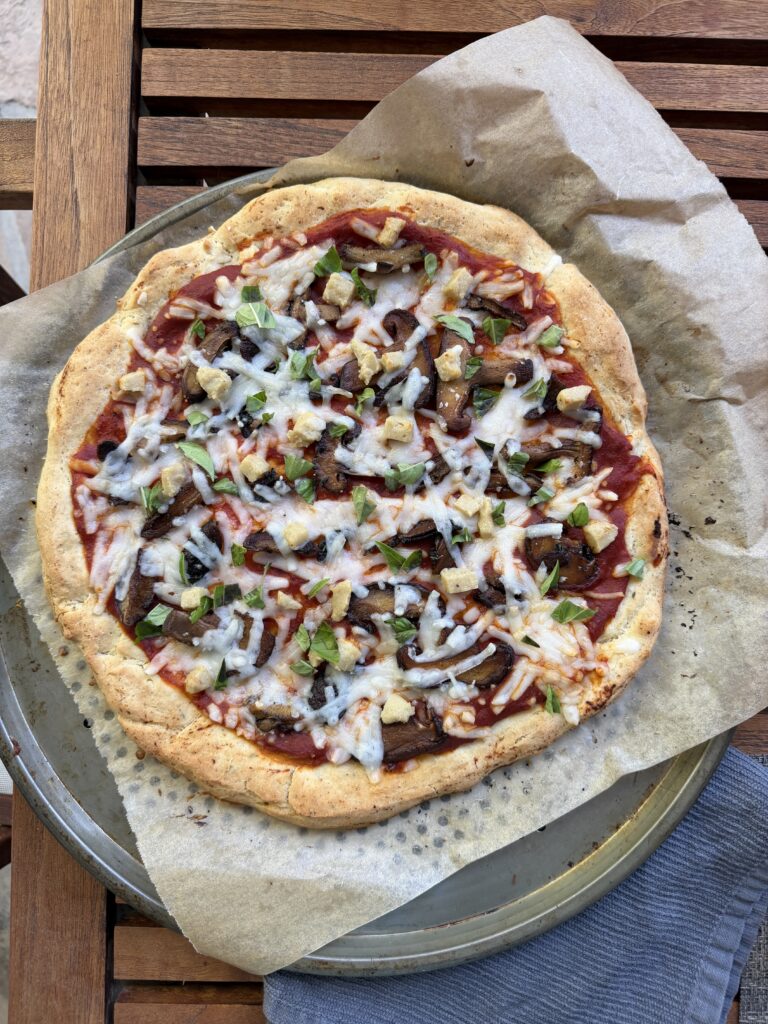
- Even recipes like gluten-free pizza could benefit from less yeast. If you prefer your gluten-free pizza to be less bready, reduce the yeast at higher altitudes.
- Reduce the rise time of yeast breads. Never let the dough rise higher than the side of the pan. Check frequently to ensure bread is not rising more than double its size before baking. Shoot for rising 1 1/2 times the size of the dough, not doubling.
- Do not fill muffins or cake pans more than 1/2 full.
- Do not omit salt in yeast bread recipes because salt will help to contain the rise.
- Try increasing the baking temperature by 25 degrees to help heat set the cell structure faster so that it is better supported after cooling. (“oven spring”)
- Use extra large eggs instead of large eggs (eggs contain protein which helps to provide structure)
- Do not over-beat eggs, as this will enhance the rising of batters, which is not advised at high altitudes.
- For more gluten free bread baking tips, check out this article with my Top 18 Gluten Free Bread Baking Tips.
♦ What if my baked goods aren’t rising well?
- Reduce salt and try switching to using unsalted butter if that is in the recipe, as salt can kill yeast.
- Increase the oven temperature by 25°F for breads, 15°F for cakes and reduce the bake time (bake time with have to be adjusted according to the recipe)
- Decrease the sugar in your recipe by 1 tablespoon per cup (due to increased evaporation, sugar will be concentrated and may weaken the recipe’s structure)
♦ What if my baked goods aren’t fully cooked (wet inside or dense)?
- Bake longer! Some cakes and breads which bake in under an hour at sea level can take up to 1 hour and 20 or 30 minutes to bake at altitude.
- Reduce the oven temperature to 325F and bake for longer, checking frequently with a toothpick or internal thermometer to be sure it’s fully cooked before removing to cool.
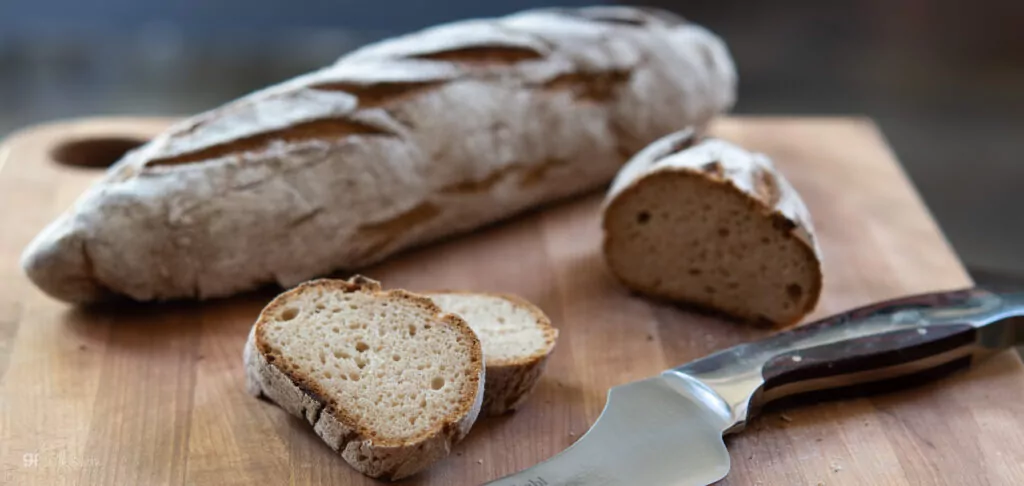
♦ What if my baked goods are drier and more crumbly than they ought to be?
- Most recipes at higher altitudes will be drier due to decreased humidity. Increase liquids by 1-2 tablespoons if baking at 3,000 feet; 3-4 tablespoons if baking at 6,000 feet; 4-5 tablespoons if baking at 7,000 feet or higher. A good rule of thumb is to increase liquids by 1/2 Tablespoon for every 1,000 feet over 3,000 feet. These amounts are obviously proportionate to the recipe, so for larger recipes, this amount will need to be increased.
- OR decrease gluten-free flour by 1 tablespoon per cup of flour.
- Add 1-2 Tablespoons of honey, agave, coconut nectar OR pure maple syrup to help hold moisture. These liquids are humectants and work to hold moisture in doughs.
- Try substituting shortening for butter – it holds more liquid.
- Cover bread dough with damp towel to add humidity and/or put a pan of ice cubes on the bottom shelf of your oven while your bread is baking.
- Be sure you’re using gfJules Gluten Free All Purpose Flour to keep your baked goods light and soft, and to replace of other flours like bean or brown rice blends which already produce dry and crumbly foods.

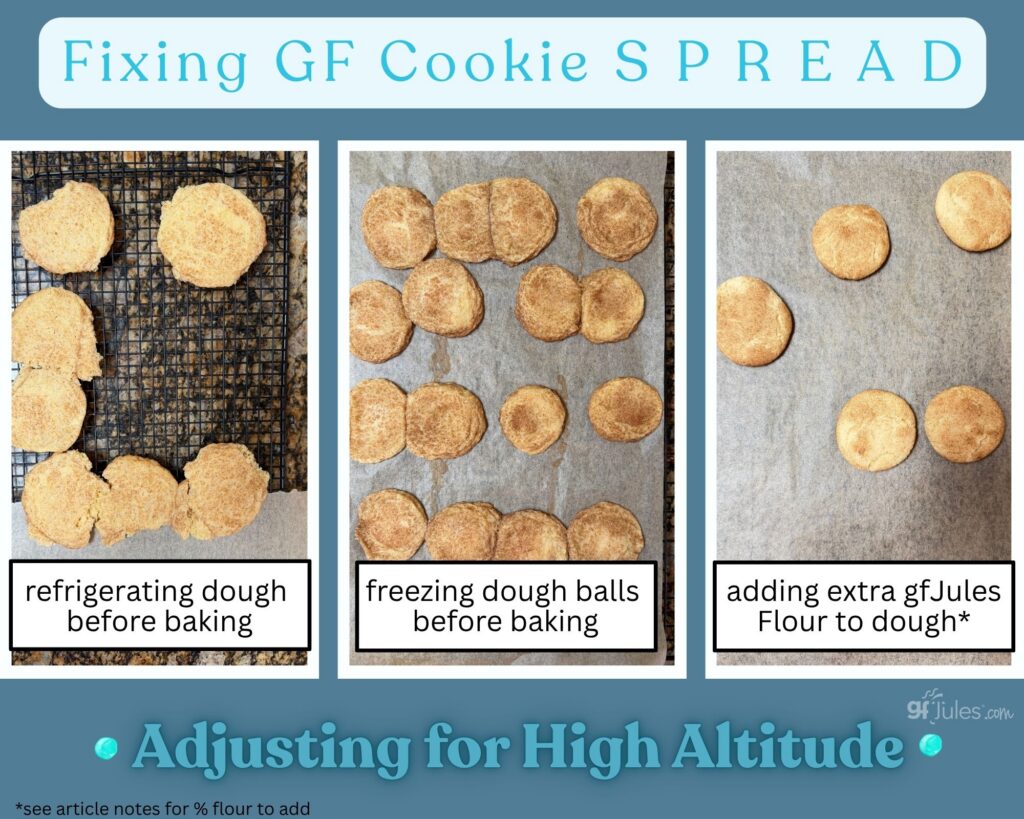
♦ What do I do if my gluten-free cookies flatten?
- Make sure your fats (i.e. butter) are very cold. Do not use tub butter!
- Refrigerate your cookie dough before baking. One step better is to form dough balls and freeze them (sealed well) before baking.
- Always bake on parchment, and it can even help to refrigerate or freeze the cookie sheet before baking.
- Reduce the shortening or butter by 1-2 tablespoons.
- Substitute shortening for butter.
- *Add up to 9% more gfJules Gluten Free All Purpose Flour in the recipe. Example: for a gluten-free Snickerdoodles cookie recipe calling for 2 3/4 cup flour (371 grams), add up to 1/4 cup (34 grams) more gfJules Flour. Pay attention to the dough and add any extra flour slowly so you don’t make the dough too cakey with extra flour.
- Reduce the amount of additions like chocolate chips so there is more dough:chips in the recipe.
- Add a tablespoon or so of powdered milk or non-dairy powdered milk (not reconstituted).
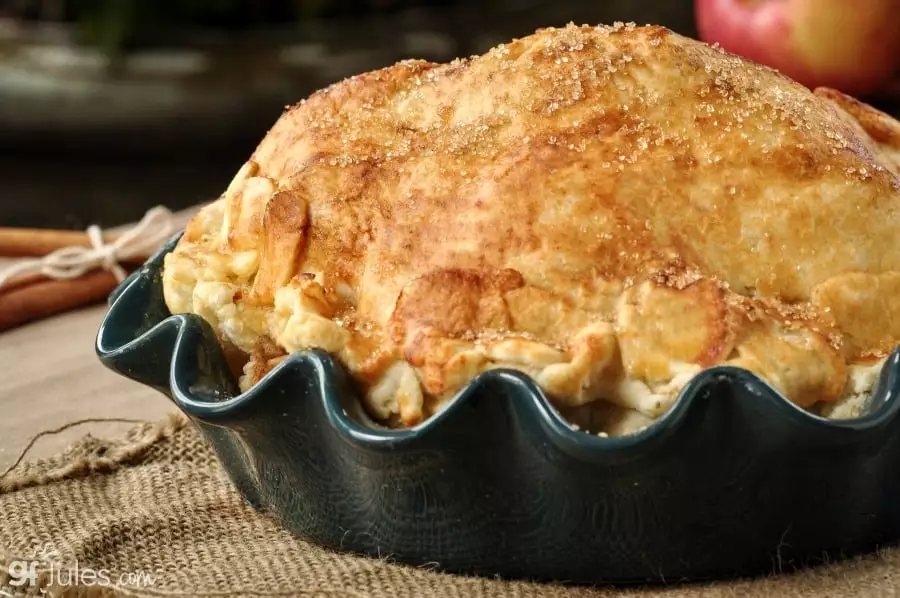
♦ What if my gluten free pie crusts or pastries are dry or tough?
- Reduce gfJules Gluten Free All Purpose Flour or use less flour to dust with and handle the crust as little as possible.
- Ensure the fats (butter, oil, shortening) and liquids are very cold when mixing.
- Increase liquid by up to 25% (I add 2-3 tablespoons of vodka to the liquids in my pie crusts with great success!)
- Never, never over-work your pastry doughs!
- For more gluten free pie crust tips and recipe, check out my top-rated Tips!
-

Your gluten free pie crusts should be gorgeous and tender, not tough.
I hope these tips help you to perfect your high altitude gluten-free baking!
Pin to save or share!


 (10 votes, average: 4.30 out of 5)


Just found your website. Been at 10,000 feet for 6 months. Have offered to pave the streets with my breads. Thanks.
Oh Teri, you have my laughing so hard!! I understand the feeling of baking those bricks!!! I hope these high altitude baking tips help, as well as my gluten free bread baking tips — check those out, too!
~jules
YOU MIGHT WANT TO SHARE MY YUMMY MISTAKE:)
I am in the mountains at an altitude of 9,450 feet and decided to try to make some bread today. I happened to think I was making bread but was using your pizza crust mix while reading the back of your bread mix container. I ended up making a stunning bread on accident. Basically I took your Pizza crust mix, put in three eggs, and entire can of ginger ale, 1/4 cup of oil, 1 tbsp of agave, and really screwed up by putting in TWO packets of your yeast. I topped it with flax seed, pre-chopped garlic from my fridge, dried onions, and red pepper flakes. I let it rise in the oven for one hour after turning the oven off from 200 degrees pre heat. Low and behold it rose up beautifully and then I baked it for one hour at 350. My gosh was it stunning. Feel free to share with other people at crazy high altitudes. LOL
WOW! You have to love those yummy mistakes when they turn out AMAZING like that!! I will definitely share that new twist! Did you just bake it in a regular loaf pan? Did you snap a pic? It sounds divine with the herbs already in the pizza crust mix and then the toppings you added — YUM!!!!
Thanks so much for taking the time to share your creation!!!
~jules
Good research. Thanks for these great tips! I’ll be sure to refer to them often. Also, remember that gluten free flours won’t work well with too much fat and that by adding some almond flour will assist with structure as well by adding both protein and fat without being greasy.
I love your blend and certainly do not miss the grittiness of rice flours after three days at room temperature.
I was surprised by the salt comment. Interesting!
At 2,000 feet in altitude, I’m having problems with oven spring not happening like it did with rice-flours, so I’ll begin with your recommendation of baking at the higher temp. of 375° until it begins to brown, tent, then reduce the temperature to 325° until the center of the loaf reaches the magical 206°. Maybe then the structure will build better.
If that doesn’t remedy it, then I’ll add in some almond flour and reduce the GFJules by an equal amount.
Thanks for your notes, Dave. I’ll be very interested to see how it goes with your testing; please come back and let me know!
~jules
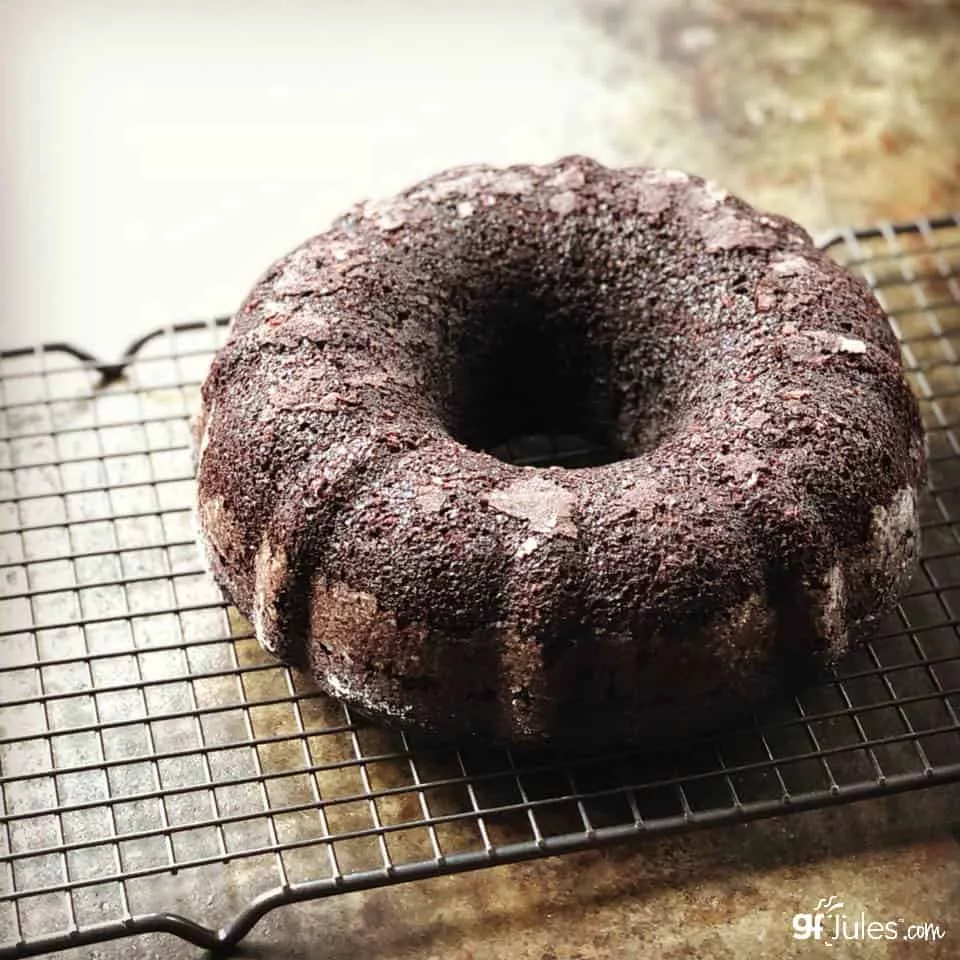
Please send me some recipes for the chocolate cake and dinner rolls. Your comments were very helpful. I am actually at 8400’ and 9500’ above seal level. If I could just have those 2 recipes it would make my world a better place. Thank you
Lorraine D
Hi Lorraine, I’ve removed your email and phone number from your comment for internet safety reasons, but I did send this information to your email address below, as well as posting it here for you:
I wanted to point out that you can use the search bar at https://gfjules.com/ anytime you like and search through the over 450 free recipes to find anything you need any time you like! Here are the recipes you were looking for:
Stay well, Lorraine! And happy baking!
~jules
After making 4 loaf of GF bread and failed in each one by following the recipes of regular bread… I could not figure out what I was doing wrong; I would change my tactics but still found difference errors, and my GF bread was still dense…then I came a pond your article on “gfjules 18 Tips of GF baking”. WOW, I was totally wrong in every aspect of baking GF. So, I toss out all my recipes and followed your way… Every steps of your rules I did wrong following regular bread rules. Sorry is all I can say… I enjoyed your tape. xo
Hi Aleeta, I hope it makes you feel better to know you’re not alone! Most everyone going from regular gluten bread baking to gluten-FREE bread baking makes those mistakes, which is why I try to spell out my tips in as many ways … in as many places as possible. I, too, learned the hard way! I hope you can now go forward and bake happy learning from my mistakes! 🙂
~jules
Do you have any recipes for gluten-free bread made with yeast. I am at an altitude of 7500 feet. So far my loaves of bread have turned out to be bricks. Do you have a cookbook I can purchase?
Hi Nancy, I have many gluten free bread recipes using yeast! Use the search bar at the top of any page and search for “bread” for lots of options! Also, check out this article on baking gluten free bread; I think several of the tips will help you, but the main thing is to use the right gluten free flour blend. Lots of gluten free flours are gritty and dry, and also suck up extra moisture, so they make bread like bricks. It’s very likely not you but the flour/recipe you’re using that’s the problem. Also, you should give my gfJules Sandwich Bread Mix a try, since it makes baking great gluten free bread — even at altitude — easy!
I’d love tips for cupcakes using pre-mixed flour. Mine already comes with baking powder and baking soda. I am going to experiment with using less flour, plus the other tips mentioned, but I am unsure if this will work.
Hi Susie, sounds like you’re not using a “flour” but a baking “mix” like one for biscuits? If so, when using a recipe calling for flour, it will usually also call for some kind of leavening. Either don’t add any more leavening or add half of what is called for. That will work better than using less flour. Good luck!
~jules
I just found a Keto bread recipe and I am very excited to bake it. Here’s my issue, I live in Denver so we are about 6000 ft above sea level. I have to modify all of my recipes for high altitude baking which I think is the problem. Do you have any suggestions about how to modify your recipe for high altitude baking so it comes out right using almond flour, coconut flour and tapioca flour. I haven’t got that much experience baking with almond flour and coconut flour and tapioca flour so I don’t know what modifications I should make. Could you please help?
I look forward to hearing from you and thank you again.
Rene’ Stewart
Centennial, CO
Sent from Rene’s iPhone
Hi Rene, other than the high altitude tips in this article, I don’t have much to offer regarding using those particular flours, since I don’t often bake with them. They do require more liquid, so make sure you get your dough to the point where it’s not too stiff or tight (not like taffy) before you try to rise and bake it. Doughs need to be loose enough to rise. Also check out Gluten Free Goddess for more almond flour bread recipes — almond flour is her focus.
Best of luck!
~jules
My elevation is 7500 feet. I used the GF cycle on breadmaker for the 1st time for a 3cup white loaf using King Arthur all purpose GF flour. I subbed egg white and applesauce to match the whole egg volume in the recipe. I used 1/2 tsp active dry yeast and added 1Tbsp milk (as works for me with gluten flours). I added 1/4 tsp xanthan to the specified amt. as I do for GF quick bread. Result: a bit too moist and flat to sunken on the top. Decrease liquid, prepare manually? Please advise. I do have a pullman loaf pan…Thx! Heidi, San Juan Mts
Hi Heidi,
Wow you’ve given a lot of variables here! 🙂
What bread machine? What’s in KA flour? What recipe for bread did you use?
Have you checked out my article on baking gluten free bread in a breadmaker? Or my top gluten free bread baking tips?
Obviously, I prefer baking with my gfJules Flour, as I think the results far exceed others, but beyond that, there are proportions to consider, the setting and the make of the bread machine, and the duration of the bake. Without knowing more, I would say that it doesn’t sound like there was enough yeast and probably not enough xanthan for 3 cups of flour in a yeast bread.
You sound like you’re willing to do some experimenting, so give those articles a read and see if you can glean some tips that apply to your machine and recipe.
Keep me posted!
~jules
Thanks for your reply. KA=King Arthur GF all purpose flour. Your mix would probably work better but allergy to potato and tapioca make that a no-go. The breadmaker is Hamilton Beach HomeBaker I have used before but only for regular with gluten dough cycle, never baking. You seem to have more high altitude experience than King Arthur’s help line. I will try again with a little more xanthan and manual ptep.
Hi Heidi – keep me posted, as I don’t have any experience with that particular machine, and I’d love to know if it turns out a nice loaf. 🙂
~jules
We live at almost 10,000 feet altitude. We noticed a big difference with baking anything at 7000 ft where our son lives. At 7000 ft it’s much easier to adjust, at 10,000 ft it really becomes a challenge and usually flops. It is very different. Any suggestions?
Hi Philomena, what kinds of recipes are you having the most trouble with?
~jules
Do you have any tips on how to adjust the GF flour or add to it to help rise? I tried making fried donuts and I live in 4200 elevation in Utah and I can’t seem to get my dough to rise well.
Thanks for any tips
Hi Dez – do you have trouble with getting other doughs to rise? Usually at higher altitudes rising is not the problem. You also want to be sure you’re not over-working the dough. For yeast doughnut recipes, follow the rules for baking gluten free bread in this article.
Also, are you using my gfJules Flour? It is a very light blend that rises well in any kind of application.
~jules
Thank you so much for your tips. When I am in high altitude I am between 8000-10000. Is there a good all purpose gf flour that works really well in recipes? Thanks for your input!
Hi Katie,
Glad you’ll be putting my baking tips to good use! We have friends who live at 8500 ft. and whenever I bake at their house, I always just use my gfJules All Purpose Gluten Free Flour and it works great! Let me know if you try it and how well it works for you!
~jules
So, this past weekend, we were baking zucchini banana bread (yum, by the way) and when we pulled it out of the oven, it had exploded! Now exploded might not have been the best description baking wise, but the bread definitely caved in. So what I’m wondering, because we actually haven’t tried this yet, is when the bread is done, should it be moist or a bit drier than normal?
Hi Redd, we’ve all had that happen once in awhile. It’s easy with recipes calling for fruit or veggies like zucchini for the batter to be too moist, which causes cave-ins (the bread still tastes great, though!) Quick breads like zucchini bread should not be dry, but there’s a fine line between too wet and perfectly moist. If it needs to cook longer, try covering the bread with aluminum foil to keep the top from cooking too quickly and allowing the inside to cook longer.
Gluten free puff pastry at high altitude?? Any ideas?
Hi Jen, there shouldn’t be any issues really, beyond the tips I offer in this article. Are you using my gluten free puff pastry recipe?
~jules
I live at about 7,200 ft. I been having problems with my bread crumbling. I’ve adjusted my liquid and still having problems. I also mill my own flour and the bread is more dense. It has problems on the 2 rise not rising like it should. Any suggestions?
Hi Susan, it’s hard to say without knowing exactly what flours you’re using, but it sounds like there may be a problem with technique, as well. Are you using a bread machine or are you manually punching the bread down and giving it a second rise? There should be NO punchdown with gluten-free bread, and thus, no second rise. Unlike gluten breads, punching down and kneading gluten-free doughs will just take the life right out of the loaf and it will not rebound with a second rise. Hence the dense cell structure it sounds like you’re experiencing. I hope that helps you find the problem!
Thanks for posting this article! We live at 10,500 feet and I just experienced a cupcake explosion while preparing for my son’s birthday. I’ll try again with your suggestions.
Good luck, Crystal! No one needs “cupcake explosions!!
Thank you! I live at high altitude and am newly diagnosed to the GF diet. I was feeling very daunted at doing all this new baking myself, at altitude to boot. But this post is so enormously helpful!
So happy it will be helpful to you, Tanja!!
Thanks for the tips! I live at 9000 feet elevation, and I rarely have to make adjustments, but it definitely has been a learning experience finding out what works/doesn’t work! I will try some of these tips, thank you!
I haven’t seen some of these tips. I’ll have to keep them in mind when I’m traveling. Thank you!
I live at 8600′ elevation and I’m trying to just make a loaf of gluten free bread. Using a recipe on your post and having no success. The bread rises to the top of the pan but then collapses while baking and never gets done, even though I baking at 375 instead of 350 and baking for twice the time of the recipe (120 minutes)
Hi Johnny, are you using my gfJules Flour? Have you tried my gfJules Gluten Free Bread Mix? That would be a great starting point to see what the problem really is. You should also check your oven temperature to make sure it’s baking to temp, as 120 minutes is an awfully long time to bake! I would also suggest allowing the bread to rise for much longer first, so the rise is more slow and controlled.
~jules