Making delicious gluten free yeast breads isn’t difficult, it just seems like it ought to be. In fact, in many ways gluten free bread baking is easier and quicker than it is to bake a traditional bread with gluten.
Using the right recipe and the best gluten free ingredients, you don’t even need a loaf pan! Follow my gluten free bread help check list, and these 18 Tips for Gluten Free Bread Baking will bring you delicious gluten free bread baking success!
The first rule of thumb is of course to choose your gluten free ingredients wisely, as without this strong foundation, no gluten free bread will be the soft, fluffy, non-sinking loaf we all desire.
My gfJules Gluten Free All Purpose Flour is an excellent choice for all sorts of from-scratch bread baking, my corn-free Multigrain Flour also makes a beautiful loaf of bread, as does my grain-free Nada Flour, but my gfJules Gluten Free Bread Mix is the easiest way to get to bread baking nirvana.
For my tips on baking gluten-free bread in a bread maker, hop to my article here.
For my review of over 10 different gluten free bread makers, hop here.
18 Tips for Gluten Free Bread Baking
1. Don’t scoop flour!
When measuring flour, don’t scoop from the bag with your measuring cup. This can compress the flour — up to 25%! Use a spoon to scoop flour into the measuring cup and level off with a knife instead. Here’s how to measure your gluten free flour properly.
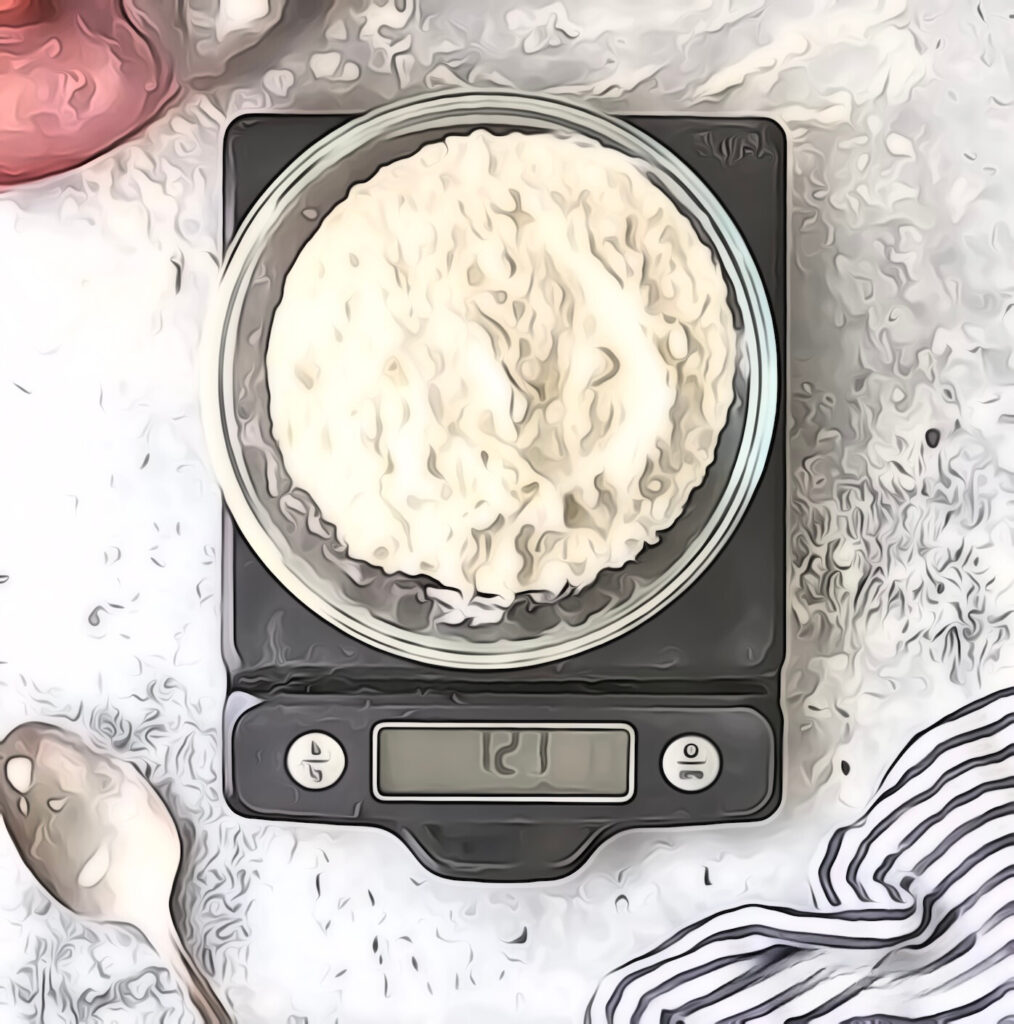
2. Weigh your ingredients.
One step better is to weigh your flour. My gfJules™ All Purpose Gluten Free Flour weighs 135 grams per cup. gfJules Corn-Free Multigrain Biscuit & Breakfast Baking Flour weighs 140 grams per cup. gfJules Nada Flour weighs 110 grams per cup. Make sure you know what the flour you’re using weighs, and if the recipe calls for gram weights as well as cups, go with the proper gram weight per cup of the flour you’re using.
Measuring by weight will ensure that you have the correct amount of flour in any recipe.
Even 1/2 cup of flour can make a huge difference in the results you get with any recipe. It’s not enough to just use any gluten free flour you choose; gluten free flours aren’t necessarily interchangeable. Follow the flours recommended for each given recipe to get the results promised.
3. Room temperature ingredients make a huge difference!
It is particularly important for yeast recipes that you bring all of your ingredients, such as eggs, to room temperature before adding them together to make bread.
Yeast needs warmth to grow and if your ingredients are too cold, it may prevent full yeast growth. Don’t make your wet ingredients too hot though, just nice and warm, the way yeast likes it! The ideal temperature for yeast to activate is around 100F/38C.
4. When baking gluten free bread, don’t follow directions (for wheat bread).
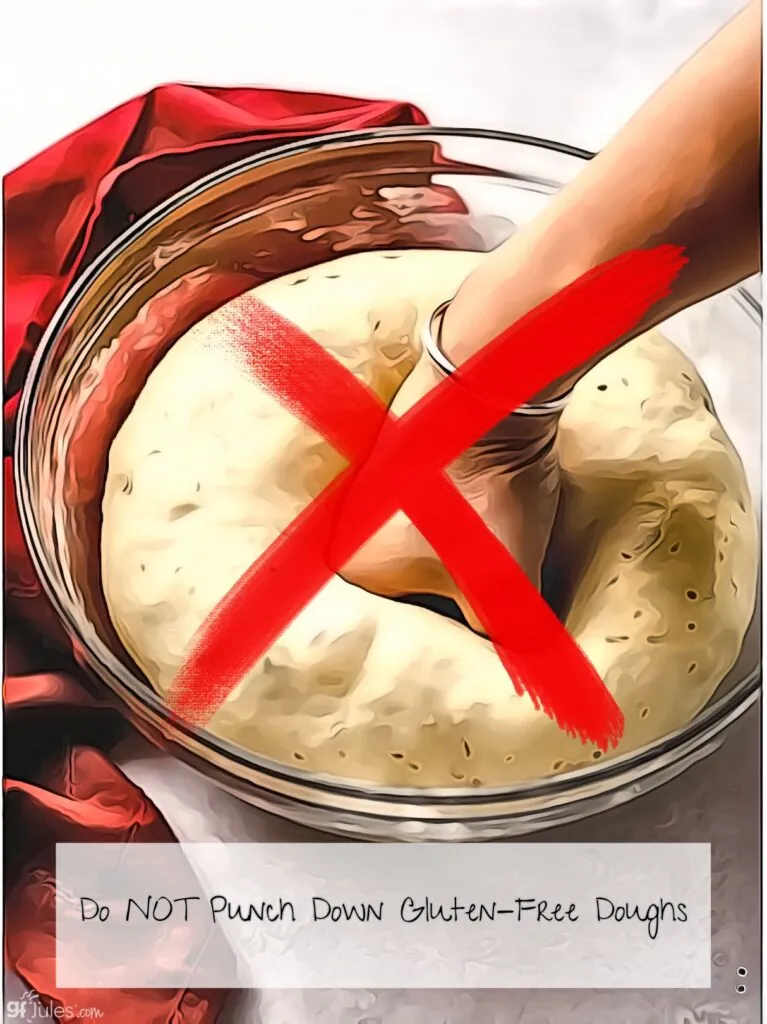
It is essential when converting wheat-based bread recipes to gluten-free, that you not follow the directions. That’s right! Break all the wheat/gluten dough rules when baking gluten-free bread! Any kneading beyond simply mixing the dough well, and any punching down of the gluten-free dough will punch the risen life right out of it. Those steps are designed to “exercise the gluten” and make it more elastic.
We have no gluten in our recipes, so nothing to exercise, and more than that, these steps will actually cause your gluten-free recipe to fail! It is for this reason that I counsel people when first attempting to make gluten-free breads, to follow a gluten-free bread recipe or two, just to get the hang of it. If you are an accomplished bread baker, it may feel weird for you to abandon these techniques, but trust me, you must!

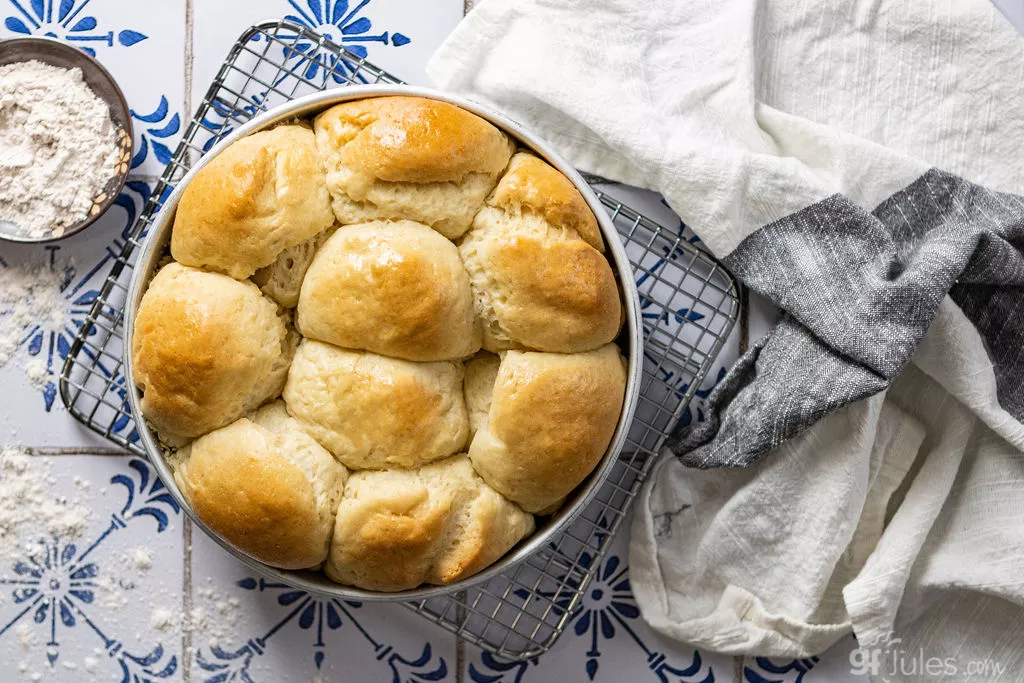
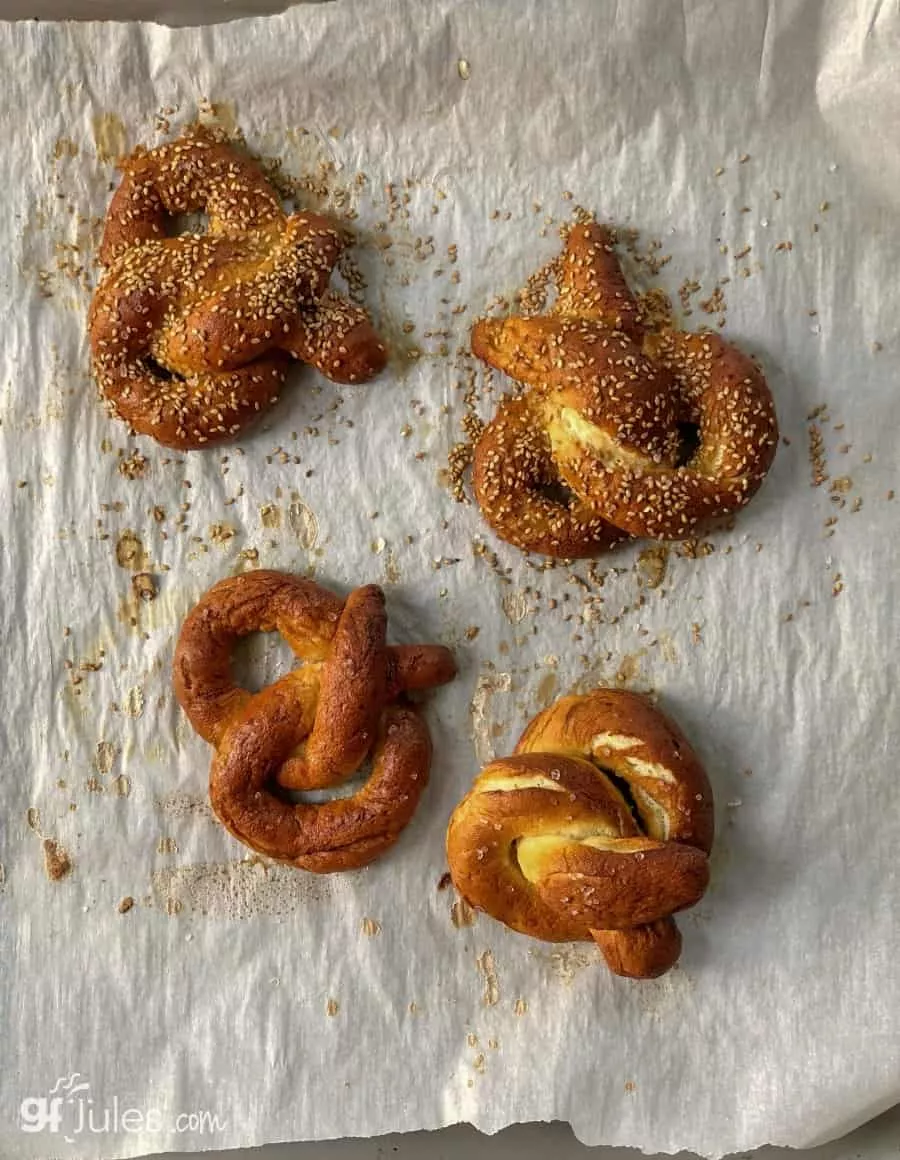
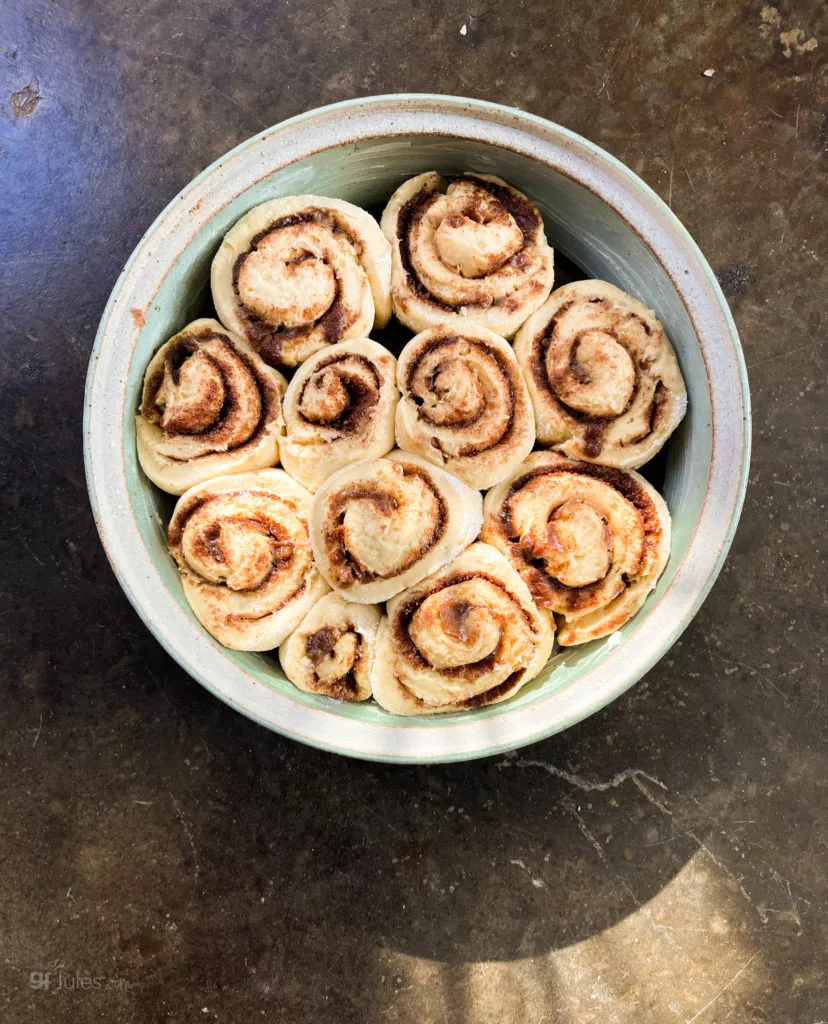
5. Shape gluten free breads before rising.
Because our gluten free breads have no rise and punch down and second rise and punch down … you’ll want to shape any breads before the rise (they’ll only rise once!).
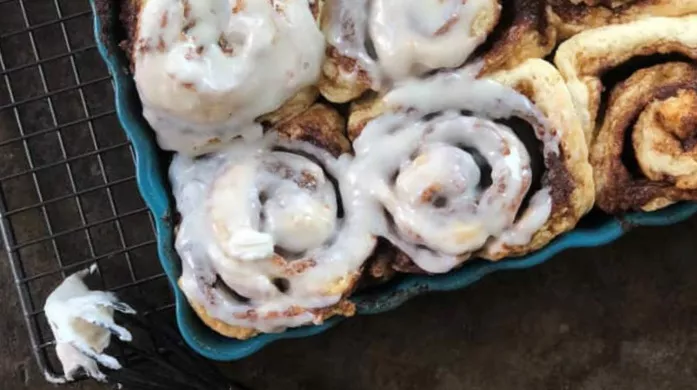
Dinner rolls should rise in the shape or tin you would like them to bake in; bread sticks should be formed before rising; cinnamon rolls should rise in their pans; challah must be braided and then allowed to rise. Don’t mess with gluten-free dough once it has risen, just bake it!
6. High altitude can change the way yeast doughs behave.
Have a look at my High Altitude GF Cooking Tips.
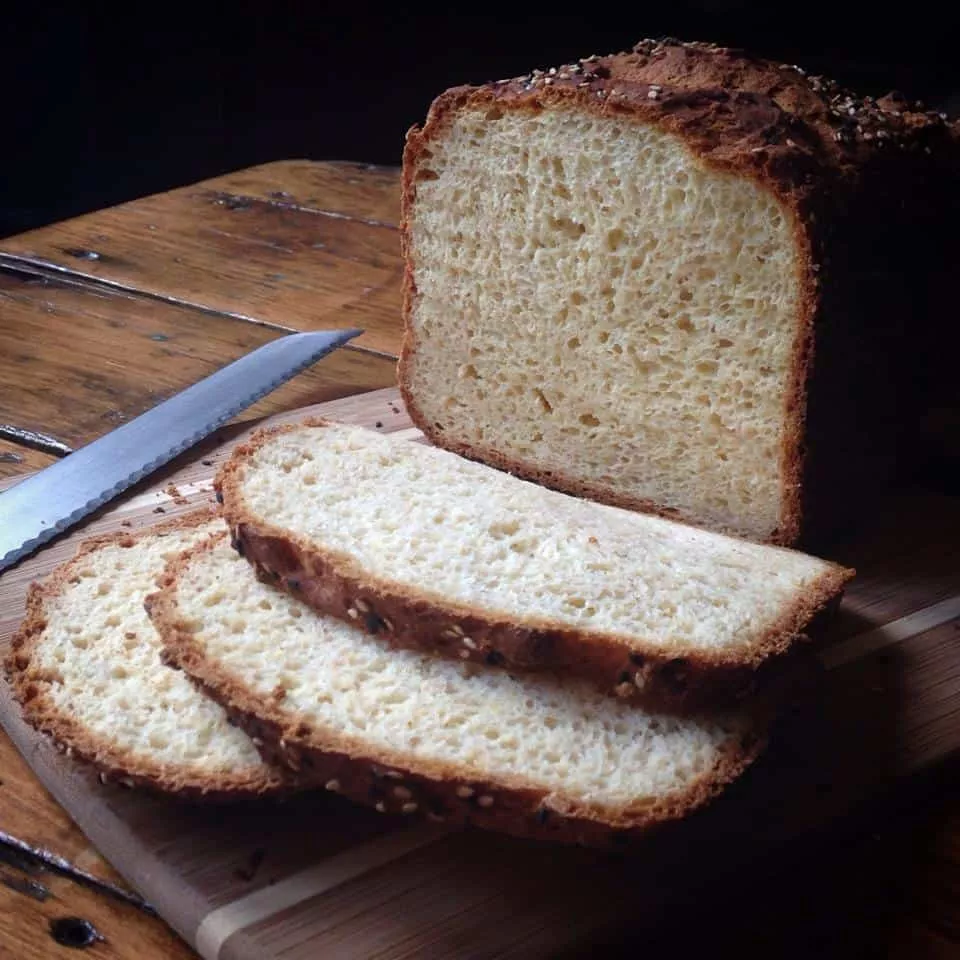
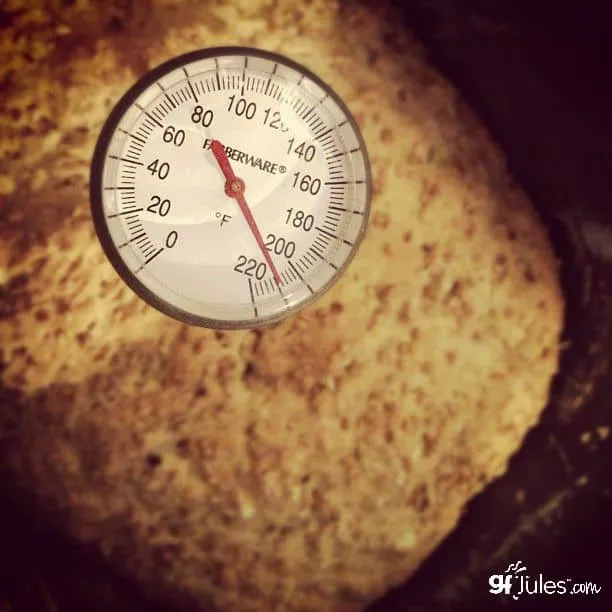
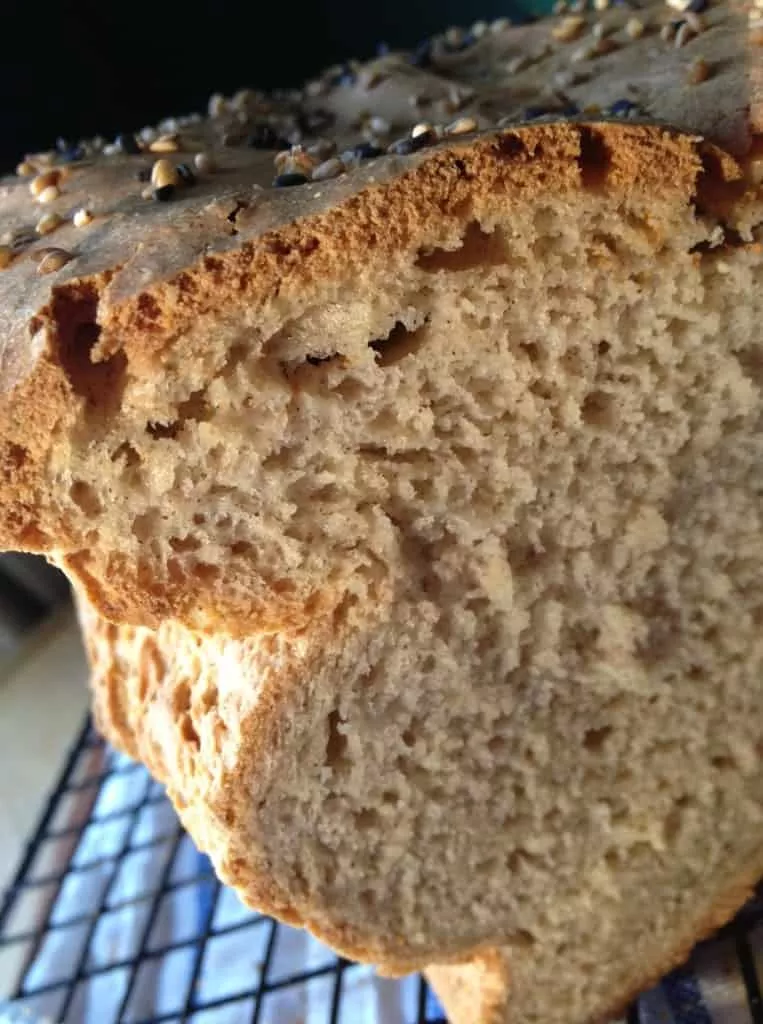
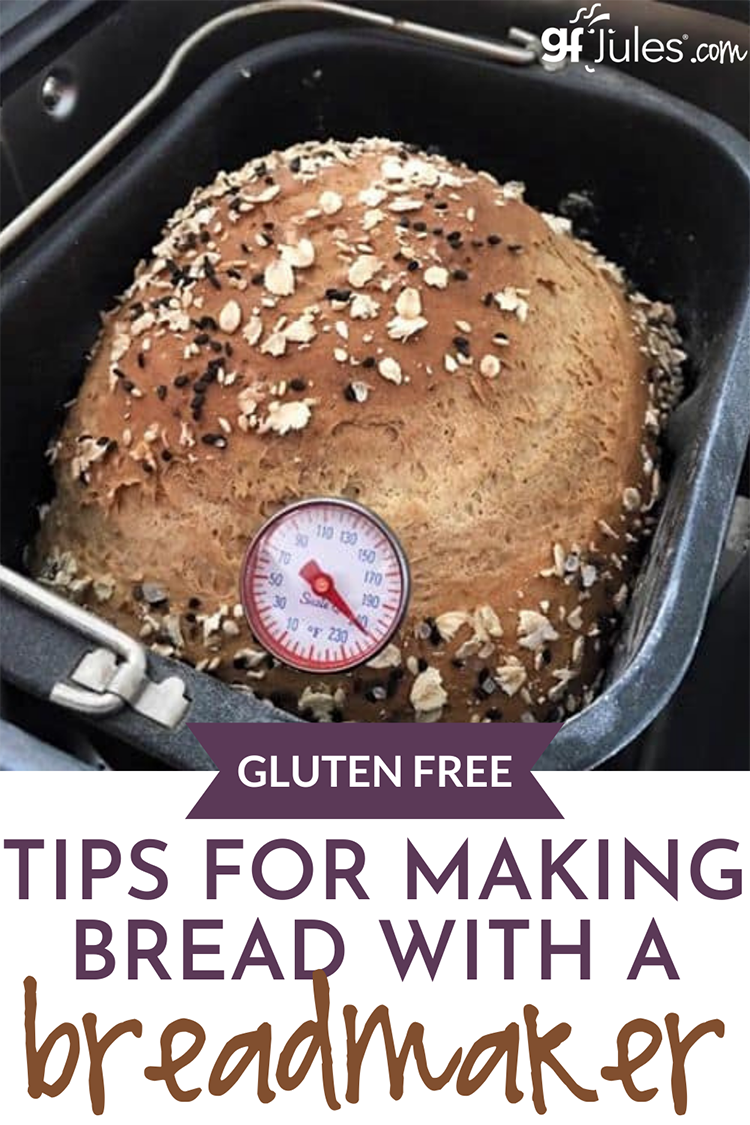
7. Take your gluten free bread’s temperature.
It is very important not to take your bread out of the oven before it is fully cooked. If the bread has a rubbery layer at the bottom, this usually means it was not fully cooked. The best way to tell if the bread is done is to insert an instant read thermometer all the way to the bottom of the loaf (but not touching the pan). The temperature should be approximately 205-210º F when it is done. Your bread should keep its shape when it is completely baked. Internal thermometers are available in my shop.
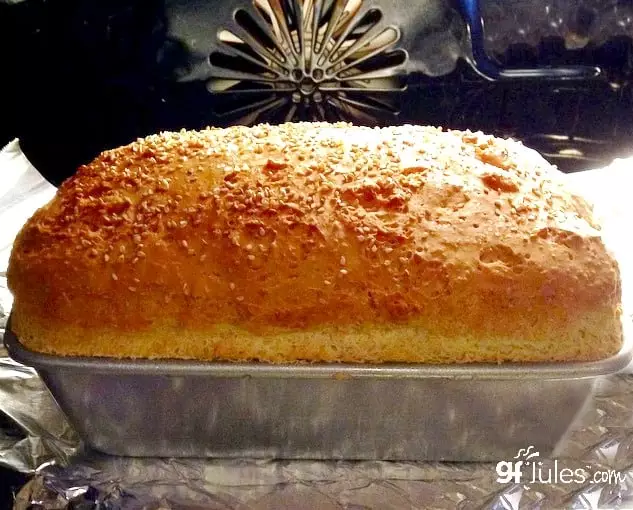
8. Change your bread pan.
Metal pans tend to work better than glass for fully cooking a loaf of bread. Metal pans do not have to be fancy or expensive. Most of my bread recipes work best in 9 x 5 pans, as they are larger volume breads. Stoneware or ceramic pans also bake well.
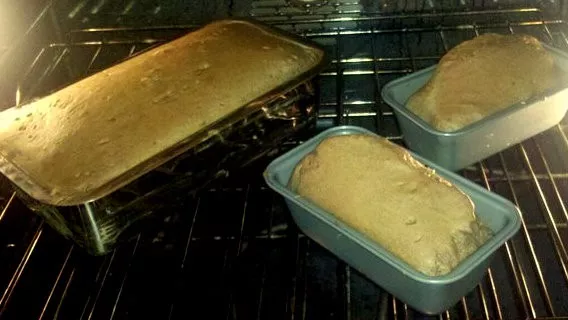
If you’re having trouble with your bread bakes, switch out the pan size or material and see if that makes a difference.
9. Make sure your rising spot is nice and warm.
A great method for letting your yeast breads rise before baking is to turn on your oven to 200º F, then turn it off when it has reached temperature.
Put your un-raised bread into the warmed oven with an oiled piece of parchment on top and a bowl of water in the oven with it, then let it rise according to directions. Once raised, remove the parchment and bake according to directions.
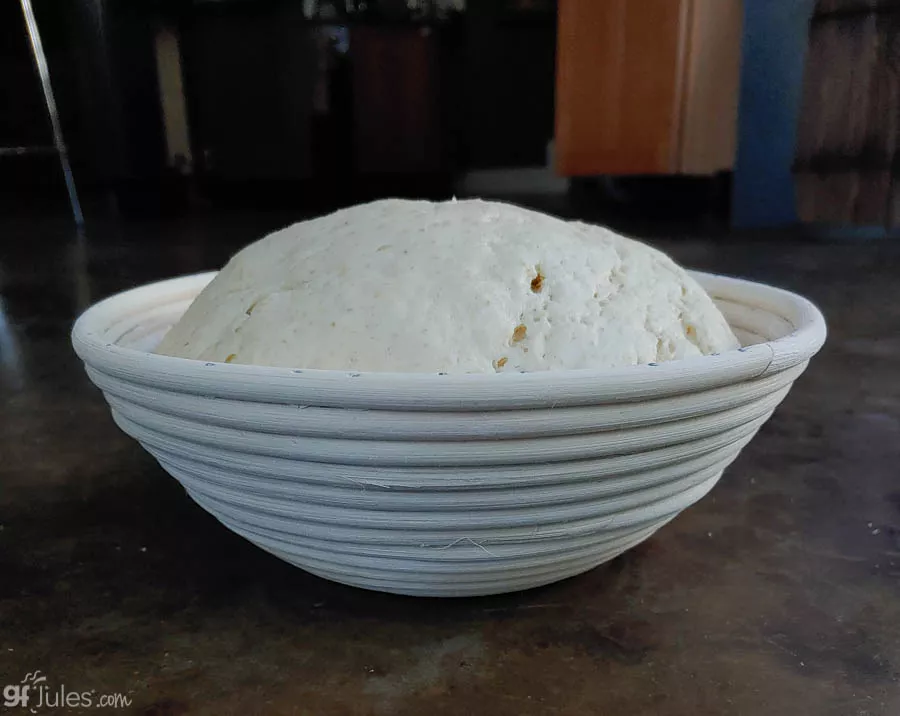
10. Find the perfect rise time and place.
The longer you can let your bread rise, the better it will taste and the less likely it will be to collapse … to a point. A good rule of thumb is to let the bread rise to the top of your pan before baking; a slower, cooler rise to that level will produce a better loaf, so make sure it isn’t rising in too warm of a spot.
If you can let the gluten free bread dough rise overnight in a cool — not warm — place, the slower rise will provide a stronger cell structure and more of a sourdough flavor when baked the next day. A refrigerated overnight rise is a great way to get a longer proof without weakening the bread’s structure.
11. Proof your yeast properly.
“Proofed” yeast should look like this. If not, throw it out and start with fresh yeast. (Here’s lots more info on baking with yeast, if you’re interested!)
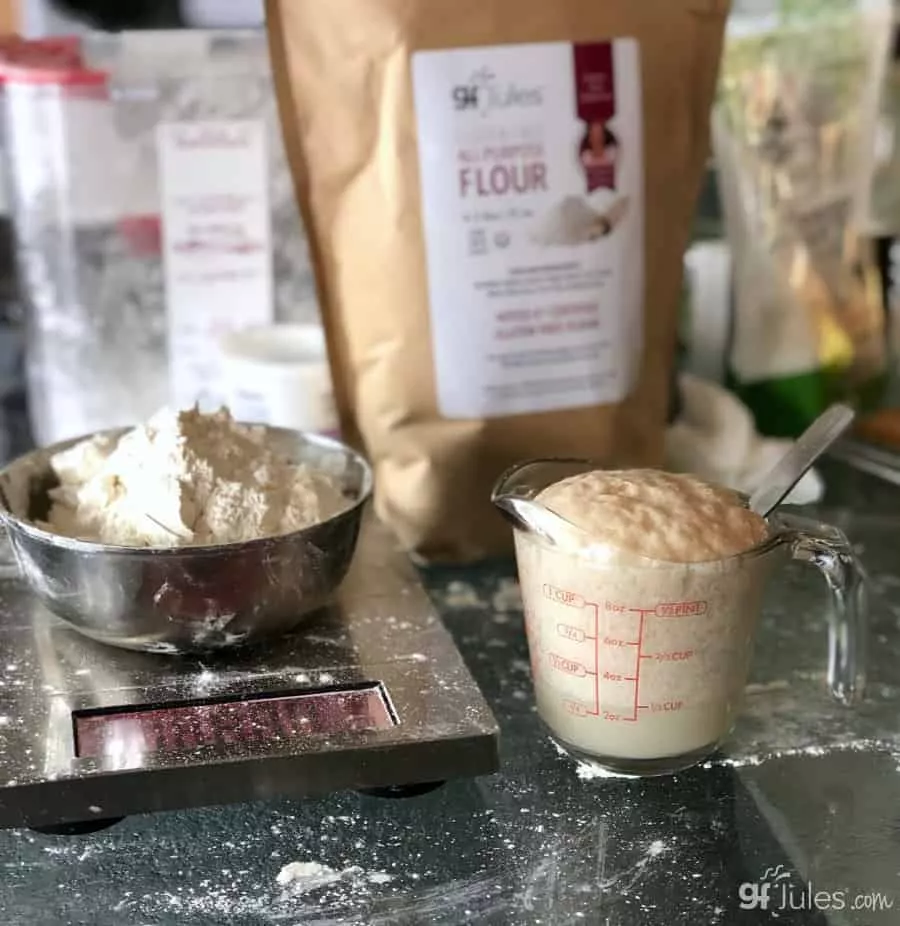
If you’re still having issues with getting your yeast breads to rise, try “proofing” your yeast first. I prefer using “Quick Rise” or “Rapid Rise” yeast for gluten-free yeast breads, but those kinds of yeast should not be proofed — simply add those with your dry ingredients. If you want to try proofing the yeast before adding to the recipe, use regular Active Dry Yeast instead.
Place the yeast in a bowl with the liquid called for in the recipe (water, milk, etc.), but make sure it’s warm. If you can add a teaspoon of sugar, that’s helpful. Whisk it gently and let it sit for 5 minutes. If it’s starting to have that familiar yeasty smell, foam up and swell, it’s good and you can add it to your recipe; if it’s stagnating and not getting foamy or rising, throw it out.
12. Check ingredient integrity.
Yeast can go bad, as can baking soda and baking powder. Sometimes the problem is your ingredients, not you. What a relief, right?
So, how often do you need to replace baking powder and baking soda? As long as the expiration date on each product hasn’t passed, opened cans of baking powder should be used within 3-6 months; opened containers of baking soda should be used within 6 months. I err on the more conservative side of 3 months, and if my baking soda has clumps, I open a new container. Who wants to ruin a recipe just because the leaveners aren’t active enough?
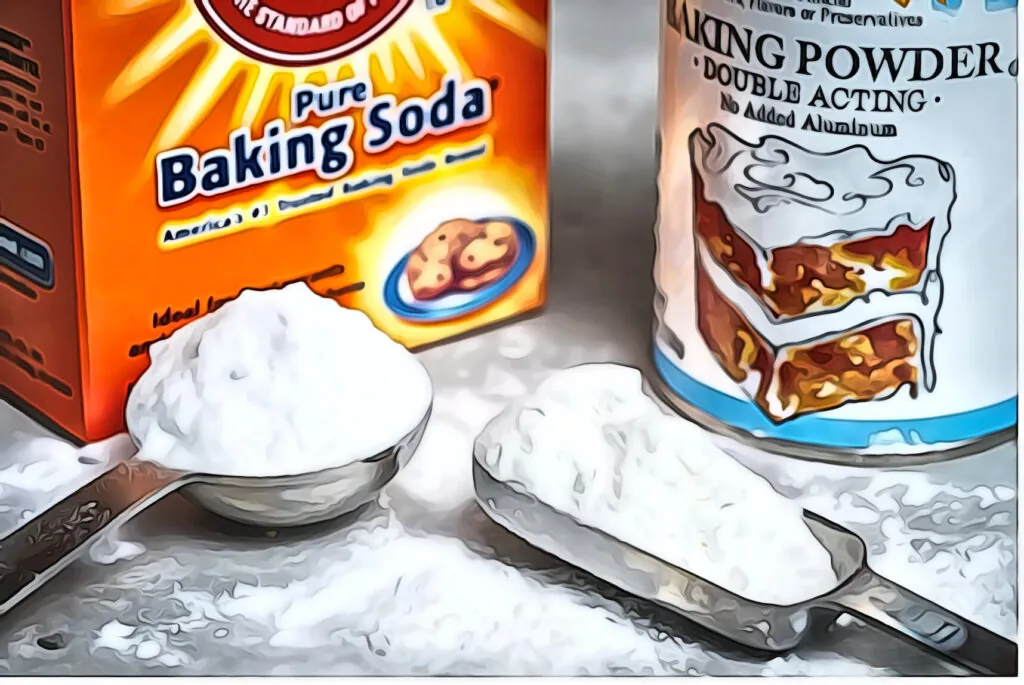
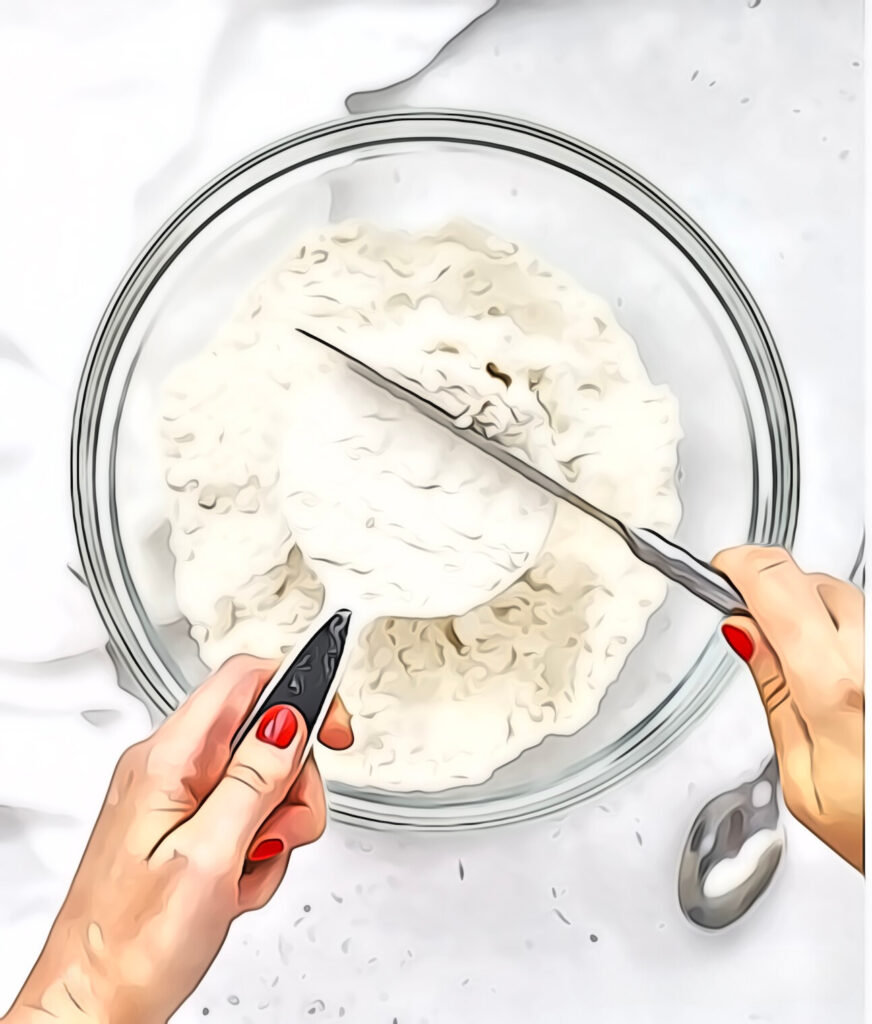
To test whether your leaveners are still active:
How Do I Test Baking Soda?
- Spoon a small amount of baking soda into a bowl
- Add a few drops of lemon juice or vinegar
How Do I Test Baking Powder?
- Spoon a small amount of baking powder into a bowl
- Add hot water
If the mixture fizzes quickly, the baking soda or baking powder will still work well in your recipe. If not, replace it with a fresh container. Use the old box of baking soda in your refrigerator as a deodorizer!
13. Cool bread slowly.
When your bread is done cooking, turn off the oven and open the door so that the bread can cool slowly. Taking the bread out of a hot oven and quickly transferring it to a cool counter can sometimes cause the loaf to sink in.
If it still sinks, it may have too much moisture to support itself fully. It should still taste great, but if you have your heart set on a nice crowned loaf, next time try cutting back on the liquid a bit in that recipe or adding 1/4 cup of flaxseed meal to help support the bread’s structure and enhance its nutritional value, all in one! Altitude and even the day’s weather can affect sometimes-picky yeast recipes.
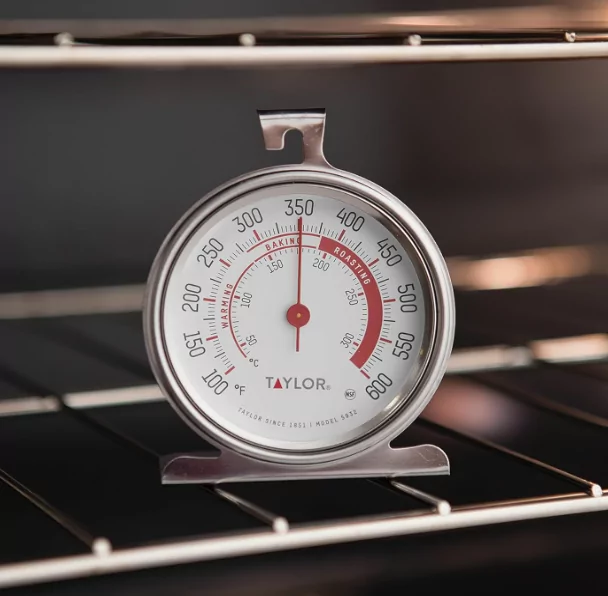
14. Calibrate your oven temperature.
Oven temperatures are frequently off by as little as 25 degrees and it can make a big difference in something as finicky as a yeast bread. Invest in an oven thermometer (they’re less than $10) and adjust your oven’s temperature so your bread will bake comfortably, at the temperature it likes. Here’s how to calibrate your oven without having to call an appliance repair service!
15. Bubbles add air (duh, right?).
It’s amazing what adding bubbles can do for the lift in your bread loaf! Try the same amount of gluten-free beer, ginger ale, 7-Up, Perrier … you get the picture. Room temperature, of course, and measured appropriately (let the bubbles settle for accurate measurements). Check out this gorgeous gluten-free beer bread!
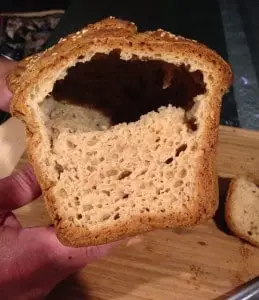
16. Fixing that rubbery bottom.
If you still wind up with a rubbery bottom on your loaf, there are a few things that could have gone wrong.
First, you might have over-beaten the dough. Unlike gluten doughs, gluten-free bread doughs should not be overworked, and doing so can sometimes make them a bit rubbery. Remember NOT TO PUNCH DOWN GLUTEN FREE DOUGHS.
Second, if you are baking from scratch and adding your own xanthan or guar gum, you might have added too much. Find out more about baking with gums in this post.
Third, there might be too much liquid in your recipe, all settling at the bottom and not baking off, while also weighing down the dough. Fourth, the loaf might not have baked all the way. If the top is baked and getting a nice crust, but the bottom isn’t all the way done, cover the loaf with foil and keep baking!
17. Where your loaf is baking also makes a difference.
Too close to the top of the oven, and the top will bake much more quickly than the rest of the bread, causing a split in the loaf. That’s quite a chasm, all because the bread rose so high that it nearly touched the oven’s heating element (and heat rises, don’t forget!). The rack of the oven shouldn’t be so high that the crust is that close to the heating element.
Convection bake settings also help with this, as convection keeps the temperature in the whole oven more consistent. Side note: also be sure there’s not an oven rack above the one on which your bread is baking – you don’t want the bread to rise during the bake and bump into the bottom of another rack!
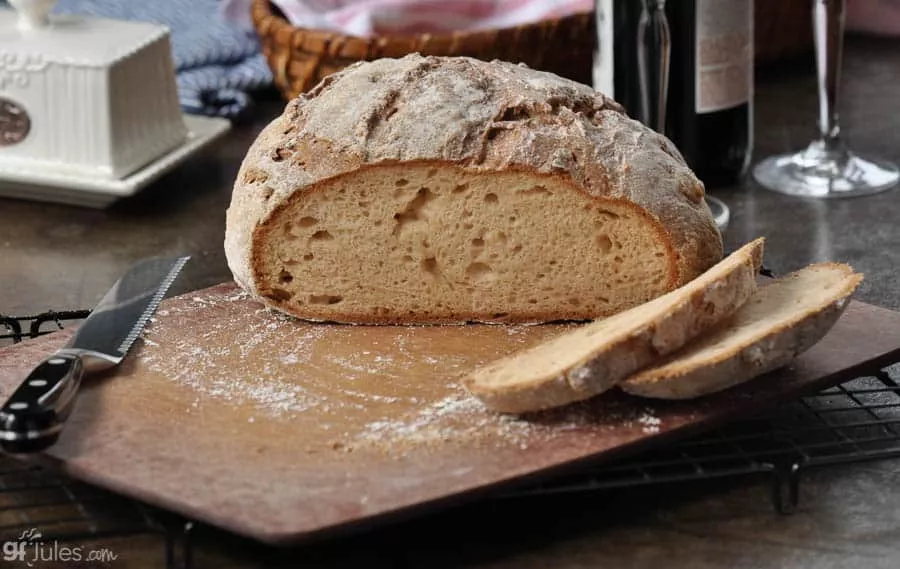
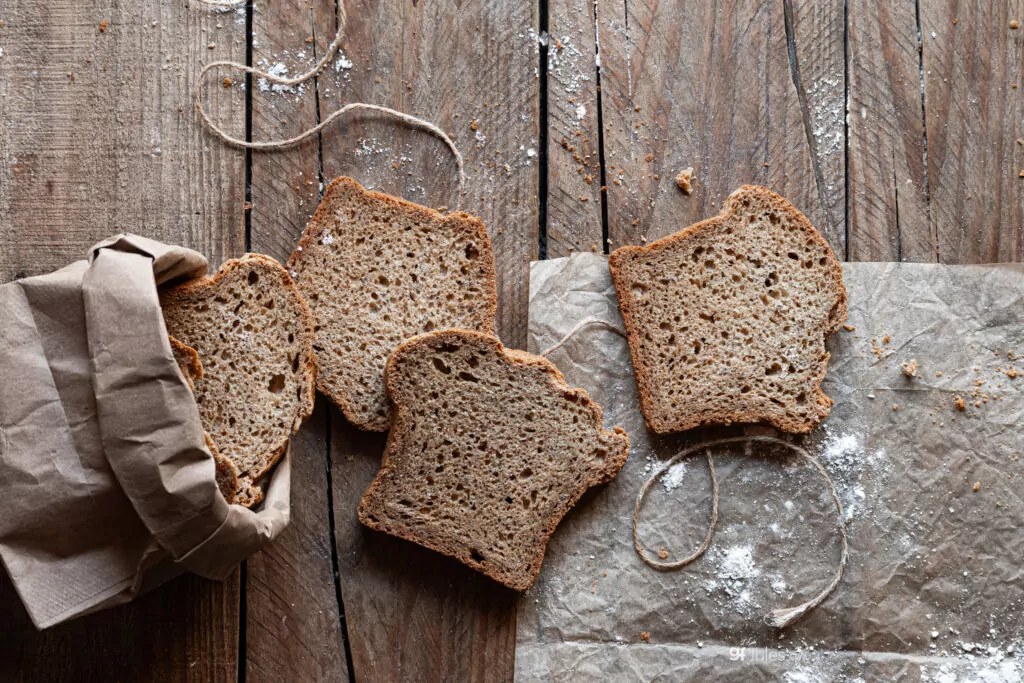
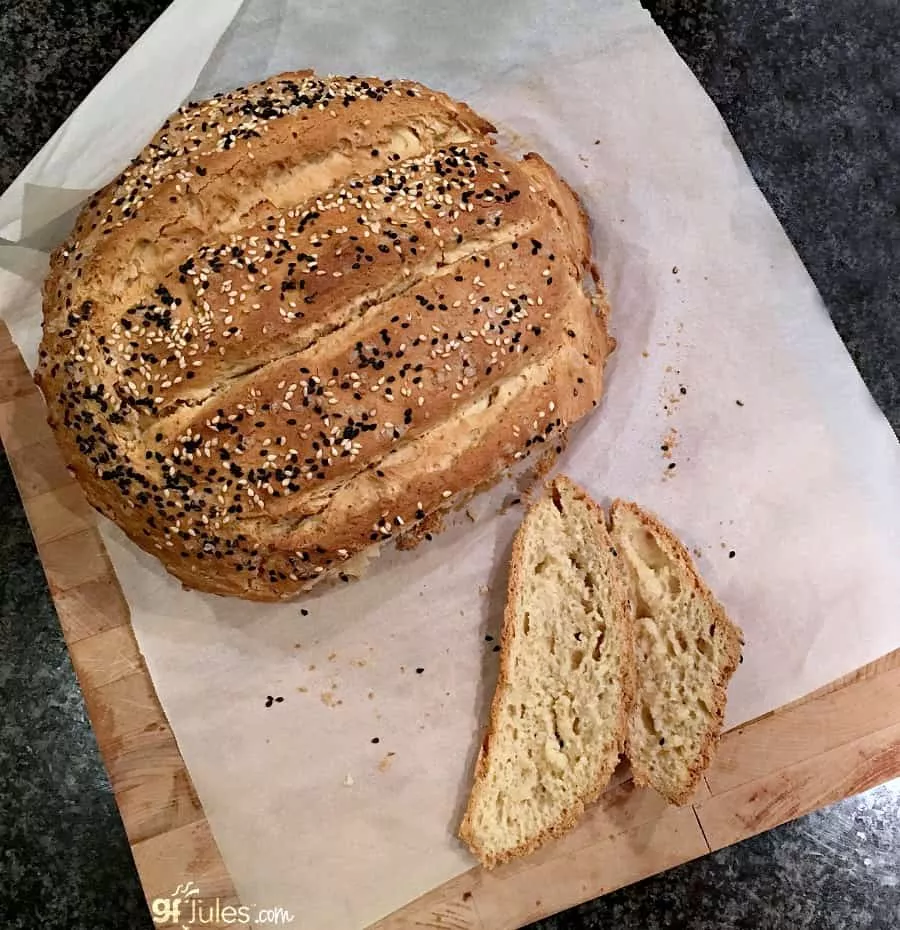
18. You don’t even need a bread pan to make great gluten free bread!
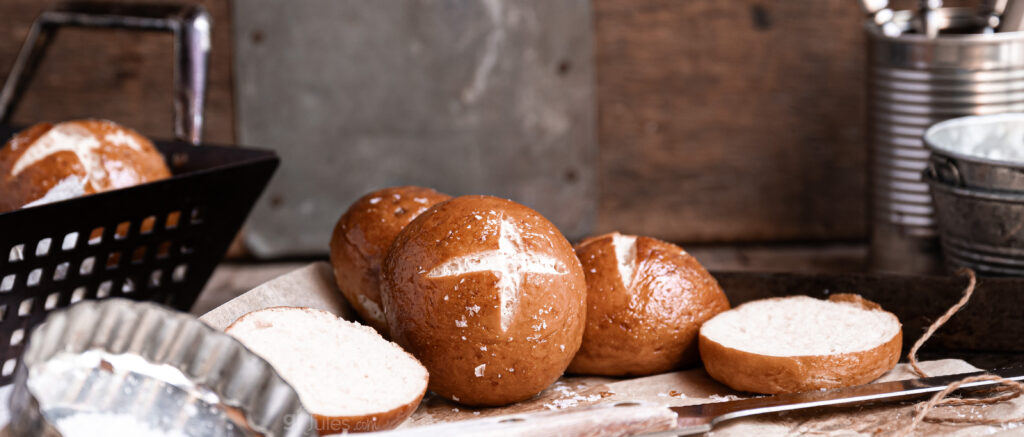
Try making a gluten free artisan loaf on a parchment-lined baking sheet, or baking in a springform or tall-sided oven-safe bowl or pan. Or even use muffin cups or popover trays! Your bread will be yummy no matter how you bake it, if you use the right ingredients!

(Ok, I guess there were more than a couple things …!)
Remember that the gluten free flours you choose ultimately make all the difference, so choose wisely. Then implement these 18 tips for best gluten free bread baking success!
*Note: If you purchase one of these items after following my link, I may receive a small commission, at no additional cost to you, which I use to pay for web design, hosting and services for this blog.


 (25 votes, average: 3.84 out of 5)


I am definitely going to keep these bread making tips handy. I have tried different recipes in the pat but they never turned out well and the bread was so dense and had a wet texture. I can’t wait to try the dinner rolls too. It has been so long since I had a dinner roll with a meal. My mouth is watering as I right. LOL. So excited to find your website.
Yay Bev! So glad you found me, too! Enjoy the recipes and having a delicious dinner roll again!
http://Www.food.com/recipe/gluten-free-rolls-42322
I used Jules flour with this recipe. I substituted Jules flour for the cornstarch, potato starch and zanthum. The rolls were amazing, however they did sink. I want to tweak the recipe some but it is a start. These are so delicious, I cannot tell they are gluten free. Any thoughts on tweaking this one?
Sharon, just glancing at the recipe, it seems like there’s too much sour cream for that amount of flour. If the moisture ratio is too high, it will cause breads to sink. I’d cut back on that a bit and try it again. Let me know how it turns out!
Hi Jules: I cut back the sour cream to 3/4 cup. Let them cool in the oven. They still fell flat. But…they are delicious. The recipe doesn’t call for letting the dough rise prior to baking. It is a very sticky dough. I think I will try this next time. I am new to gluten free having discovered that I have an intolerance to glutens, not diagnosed as celiac yet. It took 2 years for my mother to be diagnosed. She sent me my first package of your flour and mixes. If you try this recipe, let me know what you think. Thanks!!
Sharon, I didn’t look at the directions, but I would agree, they should rise before baking. Good work experimenting! You’ll be a pro in no time! (And tell your mom thanks from me for introducing you to my products and recipes!)
Thanks for the advice.
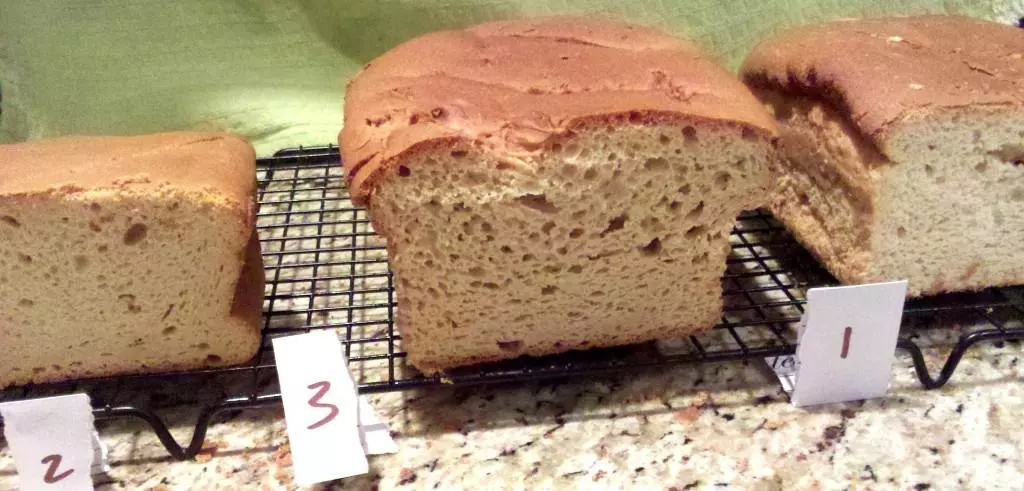
Not an entry jules, but I like your idea on using a thermometer, it takes the guess work out of it! I also like the comparison of the three loaves, what a great demo!
Thanks Tessa! We all learn as we go, don’t we? It’s been fun to do this Blog Hop with you!!!
Great tips! Like I said earlier, you are an inspiration!
Thanks for the tips. Looking forward to trying to remake Babka. Last time, it sank in the middle. Taste was delicious.
Jules-
all of your suggestions are essential to those new with GF baking. It took me quite a while to just accept the fact of weighing my flour – and really -what a difference. Consistency is key to our baking sanity! And I have added this post to Facebook.
Thanks for helping us all out!
So glad the tips have been helpful!
Bread is one thing my hubby and I miss most about living the gluten & dairy free lifestyles. This info helps me to not feel so intimidated in baking bread again. Thanks!
I haven’t attempted to make bread yet, but I will definitely keep these tips handy.
Thanks for the tip about cooling bread in the oven, it seems so obvious – but I haven’t been doing it. I can’t wait to try and see how it affects my bread. Thanks!
Thanks for these great tips…the bread in your pictures looks so light and fluffy.
That’s a good tip about letting the bread cool in the oven. I do have a problem with the bread sinking in the middle. Thank you!
Shared on facebook.
Thanks! I need to try drying my bread out in the oven because it does tend to sink. And I need to buy a baking thermometer.
Thanks for all the tips on baking bread.
I love making the homemade GF bread. But, sometimes it does sink some after taking it out of the oven. I will try some of your tips. Thank you for all your help.
THanks for the great tips–i need to try to cool bread in oven…thanks again
Wanted to post that a technique that GF Goddess recommends worked well for me – when using a bread machine – immediately remove bread from pan and place in a 350 degree oven for about 10 minutes and it helps an overly moist loaf to dry out and not sink so badly. But do it before the loaf sits for any amount of time in machine after it’s done!
I have the “Nearly Normal Cooking…” book and love it. I have a question. The nearly normal flour mix calls for potato starch. I am able to find potato starch flour. What is the difference when used in this mix? Can I substutute the potato starch flour 1:1 for the potato starch?
thanks! kathy
Hi Kathy – as long as it says “starch” on the Potato Starch Flour bag, you are good. They should make it easier on everyone and label it properly, but many companies don’t! You’ll know the difference if you pick up a bag that doesn’t also say “starch” on it, the product will be heavier, yellow in tint and will smell/taste like potatoes! In contrast, potato starch looks nearly identical to cornstarch.
Jules, I purchased your 2010 Thansgiving recipe book, found a bread / rolls recipe I think on page 10 and 11, I followed this recipe to a “T” and it looked fantastic in the oven, I didn’t jar it,let it cool off and when it was taken out of the oven when done, it fell like a rock, the inside is nice, not full of holes,and taste is excellent, especially right out of the oven loaded with butter!! I have done this in the past however the yeast was put in liquid by itseld and added sugar to this then warmed to 110 degrees, this seemed to work better, not great but better. I guess I am ooking for tips as to what I may have done wrong. Oh, and to answer your first question, my yeast is not old, first thing I looked at. Hopefully you can help. Larry
Hi Larry – the process you’re describing is called “proofing” the yeast before adding to the recipe. I’ve done this in some recipes, but it shouldn’t really make a difference in gluten-free breads. All that being said, if you have success with any method, stick with it! As for the bread/rolls recipe – which did you make – bread or rolls? If you made a loaf, try it as rolls and see how it does. Also, this recipe has many variables, such as whether you choose ginger ale or gluten-free beer; flaxseed meal or sorghum flour (as examples), so try another option listed next time to see if it works better for you. How long did you let it/them rise and was it a nice, warm location? I’ve found that covering my rising breads with a thin, damp towel really helps. You should feel free to let the bread rise longer, as well; adding rise time can give the dough the benefit of getting “comfortable in its skin,” so to speak, as it more gradually building the cell structure. Another thing to try may be to lower your oven temperature and bake a bit longer – every oven is different and that can sometimes help. Lastly, you may want to try my bread mix since all the dry ingredient variables are taken out and all the measuring is done for you — it can make things a little easier! Whatever you do, don’t give up (it doesn’t sound like you’re the kind who would!) – I promise you that fresh-baked, delicious gluten-free bread is possible!
Hi Jules,
Thank you for the tips- very useful. I have started baking gluten free bread- just recently medditarainan flat bread. However when I was baking gluten free breads in a loaf pan I was achieving a better rise. The flat bread seems to really stick to the baking tray, so now I’ am going to try laying a sheet of grease proof paper on it. I will let you know how it turns out also I will follow some of the day tips you have mentioned ironed here.
Many thanks
Herdeep Gill
Hi Herdeep, I always line my baking sheets with parchment. You can see my technique in this flatbreads recipe. Hopefully that will help, too! Let me know how it goes!
~jules