Making delicious gluten free yeast breads isn’t difficult, it just seems like it ought to be. In fact, in many ways gluten free bread baking is easier and quicker than it is to bake a traditional bread with gluten.
Using the right recipe and the best gluten free ingredients, you don’t even need a loaf pan! Follow my gluten free bread help check list, and these 18 Tips for Gluten Free Bread Baking will bring you delicious gluten free bread baking success!
The first rule of thumb is of course to choose your gluten free ingredients wisely, as without this strong foundation, no gluten free bread will be the soft, fluffy, non-sinking loaf we all desire.
My gfJules Gluten Free All Purpose Flour is an excellent choice for all sorts of from-scratch bread baking, my corn-free Multigrain Flour also makes a beautiful loaf of bread, as does my grain-free Nada Flour, but my gfJules Gluten Free Bread Mix is the easiest way to get to bread baking nirvana.
For my tips on baking gluten-free bread in a bread maker, hop to my article here.
For my review of over 10 different gluten free bread makers, hop here.
18 Tips for Gluten Free Bread Baking
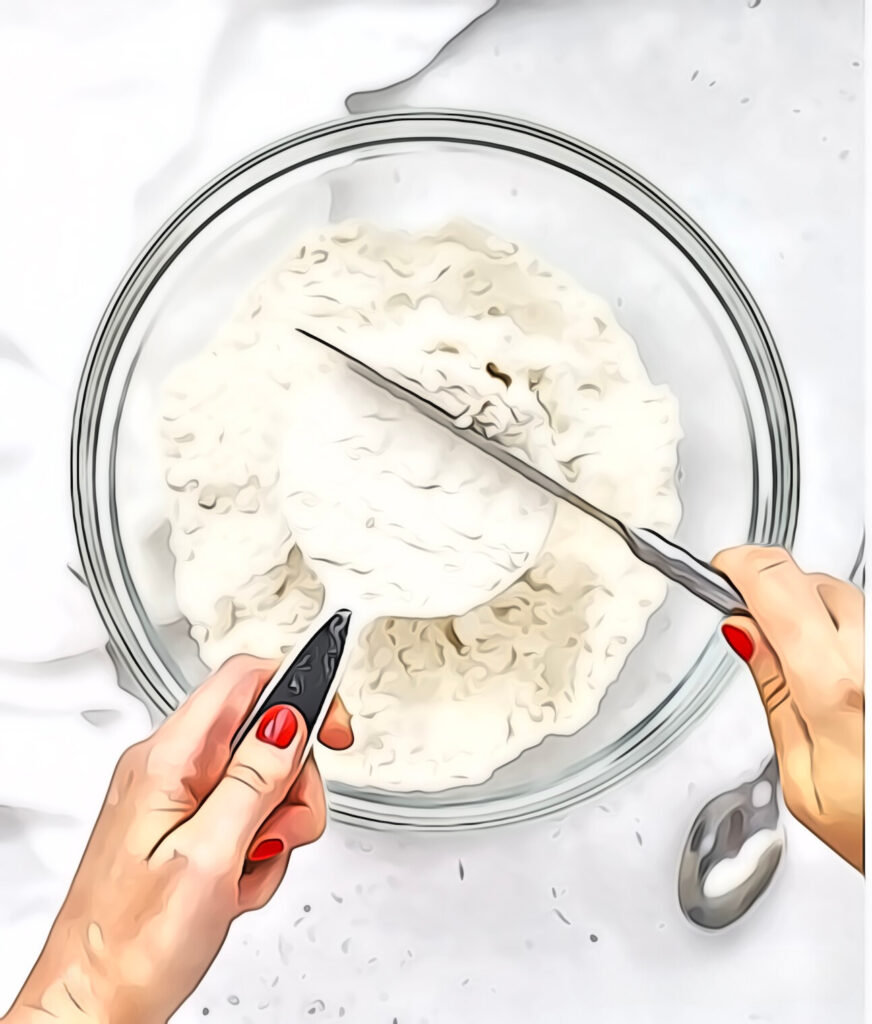
1. Don’t scoop flour!
When measuring flour, don’t scoop from the bag with your measuring cup. This can compress the flour — up to 25%! Use a spoon to scoop flour into the measuring cup and level off with a knife instead. Here’s how to measure your gluten free flour properly.
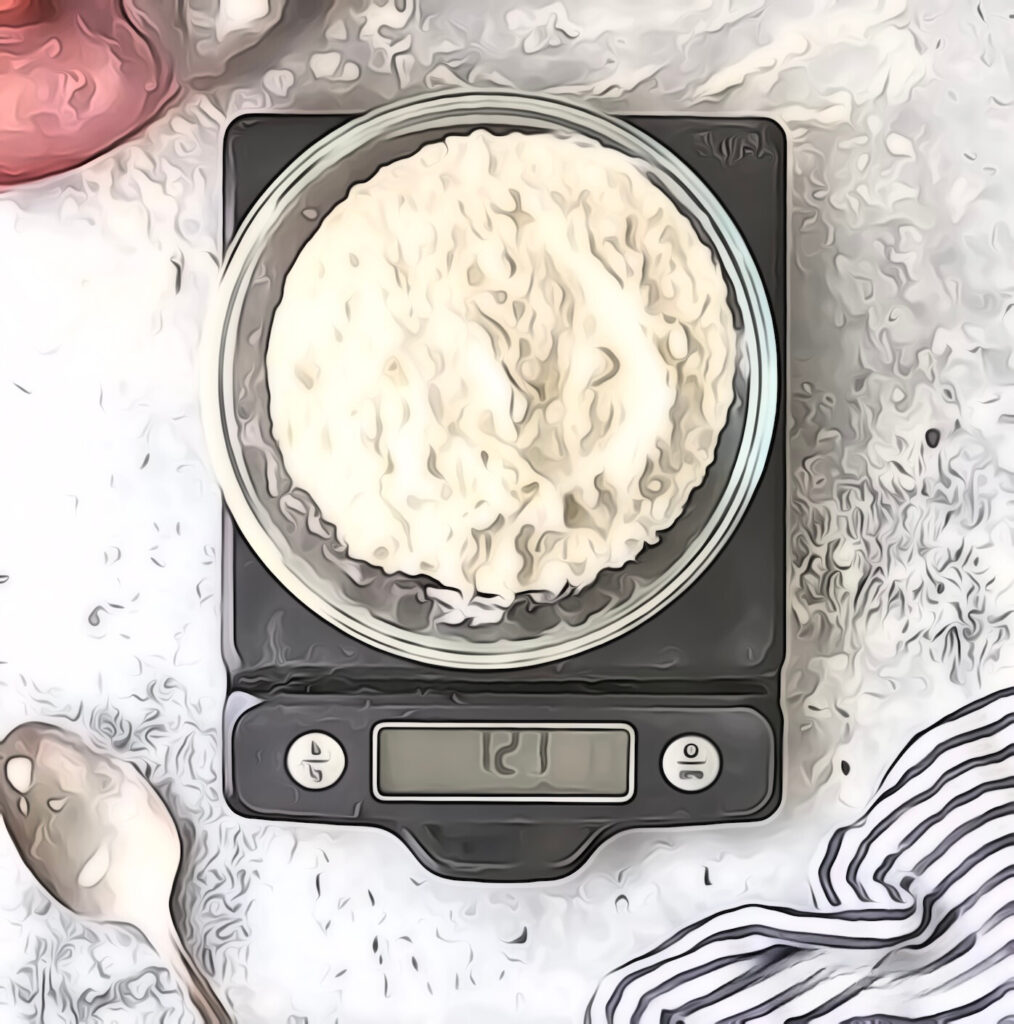
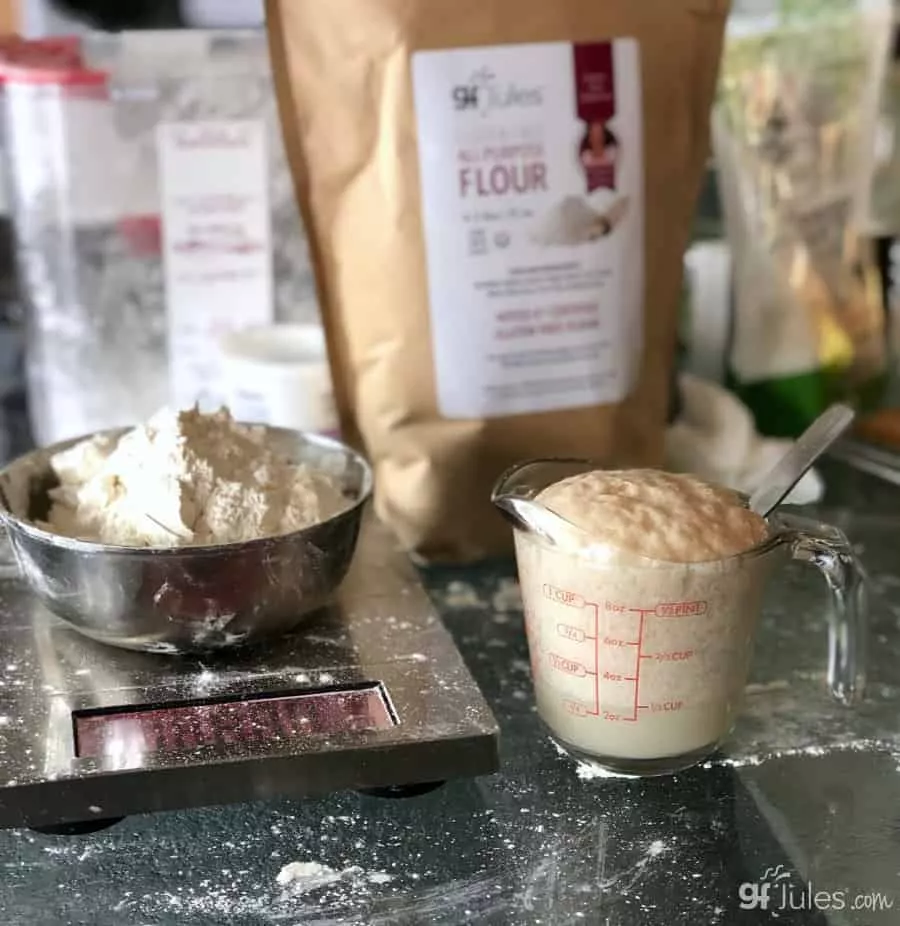
2. Weigh your ingredients.
One step better is to weigh your flour. My gfJules™ All Purpose Gluten Free Flour weighs 135 grams per cup. gfJules Corn-Free Multigrain Biscuit & Breakfast Baking Flour weighs 140 grams per cup. gfJules Nada Flour weighs 110 grams per cup. Make sure you know what the flour you’re using weighs, and if the recipe calls for gram weights as well as cups, go with the proper gram weight per cup of the flour you’re using.
Measuring by weight will ensure that you have the correct amount of flour in any recipe.
Even 1/2 cup of flour can make a huge difference in the results you get with any recipe. It’s not enough to just use any gluten free flour you choose; gluten free flours aren’t necessarily interchangeable. Follow the flours recommended for each given recipe to get the results promised.
3. Room temperature ingredients make a huge difference!
It is particularly important for yeast recipes that you bring all of your ingredients, such as eggs, to room temperature before adding them together to make bread.
Yeast needs warmth to grow and if your ingredients are too cold, it may prevent full yeast growth. Don’t make your wet ingredients too hot though, just nice and warm, the way yeast likes it! The ideal temperature for yeast to activate is around 100F/38C.
4. When baking gluten free bread, don’t follow directions (for wheat bread).
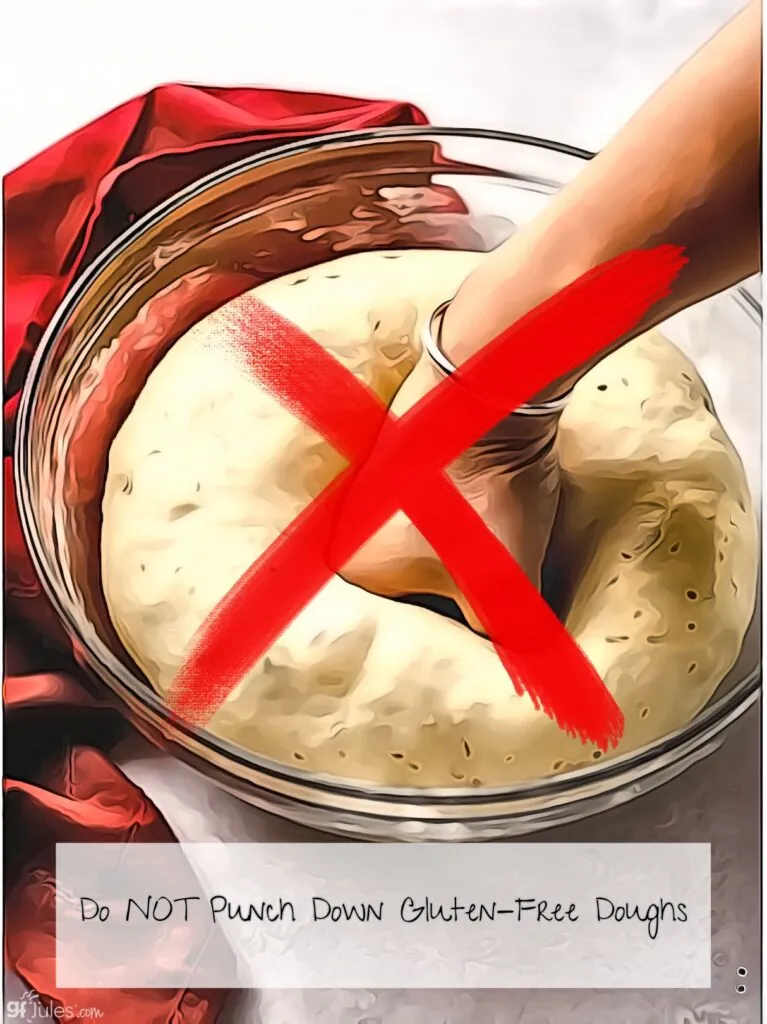
It is essential when converting wheat-based bread recipes to gluten-free, that you not follow the directions. That’s right! Break all the wheat/gluten dough rules when baking gluten-free bread! Any kneading beyond simply mixing the dough well, and any punching down of the gluten-free dough will punch the risen life right out of it. Those steps are designed to “exercise the gluten” and make it more elastic.
We have no gluten in our recipes, so nothing to exercise, and more than that, these steps will actually cause your gluten-free recipe to fail! It is for this reason that I counsel people when first attempting to make gluten-free breads, to follow a gluten-free bread recipe or two, just to get the hang of it. If you are an accomplished bread baker, it may feel weird for you to abandon these techniques, but trust me, you must!

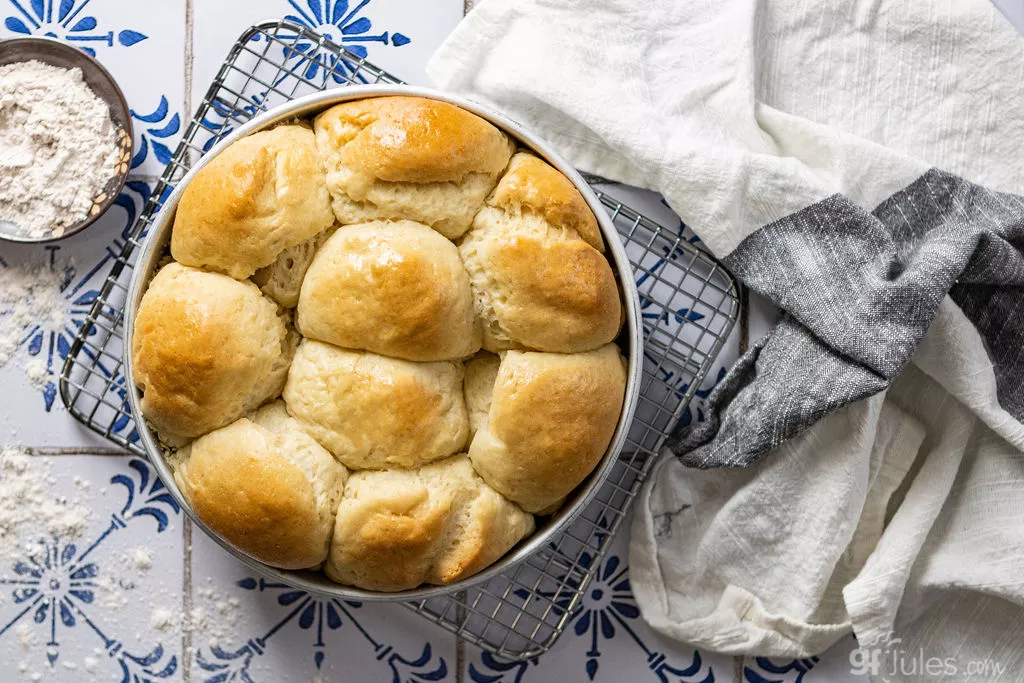
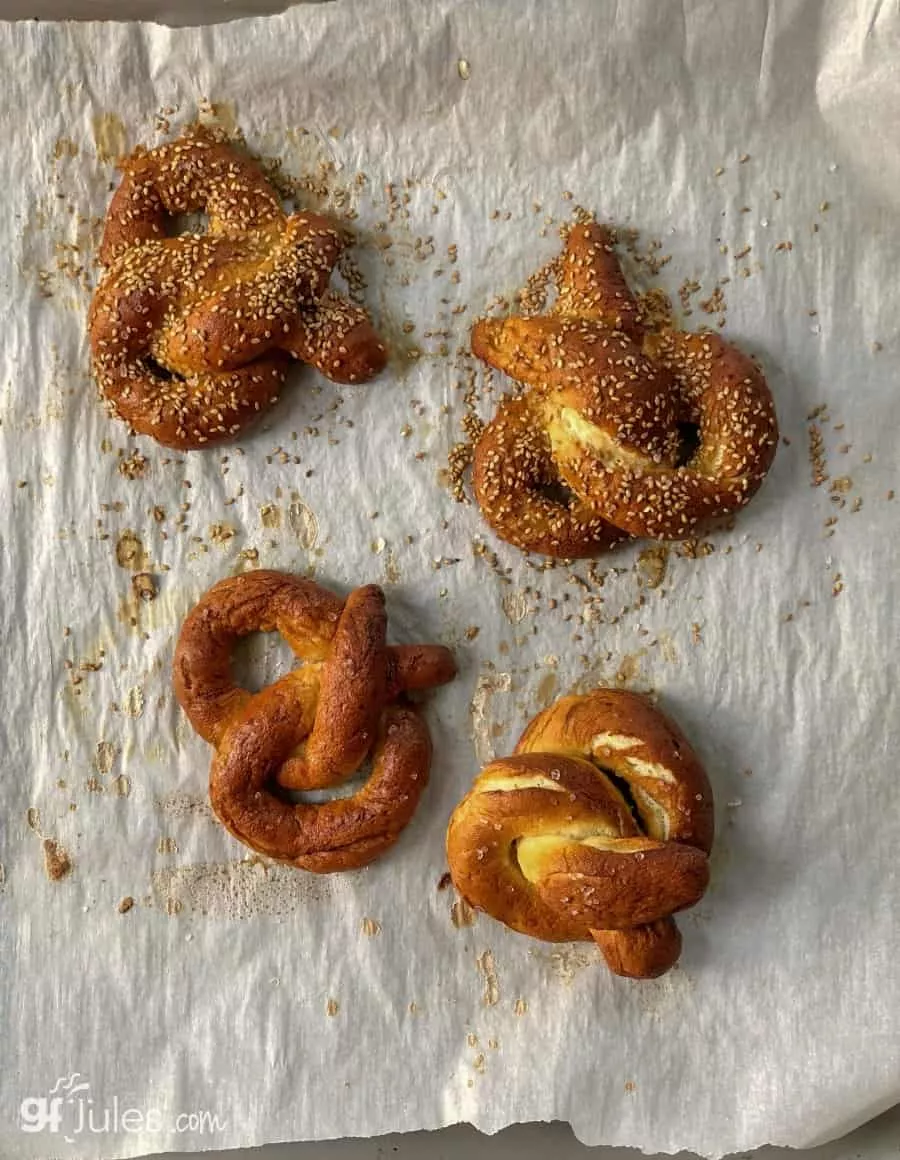
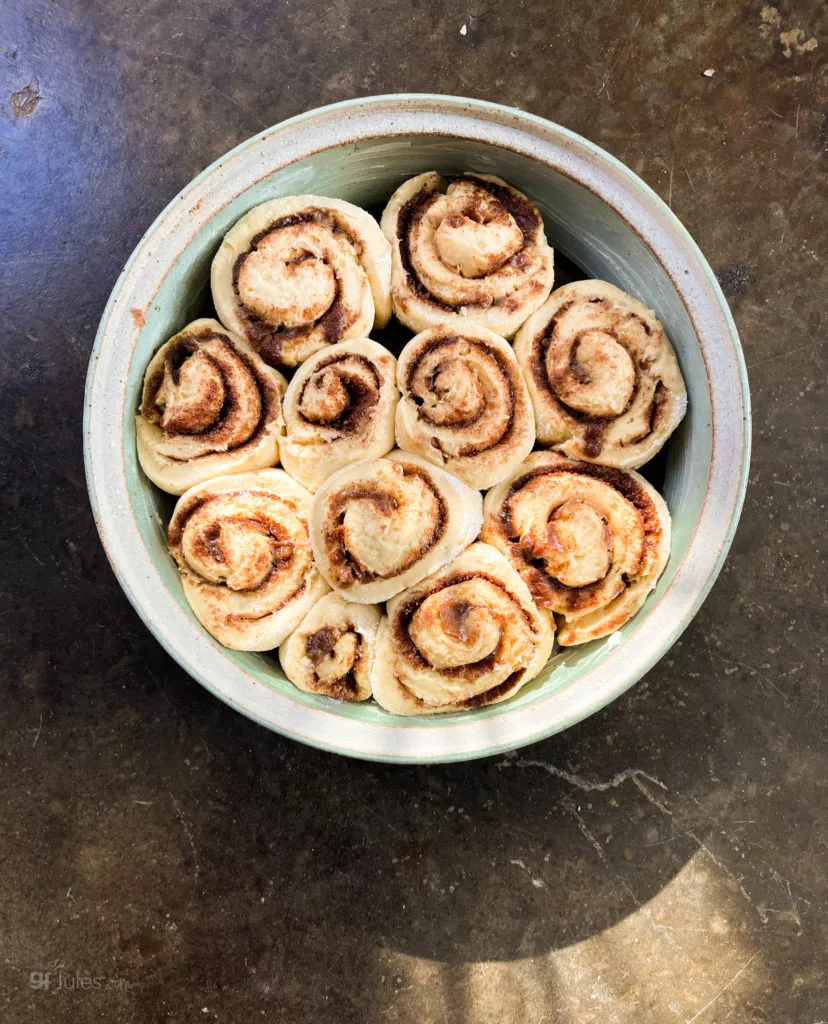
5. Shape gluten free breads before rising.
Because our gluten free breads have no rise and punch down and second rise and punch down … you’ll want to shape any breads before the rise (they’ll only rise once!).
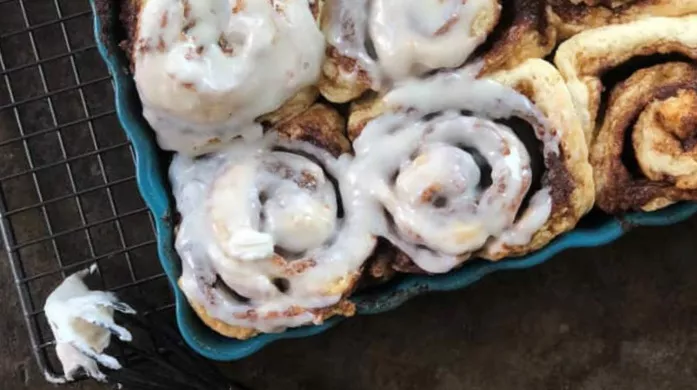
Dinner rolls should rise in the shape or tin you would like them to bake in; bread sticks should be formed before rising; cinnamon rolls should rise in their pans; challah must be braided and then allowed to rise. Don’t mess with gluten-free dough once it has risen, just bake it!
6. High altitude can change the way yeast doughs behave.
Have a look at my High Altitude GF Cooking Tips.
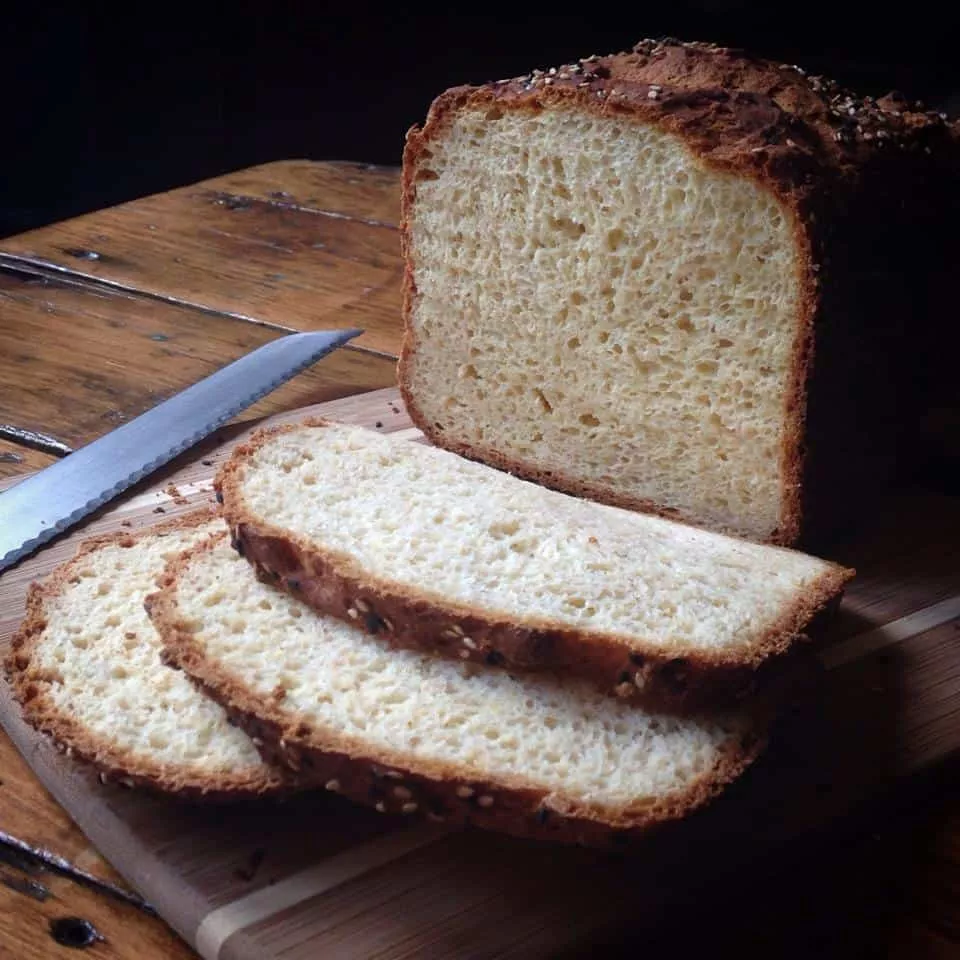
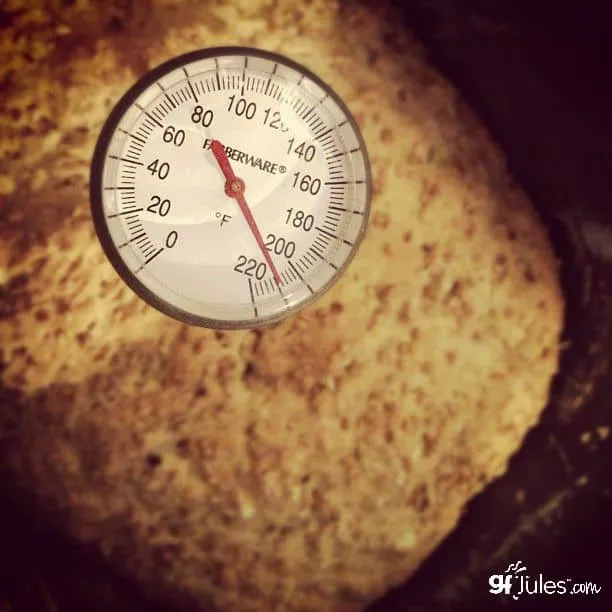
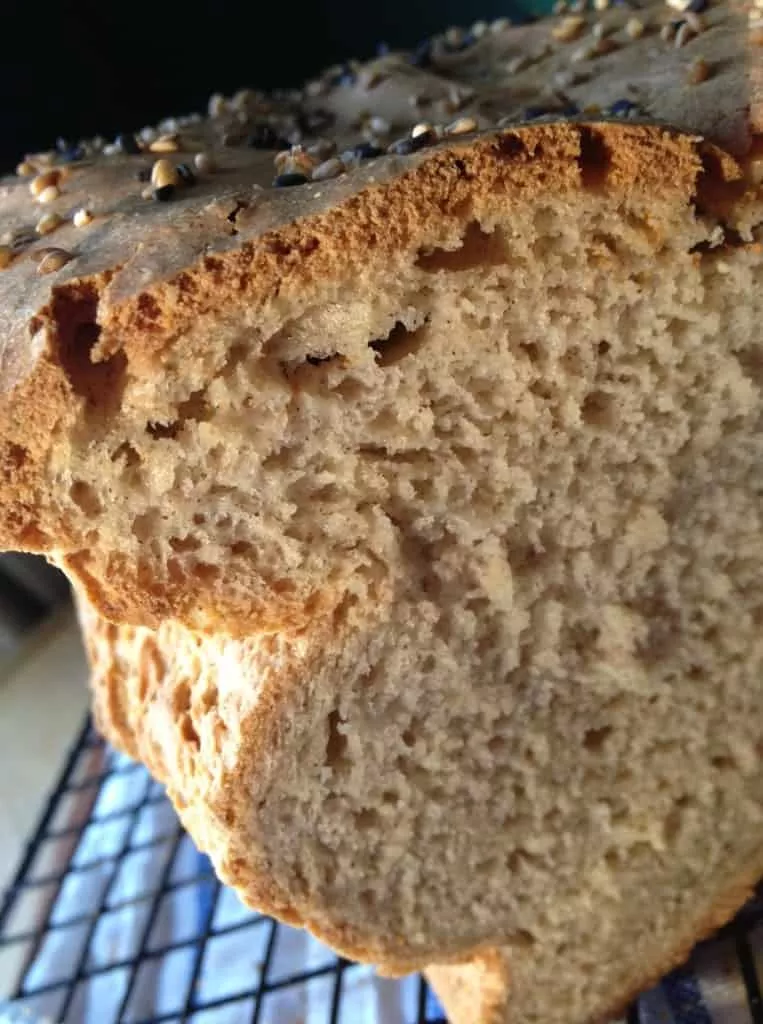
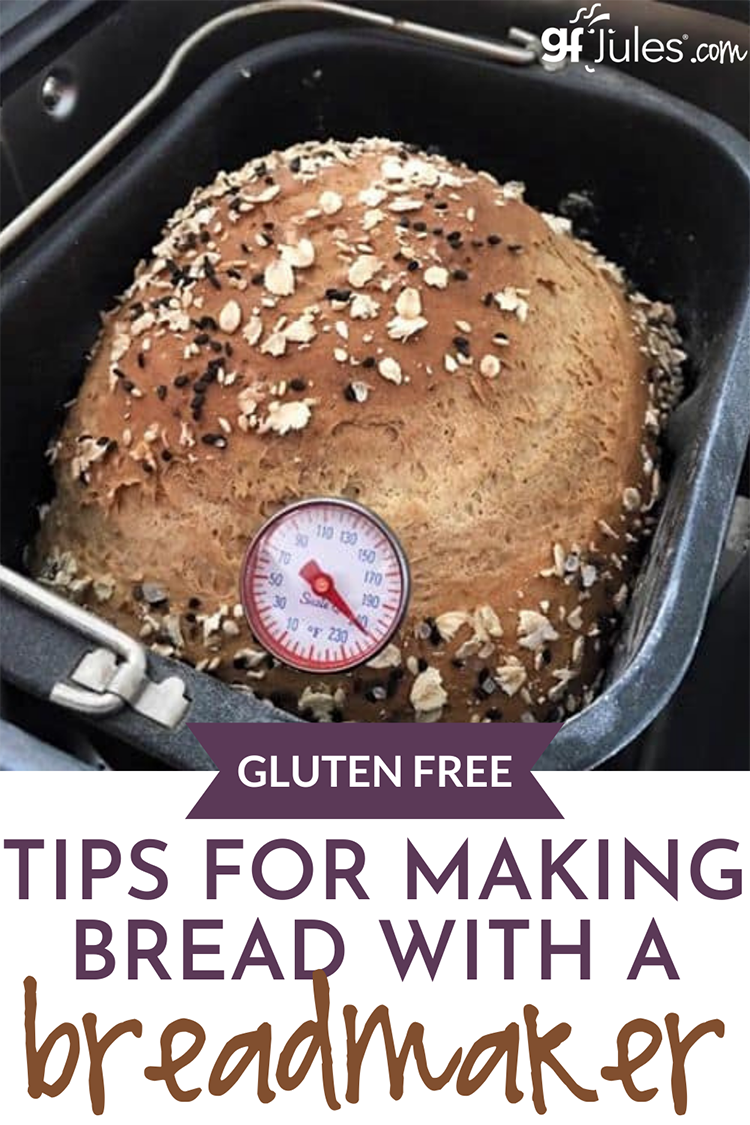
7. Take your gluten free bread’s temperature.
It is very important not to take your bread out of the oven before it is fully cooked. If the bread has a rubbery layer at the bottom, this usually means it was not fully cooked. The best way to tell if the bread is done is to insert an instant read thermometer all the way to the bottom of the loaf (but not touching the pan). The temperature should be approximately 205-210º F when it is done. Your bread should keep its shape when it is completely baked. Internal thermometers are available in my shop.
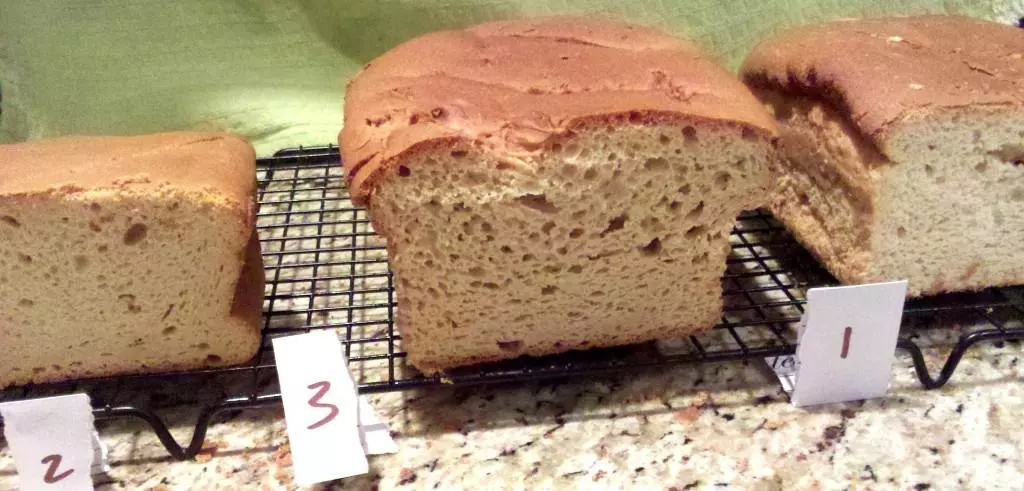
8. Change your bread pan.
Metal pans tend to work better than glass for fully cooking a loaf of bread. Metal pans do not have to be fancy or expensive. Most of my bread recipes work best in 9 x 5 pans, as they are larger volume breads. Stoneware or ceramic pans also bake well.
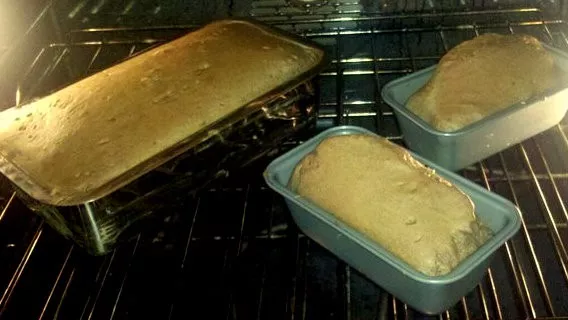
If you’re having trouble with your bread bakes, switch out the pan size or material and see if that makes a difference.
9. Make sure your rising spot is nice and warm.
A great method for letting your yeast breads rise before baking is to turn on your oven to 200º F, then turn it off when it has reached temperature.
Put your un-raised bread into the warmed oven with an oiled piece of parchment on top and a bowl of water in the oven with it, then let it rise according to directions. Once raised, remove the parchment and bake according to directions.
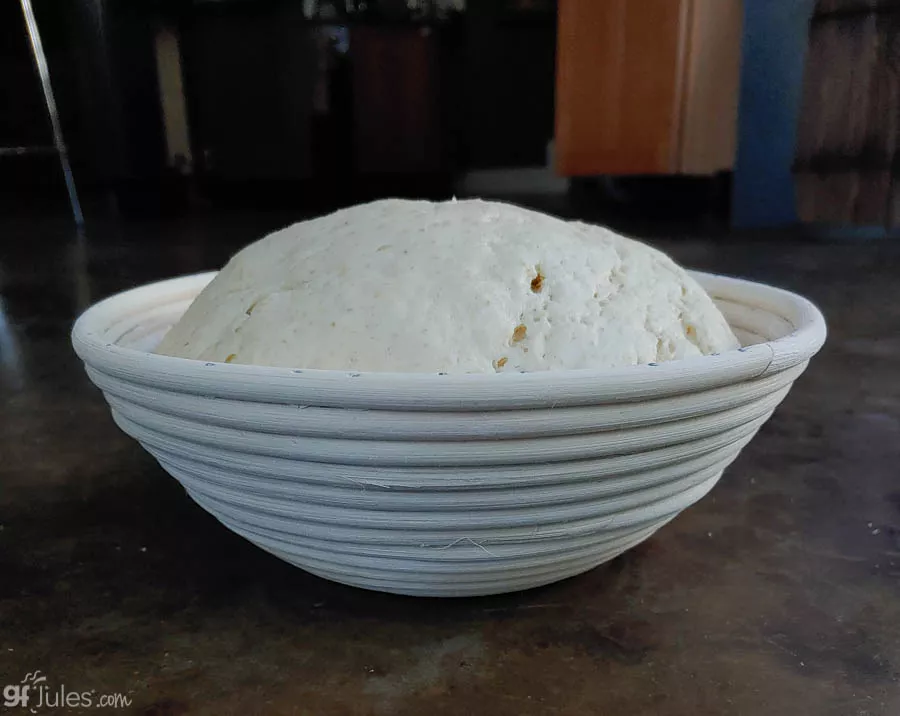
10. Find the perfect rise time and place.
The longer you can let your bread rise, the better it will taste and the less likely it will be to collapse … to a point. A good rule of thumb is to let the bread rise to the top of your pan before baking; a slower, cooler rise to that level will produce a better loaf, so make sure it isn’t rising in too warm of a spot.
If you can let the gluten free bread dough rise overnight in a cool — not warm — place, the slower rise will provide a stronger cell structure and more of a sourdough flavor when baked the next day. A refrigerated overnight rise is a great way to get a longer proof without weakening the bread’s structure.
11. Proof your yeast properly.
“Proofed” yeast should look like this. If not, throw it out and start with fresh yeast. (Here’s lots more info on baking with yeast, if you’re interested!)
If you’re still having issues with getting your yeast breads to rise, try “proofing” your yeast first. I prefer using “Quick Rise” or “Rapid Rise” yeast for gluten-free yeast breads, but those kinds of yeast should not be proofed — simply add those with your dry ingredients. If you want to try proofing the yeast before adding to the recipe, use regular Active Dry Yeast instead.
Place the yeast in a bowl with the liquid called for in the recipe (water, milk, etc.), but make sure it’s warm. If you can add a teaspoon of sugar, that’s helpful. Whisk it gently and let it sit for 5 minutes. If it’s starting to have that familiar yeasty smell, foam up and swell, it’s good and you can add it to your recipe; if it’s stagnating and not getting foamy or rising, throw it out.
12. Check ingredient integrity.
Yeast can go bad, as can baking soda and baking powder. Sometimes the problem is your ingredients, not you. What a relief, right?
So, how often do you need to replace baking powder and baking soda? As long as the expiration date on each product hasn’t passed, opened cans of baking powder should be used within 3-6 months; opened containers of baking soda should be used within 6 months. I err on the more conservative side of 3 months, and if my baking soda has clumps, I open a new container. Who wants to ruin a recipe just because the leaveners aren’t active enough?
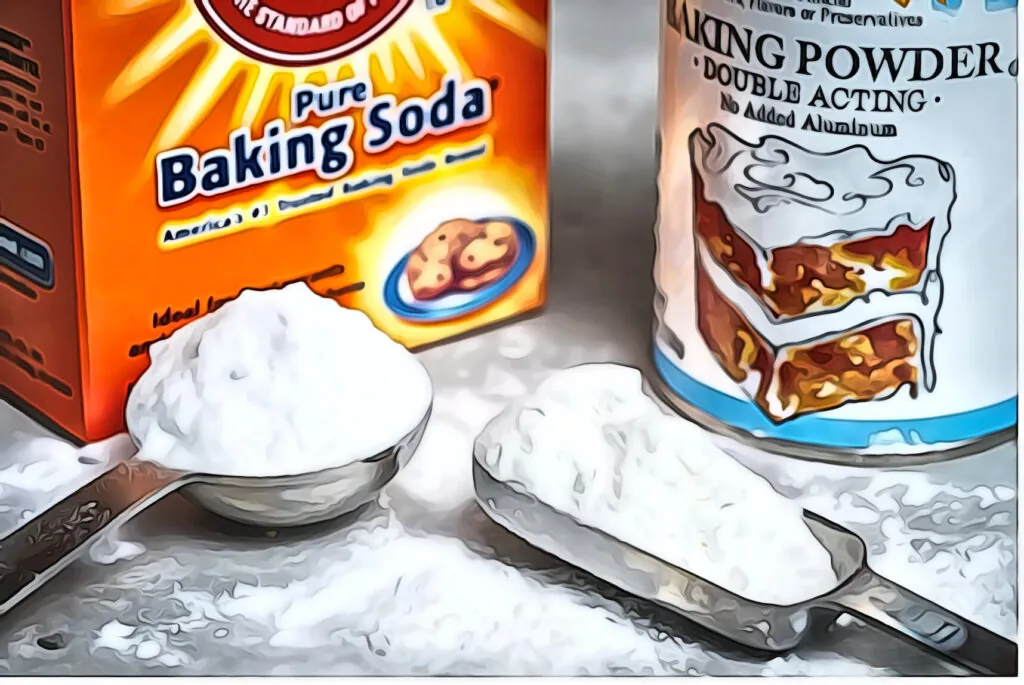
To test whether your leaveners are still active:
How Do I Test Baking Soda?
- Spoon a small amount of baking soda into a bowl
- Add a few drops of lemon juice or vinegar
How Do I Test Baking Powder?
- Spoon a small amount of baking powder into a bowl
- Add hot water
If the mixture fizzes quickly, the baking soda or baking powder will still work well in your recipe. If not, replace it with a fresh container. Use the old box of baking soda in your refrigerator as a deodorizer!
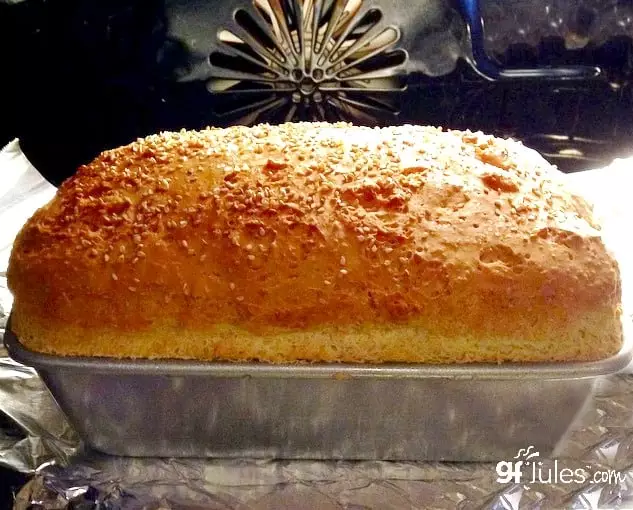
13. Cool bread slowly.
When your bread is done cooking, turn off the oven and open the door so that the bread can cool slowly. Taking the bread out of a hot oven and quickly transferring it to a cool counter can sometimes cause the loaf to sink in.
If it still sinks, it may have too much moisture to support itself fully. It should still taste great, but if you have your heart set on a nice crowned loaf, next time try cutting back on the liquid a bit in that recipe or adding 1/4 cup of flaxseed meal to help support the bread’s structure and enhance its nutritional value, all in one! Altitude and even the day’s weather can affect sometimes-picky yeast recipes.
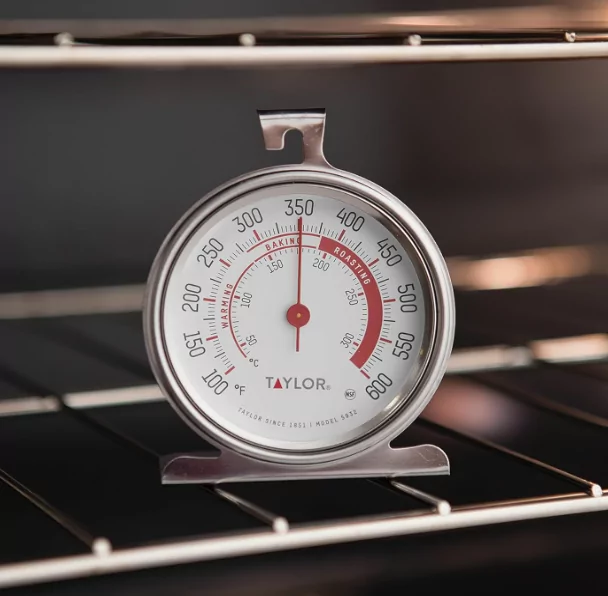
14. Calibrate your oven temperature.
Oven temperatures are frequently off by as little as 25 degrees and it can make a big difference in something as finicky as a yeast bread. Invest in an oven thermometer (they’re less than $10) and adjust your oven’s temperature so your bread will bake comfortably, at the temperature it likes. Here’s how to calibrate your oven without having to call an appliance repair service!
15. Bubbles add air (duh, right?).
It’s amazing what adding bubbles can do for the lift in your bread loaf! Try the same amount of gluten-free beer, ginger ale, 7-Up, Perrier … you get the picture. Room temperature, of course, and measured appropriately (let the bubbles settle for accurate measurements). Check out this gorgeous gluten-free beer bread!
16. Fixing that rubbery bottom.
If you still wind up with a rubbery bottom on your loaf, there are a few things that could have gone wrong.
First, you might have over-beaten the dough. Unlike gluten doughs, gluten-free bread doughs should not be overworked, and doing so can sometimes make them a bit rubbery. Remember NOT TO PUNCH DOWN GLUTEN FREE DOUGHS.
Second, if you are baking from scratch and adding your own xanthan or guar gum, you might have added too much. Find out more about baking with gums in this post.
Third, there might be too much liquid in your recipe, all settling at the bottom and not baking off, while also weighing down the dough. Fourth, the loaf might not have baked all the way. If the top is baked and getting a nice crust, but the bottom isn’t all the way done, cover the loaf with foil and keep baking!
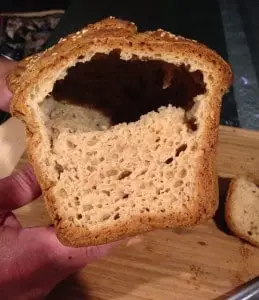
17. Where your loaf is baking also makes a difference.
Too close to the top of the oven, and the top will bake much more quickly than the rest of the bread, causing a split in the loaf. That’s quite a chasm, all because the bread rose so high that it nearly touched the oven’s heating element (and heat rises, don’t forget!). The rack of the oven shouldn’t be so high that the crust is that close to the heating element.
Convection bake settings also help with this, as convection keeps the temperature in the whole oven more consistent. Side note: also be sure there’s not an oven rack above the one on which your bread is baking – you don’t want the bread to rise during the bake and bump into the bottom of another rack!
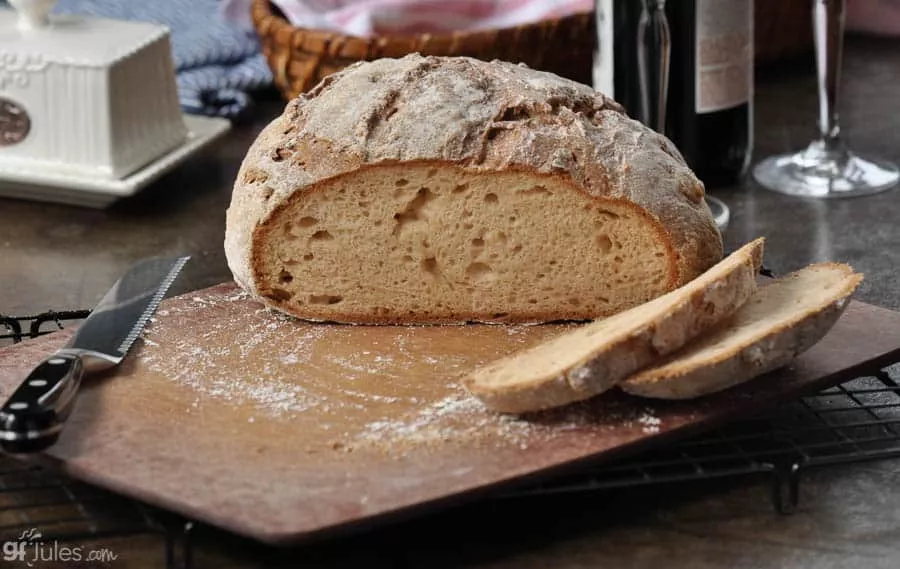
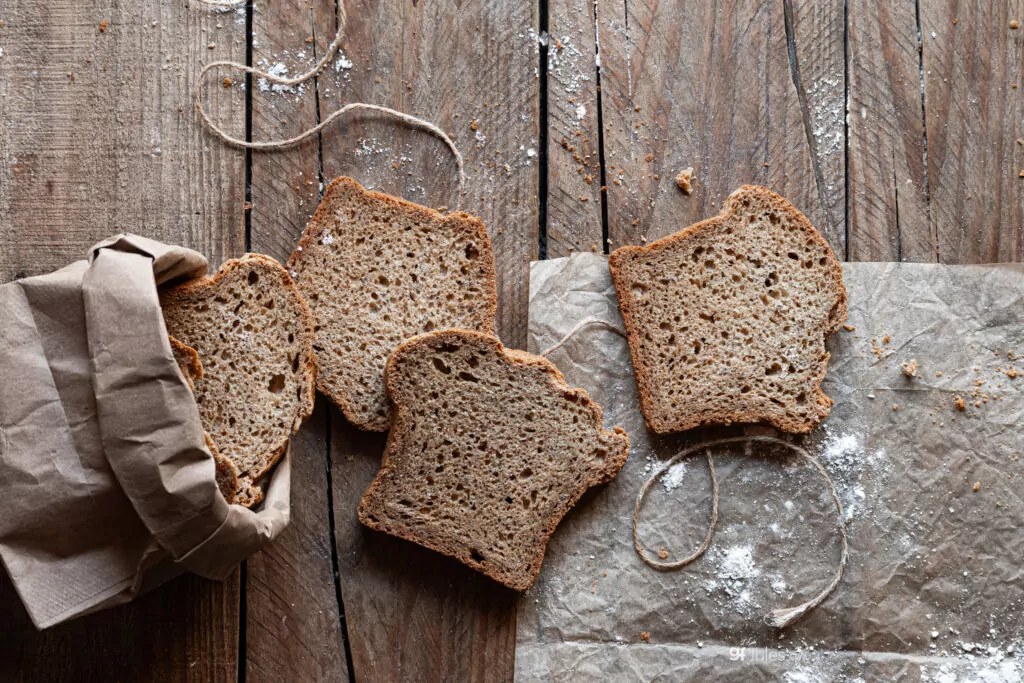
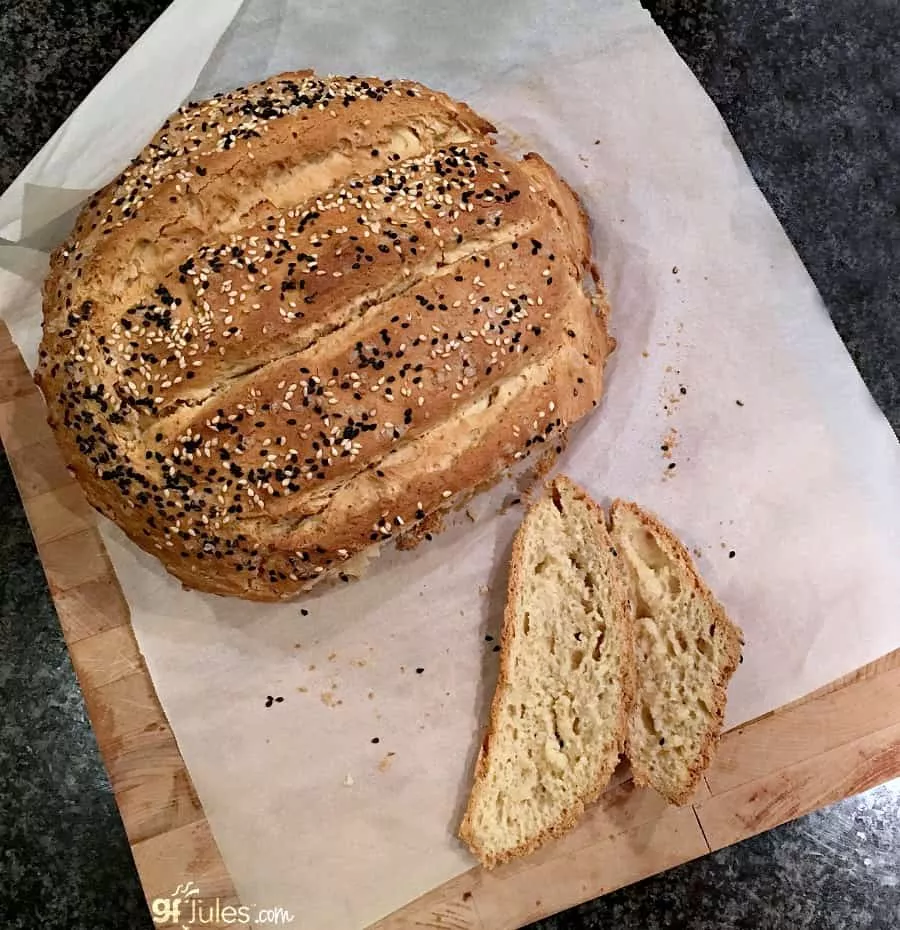
18. You don’t even need a bread pan to make great gluten free bread!
Try making a gluten free artisan loaf on a parchment-lined baking sheet, or baking in a springform or tall-sided oven-safe bowl or pan. Or even use muffin cups or popover trays! Your bread will be yummy no matter how you bake it, if you use the right ingredients!

(Ok, I guess there were more than a couple things …!)
Remember that the gluten free flours you choose ultimately make all the difference, so choose wisely. Then implement these 18 tips for best gluten free bread baking success!
*Note: If you purchase one of these items after following my link, I may receive a small commission, at no additional cost to you, which I use to pay for web design, hosting and services for this blog.


 (25 votes, average: 3.84 out of 5)


Great information!!! I made dinner rolls for the 1st time and they were a little denser than I wanted… was wondering if the xanthem gum was the culprit… so I looked up adjusting xanthem gum for dense bread and it brought me here… your article says if bread is rubbery it might have too much xanthem… I have perfected my cupcakes they are light fluffy and moist… and good enough that I was able to sell them at a local cafe for 3.00 a piece and could not keep up… anyway the xanthem gum measurements for cakes is supposed to be 1/2 tsp per cup and I only use 1/4 tsp per cup…so I am thinking if I reduce the xanthem in the rolls it would produce an airier roll… as everyone knows gluten free flours can be expensive… and I wanted to avoid making a failed batch as bread and cake are a bit different… the 1st batch tased great… just won’t leave much room for food due to density… as is the problem with lots of gluten free stuff… am I on the right track? Thanks!
Hi Sophia, sounds like you’re doing all the right research. What kind of blend are you using? My gfJules Flour already has the xanthan gum in it (in correct proportions) so you never have to worry about that. I’d suggest that you try my blend sometime, and some of my recipes, and see what you think! In the meantime, depending on the blend you’re using and the recipes you’re trying, you may indeed have to adjust the gum proportion. Rice flours and bean flours in blends also cause a more dense texture, so look to that being a culprit. Have a look at this article for more info.Happy baking!
~jules
Hi, luv your article, so helpful! I made GF bread in a bread maker for the 1st time. It taste amazing, but the middle is still kinda raw. Should I return it to the bread maker to continue cooking (how long), or should I put it in the oven (for what temp and for how long)? Thank you in advance for your reply!
Hi Loretta, I’ve had that happen with certain bread machines that just don’t bake all the way. I always recommend using an internal thermometer to test the bread before taking it out and if your bread machine allows you to add more time, then do that. If it does not (which some don’t), then leave it in the hot bread maker after the cycle while you preheat your oven to 350 F and then put the bread, pan and all, into the hot oven. Depending on how un-done the bread is, you should check it every 5 minutes or so with the thermometer again. It should be at least 250F in the middle to be done. I hope that helps!
~jules
Hey there. Thanks for the article, really helpful.I have a question to ask, I work with gluten free breads, I normally see white loaves got heaps of problems with it, firstly sometime some of the loaves in the baking pans start proving before we puch the rack in the prover, as we always start filling the rack from the botttom, by the time rack almost full we realise, the bottom one already start proving but the top one not yet move, that’s y we always got split loaves, and sometime we got holes inside the breads, can u plz explain y it is so. Thanks and cheers
Hi Variander, the holes often come from too fast rising, which it sounds like you might be experiencing. Have you tried rising the loaves outside of the prover so they rise more slowly at room temperature? Also, you should put some cuts in the top of the dough to direct the expansion and make prettier risen loaves, to offset some of those issues. I hope those tips help!
~jules
Hi Jules,
This is an excellent article you’very wrote and very helpful for trouble shooting… my question for you: do these rules apply to GF sour dough. I’ve got a starter going and am wondering if I could proof/ let the bread rise in my oven which has a steam option that allows me to set it to 200°. Would I still need a oiled parchment?
With appreciation and gratitude,
Aliece
Hi Aliece, good for you to dive into making GF sourdough! And I have a bit of oven envy, wishing for that steam oven option – lucky gal! The only reason for the oiled parchment in that oven environment would be to keep the top of the dough from drying out; if it’s steamy in there, it shouldn’t need it. Leaving it going at 200F for the entire rise is going to start a slow bake, however, so I would still recommend setting it to 200 and then turning it off for the rise.
Best of luck and happy baking!
~jules
Thanks for these tips.
Iade a scratch loaf in a Dutch oven using a gluten based recipe and substituting a blended GF flour that we have been also using for baking cookies with good success. It’s a blend of brown and white rice flour, and tapioca flour. The texture was nice, but it had a faint rubber flavor.
I plan to use ginger ale instead of water, as your comments above suggest. Perhaps this will improve the flavor while also generating a bit more volume. But wondering if you have any other suggestions on flavor.
Thanks in advance.
Hi Steve, brown rice does impart a flavor. It’s also gritty. I don’t use it much in my baking. Have you tried my gfJules Flour yet? It’s been voted #1 Gluten Free Flour 2 years in a row in the consumer choice Gluten Free Awards. It’s versatile, has no flavor and no grit and can be used in nearly any recipe. It’s so much easier than making a blend like that which you find you have to mask with other flavors so you don’t taste the flour. The gingerale will help, but expect some sweetness; you could also try gluten free beer for a more savory flavor. Adding honey or agave (and reducing the liquids in the recipe by that amount) will also help with flavor and keeping it fresher longer. I hope those ideas help!
~jules
Hi I am in South Africa. Where do I buy ur gf bread mix pls.
Very interesting.
Have a nice day
Jules, I am happy and relieved to find your site. Our church has gone to gluten-free communion. Since I am GF (and married to the pastor, lol) I offered to bake the two loaves needed.
Loaves either don’t rise properly, or they sink, or… any or all of problems cited.
THANK YOU for the many tips. Lots of good ideas, especially getting ingredients to room temperature, etc.
I will try one adjustment at a time. Will let you know my progress. You take good care, my GF sister! Peace, Amy
Hi Amy- I’m so happy to hear that you are making your way through the baking help articles on my site! You should also look to my GF communion wafers recipe and my GF flatbreads (we make that recipe with the 2d graders before Palm Sunday and use it in that service as the Host. In the meantime, we’ve sent you a little something that should help with your bread baking ministry. God Bless!
~jules
You’ve got some very good information here. I am in need of some advise, I have a pumpkin bread recipe that has a great flavor and almost prefect texture with the exception that it is far too moist for my liking. I bake it, like all my breads, to an internal temp of 205 degrees and the starches all set properly when cooled. It rises beautifully and it doesn’t seem gummy but it does have an almost wet feel to the crumb, not oily, but wet. Any advise you may have would be appreciated.
Hi Robert, I’m glad you find my information helpful! About your recipe, how much oil and what kind do you use? Is this a yeasted bread or chemically-risen? What kind of pan do you use (glass/metal)? Are you using my flour or another (if another – what kind of starch:whole grain flours are you using?). I’ll see if I can come up with some ideas for you!
~jules
My son has several severe life threatening allergies including wheat so I bake all the breads I was wondering if you feel it is worth getting a bread maker. Does sandwich bread come out superior in your opinion?
Hi Jessica – when you put it that way, I guess my answer is yes, with the right machine. Here’s why: 1) with life threatening allergies, the dedicated bread maker takes the worry out of contamination from the environment, and BONUS, you can travel with it and bake fresh bread for him even in a hotel room! 2) it reduces the variables, meaning that you’ll get the same loaf every time if you use the same ingredients. Here’s a review I did of a couple machines I particularly like (for different reasons). Have a look and see if one strikes your fancy. I think it would be a wise investment if you plan on baking bread with regularity, and when you have homemade GF bread as good as mine, why wouldn’t you? 😉
~jules
My Wife has to be G F due to celiac disease. We got a GF bread maker and have tried making a loaf, twice. The fist time was with rice flour and was like a brick. The second time was with an all purpose G F flour blend, and was somewhat better, but still not as much rise as I think it should have. We followed the breadmaker GF instructions / recipe to a “T” ( which are pretty much as in your video ). The only thing we used was milk as the liquid, but not only that, it was lactose free milk. Are there any pointer s you could suggest as to where I begin to find what might be the cause for the bread only rising a limited amount? I don’t know what to tweak first, but thinking that lactose is a sugar, maybe due to lack of it in the milk, the yeast is not growing as it should? Any help would be appreciated! Thanks!
Hi Keith, first let me say that you are awesome for working to help your wife have great bread again after her diagnosis. I give you major kudos for your energy and efforts – she’s a lucky girl!
Now, onto the issues. The thing to remember when baking gluten free is that all flours are NOT created equal. Coming from a world where we could all grab any ol’ brand of flour off the shelf and if it was “all purpose” it worked the same, it can be tough to embrace the fact that gluten free flours are truly all totally different. Not just from an ingredient listing perspective, but even drying rates for certain flours, sizes of the grains in the flour, and of course proportions used in any given blend. Secondly, not all gluten free all purpose flours contain a binding agent, so one must be added in each recipe (not sure if the one you used had one). Thirdly, many gluten free flours are heavy and absorb more liquid than you think they ought, so they turn out heavy, dense, dry and/or gritty breads. Some GF flours also have a funky aftertaste. Bottom line: they’re not interchangeable in recipes.
With that in mind, I highly recommend using the exact flours called for by a recipe author in a gluten free yeast bread recipe. Non-yeast bread recipes can be more forgiving, but when playing with yeast, play with what is contemplated in the recipe. I’m not sure what else was in the recipe you used, but you’re right to think if there were no sugars at all, there was little for the yeast to “eat” and therefore to grow and cause the air we all like to have in our breads.
I’d suggest you find a gluten free bread MIX instead of a gluten free all purpose flour plus other ingredients, and try that first. Fewer variables. Even just the measuring of the flour can be very particular and unless you’re weighing it, could throw a recipe off. I also like using carbonated liquids in my yeast bread recipes where you want a higher rise: gluten-free beer, seltzer water or even gingerale work nicely, but know that if the liquid has a taste, it will impart it in the recipe (which is why many people like seltzer water).
If you’re up for it, I’d highly recommend my gfJules gluten free bread mix – it’s easy, reliable, delicious and was just voted #1 Gluten Free Bread Mix in the 2016 Gluten Free Awards. Once you have success with a mix, you’ll have more confidence to try other scratch recipes if that interests you, or you can just stick with what you know works!
I hope this information helps, Keith!
Happy bread baking!
~jules
I have a question about bread baked on a baking sheet with parchment paper (rustic style loaves, which was what this particular recipe was designed for). This was not your recipe, but the bread rose nicely into loaf shapes but once in the oven, slowly spread out until both loaves were only about 1 1/2 inches high! The texture and flavor of this bread was was great, just not loaves! After two very careful attempts, adjusting the water, and carefully weighing the ingredients, I don’t know if it’s worth trying in a french bread pan? Any trouble shooting articles I’ve seen address the sinking of bread out of the oven, but that is not what has happened here. Any suggestions? Incidentlally, the same ingredients and oven have otherwise produced very good GF bread : )
Great question, Cathy. The neat thing about traditional baguettes is that they have a very high ratio of water:flour, which is why the baguette pans are so useful. Check my baguette recipe for more specific tips, but most baguette-type recipes really need the structure of the pan to help them in, otherwise, they do spread too much. This is the pan I use and love – I line with lightly oiled parchment.
~jules
Awesome tips! Wish I saw this last night!!! I am trying to reproduce a 100 year old family recipe for Easter Bread. It’s a sweet bread made with Anise seed as the main flavor. It traditionally has to rises. 1 overnight for 8 hours, then 1 for 3 hours, 3 individual loaf pans at 1 time.
I want to try again tonight with what I have on hand. It’s a 1:1 GF Bob’s Red Mill. I am traveling at the end of the week and would love to be able to bring home the family tradition.
My question. Do I have to adjust anything else with the recipe besides the kneading? When I proofed the yeast before adding it to the mix, it was perfect. But I kneaded and pounded for about a 1/2 hour as I always did and the bread did not rise at all.
Hi Donna, I can’t comment on another gluten free flour, as all the blends are so totally different, and behave very differently. Here’s more information on different gluten free flours if you’d like to learn more.
But what I can say is that with gluten free flour you never want to knead or pound the dough like it sounds like you did here. That is all to exercise the gluten and we aren’t baking with gluten. When gluten-free dough is beaten and pounded and over-kneaded, it actually falls, which would be why your bread didn’t rise at all. Best of luck with the recipe!
~jules
I really love this post!! Thanks for the tip. I should eat that with my friends! Any great whole grain recipes would be more than welcome in my inbox. Thanks.
Hi Jules, I ordered two packets of your gfJules flour and made sweet rolls with them. They were wonderful. Unfortunately, I discovered that I can’t tolerate xanthan gum. So, now I am using guar gum. I am very disappointed that I can’t use your flour (nor any other pre-mixed flour) due to its containing xanthan gum. Do you have a recipe which will work, using guar gum or some other substitute for xanthan gum?
Hi Linda, I’m so glad you were pleased with the results using my flour and sweet rolls sound amazing! But if you can’t tolerate xanthan gum, then that is sad news. There’s not much in my blend at all (far less than other blends) but it is an ingredient. Have a look at this article I wrote on gluten free flours with a suggested mix at the end. You can use the guar gum in place of xanthan gum. Best of luck!
~jules
Psyllium husk works as a natural substitute to xantham and guar gum.
Hi Jules! Thank you for your amazing products!
I want to make the french baguettes that you suggest from your pizza dough mix. Which brand of baguette pan do you use for best results? There are sooo many out there! Thanks!
Hi Lisa, I’m so glad you’re loving my products!! In my baguette recipe I show a picture of the pan I use and a link to it. I’ve linked to it here for you again. I’ve had it for awhile and it works great – I line it with parchment and lightly oil it. ENJOY!
~jules
I continue to have problems baking GF bread. I get a good rise on it the first 45 minutes and then no more rise .no matter how long I let it rise (even for many hours),it never gets up to the top of the loaf pan. I’ve tried all kinds of fresh yeasts as well, put in extra sugar or honey to give it more to eat
tried numerous recipes from good sources, but it doesn’t seem to make any difference
.when it goes into the oven it doesn’t rise at all either. I can’t figure this one out, any ideas? Thanks so much for your help.
Hi Linda, gluten-free bread baking is great once you get into a groove with ingredients and process. There are a lot of variables, though. The first thing I’d suggest — to save your sanity and your pocketbook! — is to try my gfJules Gluten Free Bread Mix. You don’t always have to use a mix, but to start with something that is pre-measured with exactly the right ingredients to produce a gorgeous loaf, will help you get the technique right and to know that you really CAN make great GF bread. Many gluten free flours are heavy and dense and can weigh a loaf down; my mix is formulated not to do that.
I would also suggest that you use carbonated liquids in your breads to help give more lift. I like gluten-free beer, Perrier or club soda or similar liquids. The loaf I baked yesterday rose to 6 1/2 inches in the center!
Hopefully these two ideas will get you started and from there, you can do more experimenting from scratch if you prefer to bake that way! Let me know!!
~jules
I am making non yeast bread so it probably won’t rise no matter what correct?
Hi Tischa, this article does specifically pertain to yeast breads, but even if baking with chemical leaveners (baking soda, baking powder …) you should still get a rise, but the process is different. Review my Yeast-Free Dinner Rolls recipe to see what you can expect from yeast-free baking – it should still be fantastic!
~jules
Hi Jules
Awfully glad that I stumbled across your great website! I’d like to try out your bread recipes but I don’t know if you ship orders to the UK or if there’s a supplier in the UK . Please do let me know. Thanks for sharing your baking expertise.
hello! thank you so much for these tips. one thing i’ve noticed, however, is that some gf flours DO give a second rise. the ones i’ve had the most luck with are bob’s red mill “1-to1” gluten free (with the blue label, as ipposed to the red label which is all purpose gf flour and is not great at all), and “cup-for-cup”, which costs more but is hands down the best on the market.
best wishes and thanks again for these awesome tips! especially the “slow rise” tip 🙂
Happy to help, Hank. Hope you get to try my gfJules flour blend sometime – sounds like you’re a very discriminating gluten-free baker … I know you’d love my blend!
~jules
Just finished an email to you that clearly showed that I hadn’t seen this! Ha! Such great advice. I think I am empowered to step out and make some gluten free bread! thank you. (But won’t be making any bread tomorrow. I need to process all I have learned. )But I do greatly thank you!!!
Wonderful to hear, Marti! So glad I was able to anticipate your needs (clearly, you’re not the only one!). So glad to hear you’ll be out baking and experimenting in the kitchen again soon!
Enjoy!!!
~jules
Thanks for the great tip.Thanks for sharing these tips.These tips are really amazing.I can’t wait to try out this recipe..
Thank you so much.
Fantastic, so glad they’ll be helpful to you! Happy bread baking!
~jules