Making delicious gluten free yeast breads isn’t difficult, it just seems like it ought to be. In fact, in many ways gluten free bread baking is easier and quicker than it is to bake a traditional bread with gluten.
Using the right recipe and the best gluten free ingredients, you don’t even need a loaf pan! Follow my gluten free bread help check list, and these 18 Tips for Gluten Free Bread Baking will bring you delicious gluten free bread baking success!
The first rule of thumb is of course to choose your gluten free ingredients wisely, as without this strong foundation, no gluten free bread will be the soft, fluffy, non-sinking loaf we all desire.
My gfJules Gluten Free All Purpose Flour is an excellent choice for all sorts of from-scratch bread baking, my corn-free Multigrain Flour also makes a beautiful loaf of bread, as does my grain-free Nada Flour, but my gfJules Gluten Free Bread Mix is the easiest way to get to bread baking nirvana.
For my tips on baking gluten-free bread in a bread maker, hop to my article here.
For my review of over 10 different gluten free bread makers, hop here.
18 Tips for Gluten Free Bread Baking
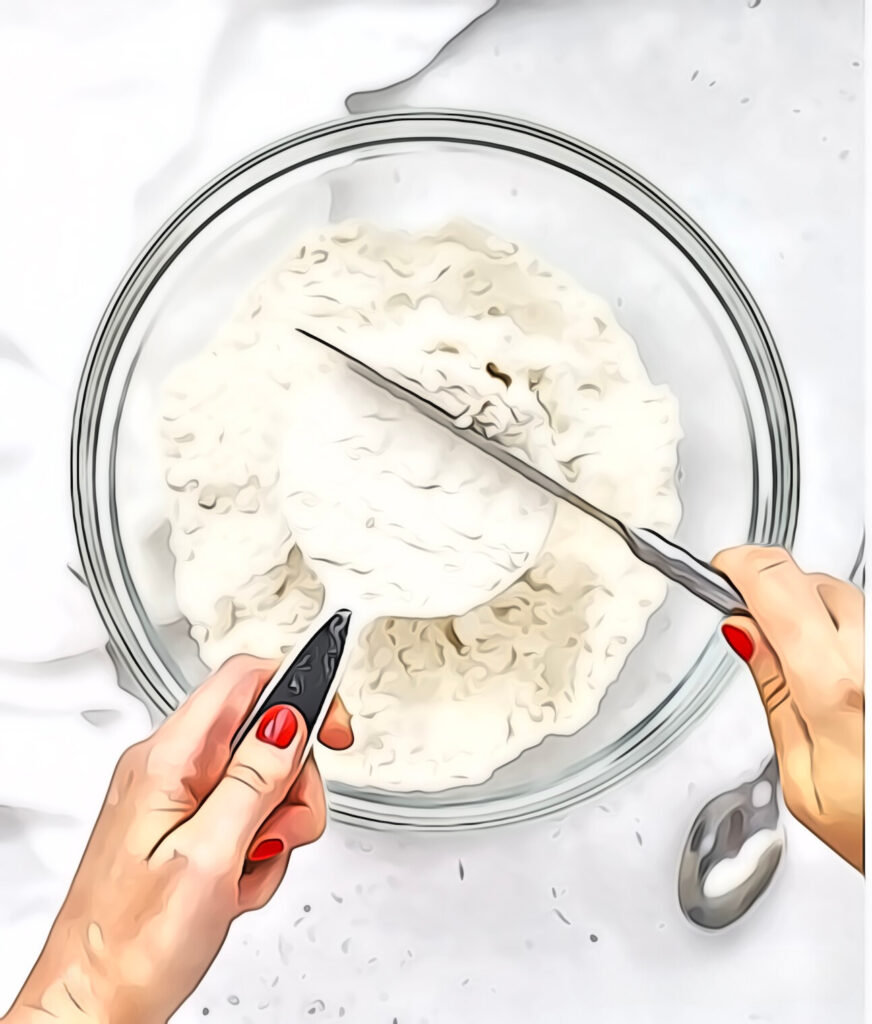
1. Don’t scoop flour!
When measuring flour, don’t scoop from the bag with your measuring cup. This can compress the flour — up to 25%! Use a spoon to scoop flour into the measuring cup and level off with a knife instead. Here’s how to measure your gluten free flour properly.
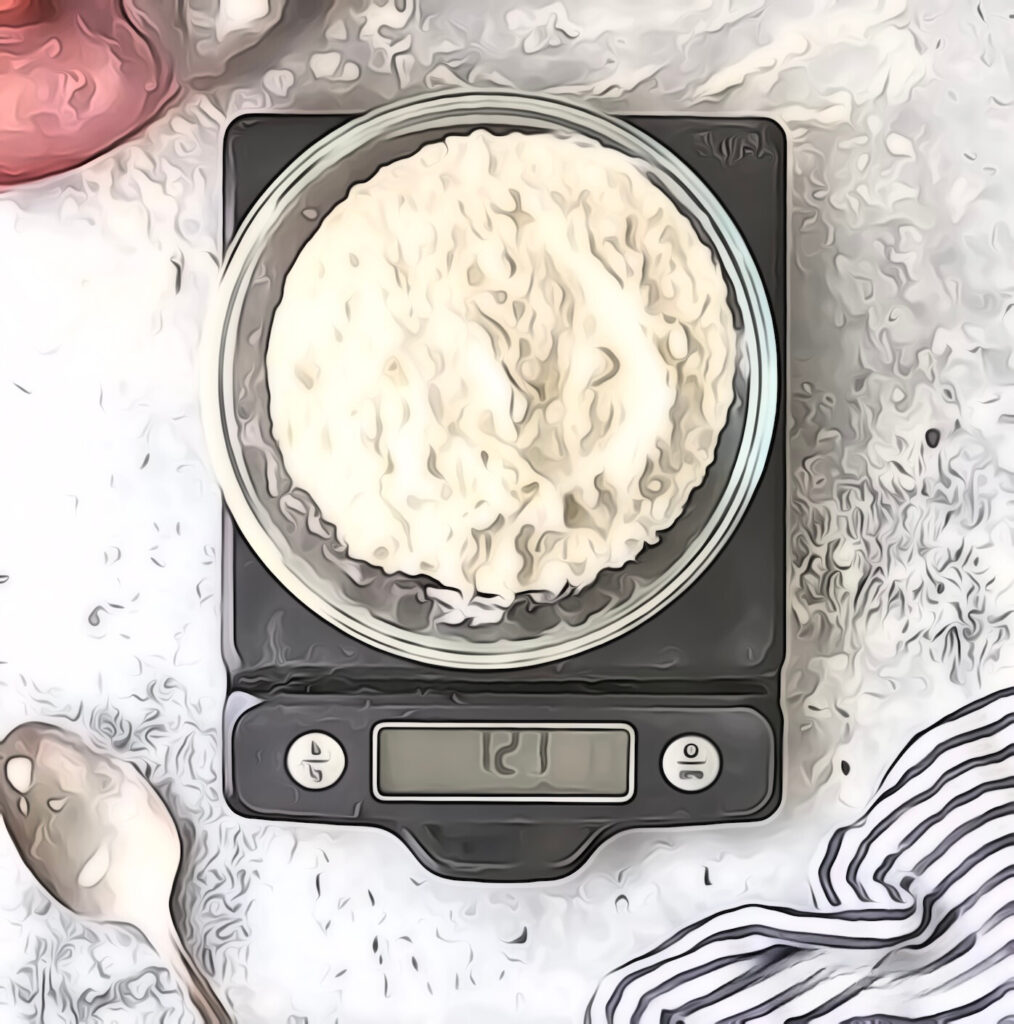
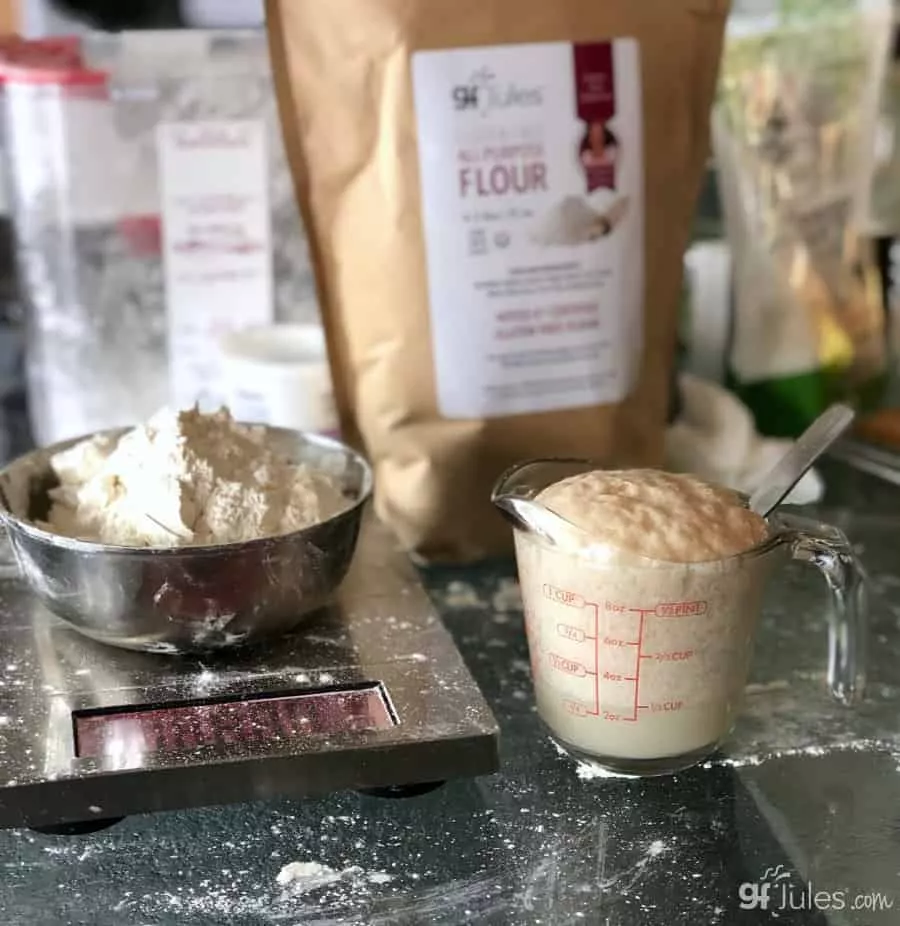
2. Weigh your ingredients.
One step better is to weigh your flour. My gfJules™ All Purpose Gluten Free Flour weighs 135 grams per cup. gfJules Corn-Free Multigrain Biscuit & Breakfast Baking Flour weighs 140 grams per cup. gfJules Nada Flour weighs 110 grams per cup. Make sure you know what the flour you’re using weighs, and if the recipe calls for gram weights as well as cups, go with the proper gram weight per cup of the flour you’re using.
Measuring by weight will ensure that you have the correct amount of flour in any recipe.
Even 1/2 cup of flour can make a huge difference in the results you get with any recipe. It’s not enough to just use any gluten free flour you choose; gluten free flours aren’t necessarily interchangeable. Follow the flours recommended for each given recipe to get the results promised.
3. Room temperature ingredients make a huge difference!
It is particularly important for yeast recipes that you bring all of your ingredients, such as eggs, to room temperature before adding them together to make bread.
Yeast needs warmth to grow and if your ingredients are too cold, it may prevent full yeast growth. Don’t make your wet ingredients too hot though, just nice and warm, the way yeast likes it! The ideal temperature for yeast to activate is around 100F/38C.
4. When baking gluten free bread, don’t follow directions (for wheat bread).
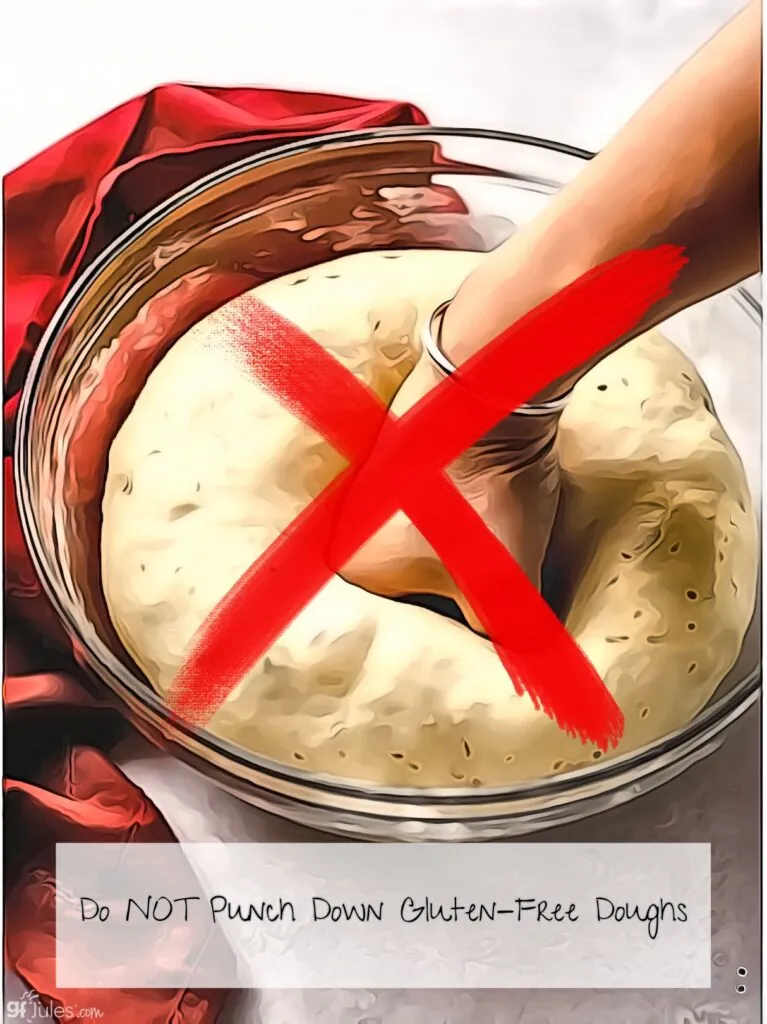
It is essential when converting wheat-based bread recipes to gluten-free, that you not follow the directions. That’s right! Break all the wheat/gluten dough rules when baking gluten-free bread! Any kneading beyond simply mixing the dough well, and any punching down of the gluten-free dough will punch the risen life right out of it. Those steps are designed to “exercise the gluten” and make it more elastic.
We have no gluten in our recipes, so nothing to exercise, and more than that, these steps will actually cause your gluten-free recipe to fail! It is for this reason that I counsel people when first attempting to make gluten-free breads, to follow a gluten-free bread recipe or two, just to get the hang of it. If you are an accomplished bread baker, it may feel weird for you to abandon these techniques, but trust me, you must!

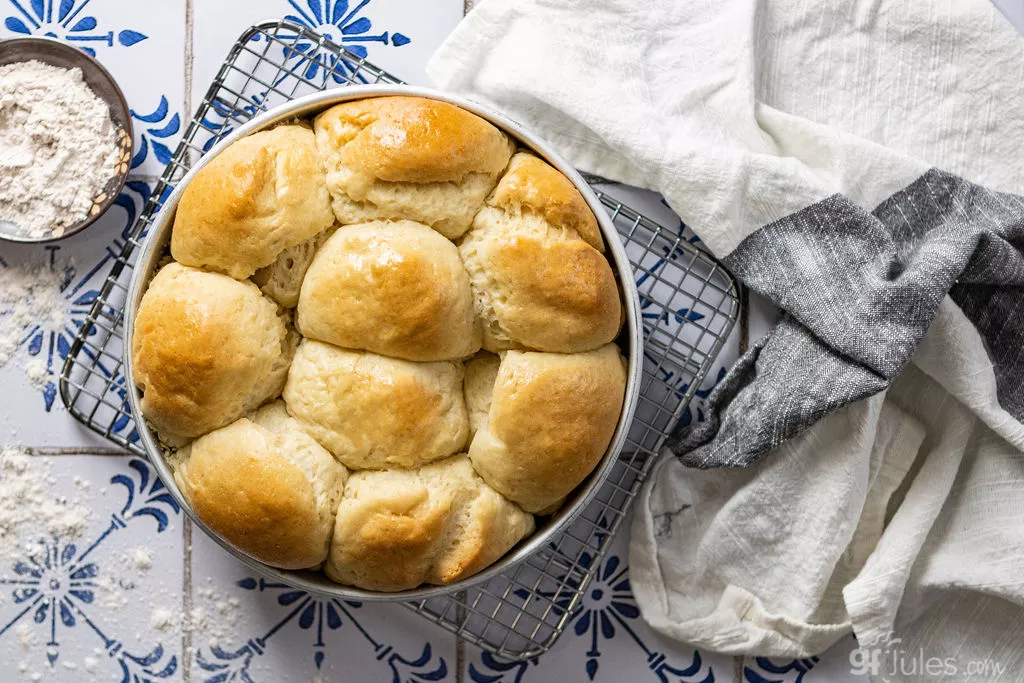
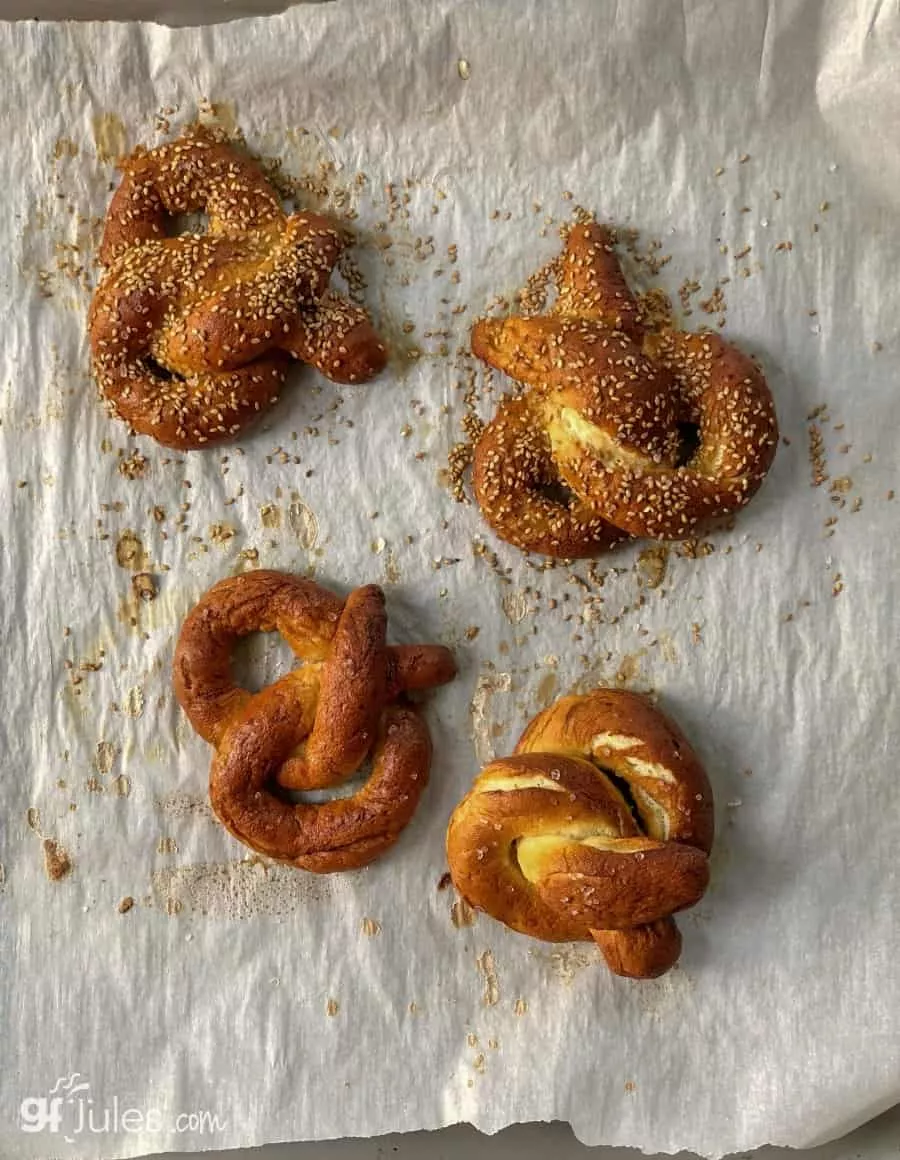
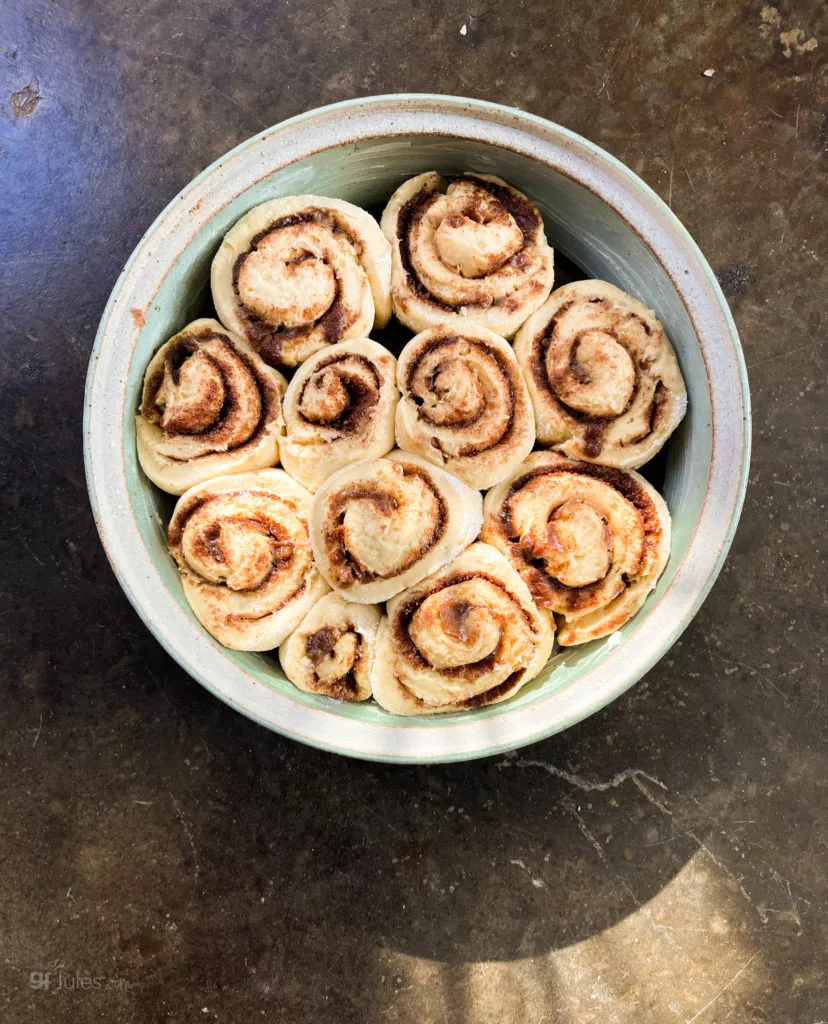
5. Shape gluten free breads before rising.
Because our gluten free breads have no rise and punch down and second rise and punch down … you’ll want to shape any breads before the rise (they’ll only rise once!).
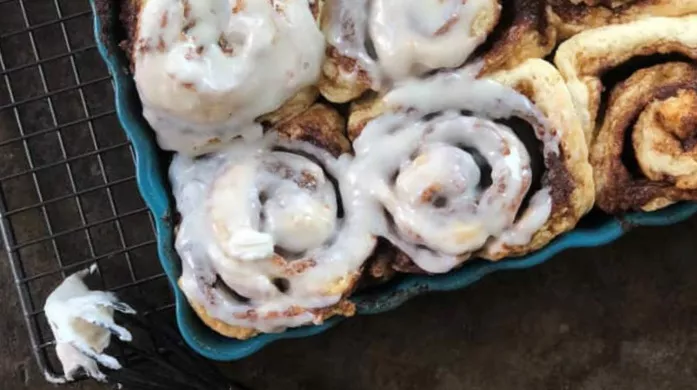
Dinner rolls should rise in the shape or tin you would like them to bake in; bread sticks should be formed before rising; cinnamon rolls should rise in their pans; challah must be braided and then allowed to rise. Don’t mess with gluten-free dough once it has risen, just bake it!
6. High altitude can change the way yeast doughs behave.
Have a look at my High Altitude GF Cooking Tips.
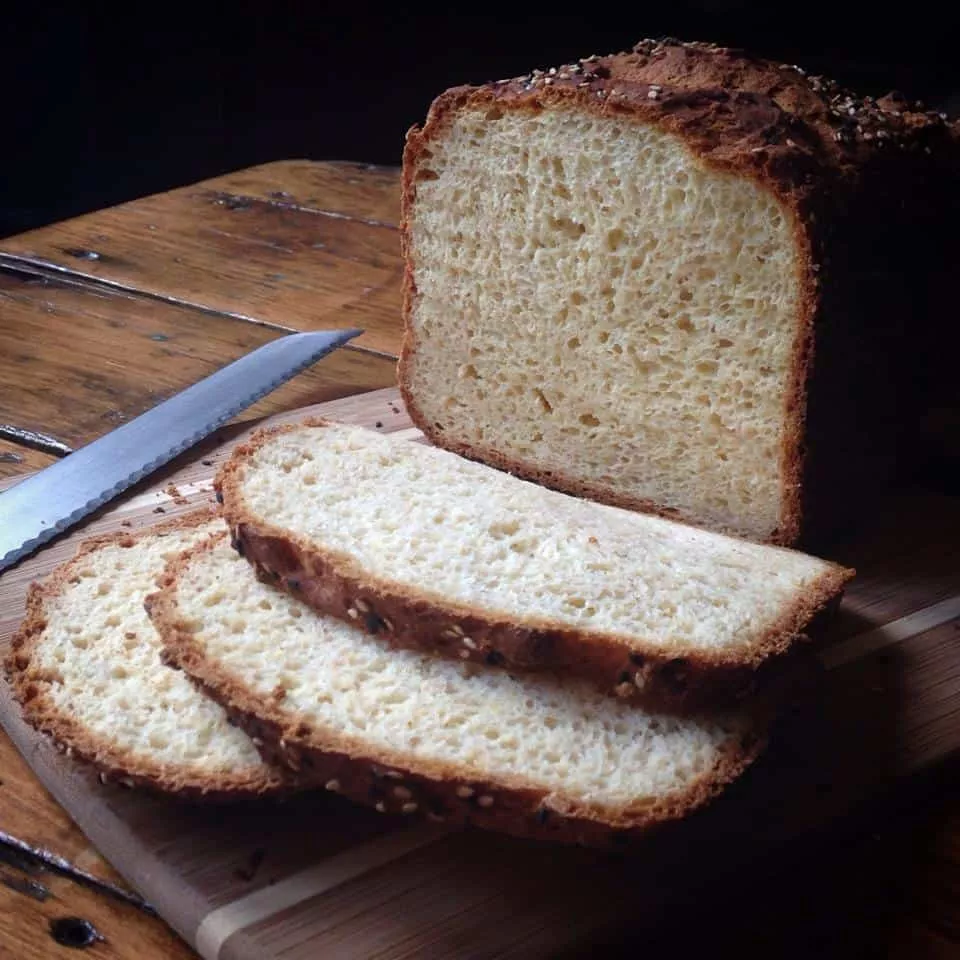
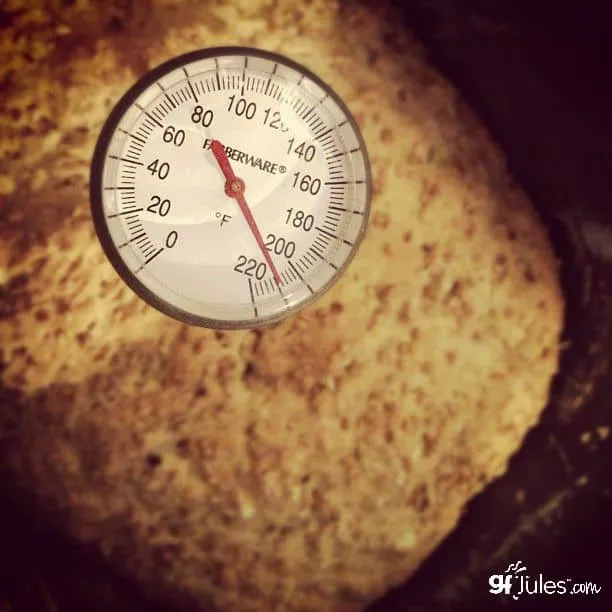
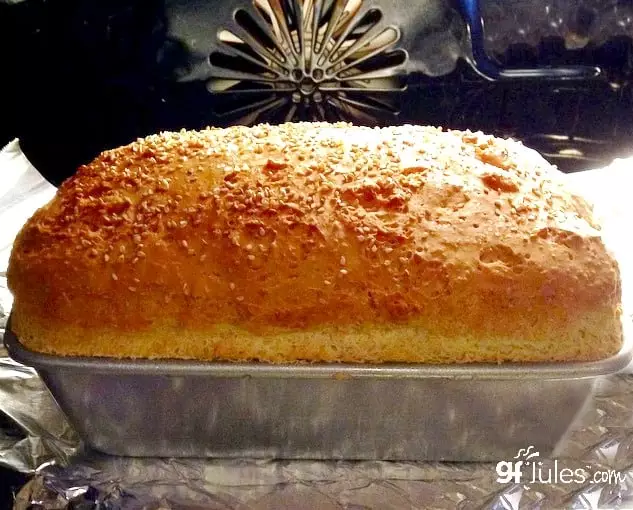
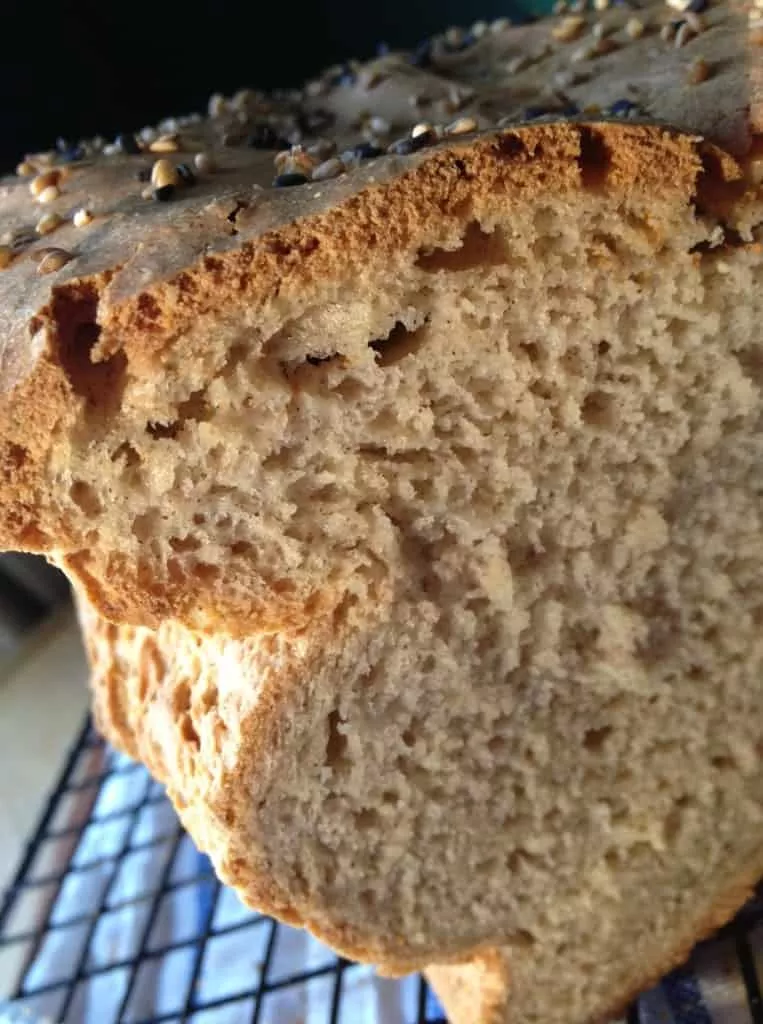
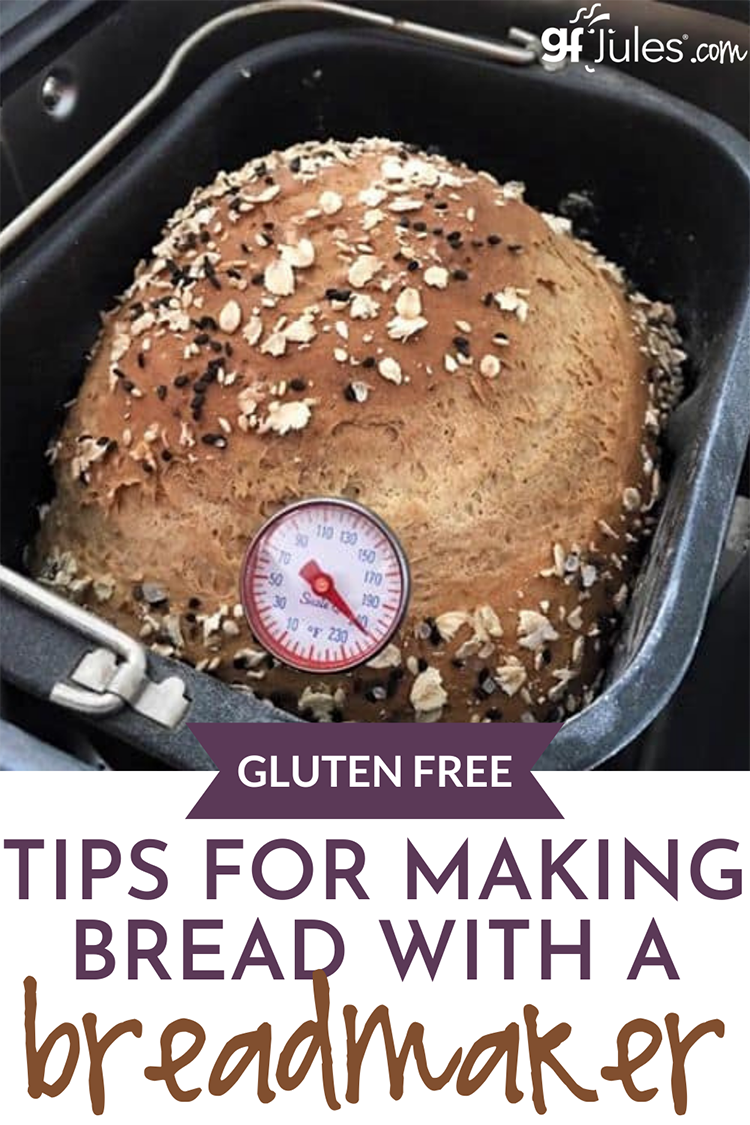
7. Take your gluten free bread’s temperature.
It is very important not to take your bread out of the oven before it is fully cooked. If the bread has a rubbery layer at the bottom, this usually means it was not fully cooked. The best way to tell if the bread is done is to insert an instant read thermometer all the way to the bottom of the loaf (but not touching the pan). The temperature should be approximately 205-210º F when it is done. Your bread should keep its shape when it is completely baked. Internal thermometers are available in my shop.
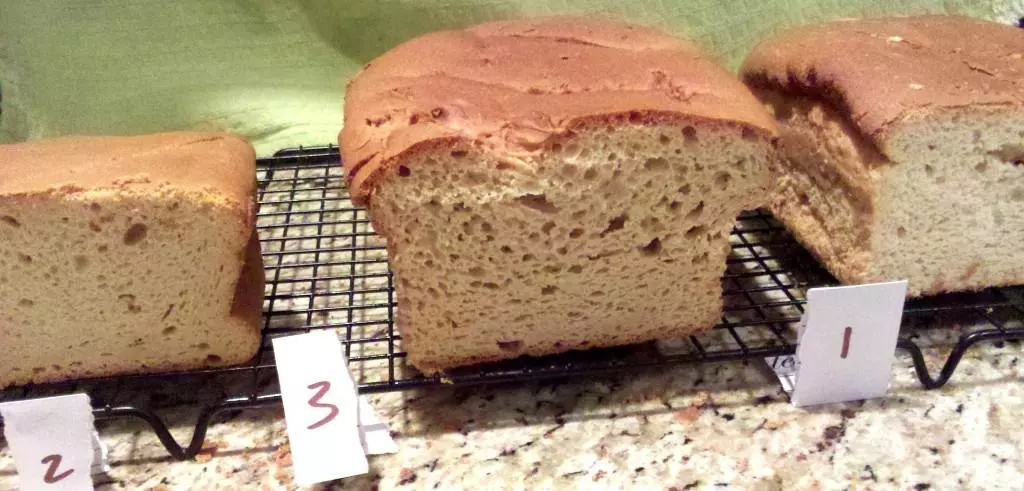
8. Change your bread pan.
Metal pans tend to work better than glass for fully cooking a loaf of bread. Metal pans do not have to be fancy or expensive. Most of my bread recipes work best in 9 x 5 pans, as they are larger volume breads. Stoneware or ceramic pans also bake well.
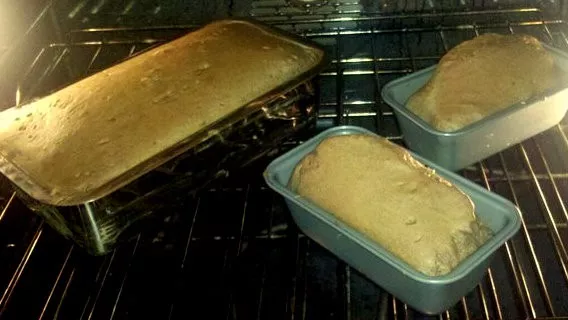
If you’re having trouble with your bread bakes, switch out the pan size or material and see if that makes a difference.
9. Make sure your rising spot is nice and warm.
A great method for letting your yeast breads rise before baking is to turn on your oven to 200º F, then turn it off when it has reached temperature.
Put your un-raised bread into the warmed oven with an oiled piece of parchment on top and a bowl of water in the oven with it, then let it rise according to directions. Once raised, remove the parchment and bake according to directions.
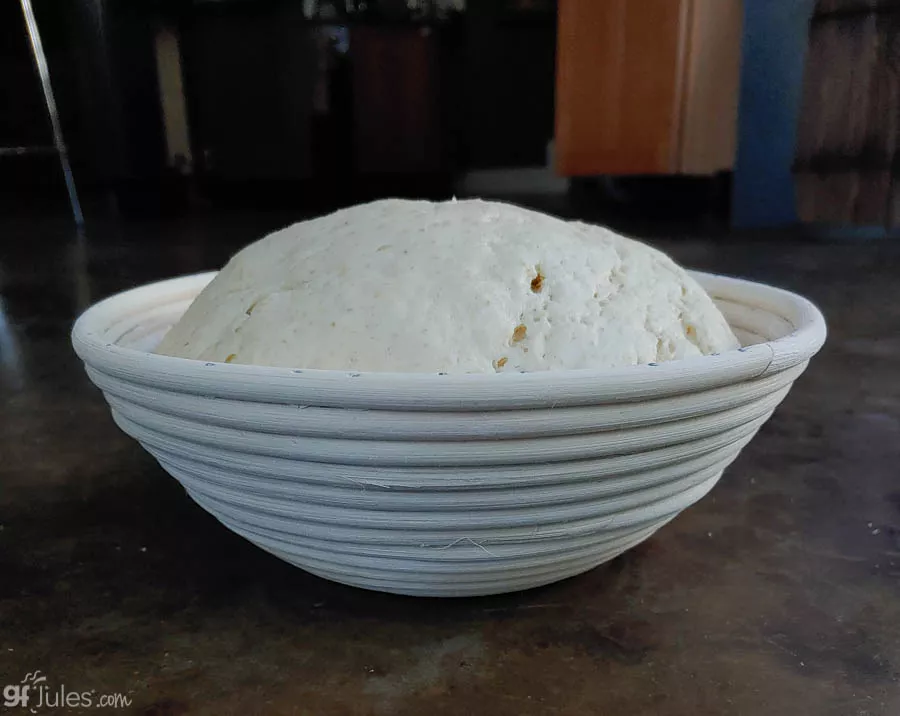
10. Find the perfect rise time and place.
The longer you can let your bread rise, the better it will taste and the less likely it will be to collapse … to a point. A good rule of thumb is to let the bread rise to the top of your pan before baking; a slower, cooler rise to that level will produce a better loaf, so make sure it isn’t rising in too warm of a spot.
If you can let the gluten free bread dough rise overnight in a cool — not warm — place, the slower rise will provide a stronger cell structure and more of a sourdough flavor when baked the next day. A refrigerated overnight rise is a great way to get a longer proof without weakening the bread’s structure.
11. Proof your yeast properly.
“Proofed” yeast should look like this. If not, throw it out and start with fresh yeast. (Here’s lots more info on baking with yeast, if you’re interested!)
If you’re still having issues with getting your yeast breads to rise, try “proofing” your yeast first. I prefer using “Quick Rise” or “Rapid Rise” yeast for gluten-free yeast breads, but those kinds of yeast should not be proofed — simply add those with your dry ingredients. If you want to try proofing the yeast before adding to the recipe, use regular Active Dry Yeast instead.
Place the yeast in a bowl with the liquid called for in the recipe (water, milk, etc.), but make sure it’s warm. If you can add a teaspoon of sugar, that’s helpful. Whisk it gently and let it sit for 5 minutes. If it’s starting to have that familiar yeasty smell, foam up and swell, it’s good and you can add it to your recipe; if it’s stagnating and not getting foamy or rising, throw it out.
12. Check ingredient integrity.
Yeast can go bad, as can baking soda and baking powder. Sometimes the problem is your ingredients, not you. What a relief, right?
So, how often do you need to replace baking powder and baking soda? As long as the expiration date on each product hasn’t passed, opened cans of baking powder should be used within 3-6 months; opened containers of baking soda should be used within 6 months. I err on the more conservative side of 3 months, and if my baking soda has clumps, I open a new container. Who wants to ruin a recipe just because the leaveners aren’t active enough?
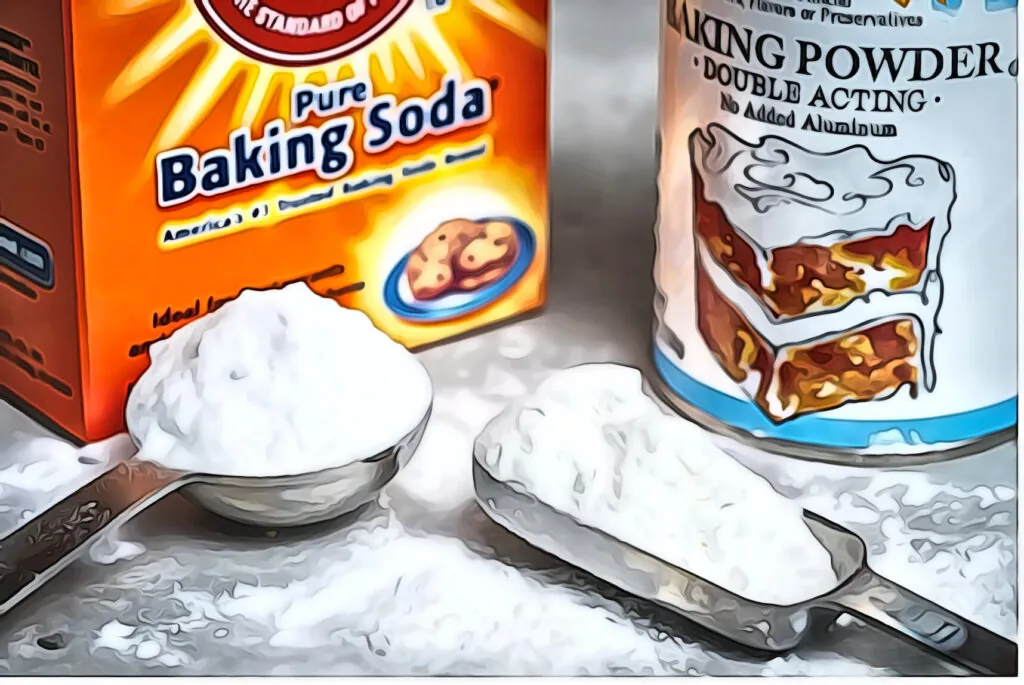
To test whether your leaveners are still active:
How Do I Test Baking Soda?
- Spoon a small amount of baking soda into a bowl
- Add a few drops of lemon juice or vinegar
How Do I Test Baking Powder?
- Spoon a small amount of baking powder into a bowl
- Add hot water
If the mixture fizzes quickly, the baking soda or baking powder will still work well in your recipe. If not, replace it with a fresh container. Use the old box of baking soda in your refrigerator as a deodorizer!
13. Cool bread slowly.
When your bread is done cooking, turn off the oven and open the door so that the bread can cool slowly. Taking the bread out of a hot oven and quickly transferring it to a cool counter can sometimes cause the loaf to sink in.
If it still sinks, it may have too much moisture to support itself fully. It should still taste great, but if you have your heart set on a nice crowned loaf, next time try cutting back on the liquid a bit in that recipe or adding 1/4 cup of flaxseed meal to help support the bread’s structure and enhance its nutritional value, all in one! Altitude and even the day’s weather can affect sometimes-picky yeast recipes.
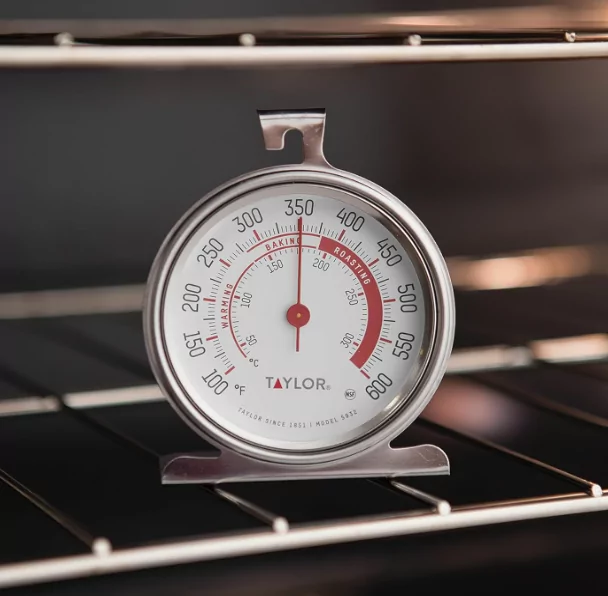
14. Calibrate your oven temperature.
Oven temperatures are frequently off by as little as 25 degrees and it can make a big difference in something as finicky as a yeast bread. Invest in an oven thermometer (they’re less than $10) and adjust your oven’s temperature so your bread will bake comfortably, at the temperature it likes. Here’s how to calibrate your oven without having to call an appliance repair service!
15. Bubbles add air (duh, right?).
It’s amazing what adding bubbles can do for the lift in your bread loaf! Try the same amount of gluten-free beer, ginger ale, 7-Up, Perrier … you get the picture. Room temperature, of course, and measured appropriately (let the bubbles settle for accurate measurements). Check out this gorgeous gluten-free beer bread!
16. Fixing that rubbery bottom.
If you still wind up with a rubbery bottom on your loaf, there are a few things that could have gone wrong.
First, you might have over-beaten the dough. Unlike gluten doughs, gluten-free bread doughs should not be overworked, and doing so can sometimes make them a bit rubbery. Remember NOT TO PUNCH DOWN GLUTEN FREE DOUGHS.
Second, if you are baking from scratch and adding your own xanthan or guar gum, you might have added too much. Find out more about baking with gums in this post.
Third, there might be too much liquid in your recipe, all settling at the bottom and not baking off, while also weighing down the dough. Fourth, the loaf might not have baked all the way. If the top is baked and getting a nice crust, but the bottom isn’t all the way done, cover the loaf with foil and keep baking!
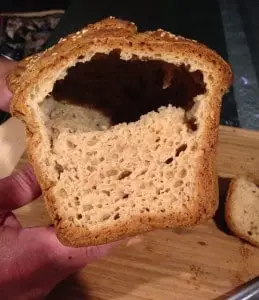
17. Where your loaf is baking also makes a difference.
Too close to the top of the oven, and the top will bake much more quickly than the rest of the bread, causing a split in the loaf. That’s quite a chasm, all because the bread rose so high that it nearly touched the oven’s heating element (and heat rises, don’t forget!). The rack of the oven shouldn’t be so high that the crust is that close to the heating element.
Convection bake settings also help with this, as convection keeps the temperature in the whole oven more consistent. Side note: also be sure there’s not an oven rack above the one on which your bread is baking – you don’t want the bread to rise during the bake and bump into the bottom of another rack!
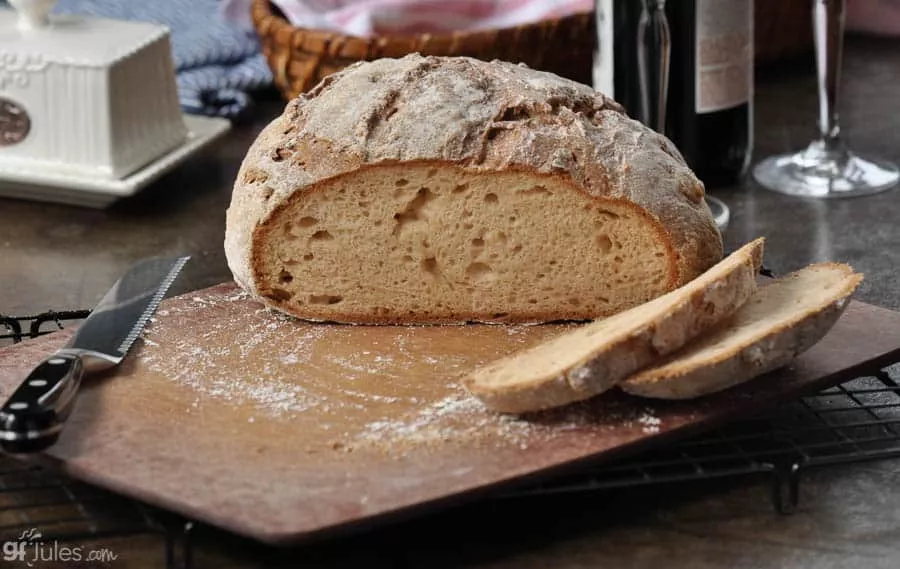
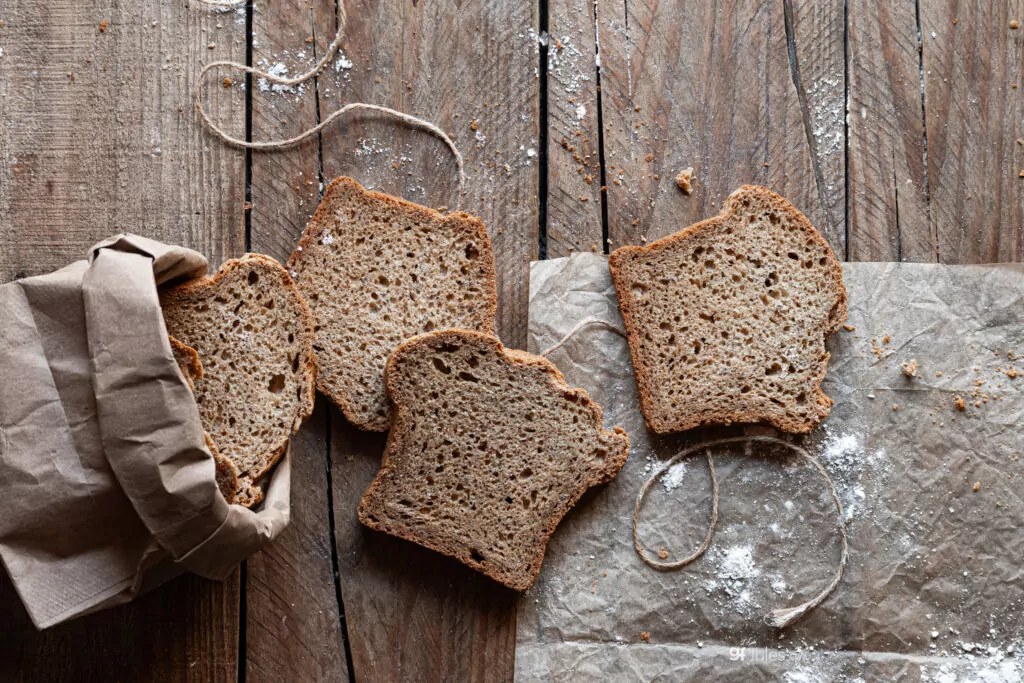
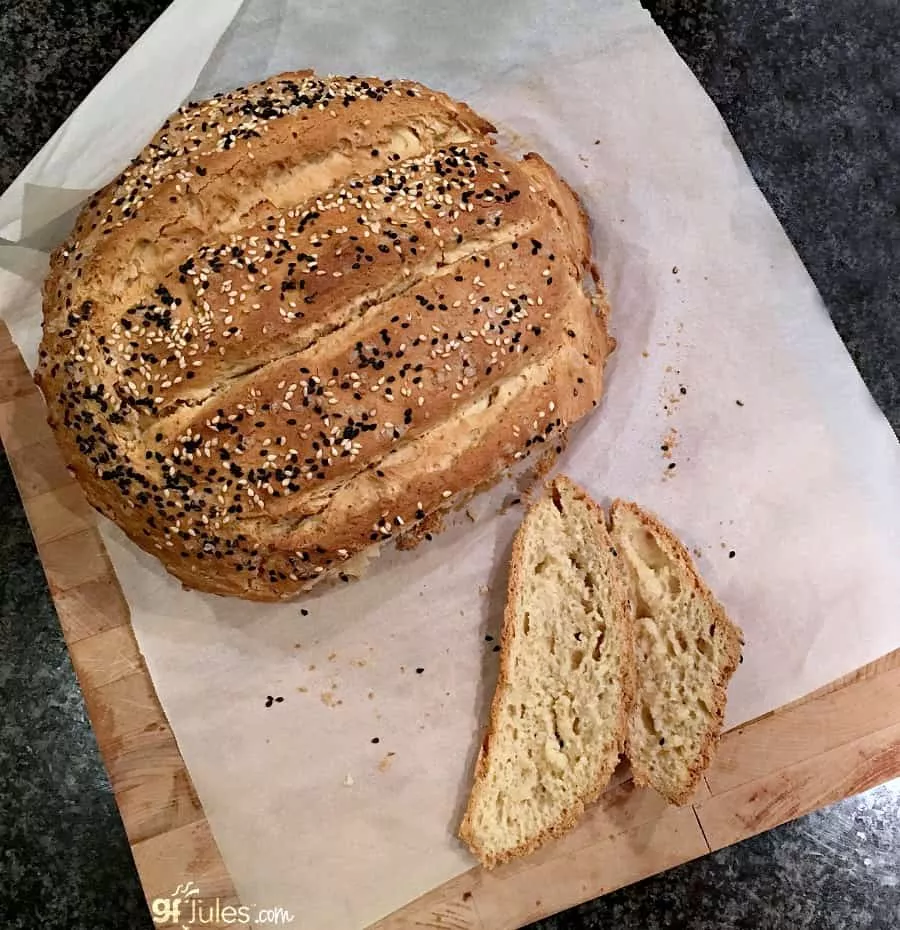
18. You don’t even need a bread pan to make great gluten free bread!
Try making a gluten free artisan loaf on a parchment-lined baking sheet, or baking in a springform or tall-sided oven-safe bowl or pan. Or even use muffin cups or popover trays! Your bread will be yummy no matter how you bake it, if you use the right ingredients!

(Ok, I guess there were more than a couple things …!)
Remember that the gluten free flours you choose ultimately make all the difference, so choose wisely. Then implement these 18 tips for best gluten free bread baking success!
*Note: If you purchase one of these items after following my link, I may receive a small commission, at no additional cost to you, which I use to pay for web design, hosting and services for this blog.


 (25 votes, average: 3.84 out of 5)


Thank you so much, Jules, for this! You are amazing! Your keen eye for gluten-free baking is remarkable. The fact that you are replying to all these comments to you with such depth is very respectable as well! Thankfully, nobody in my family has any sort of gluten allergy, but we are very much health freaks. Do you have any tips for making gluten-free multigrain breads which use flours such as millet, chickpea, oat, buckwheat, quinoa, etc. (crushed into a fine flour at home)? I would highly appreciate any advice or feedback from you. Cheers!
Hi Tithi – I’m happy to help however I can! Check out this Irish Brown Bread recipe and let me know if it seems like the kind of bread you are looking for!
~jules
I keep trying and failing…. falling. Nice rise, pull it out of the oven and splat. I spent 20 years baking all of our breads. Ugh
That does sound so frustrating! Often I find that those who baked breads so often with wheat before are the ones who have the most trouble baking without wheat because you perfected the methods of baking with gluten and it’s hard to un-learn them. You’re apparently a pro at gluten bread baking!!!! What flours are you using for your gluten-free bread baking endeavors? Are you weighing your flours or using cups? Are you taking the bread’s temperature internally before removing it from the oven? These are the places to start. Don’t worry — we’ll get you there! Give me some more info and I’m glad to help!
~jules
Hi, do you have a book of recipes I can buy from you?
Kind regards,
Mrs. Lorraine Watt
I absolutely do! Here is a link to the page with all my cookbooks on it. There are 3 paperback books, two of which are dedicated cookbooks. I hope you find something you like!
~jules
Please help! I’m (attempting) baking gluten-free bread in Albuquerque, over 5,000 feet above sea level and usually less than 12% humidity. My bread rises fine but collapses in the oven and is still wet in the middle, even after baking for much longer than the recipes called for. I’ve tried once with King Arthur’s gluten-free blend, and once with oat flour and xanthan gum. The first time it rose too much and spilled out of the pan, so I cut short the rising time the second time and it still fell flat. I’m using a cast iron bread pan by the way. What am I doing wrong?! Wasting so much and so discouraged 🙁
Hi Rivkah, check out my high altitude baking tips first, and then I would highly recommend trying my award-winning gfJules Gluten Free Bread Mix. Whenever folks are having bread baking problems, I always recommend giving my mix a try because it’s pretty fool-proof, even at high altitude. Once you know what great homemade gluten free bread can taste like and how amazing the texture can be — and if you need to make any high altitude adjustments — then you can branch off and start experimenting with making from scratch if you like, or you can just stick with what is easy and works! All gluten free flour blends are different and it can be super frustrating, time consuming and expensive to experiment and be discouraged — I know because I’ve been there, too. Check out my article on gluten free flours and why they’re so different, as it will provide insight as to why you’ve been having some troubles, to date.
~jules
My 17 year was diagnosed with celiac( allergy to gluten) and he misses bread in a major way. I became really good at making baguettes and make a pretty ok gluten free baguette. The problem is it’s rubbery, doesn’t rise all that well and is very dense. Any tips for helping me make this less dense and more airy?
Hi Michael, first off, kudos to you for diving right in to learn to bake gluten free bread for your son who loves his bread! What a great dad you are!!!!
I’m happy to help in the baguette department because everyone deserves great bread! Have you tried my gluten free baguette recipe yet? I have a from-scratch recipe made with my gfJules Flour that is wonderful, and I have two variations that are made either with my gfJules Pizza Crust Mix (very crusty and yummy, and has Italian herbs) or my gfJules Bread Mix (softer crust and more whole grain). They’re all amazing and in no way rubbery, plus they rise and are divine to eat alone as bread or to make into hoagies or French Bread Pizzas or so many other yummy things!
The key really is the gluten free flour you’re using, and for baguettes, the water ratio is important, as well as spritzing and the baguette pan. I detail all this in my baguette recipe, so check it out and let me know what you think!
~jules
I use the bread mix in a bread maker to combine the ingredients and proof it before baking. I have added nuts and now I’m experimenting with different sweetness (maple sugar, honey etc.). The bread has always been successful with great structure! Thanks You so much!!
That’s so great to hear, Marcus! I love that you’re experimenting and finding lots of new ways to bake delicious gluten free bread with my bread mix as the base. So glad you’re having fun and enjoying great gluten free bread!!!
~jules
Thank you this has helped I’ve been trying to make a f2f sweet roll dough and it never seems right …. Or works right I’m going to try your suggestions
Wonderful to hear, Sandra! I wish you the best of luck with those sweet rolls!!!
~jules
Im making grain free bread and i am finding the fruit loaf and tumeric loaves so dense and hard on the outside to slice. they take a lot longer then the recipe to cook. Would you have any tips? Would a water bath in the oven help to keep moist or maybe the temperature of my oven is too high?
Any help would be appreciated.
Hi Ruth, I don’t have a lot of ideas for you there, as I don’t do much grain-free bread baking. The closest thing I have to that is my gluten free Irish Brown Bread recipe here on my site. It’s definitely not too hard to cut through and it’s a lovely loaf if you want to check it out as another option. Otherwise, my suggestion would be to tent your loaf with foil to prevent the outside from getting so hard and to turn the temperature of your oven down a bit. Hope one of these ideas helps!
~jules
I follow the recipe perfectly but my dough is always more of a batter. I’m stumped! Do you have any suggestions! Thank you!
Hi Brenda, often gluten free bread doughs do turn out a lot like batters before they bake (not all, but many do). Are they baking up well for you, you’re just worried at the dough/batter stage, or are they problematic when baked, as well?
~jules
I know how to make regular flour breads, but I DO NOT KNOW HOW TO MAKE GLUTEN FREE BREAD. I made so many errors, n I say, what gives, what am I doing wrong. Then I read your “18 Tips for GF Bread Baking – gfJules” What an eye opener, thank you for all the great tips. The next one I made came out GREAT!! I am pleased… I still have alot to learn in making GF products… Thank Jules, you are a genius…
Hi Aleeta, I’m so happy to hear that this article was helpful, and I’m so glad to hear you haven’t given up! I hope your next gluten free bread baking is much more successful!!!!
~jules
Can I proof my gf bread dough in the refrigerator overnight? If yes, should I let it stand at room temp before baking?
Hi Synthia, yes, overnight proofing is totally fine but I would suggest bringing it to room temp before baking the next day. Happy baking!
~jules
Does your Jules flour get old as well? I don’t bake much and have half a bag that is over a year old. Must I toss it?
Virginia
Hi Jules,
Thanks for sharing all these info. To be honest, I am a little bit overwhelmed as my son has had some health issues and we had to change our diet radically. He is only little and still at kinder. It has been particularly challenging for him as he attends a Waldorf kinder. There’s fresh baked bread every day… i wanted to give him the experience of continuing with the bread making at home so i got some buckwheat flour and intended to bake the type of kneading rolls they do at kinder. Of course it was a recipe for disaster and our dough ended up looking like hummus! After reading your suggestions i can point many mistakes i made, but i am still hopeful: is there a recipe for GF buns that needs kneading? I would love to hear from you!
Thanknyou in advance.
Best wishes 🙂
Hi! I really loved your post and all the information you gave us! thanks for that.
I made the other day a gf yeast free bread with quinoa, teff, and brown rice flour, but I still need to find the way to keep it from breaking, like most gf bread does. I used eggs, but maybe I need to change the flours? My question is, what generally helps and make the bread foamy and better?
Thanks for your help!!
Hi Barbara, I’m so glad you found my article helpful! Just reading the list of gluten free flours you used for your bread made me shudder a little bit, and I’m not at all surprised when you said your bread was breaking. It’s all about the flour! Please read this article on gluten free flours. I think you world will change when you change up your gluten free flours! You don’t have to suffer through dry, breaking gluten free bread — I promise!!!
~jules
These are great suggestions!! I have a convection gas oven and all of my loaves have sunk in the top. I spritz the top of the dough before cooking so that may be a problem. But I was wondering how to adjust the temperature and baking time if cooking on convection. Recipe says to cook at 450 for 50-55 min …what adjustments to time and temp should I make?
Thank you so much for these excellent helpful tips! I see the .mistakes I made with recent GF endeavors.
I’m so glad these tips are helpful, Tabitha! Baking bread — particularly gluten free bread — is so DIFFERENT from anything else. Once you see all the mistakes that can be made and avoid those, it’s really quite easy! 🙂 I’m glad I could make all the mistakes for you, and then hopefully help you from making them all yourself! LOL! I’ve been doing this so long, I probably have made them all myself, actually! May all your gluten free bread baking be happy from here on out!
~jules
Next bread baking day, I’m going to try plain soda water that I’ll make in my soda stream. Been baking GF for over 8 years and have had only a couple of flops. I have all the digital gadgets and have calibrated both of my ovens. The countertop model was way off.
Always proof your yeast whether instant or rapid rise or not. It just works better. Last night I did not and my loaves look and feel like those pathetic bricks you find in the stores. I knew I was in trouble when I had zero oven spring. Checked the date on the baking powder but it may be dead anyway. It’s supposed to give the dough additional lift during baking but did not. Sooo…
Thanks for the tips on using carbonated water and flax meal to improve the lift.
Glad to hear the gluten free bread baking tips were helpful, Dave. Thanks for sharing yours, too! I always love to hear what works for folks – we can always learn from each other! Happy baking!
~jules
Hi i am new to gluten free as i have been diagnosed with celiacs recently. I normally love to bake and am trying to learn new tips to help me make tasty dishes. if you are making gluten free cinnamon rolls. As soon as you have made your dough should you roll out and fill with cinnamon and slice, then cover and let rise in the pan to not touch them again after it rose?
Thank you so much
Best tips I have seen since going gluten free in 2013.
I use Ginger Ale and love it.
So excited to use everyone of your tips.
So happy my tips are helpful, even for someone who has been living gluten free for a while. Thanks, Ann!
~jules
Thank you so much for these tips! I made a gf version of Bon Appetit’s no-knead focaccia recently, and I plan on trying it again this time with some of your tips. The first time it came out tasting amazing, but very rubbery. I think I did use too much xanthan gum, and I’m going to mix up my flours I’m using too. I think I’ll also try a longer, slower proof. Do you ever prove in the fridge, or do you leave yours out? I’m assuming this varies along with the temp in your house.
I found this page in search of how to rise a gf bread, this was very informative. Thank you!
Hi Sara, using too much xanthan gum will definitely produce gummy results. Have you ever just tried my pre-mixed gfJules Gluten Free All Purpose Blend? It makes getting great results so much easier! In terms of rising, I usually use quick rise/rapid rise yeast, so I don’t rise in the refrigerator or overnight.
~jules
Hi sara I had my go at making gl free bread. A few hick ups with the proving issue. Bag stuck to loaf. But I must say not bad for 1st attempt. I have found your tips very helpful and will implement next time thanks sue